Hailey Bieber-Inspired Pink-Purple Ombre Nails — Professional Tutorial
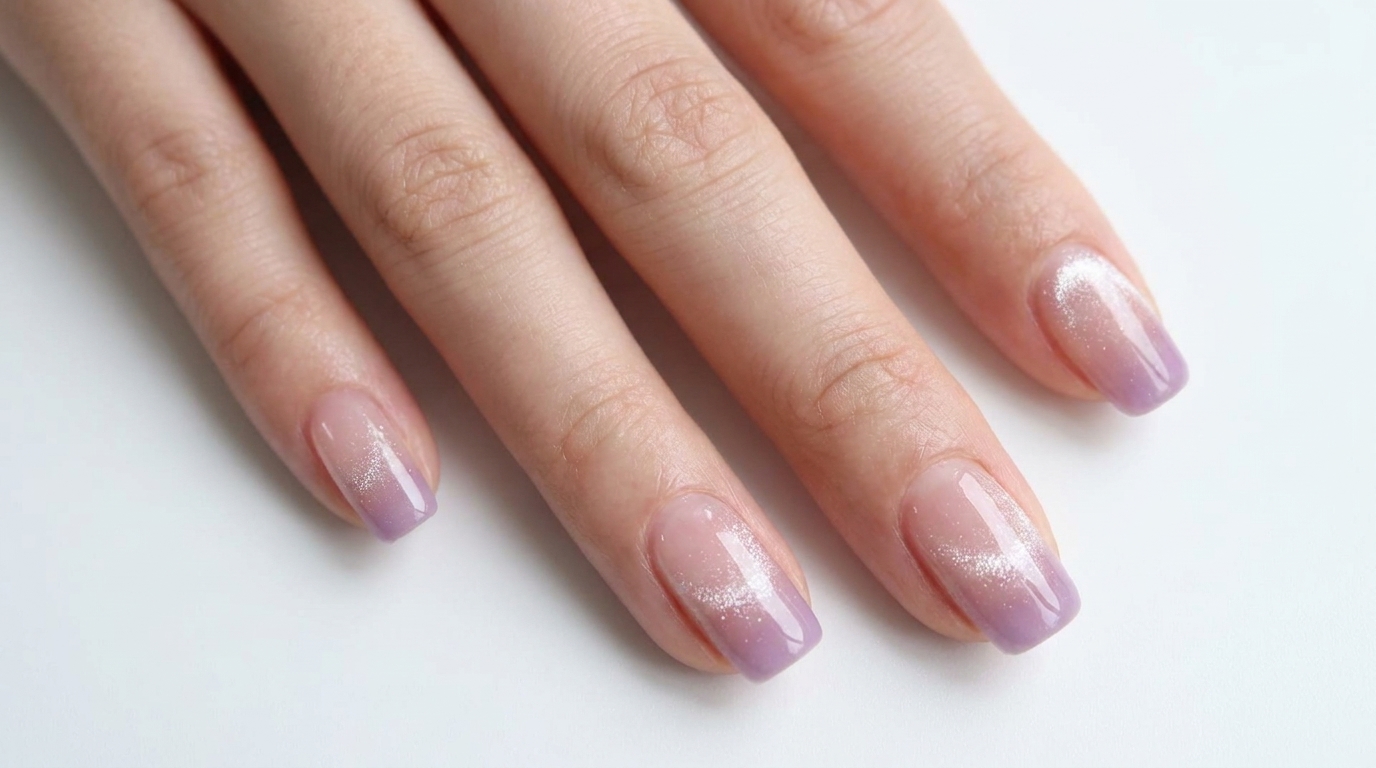
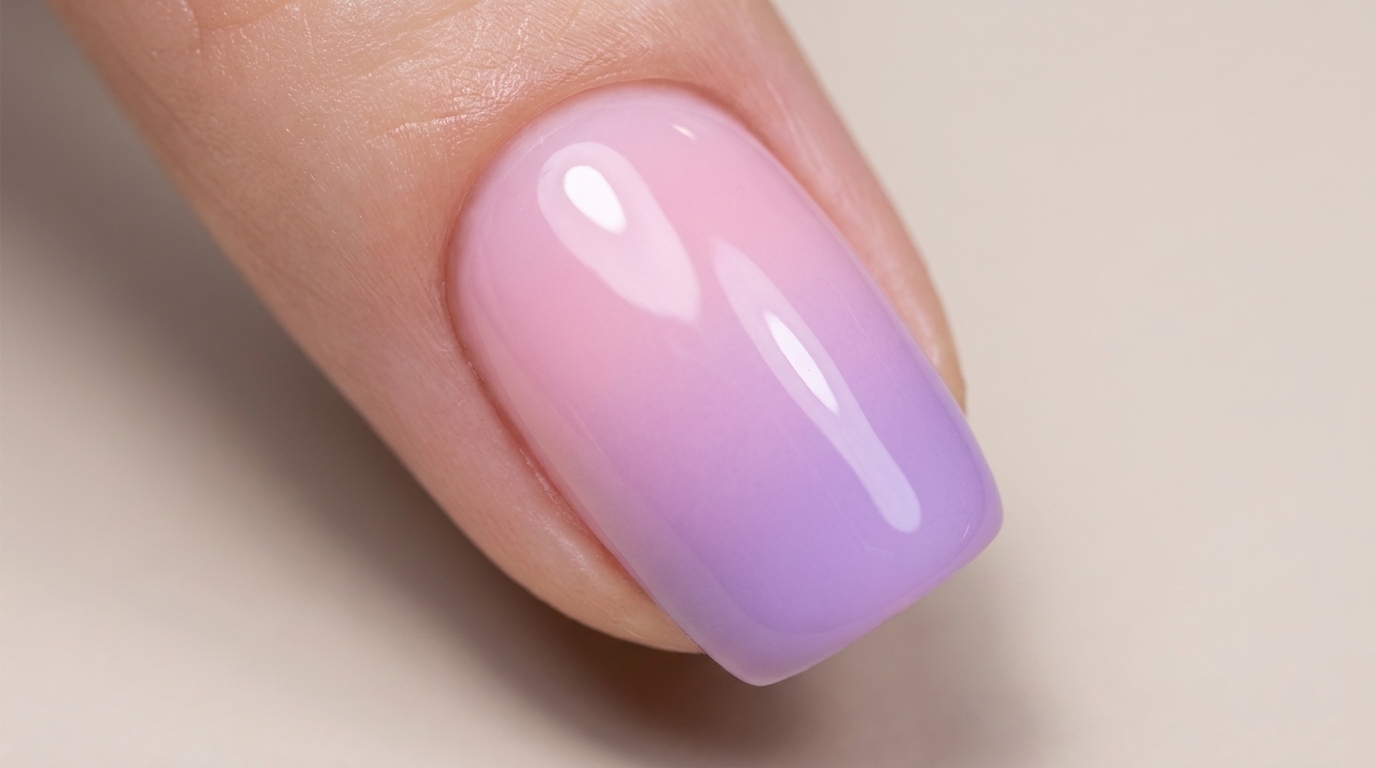
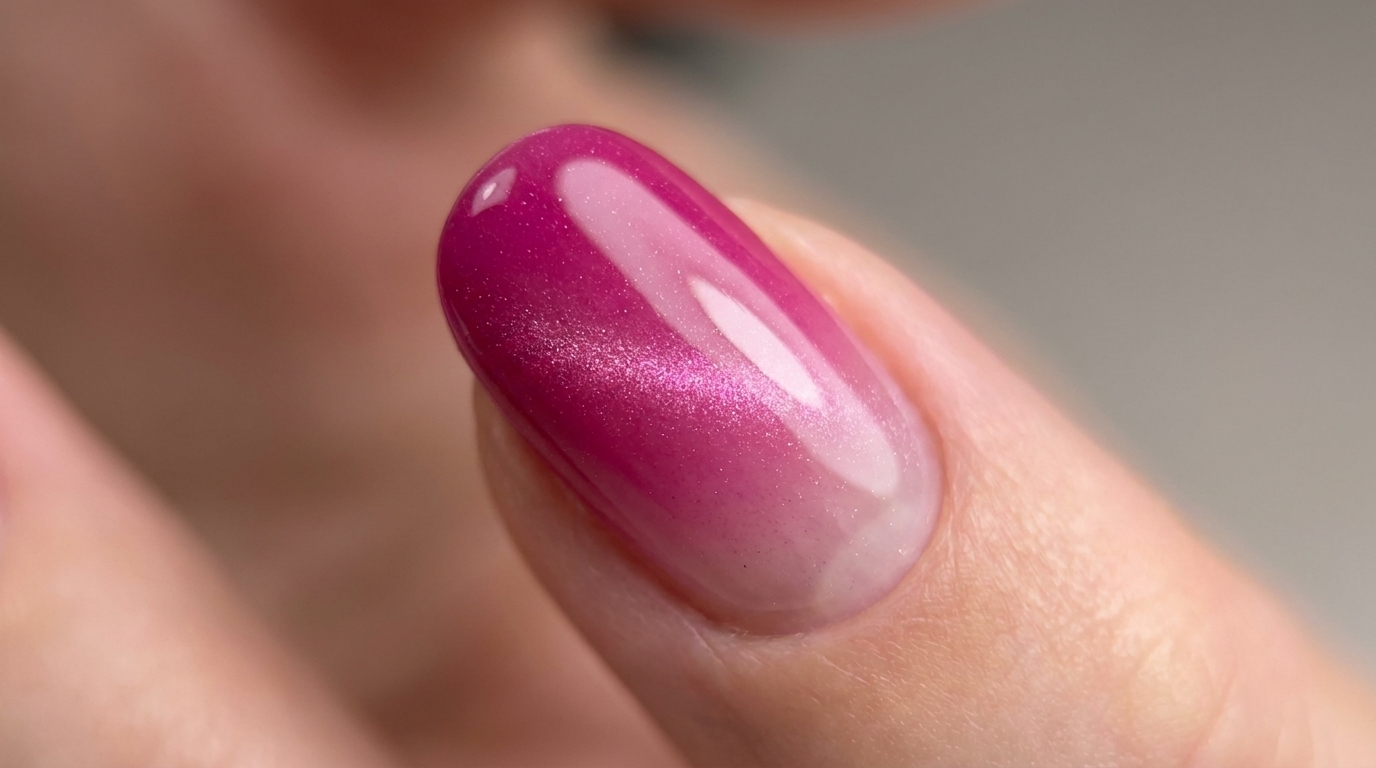
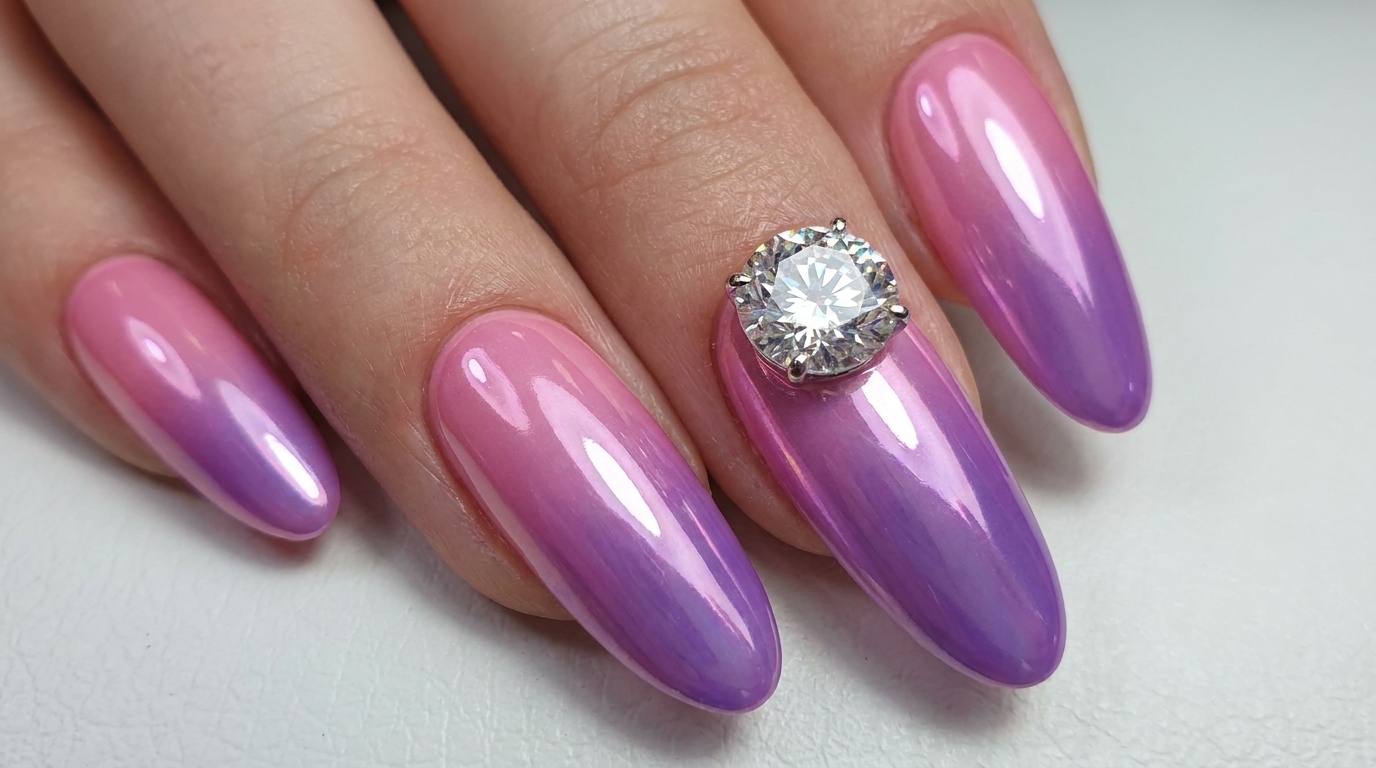
Achieve a dreamy pink-to-purple gradient with a high-gloss chrome finish and a statement K9 diamond. Learn the professional techniques for a flawless application.
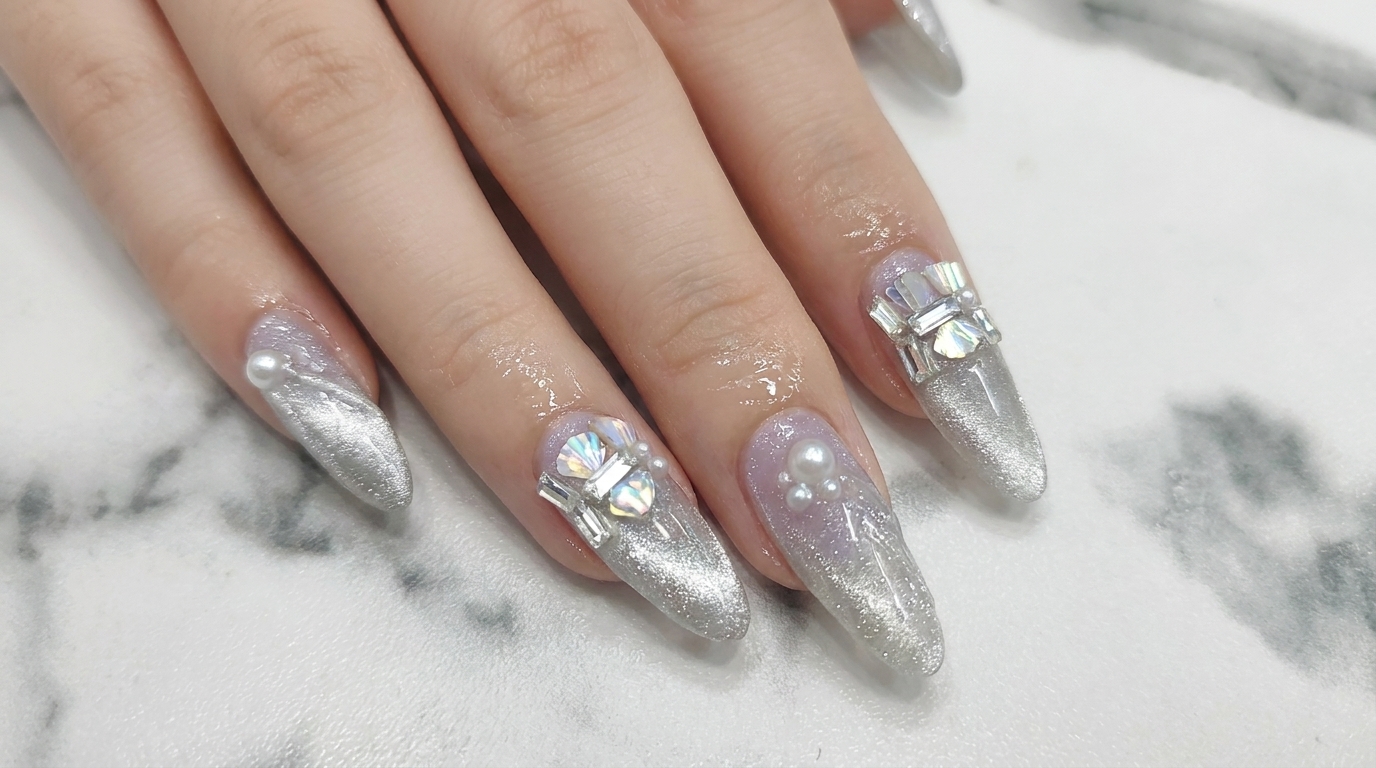
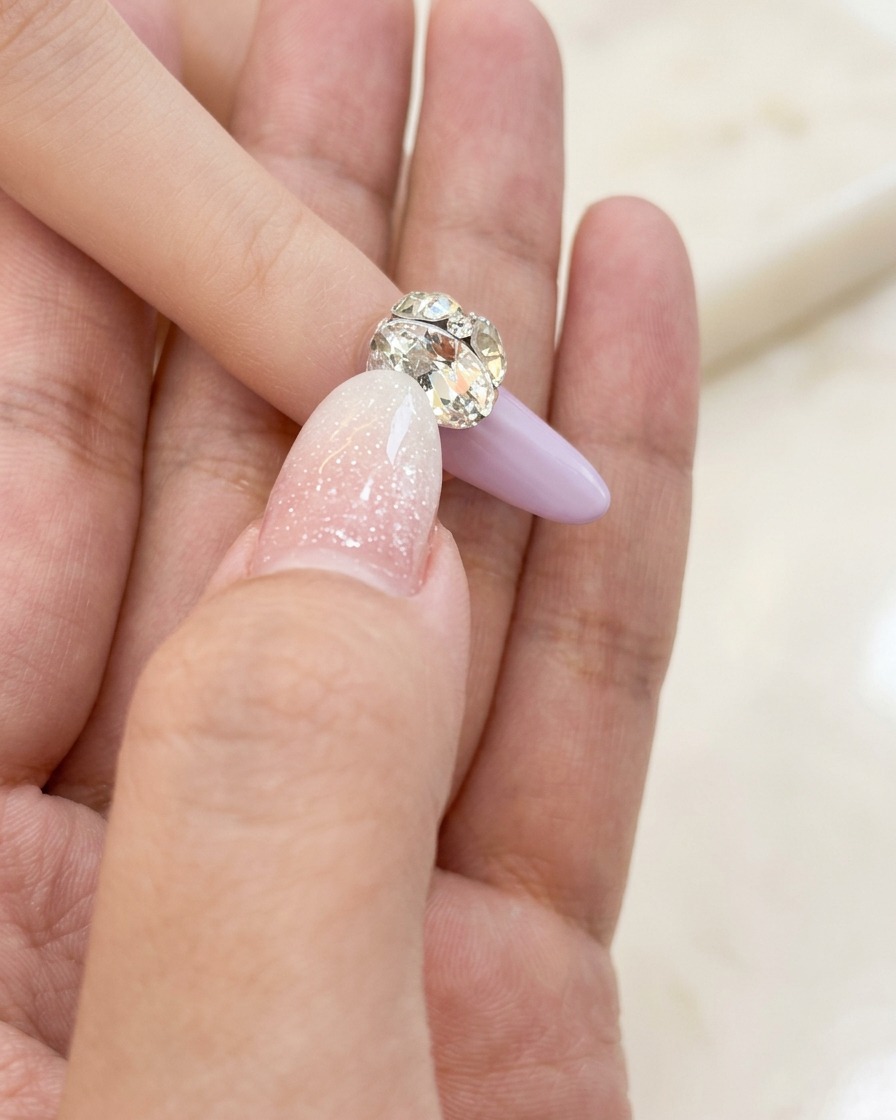
Capture the essence of the viral Hailey Bieber-inspired aesthetic with these stunning pink-to-purple gradient nails. This look pairs a seamless, mirror-like chrome finish with the added luxury of a large K9 diamond, making it a sophisticated choice for those who love elevated nail art. Follow these expert steps to ensure your manicure is as durable as it is beautiful.
Steps
- 1Remove Old Product
Begin the nail preparation by using an electric nail drill to remove the old product from the surface. Work carefully to take off the bulk of the old polish or enhancement without drilling into the natural nail.
Tip: Keep the drill moving constantly to avoid heat spikes and prevent damaging the nail bed. - 2Clean the Cuticle Area
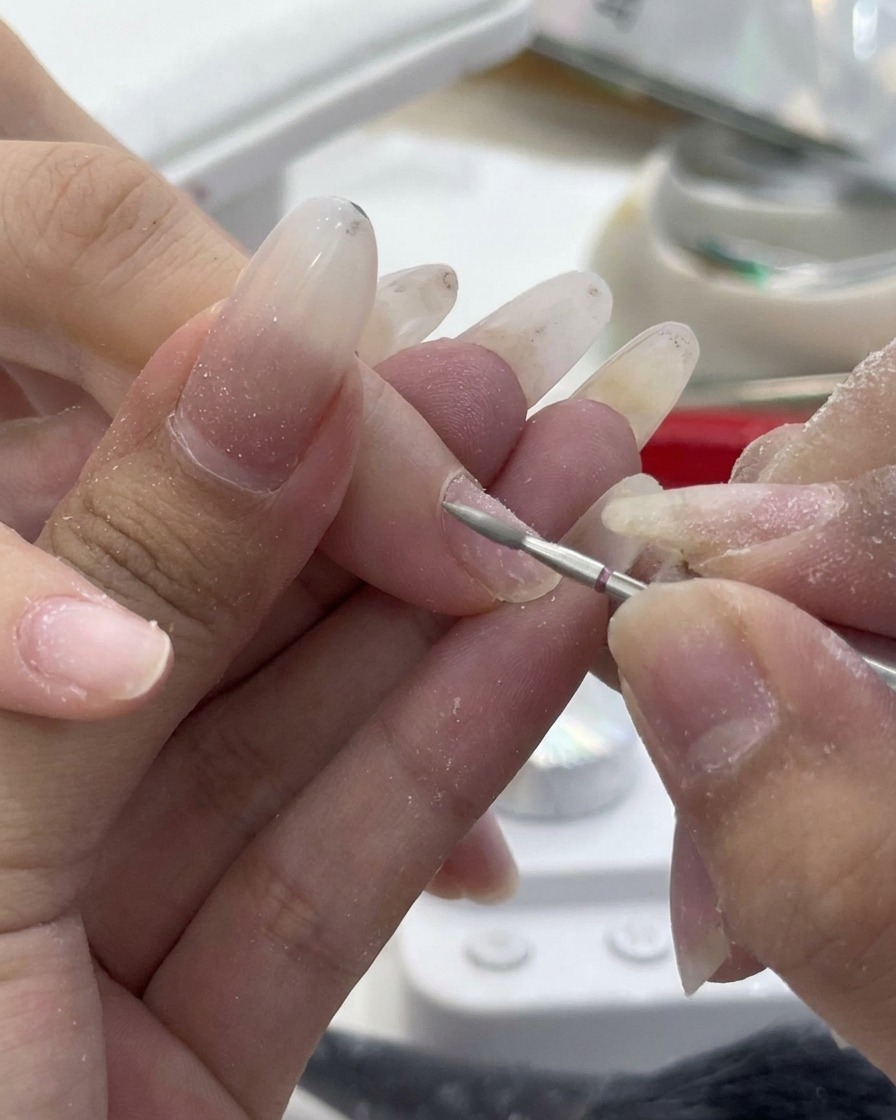
Using a small, fine needle-like drill bit, gently push back and clean the cuticle area. A perfectly clean cuticle line is the secret to a long-lasting manicure and prevents premature lifting of the product.
Tip: Keep the drill speed low and use a light touch to avoid cutting or irritating the delicate skin around the cuticle. - 3Etch the Natural Nail Surface
Switch to a fine sanding band to gently etch the natural nail surface. Follow the natural curvature of the nail, being careful not to over-file, to create the perfect texture for maximum product adhesion.
Tip: Only remove the surface shine; over-filing will thin and weaken the natural nail. - 4Remove Old Extensions
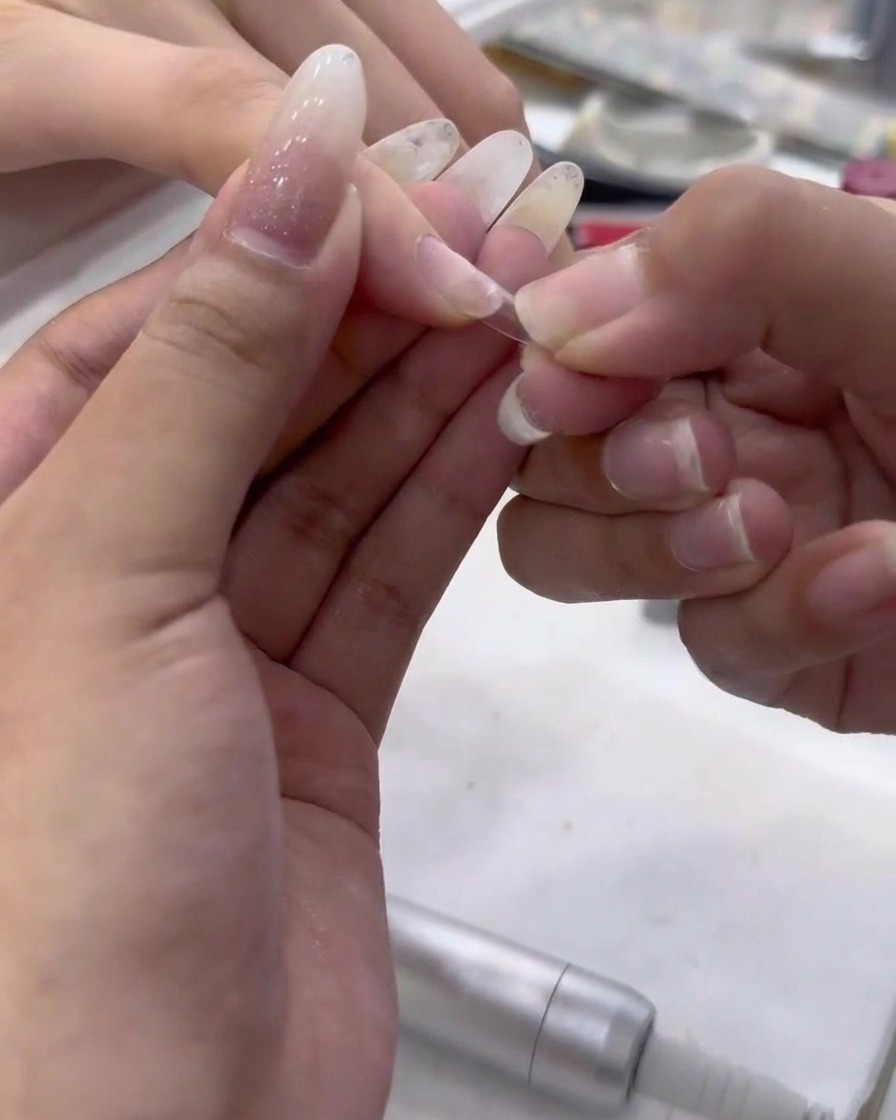
Carefully remove any remaining old nail extensions. Reshape and prep the bare natural nail so it acts as a strong, even foundation for your new application without causing damage.
Tip: Never forcefully rip or peel off old extensions, as this can tear layers of the natural nail plate. - 5Smooth the Transition
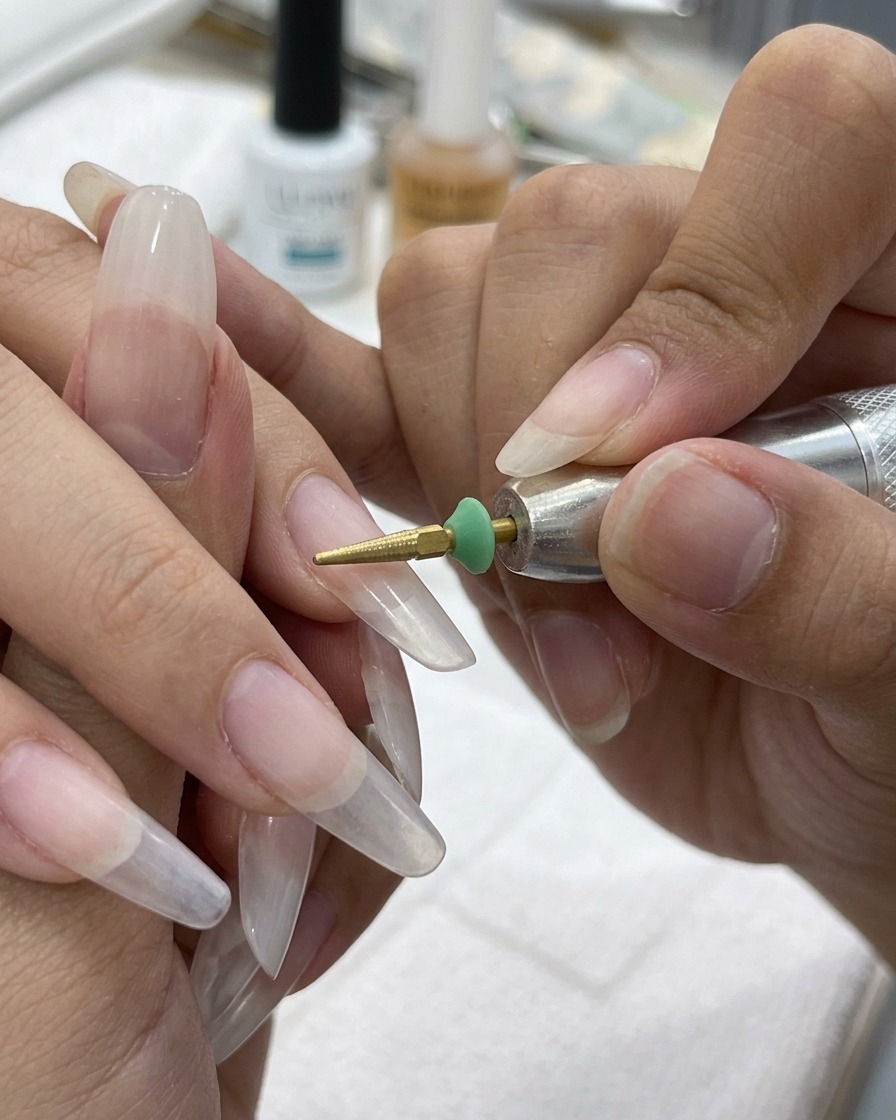
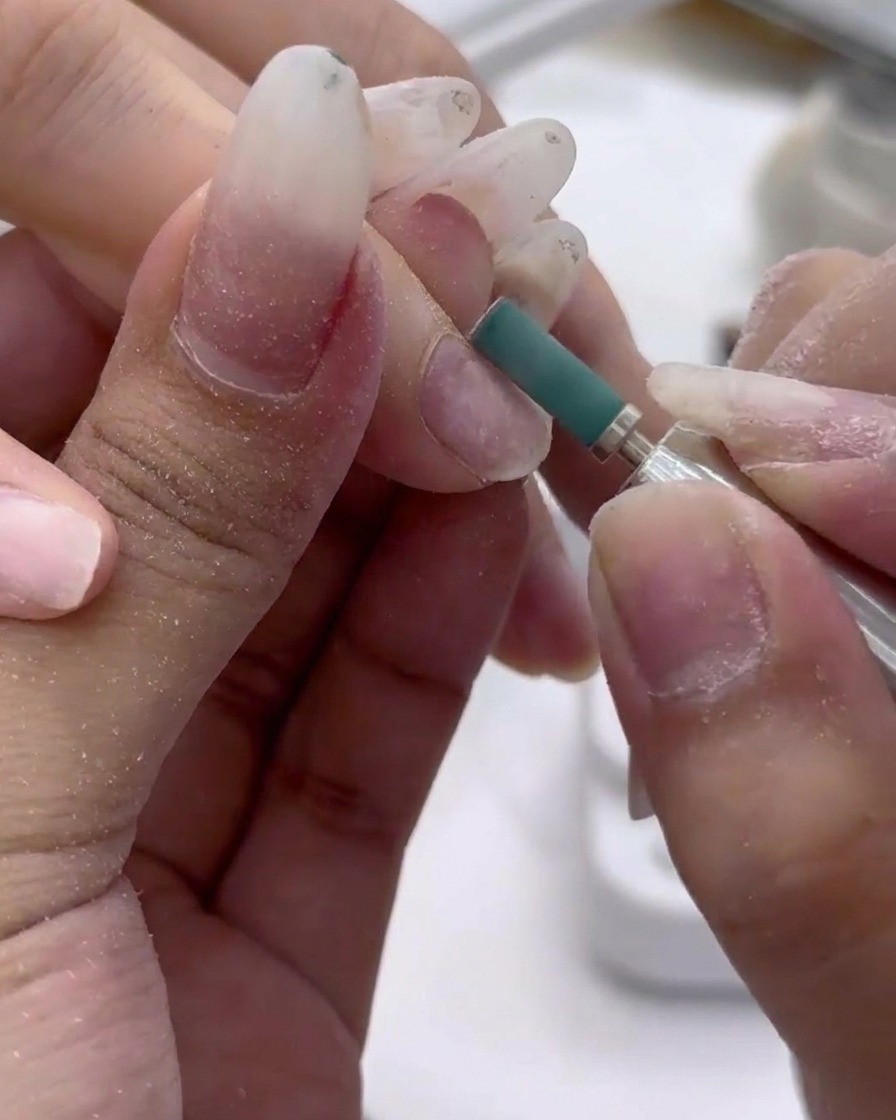
Use a cone-shaped drill bit to buff the transition area between the newly applied nail tip and the natural nail. Smoothing this gap ensures a seamless, natural-looking arch once the structure gel is applied.
Tip: Hold the bit flush against the nail tip to blend the edge without digging into the natural nail bed. - 6Final Prep with 3-in-1 Bit
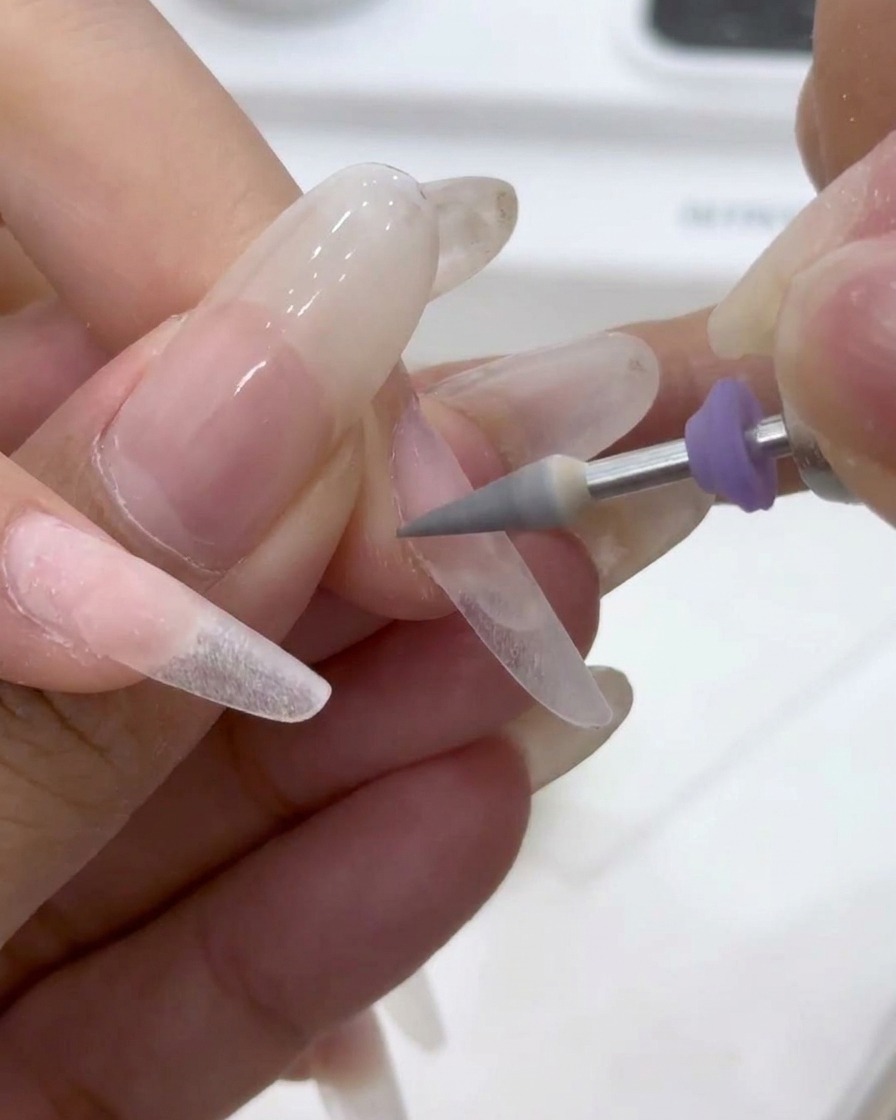
Utilize a versatile 3-in-1 drill bit to clean any remaining debris from the nail gaps, refine the cuticle area, and smooth the overall nail surface in one go. This provides a flawless finish without snagging.
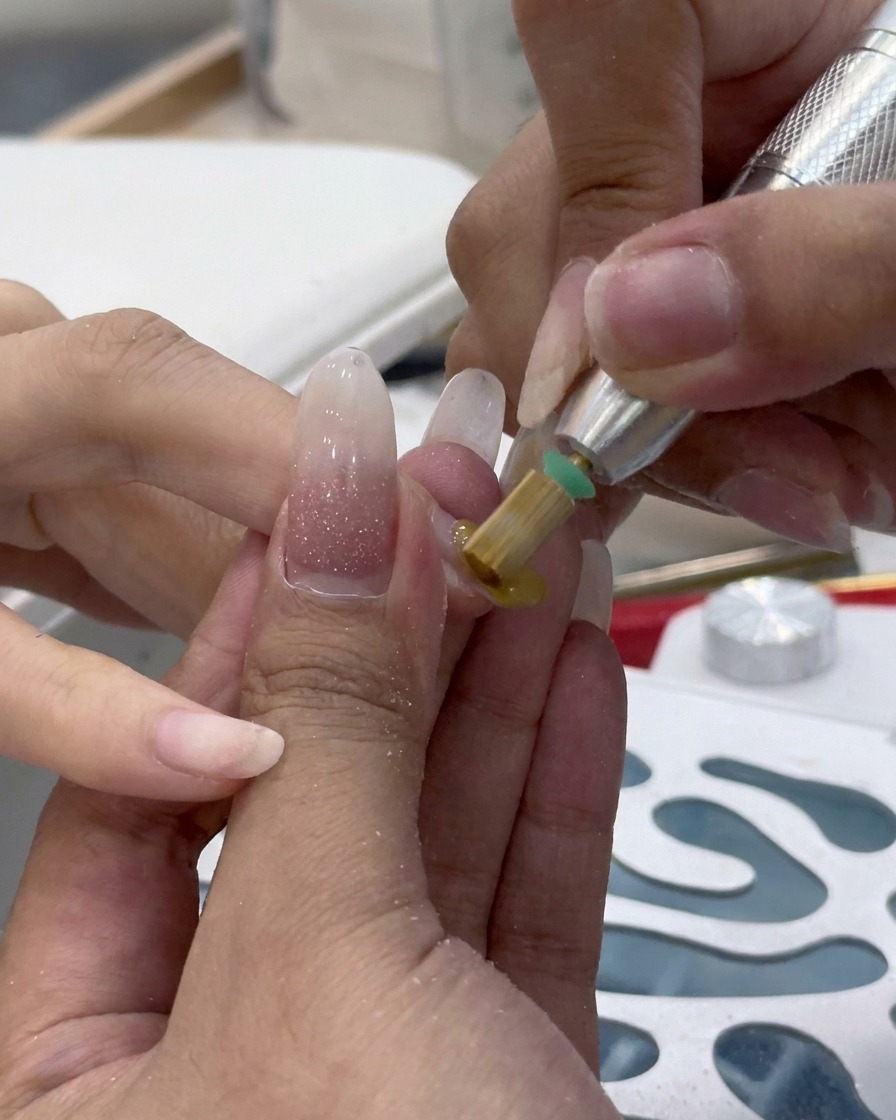
Tip: Ensure all dust is thoroughly brushed away after this step before applying any balancing liquids or gels. - 7Apply Dehydrator and Primer
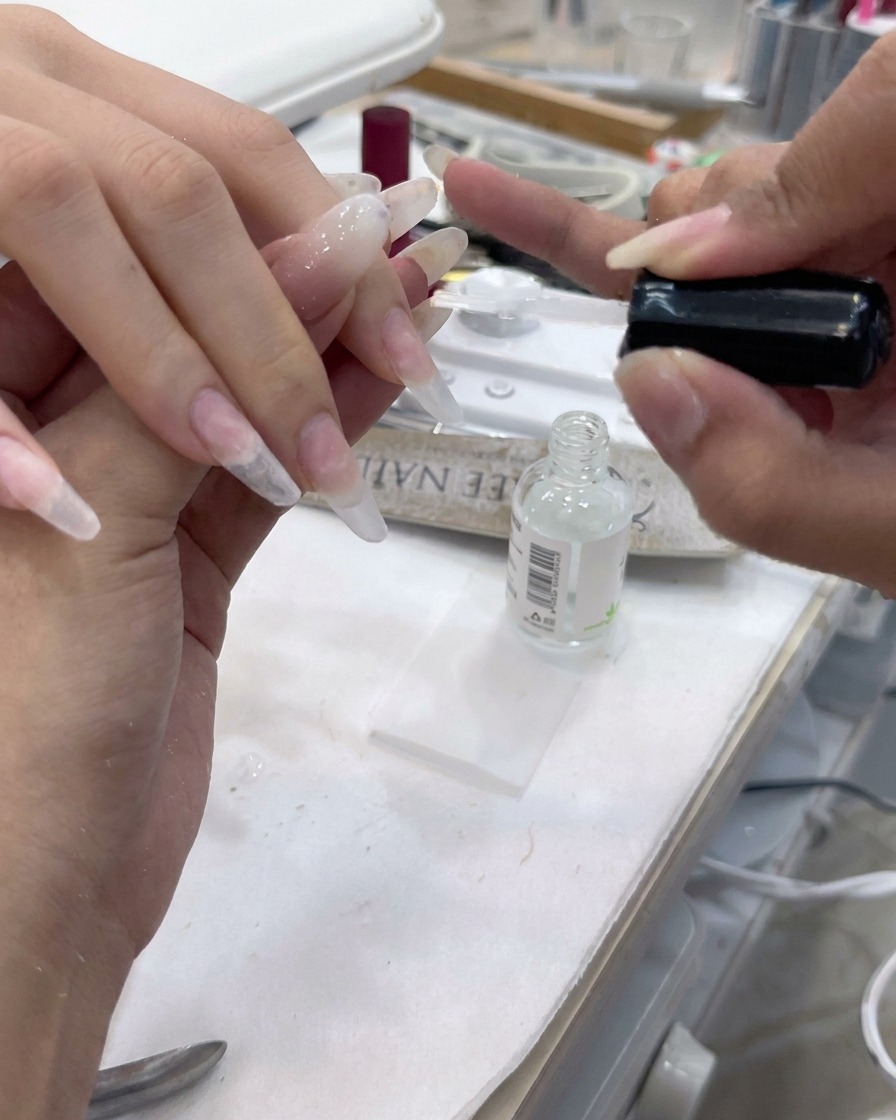
Apply a coat of balance liquid over the entire nail surface. This essential step removes excess oils and moisture, optimizing the pH level of the nail plate to ensure maximum adhesion for the upcoming gel layers.
Tip: Ensure the entire surface is covered, but avoid contact with the surrounding skin to prevent irritation. - 8Apply Gel Base Coat
Apply a thin, even layer of gel base coat to the prepared nail, starting near the cuticle and brushing toward the free edge. Ensure you cap the free edge to prevent premature lifting, then cure under a UV or LED lamp.
Tip: Keep the layer thin to ensure proper curing and to maintain a natural look without added bulk.