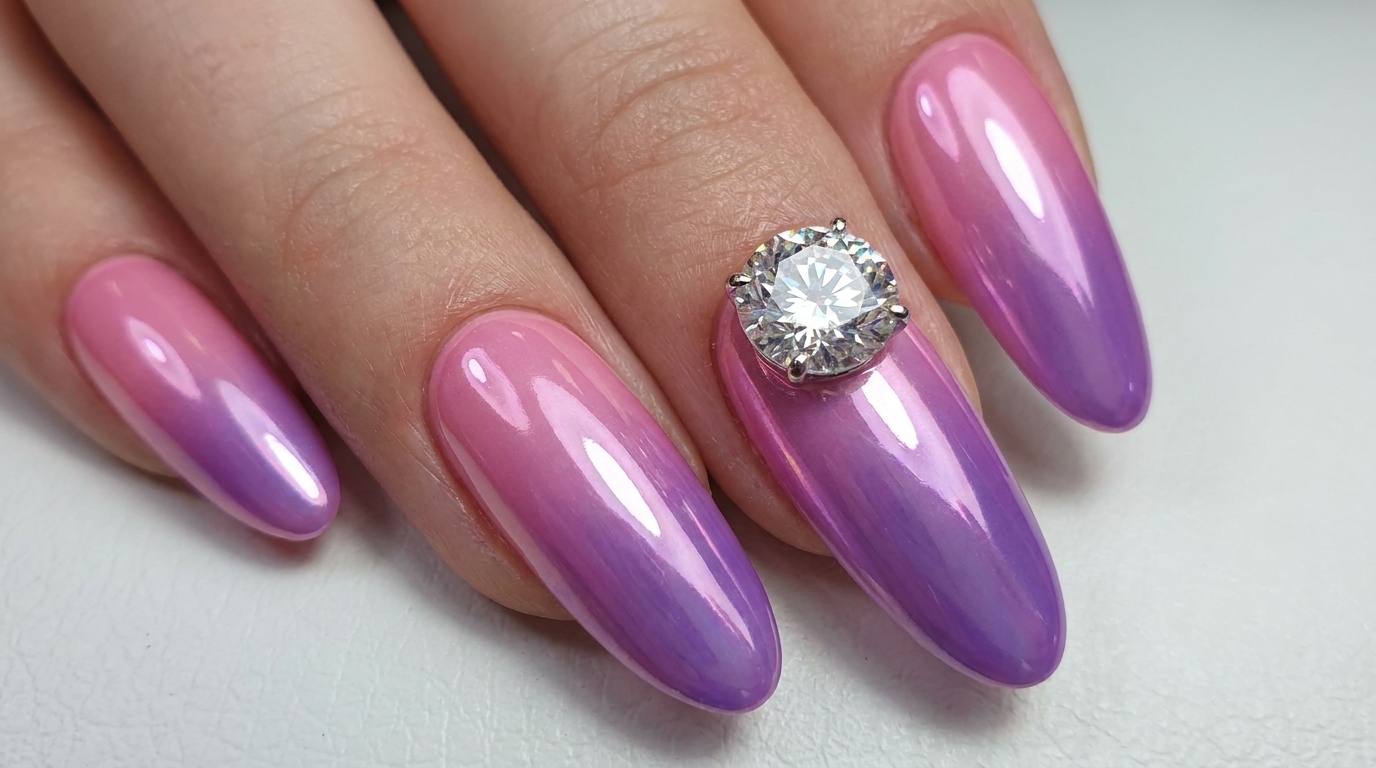
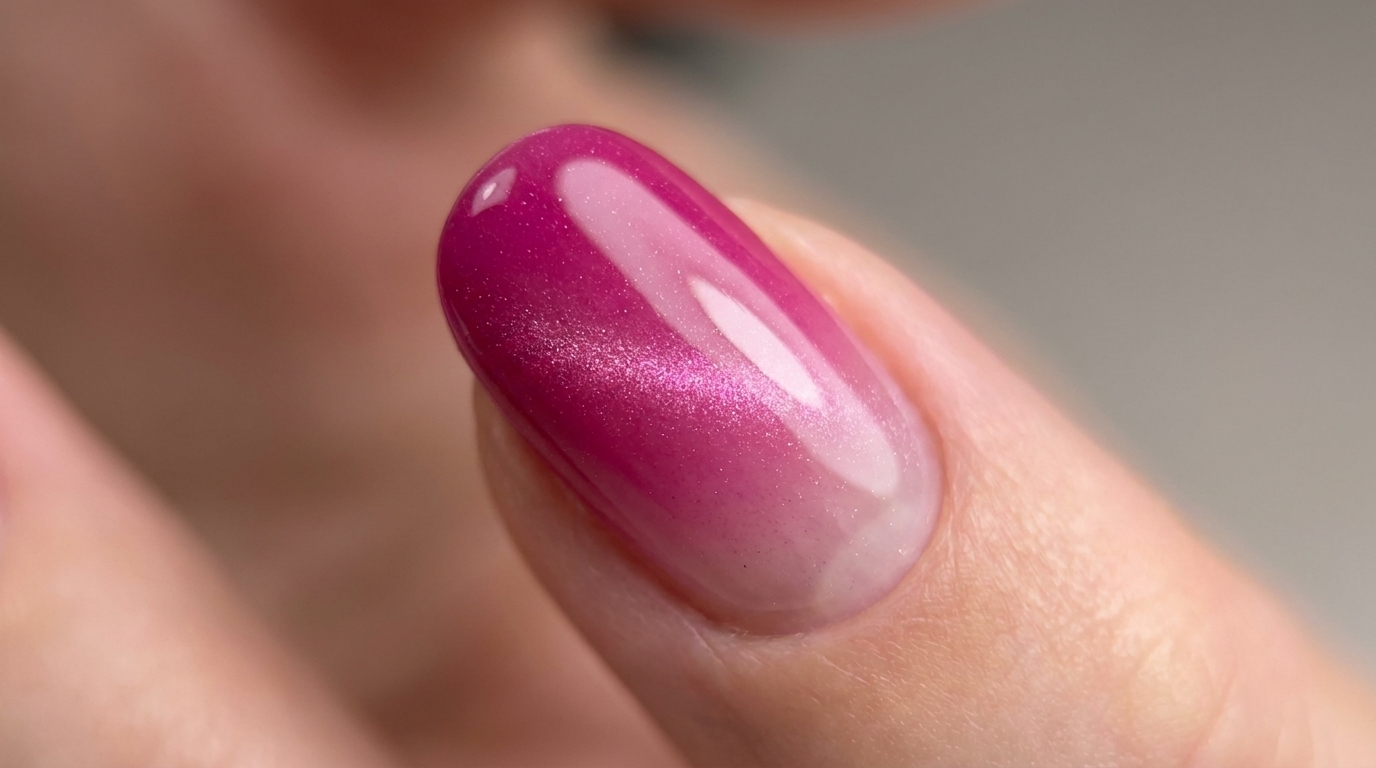
Magenta Pink Gradient Cat-Eye Nails — Step-by-Step Tutorial
Elevate your manicure with this stunning magenta pink gradient and cat-eye finish. This tutorial shows you how to achieve this dimensional look at home.
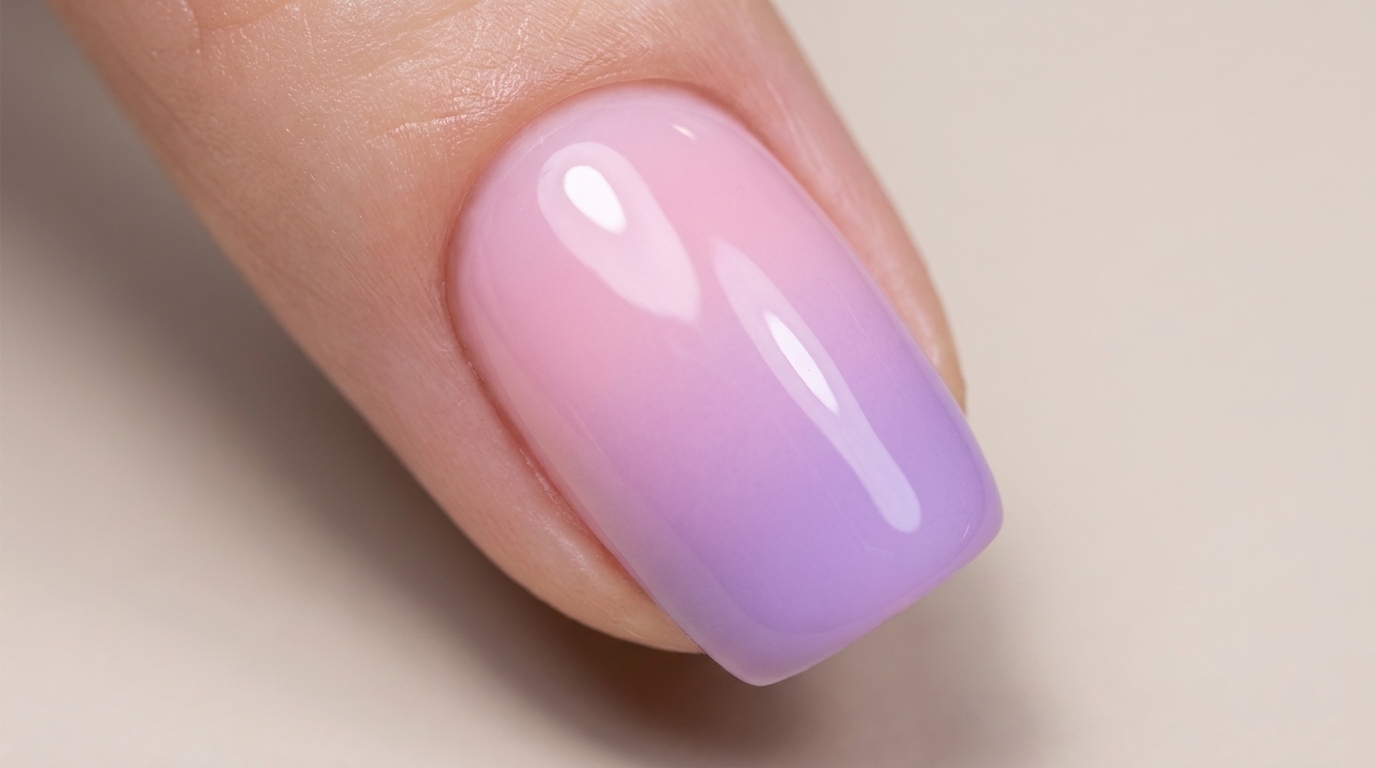
The combination of a soft gradient base and the magnetic shimmer of cat-eye gel creates a mesmerizing, depth-filled manicure. This look transitions seamlessly from day to night, offering a modern, high-fashion aesthetic that is surprisingly achievable. Follow along to master the technique of blending and magnetic particle manipulation.
Steps
- 1Prepare the gradient sponge
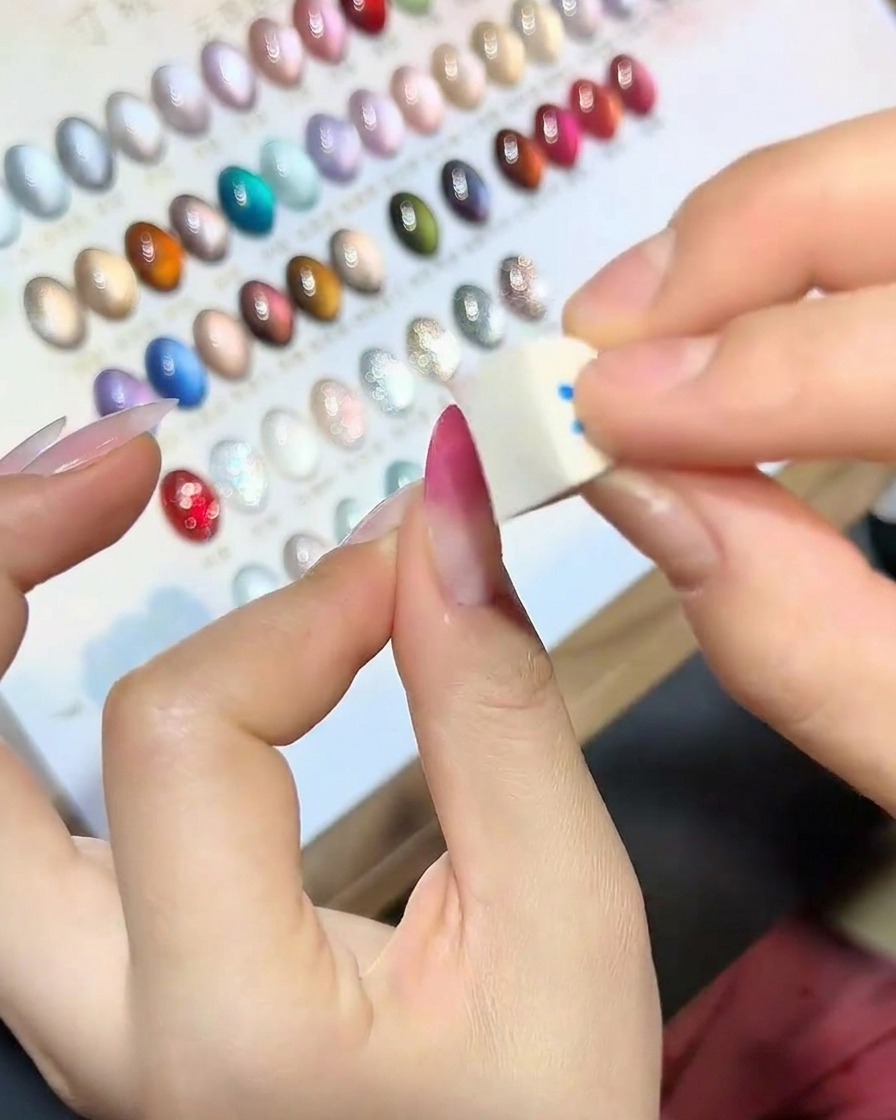
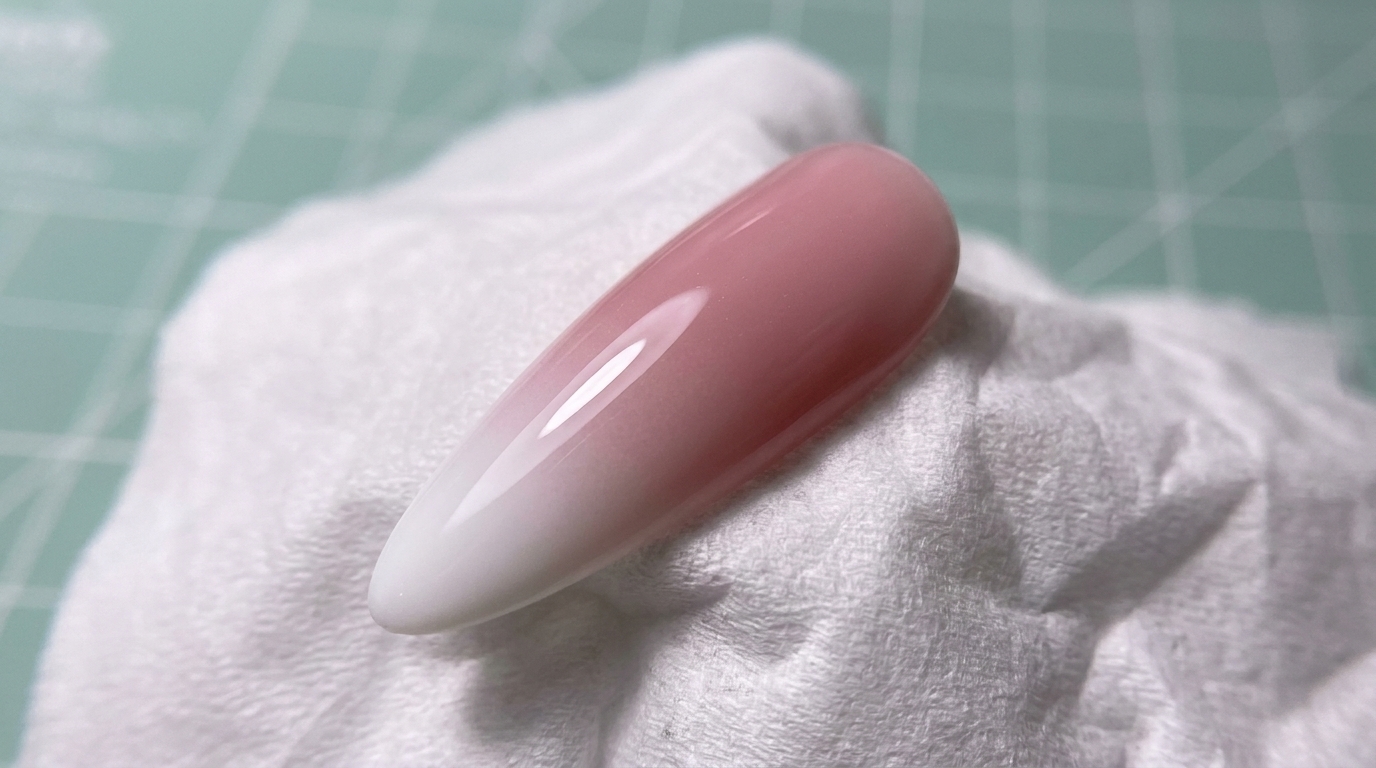
Apply a small amount of magenta gel polish onto the edge of a clean makeup sponge. This will be used to dabbing the color onto the nail to create a soft, seamless gradient effect.
Tip: Use a dense makeup sponge to ensure the gel transfers evenly without creating too many bubbles on the nail surface. - 2Create the gradient effect
Gently dab the loaded sponge onto the tip of the nail, concentrating the pigment at the free edge and gradually fading it toward the cuticle area. Repeat this dabbing motion until you reach your desired saturation, then cure the layer under a UV lamp.
Tip: Use light, quick dabbing motions to build up the gradient slowly for a smooth, blended transition. - 3Apply cat-eye gel
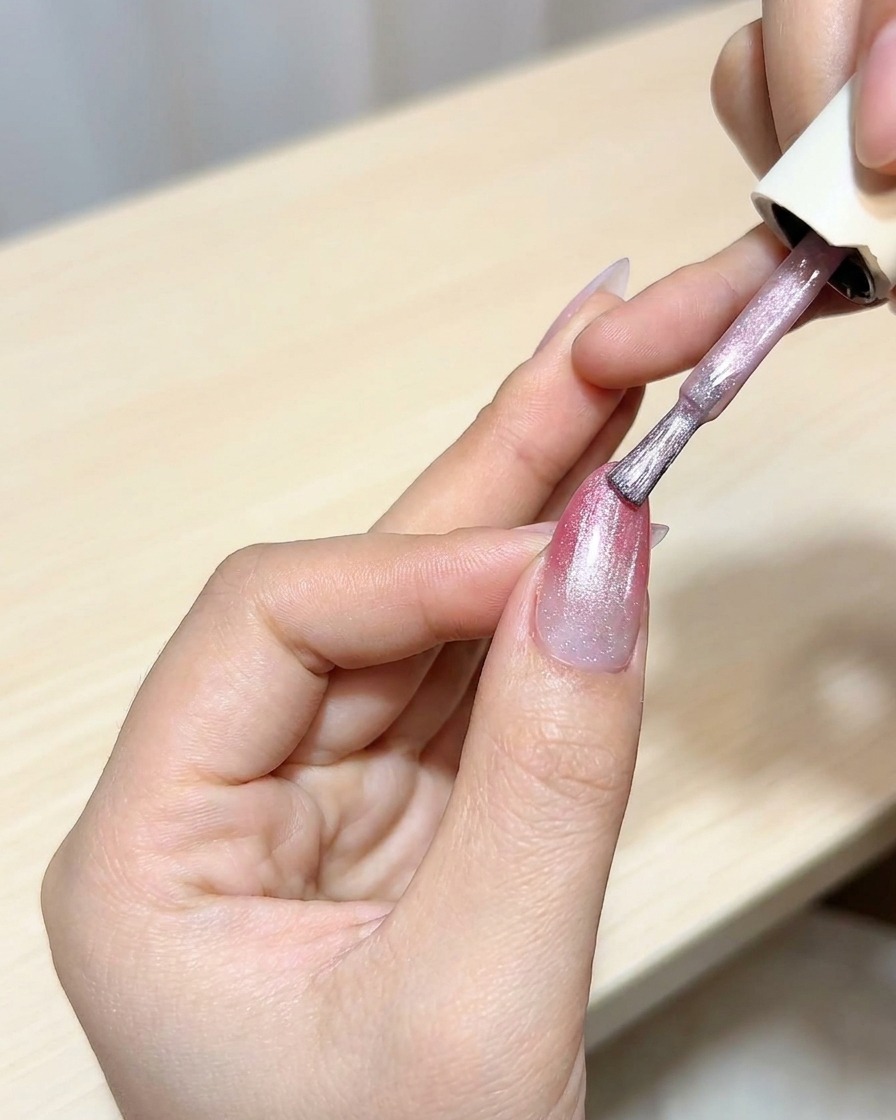
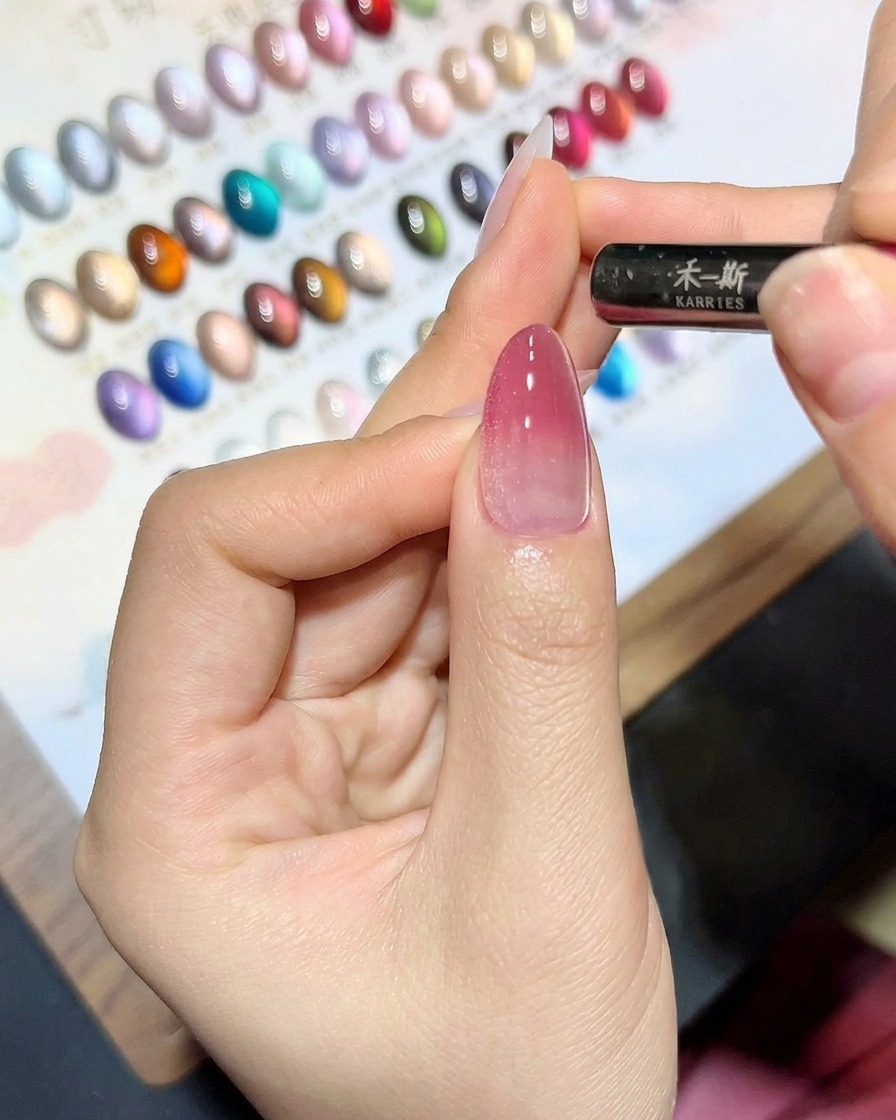
Once the gradient base is cured, apply a thin, even coat of cat-eye gel polish over the entire nail. This layer will serve as the canvas for the magnetic effect.
Tip: Ensure the cat-eye gel is applied evenly to allow the magnetic particles to move smoothly when you use the magnet. - 4Activate the cat-eye shimmer
While the cat-eye gel layer is still wet, hold your magnet tool close to the nail surface without making contact. Move the magnet slowly to pull the magnetic particles into your desired line or shape, creating the characteristic cat-eye shimmer.
Tip: Hold the magnet steady for a few seconds to ensure the particles are fully set in position before moving to the curing stage. - 5Cure the cat-eye design
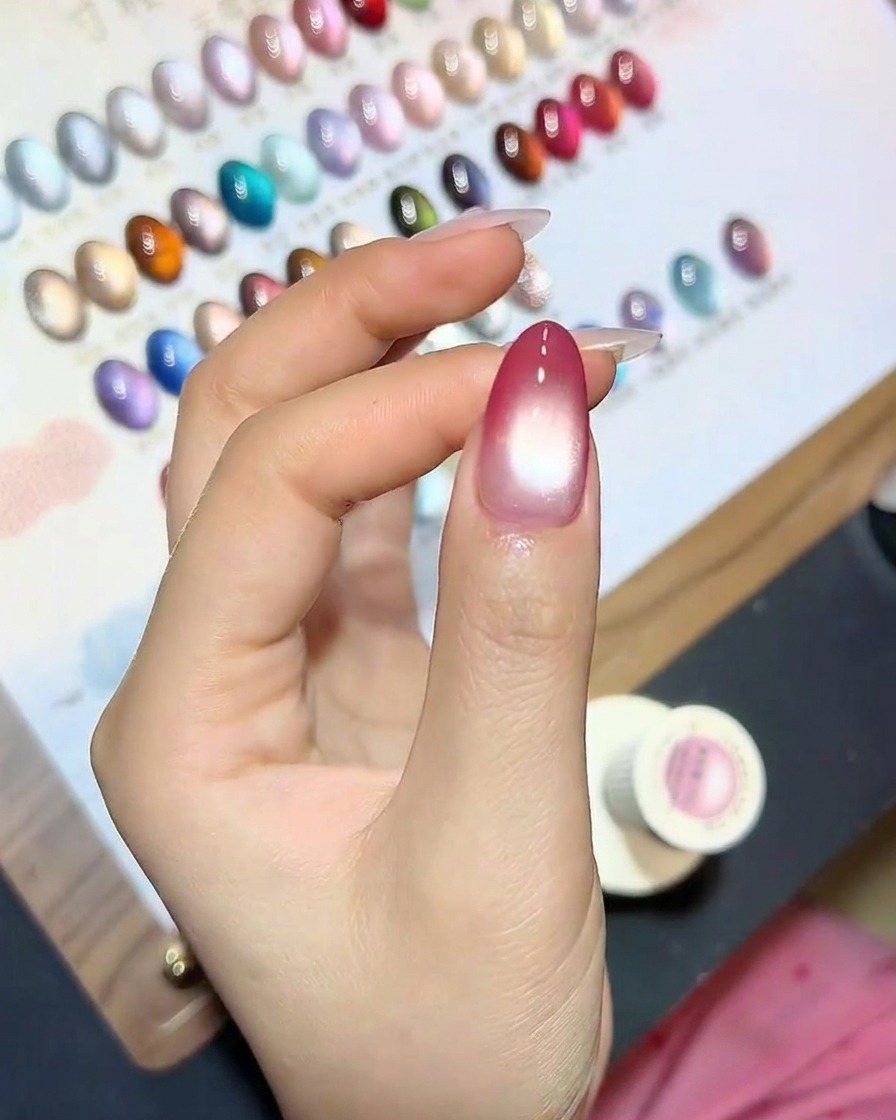
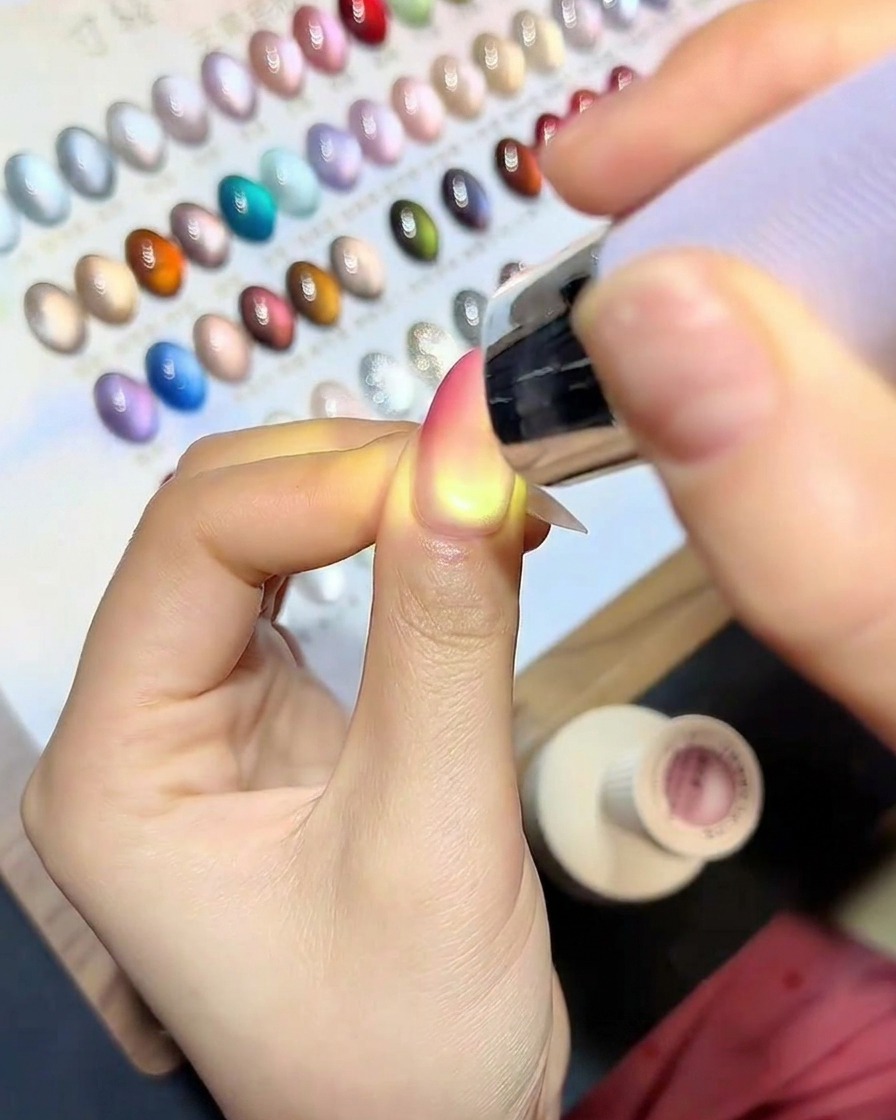
Once you are satisfied with the magnetic pattern, place the hand into the UV or LED lamp immediately to cure the gel and lock the particles in place.
Tip: Avoid bumping the nail before it is fully cured, as the magnetic particles can still shift if the gel is disturbed. - 6Seal with top coat
Apply a final layer of top coat over the entire nail. This protects your design, adds a high-gloss finish, and seals in the cat-eye effect for long-lasting wear.
Tip: Cap the free edge with the top coat to prevent premature chipping at the tips. - 7Final cure

Place your hand under the UV lamp for the final cure to set the top coat. Ensure all nails are positioned directly under the light source for a uniform and thorough cure. This step hardens the glossy finish and locks in your nail art, ensuring durability and a professional, smudge-free look.
Tip: Keep your hand steady and centered under the lamp to ensure all five nails cure evenly.