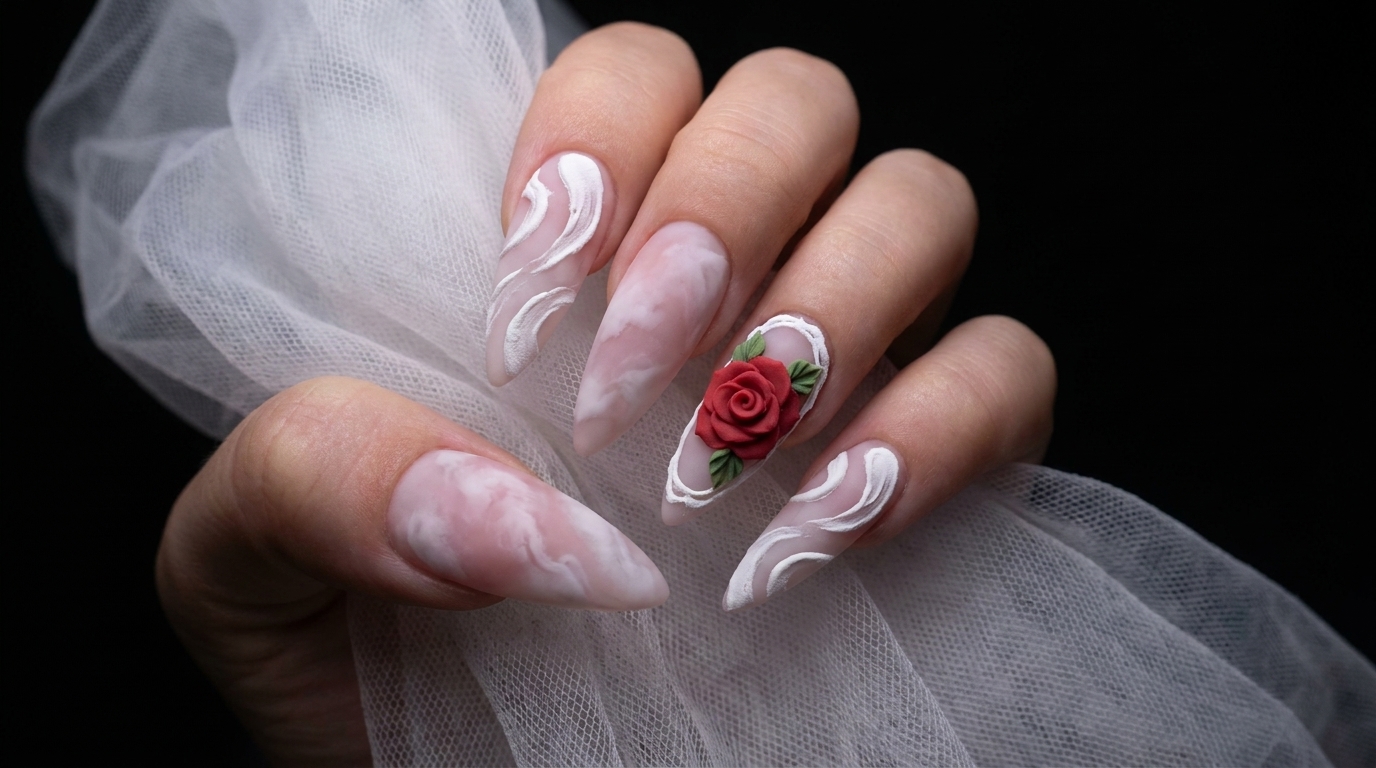
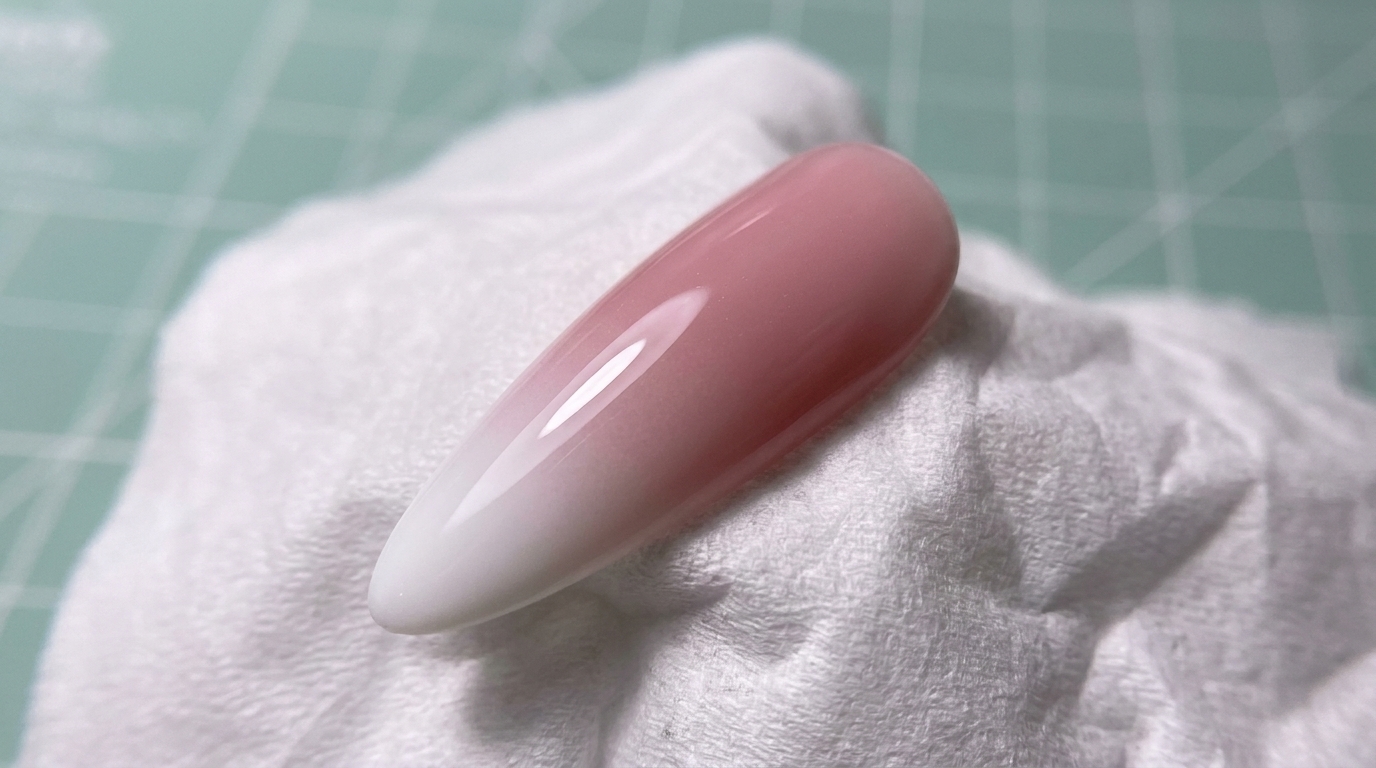
White and Dried Rose Airbrushed Gradient Nails — Step-by-Step Tutorial
Create a flawless, professional gradient with this airbrush tutorial. Learn how to achieve a soft transition from crisp white to elegant dusty rose.
Airbrushing is the secret weapon for achieving a perfectly smooth, streak-free gradient look that is difficult to replicate with traditional sponges. This technique allows for a diffused, soft-focus finish that elevates simple color combinations. In this tutorial, we will walk you through the process of layering pigments to create a sophisticated, salon-quality dusty rose and white ombre effect.
Steps
- 1Buff the nail tip
Use an electric file to gently buff the surface of the nail tip. This step creates a slightly textured surface that ensures better adhesion for the subsequent gel layers.
Tip: Keep the file moving constantly to avoid heat spikes or over-filing the plastic. - 2Apply clear gel base
Apply a thin, even layer of clear gel across the entire surface of the nail tip. This layer acts as a foundation and provides a smooth base for your nail art.
Tip: Ensure you coat the entire surface without flooding the edges. - 3Cure the base layer
Place the nail tip inside the UV/LED lamp and cure for the recommended time to fully set the clear gel layer before proceeding with design steps.
Tip: Position the tip flat to ensure an even cure across the entire surface. - 4Apply stencil for gradient
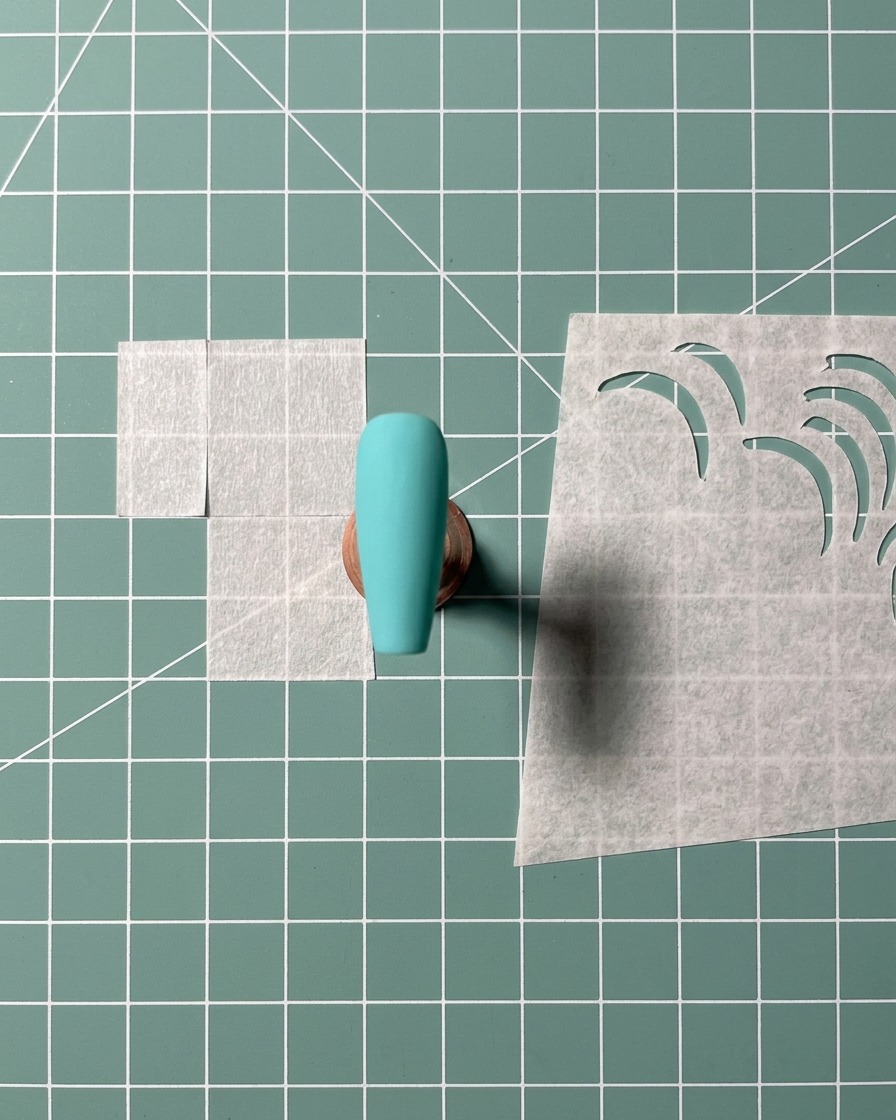
Carefully place the adhesive stencil onto the nail tip, leaving only the area intended for the white gradient exposed. Press the edges down firmly to ensure a clean, crisp line during the airbrushing process.
Tip: Ensure the tape is pressed down completely so no pigment bleeds underneath. - 5Apply airbrush gradient
Using an airbrush, gently spray a thin layer of white pigment onto the exposed area of the nail. Build the color slowly for a smooth, even gradient effect.
Tip: Maintain a consistent distance between the airbrush nozzle and the nail to avoid splattering. - 6Remove stencil

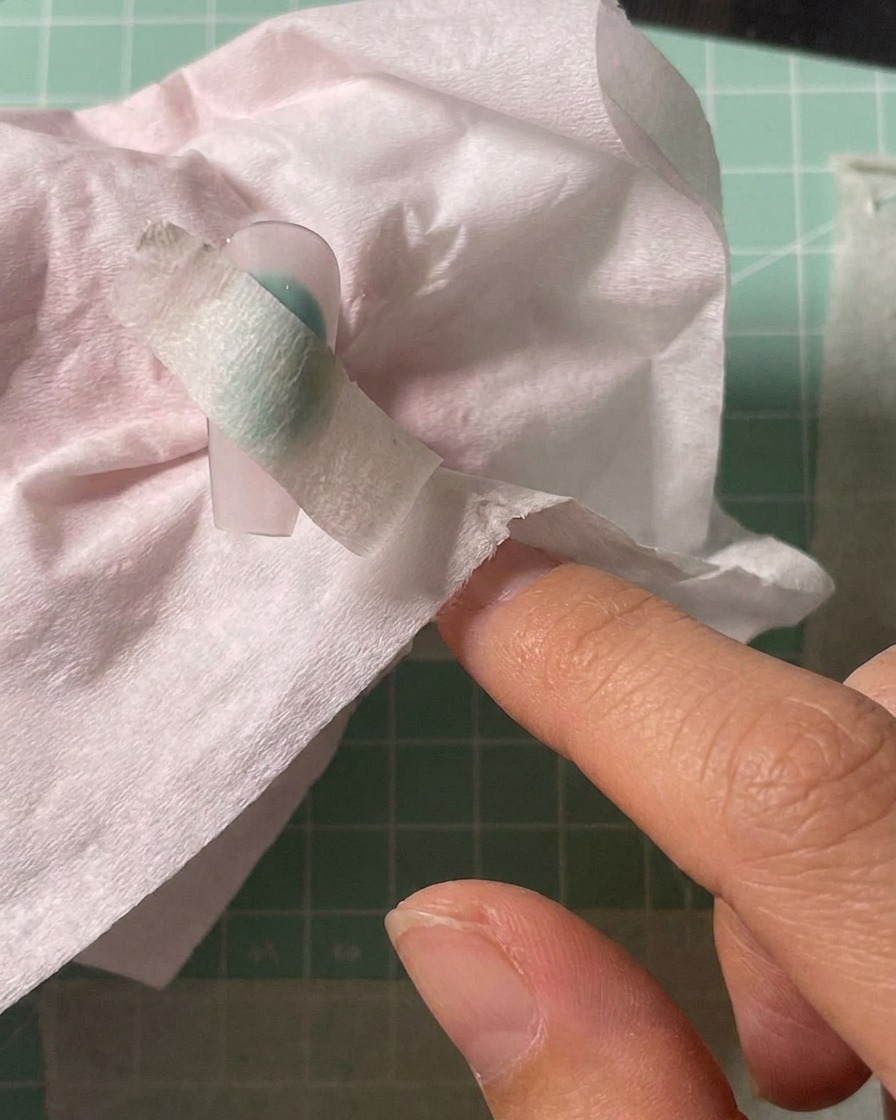
Once the pigment has partially set, carefully peel away the adhesive tape or stencil to reveal the sharp, clean gradient design on the nail tip.
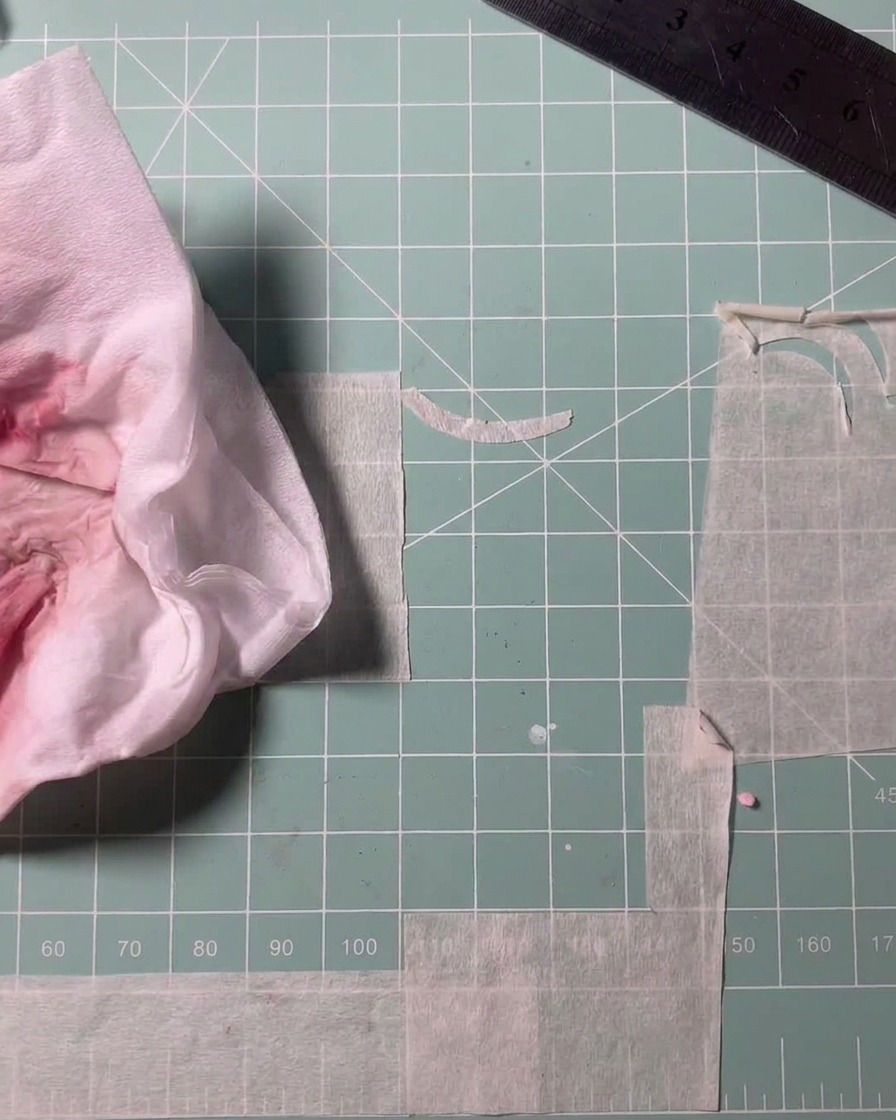
Tip: Peel the tape off slowly at a low angle to prevent smudging the fresh paint. - 7Position masking tape
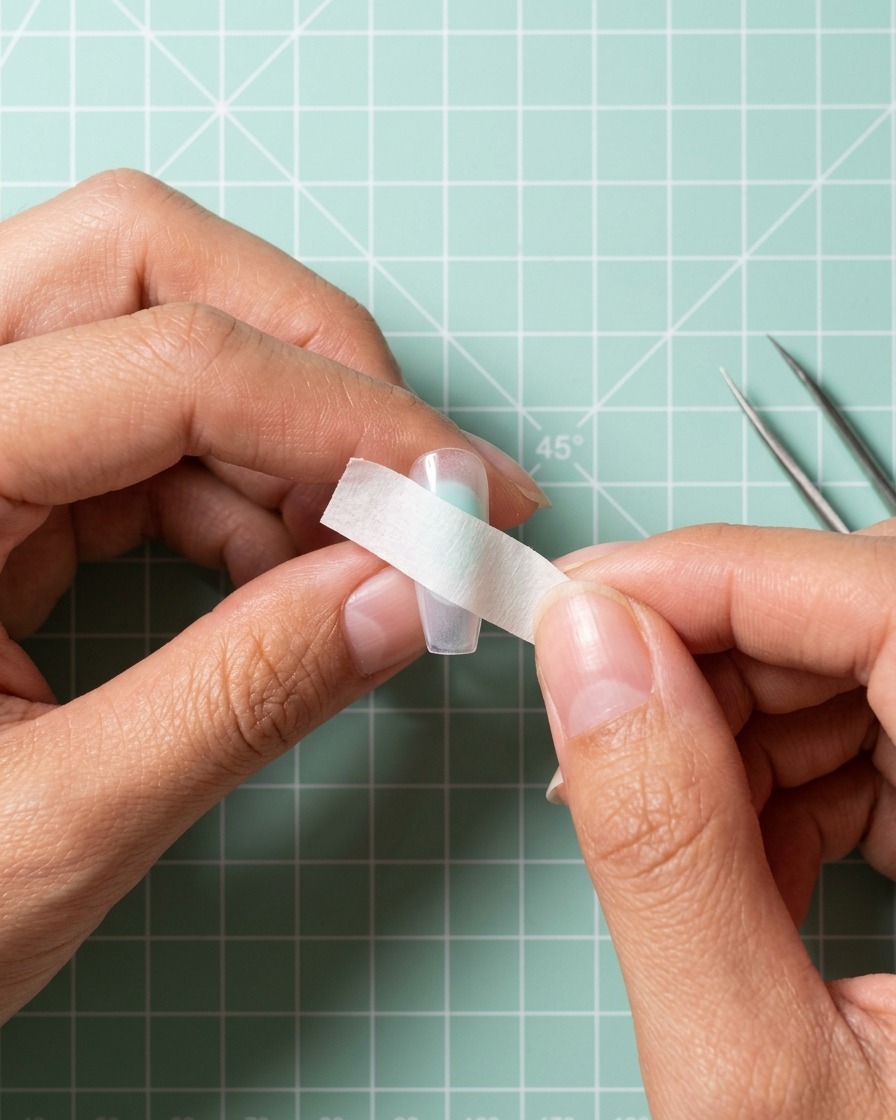
Place a piece of adhesive tape across the nail to section off the area where you want the next color in your gradient to start. Ensuring the tape is pressed down firmly creates a crisp, clean line and prevents paint from bleeding under the edges.
Tip: Use specialized nail art tape or painters tape to ensure it sticks well without leaving sticky residue behind. - 8Apply base airbrush layer
With the airbrush set to a light flow, spray the white pigment onto the exposed portion of the nail. Keep the tool moving in small, controlled, back-and-forth motions to build up opacity gradually for a smooth, even finish.
Tip: Maintain a consistent distance from the nail to avoid pooling or splattering the pigment. - 9Remove masking tape
Carefully peel away the adhesive tape to reveal the distinct line between the colors. Remove the tape slowly to avoid smudging the fresh pigment or lifting any of the base layer.
Tip: Remove the tape while the pigment is still slightly damp for the cleanest line. - 10Apply top coat
Apply a layer of gel top coat over the entire nail to protect the design and provide a smooth, glossy finish. Ensure you cap the free edge to seal the design and increase longevity.
Tip: Apply the top coat in thin, even strokes to avoid creating unwanted texture or lumps. - 11Cure top coat
Place the nail inside the UV or LED lamp to cure the top coat. Follow the specific cure time recommended by your gel product manufacturer to ensure a fully hardened, durable finish.
Tip: Keep your hand still while inside the lamp to ensure even curing across the entire nail surface. - 12Create micro-gradient transition
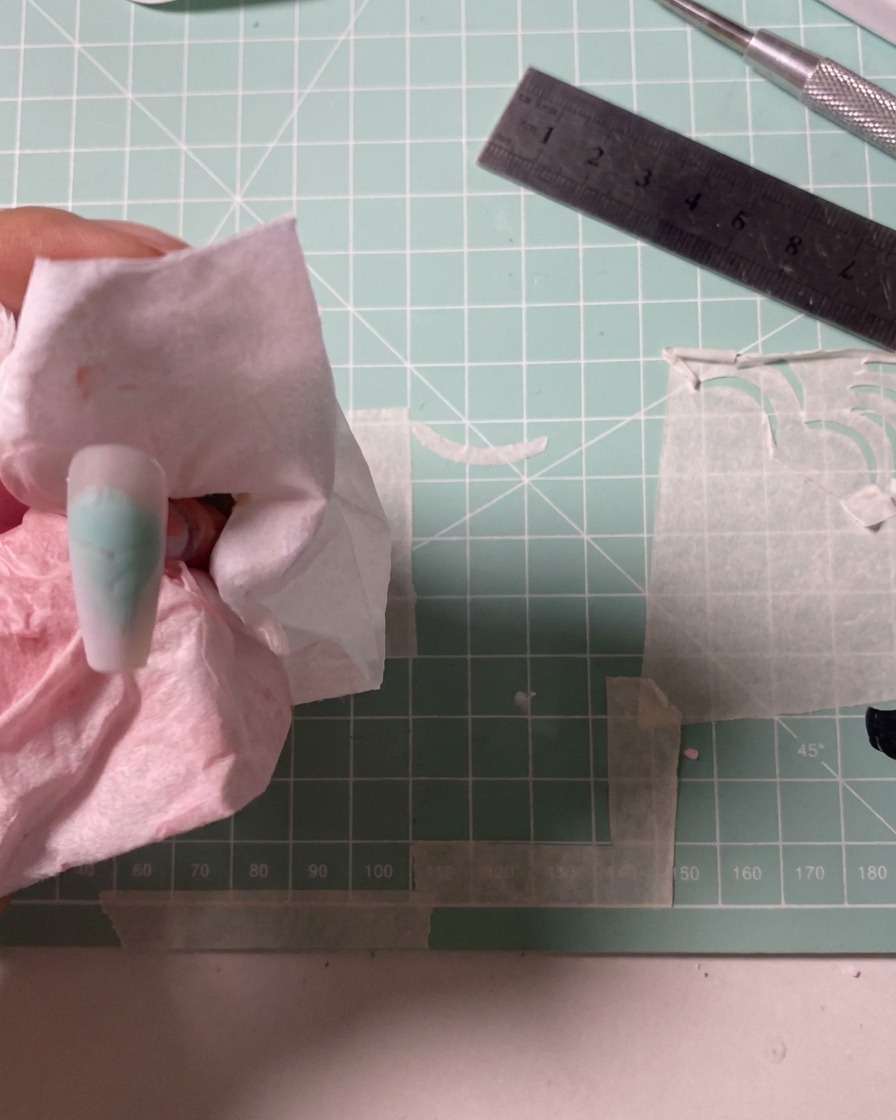
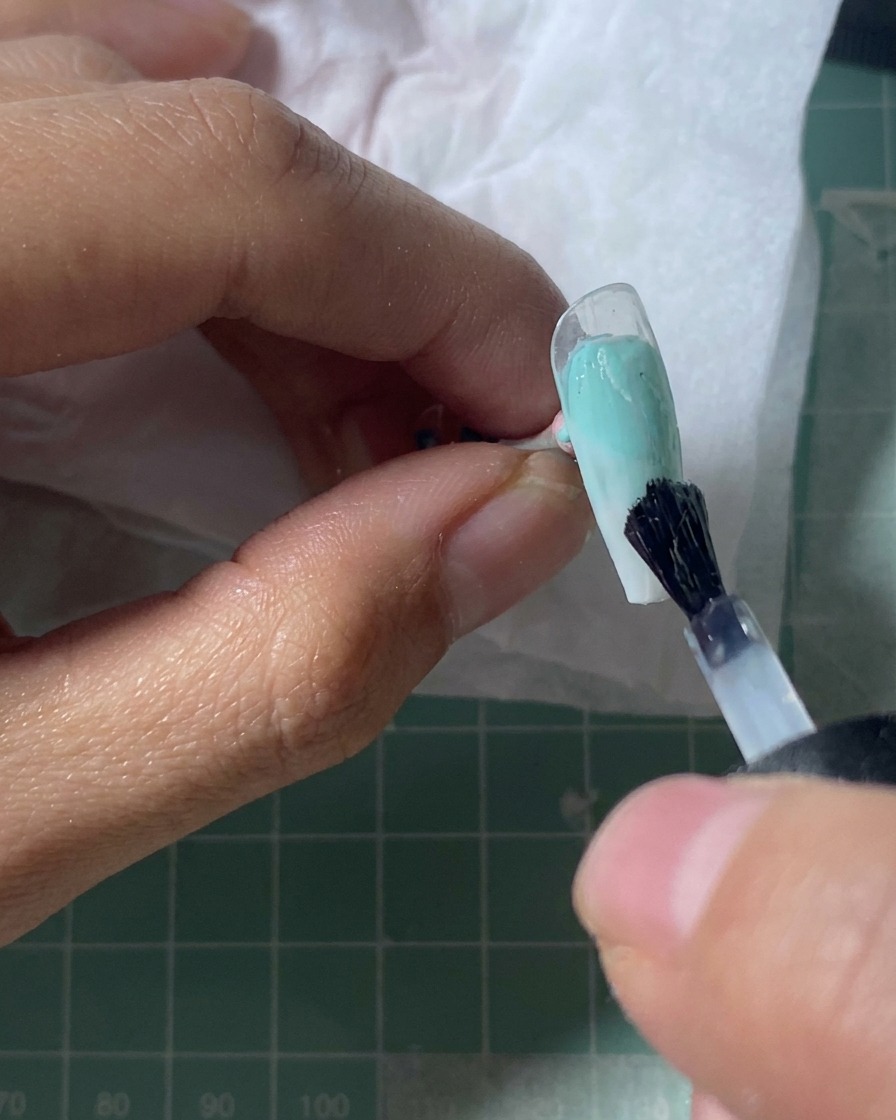
Switch to your dusty rose pigment. Using very low pressure, lightly mist the color over the transition zone to create a soft, diffused micro-gradient that adds depth and blends the two colors seamlessly.
Tip: Use a very low pressure setting to achieve a soft, diffused gradient effect. - 13Apply top coat
Apply a final layer of high-gloss top coat gel over the entire surface of the nail, ensuring you cap the free edge for maximum durability. Use smooth, even strokes to avoid creating ridges or streaks, especially if you have applied nail art. Cure under your UV/LED lamp for the full recommended time to ensure a hard, shiny finish.
Tip: For the best finish, avoid applying too much pressure with the brush; let the gel float over the surface to self-level.