White Matte Plaster Gel Rose
3D Swirls — Step-by-Step Nail Tutorial
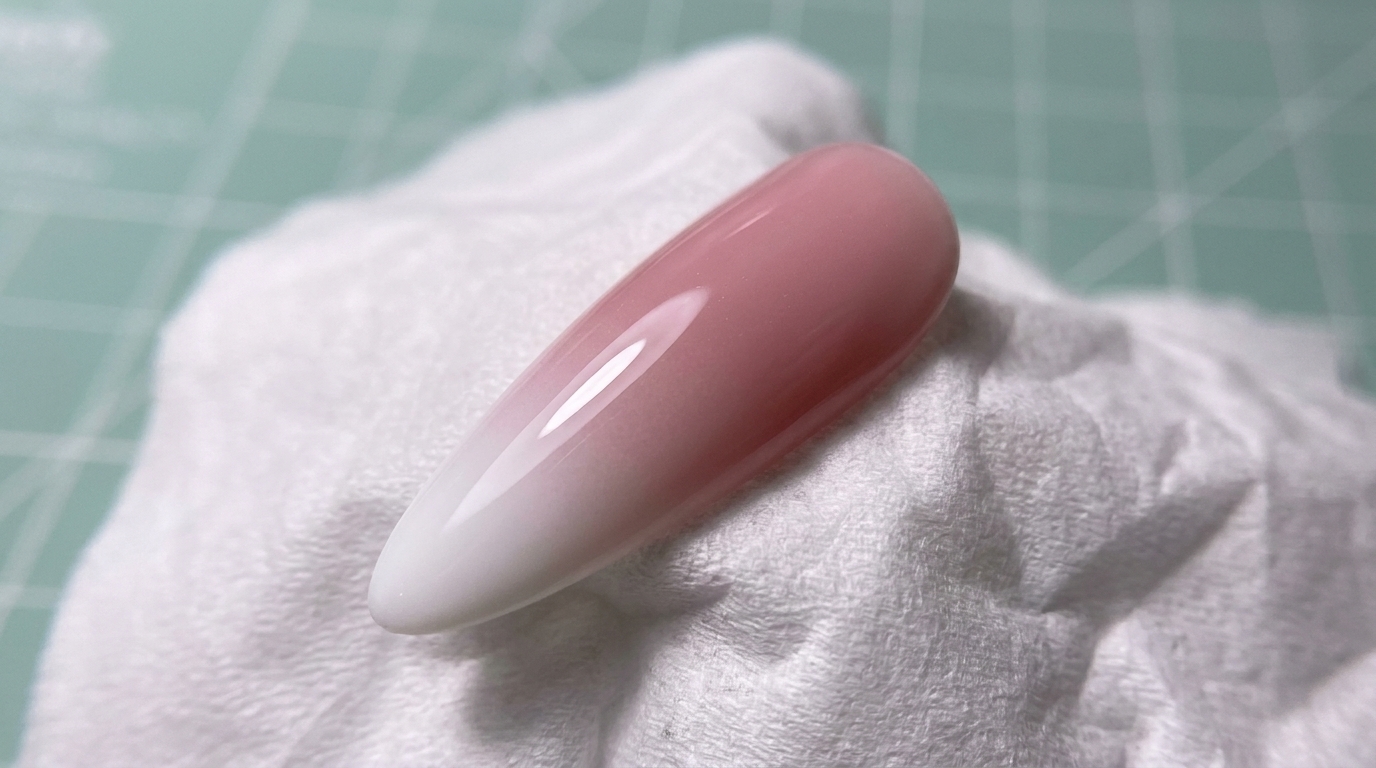
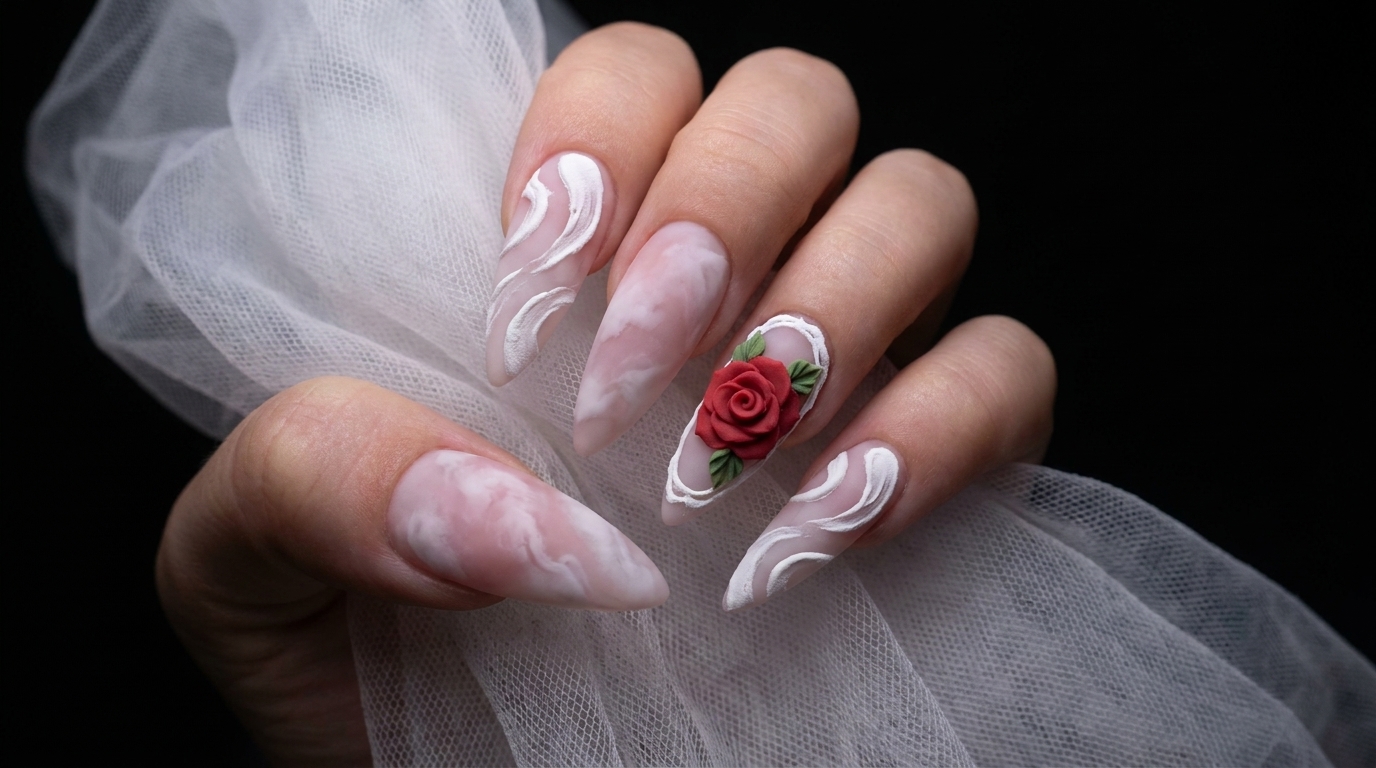
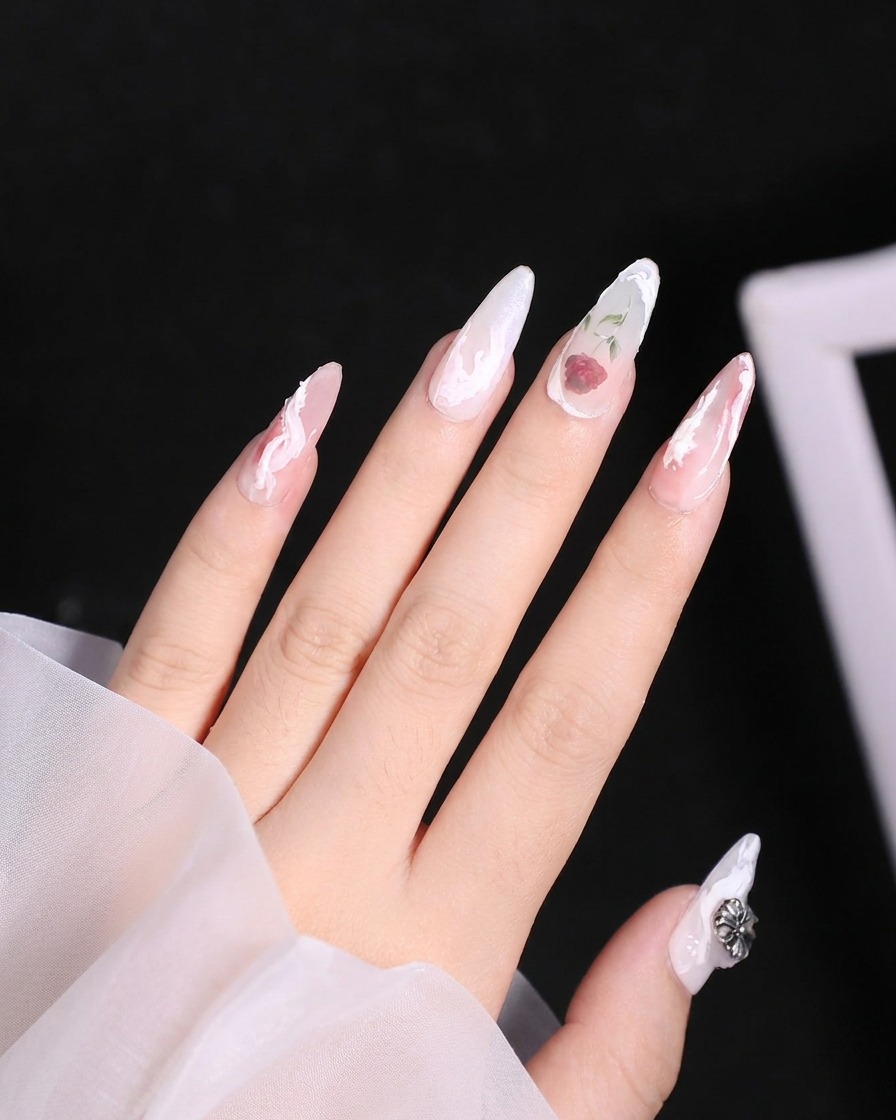
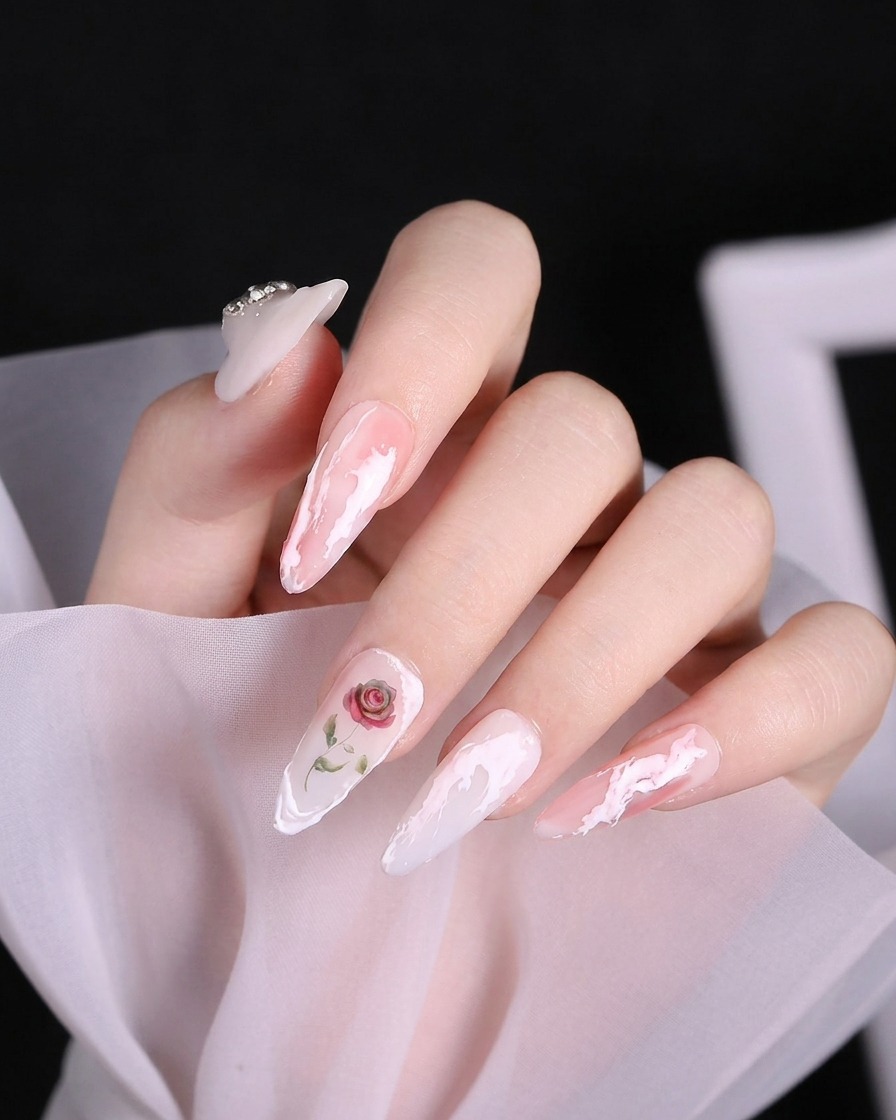
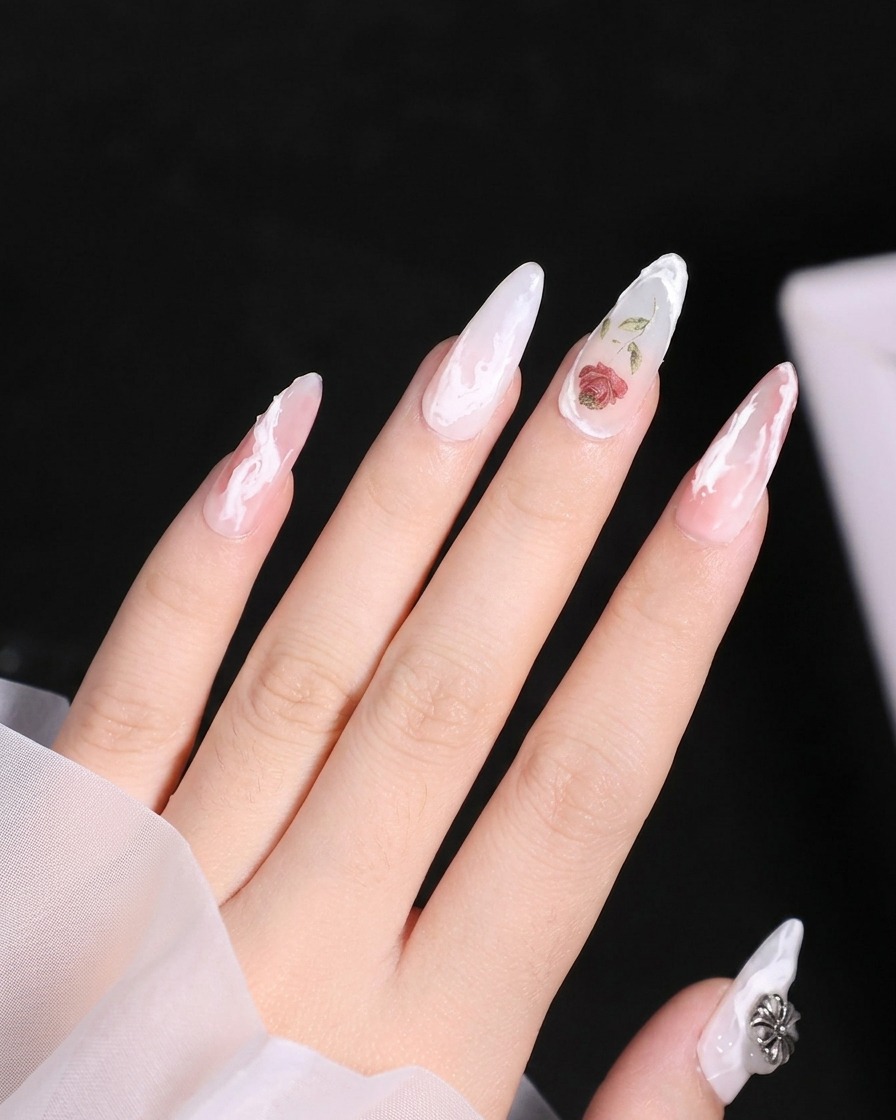
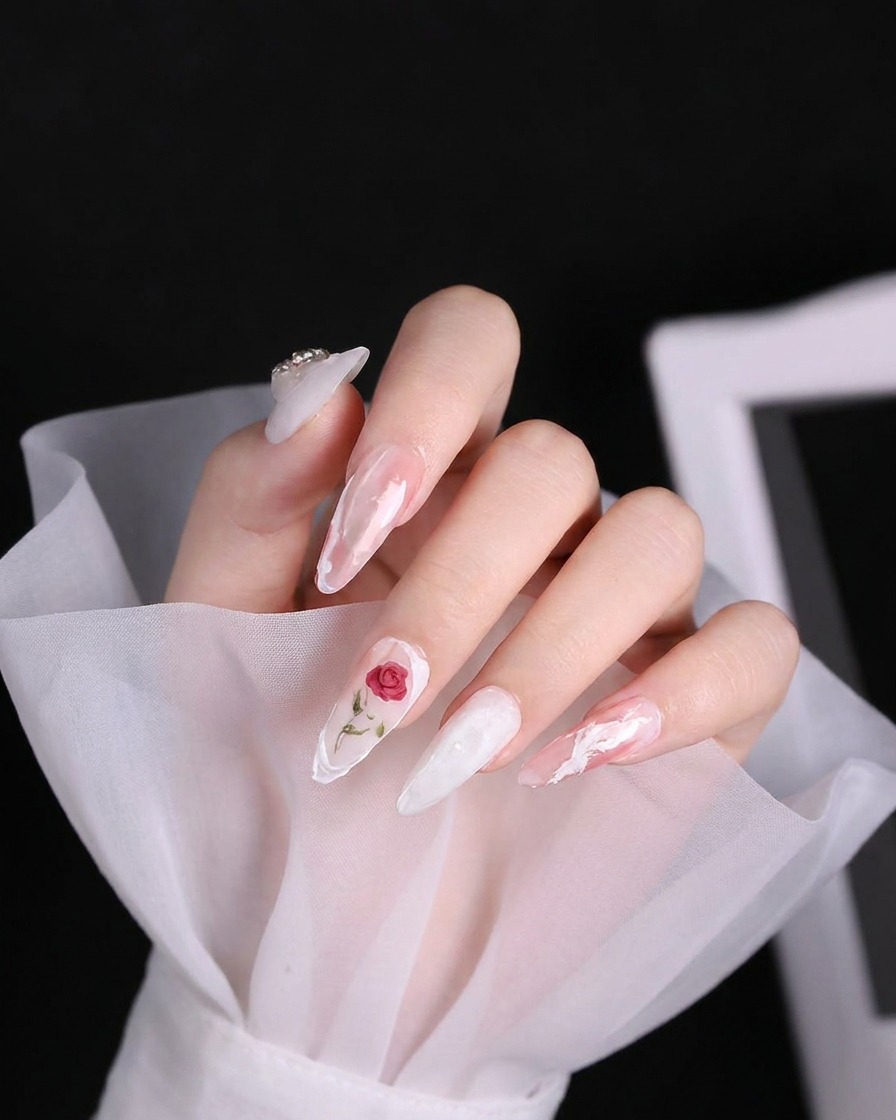
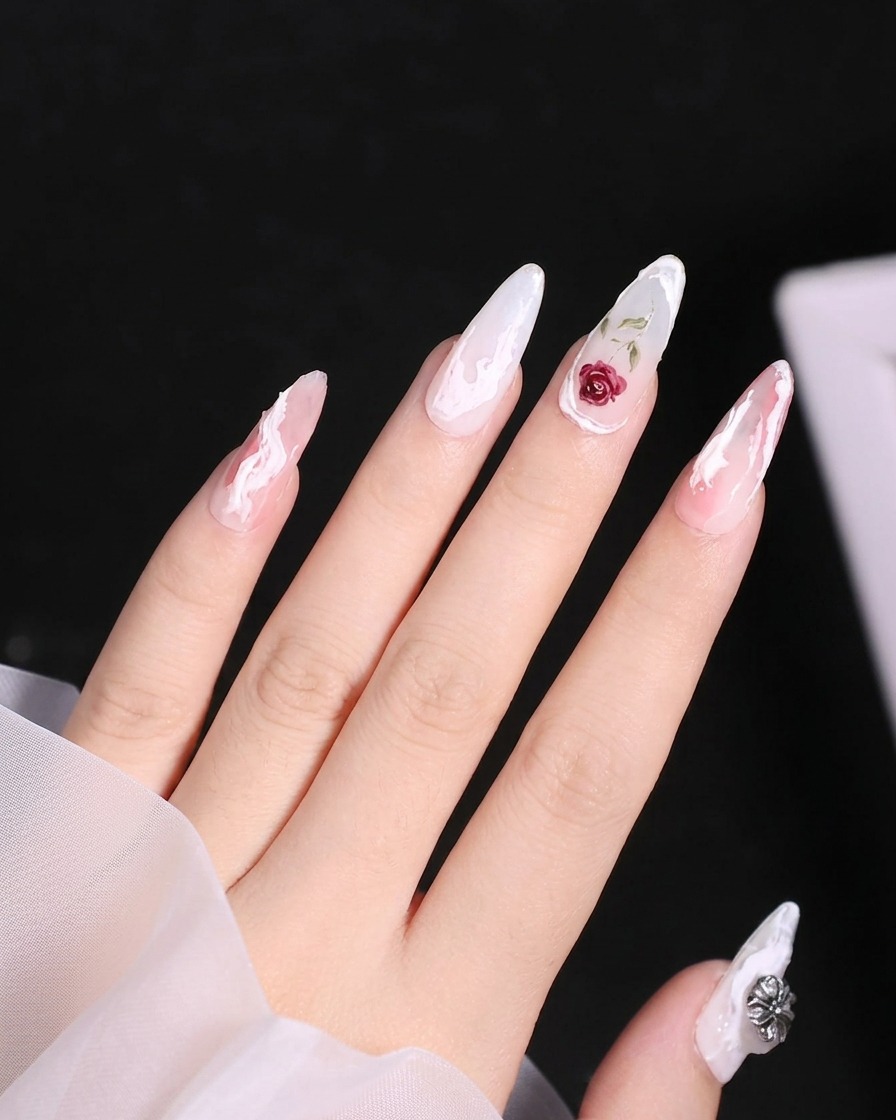
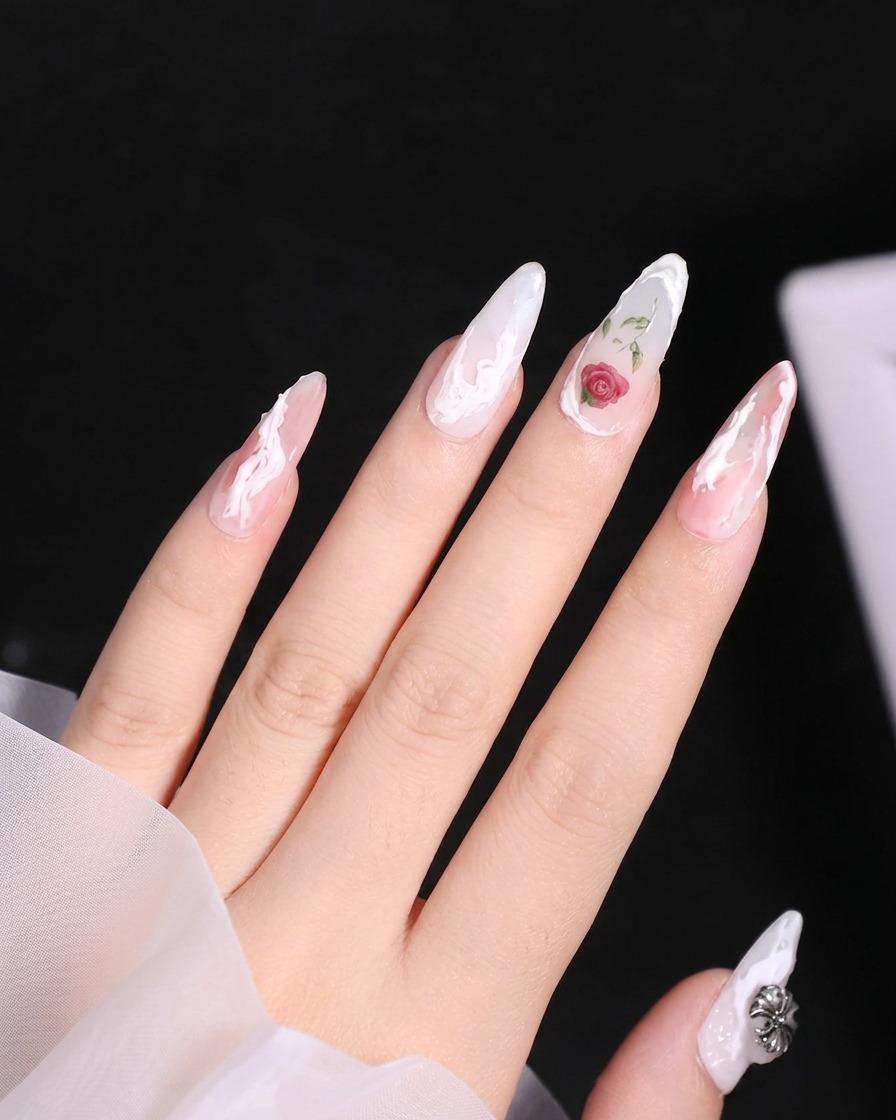
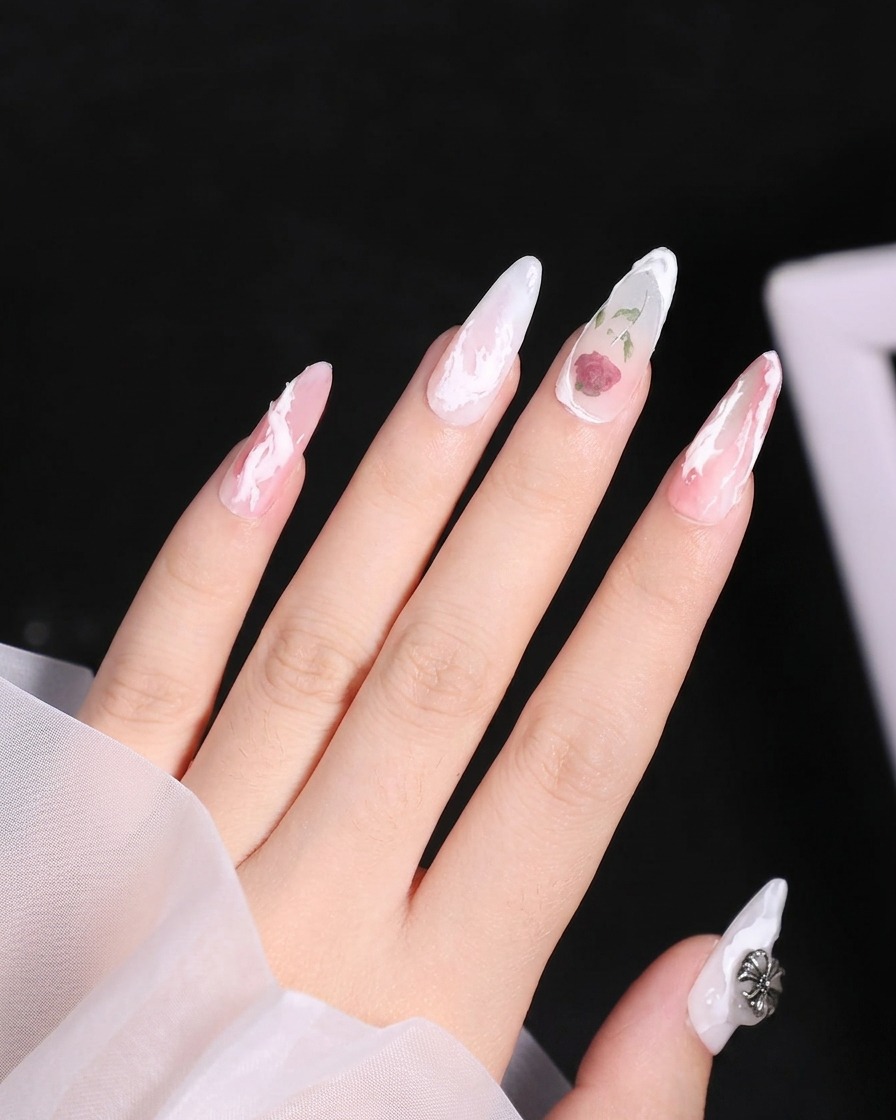
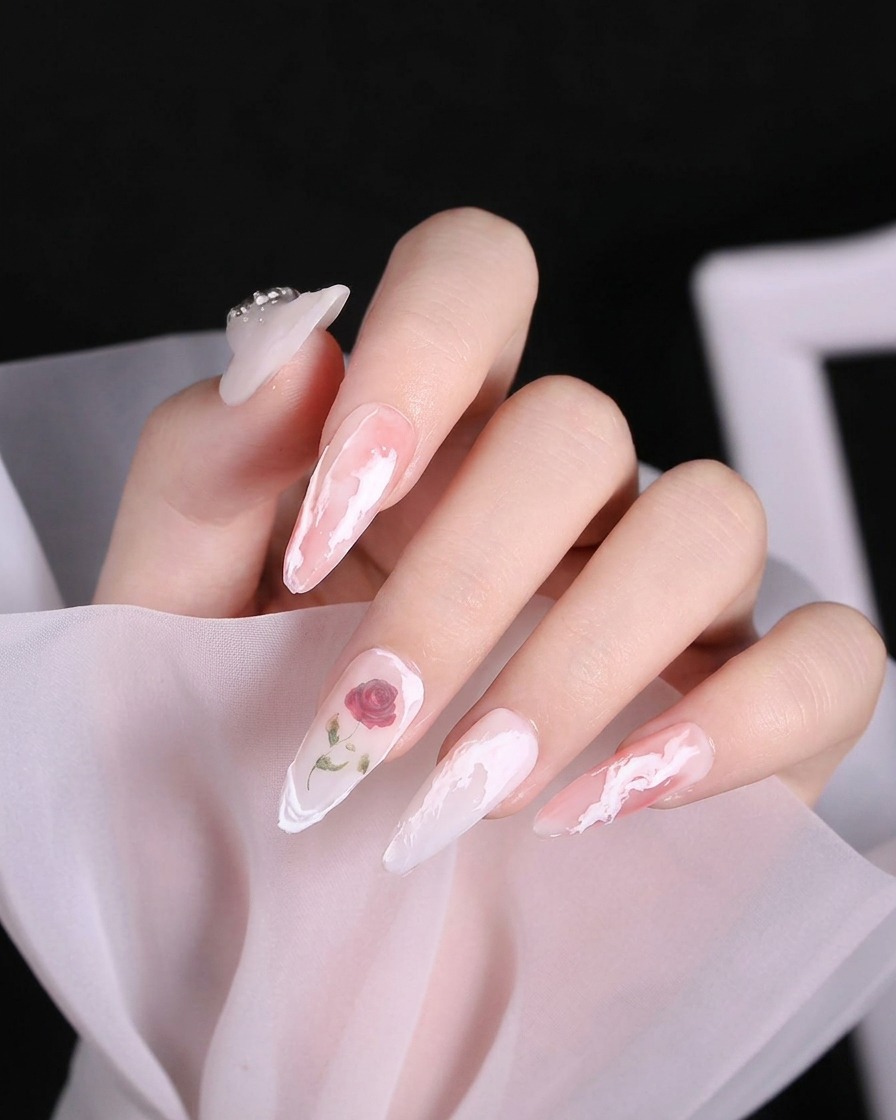
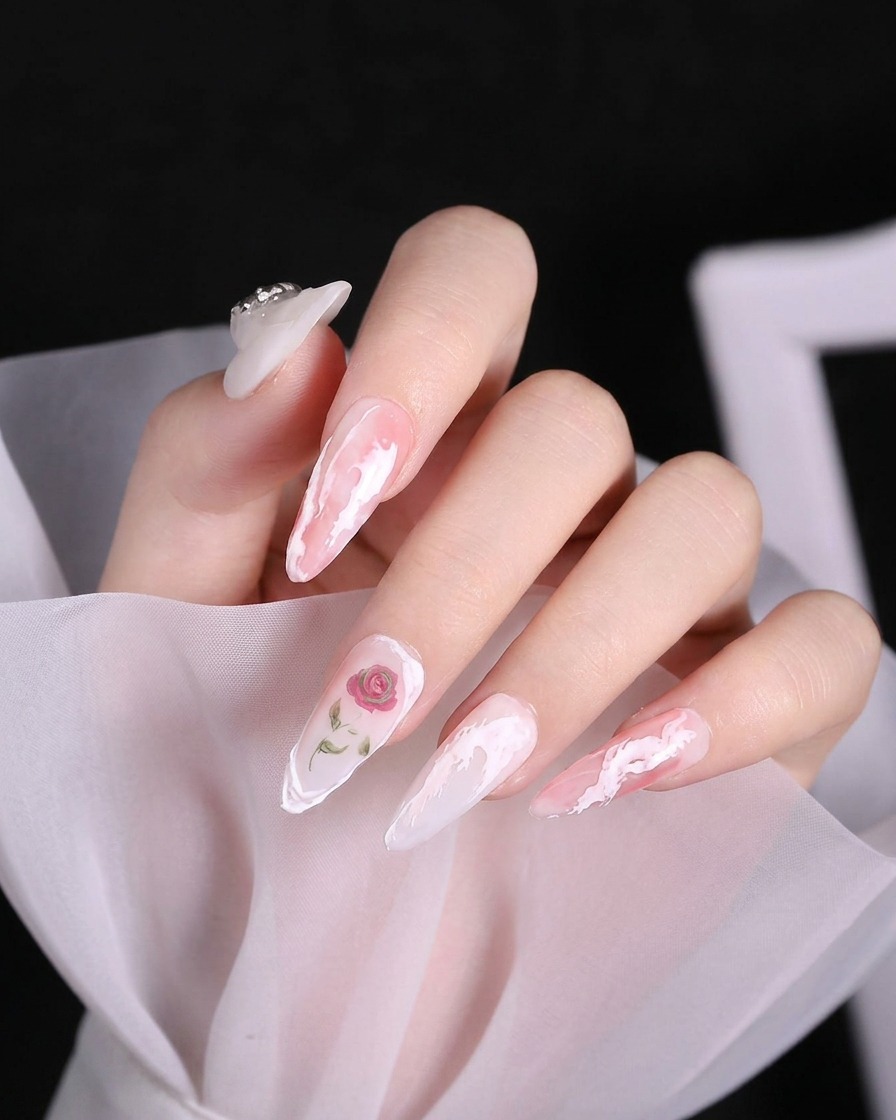
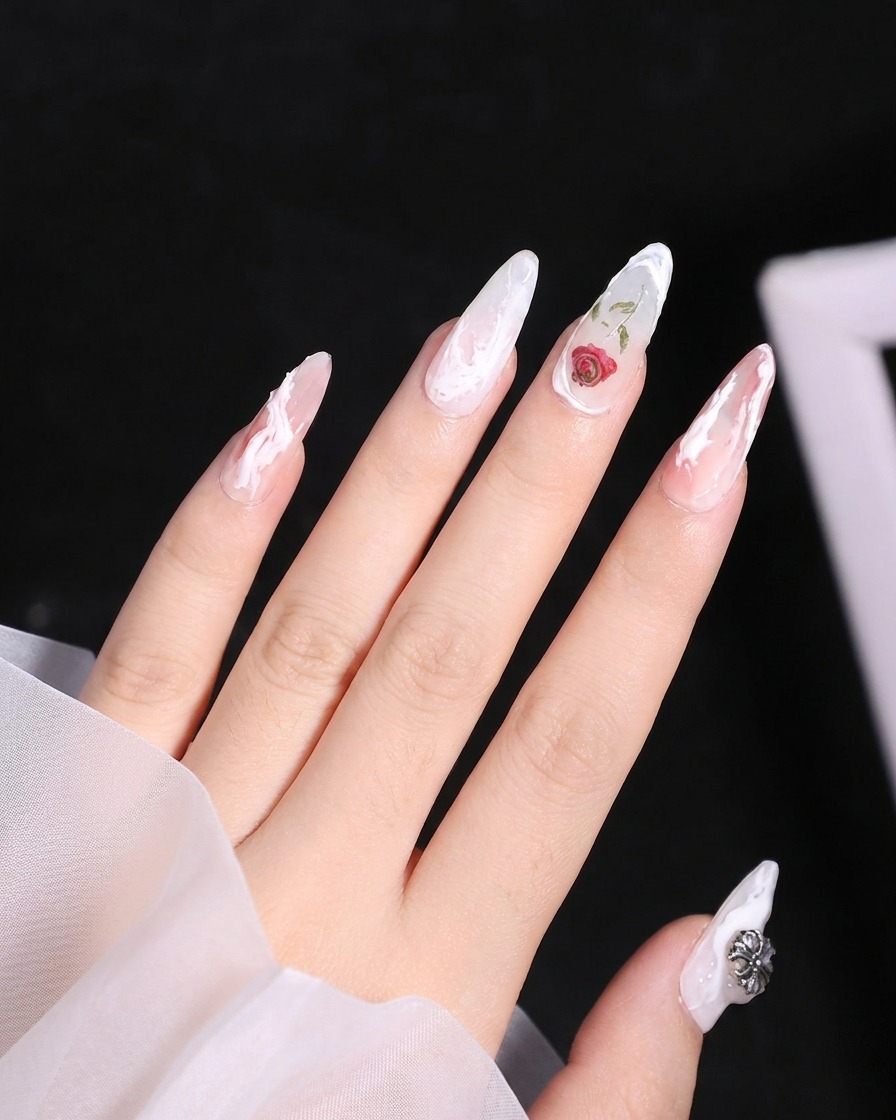
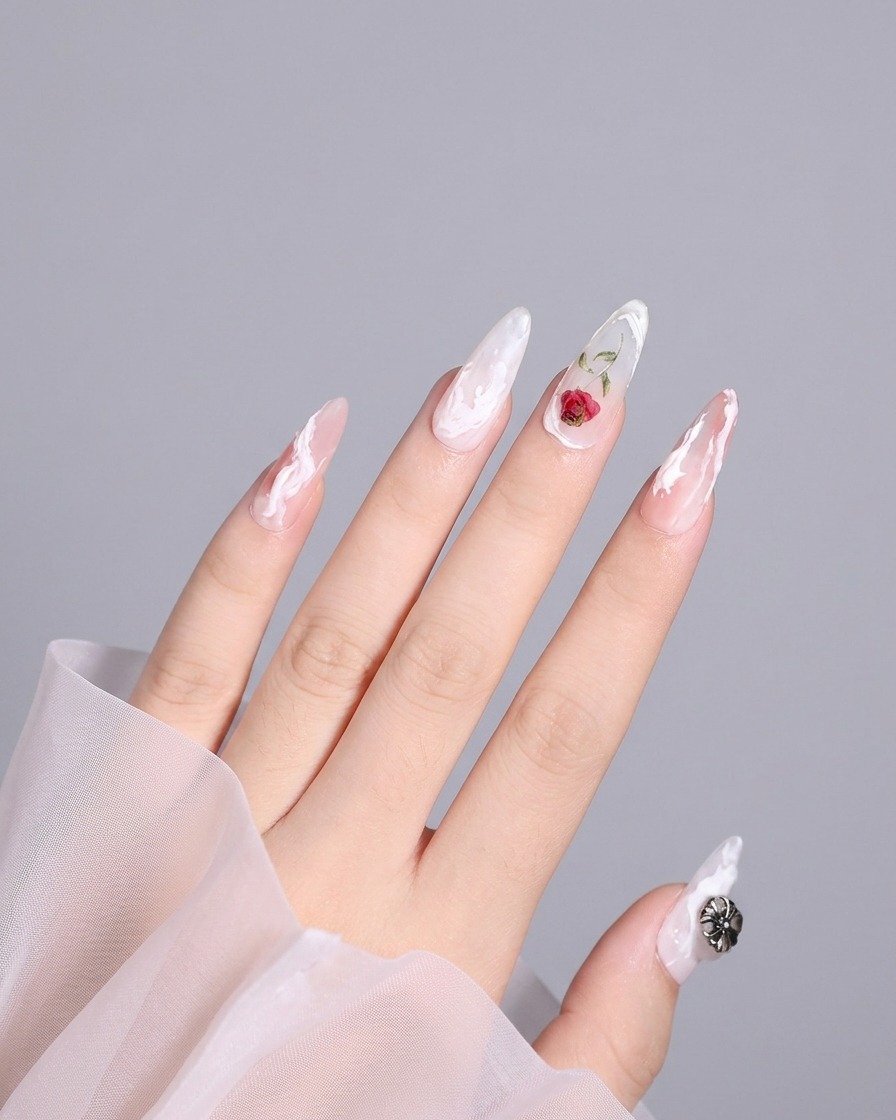
Create an elegant, dimensional manicure featuring a milky pink base, delicate 3D white plaster swirls, and a striking matte red rose centerpiece.
3D nail art brings a captivating, tactile dimension to manicures that flat polish simply cannot achieve. This tutorial pairs a soft, marbled pink and white base with bold, textured plaster gel to create elegant swirls and a striking red rose. The contrast between the sheer, delicate base and the raised, matte 3D elements makes this look a true showstopper for special occasions, weddings, or romantic aesthetics.
Steps
- 1Draw the rose outline

Using a fine liner brush and white plaster gel, carefully draw the outer top petals of the rose onto the nail. Keep your lines steady to ensure the shape of the petals is clear and well-defined before adding color.
Tip: If the gel is too thick, wipe off the excess on a lint-free wipe to keep your lines thin and precise. - 2Complete the rose petal outline

Continue using the liner brush to outline the lower outer petals of the rose with white plaster gel. Ensure the petals look balanced and flow naturally from the top section you previously drew.
Tip: Work in small sections to maintain control over the brush and ensure consistent line thickness. - 3Detail the rose center
With a fine liner brush, gently draw the tight, delicate spiral details in the center of the rose. This adds the necessary depth and realistic structure to the flower design.
Tip: Use a light touch to keep the spiral lines thin and close together for a more intricate appearance. - 4Tint the upper rose petals
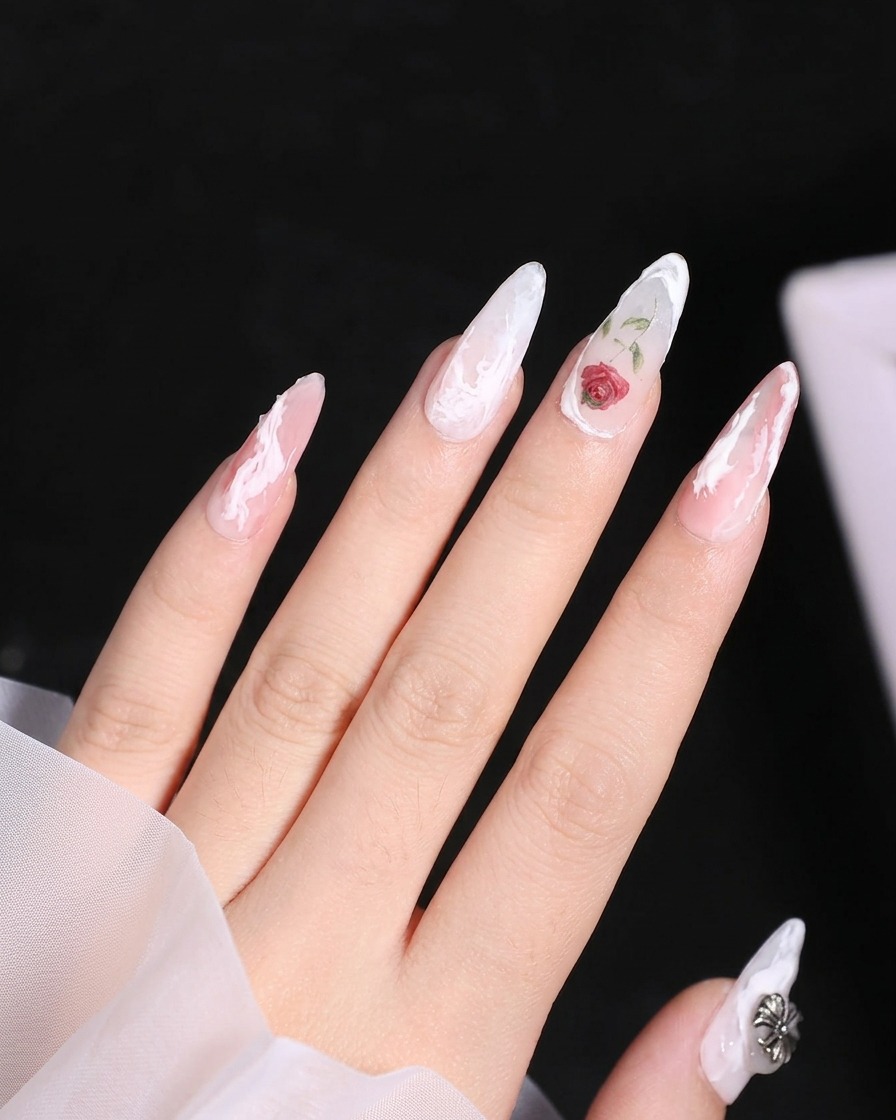
Using a small detail brush, fill in the upper petals of your white rose outline with a sheer red gel tint. Use a light hand to apply the color, building it up gradually for a soft, transparent effect.
Tip: Sheer tints are best applied in thin layers to avoid streaking and to allow the underlying white outline to remain visible. - 5Deepen the rose center
Apply a slightly more saturated or deeper red tint to the center of the rose. Focus this pigment in the tight spiral area to create a beautiful gradient and a sense of three-dimensional depth.
Tip: Focus the darker pigment toward the very center and blend it outward toward the lighter petals. - 6Blend and finish the rose
Carefully blend the red tint throughout the remaining lower petals, ensuring a smooth transition of color. Soften any harsh edges with your brush to achieve a delicate, watercolor-like finish for the rose.
Tip: Clean your brush on a lint-free wipe if you need to remove excess pigment and blend the edges more effectively. - 7Paint the leaf base
Using a thin detail brush, pick up a small amount of green gel polish. Gently paint the base shape of a leaf extending from the left side of your rose nail art. Keep the lines clean and the shape balanced to provide a foundation for shading.
Tip: Keep your brush strokes light to maintain control over the leaf shape. - 8Add the second leaf
Continue using your detail brush and green gel polish to create a second leaf on the right side of the rose. Aim for a symmetrical shape that complements the first leaf and frames the rose design nicely.
Tip: Ensure the leaves are positioned so they dont crowd the central rose design. - 9Shade the left leaf
Using a darker green shade, carefully add depth to the center of the left leaf. Draw a thin line down the middle to represent the central vein and lightly blend the edges outward to create a realistic look.
Tip: Use very little product for shading to keep the vein delicate and defined. - 10Shade the right leaf
Repeat the shading process on the right leaf. Apply the darker green polish along the center and blend it softly toward the edges to match the depth and texture of the first leaf.
Tip: Consistent blending techniques on both leaves will ensure a professional, uniform look. - 11Sculpt the initial 3D swirl

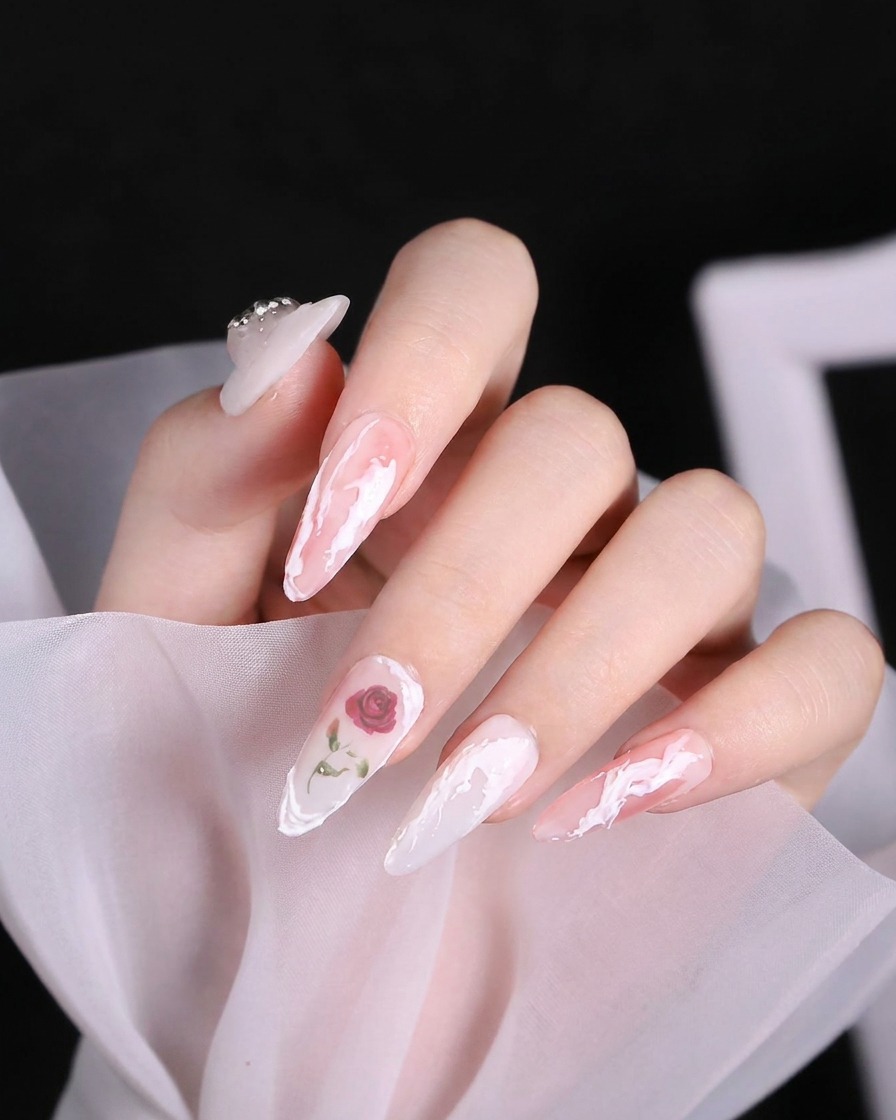
Pick up a thick bead of white plaster gel. Using a liner brush, begin a swirl pattern starting at the cuticle area of the middle finger, laying down enough volume to create a distinct, raised 3D effect without letting it flatten.
Tip: Build the 3D effect slowly to ensure the product holds its shape without running. - 12Extend the swirl
Continue pulling the 3D white gel swirl down the side of the nail. Carefully guide the design to wrap around the painted rose, ensuring the texture remains consistent throughout the length of the swirl.
Tip: Work in small sections to keep the 3D texture uniform as you navigate around the existing nail art. - 13Draw 3D white line on index finger
Using a fine liner brush and 3D plaster gel, carefully draw a textured, raised white line down the right side of the index finger nail bed. Maintain a steady hand to ensure the line has consistent thickness and dimension.
Tip: Keep the line slightly raised; 3D gel is thicker than standard polish and needs to hold its shape without leveling out. - 14Apply wavy 3D line
Continue the design on the index finger by drawing a wavy, raised white line down the left side of the nail bed, mirroring or complementing the first line. Ensure the 3D gel remains raised and textured.
Tip: If the gel starts to self-level, cure it for a few seconds in your lamp to freeze the 3D shape before continuing. - 15Add final 3D line to free edge
Finish the index finger art by drawing a final swooping 3D white line across the free edge of the nail. This should connect or frame the previous lines, adding depth and detail to the overall design.
Tip: Focus on creating a graceful, continuous stroke for the swooping motion to keep the design looking professional. - 16Create 3D design on ring finger
Transition to the ring finger. Using the 3D plaster gel, apply a thick, curved white line near the cuticle area. Ensure the placement is precise and the gel is textured for the 3D effect.
Tip: Be careful not to flood the cuticle; keep the start of the line slightly away from the skin for a clean look. - 17Intersecting 3D lines
Draw a second 3D white plaster line near the tip of the ring finger, allowing it to intersect with the previous design elements. This adds complexity and dimension to the ring finger nail art.
Tip: You can use a clean, dry brush to gently manipulate the intersection point before curing to get a seamless blend. - 18Add 3D detail to pinky finger
Complete the detailing by moving to the pinky finger. Draw a delicate, raised 3D white curve at the base of the nail. This small touch ties the overall nail art design together.
Tip: Use your smallest detail brush for the pinky to ensure the curve remains delicate and doesnt overwhelm the small nail bed. - 19Apply 3D white line to pinky

Carefully draw a diagonal 3D white line across the tip of the pinky finger. Ensure the line is raised and precise to maintain the desired aesthetic. This addition creates texture and depth on the nail surface.
Tip: Apply the gel with a thin liner brush for better control over the 3D lines thickness. - 20Apply 3D white line to thumb
Move to the thumb nail and draw a large, sweeping 3D white line along the left edge. This sweeping motion adds a dynamic element to the overall nail design.
Tip: Work in one smooth, continuous motion to ensure the line remains fluid and uniform. - 21Add overlapping 3D curve
Apply a second 3D white curve on the thumb nail, allowing it to overlap slightly with the first line. This layering technique enhances the textured 3D effect of the nail art.
Tip: Wait a few seconds for the first line to settle before adding the second one to keep the overlap clean. - 22Complete thumb nail design
Finish the 3D design on the thumb nail by adding a textured white swirl near the free edge. This final detail brings the entire 3D artwork together.
Tip: Use a light touch when creating the swirl to maintain a delicate, textured appearance. - 23Seal the negative space
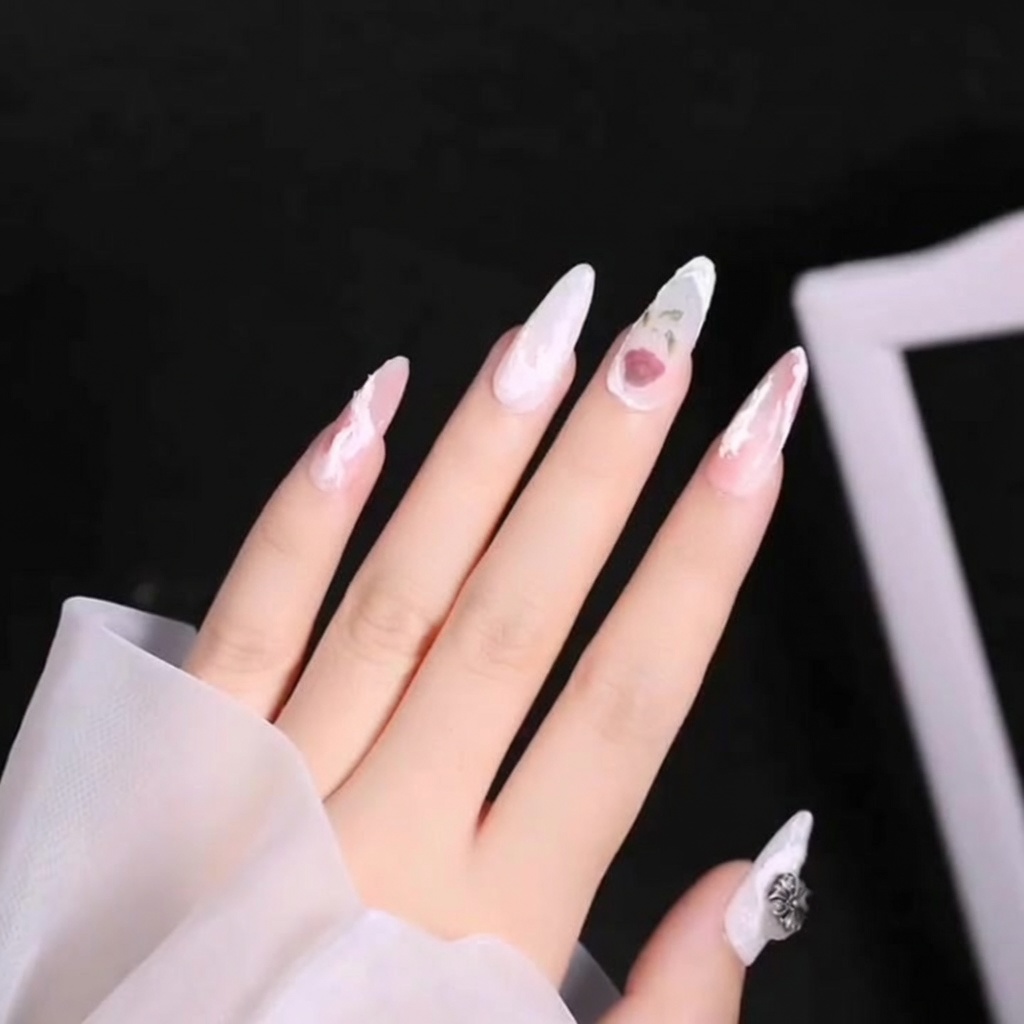
Apply a thin layer of matte top coat over the base of the index finger. This step seals the negative space and provides a smooth, non-shiny finish to that area of the nail.
Tip: Use light strokes and ensure even coverage without pooling at the cuticles. - 24Finish matte top coat application

Carefully brush the matte top coat over the remainder of the index finger. Be mindful to avoid painting over the 3D textures to preserve their distinct finish.
Tip: Use a small, clean brush to navigate around any raised 3D elements for precision.