Matte Mauve Minimalist Charm Nails — Elegant Step-by-Step Tutorial
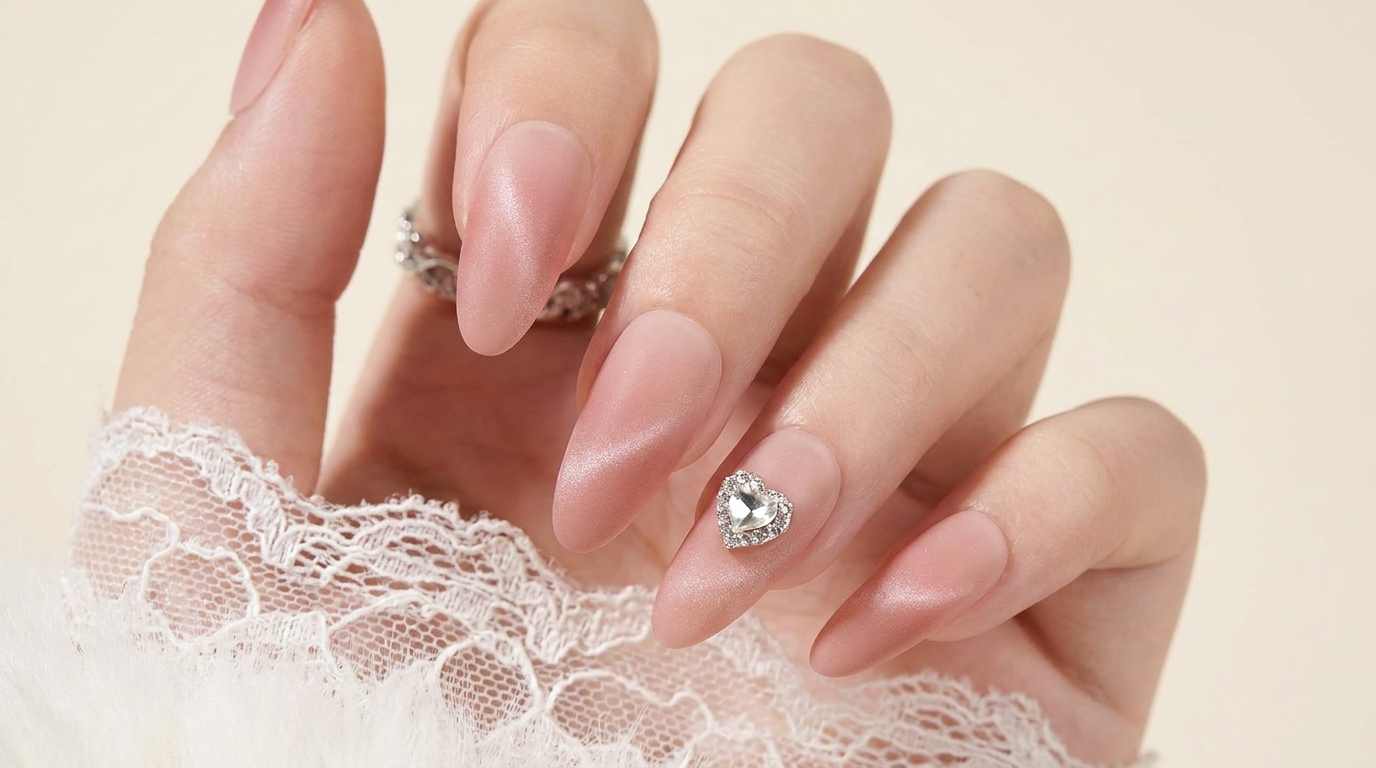
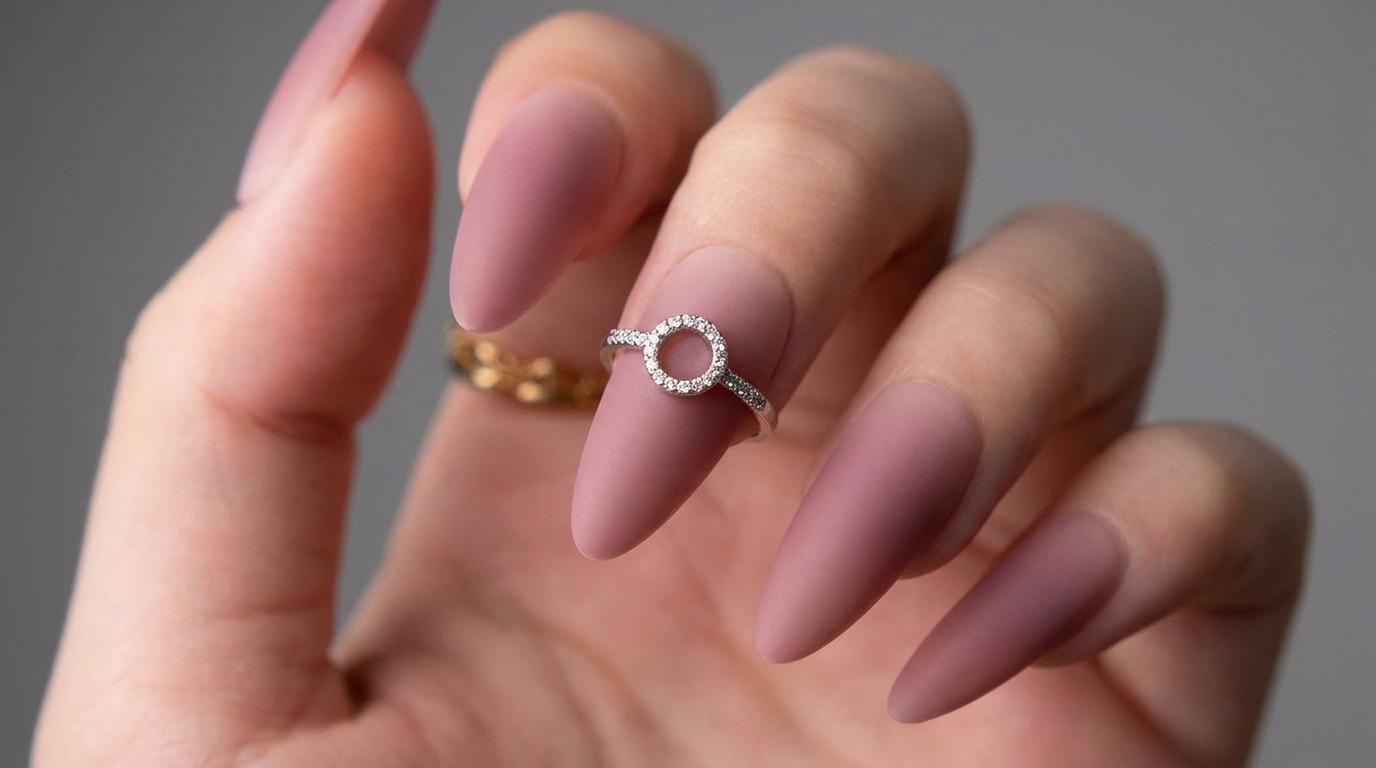
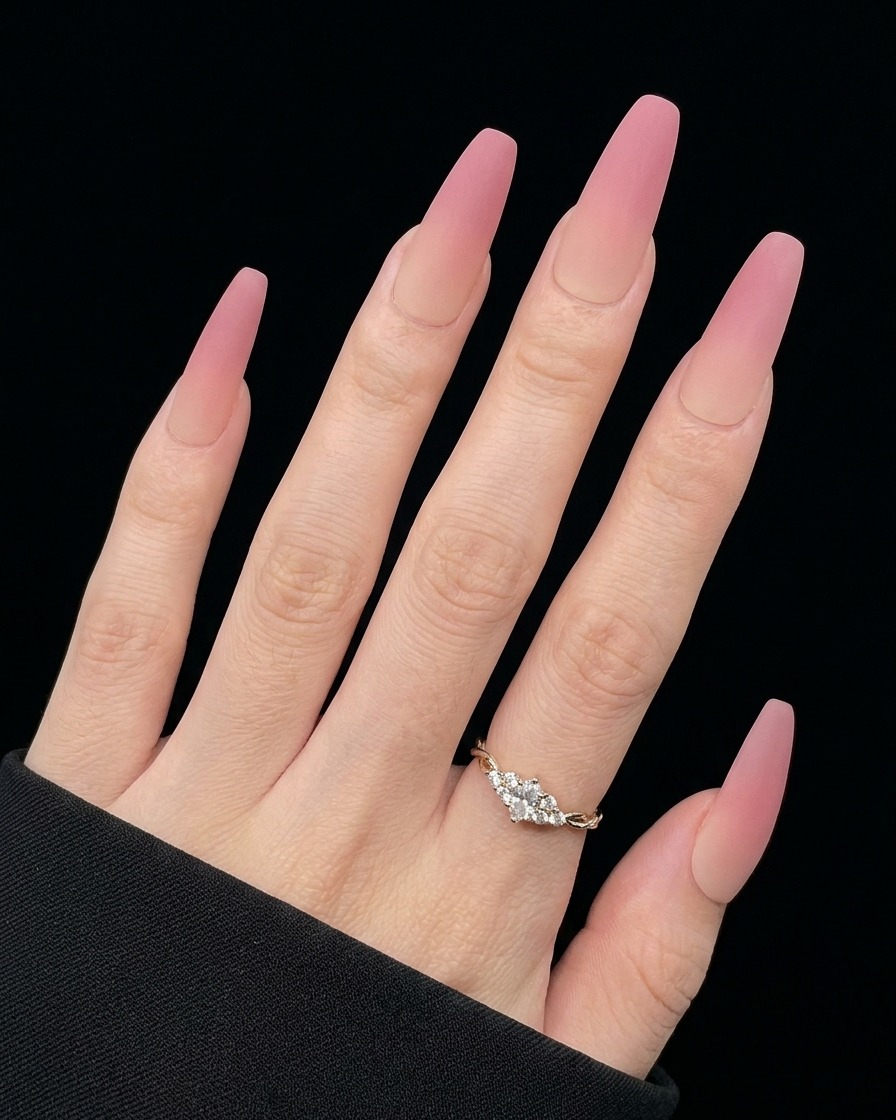
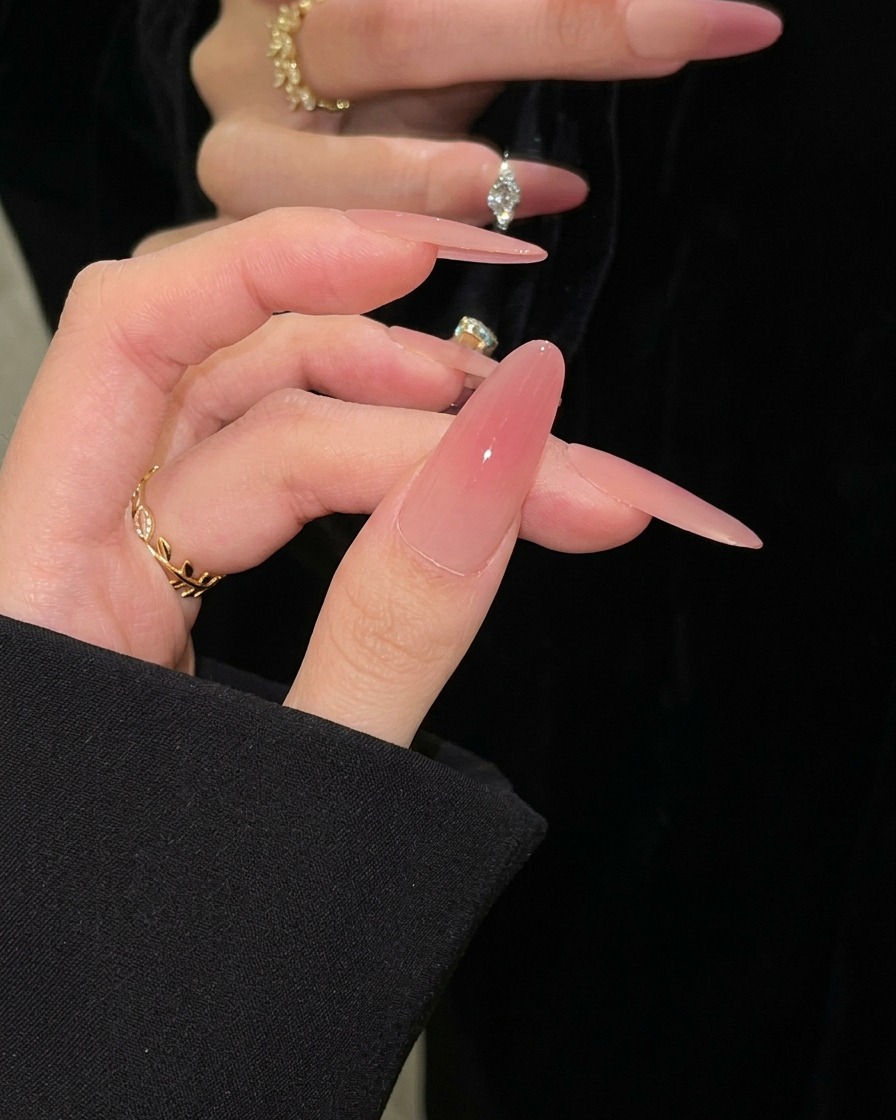
Elevate your look with sophisticated matte mauve gel nails featuring a delicate silver ring charm for a subtle, refined touch of luxury.
The matte mauve aesthetic combines warmth and sophistication, making it a versatile choice for any season. By adding a small metallic ring charm, this minimalist look transforms into a unique statement piece that is surprisingly easy to achieve at home. This tutorial guides you through the process of creating a velvety, smooth finish and securing your charm for a professional, durable result.
Steps
- 1File and shape the nails
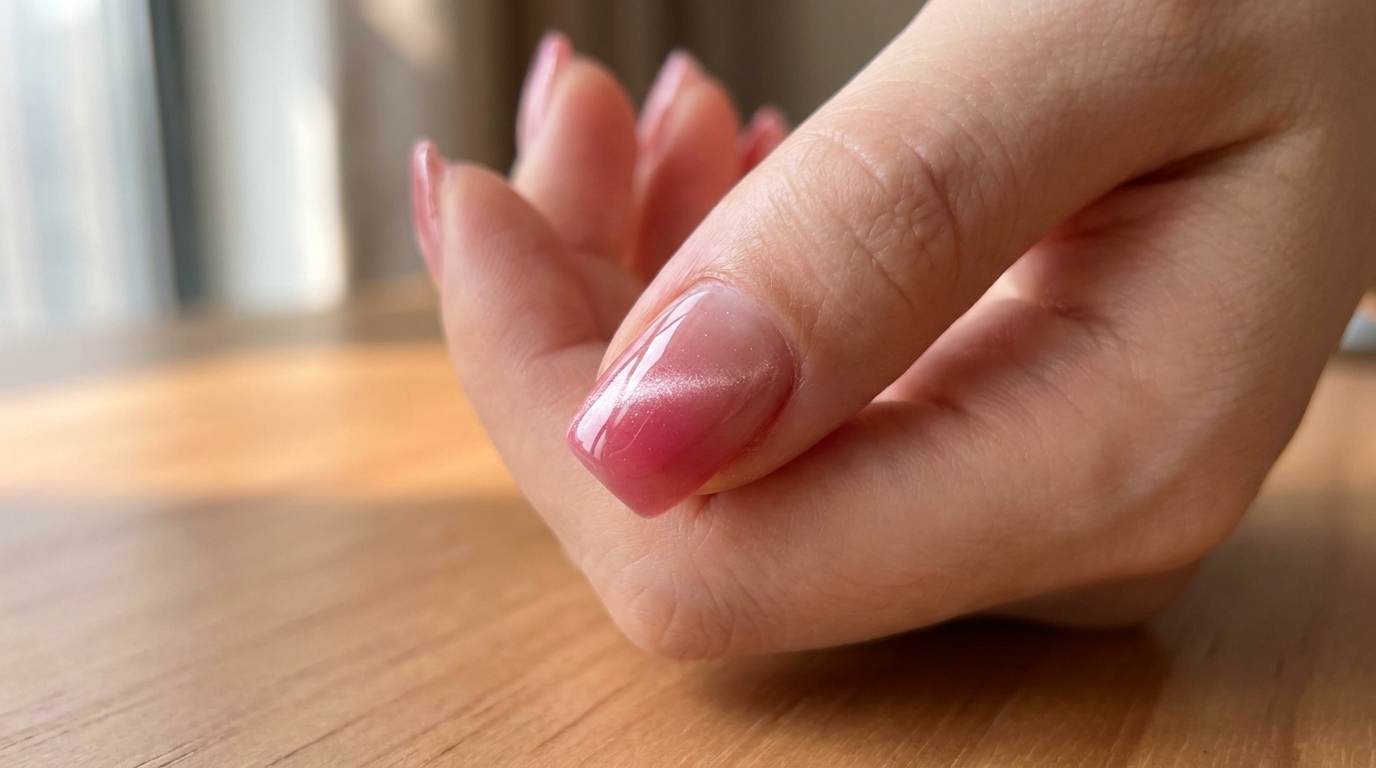
Using a nail file, gently shape the free edge of your natural nails into a soft almond form. Ensure all nails are filed to a consistent length and shape for a polished foundation before beginning the application.
Tip: File in one direction to prevent the nail tips from fraying or weakening. - 2Push back the cuticles
Using a metal cuticle pusher, carefully and gently push back the cuticles around the nail bed. This clears the nail plate of any excess skin, allowing for a cleaner, more professional application of your gel products.
Tip: Use light pressure to avoid damaging the delicate matrix of the nail. - 3Apply gel base coat
Apply a thin, uniform layer of gel base coat to the prepared nail plate. Ensure you cap the free edge of the nail to help prevent lifting. This layer creates a necessary bond between the natural nail and the gel color.
Tip: Keep the layer thin to ensure even curing and better adhesion. - 4Apply and cure second base layer
Apply a second thin layer of base coat to reinforce the foundation, then place your hand under an LED lamp to cure. Ensure the gel is fully set as per your lamps manufacturer instructions before proceeding to color.
Tip: Ensure the gel does not touch the surrounding skin before curing. - 5Apply mauve gel color

Apply the first thin coat of your mauve-toned gel polish. Start from the center of the nail, working down towards the cuticle and then out to the sides, keeping the layer smooth and even.
Tip: If any polish touches the skin, clean it immediately with a brush dipped in cleanser before curing. - 6Apply second coat of color
Apply a second coat of the mauve gel polish to build full opacity and achieve a rich, streak-free finish. Cap the free edge again for extra durability, then cure fully under your LED lamp.
Tip: Check for any uneven spots or thin areas before placing the nail into the lamp for the final color cure. - 7Apply matte top coat
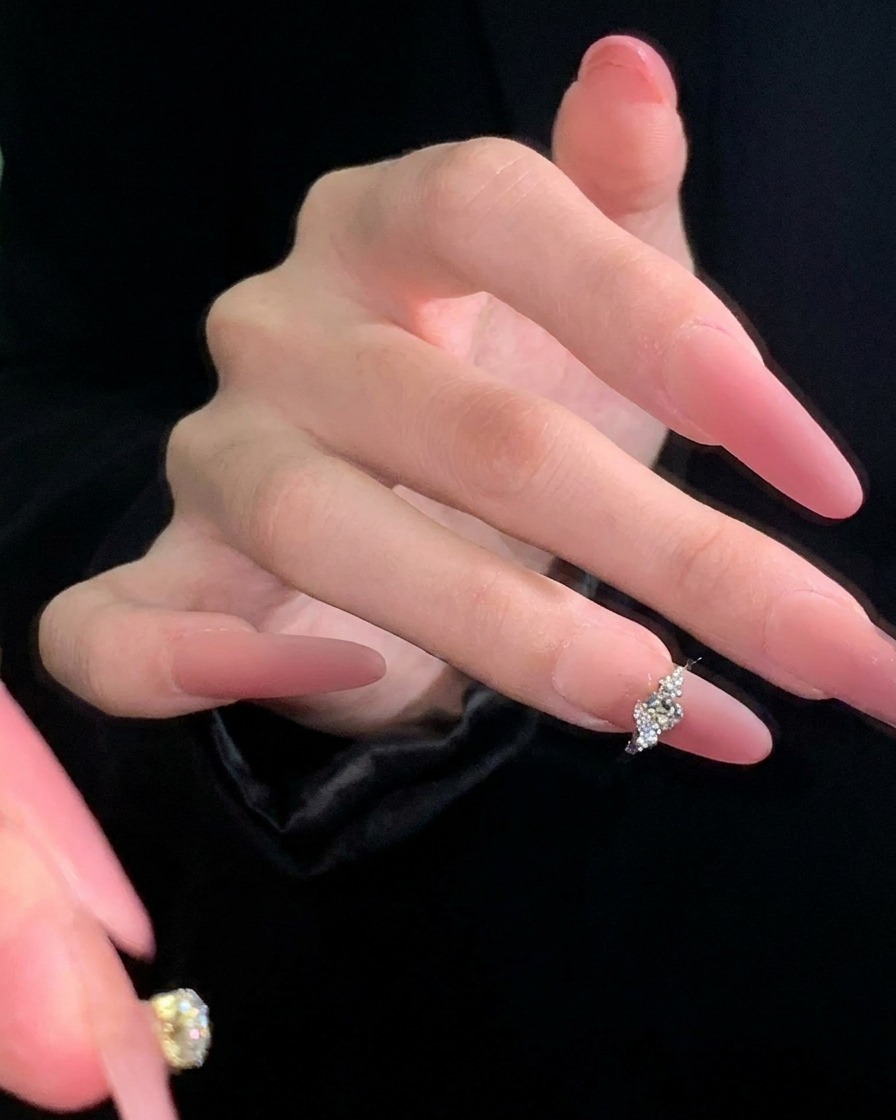
Apply a generous, even layer of matte top coat over the fully cured color gel. Ensure you cap the free edge of the nail to provide extra durability and prevent chipping. This step transforms the appearance, giving the nails a soft, sophisticated velvet-like finish.
Tip: Apply the top coat in thin, smooth strokes to avoid pooling at the cuticles, which can create uneven textures once cured. - 8Place the silver charm
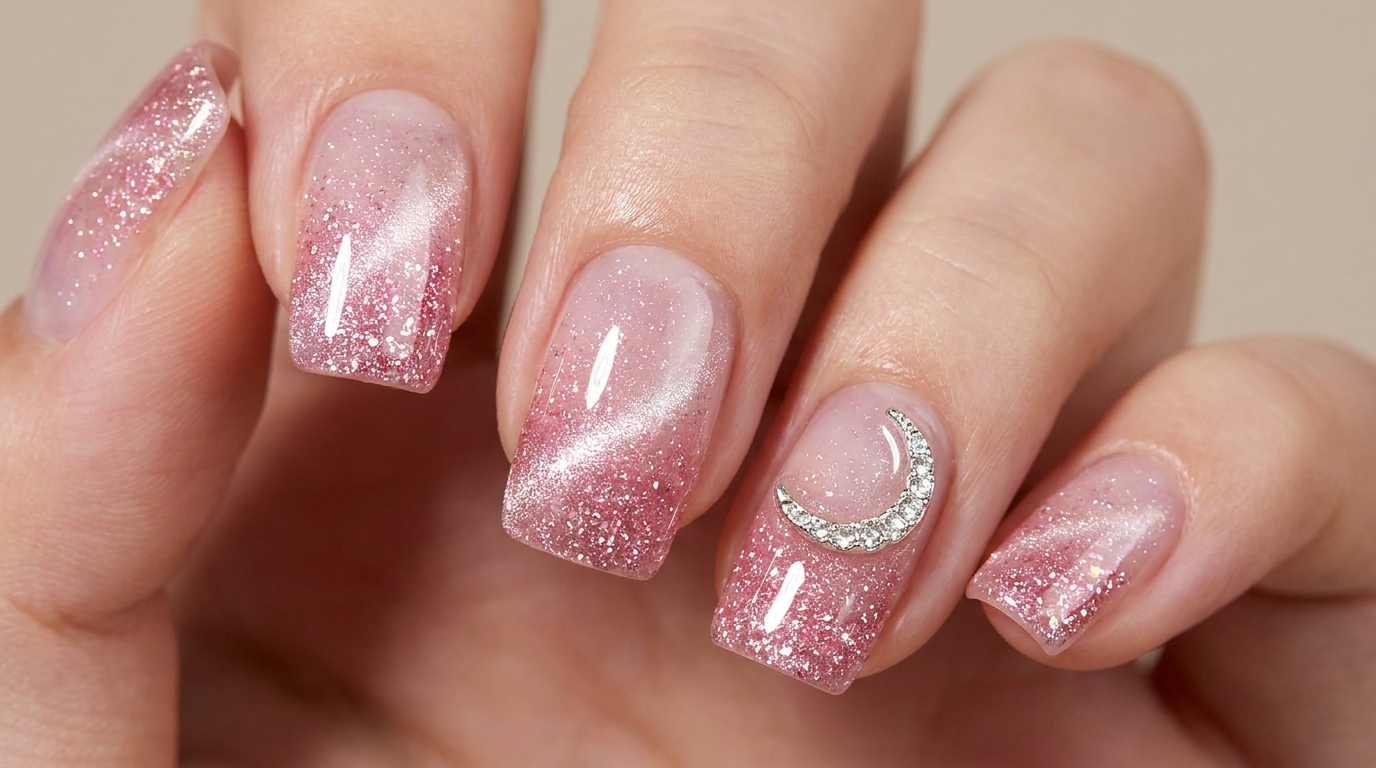
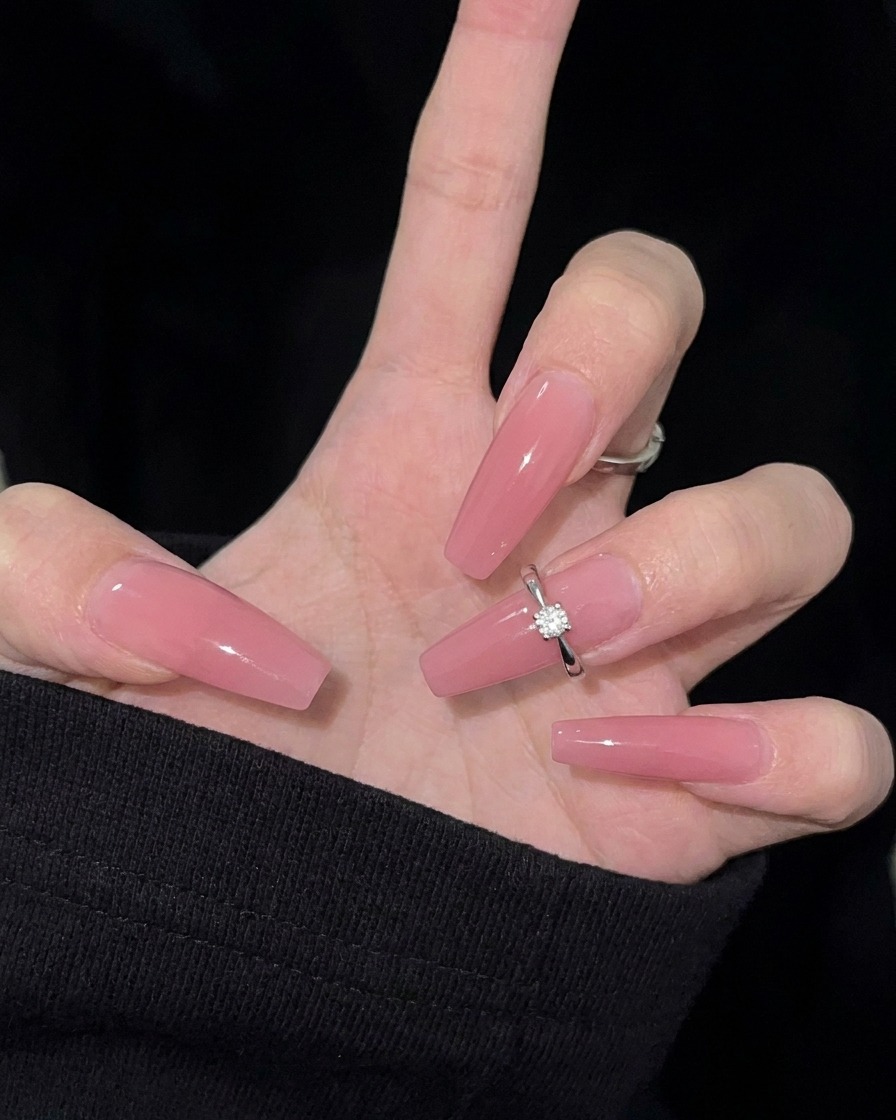
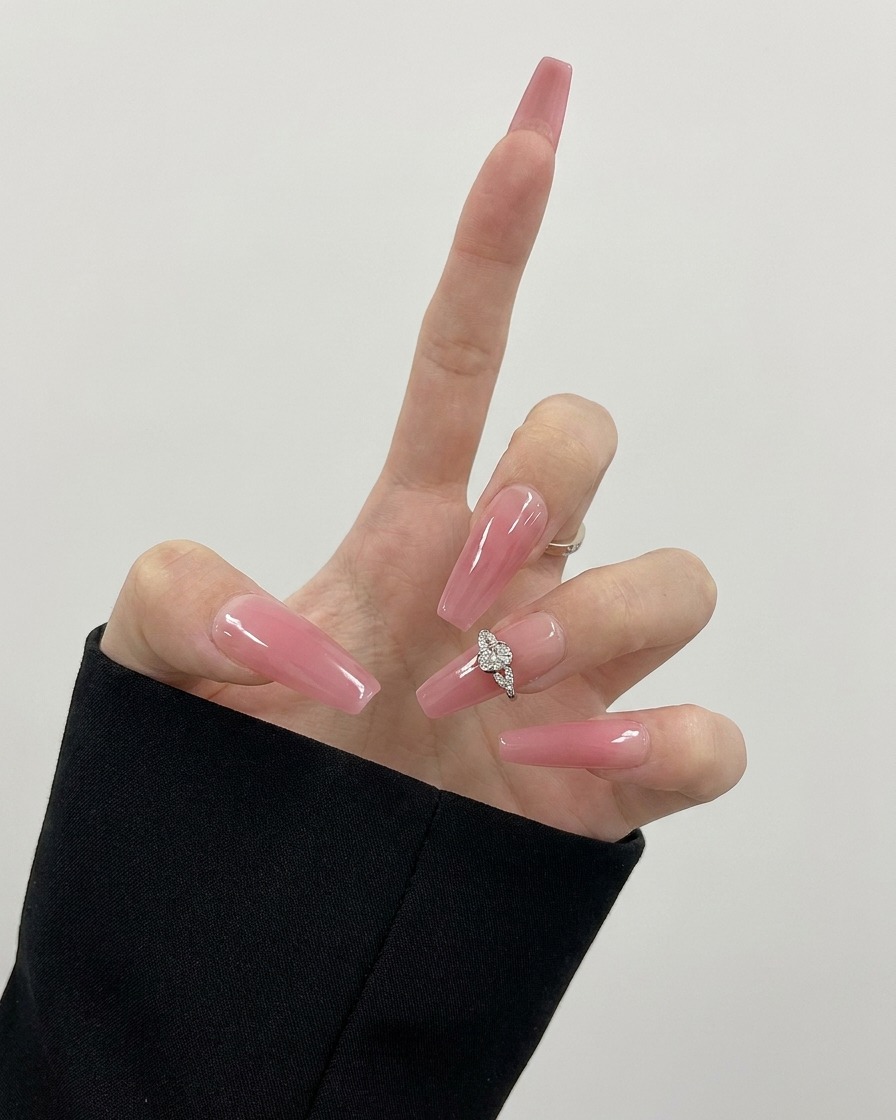
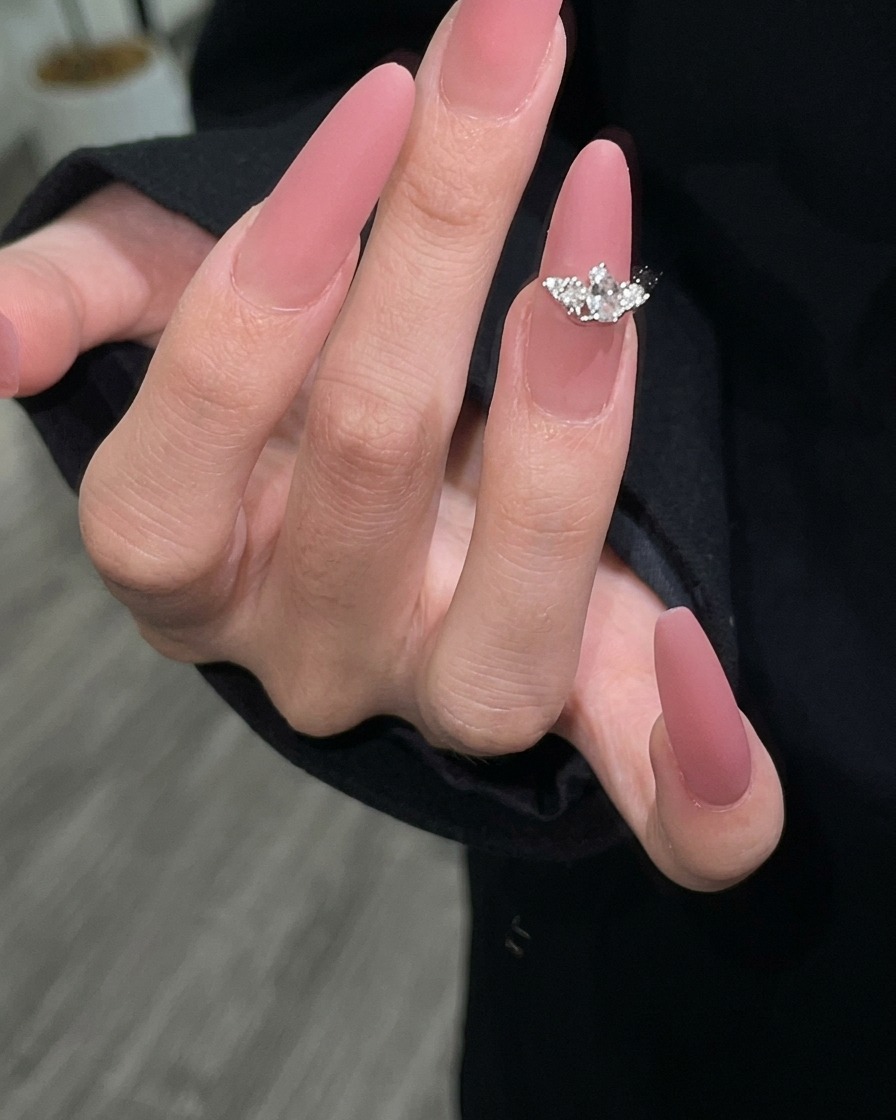
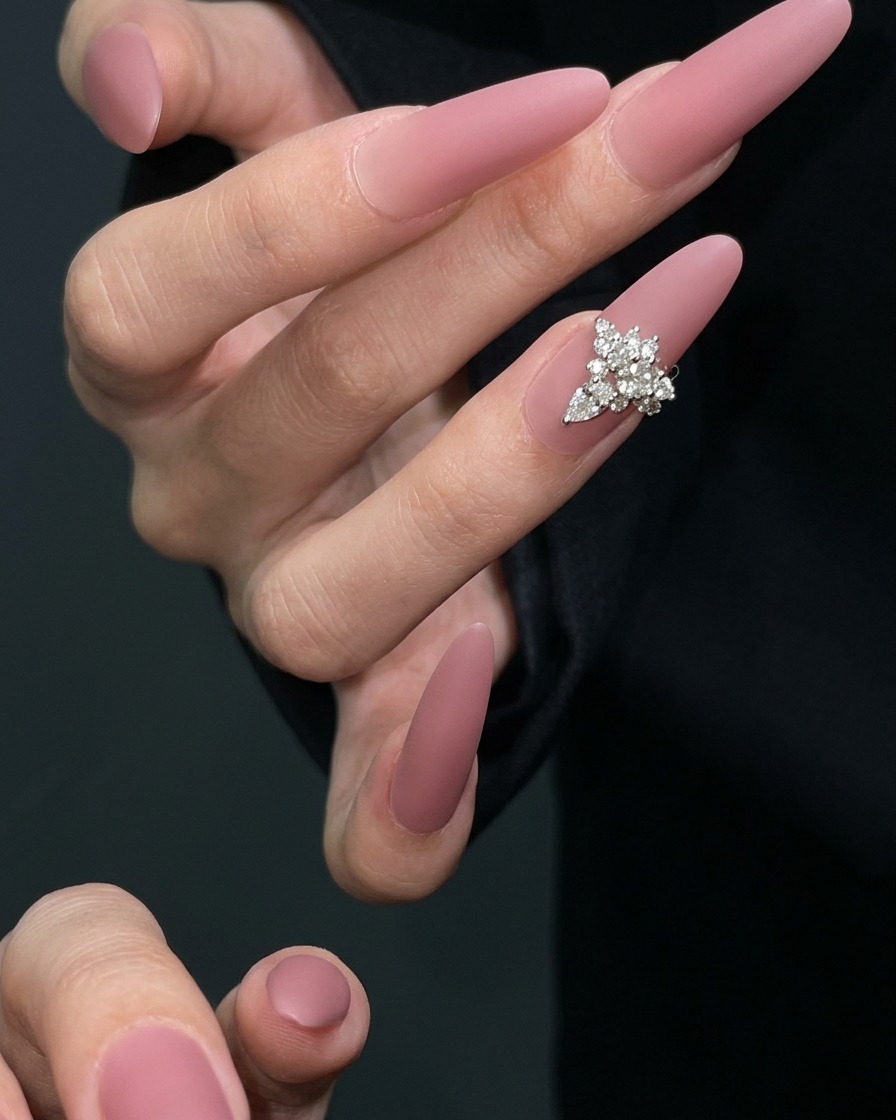
Using precision tweezers, carefully pick up the silver butterfly ring charm and place it directly onto the center of the middle nail while the top coat is still wet and uncured. Gently press down on the charm to ensure it is seated firmly into the gel layer.
Tip: If the gel starts to self-level too much, you can lightly tap the charm into place before curing to keep it centered. - 9Final cure
Place the nails under the LED lamp for a full cure cycle. This ensures the top coat is completely hardened and the silver charm is securely locked in place on the nail surface.
Tip: Ensure your hand is placed flat and stable inside the lamp to guarantee even light distribution across all nails and the charm placement.