Peach Pink Gradient Cat Eye Nails — Step-by-Step Tutorial
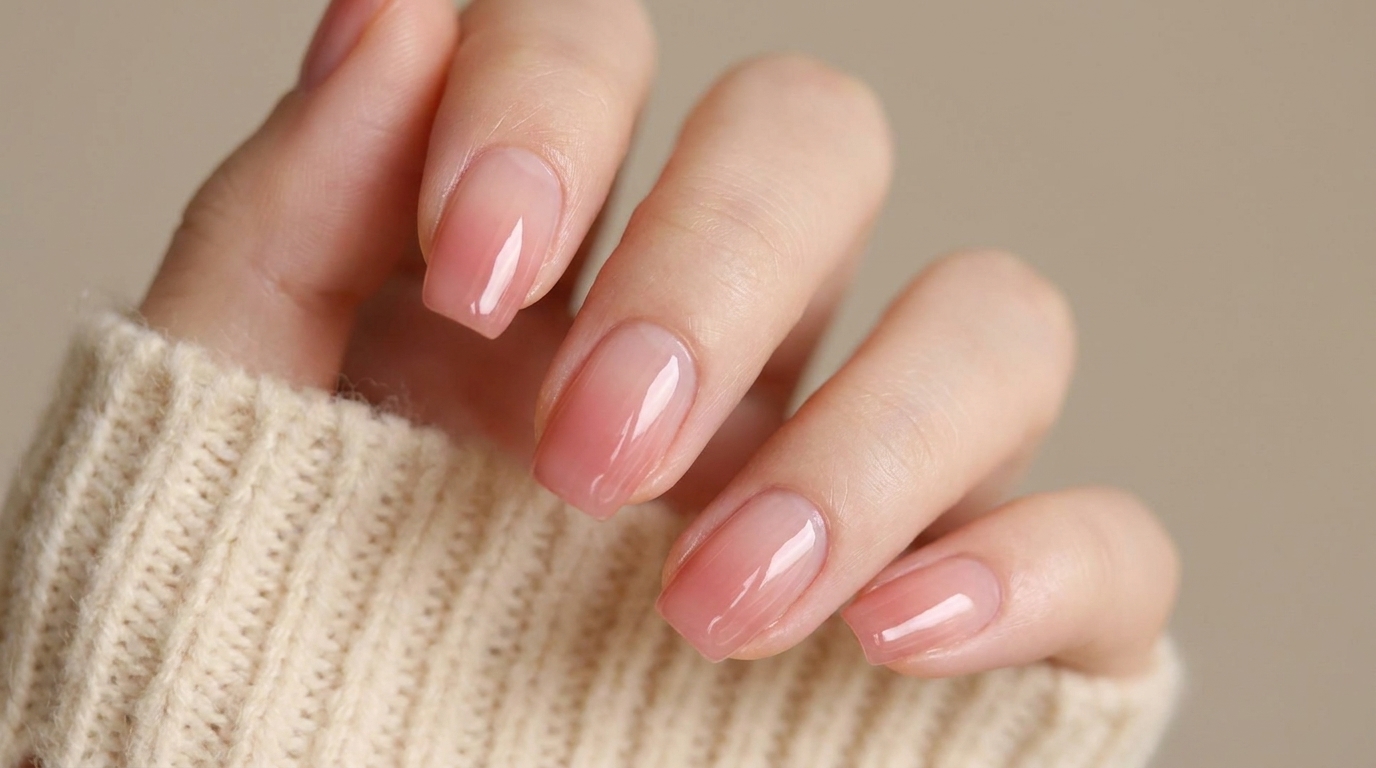
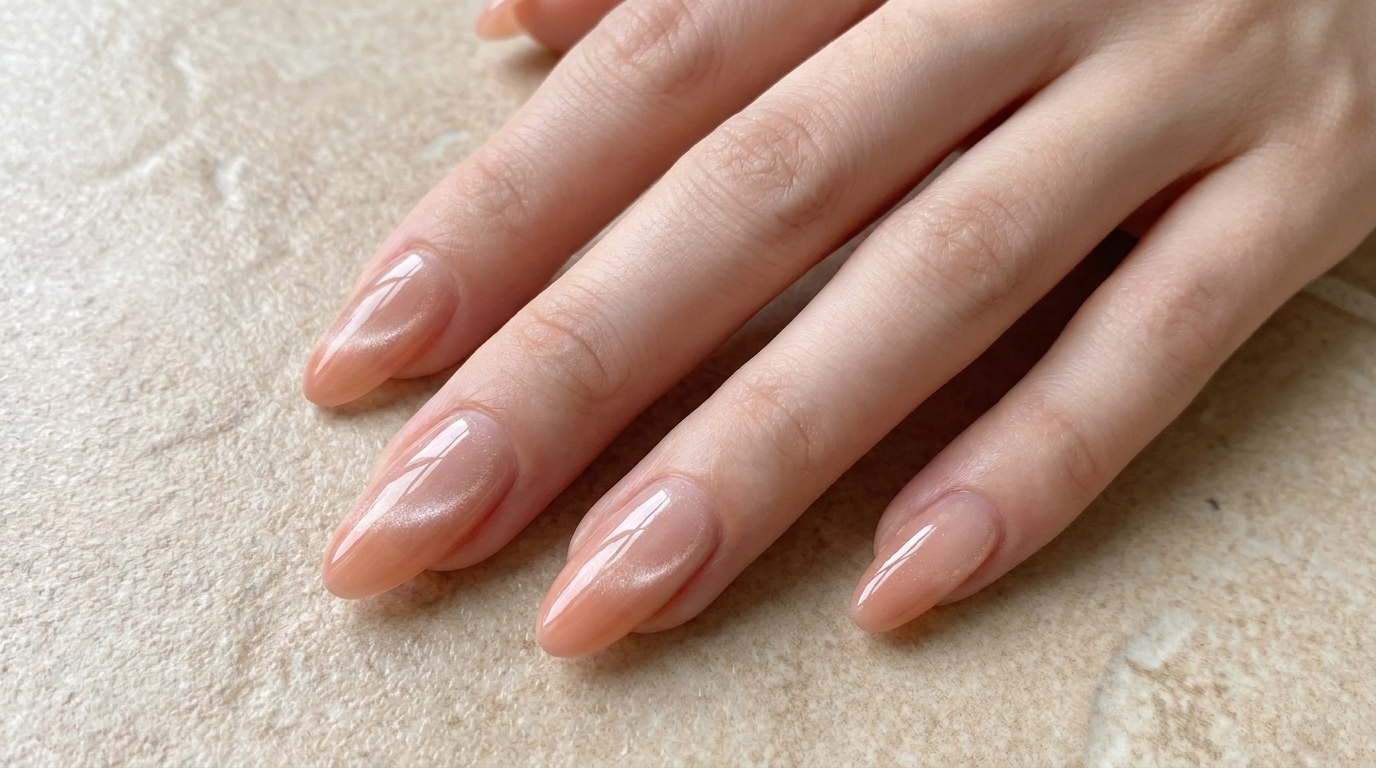
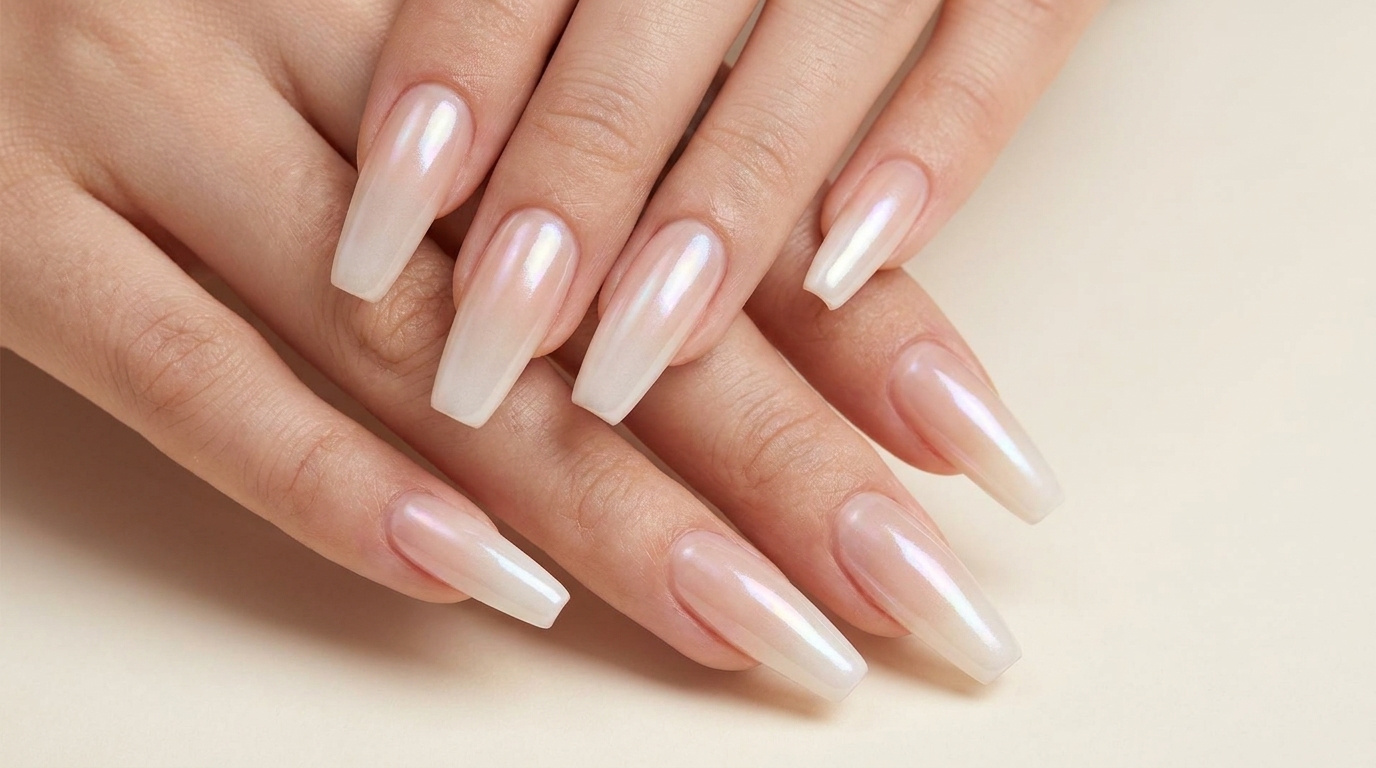
Create a stunning peach pink gradient cat eye manicure. This easy tutorial uses a sponge blending technique and magnetic shimmer for a flawless finish.
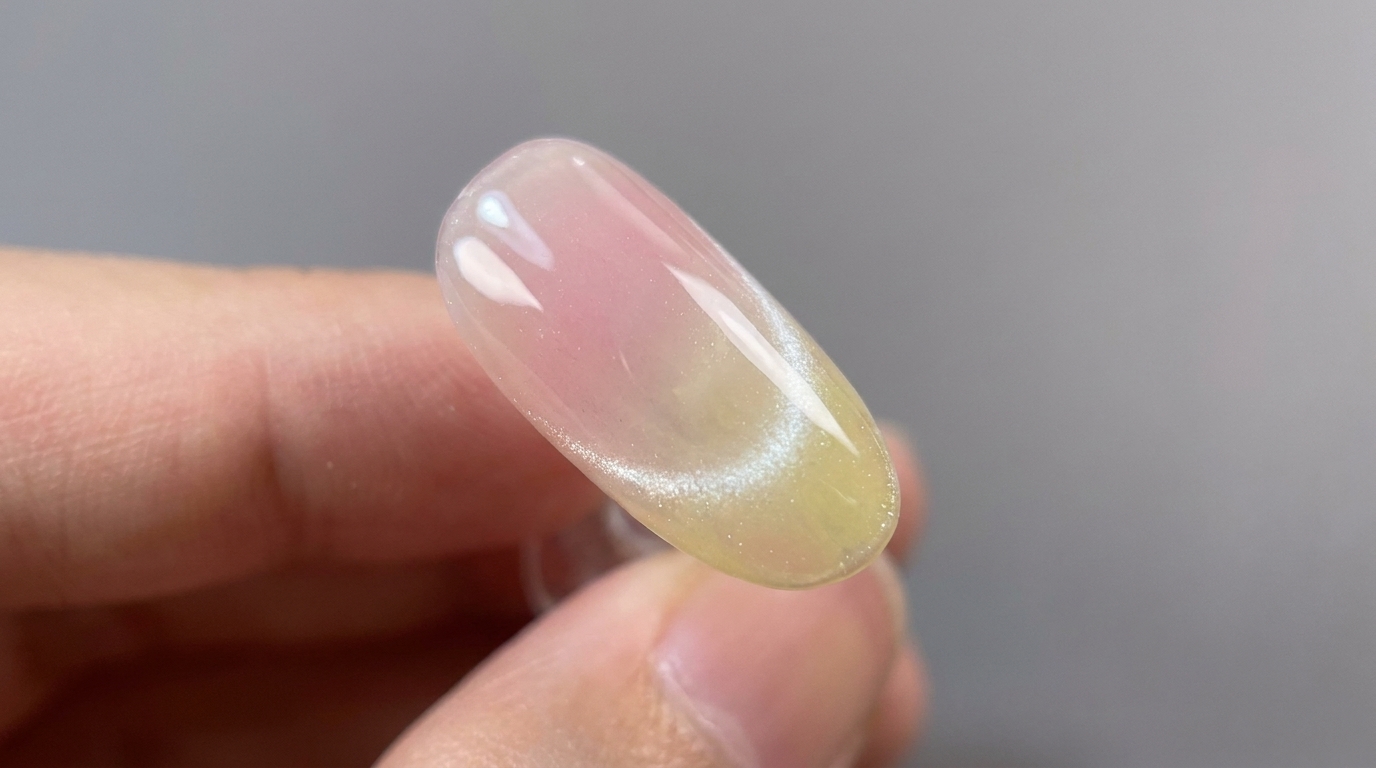
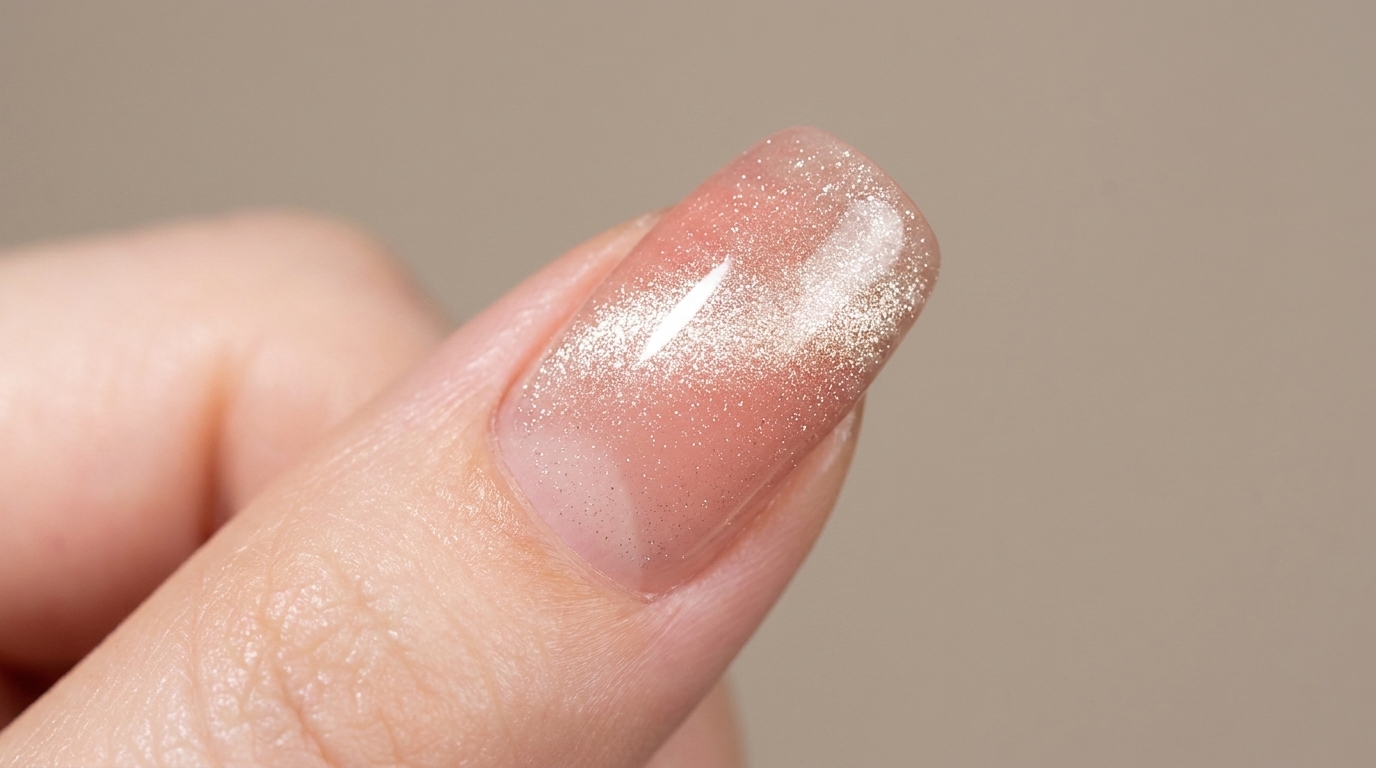
Gradient cat eye nails combine two of the most mesmerizing trends in modern manicures. By blending a soft water-red gel into a clear base with a sponge, you create a seamless fade that is incredibly flattering. Topping the gradient with a nude pink magnetic gel pulls the entire look together, giving you a wide, luminous band of light without the need for an additional top coat.
Steps
- 1Apply clear builder gel
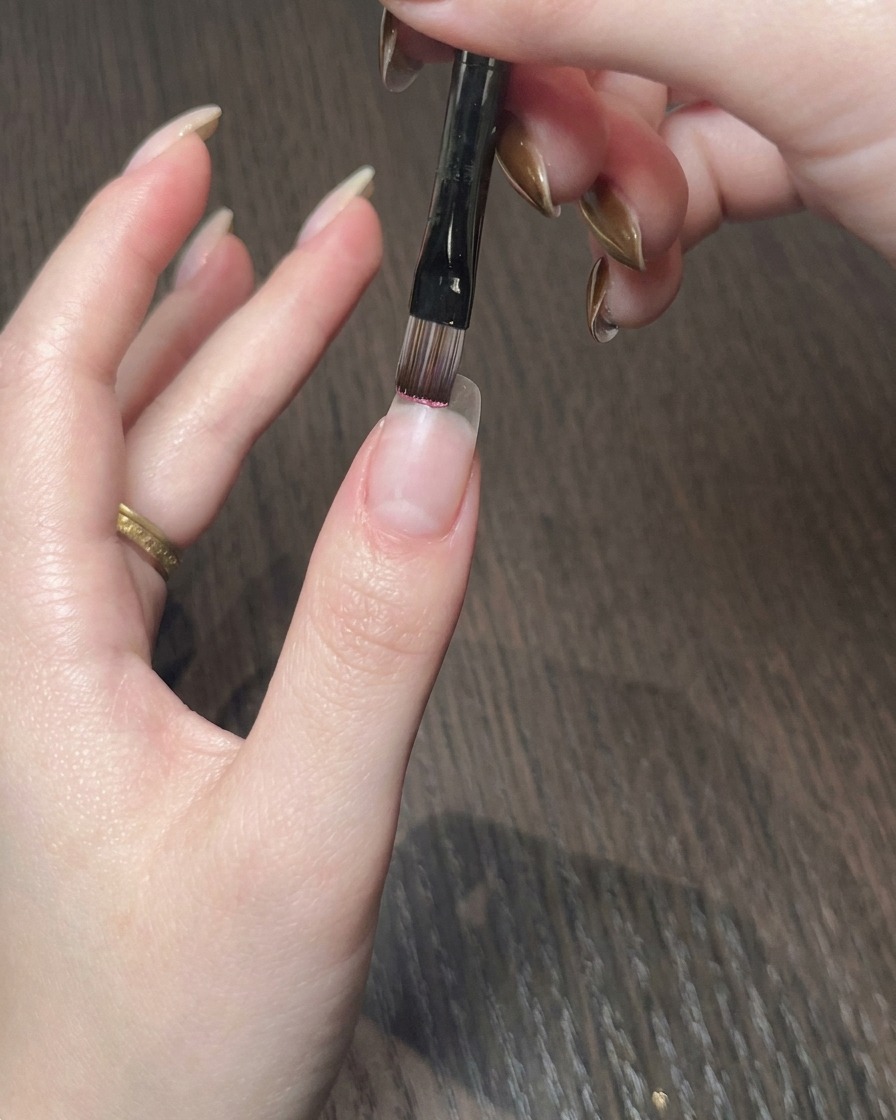
Apply an even layer of clear builder gel to the entire nail surface, ensuring full coverage while maintaining a smooth, level finish. This acts as the structural foundation for your gradient design. Cure as directed by your gel system.
Tip: Keep the layer thin near the cuticle and side walls to prevent flooding and ensure a natural-looking transition. - 2Create gradient effect
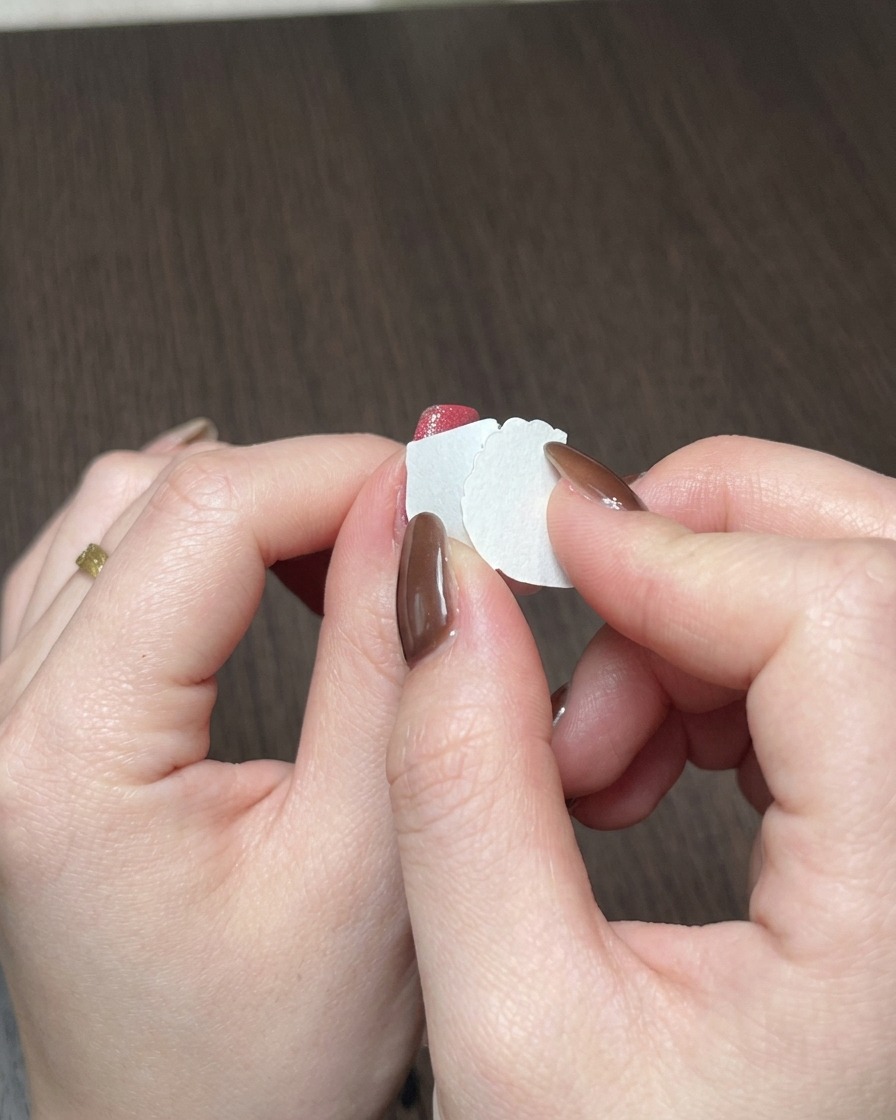
Apply water-red gel polish to the tip of a small triangular makeup sponge. Gently dab the sponge onto the fingertip to build up the color density, creating a soft, seamless gradient that fades towards the center of the nail.
Tip: Use a light tapping motion to avoid harsh lines and blend the colors effectively. - 3Cure the gradient layer
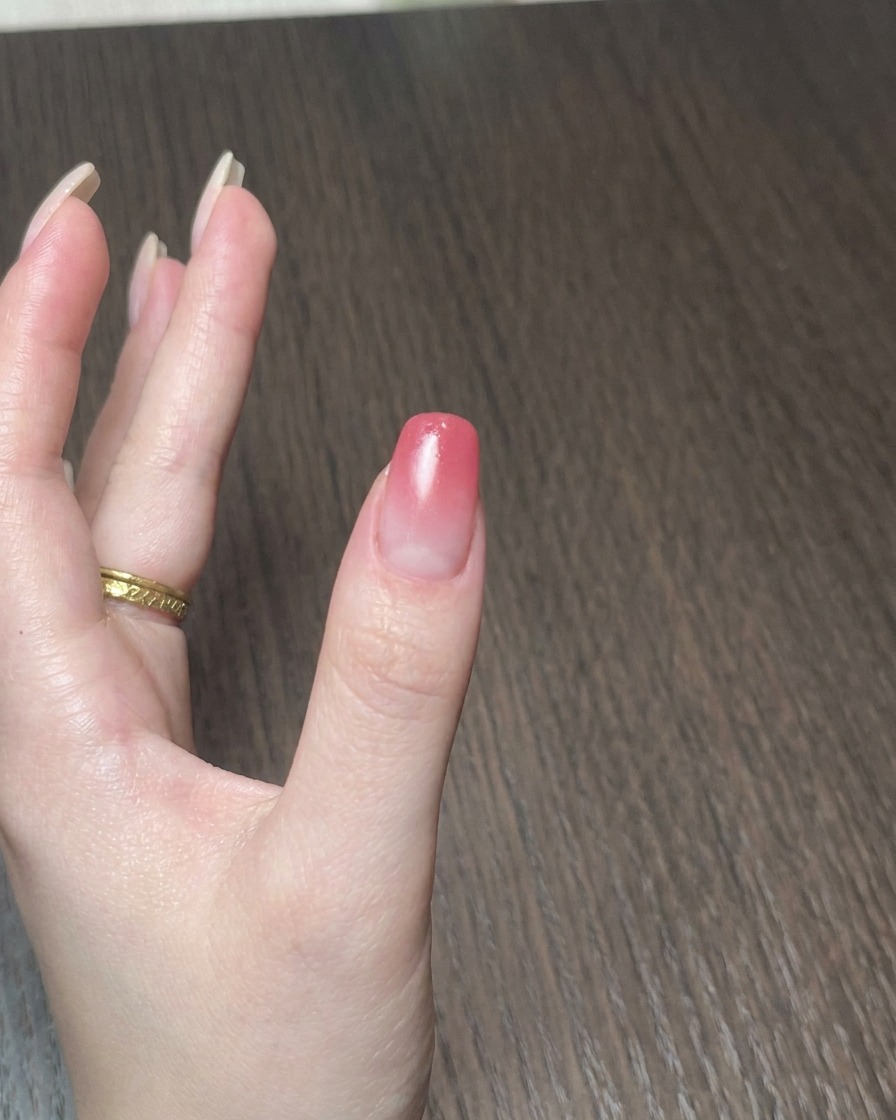
Place the nail under a mini handheld UV/LED lamp to cure the gradient layer. Ensure the light covers the entire nail surface for the duration specified by the gel polish manufacturer to set the design firmly.
Tip: Ensure your hand is steady during curing to prevent the wet gel from shifting. - 4Apply cat eye gel
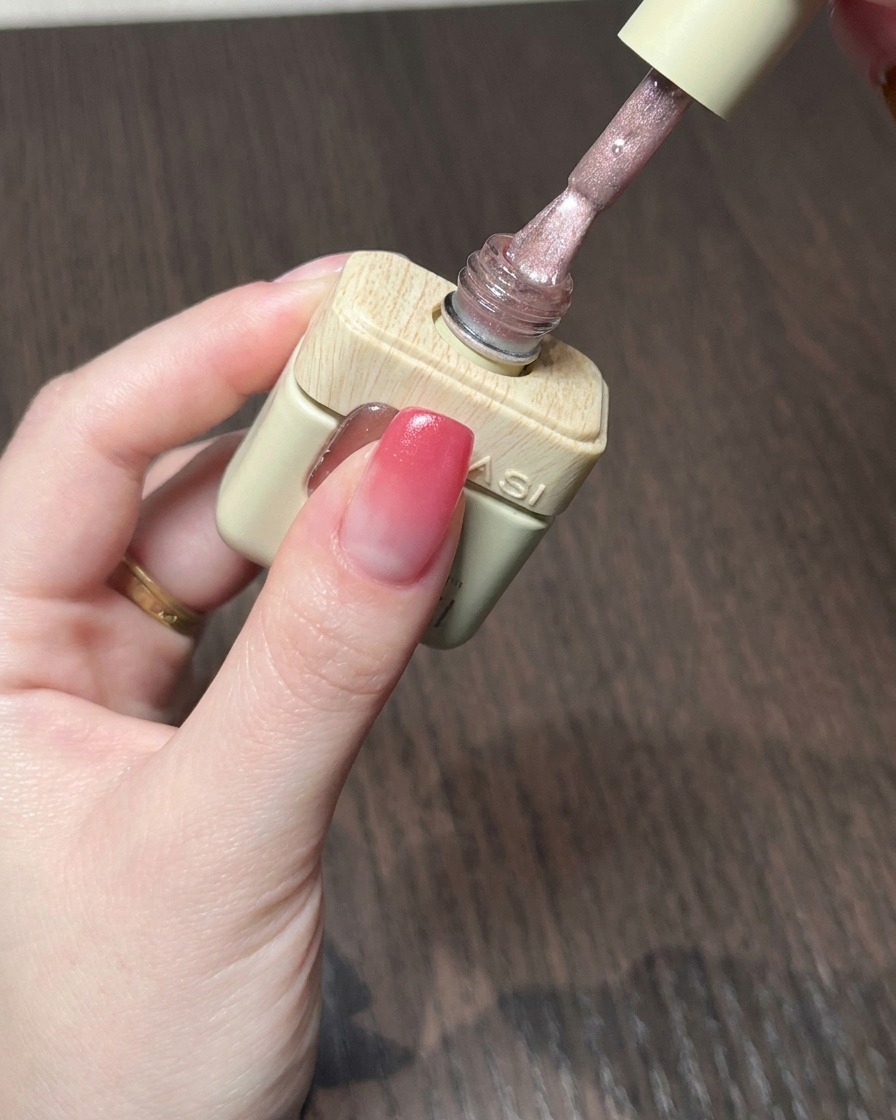
Apply a layer of 004 nude pink cat eye gel over your cured gradient base. This formula is designed to be self-leveling and does not require a separate top coat, providing a smooth finish once the magnetic effect is complete.
Tip: Apply a medium layer of cat eye polish to ensure there is enough product for the magnetic particles to move freely. - 5Form the cat eye effect
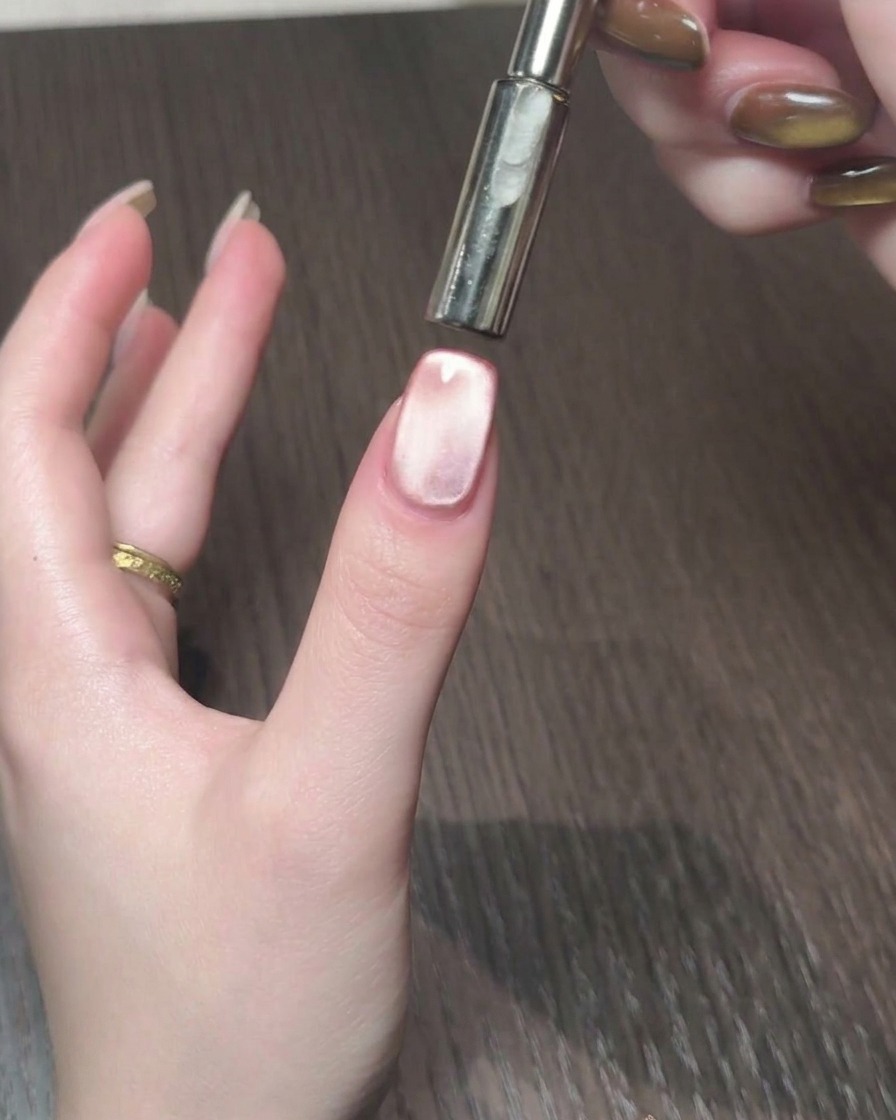
While the gel is still wet, use a cylindrical magnetic tool to guide the particles. Sweep the magnet back and forth on both sides of the nail to collect the magnetic shimmer into a wide band, then push the light from the fingertip toward the cuticle to achieve the desired gradient cat eye look.
Tip: Hold the magnet close to the nail without touching it for the best magnetic definition. - 6Final cure
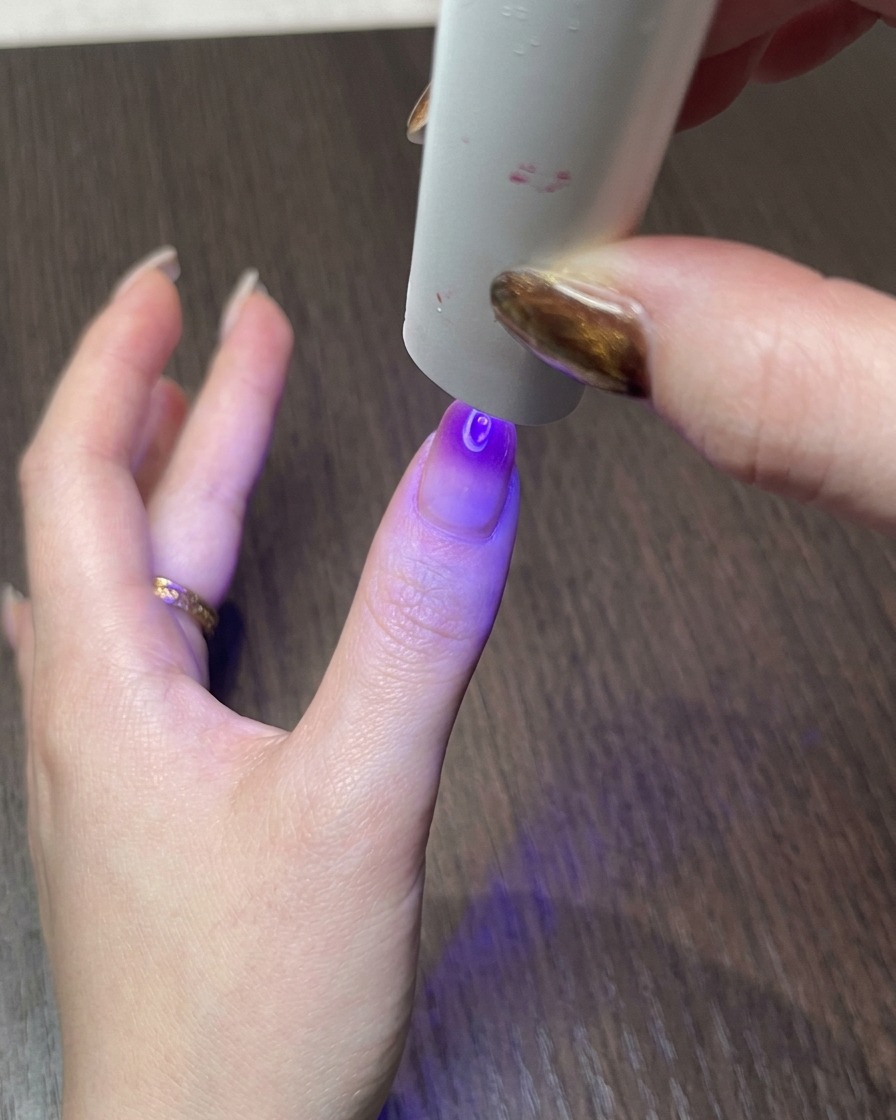
Once the magnetic pattern is finalized, immediately place the nail under a mini handheld UV/LED lamp to cure it quickly. This ensures the cat eye effect remains in place and finishes the manicure without the need for an additional top coat.
Tip: Cure immediately after achieving the perfect magnetic look to prevent the particles from shifting.