Heart and Argyle Gel Nail Art — Step-by-Step Tutorial
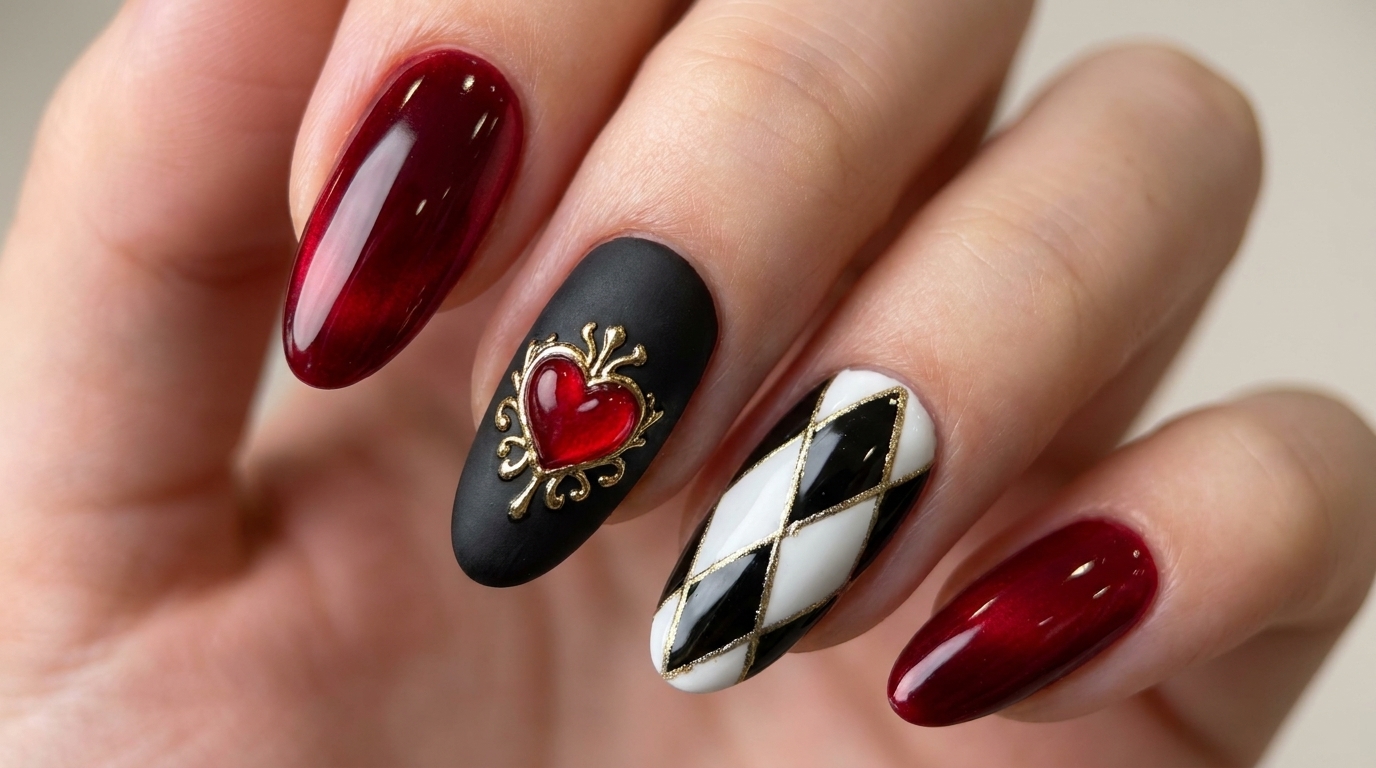
Master this sophisticated mixed-pattern gel nail design featuring a rich red base, a striking 3D heart emblem, and crisp hand-painted argyle details.
This elegant mixed-pattern manicure brings together classic romantic motifs and geometric precision. Featuring a velvety matte black accent nail with a striking ruby heart and a meticulously hand-painted black and white argyle pattern, this look is bound to turn heads. Perfect for Valentines Day or any occasion requiring a touch of sophisticated drama, these techniques will elevate your gel nail art skills.
Steps
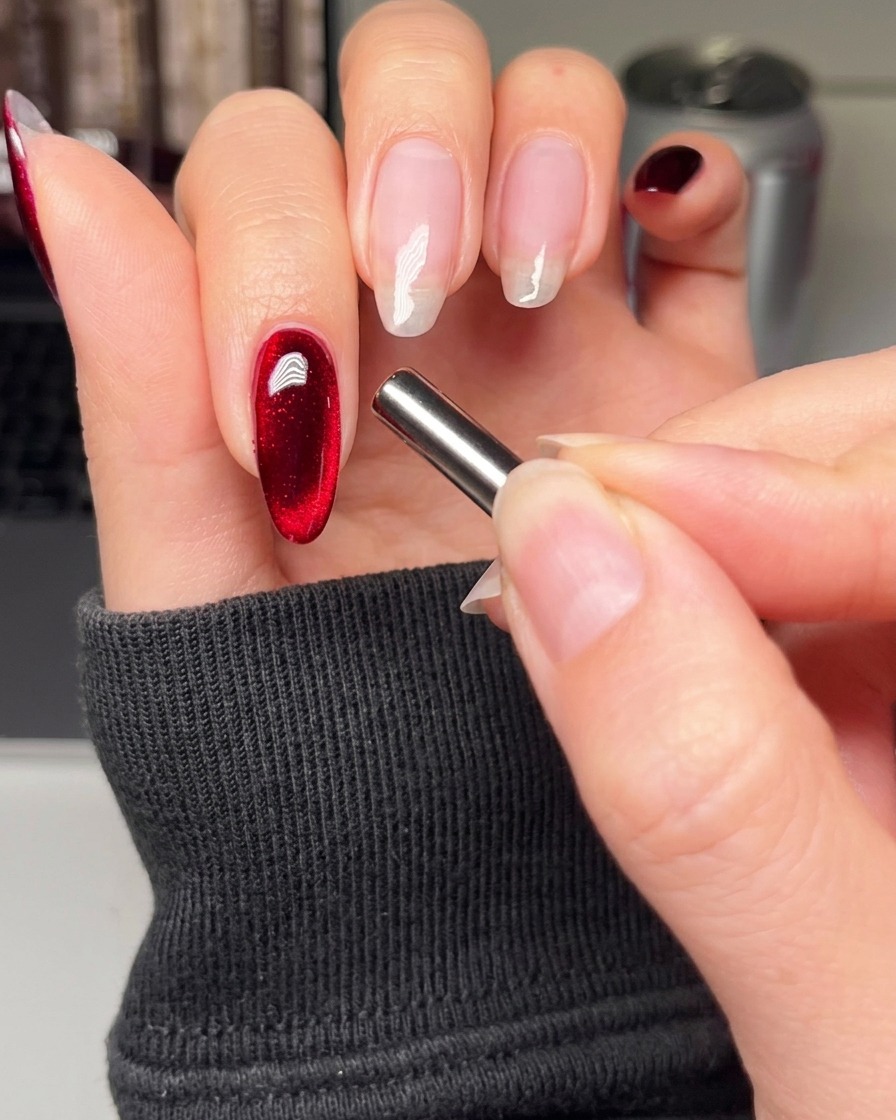
- 1Apply deep red gel base
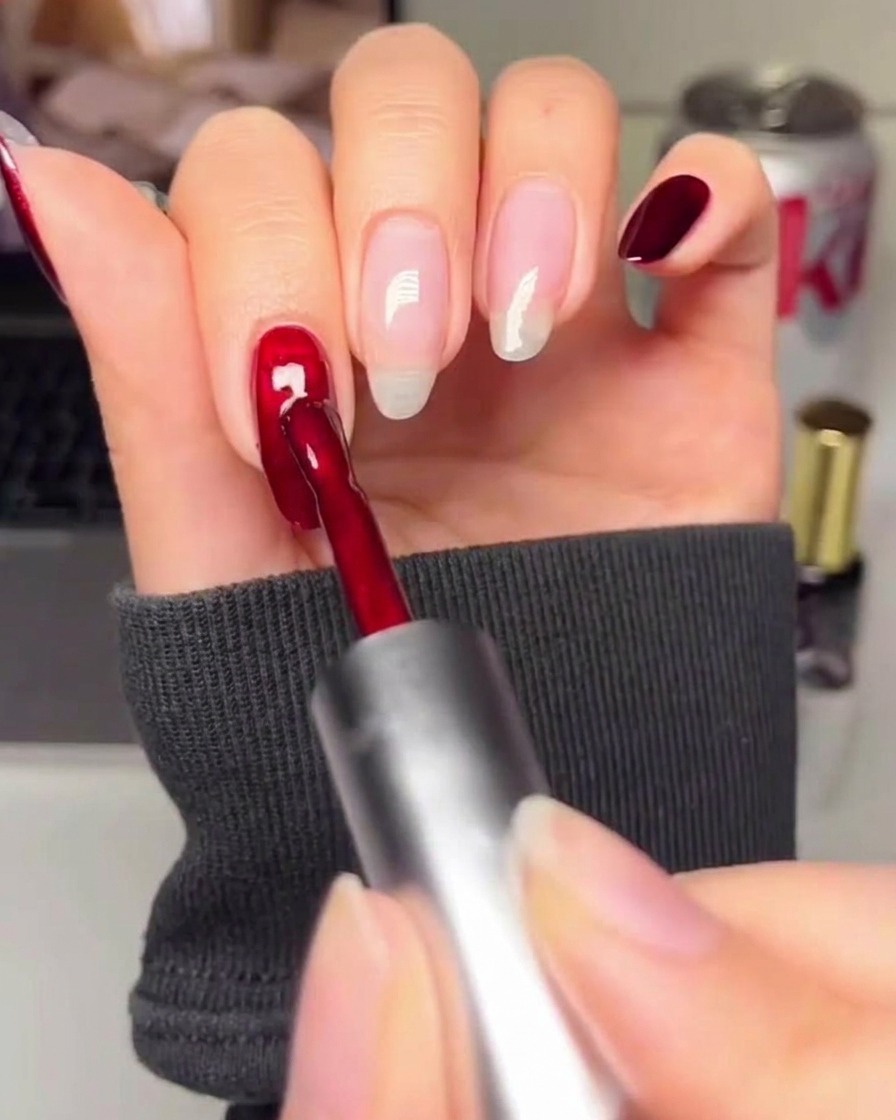
Apply an even, saturated layer of deep red gel polish to the nail, ensuring you cap the free edge for long-lasting wear. Use a steady hand to smooth the color up to the cuticle line without touching the skin. Cure under your UV or LED lamp according to the product manufacturers instructions.
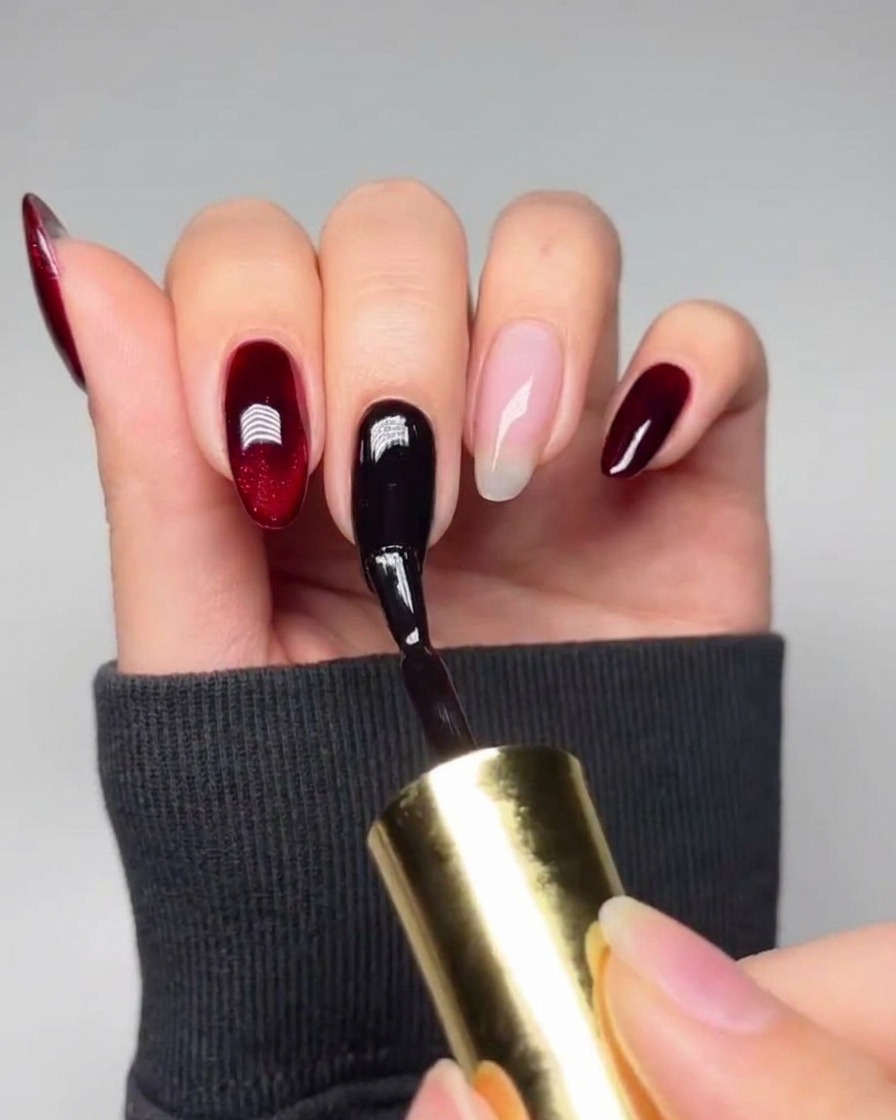
Tip: If any polish touches the skin, clean it up with a small brush dipped in acetone before curing to prevent lifting. - 2Apply black gel base
Apply a thin, pigmented layer of black gel polish to the index fingernail. Start at the base and use long, smooth strokes to cover the entire nail bed, ensuring full opacity. Cure the layer completely in your UV or LED lamp to set the base for the upcoming nail art.
Tip: Apply in thin layers to avoid bubbling or uneven curing, especially with highly pigmented colors like black. - 3Position the heart stencil
Carefully place a heart-shaped vinyl stencil onto the center of the black-painted index nail once it has been fully cured. Press down firmly on the edges of the stencil to ensure a tight seal against the nail, which will prevent the secondary color from bleeding underneath during application.
Tip: Use a pair of tweezers for precise placement and to avoid touching the adhesive side of the stencil with your fingers. - 4Fill the heart design
Using a thin detail brush, gently fill in the negative space of the heart stencil with deep red gel polish. Apply a thin, even coat, ensuring you cover the entire area within the stencil boundaries. Once filled, remove the stencil carefully while the gel is still wet to achieve clean, sharp edges before curing.
Tip: Remove the stencil immediately after applying the polish to prevent the gel from drying and peeling with the stencil. - 5Smooth the nail surface
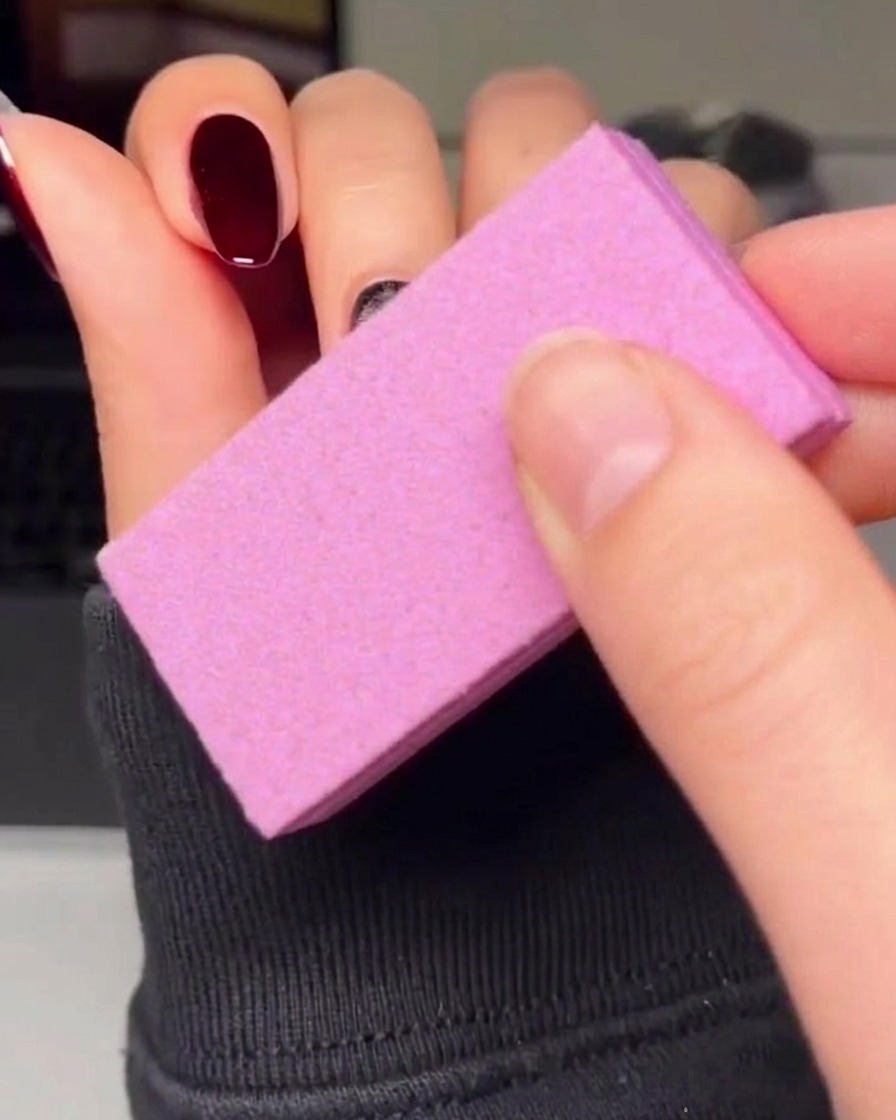
After curing the heart design, use a soft buffing block to gently smooth over the surface of the nail. This removes any slight ridges or imperfections where the red polish meets the black base, creating a seamless, uniform texture across the nail before applying the final top coat.
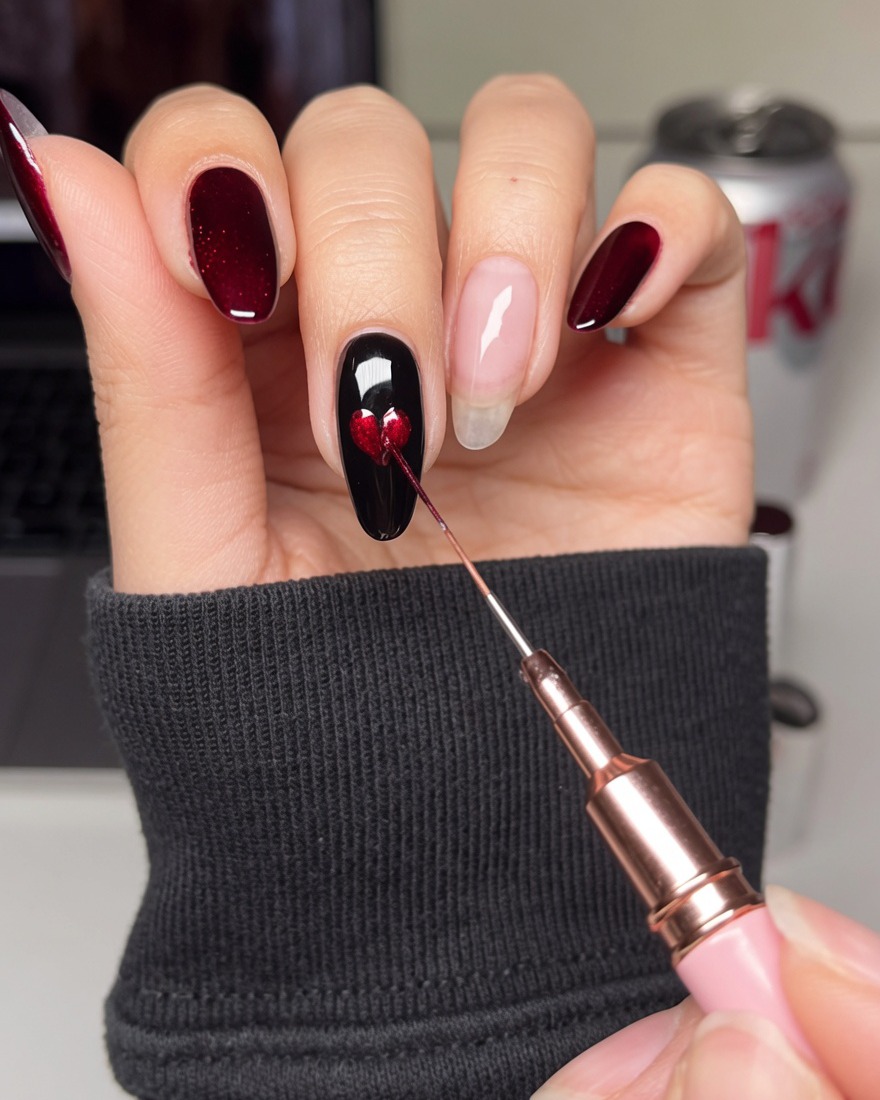
Tip: Use light pressure to avoid removing the color; you only need to smooth the surface texture. - 6Outline the heart detail
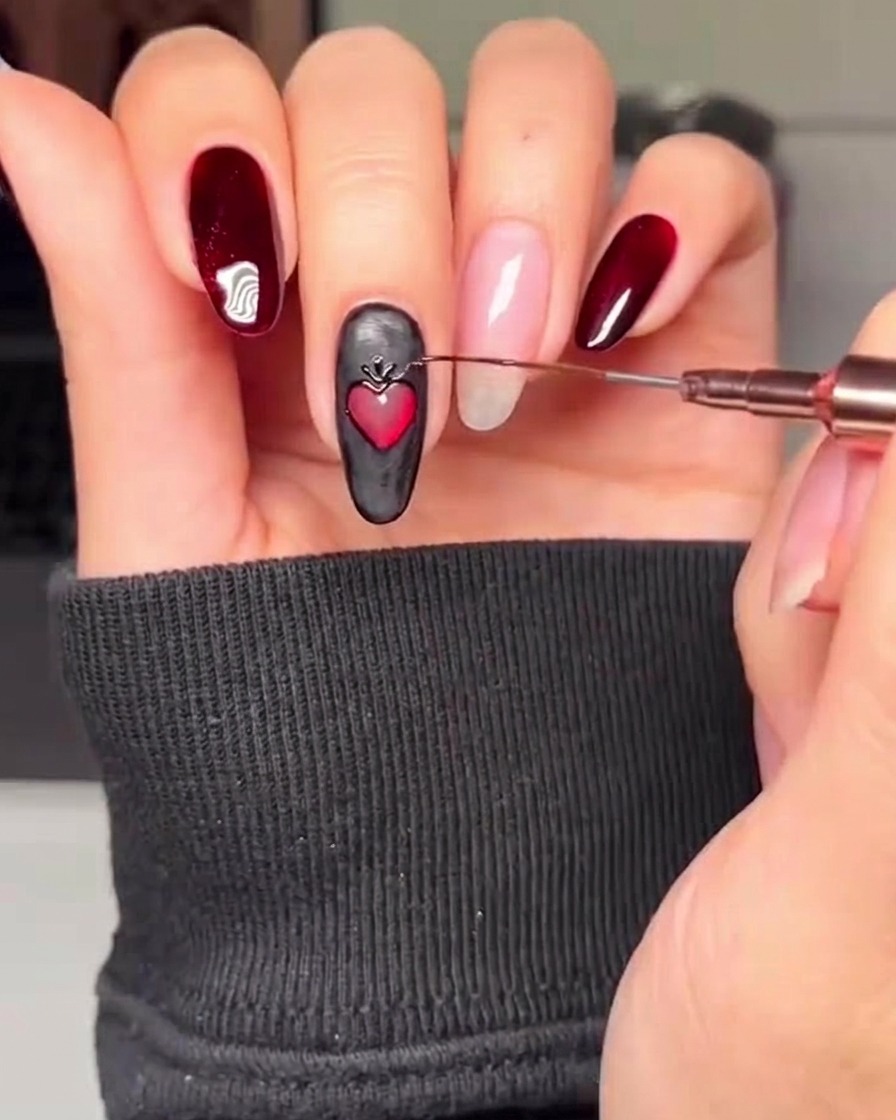
Using a thin liner brush and black gel polish, meticulously trace the perimeter of the red heart. This outline defines the shape and adds depth to the design. Take your time to keep the line consistent in thickness for a professional, clean finish, then cure under the lamp.
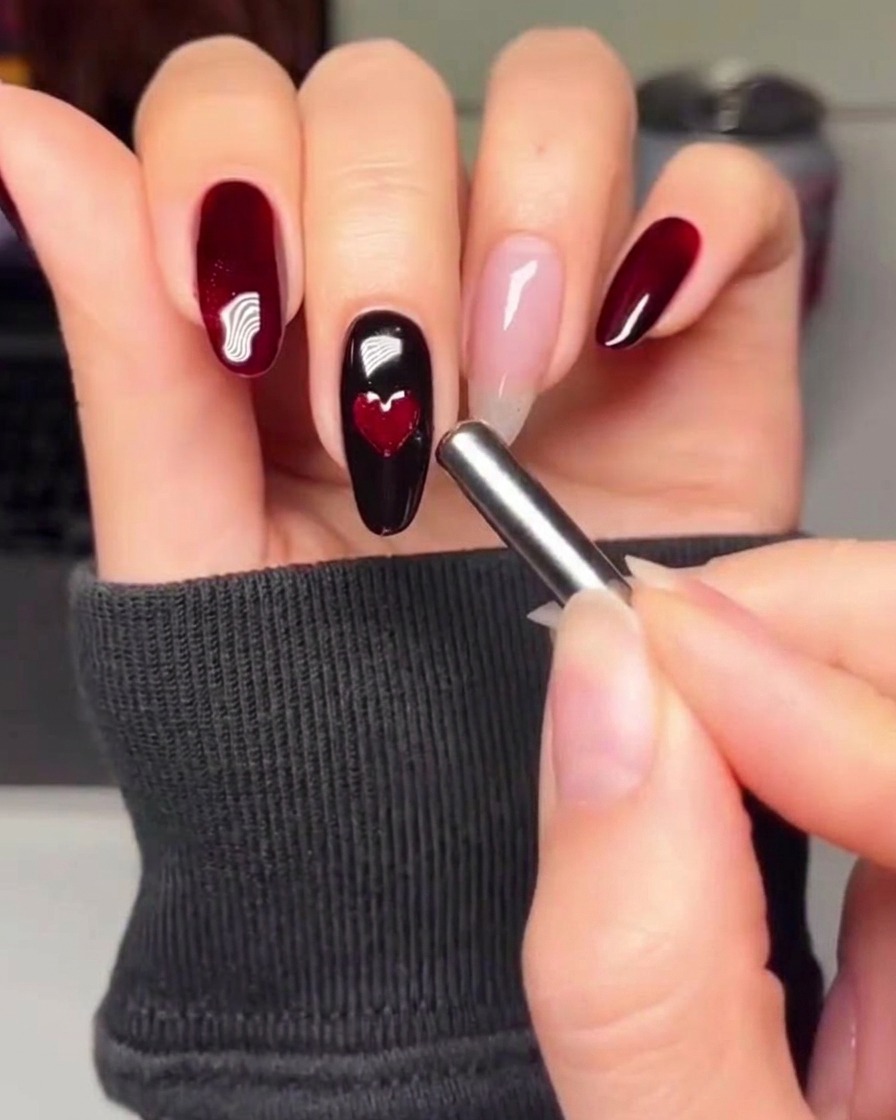
Tip: Anchor your hand on a steady surface to maintain control while drawing fine lines. - 7Add gold heart detailing
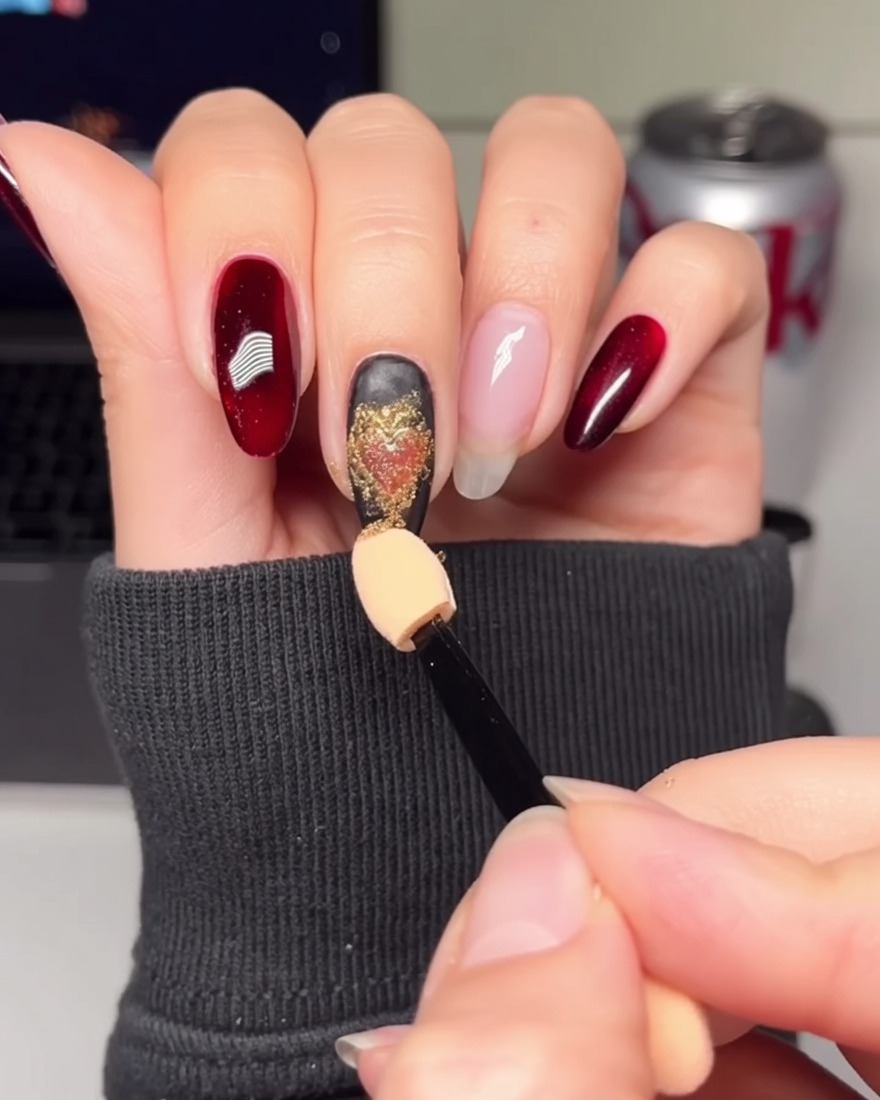
Using a fine liner brush and gold gel, carefully outline the heart emblem on the black nail. Add small, intricate flourishes around the edges to give the design a refined, gilded finish. Cure under your UV/LED lamp as needed.
Tip: Keep a very light touch with the liner brush to ensure the gold lines remain crisp and delicate. - 8Apply white base color
Apply an even layer of opaque white gel polish to the ring fingernail. Ensure full coverage without flooding the cuticle area. Cure fully under your UV/LED lamp before moving on to the nail art.
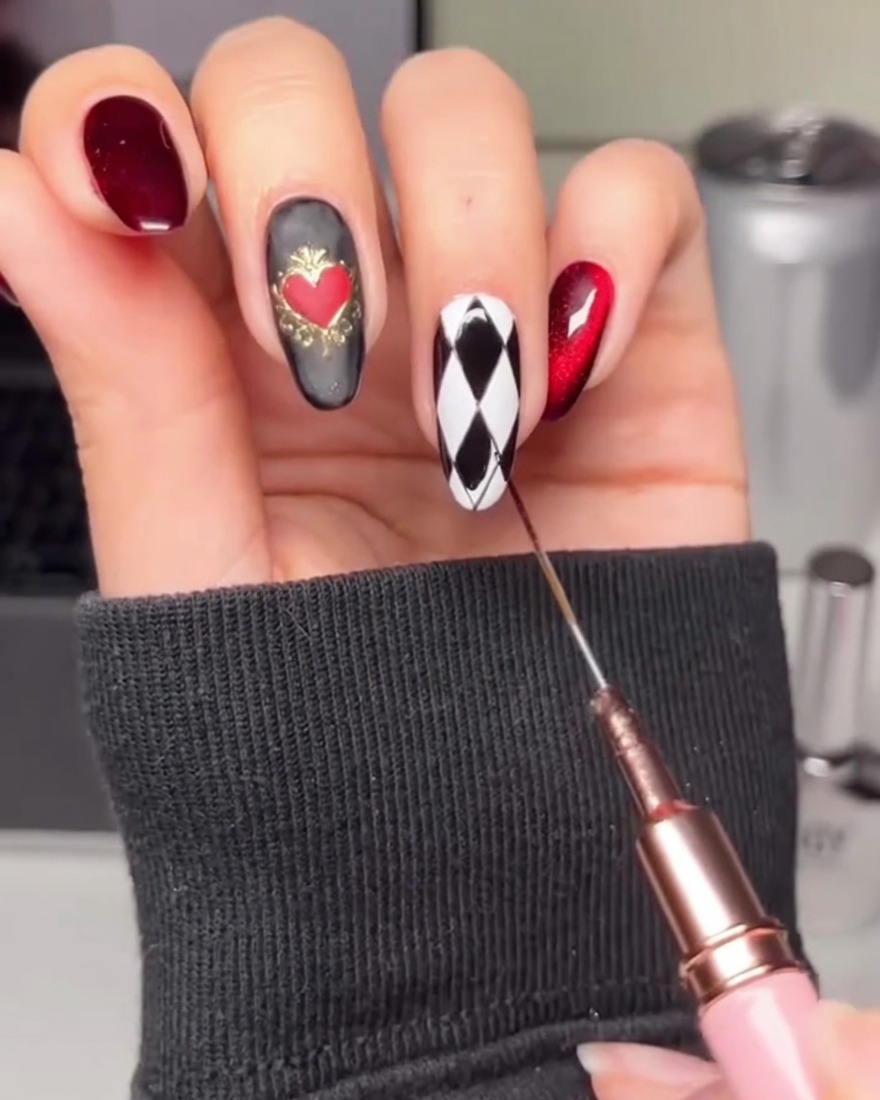
Tip: Apply two thin coats instead of one thick coat to prevent pooling and ensure the color is streak-free. - 9Create argyle grid lines
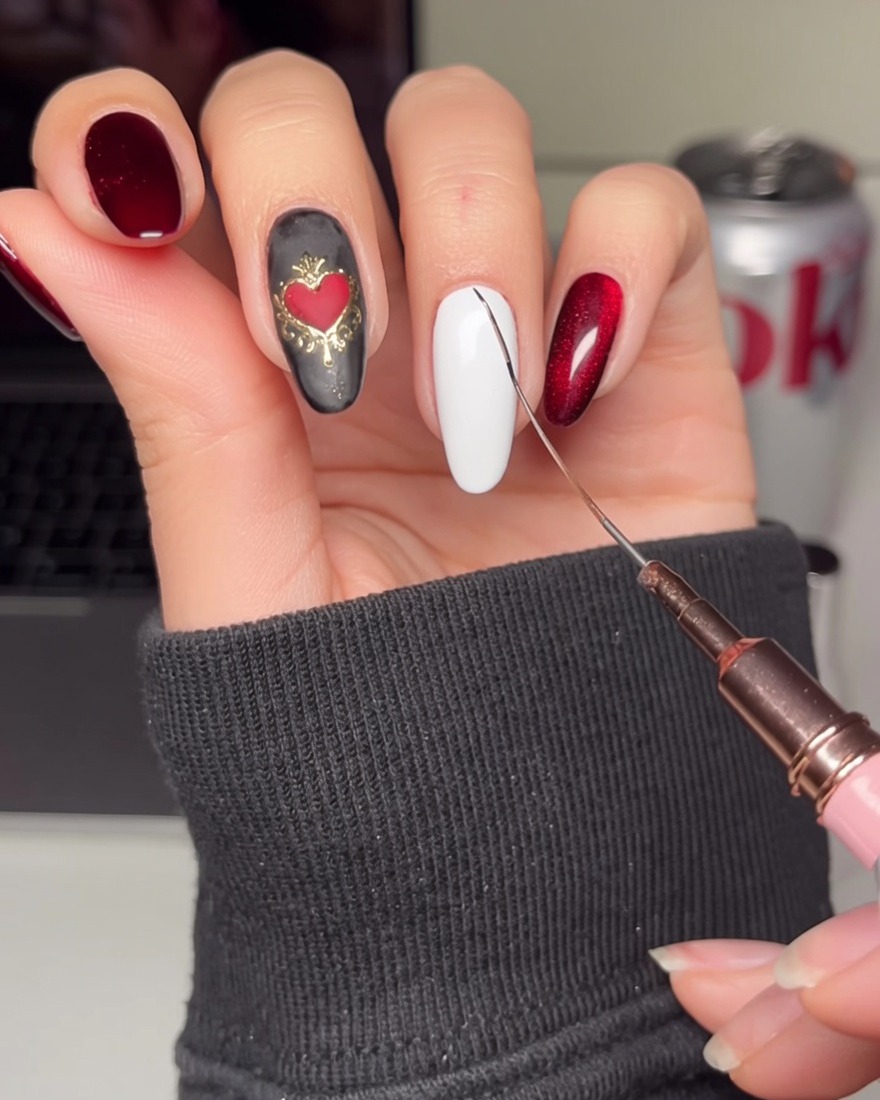
Using a thin liner brush and black gel polish, draw diagonal lines across the white nail to create a diamond grid pattern. Keep the lines spaced evenly to ensure the argyle look remains symmetrical.
Tip: If you struggle with straight lines, try marking small dots as guides before connecting them with the brush. - 10Fill in argyle diamonds
Using black gel, carefully color in every other diamond within your grid to form the classic argyle pattern. Ensure the edges are clean and follow the grid lines precisely. Cure under the lamp when finished.
Tip: Work in small sections to keep the gel from settling before you can cure it. - 11Add gold argyle accents
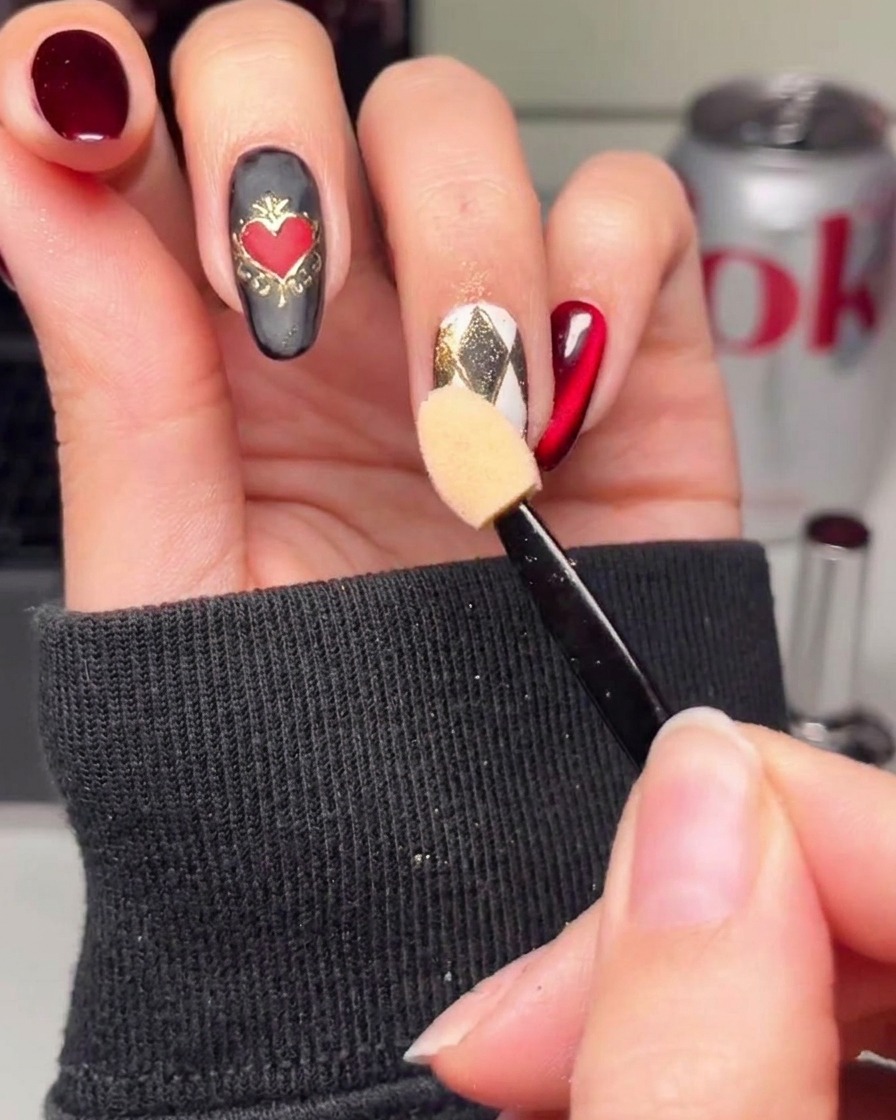
Using a fine brush and gold gel, add small decorative accents to the intersections of your black and white argyle pattern. This adds a touch of elegance to the design. Cure once the detailing is complete.
Tip: A little gold goes a long way; use a very small amount of gel for a subtle, high-end effect. - 12Apply top coat
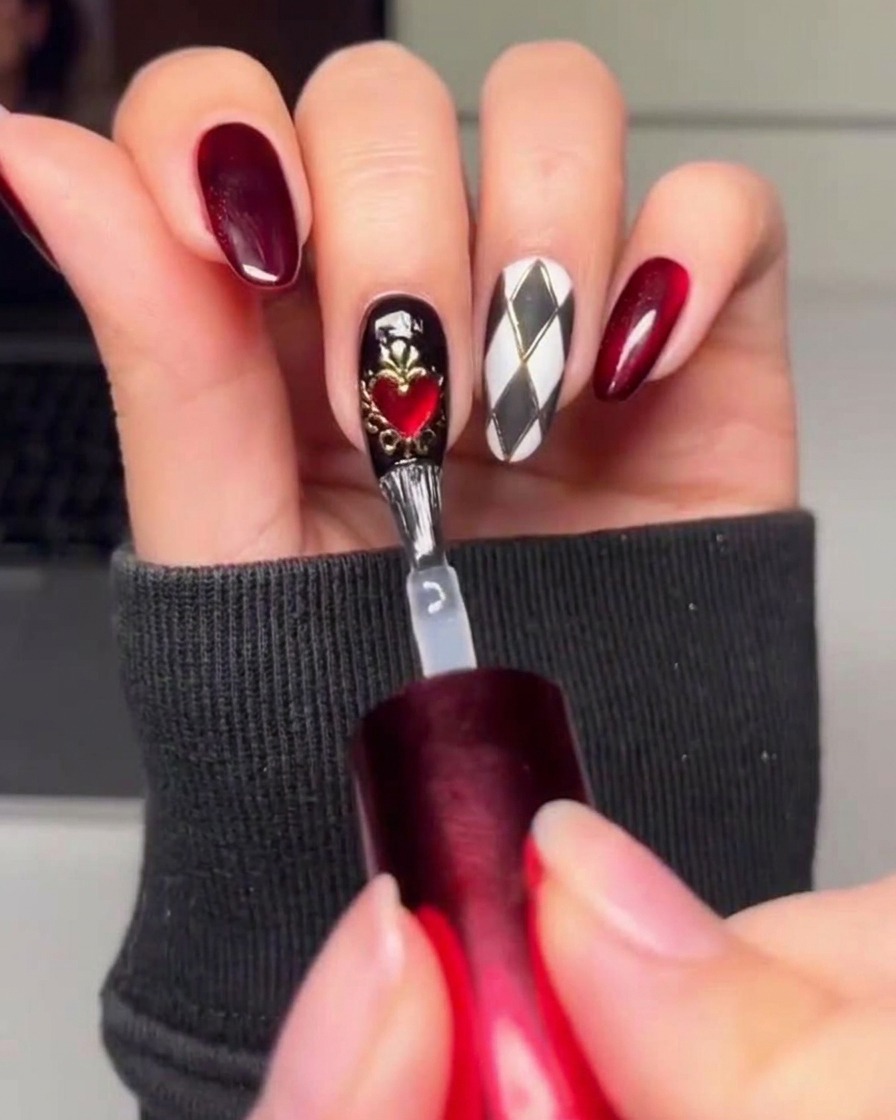
Seal your deep red and argyle designs by applying a high-quality glossy top coat, ensuring you cap the free edges. For the black accent nail, carefully apply a matte top coat around the heart to maintain that striking velvet contrast, or apply the matte coat prior to the 3D detailing. Cure thoroughly in your UV/LED lamp.
Tip: Apply the matte top coat to the black nail first and cure it before adding the final 3D heart and gold details, ensuring those elements remain glossy and raised above the matte background.