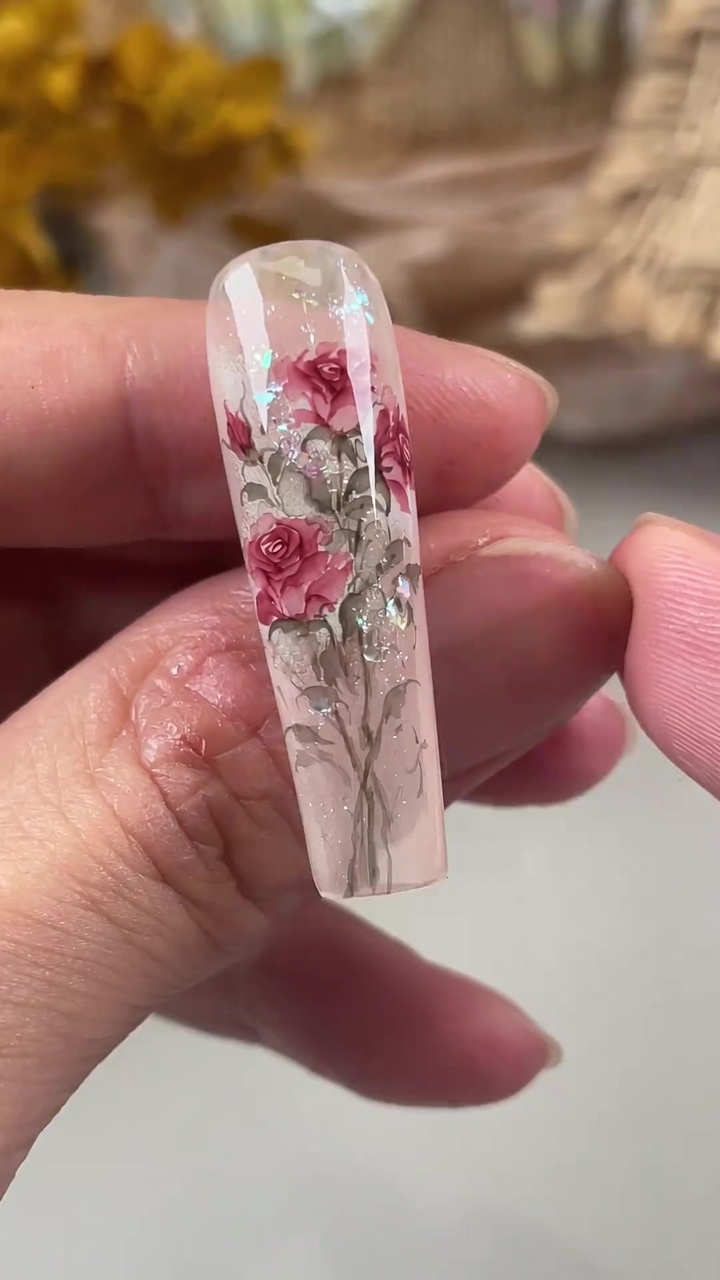
Watercolor Rose Garden Nail Art — Delicate Floral Design Tutorial
Master this elegant watercolor rose garden design with a soft, romantic finish. This step-by-step guide shows you how to paint delicate roses and foliage.
Bring a touch of botanical elegance to your fingertips with this stunning watercolor rose garden look. By combining iridescent glitter, a smooth strengthening gel foundation, and meticulous fine-line painting, you can create a depth-filled floral masterpiece that looks hand-painted and professional.
Steps
- 1Apply nude gel base coat
Begin by applying a smooth, even layer of nude gel base coat to the nail. Start near the cuticle area and gently brush down towards the free edge to create a seamless canvas for your floral design.
Tip: Work with thin layers to prevent the gel from pooling around the cuticles and to ensure a proper cure under the lamp. - 2Apply Base Coat Gel
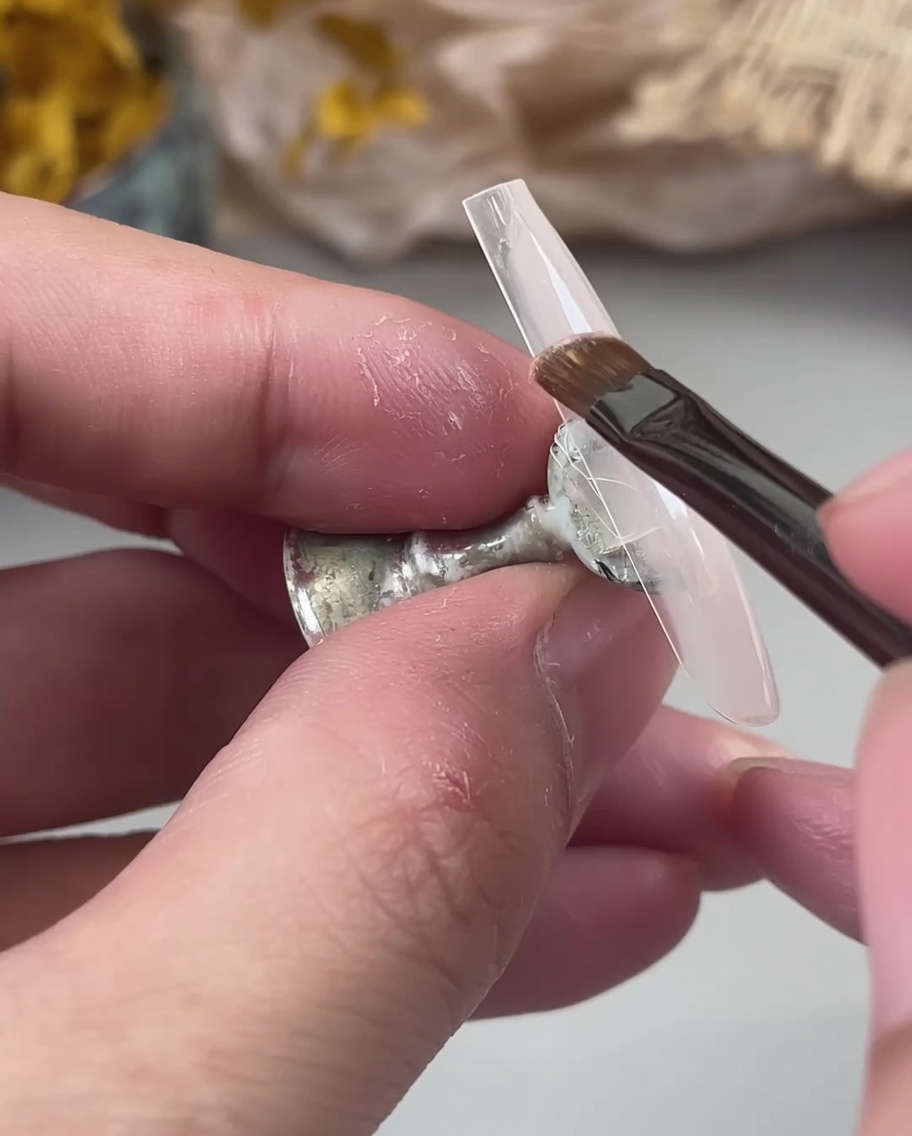
Using a fine gel brush, carefully apply an even layer of clear base coat gel over the entire nude base layer. Make sure you cover the surface fully without flooding the sidewalls, as this wet gel will serve as the adhesive layer for the upcoming glitter application.
Tip: Keep the layer thin and even; too much gel will cause the glitter pieces to slide around rather than anchoring in place. - 3Add Iridescent Glitter
While the base gel is still completely wet and uncured, begin applying your iridescent glitter onto the nail surface. Focus the placement in patches to create dimension rather than covering the entire nail solidly, giving a scattered, magical effect.
Tip: Using a small tool or tweezers can give you more control over exactly where the larger flakes of glitter land on the nail. - 4Set the glitter
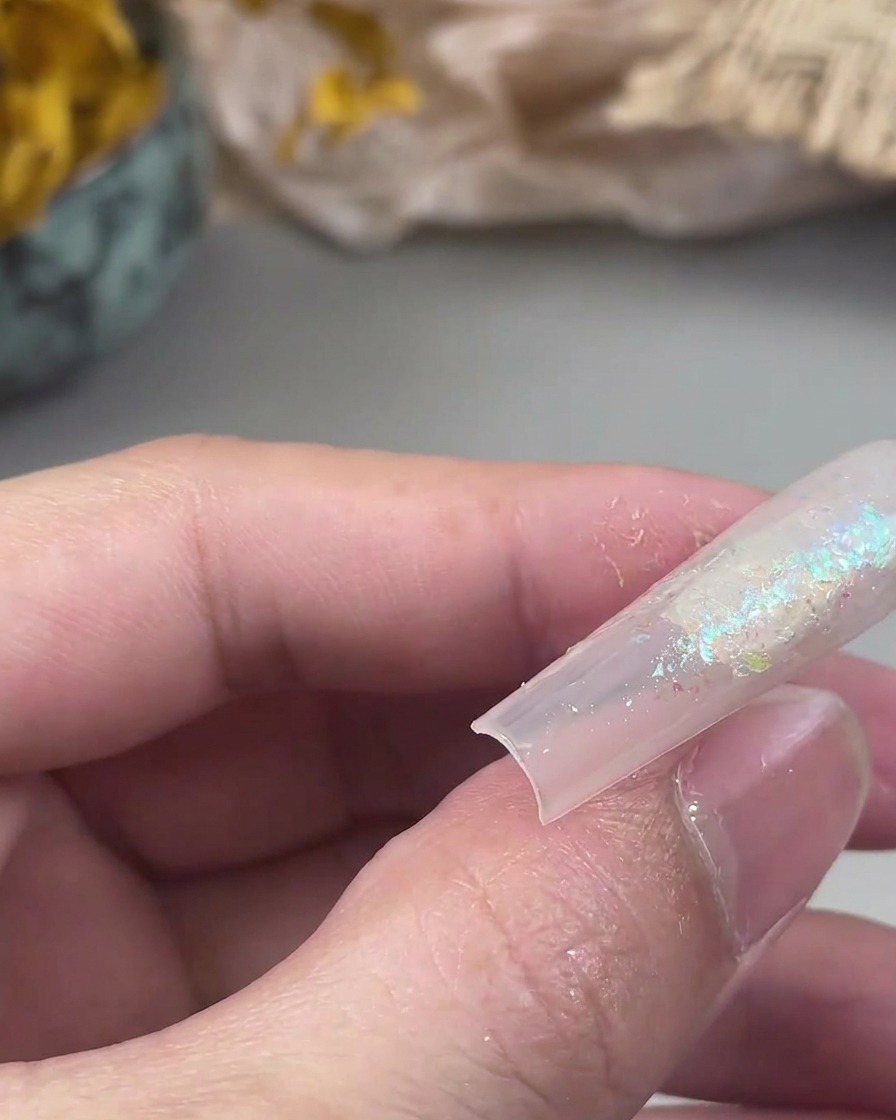
Once the glitter powder is applied to the base, use a clean brush to press the particles flat against the nail surface. This ensures a smooth, even texture that wont interfere with subsequent layers. After smoothing, place the nail under the UV or LED lamp to cure the base and lock the glitter in place.
Tip: Pressing the glitter down prevents bulky, uneven spots that can make leveling the nail more difficult. - 5Apply strengthening gel
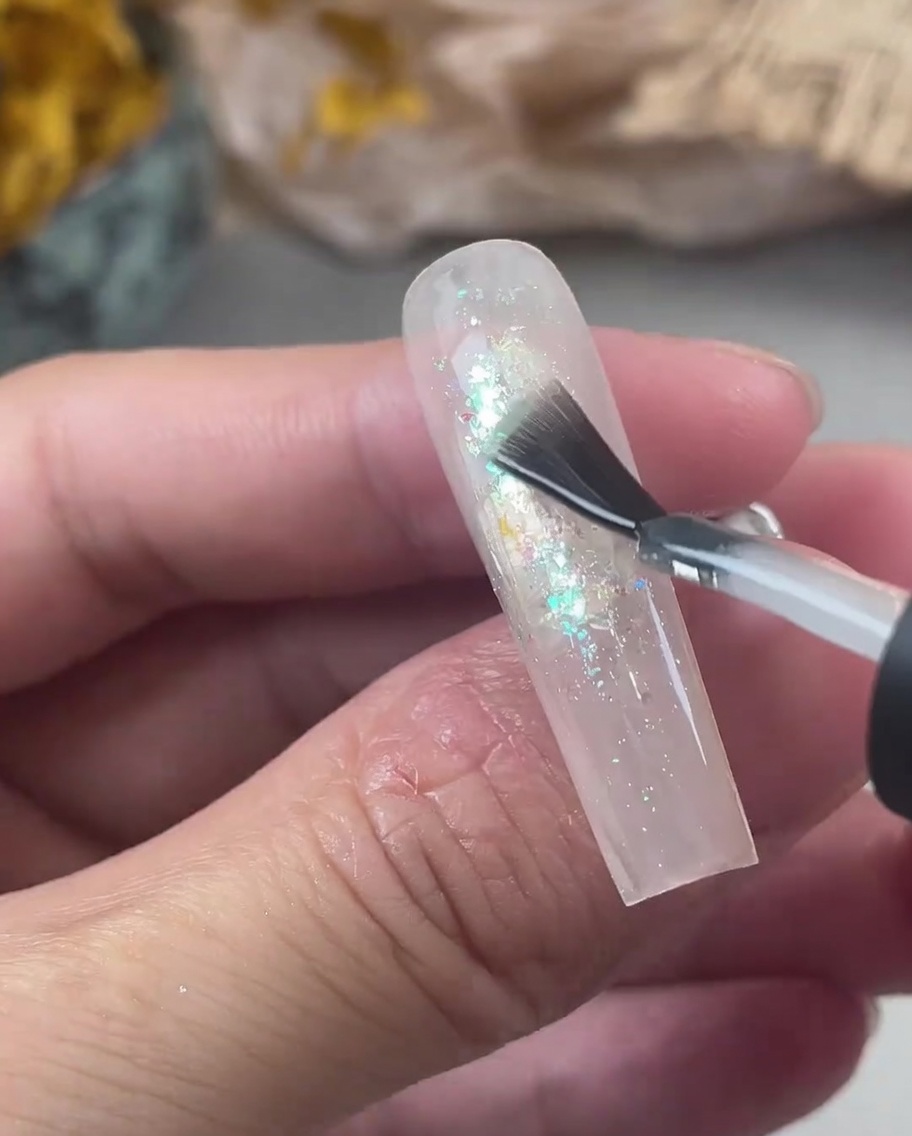
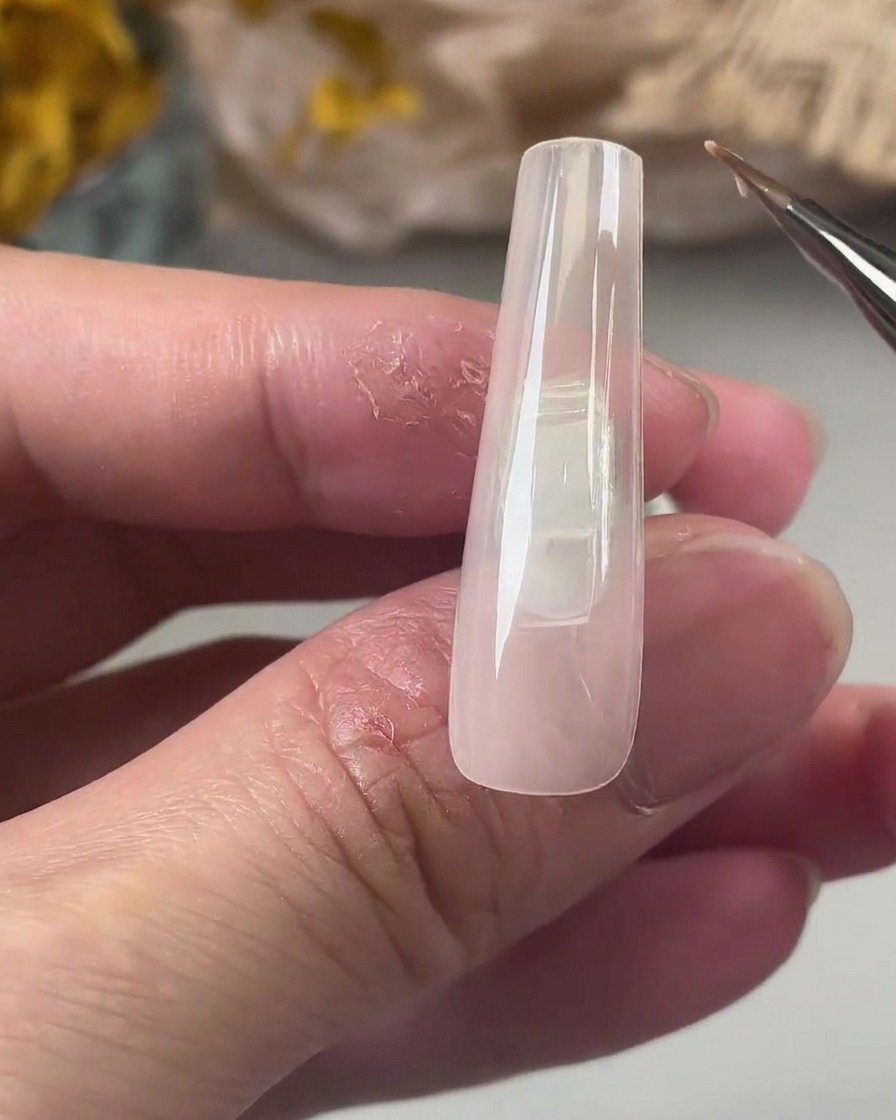
Once the glitter is placed and cured, apply a layer of clear strengthening gel over the entire nail. Use your brush to float the gel over the glitter, leveling out any bumps or uneven texture to create a perfectly smooth surface.
Tip: Allow the strengthening gel to self-level for a few seconds before curing to minimize the need for surface filing later. - 6Remove the inhibition layer
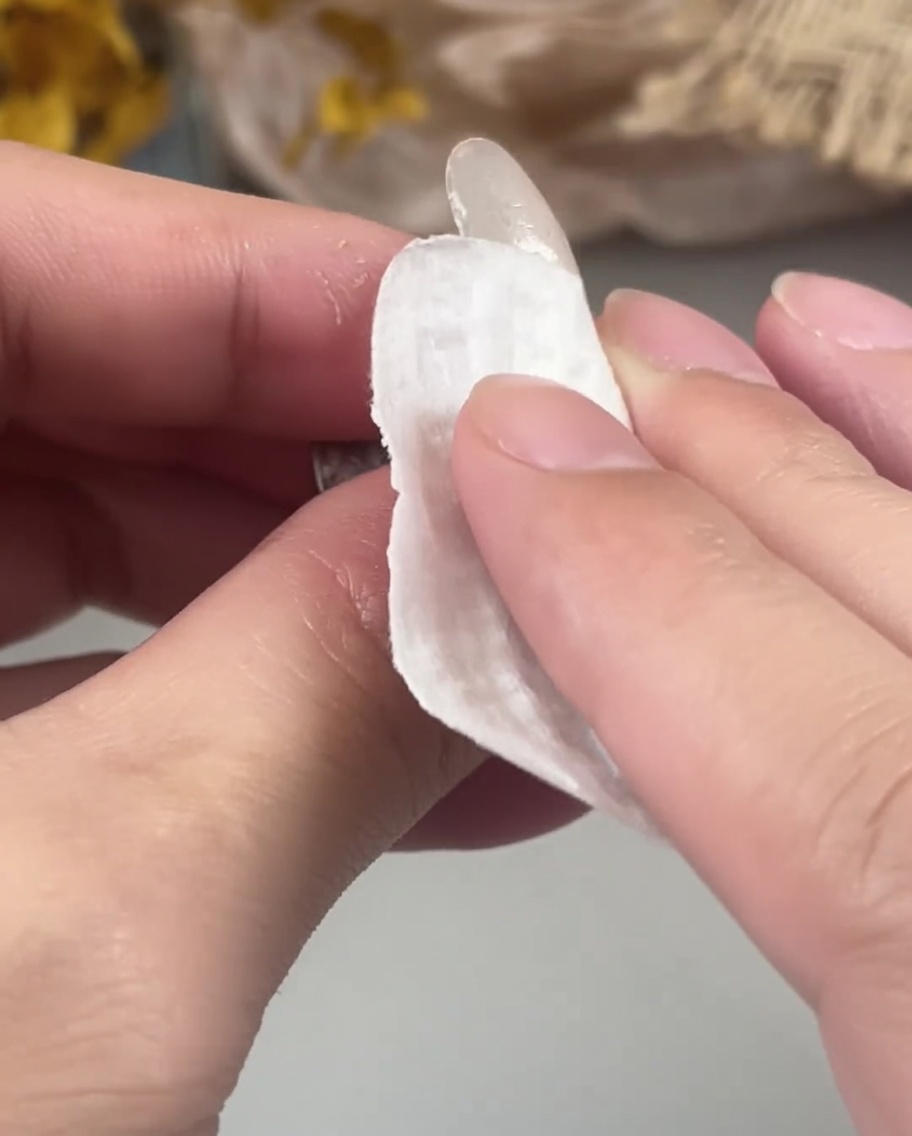
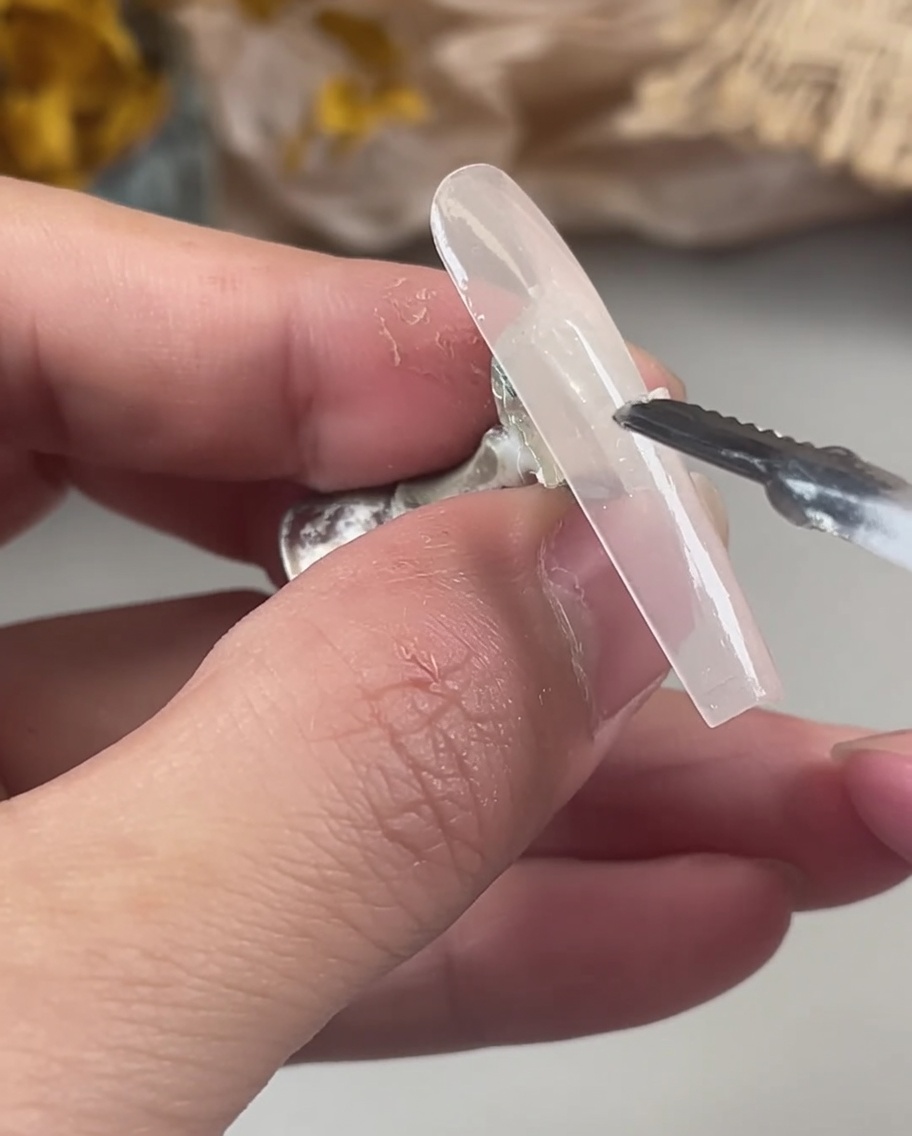
After curing the strengthening gel, use a lint-free wipe saturated with cleanser to remove the sticky inhibition layer from the surface of the nail. Removing this layer provides a clean, dry, and non-tacky surface, which makes it much easier to paint fine details and nail art accurately.
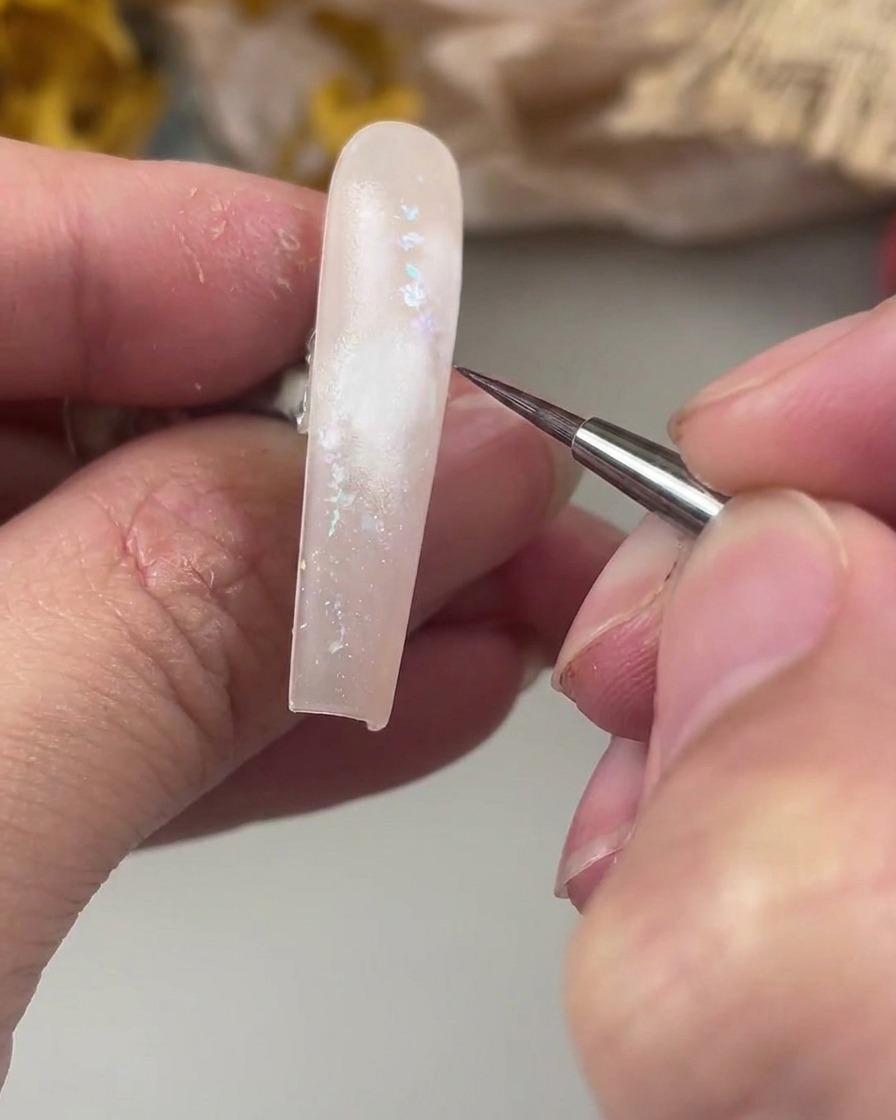
Tip: Use a fresh section of the lint-free wipe for each nail to avoid spreading uncured gel residue. - 7Dab White Paint Bases
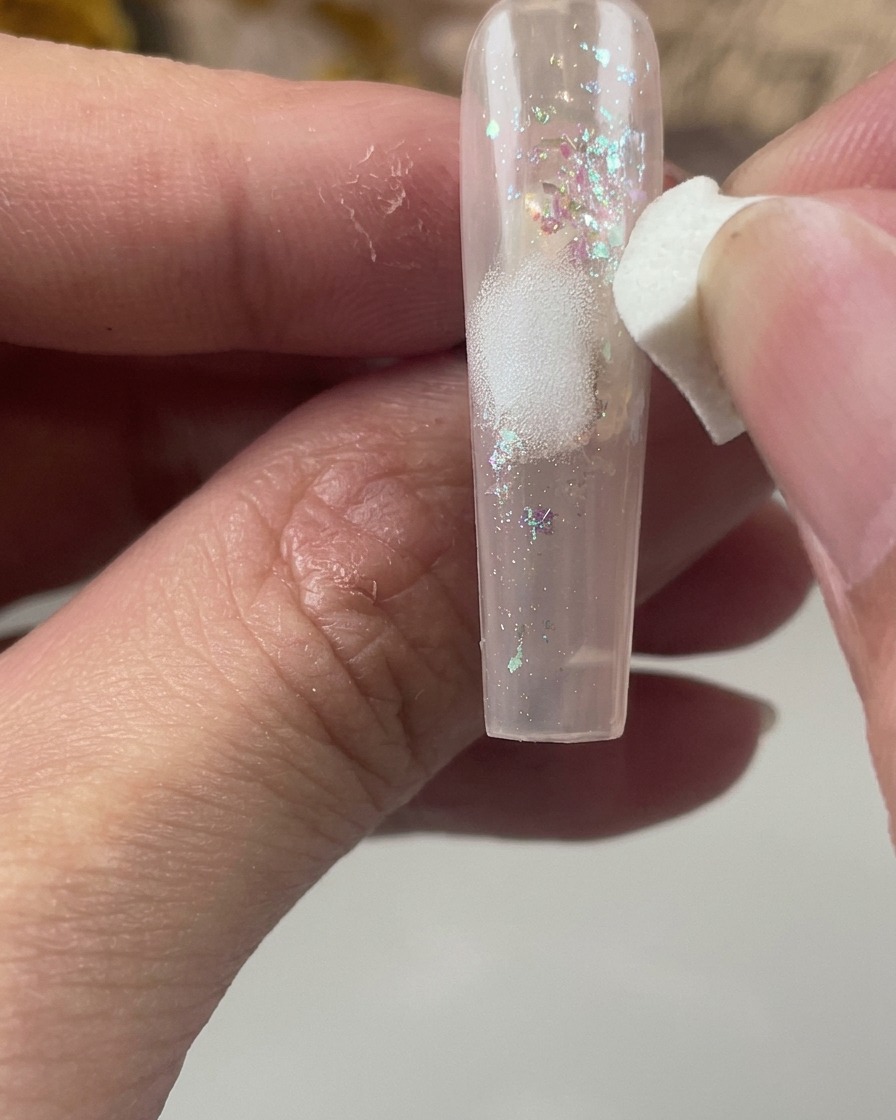
Using a small cosmetic sponge, pick up some white paint and gently dab it onto the areas of the nail where you want your watercolor flowers to bloom. This creates a diffused, opaque background that will help the sheer watercolor pigments stand out vibrantly against the glitter base.
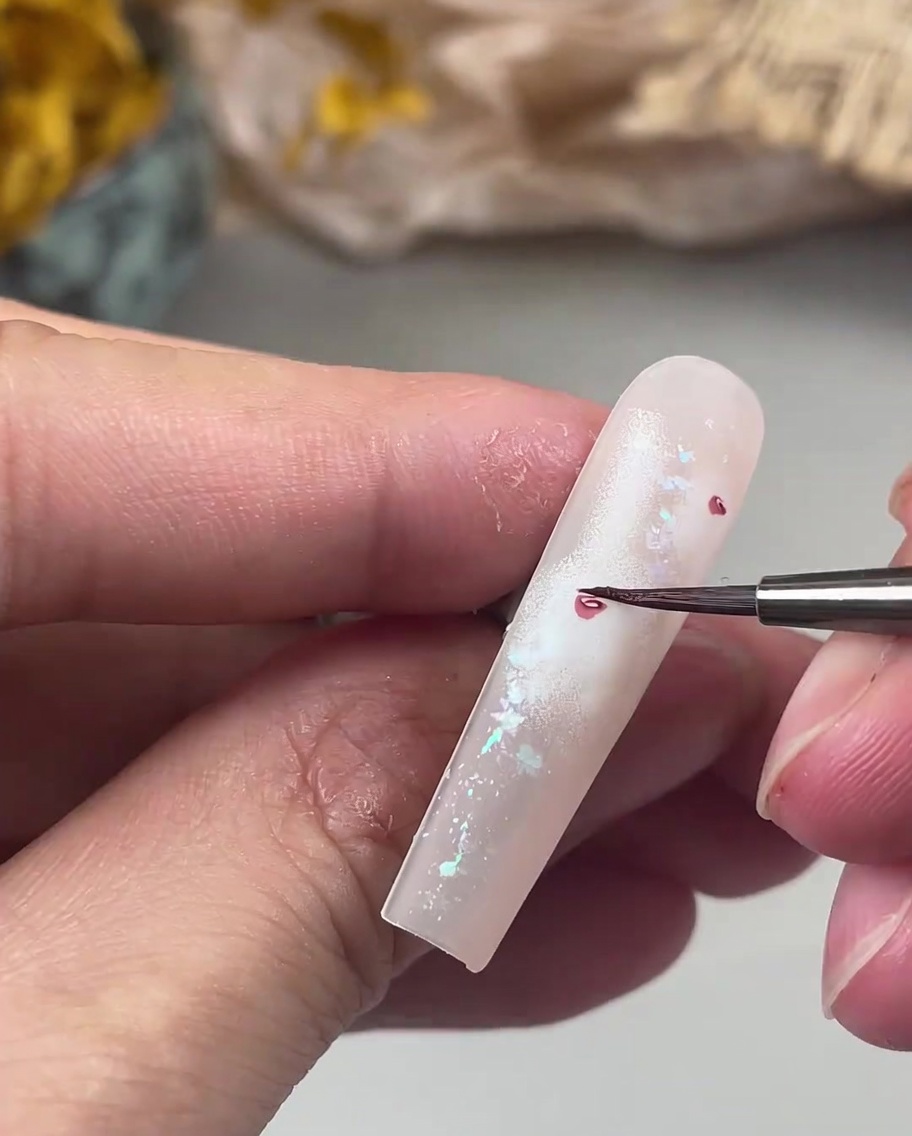
Tip: Use a light, tapping motion with the sponge to keep the edges soft and beautifully faded, avoiding harsh geometric circles. - 8Draw the Rose Hearts
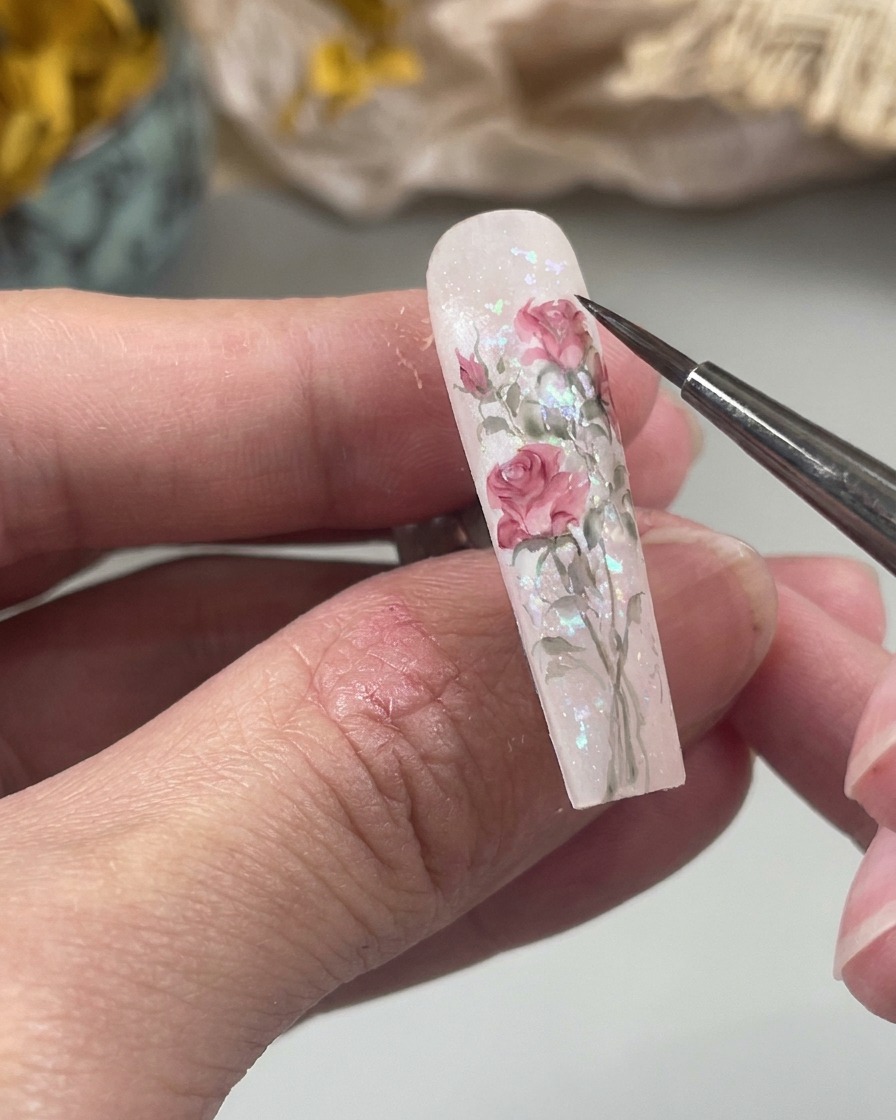
Load a very fine liner brush with red or pink watercolor paint. Position your brush right in the center of the diffused white patches you just created and begin by painting a small 6 shape to represent the tight inner core or heart of your rose.
Tip: Keep the brush slightly dry and use minimal pressure to ensure the watercolor doesnt bleed uncontrollably over the white base. - 9Paint the inner petals
Using a fine detail brush, begin painting small, curved petals around the central flower heart you previously drew. Keep the petals delicate and close to the center to build the structure of the rose. Three to four petals are generally sufficient for this initial inner layer.
Tip: Use a light touch with the detail brush to maintain thin, elegant petal lines rather than thick blobs of paint. - 10Expand the rose petals
Continue building the rose by adding additional petals to both the left and right sides of the design. These side petals help transition the small inner heart into a fuller, more realistic floral shape. Ensure your strokes follow the natural curves of the rose for a cohesive look.
Tip: Varying the size and curvature of these side petals will add depth and realism to your painted rose. - 11Fill and shape petals

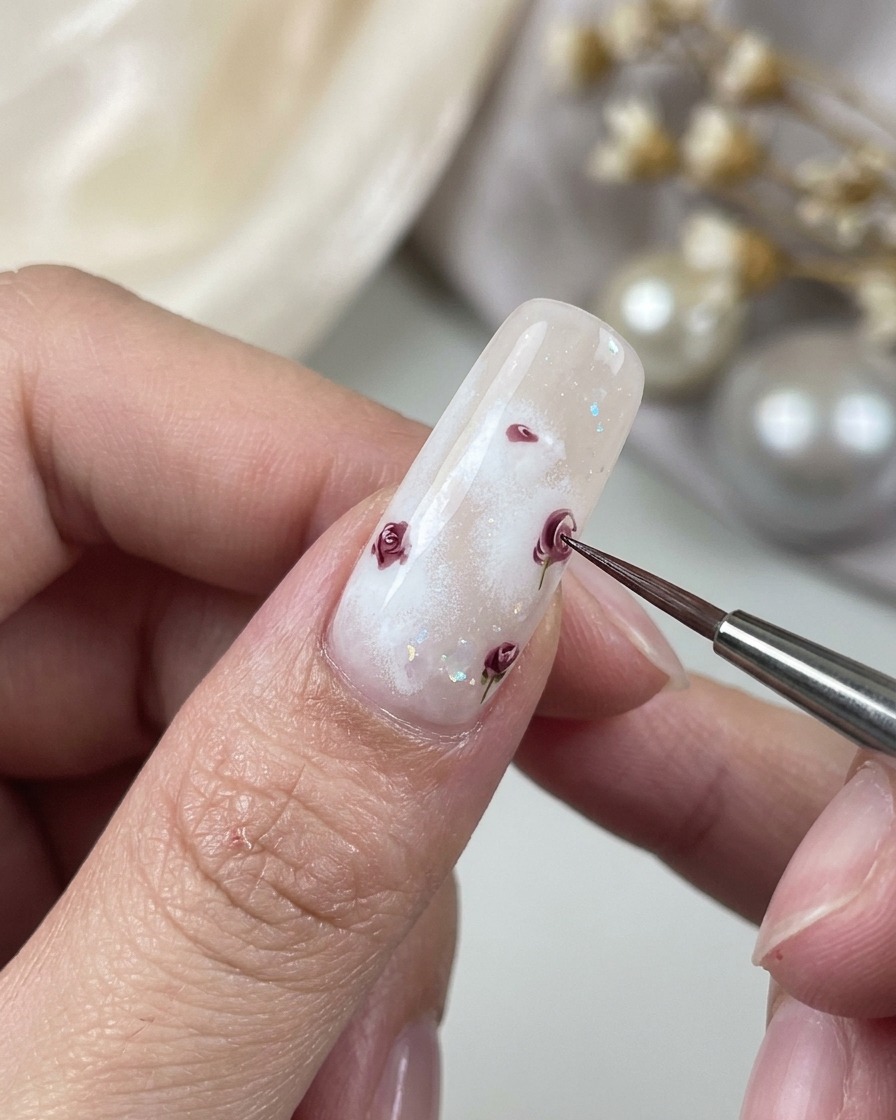
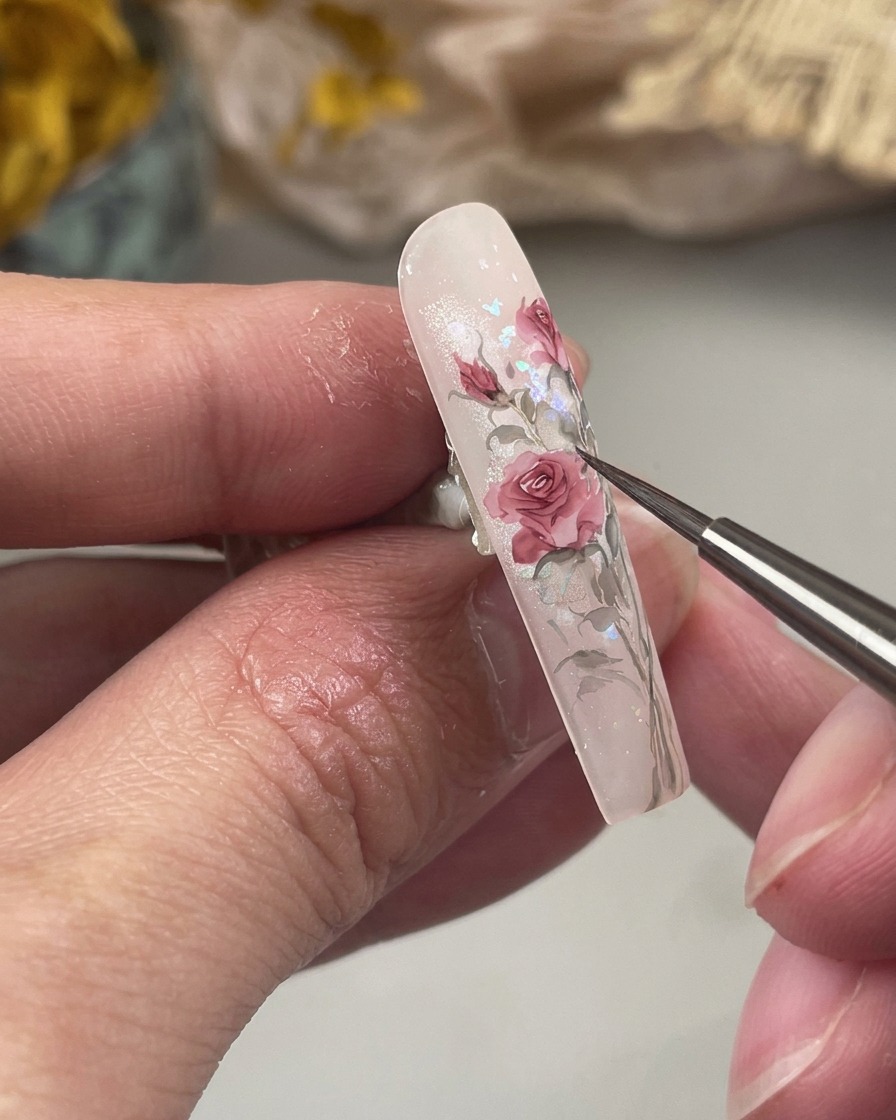
With the basic petal structure in place, go back and fill in the centers of the petals with your color to define the shape. As you fill them in, aim to form an overall oval shape for each rose. This step solidifies the design and helps the individual petals blend together into a unified flower.
Tip: Keep the edges of the petals crisp while filling in the centers to ensure the design remains distinct. - 12Add opening petals
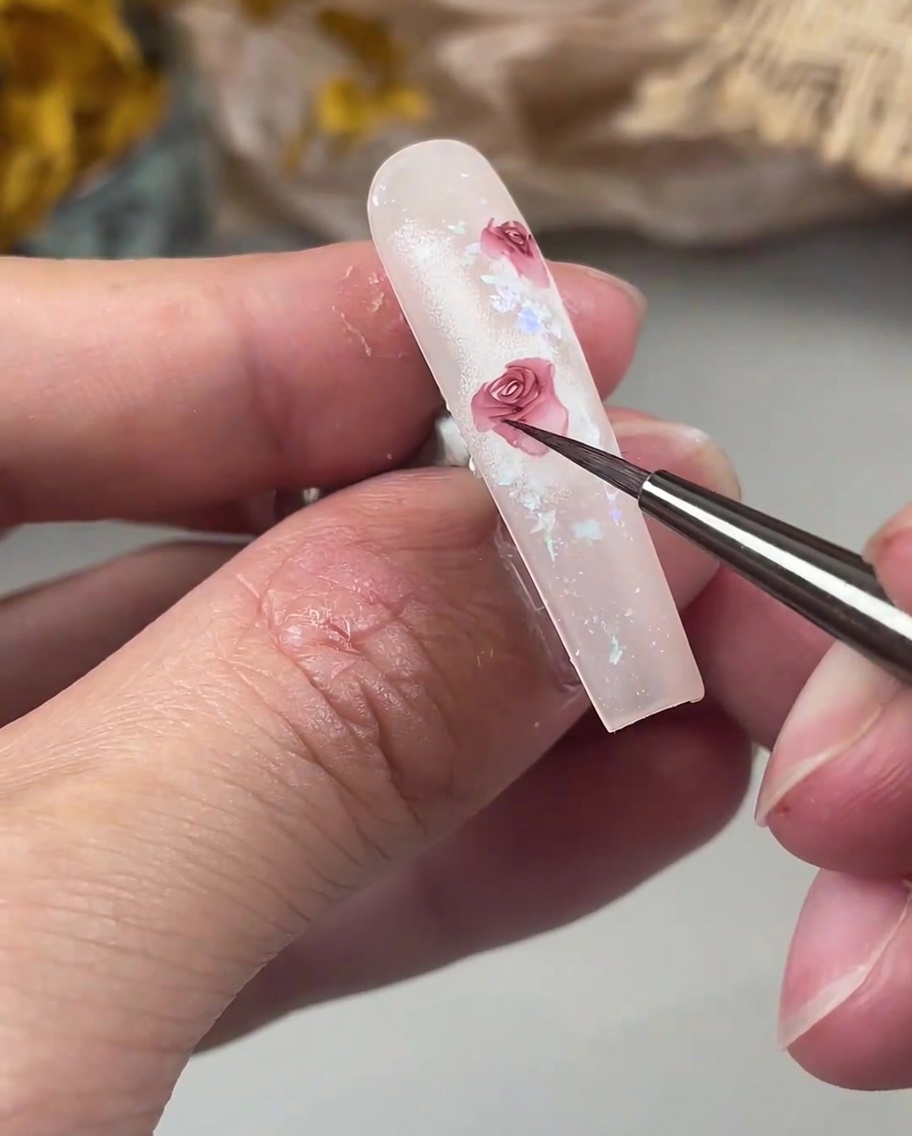
To add dimension and a realistic feel, paint additional petals that appear to be opening outwards from the main flower body. Use lighter, softer strokes to suggest petals unfurling from the center. These outer petals are crucial for making the rose look full and blooming.
Tip: Extend these outer petals slightly further than the main oval shape to create a natural, organic appearance. - 13Paint the rose buds
For the rose buds, begin by painting a simple water-drop shape using your rose color. This serves as the main body of the bud before you add the stem and greenery details.
Tip: Keep the water-drop shape soft and slightly irregular to mimic the natural appearance of a budding rose. - 14Add delicate stems
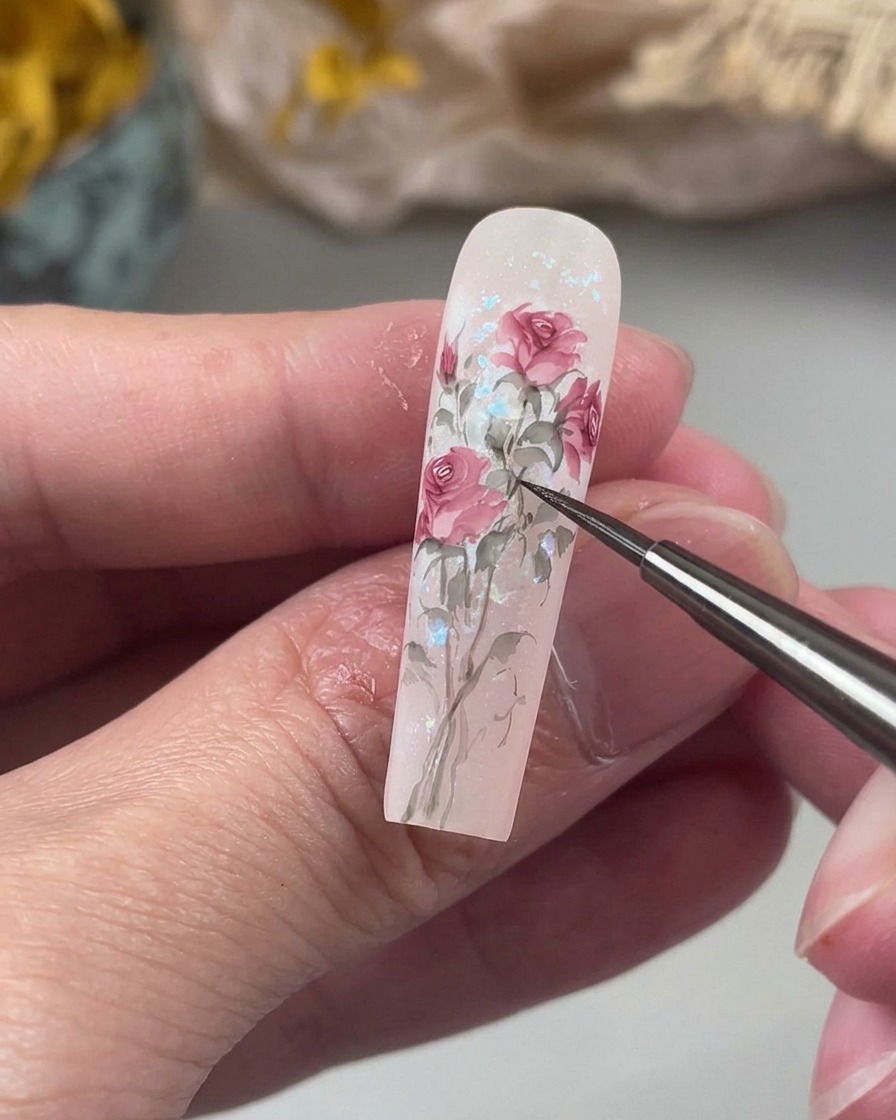
Using a thin detail brush, draw curved, organic stems connecting your painted roses and buds. Avoid making the lines too straight to ensure the design looks natural and flows gracefully across the nail.
Tip: Use a light touch to create slender, elegant stems that dont overpower the floral elements. - 15Add foliage and leaves
At the base of each flower and along the stems, paint small, delicate leaves. Elongate the tips of the leaves and add them into any empty spaces to fill out the design and add depth to your watercolor rose garden.
Tip: Adding leaves in different sizes and positions helps to break up lines and makes the overall composition look more lush and professional.