Blue Heart French Tip Nails — Step-by-Step Nail Art Tutorial
Elevate your classic manicure with this chic blue heart French tip design. Follow our easy guide to create precise lines and sparkling glitter accents.
This unique nail design puts a romantic twist on the traditional French manicure by incorporating a delicate blue heart at the base. It is a perfect way to experiment with fine-line nail art while keeping a clean, sophisticated look. The addition of silver glitter framing adds just the right amount of shimmer to make your nails stand out.

Steps
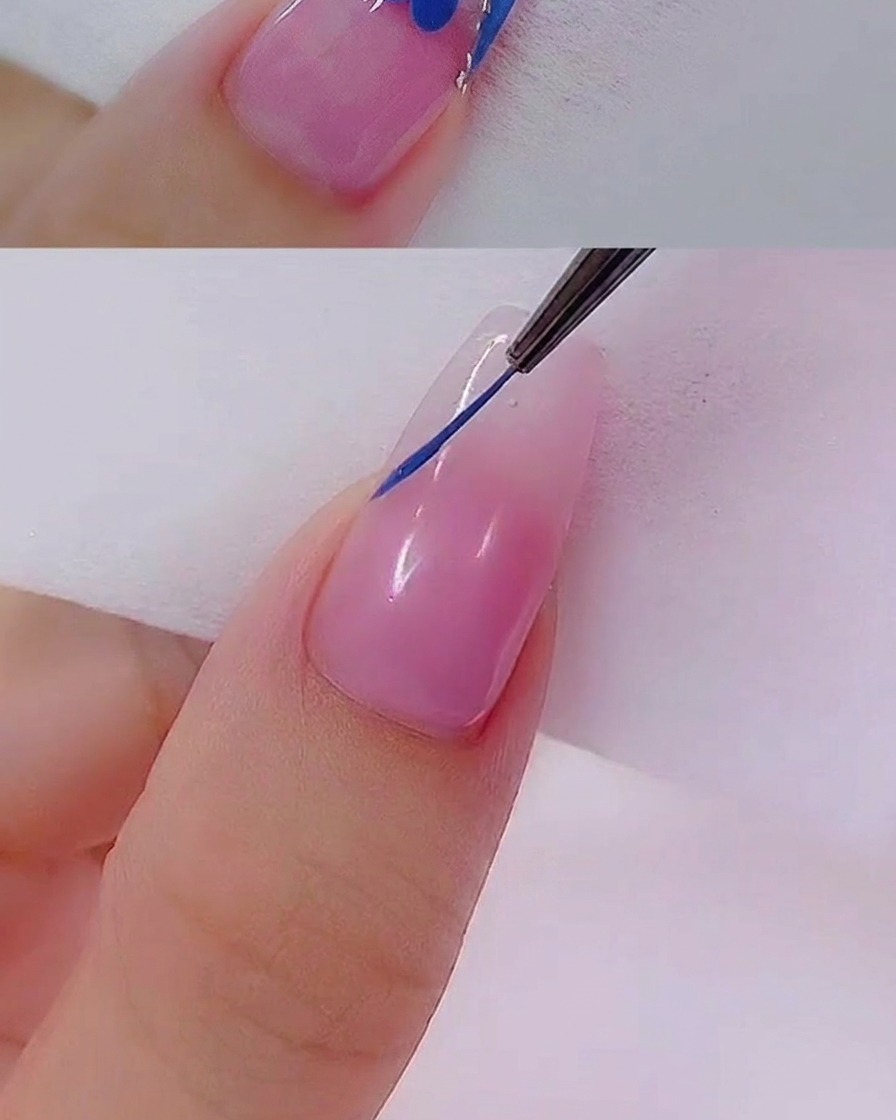
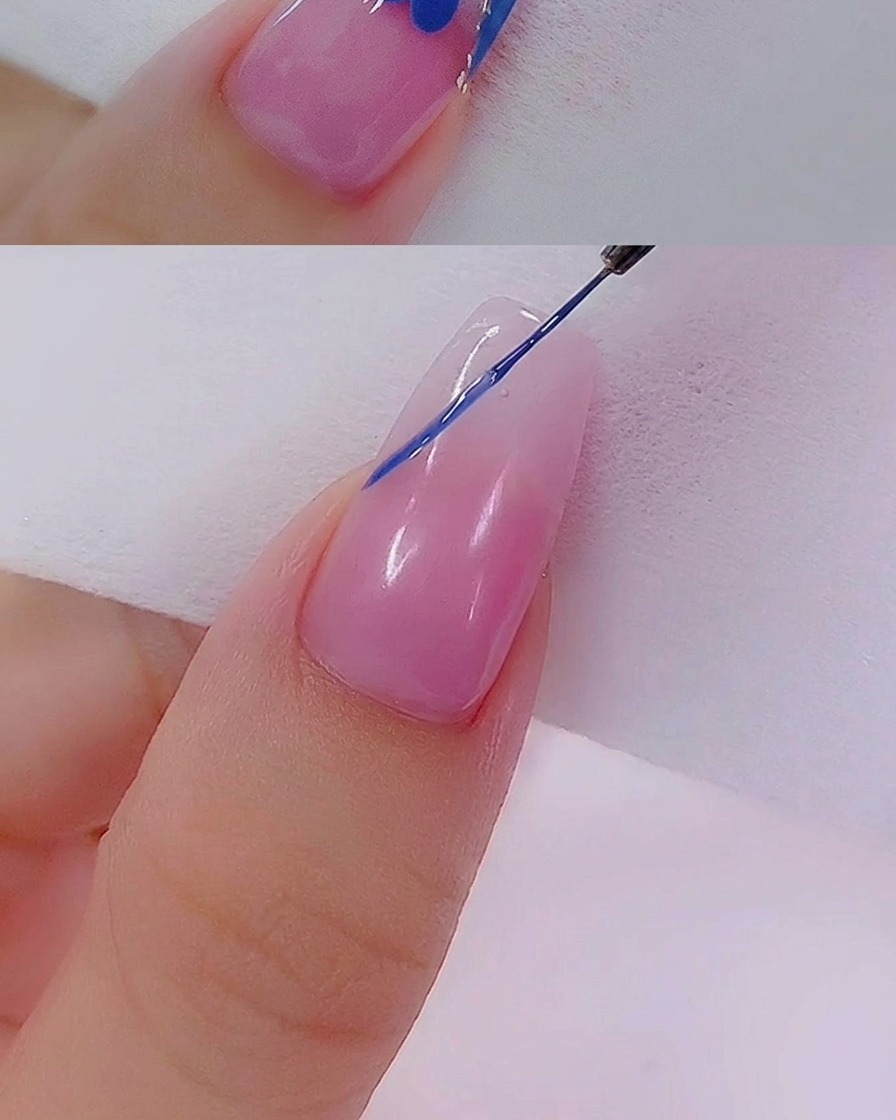
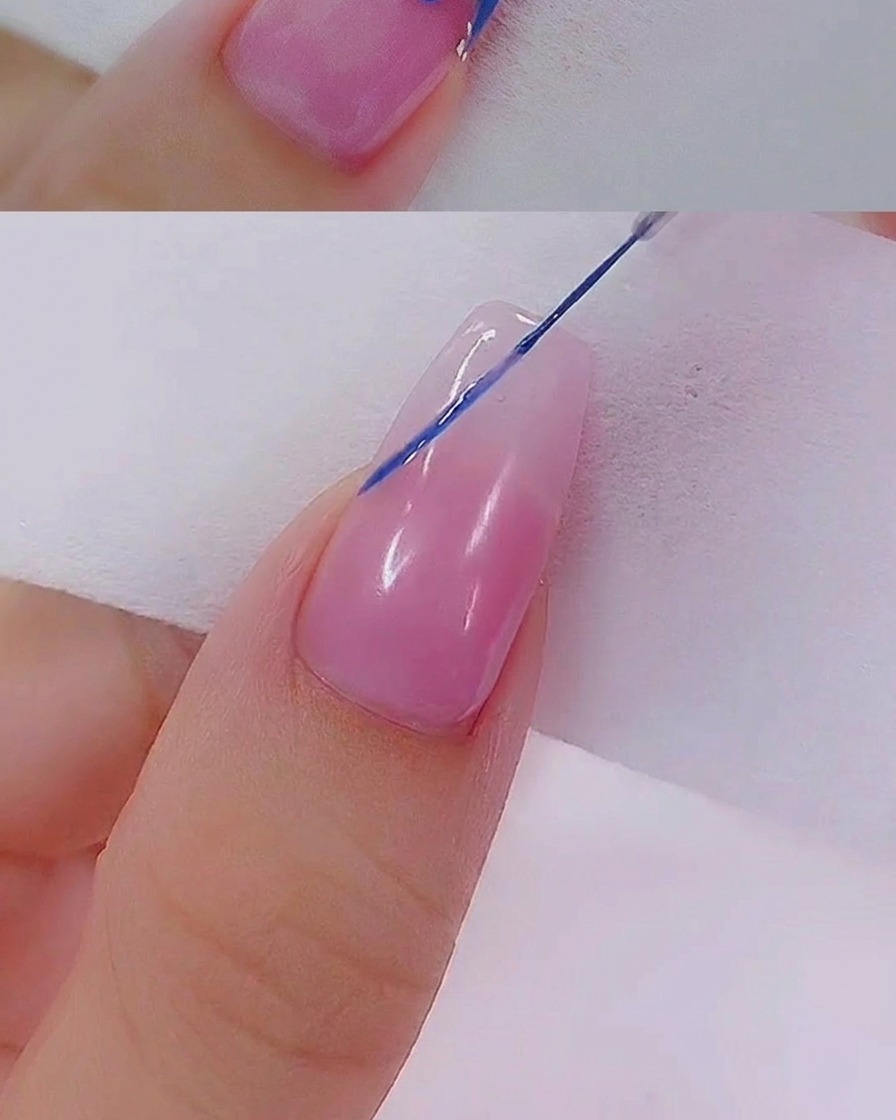
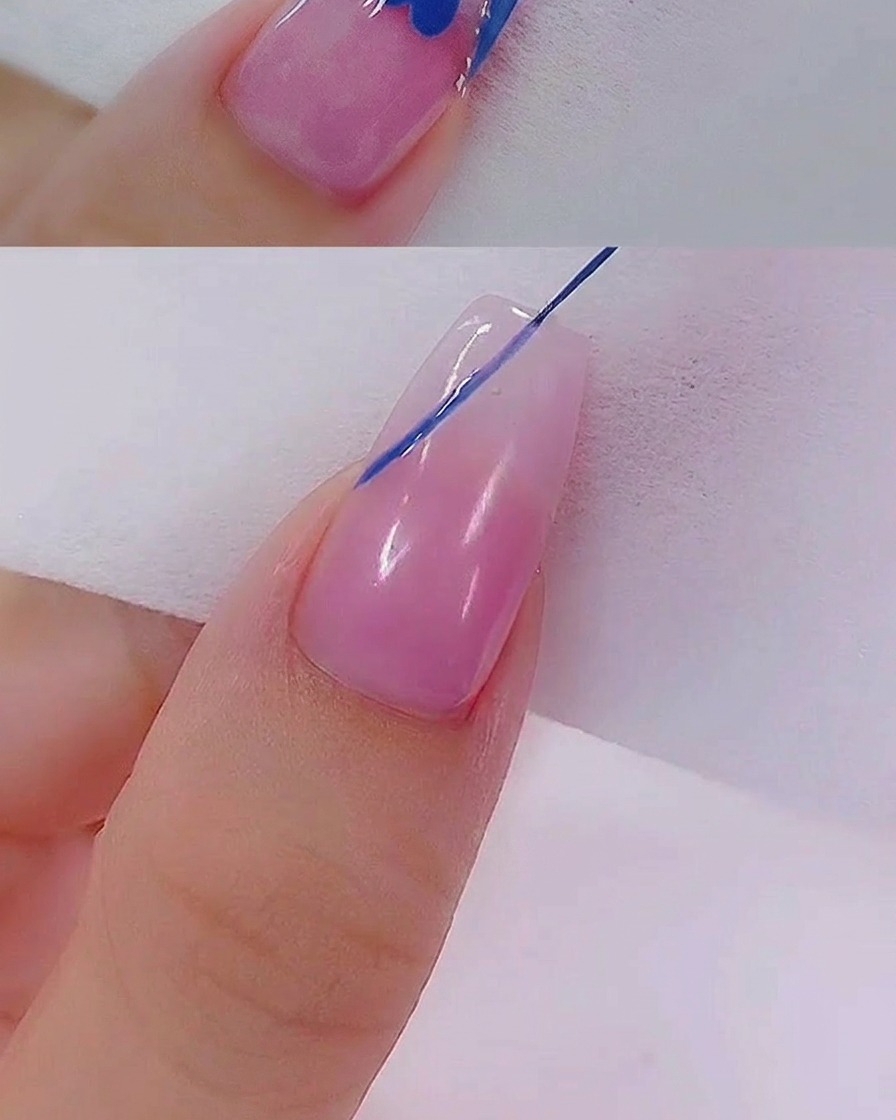
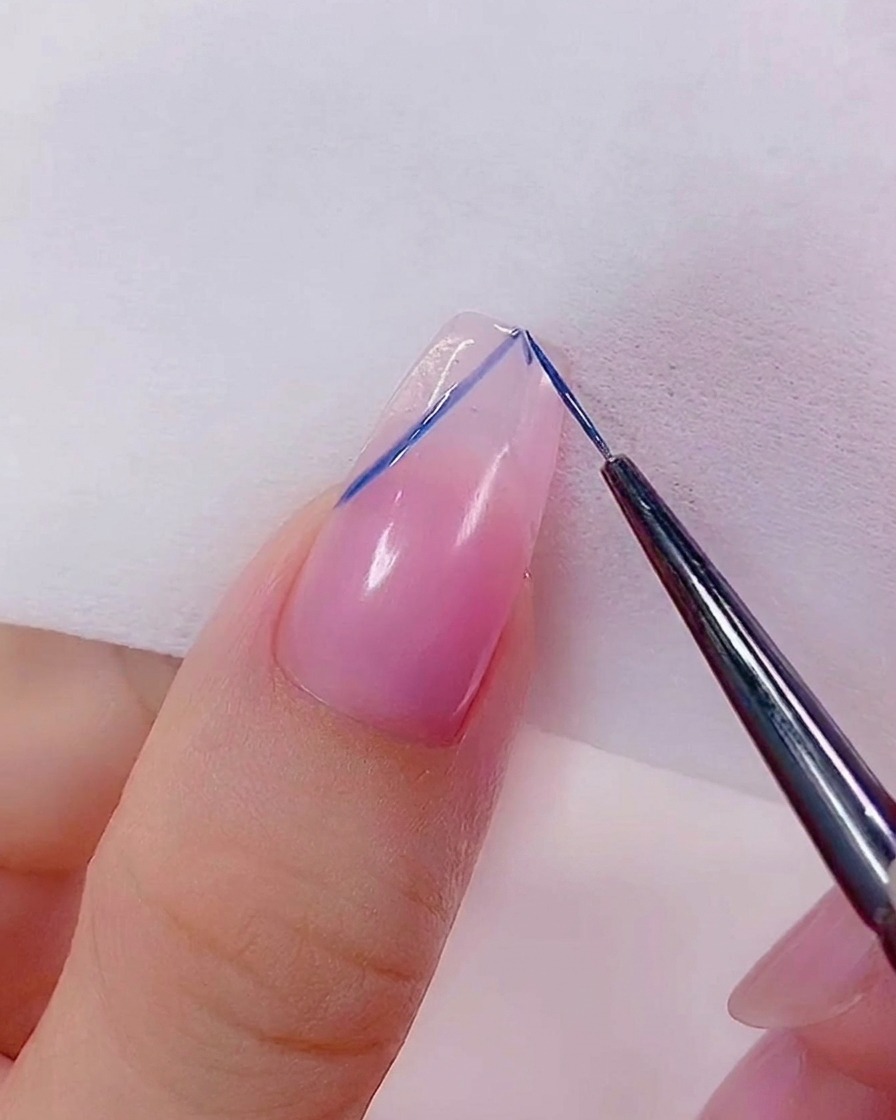
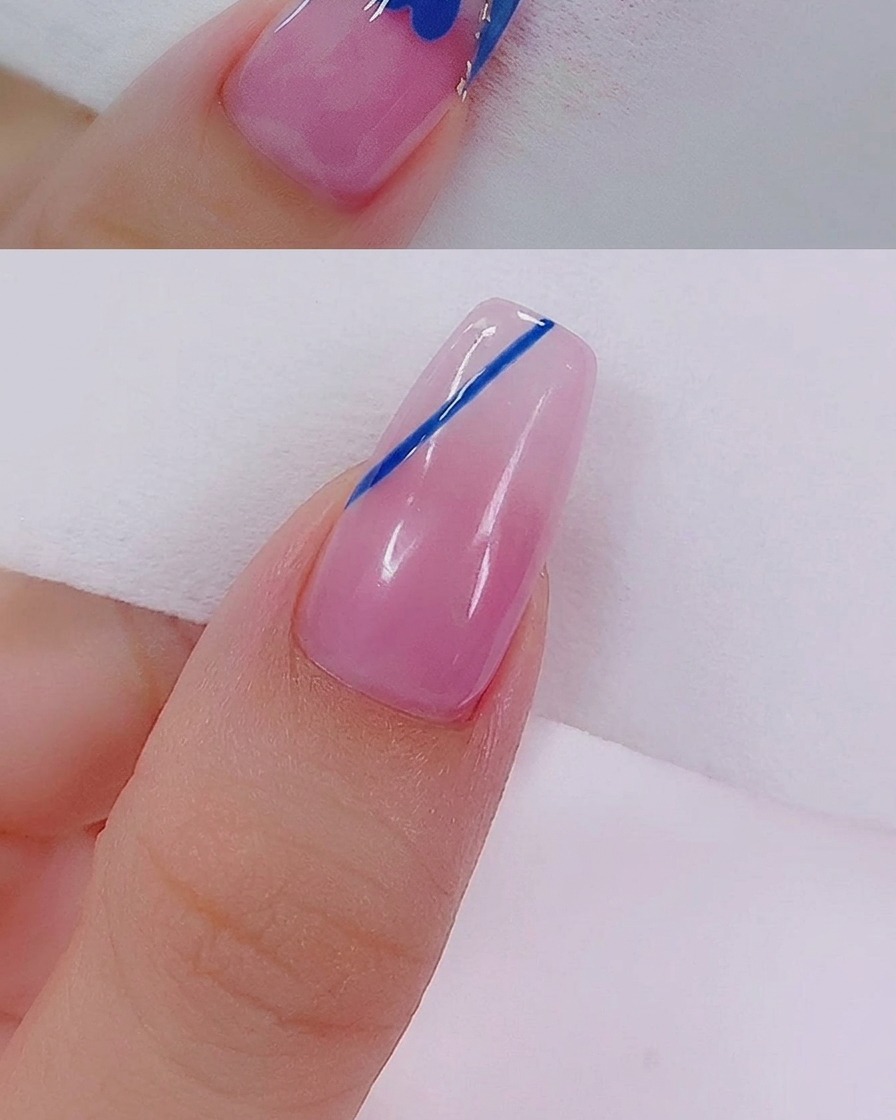
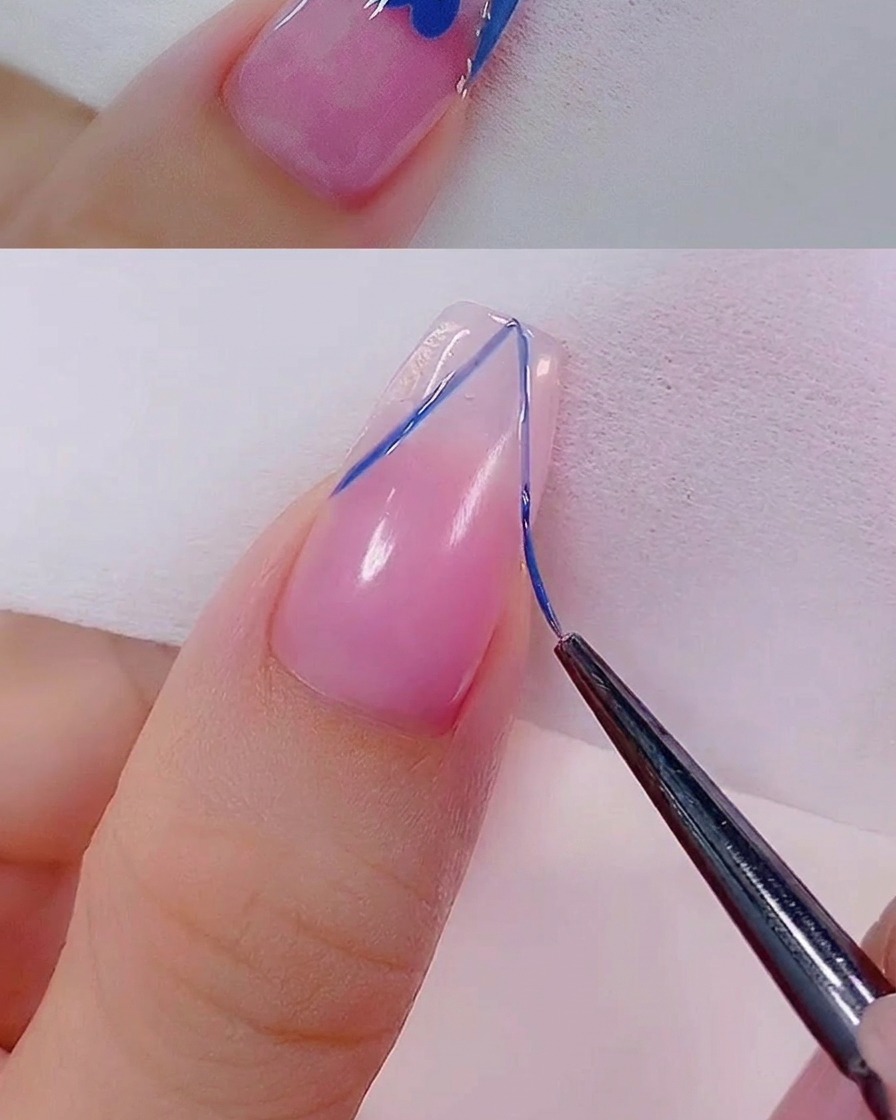
- 1Outline the French tip
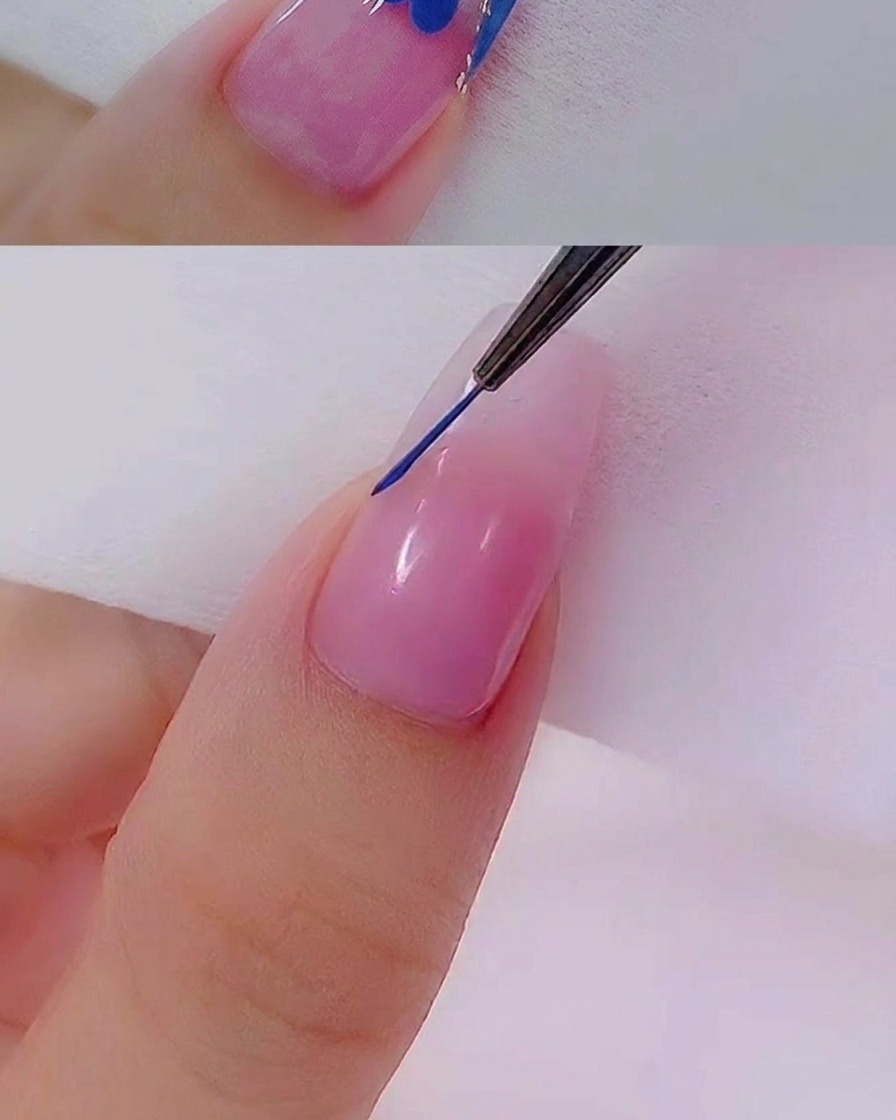
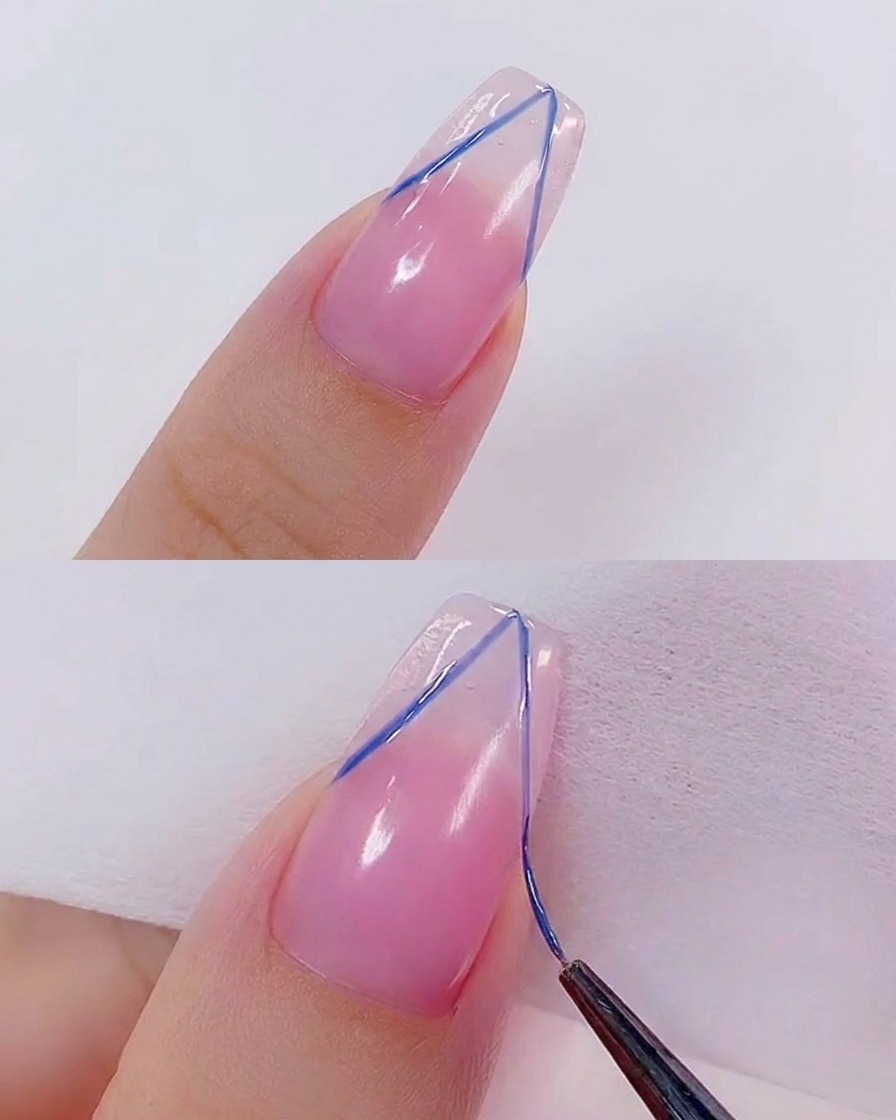
Using a fine liner brush, carefully draw a crisp line to define the border of your French tip. This creates a clear guide for filling in the color and ensures a neat, symmetrical shape across the nail.
Tip: Keep your hand steady by anchoring your pinky finger on the table while you draw. - 2Fill the French tip
Using a flat brush, gently fill the defined French tip area with your chosen blue gel polish. Work slowly to maintain clean lines along the border you previously created, ensuring smooth coverage.
Tip: Apply the gel in thin layers to avoid a bulky look at the edge of the tip. - 3Apply second coat
Apply a second, thin layer of blue gel over the French tip. This ensures complete opacity and a rich, even color saturation for a professional finish.
Tip: Ensure the first layer is fully cured before applying the second to prevent wrinkling. - 4Place dots for heart
Using a dotting tool, carefully place two small, equal-sized dots of blue gel side-by-side in the center of the nail. These will serve as the base for creating your heart design.
Tip: Use a small amount of product to ensure the dots dont spread too far. - 5Form the heart
Take a liner brush and gently drag the bottom of the two dots downwards to create the pointed base of the heart. Connect the tops of the dots to create the characteristic heart dip in the center.
Tip: Work with a light touch to keep the edges of the heart sharp. - 6Refine the heart
Use your liner brush to smooth out any uneven edges and sharpen the curves of the heart design. Ensure the shape is symmetrical and clearly defined before curing the gel.
Tip: Clean your brush with a little base coat or cleanser to keep the bristles crisp while refining. - 7Fill the heart design
Using your liner brush, carefully fill in the heart shape with blue gel. Ensure the edges are clean and the color is applied evenly across the design.
Tip: Apply in thin layers to avoid the gel pooling at the edges of your heart. - 8Add glitter detail
Dip your fine liner brush into the rose gold glitter gel. Carefully trace a thin line along the border of the French tip to add a delicate, shimmering accent.
Tip: Keep a steady hand and use very little pressure to ensure a crisp, fine line. - 9Apply top coat
Apply a final layer of clear top coat over the entire nail to seal the design and provide a high-gloss finish. Be sure to cap the free edge for long-lasting wear.
Tip: Do not rush this step; a smooth top coat application protects your nail art from chipping.
