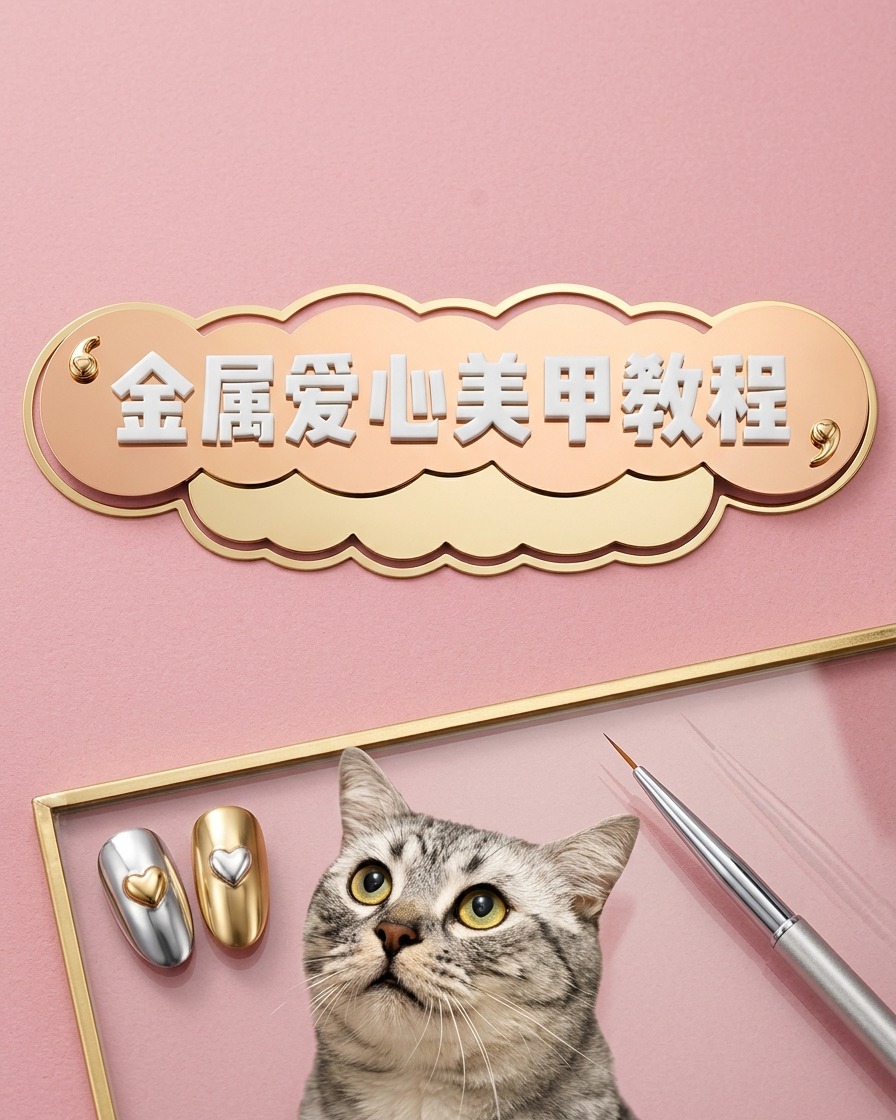
Metallic Heart Accent Gel Nails — Beginner Step-by-Step Tutorial
Create a stunning metallic heart accent nail with this easy gel tutorial. Learn the professional technique for securing 3D charms for a long-lasting shine.
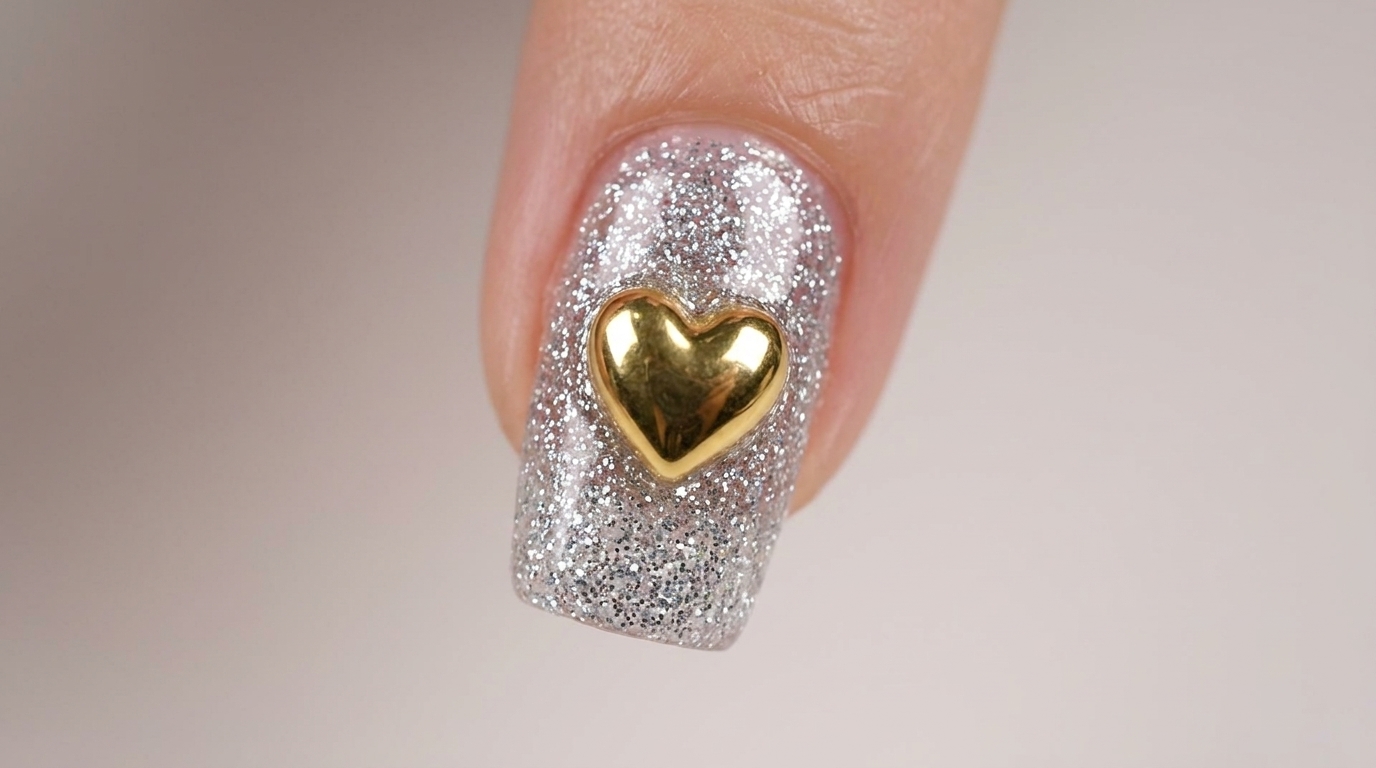
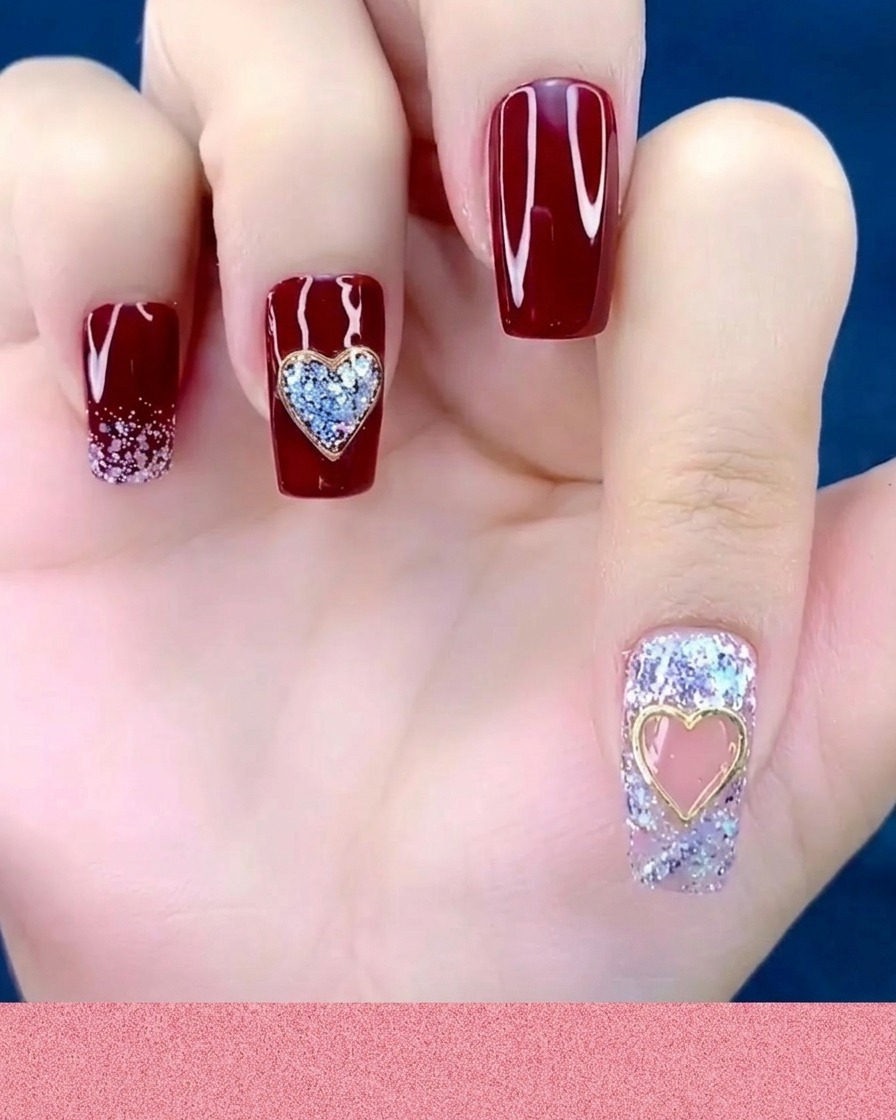
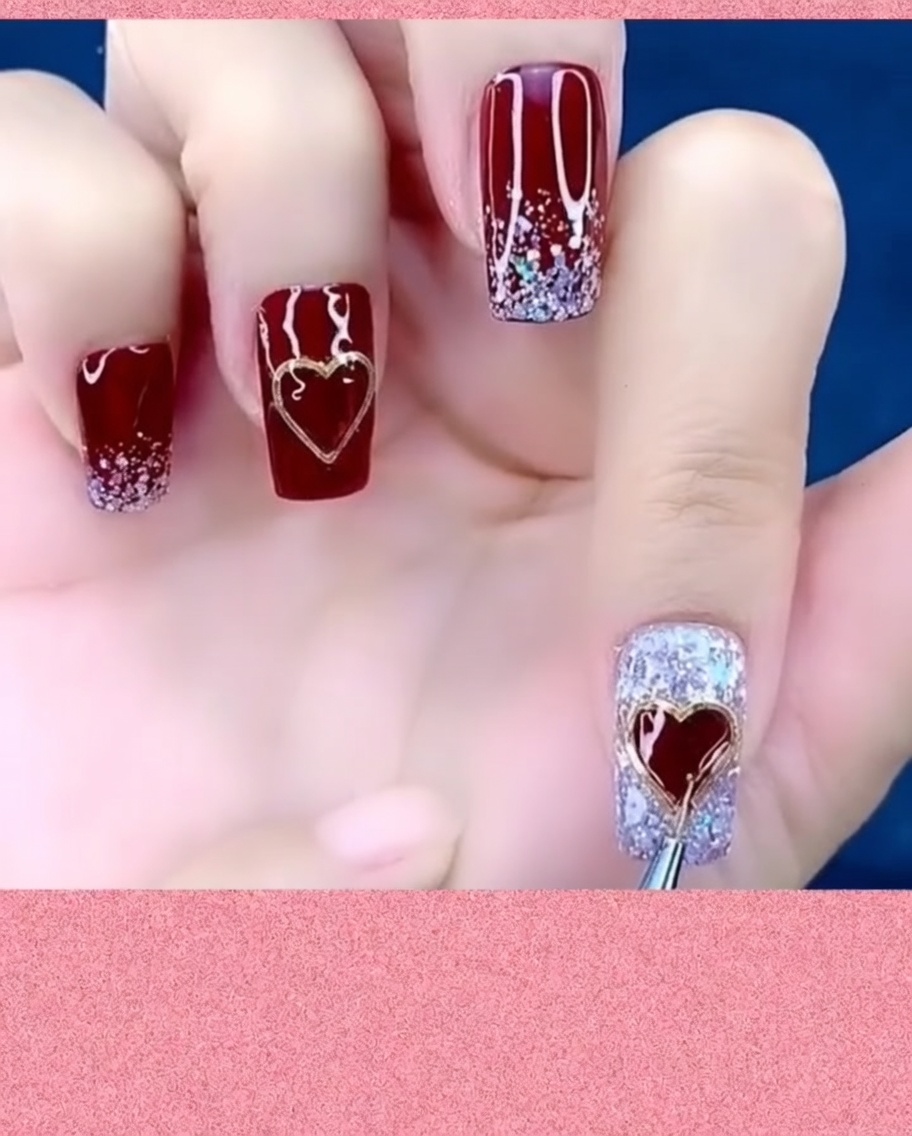
Adding a 3D charm is a simple yet effective way to elevate a classic glitter manicure. This look combines the texture of sparkling silver glitter with a polished gold metallic heart for a chic and playful finish. Follow these steps to learn how to properly secure metal charms so they stay put and look professional every time.
Steps
- 1Apply glitter gel base coat
Apply a thin layer of glitter gel base coat to the accent nail. Ensure even coverage across the nail plate for a sparkling foundation. Cure under your UV or LED lamp as required.
Tip: For a more opaque look, apply two thin layers instead of one thick layer. - 2Pick up the metal heart charm
Using a pair of precision tweezers, carefully pick up the metal heart charm. Holding it securely with the tweezers makes it easier to place exactly where you want it on the nail bed once the adhesive is applied.
Tip: Make sure your tweezers are clean and have a good grip to prevent the charm from slipping or flying away during placement. - 3Apply adhesive gel

Apply a small, precise drop of clear adhesive gel to the center of the nail where the charm will be placed. Ensure the drop is sufficient to hold the charm but not so large that it spreads beyond the perimeter of the heart.
Tip: Using a dotting tool or a fine liner brush helps control the amount of adhesive gel, ensuring a clean placement. - 4Place the metal charm
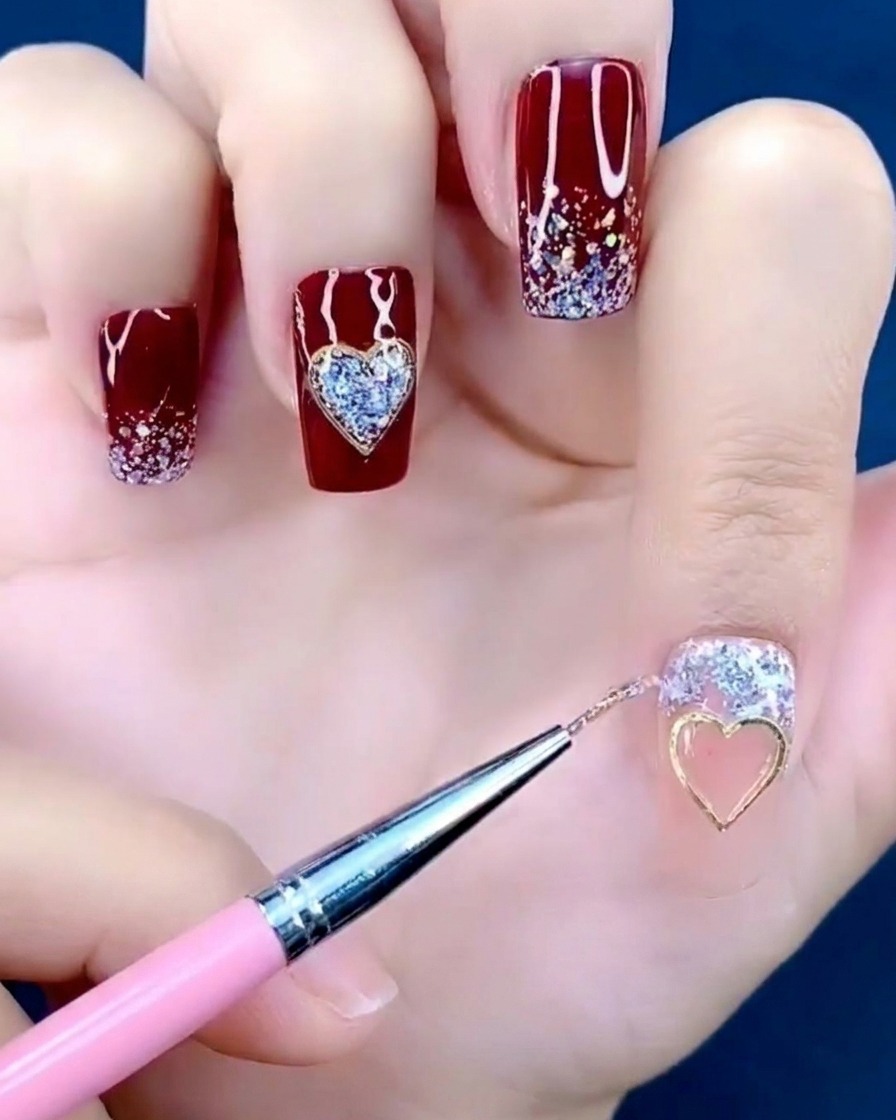
Using tweezers, carefully pick up the metal heart charm and place it directly into the center of the applied adhesive gel. Adjust the position quickly if needed before the adhesive spreads too far.
Tip: Keep the charm level as you place it to ensure it sits flush against the nail surface. - 5Secure the charm
Gently press down on the metal heart charm to ensure it is fully seated in the adhesive gel. This helps the charm conform to the curve of the nail and prevents it from catching on objects later.
Tip: Applying slight pressure helps the charm bond securely to the gel surface. - 6Seal with top coat
Apply a thin layer of top coat over the entire nail, ensuring it goes around the edges of the metal heart charm to seal it in place. This protects the charm and provides a smooth, glossy finish.
Tip: Be careful not to cover the entire face of the metal charm with a thick layer of top coat, as this can dull the metallic shine. - 7Cure the top coat

Place your nails under the UV/LED lamp to fully cure the top coat. Follow the recommended curing time to ensure the metallic heart charm is securely sealed and the finish is hard and glossy.
Tip: Keep your fingers flat to ensure the light reaches all parts of the nail evenly. - 8Remove the inhibition layer
Using a lint-free wipe soaked in a nail cleanser, gently wipe the surface of the cured nails. This removes the tacky inhibition layer, revealing a high-gloss finish.
Tip: Use a fresh section of the wipe for each nail to avoid spreading residue.