Metallic Gold Rose
Aurora Base — Detailed Nail Art Tutorial
Master the art of creating metallic gold roses on a dreamy aurora base with this detailed tutorial designed for almond nails.
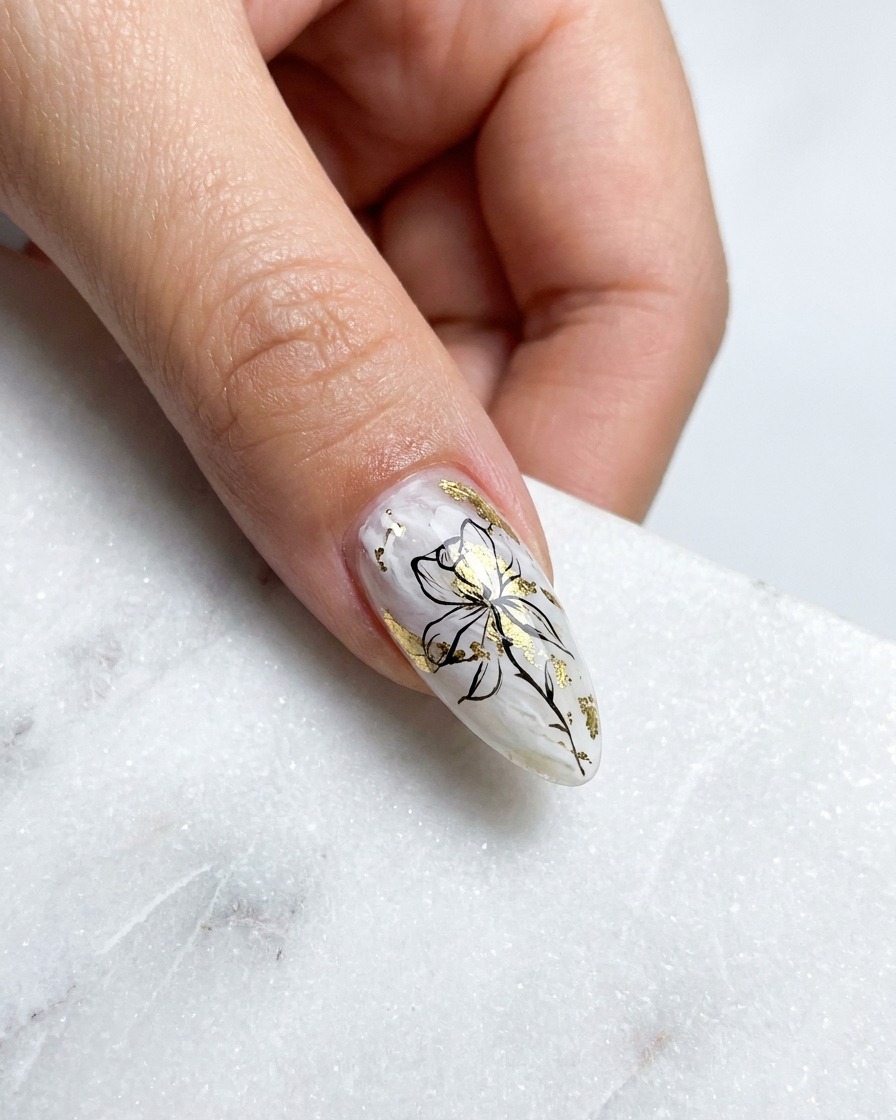
This sophisticated nail art combines the ethereal glow of aurora transfer foil with the precision of 3D metallic painting gel. Perfectly suited for almond-shaped nails, the design balances soft iridescent textures with bold luxurious gold accents, making it ideal for those looking to master fine detail work.
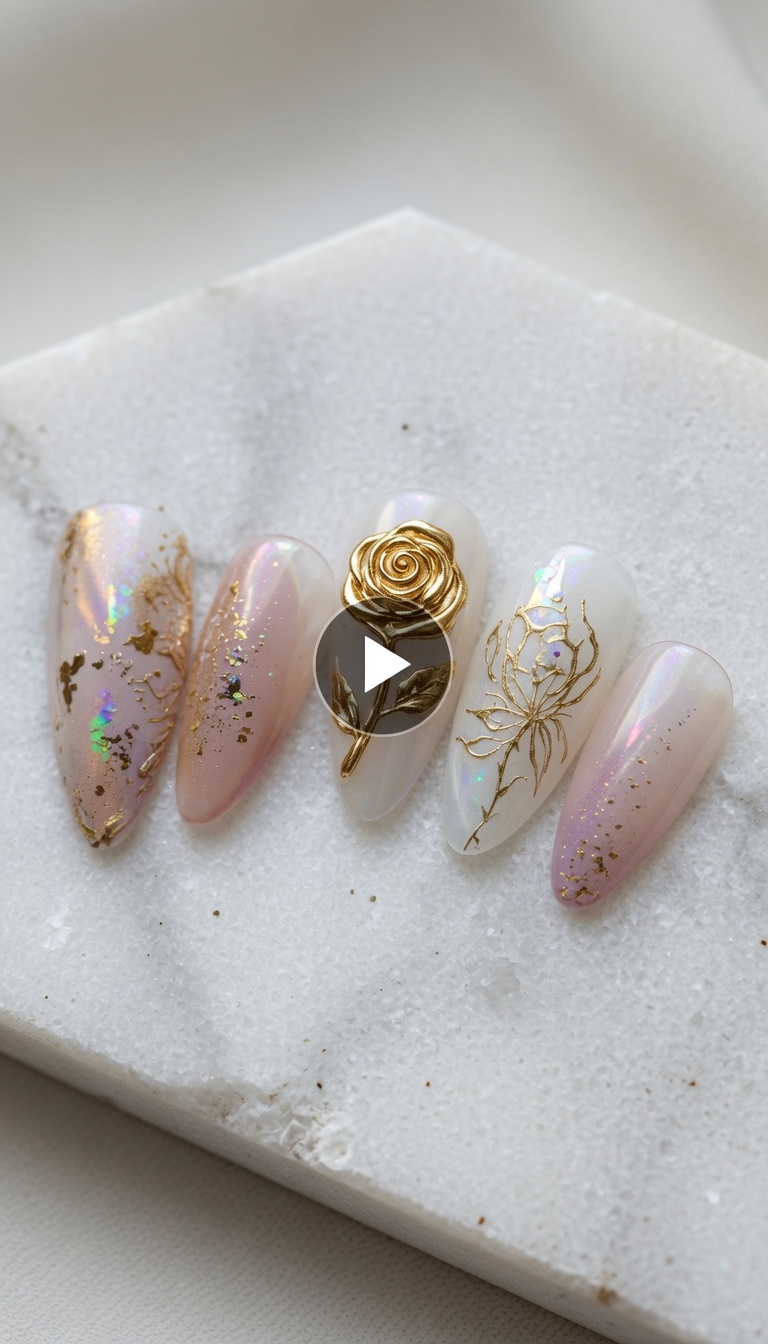
Steps
- 1Prepare the Milky Base
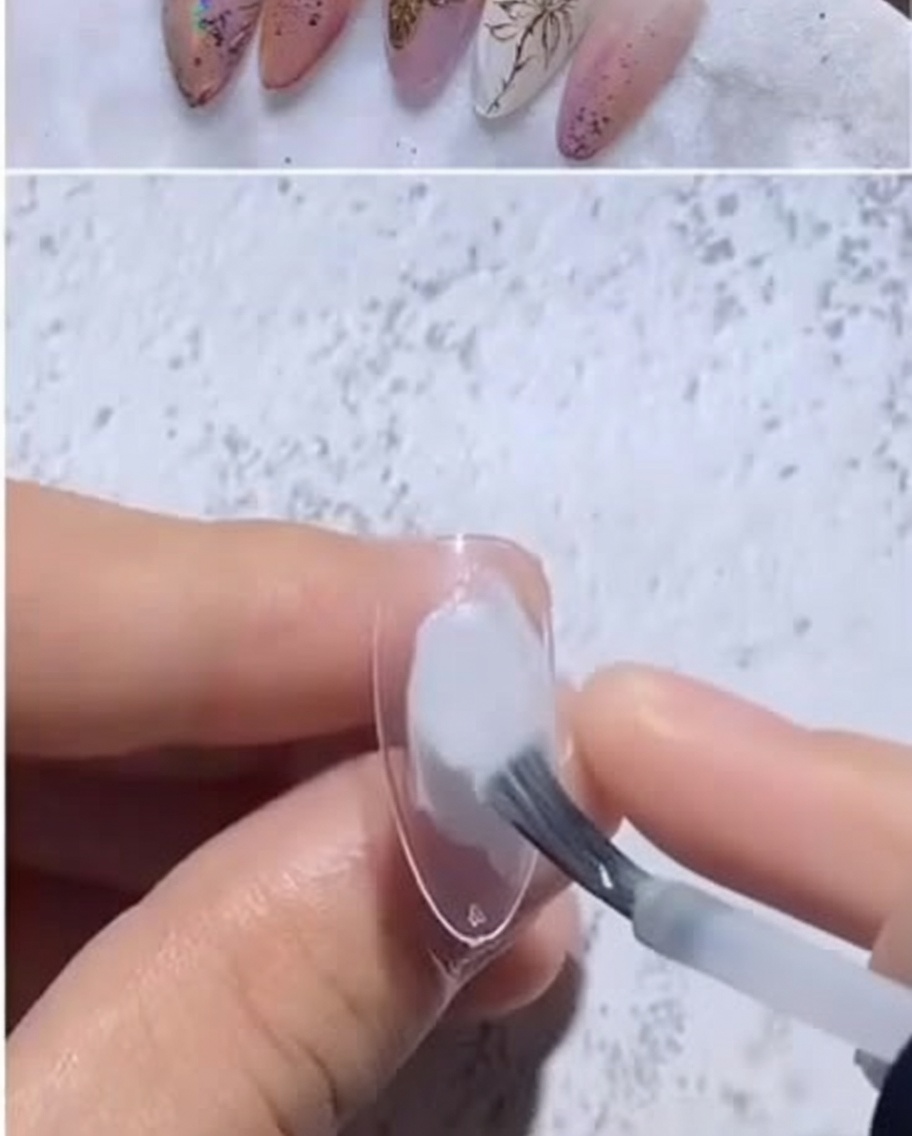
Apply a small bead of milky white gel polish to the center of the nail bed. Using your brush, gently spread it to create a soft, sheer foundation, ensuring you leave the surface wet for the next stage.
Tip: Do not cure the gel yet; keeping it wet is essential for the next blending step. - 2Diffuse the Milky Base
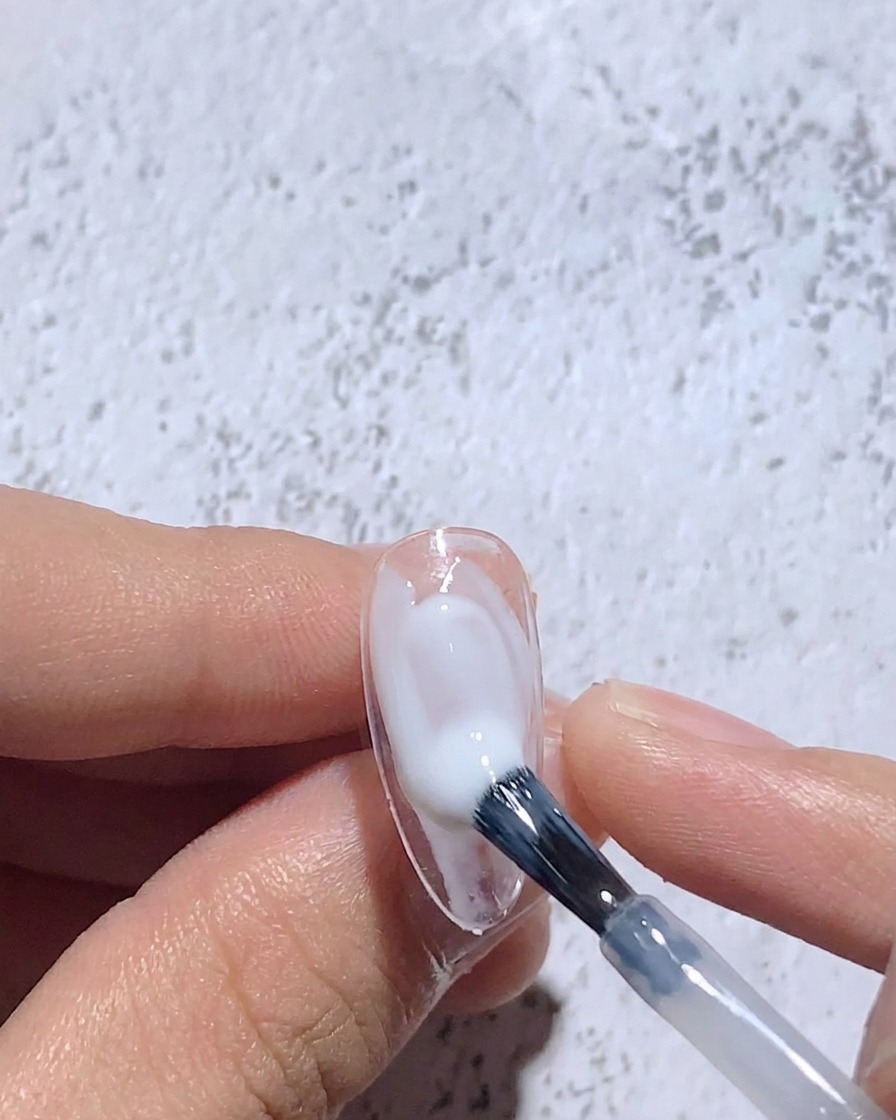
Immediately use a clean brush to gently blend and diffuse the edges of the wet milky white gel outward, then cure to set the soft-focus foundation.
Tip: Work lightly to avoid removing too much product; the goal is a soft gradient transition. - 3Transfer the Aurora Foil
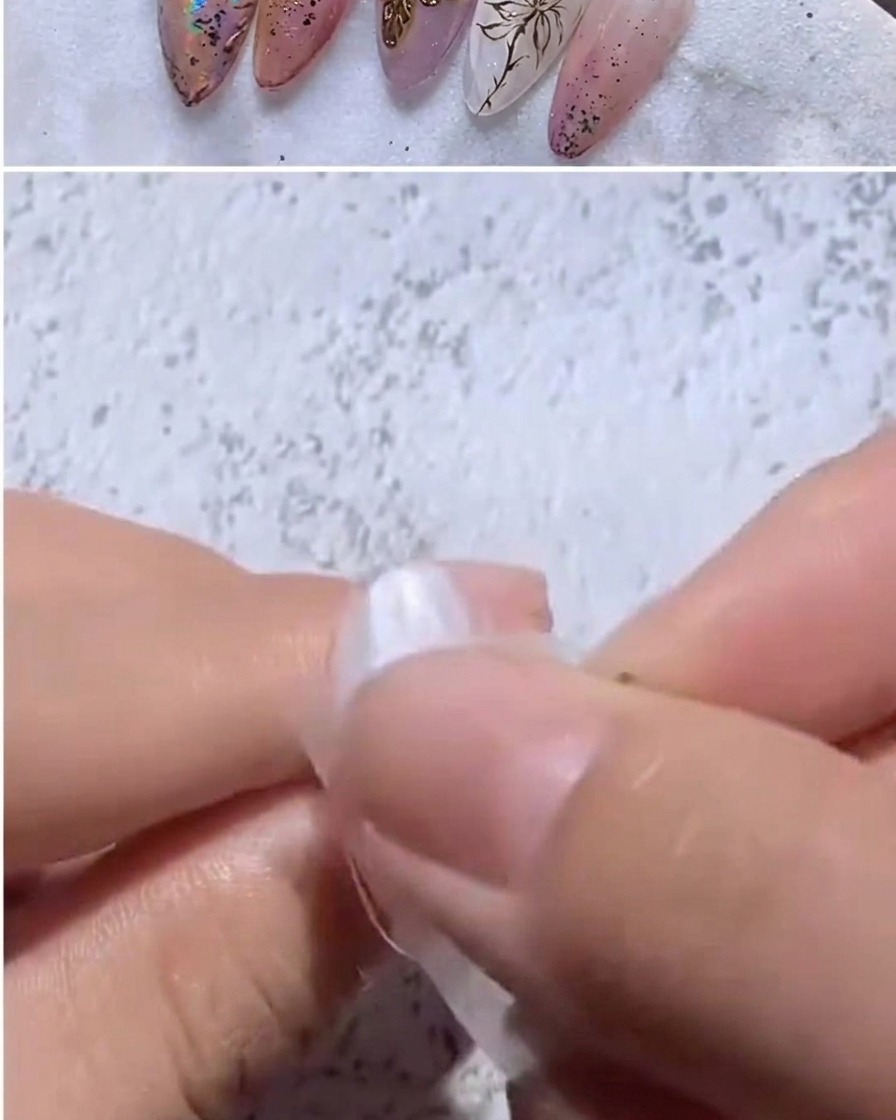
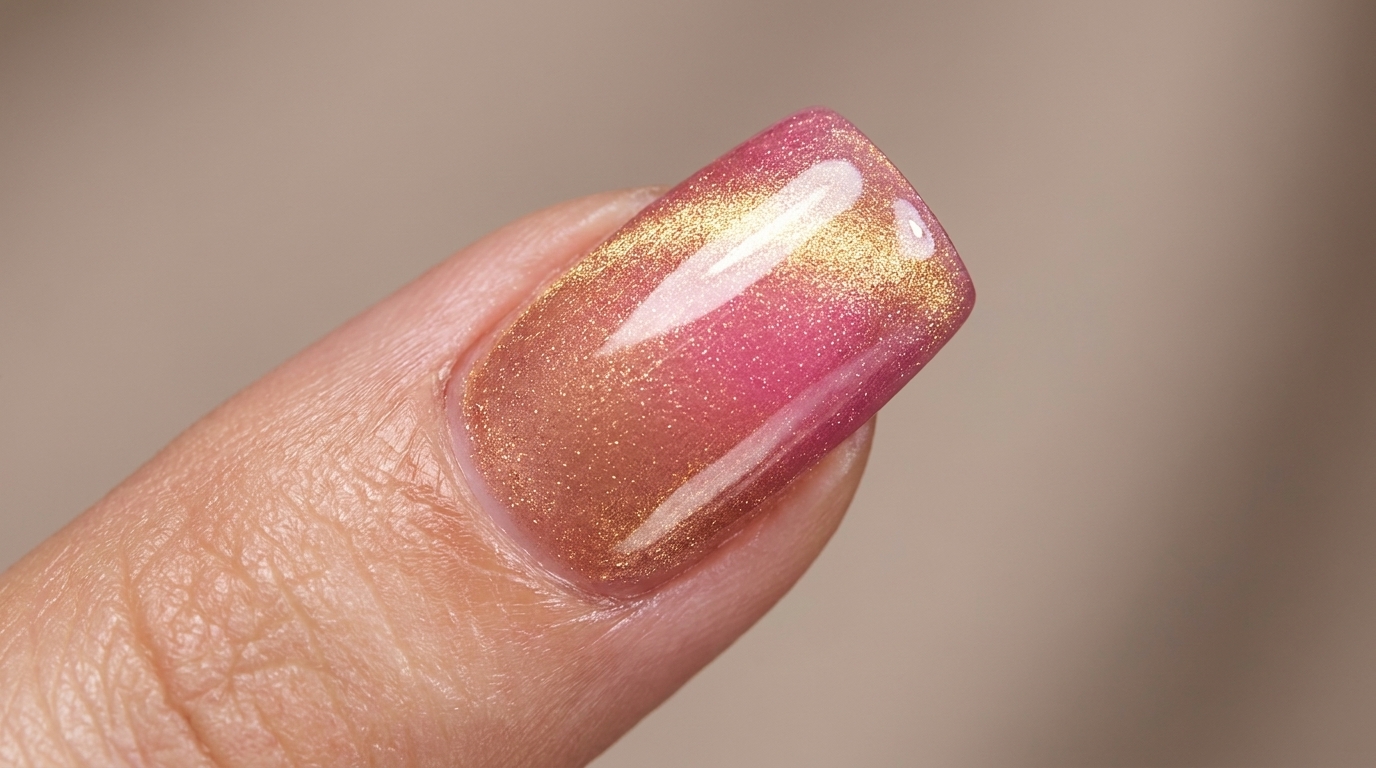
Once the white base is fully cured and tacky, press your iridescent transfer foil firmly onto the center of the nail. Use your finger or a silicone tool to smooth it evenly over the surface, ensuring the holographic pigment adheres completely before removing the plastic sheet.
Tip: Make sure the base gel leaves a strong tacky inhibition layer, or apply a dedicated foil glue before pressing down the foil. - 4Peel Away Foil Sheet
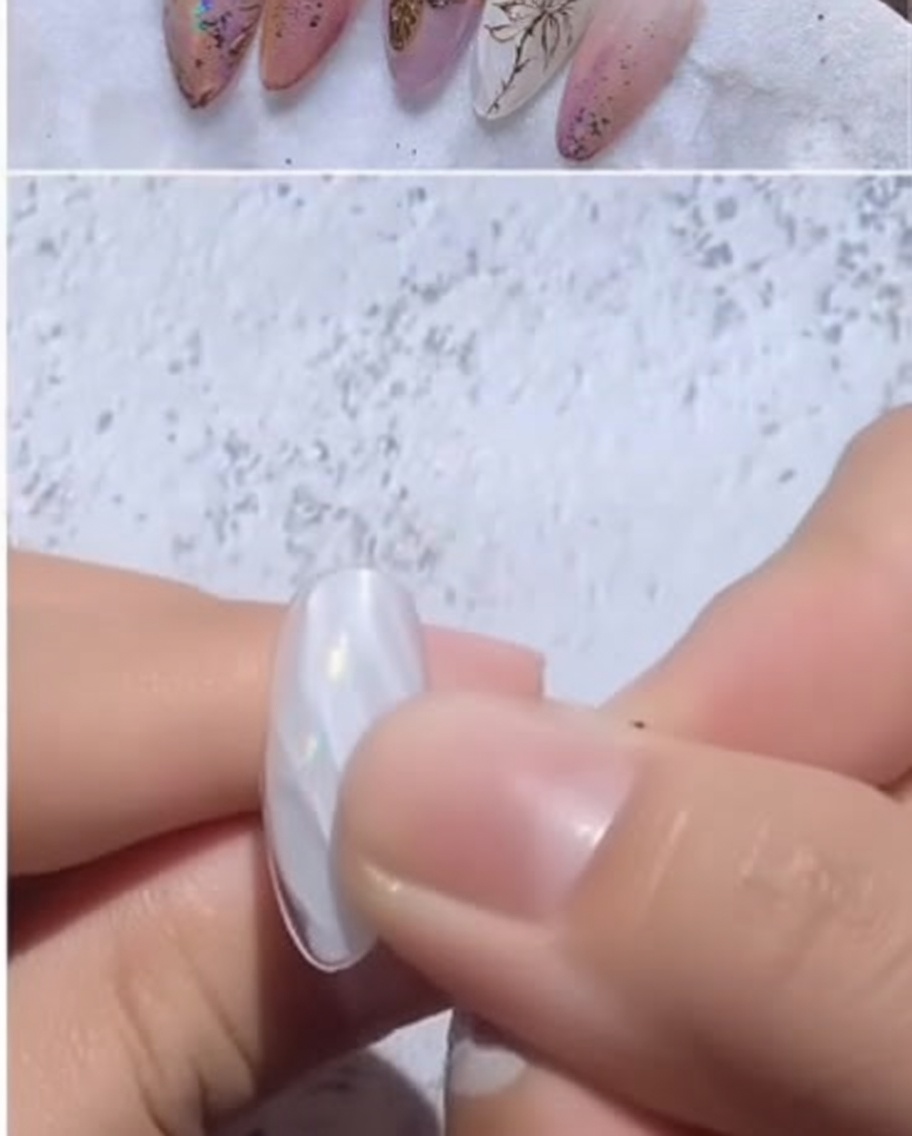
Quickly peel away the plastic foil sheet in one swift motion to reveal the transferred reflective, holographic finish on the nail plate.
Tip: Peeling the sheet quickly and in one swift motion helps ensure a clean, sharp transfer of the iridescent pattern. - 5Seal with Gloss
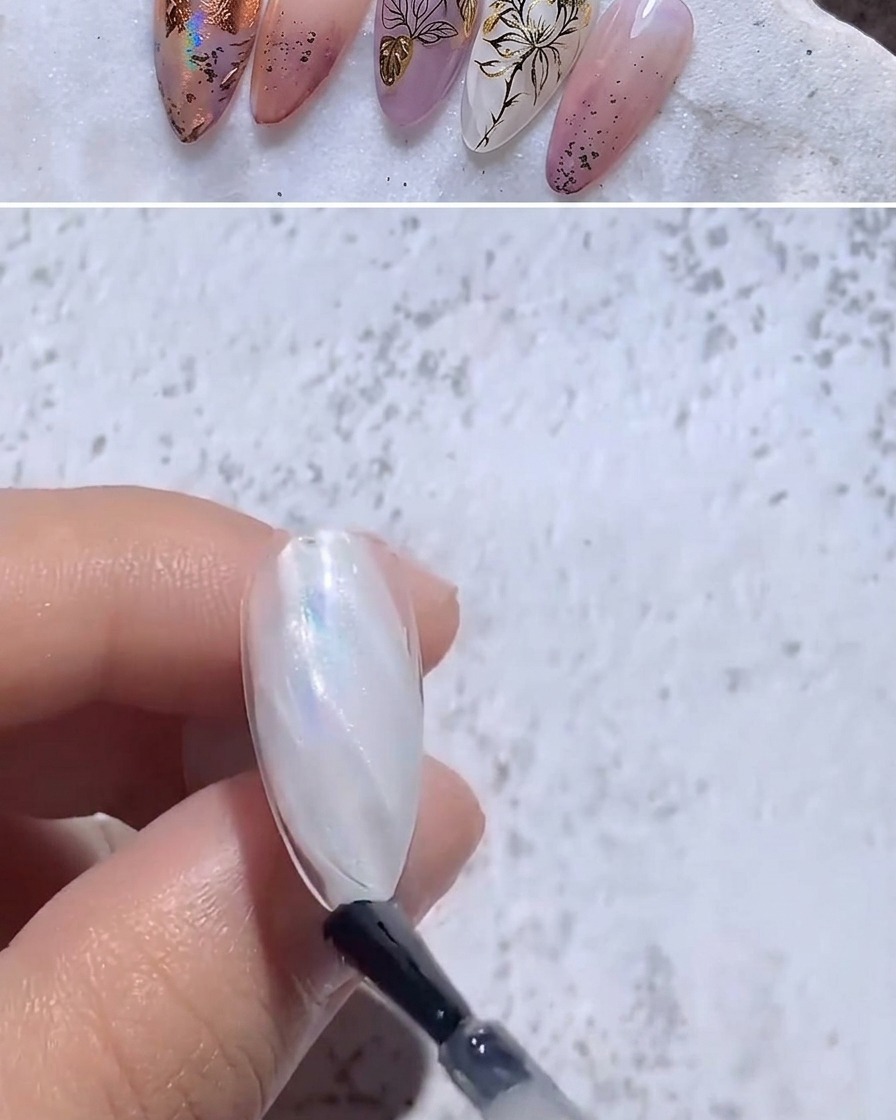
Apply a smooth, generous layer of clear glossy top coat over the entire nail to lock in the aurora foil finish. Be sure to cap the free edge to prevent lifting and provide a professional, high-shine protective seal.
Tip: Cap the free edge with the top coat to prevent premature chipping. - 6Paint the Rose Core
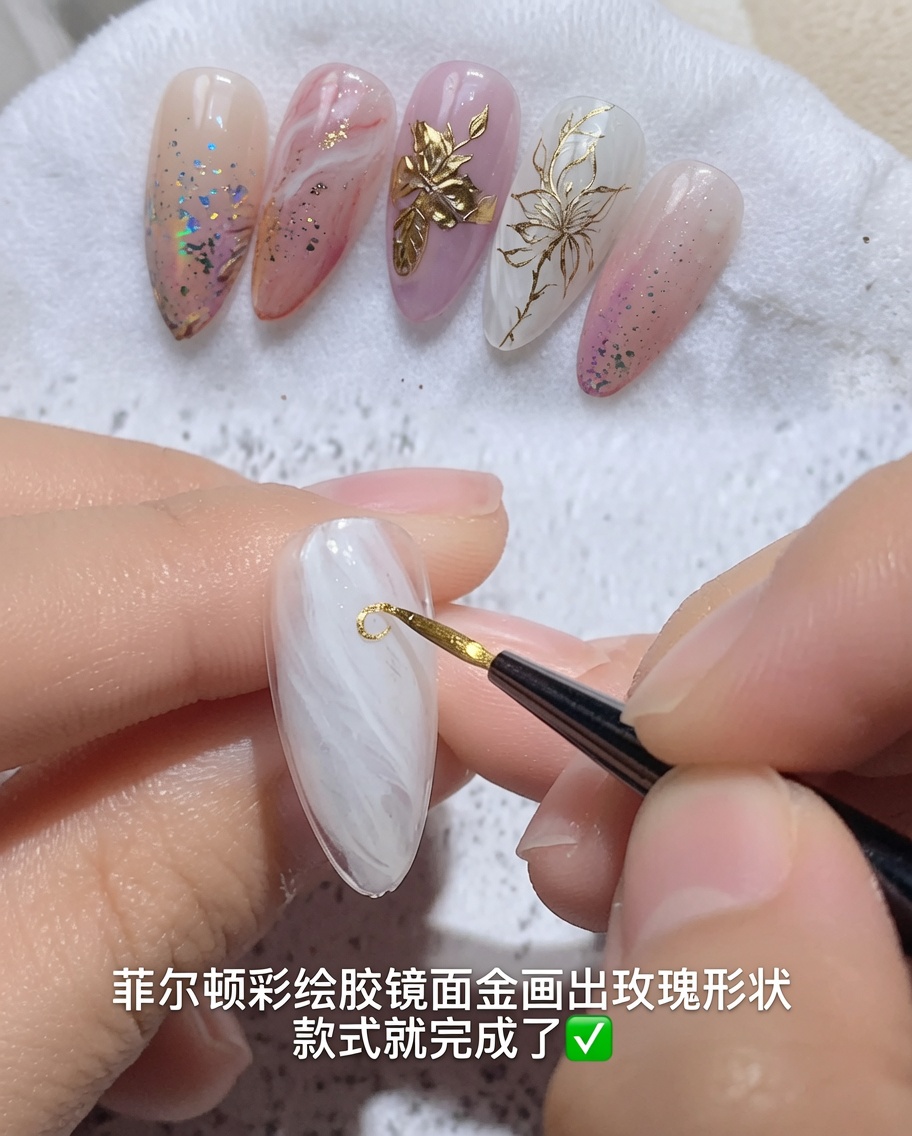
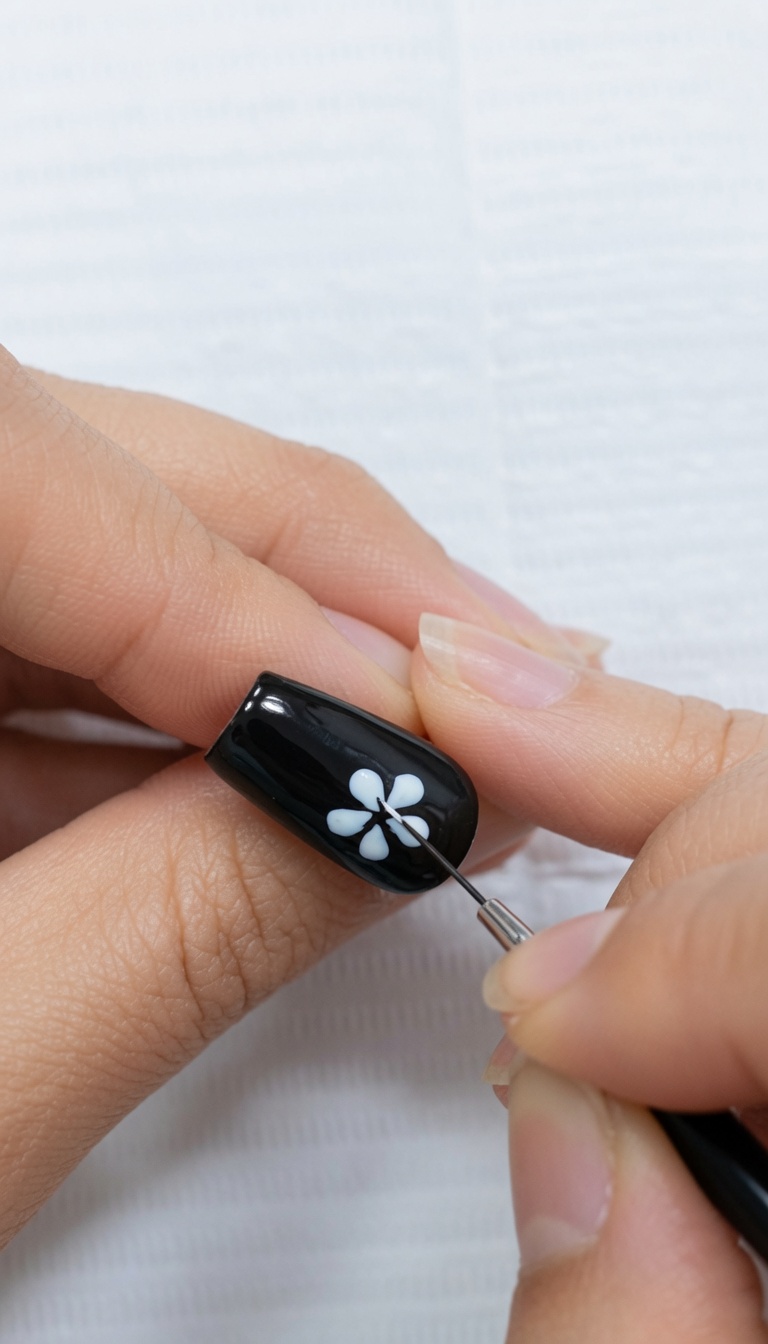
Using a fine liner brush loaded with metallic gold painting gel, draw a small, tight spiral in the center of the nail to form the core of the rose. Keep your hand steady and use a very light touch.
Tip: Use light pressure for the thinnest, most delicate lines. - 7Outline Inner Petals
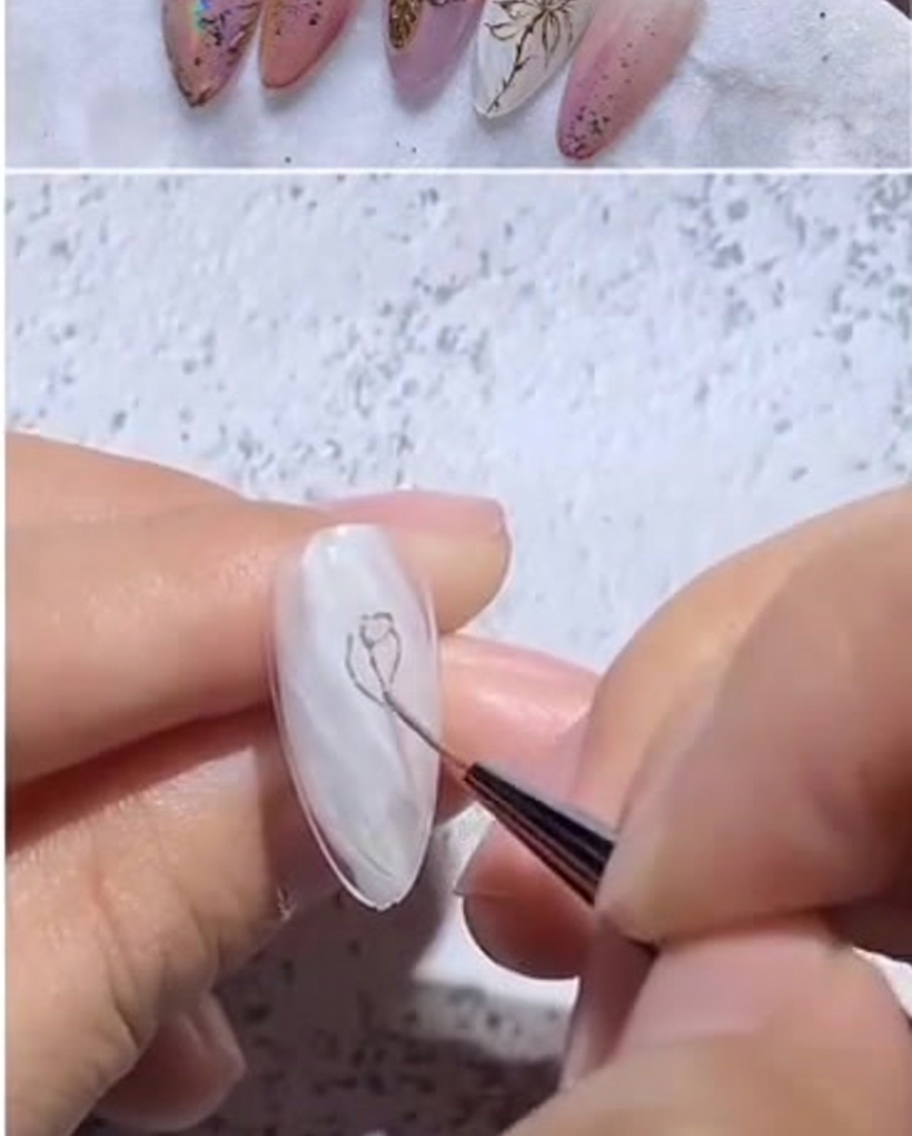
Paint delicate, small petal outlines wrapping tightly around the central gold spiral. Focus on maintaining consistent line weight for an elegant, professional look.
Tip: Keep your hand steady and use a light touch to achieve delicate, thin lines for the petals. - 8Draw the Upper Left Petal
With the metallic gold painting gel, draw a larger, slightly curved outer petal on the upper left side of the rose bud. This petal should originate from the central structure to create depth and dimension.
Tip: Vary the curvature of your lines slightly to make the petals appear more natural and organic. - 9Draw the Upper Right Petal
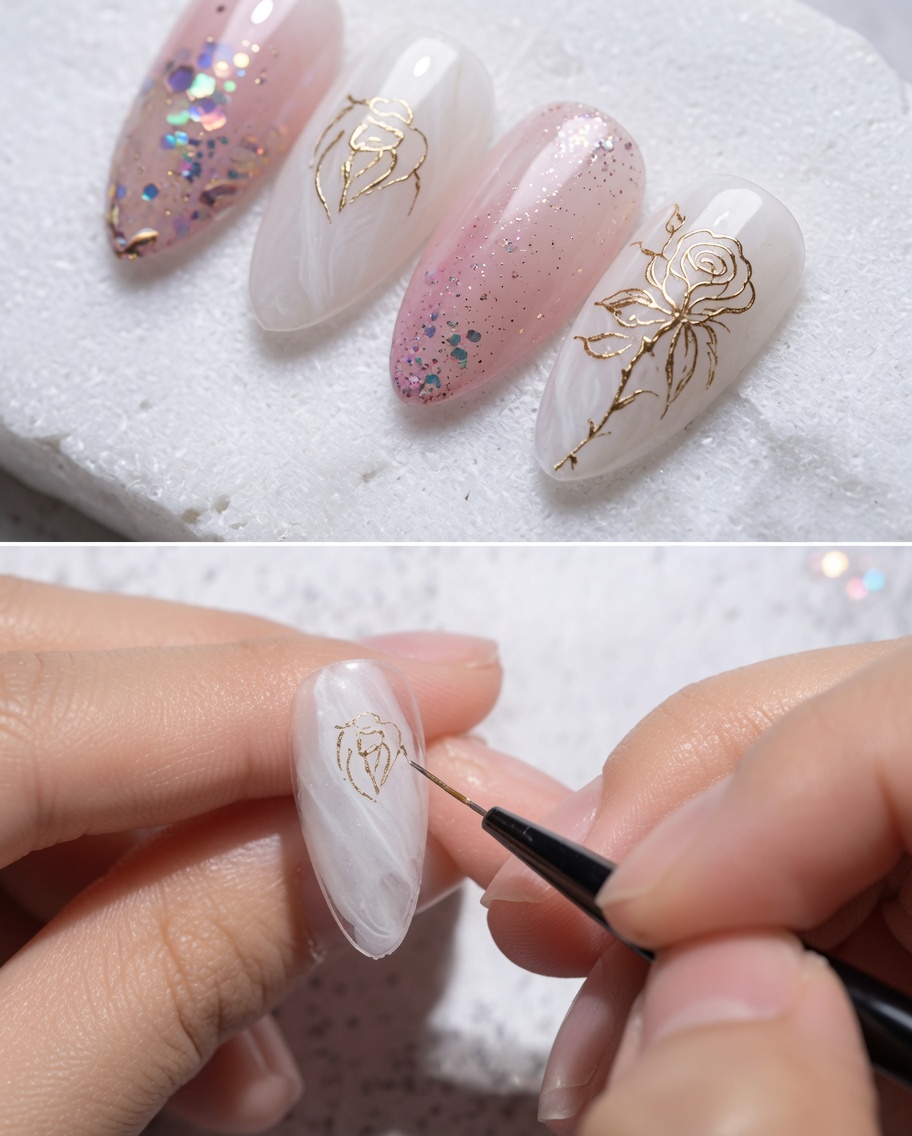
Continue building the floral structure by painting another curved outer petal on the upper right side of the bud. Mirror the movement and delicate thickness of the previously drawn left petal.
Tip: Ensure the gold lines are consistent in thickness for a professional, polished finish. - 10Add the Bottom Petal
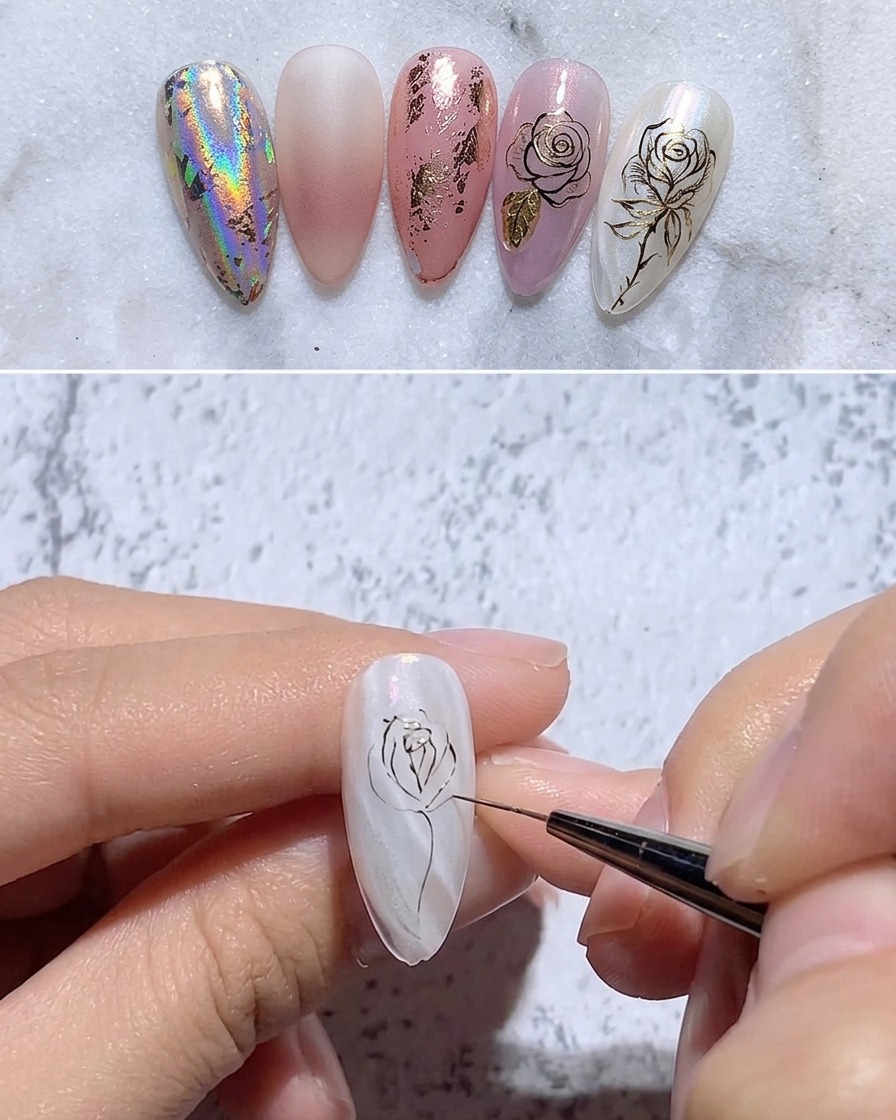
Extend a large, sweeping horizontal petal outline underneath the main rose bud to cup the base of the flower. This petal anchors the design and provides the characteristic shape of a blooming rose.
Tip: Use a sweeping motion to create a smooth, elegant curve for this larger petal. - 11Draw the Rose Stem
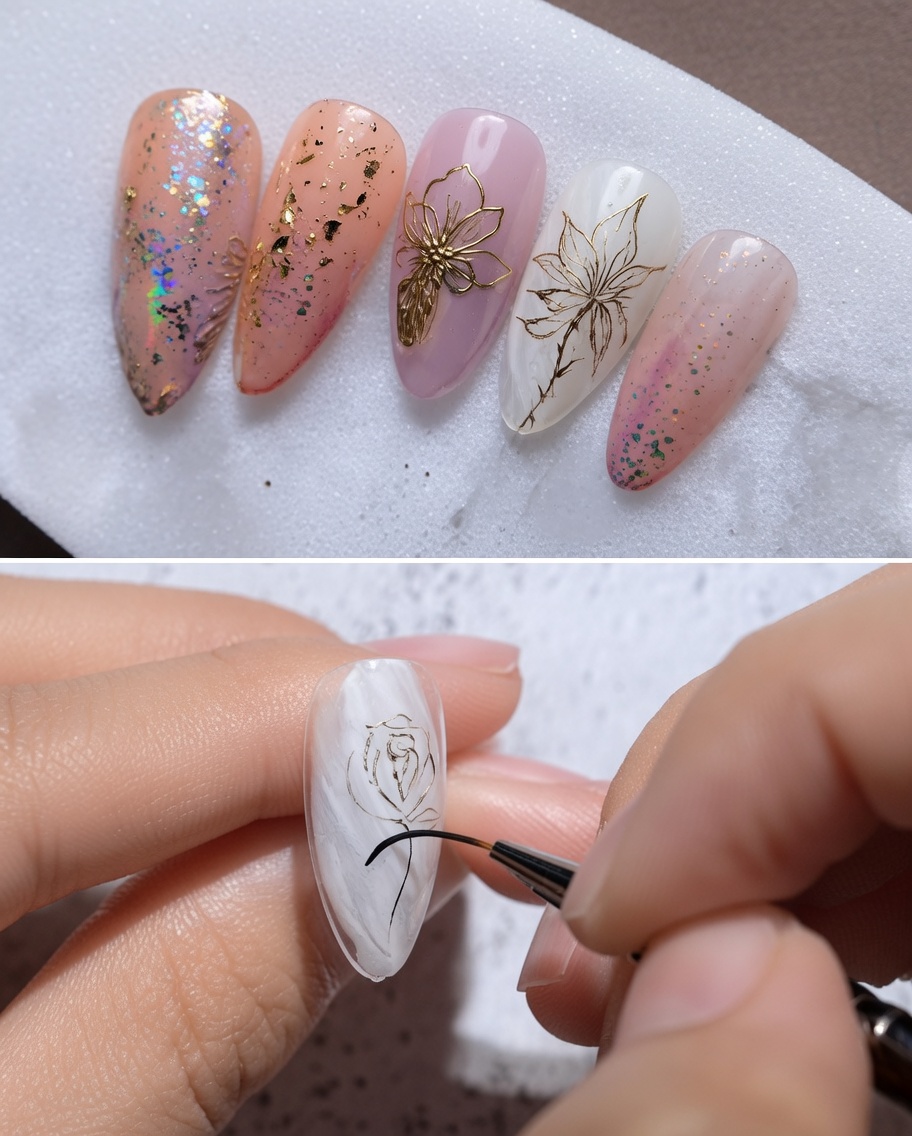
Using the same fine liner brush and metallic gold painting gel, draw a delicate, curving stem line. Extend it vertically downward from the base of the rose flower toward the cuticle.
Tip: A slightly curved stem looks more natural and artistic than a perfectly straight line. - 12Add the First Leaf
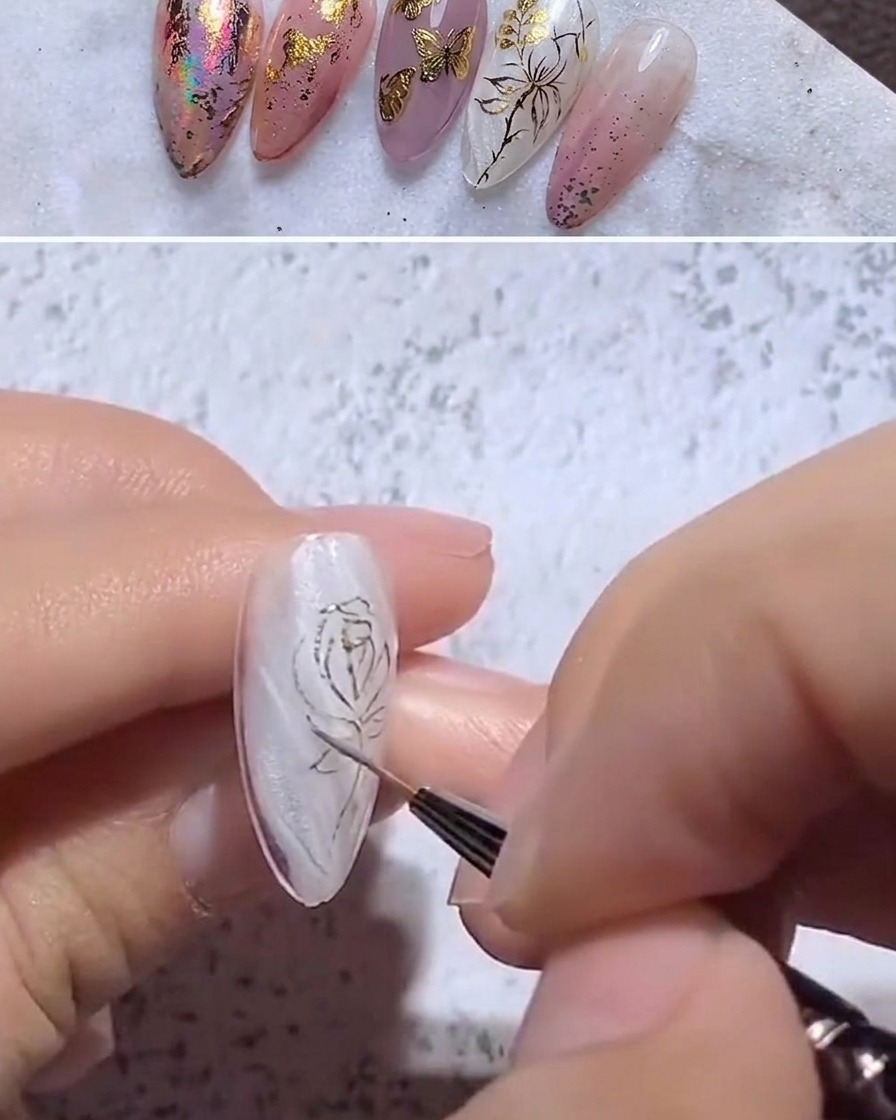
Complete the floral design by painting an outlined, slightly pointed leaf shape. Position it branching diagonally off the right side of the newly drawn stem.
Tip: Keep the leaf shape simple and elegant to complement the delicate rose design. - 13Finalize and Cure
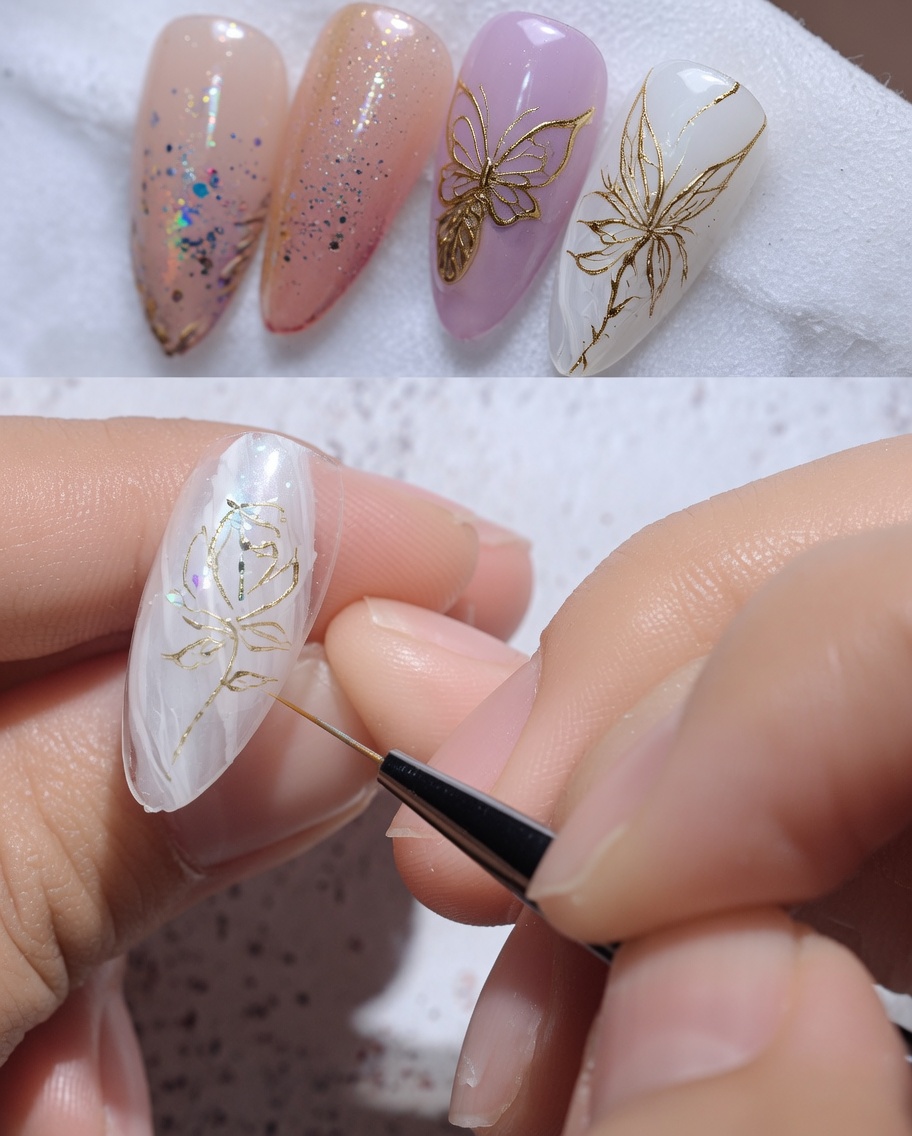
After painting the petals, stem, and leaves, double-check your design for symmetry. Once you are satisfied with the details, cure the entire nail under your UV/LED lamp to permanently set the 3D metallic rose.
Tip: Keep your pressure light and consistent when drawing the leaf to ensure the metallic lines remain thin and elegant.