Geometric Color Block Manicure
Gold Accents Tutorial
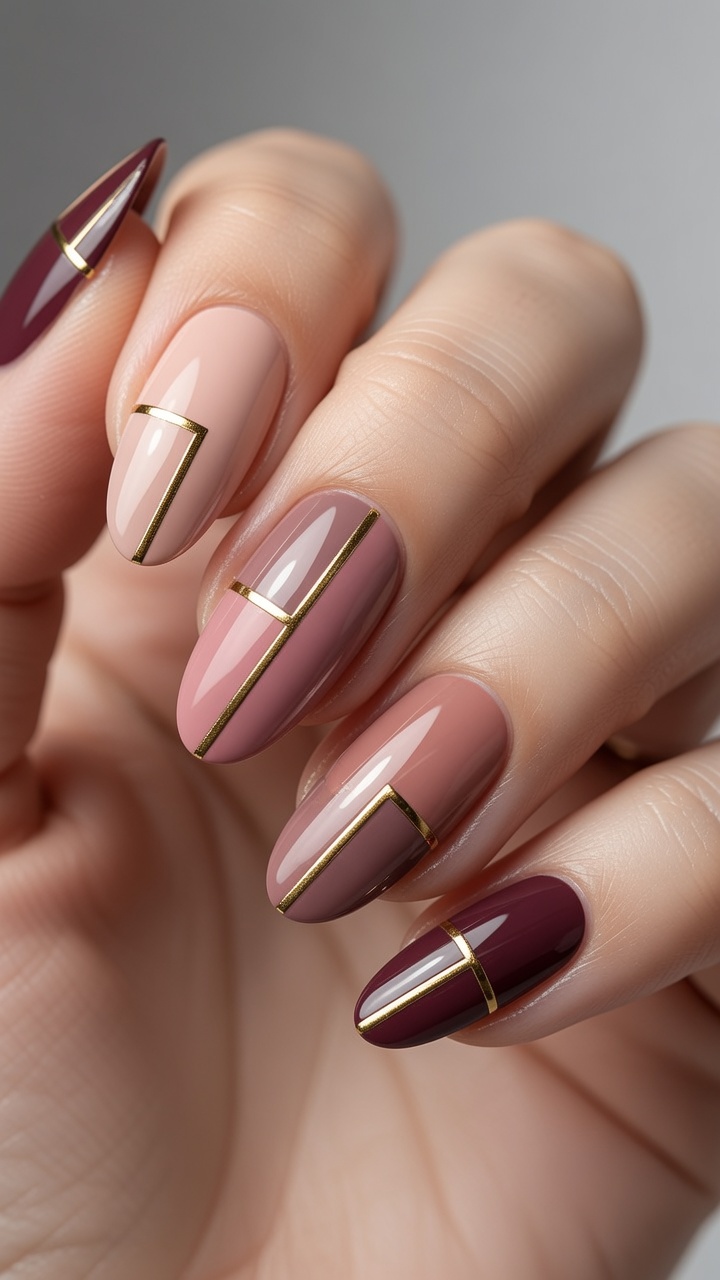
Create a sophisticated geometric manicure using a curated palette of nude and deep tones, finished with sharp metallic gold accents.
This geometric color block look offers a modern, high-contrast aesthetic that feels both professional and artistic. By combining warm nude, dusty rose, mauve, and deep burgundy shades with precise gold lines, you can achieve a cohesive, multi-dimensional set. It is the perfect choice for those who love clean lines and a polished, elegant finish.
Steps
- 1Prepare and Paint the Pinky
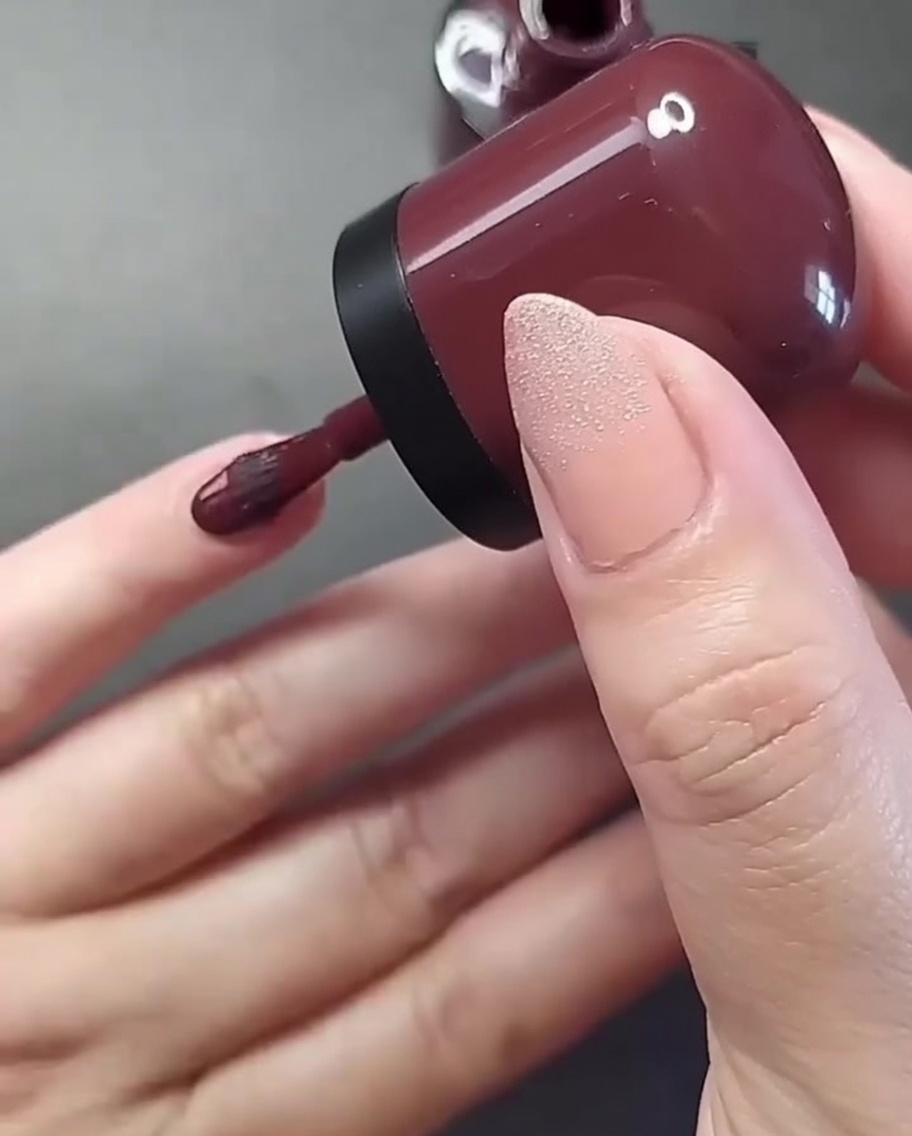
Apply a thin layer of deep burgundy polish to the pinky fingernail, ensuring even coverage from base to tip while keeping the polish away from the cuticle and sidewalls.
Tip: Wipe the excess polish from the brush against the bottle neck before application to ensure a thin, streak-free layer. - 2Apply nude beige polish
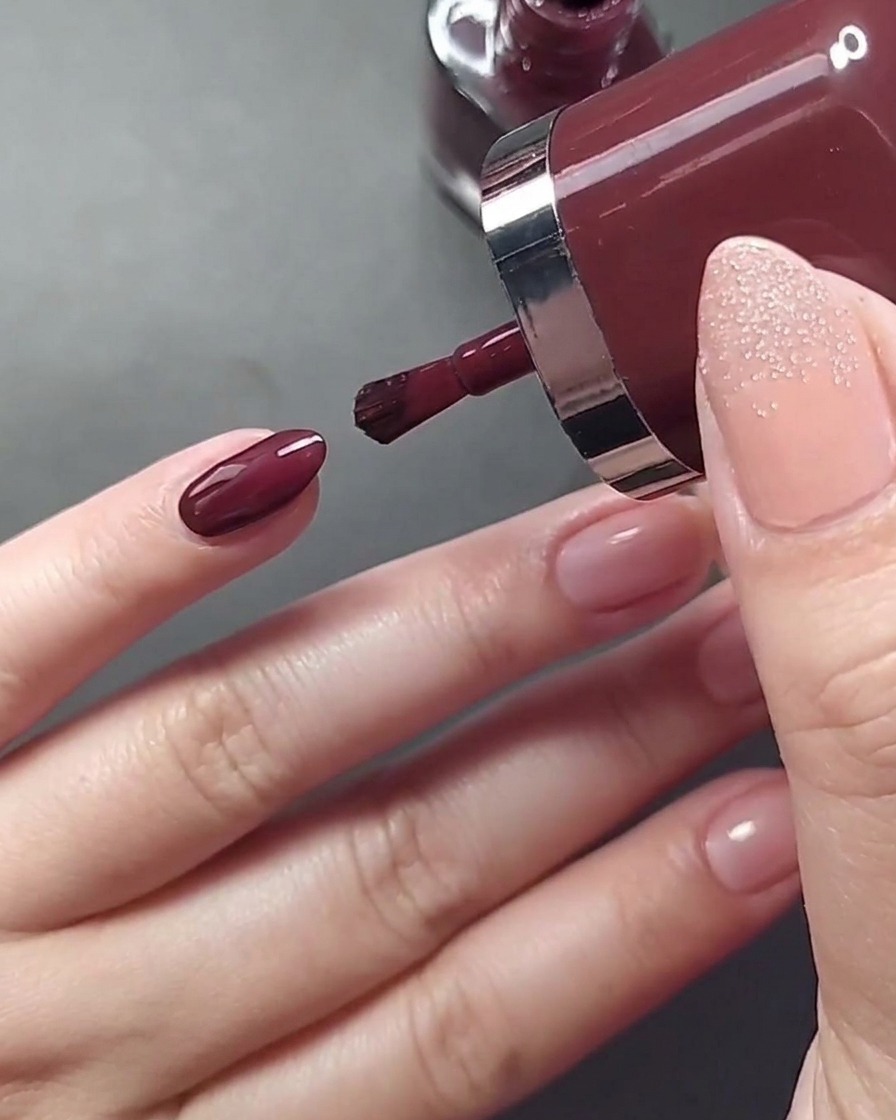
Apply a thin layer of nude beige polish to the ring fingernail. Use slow, steady strokes to achieve smooth coverage across the nail plate.
Tip: Start from the center of the nail and brush towards the tip before filling in the sides. - 3Apply mauve polish
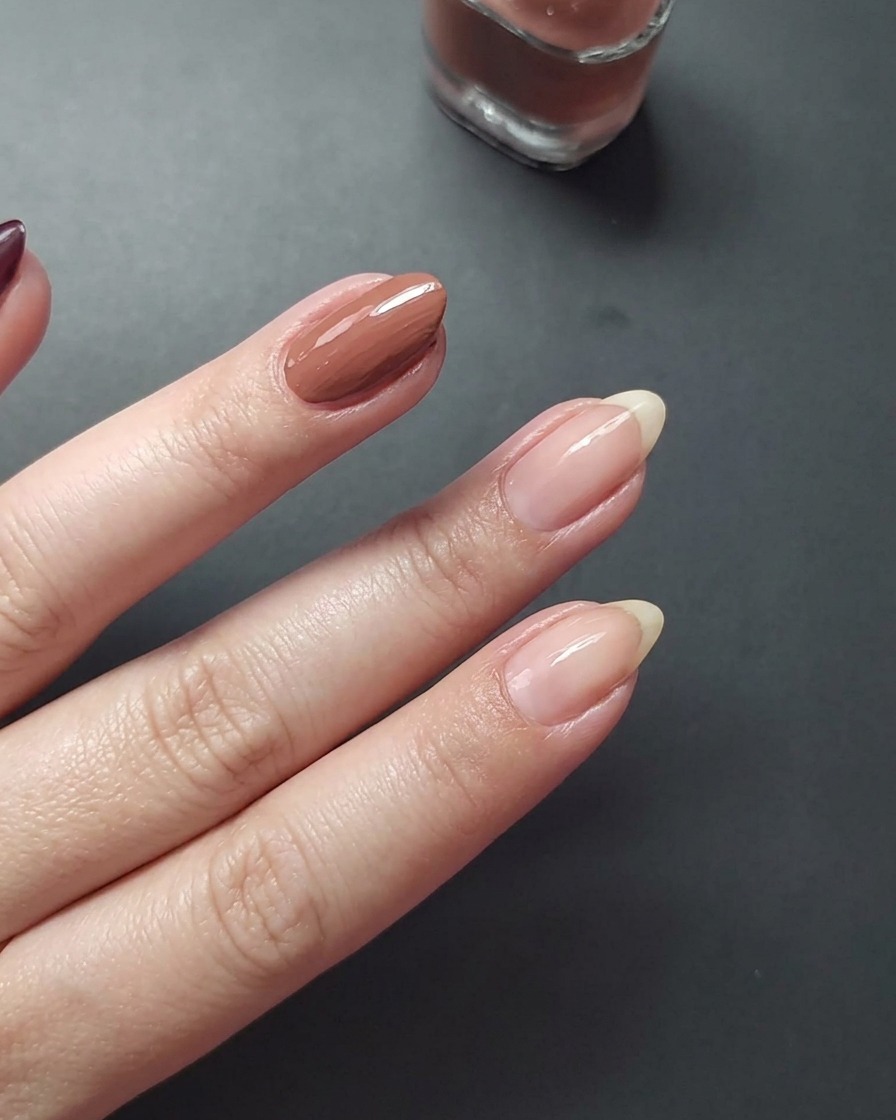
Apply the mauve nail polish shade to the middle fingernail. Ensure the polish is applied in thin, even layers to facilitate faster drying and a professional finish.
Tip: Avoid touching the cuticle skin during application for a longer-lasting manicure. - 4Apply rose pink polish
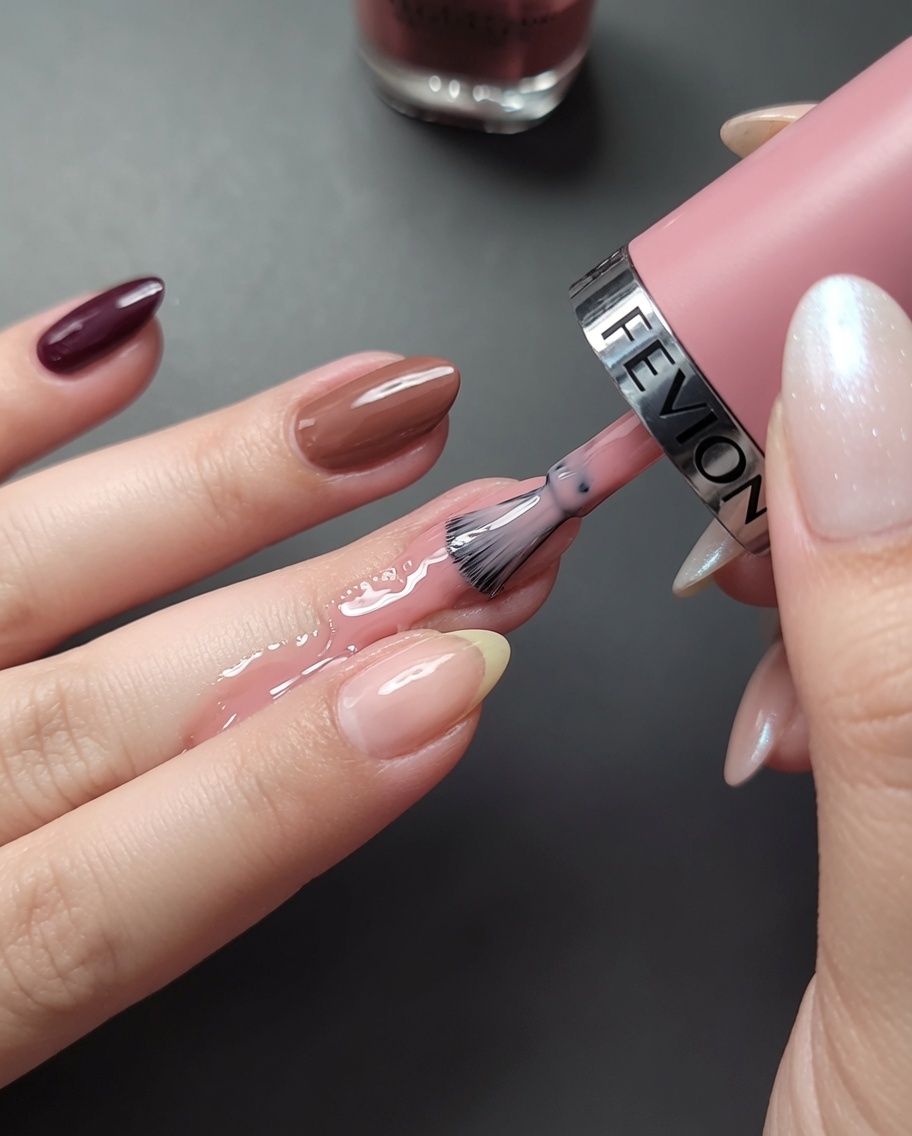
Apply a thin, even coat of rose pink polish to the index fingernail. Start at the base of the nail and carefully guide the brush toward the free edge.
Tip: Keep the brush parallel to the nail surface to ensure smooth distribution of color. - 5Apply light nude polish
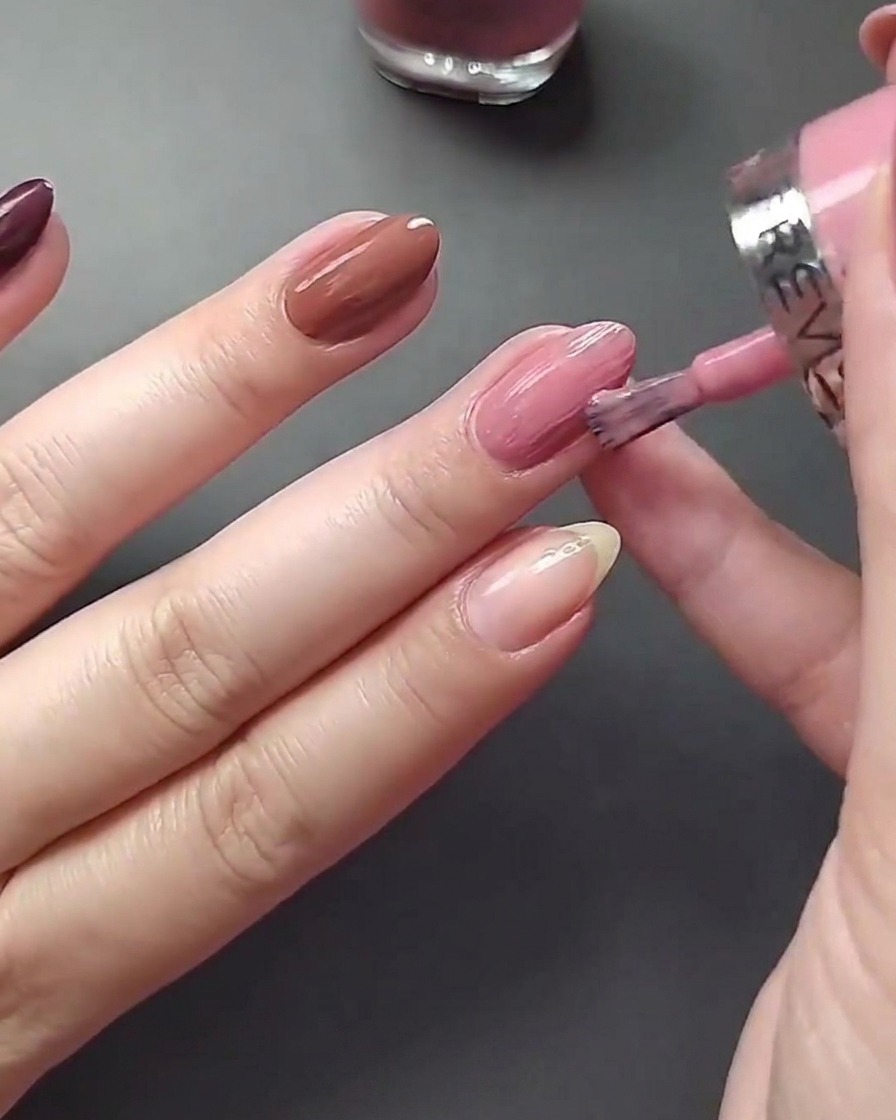
Apply a thin layer of light nude polish to the thumb nail. Use steady, controlled movements to ensure the color covers the entire nail plate evenly.
Tip: Make sure the nail surface is clean and dry before starting the application for better adhesion. - 6Apply Gold Accent to Thumb
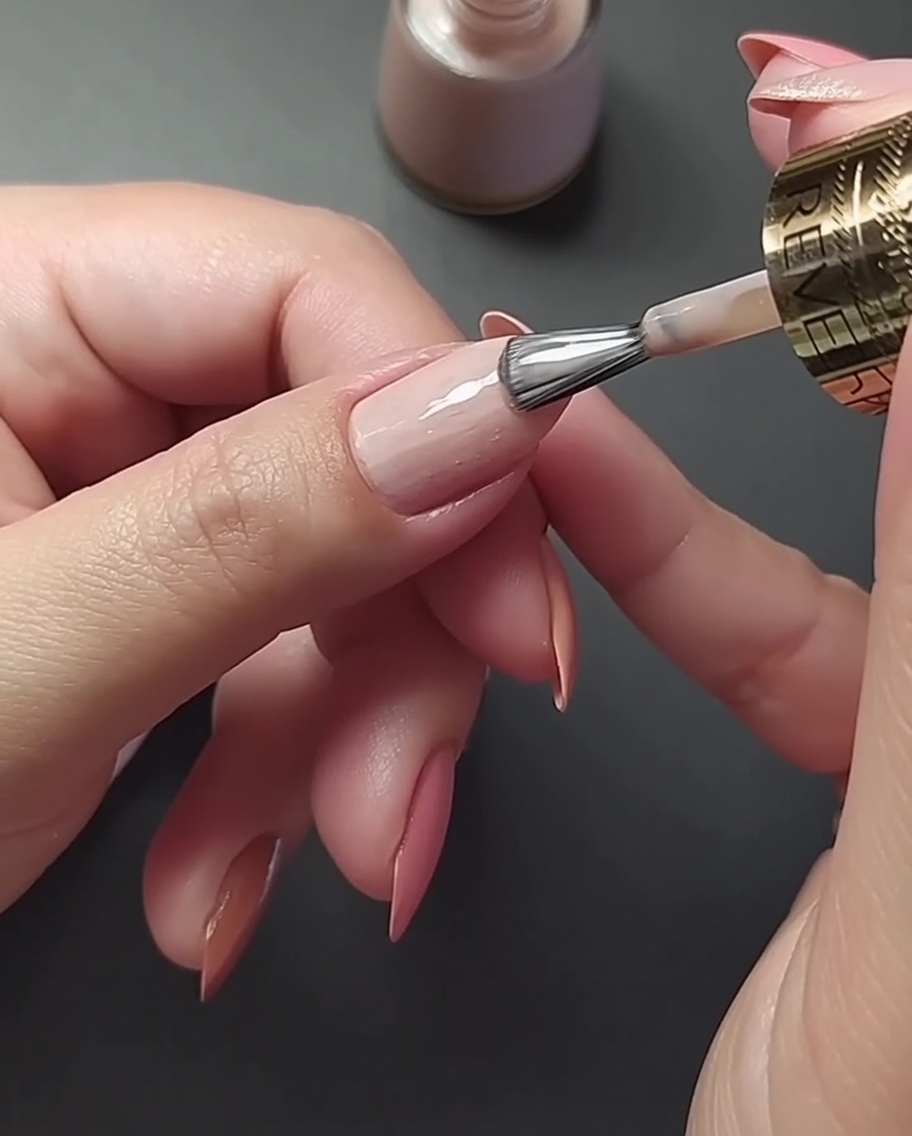
Using a fine-tipped or striper brush, apply a precise, vertical line of metallic gold polish down the center of the light nude thumbnail after the base color has dried.
Tip: Use a light touch and keep your hand steady to achieve a crisp, clean line. - 7Add metallic gold geometric accent
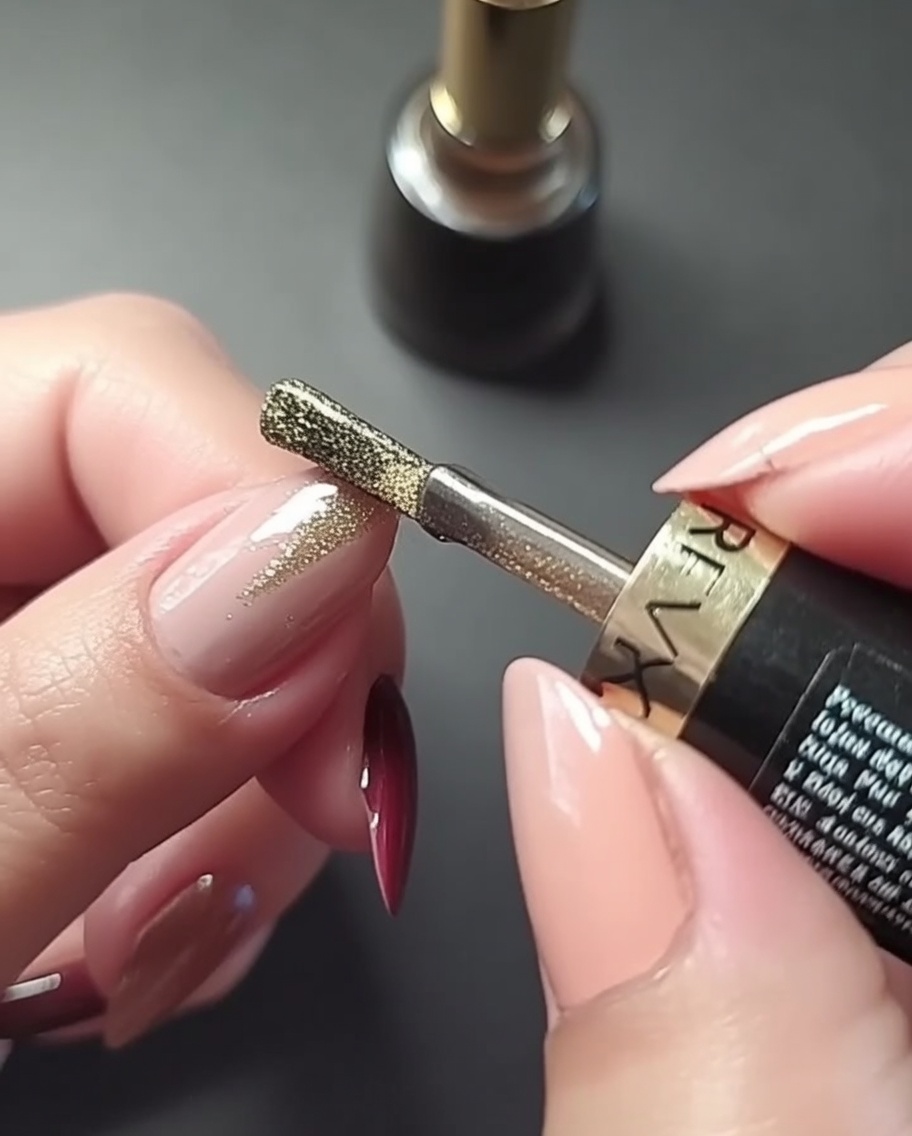
Using a thin detail brush and the metallic gold polish, carefully paint a clean, vertical line running down the center of the rose pink index nail. Start the line from the cuticle area and draw it straight towards the free edge to create a sharp, geometric focal point.
Tip: Keep a steady hand by resting your pinky finger on the table while painting, and use only a light touch to keep the line precise and thin. - 8Add gold accent to the middle nail
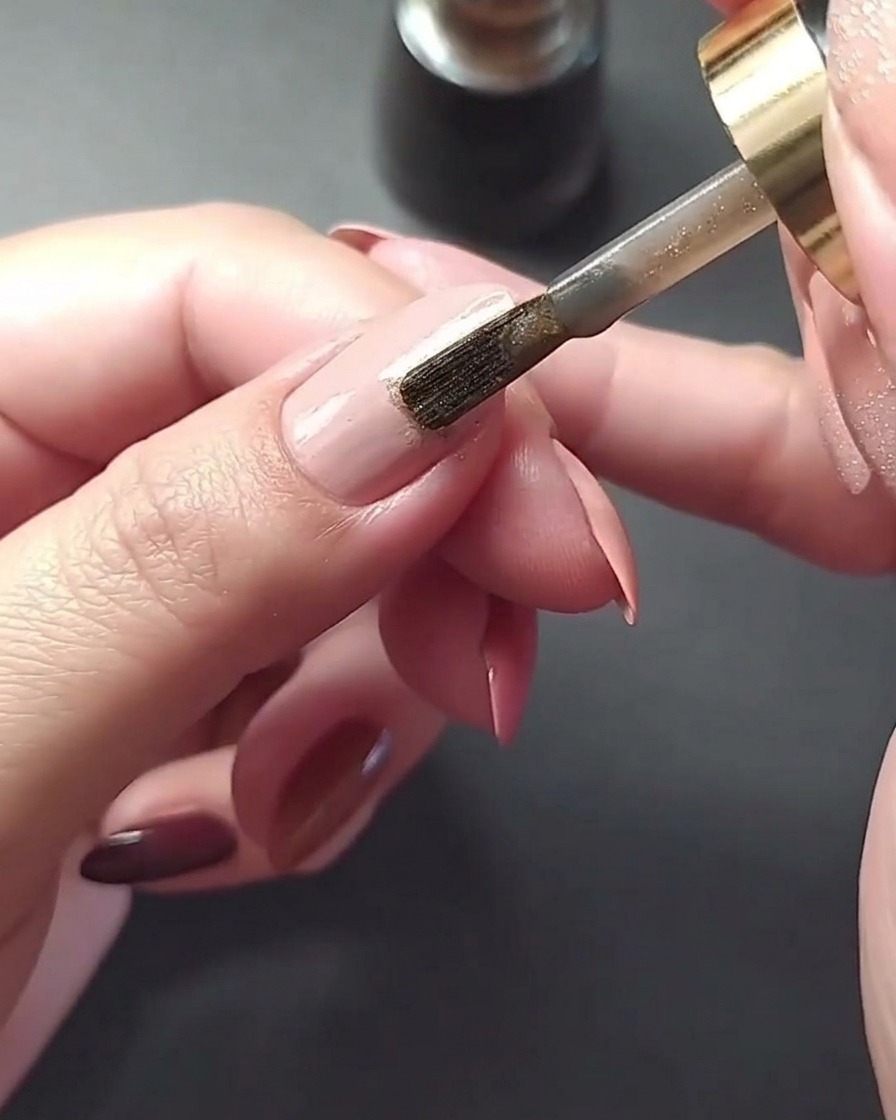
Continue the geometric design by painting a thin, vertical gold line down the center of the mauve middle nail. Ensure the line matches the thickness and placement of the accent on the previous finger for a cohesive, professional-looking manicure.
Tip: If the line isnt perfectly straight, use a small cleanup brush dipped in acetone to gently straighten the edges before the polish fully sets. - 9Add Gold Detail to Pinky
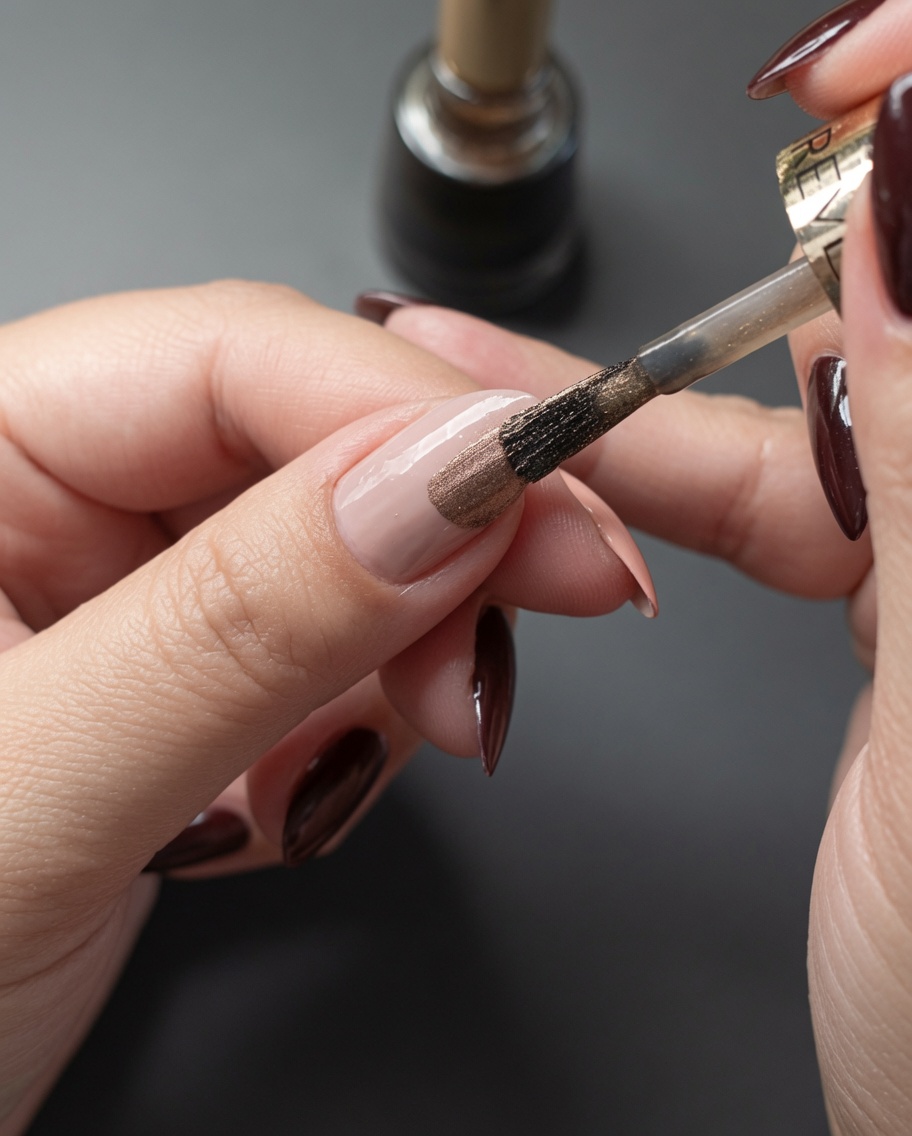
Complete the design by painting a thin, vertical gold line down the center of the deep burgundy pinky nail, matching the placement of your previous accents.
Tip: Allow the metallic polish to dry completely before applying your top coat to prevent any smearing of the crisp gold lines.