Deep Red Glitter Ribbon Nail Art — Elegant Holiday Manicure
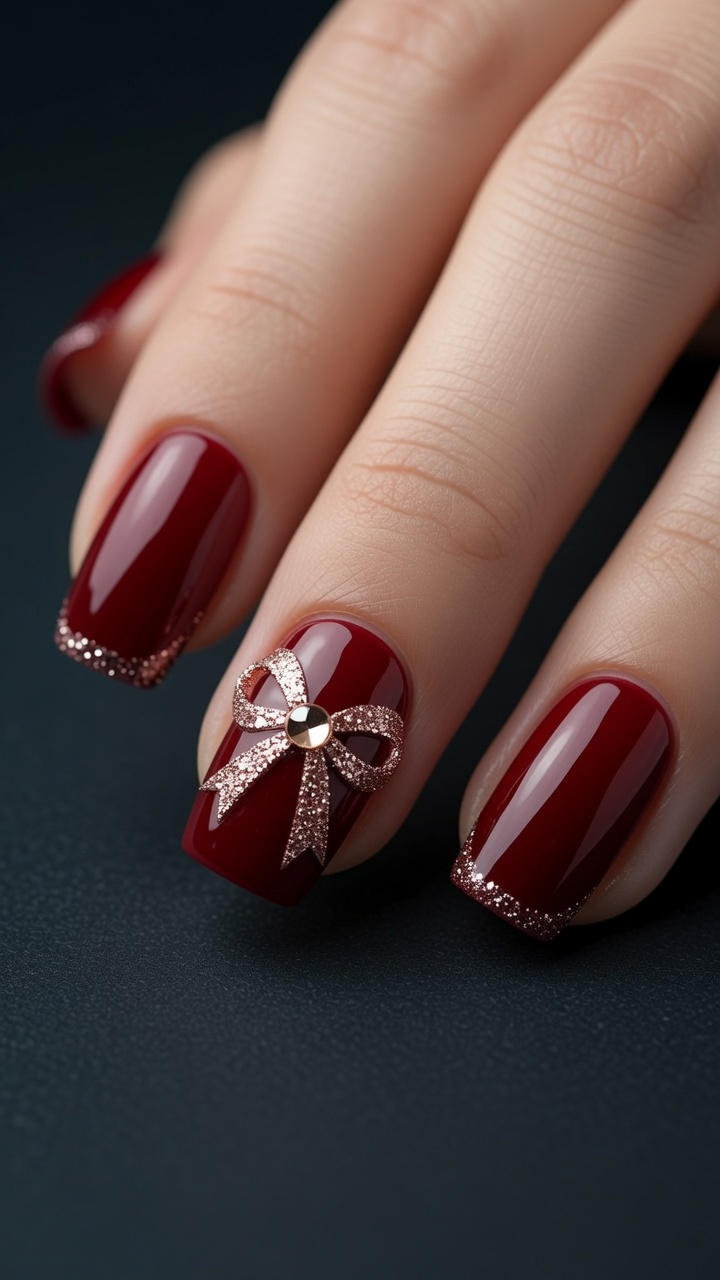
Elevate your deep red manicure with an elegant rose-gold glitter ribbon design and a shimmering rhinestone accent. Perfect for festive and formal occasions.
Adding delicate detailing to a classic deep red base can instantly transform your manicure into a sophisticated work of art. This design utilizes precise liner brush work to create a shimmering ribbon effect, topped off with a touch of sparkle for a high-end finish. It is a timeless look that pairs beautifully with holiday attire and adds a refined touch of glamour to your fingertips.
Steps
- 1Apply deep red base color
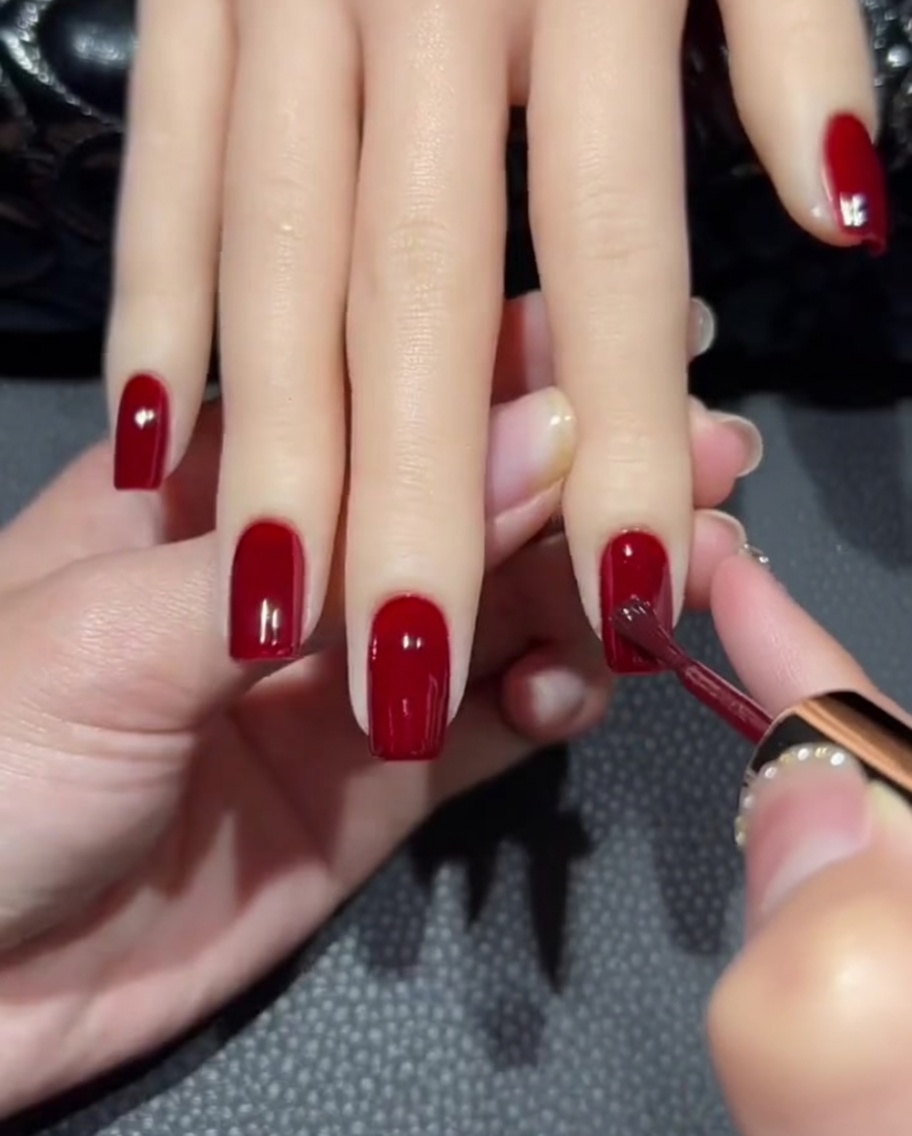
Apply an even layer of deep red gel polish to the nail plate. Ensure smooth strokes to achieve full coverage and allow the color to set properly. This base color provides the canvas for the subsequent decorative nail art.
Tip: Apply in thin, controlled layers to avoid pooling around the cuticle and to ensure the gel cures evenly. - 2Prepare glitter polish
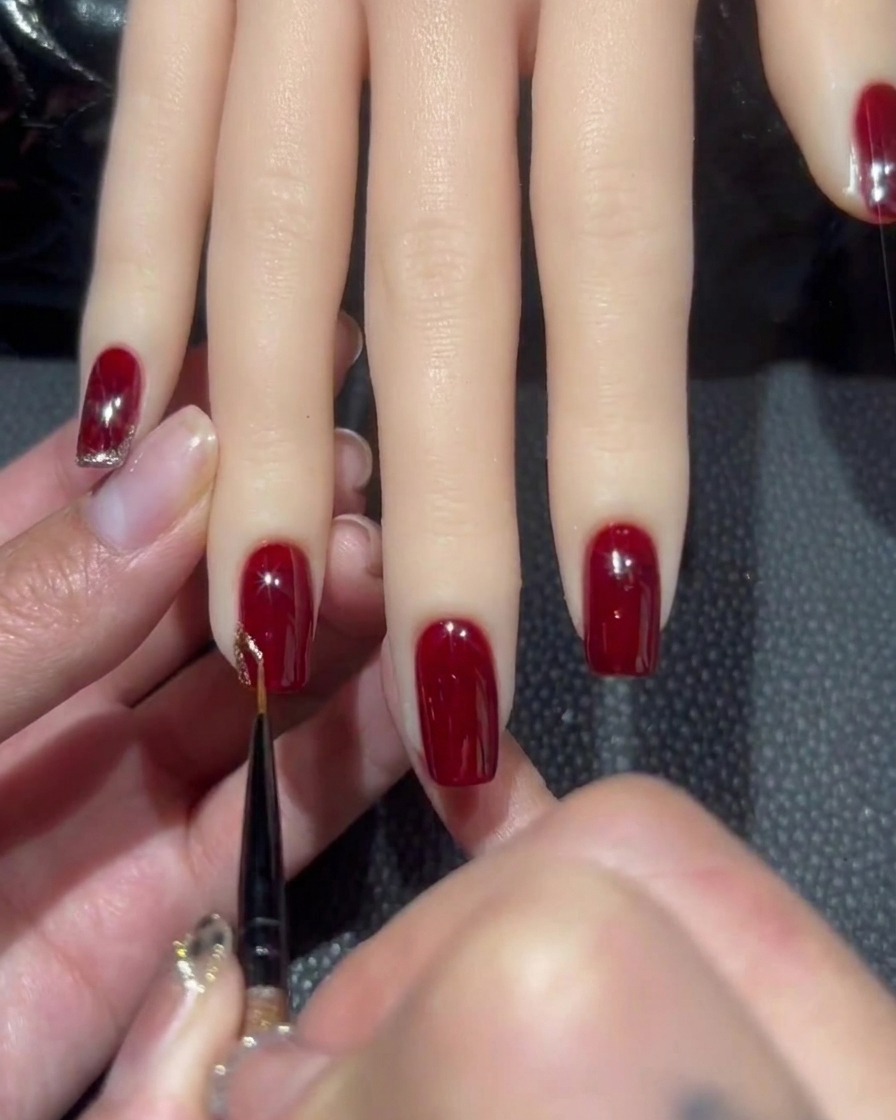
Using a fine liner brush, carefully pick up a small amount of dense rose-gold glitter gel. Using a liner brush allows for precise application and better control when creating detailed nail art designs.
Tip: Ensure your brush is well-saturated with the glitter polish to get a clean, crisp line in one stroke. - 3Outline nail edges
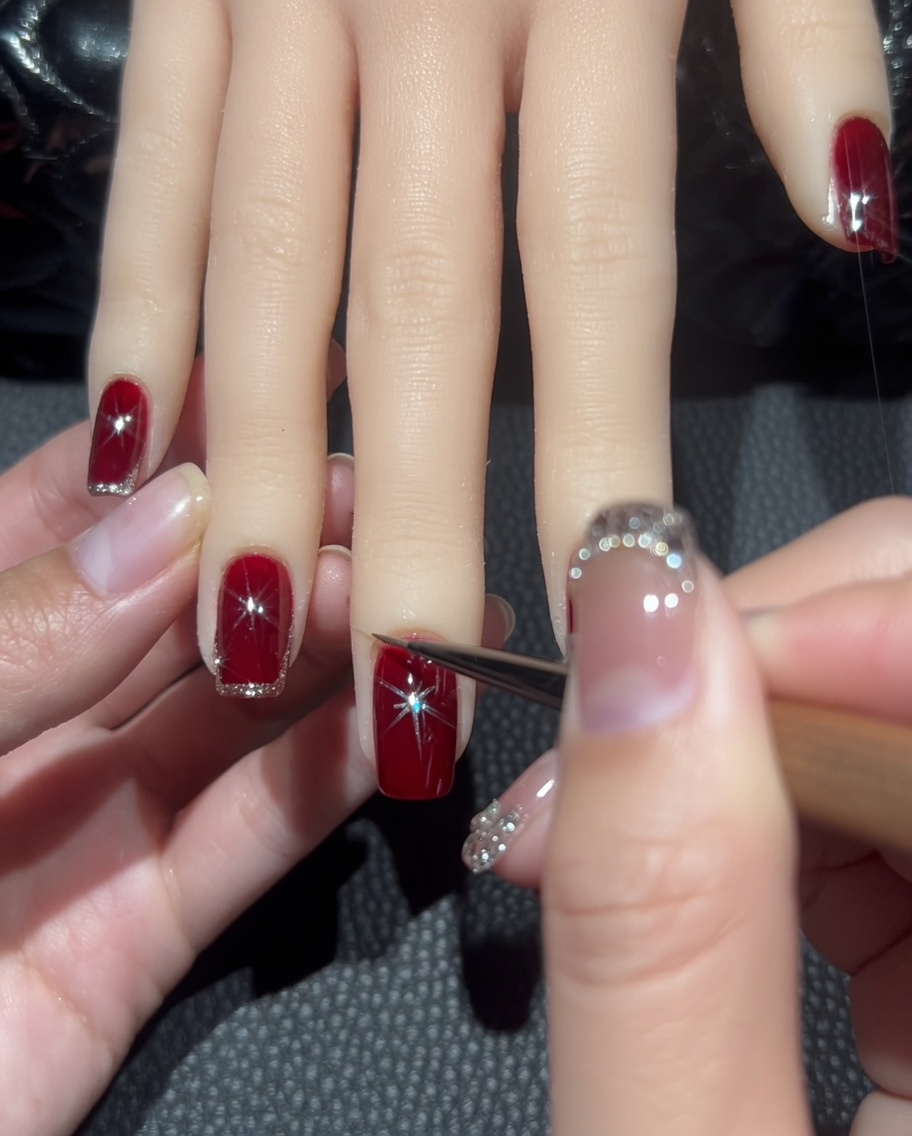
Using the liner brush with rose-gold glitter, carefully trace along the edge of the nail to create a defined, shimmering border. This adds a sophisticated highlight that complements the deep red base color.
Tip: Use a light, steady hand to keep the glitter line thin and uniform along the nail curve. - 4Create X design
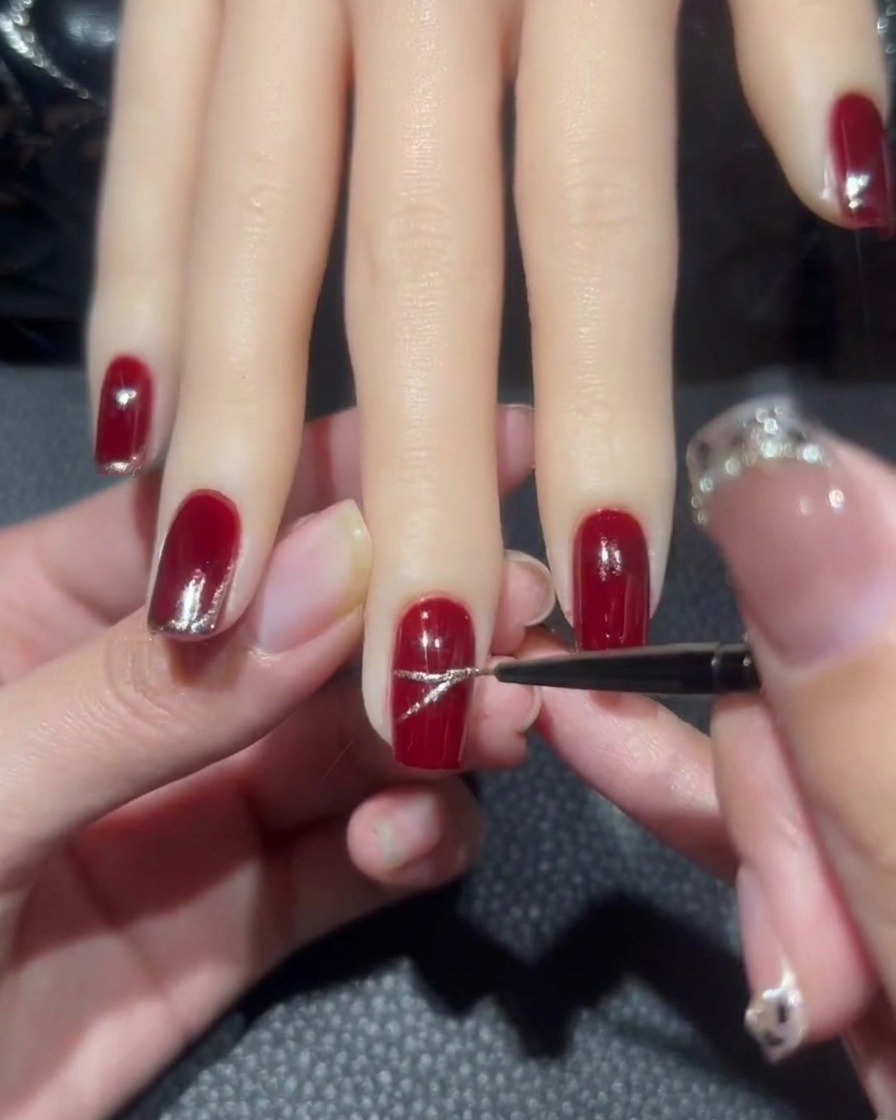
Using the rose-gold glitter gel on your liner brush, draw an X shape directly in the center of the middle finger nail. This will serve as the structure for the ribbon pattern design.
Tip: Draw the lines of the X lightly first to ensure perfect placement before making them more opaque with additional glitter gel. - 5Form ribbon pattern
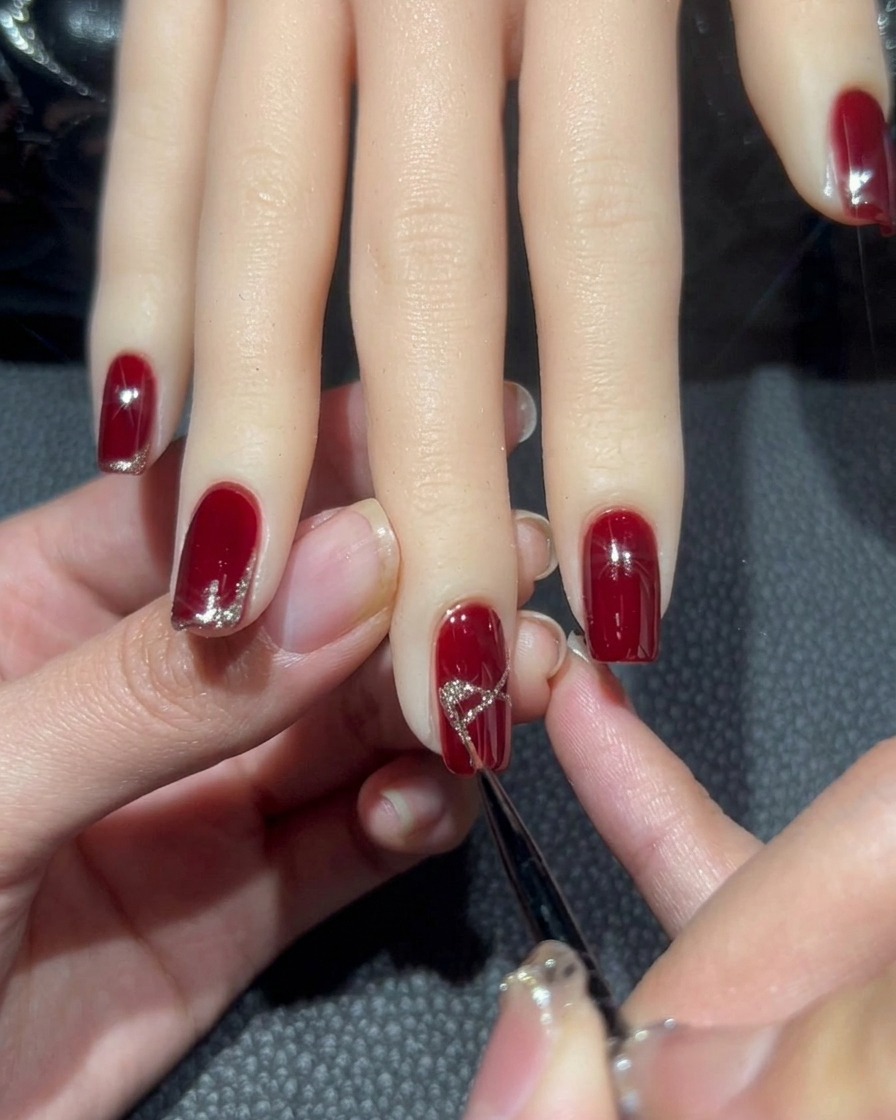
Continue to use the rose-gold glitter to fill in the X shape you previously drawn, building up the glitter to create a solid, ribbon-like design on the middle finger.
Tip: Ensure the glitter covers the X completely and creates crisp edges to define the ribbon shape. - 6Apply adhesive for embellishment
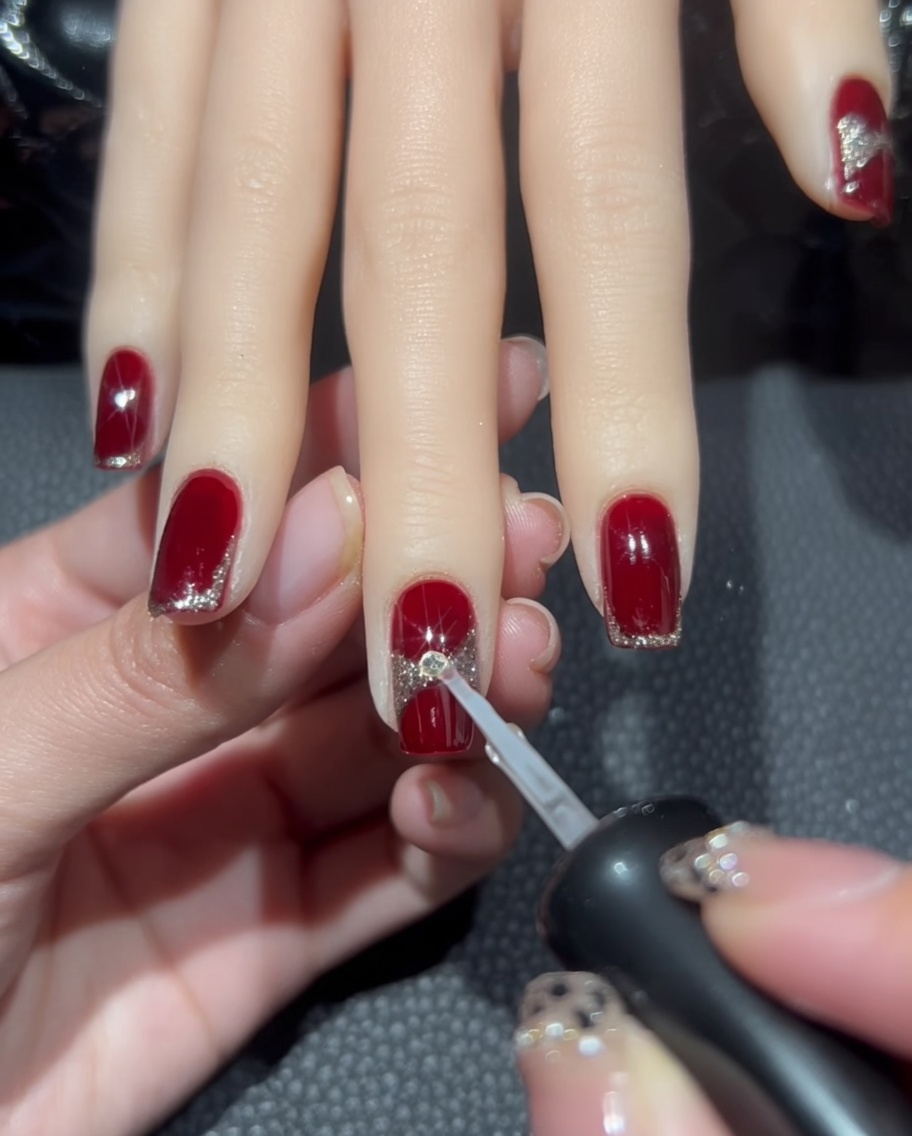
Apply a precise, small drop of nail glue exactly at the intersection point in the center of the rose-gold ribbon design. This glue will hold the rhinestone in place.
Tip: Use a very small amount of glue to prevent excess runoff onto the surrounding glitter design. - 7Place the rhinestone
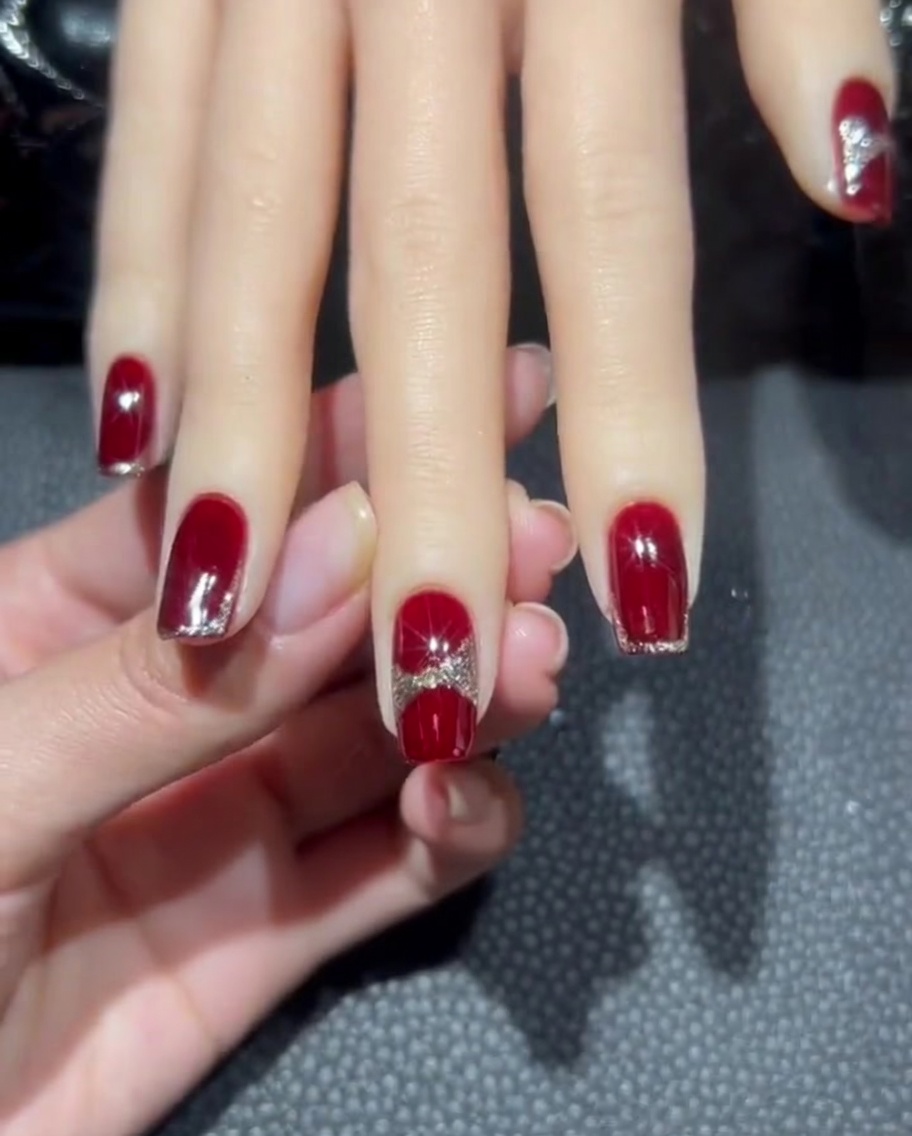
Using a pair of tweezers or a wax pencil, carefully pick up the champagne-colored flat-back rhinestone and place it directly onto the drop of nail glue you applied to the center of the ribbon pattern. Press down gently to ensure it is firmly set in the glue.
Tip: Work quickly once the glue is applied to ensure the rhinestone adheres properly before the glue starts to dry. - 8Apply top coat
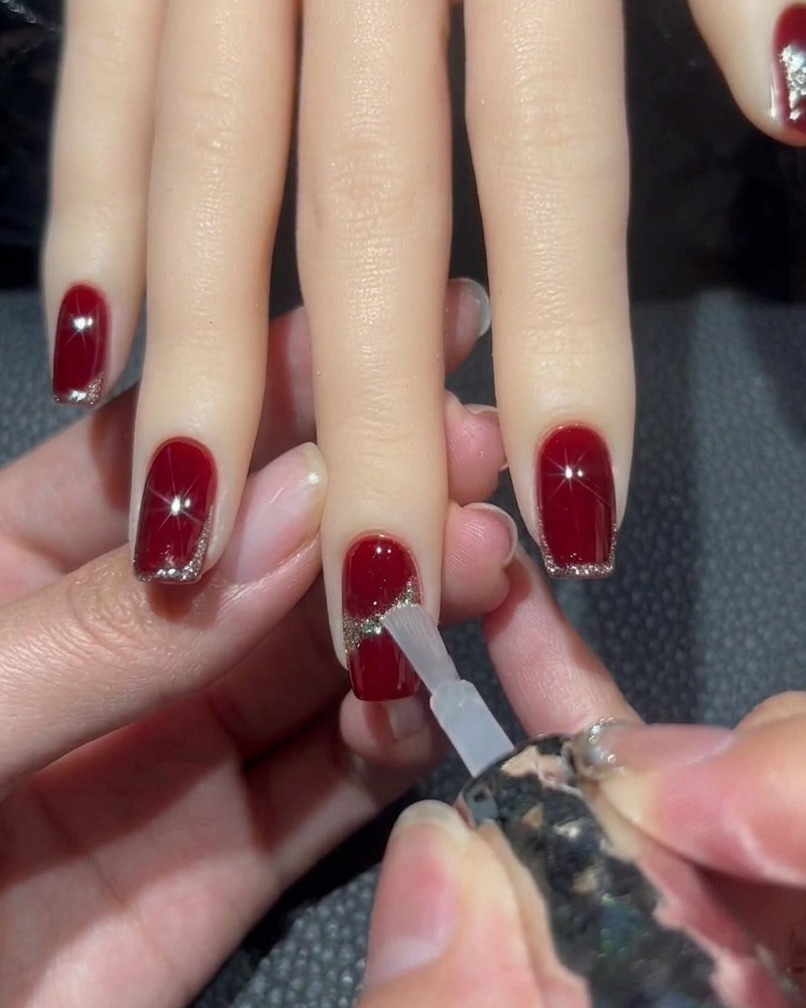
Apply a thin layer of top coat over the entire nail to seal your design and add a glossy finish. Be very careful to go around the rhinestone rather than over it; covering the stone with top coat can dull its sparkle and cloud its faceted finish.
Tip: Use the edge of your top coat brush to carefully trace around the rhinestone to seal the surrounding area without getting any product on the gem itself.