Sugar Star Cat-Eye Nails — Trendy Step-by-Step Tutorial
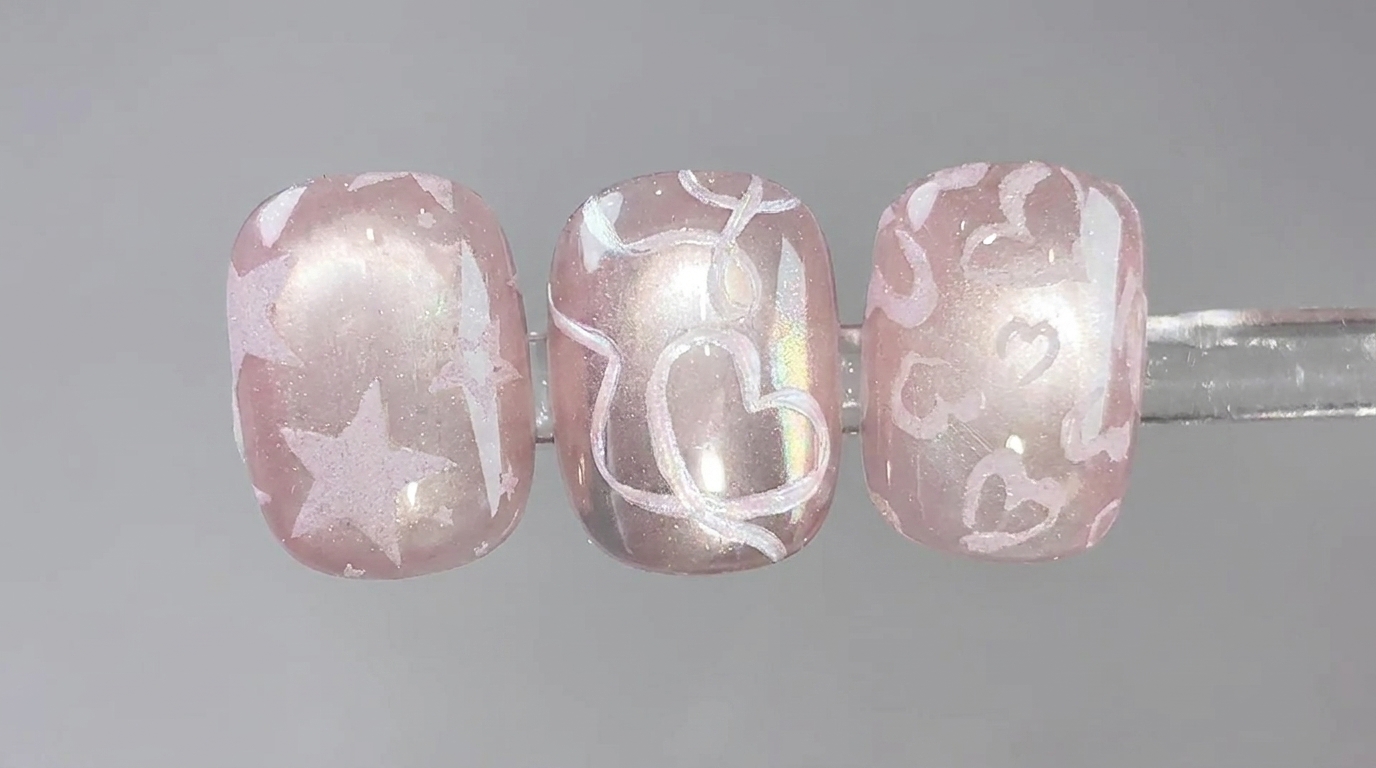
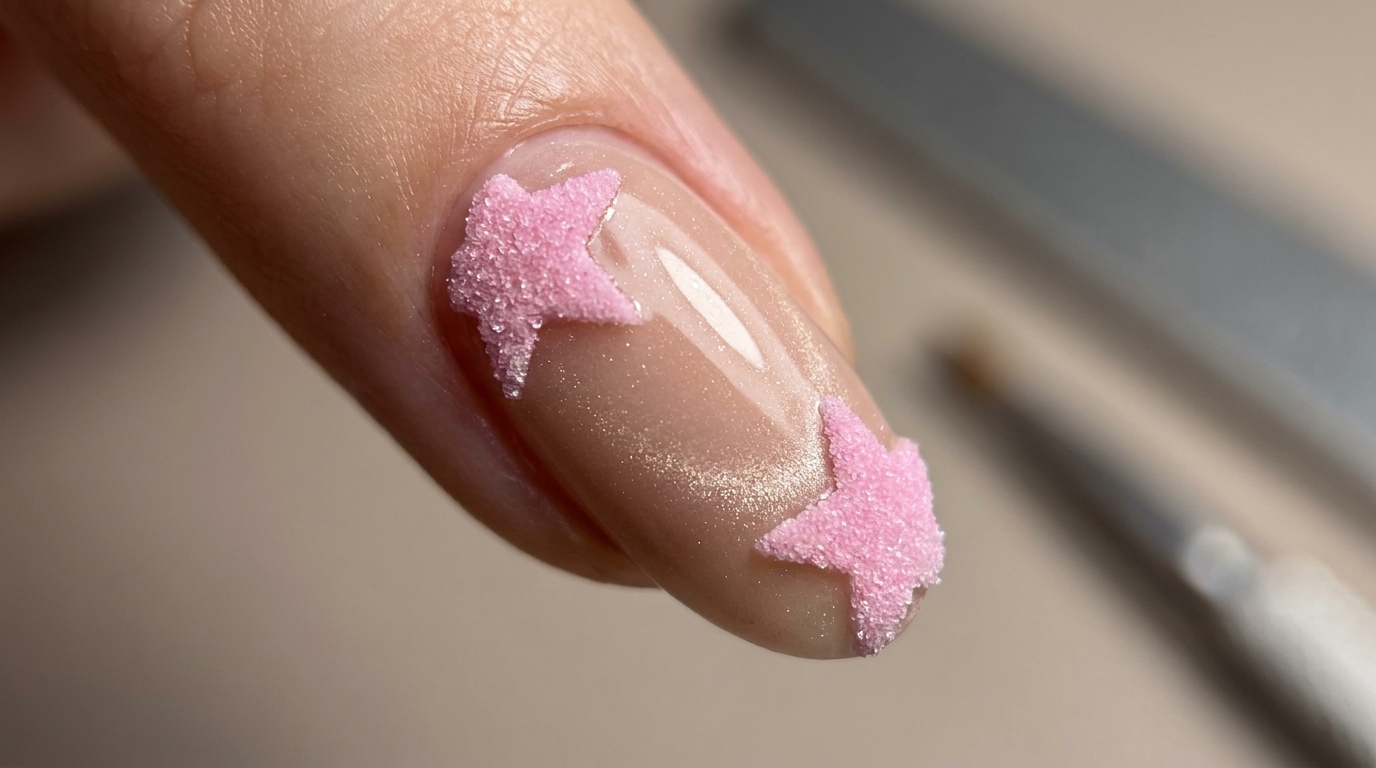
Create these dreamy, moody sugar star nails with a magnetic cat-eye base and textured pink star accents. A perfect look for summer outings.
The sugar star nail trend combines the depth of cat-eye magnetic polish with a playful, tactile texture that really pops. This look pairs a sophisticated, moody shimmer base with sweet, raised pink stars for a design that is both eye-catching and fun to wear. It is an ideal manicure for summer outings or whenever you want to add a little celestial magic to your style.
Steps
- 1Clean the cuticle area
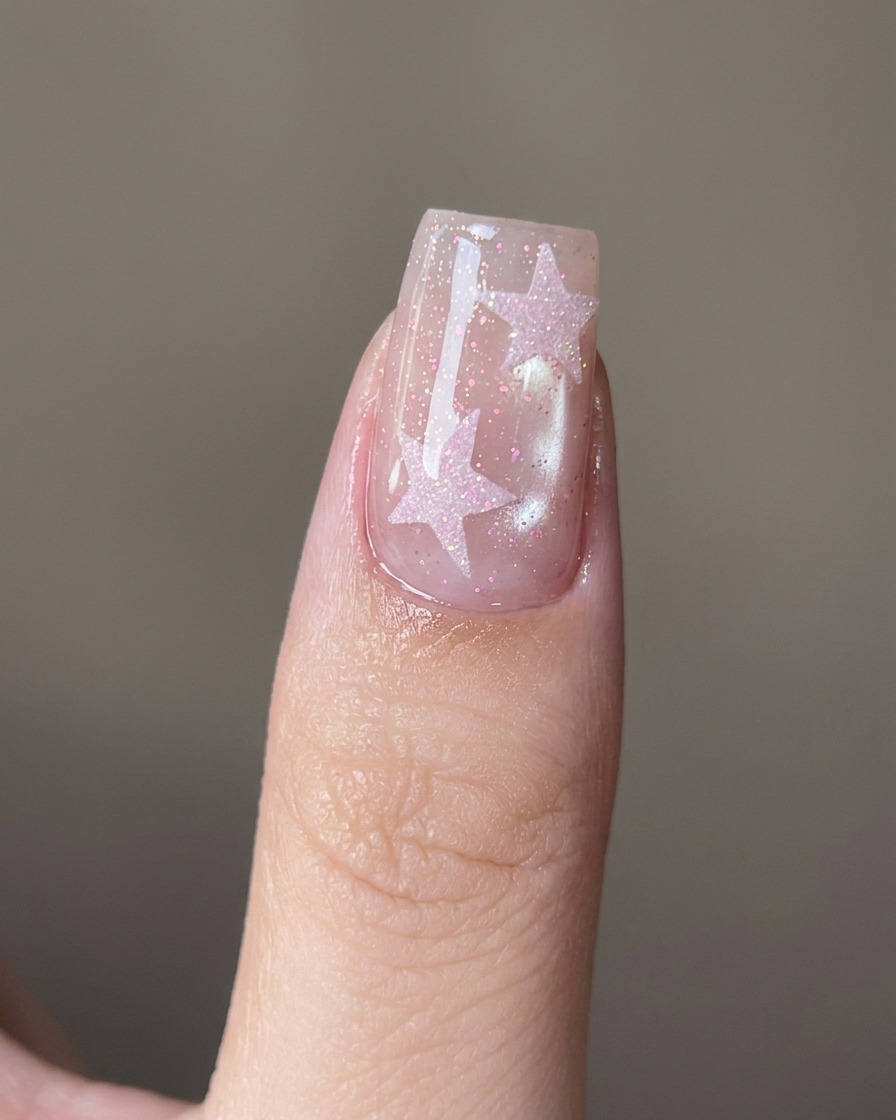
Using a metal cuticle pusher, gently push back the cuticles on the nail plate. This creates a clean workspace for the gel application and ensures the product sits closer to the cuticle line without touching the skin.
Tip: Be gentle to avoid damaging the nail matrix underneath the cuticle area. - 2Cure the nail
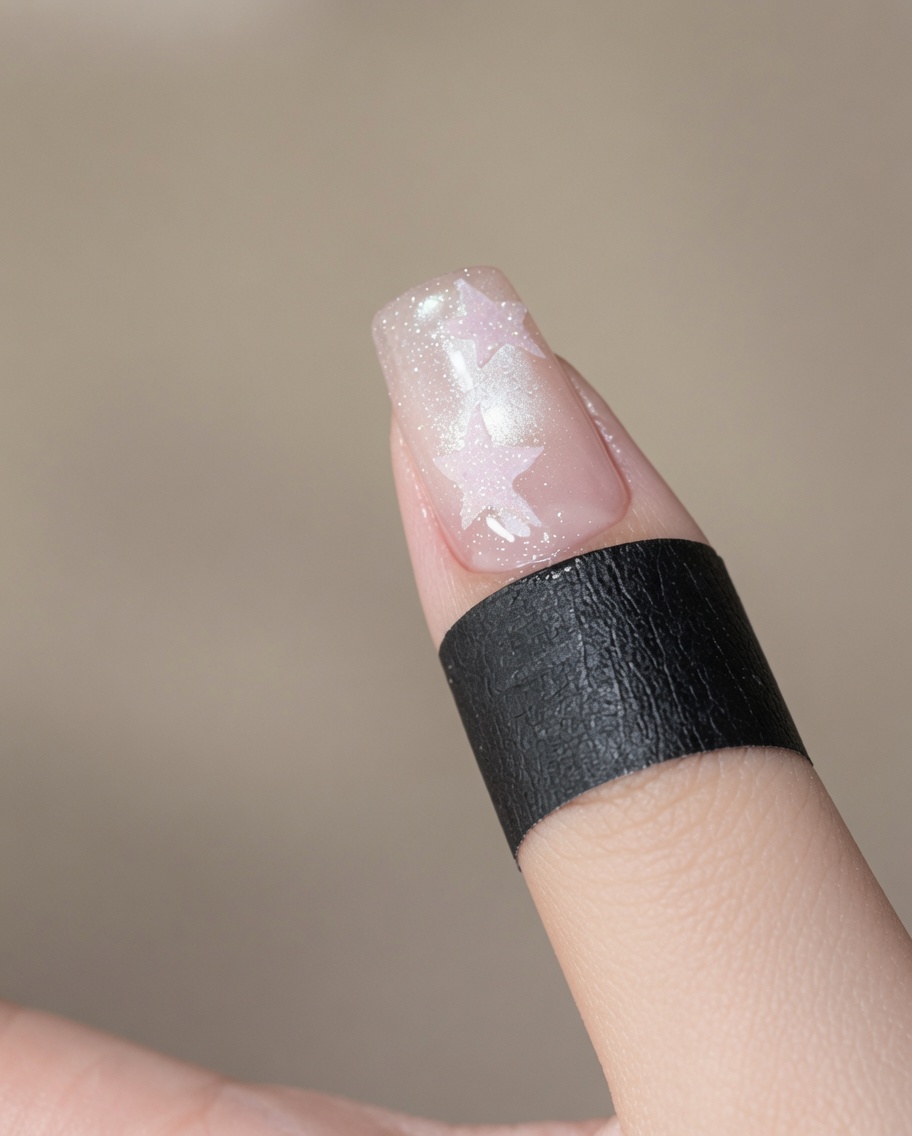
Place the finger under a mini LED lamp to cure the nail. This step sets the preparation or gel layer before proceeding to the next application.
Tip: Ensure the entire nail surface is exposed to the light for a consistent cure. - 3Apply cat-eye gel
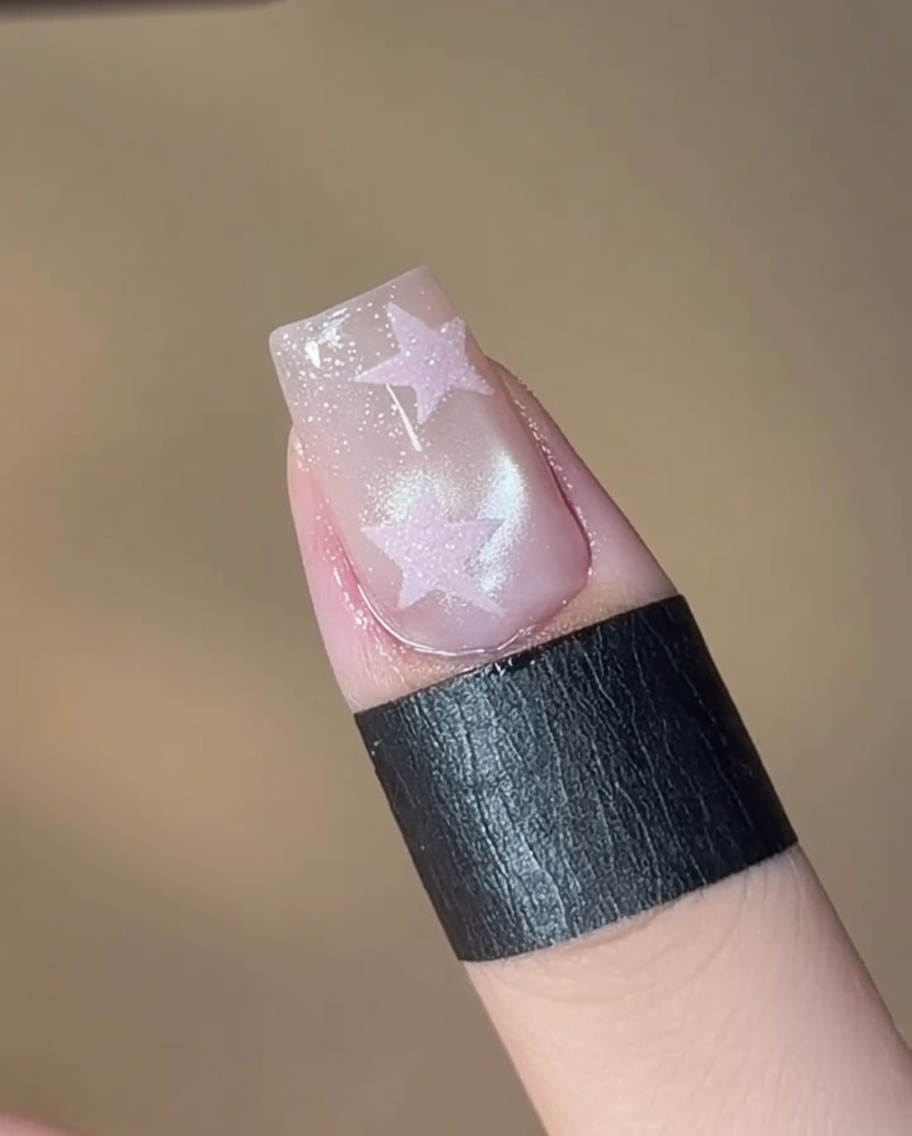
Apply a layer of the 05 cat-eye gel to the entire nail plate. This gel contains magnetic particles that provide a moody shimmer.
Tip: Keep the layer thin to ensure the magnetic effect is easily manipulated. - 4Create the glass bead effect
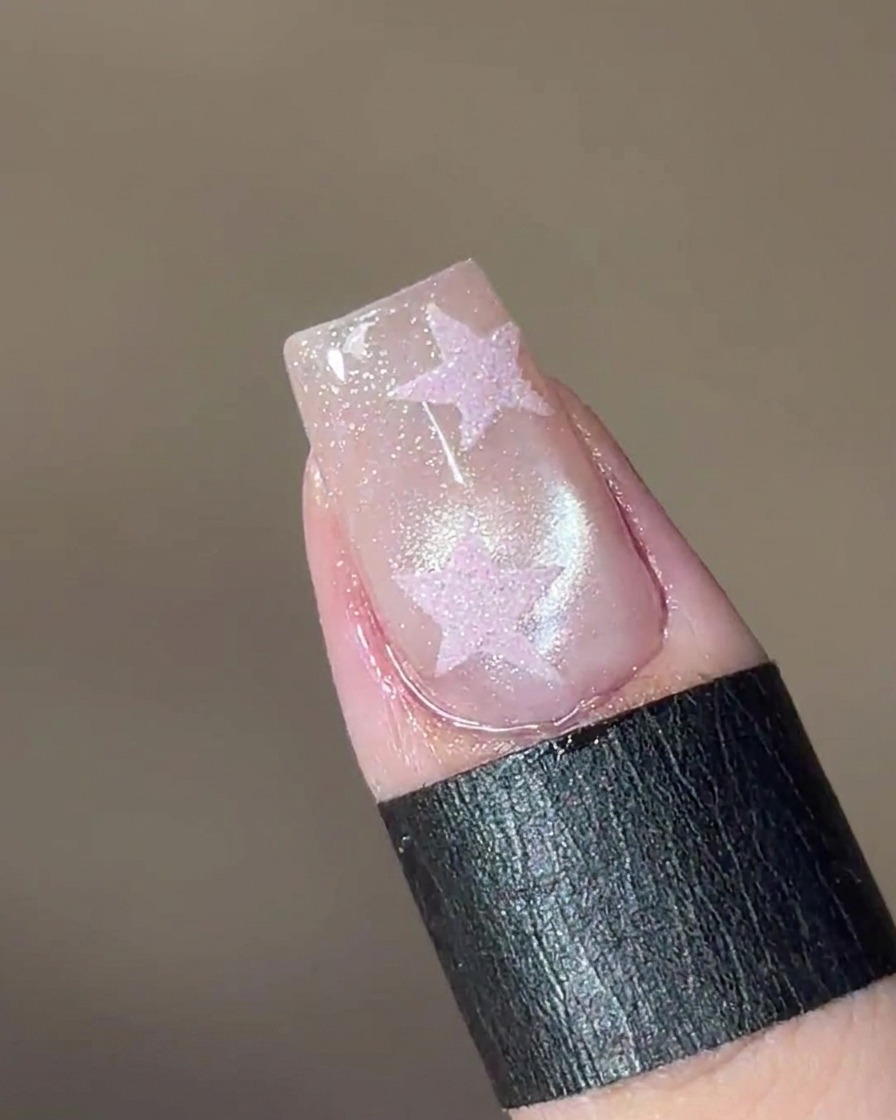
Hold a round magnet tool over the wet cat-eye gel to draw the magnetic particles into a concentrated glass bead effect. Once the desired look is achieved, move to the next step.
Tip: Hold the magnet steady to get the crispest bead look. - 5Cure the cat-eye gel
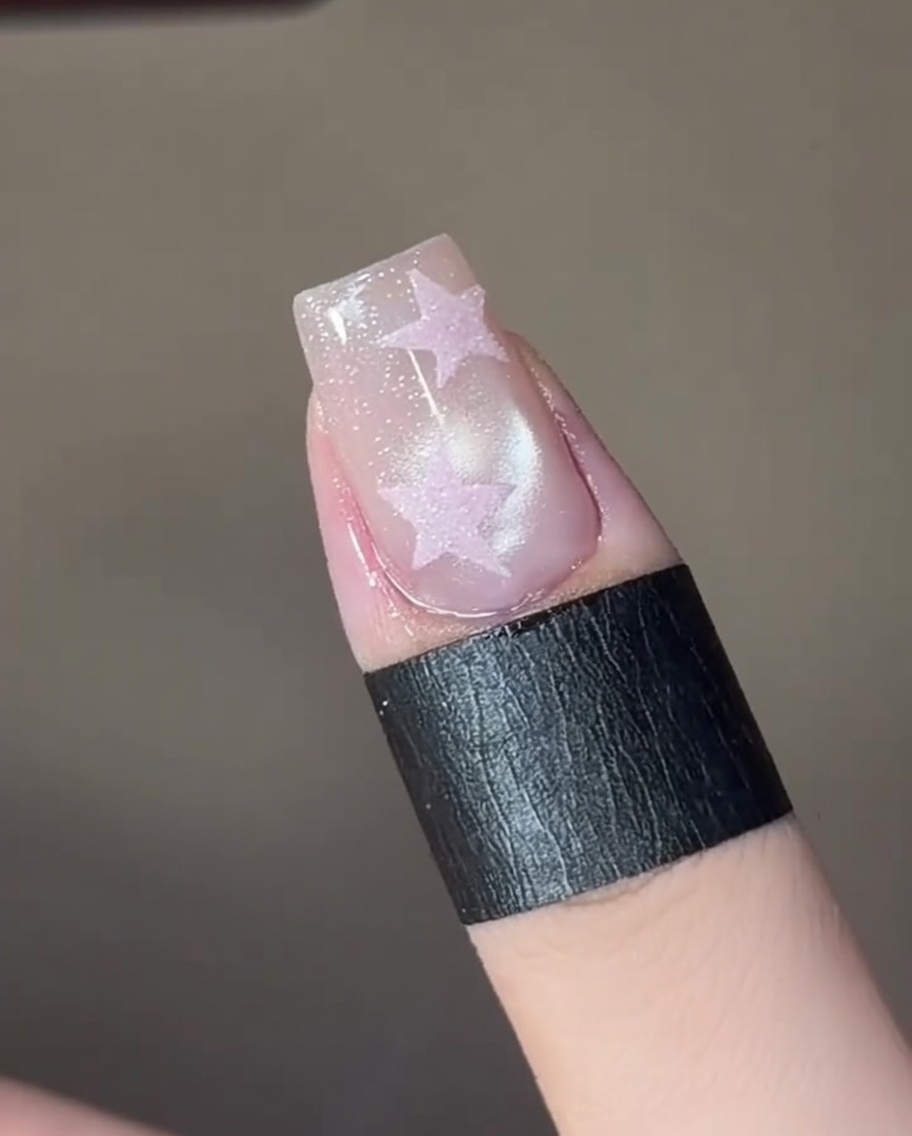
Place the nail under the mini LED lamp to cure the cat-eye gel and lock the magnetic pattern in place.
Tip: Quickly curing after magnetizing prevents the particles from spreading. - 6Apply sealing top coat
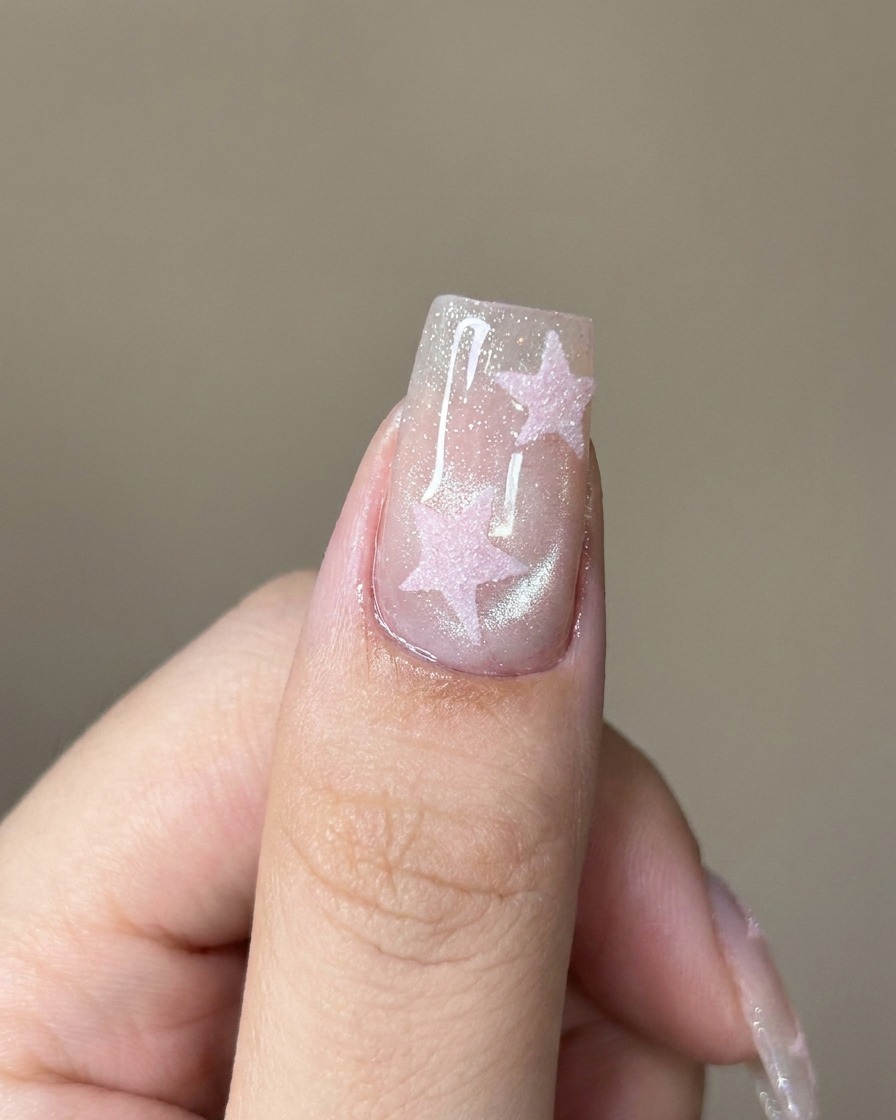
Apply a layer of sealing top coat over the cured cat-eye gel to protect the design and prepare for the nail art stickers.
Tip: Ensure the surface is fully covered to create a smooth base for the stickers. - 7Cure the top coat
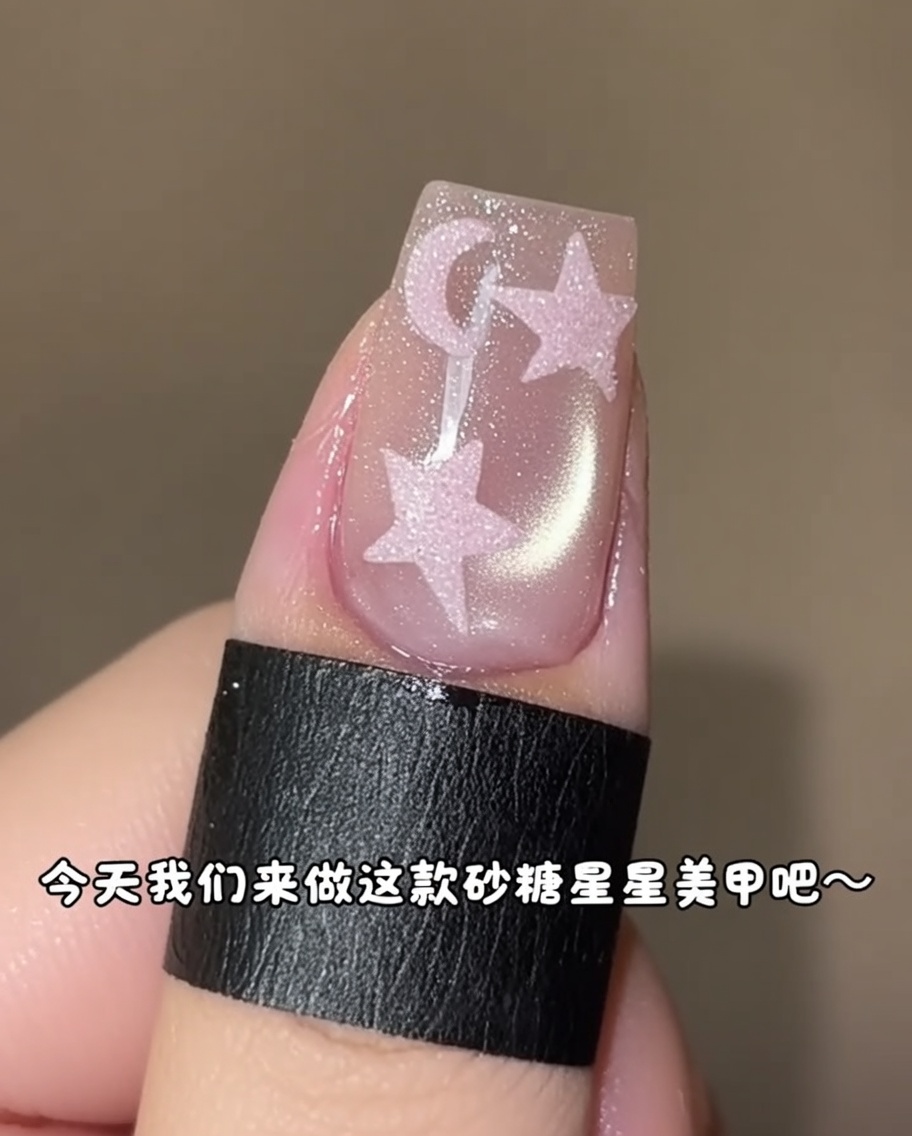
Place your hand under the UV/LED lamp to cure the applied top coat. Ensure your hand is positioned comfortably for even light distribution to fully set the gel.
Tip: Check that the entire nail surface is under the light for the manufacturer-recommended time. - 8Place the star sticker
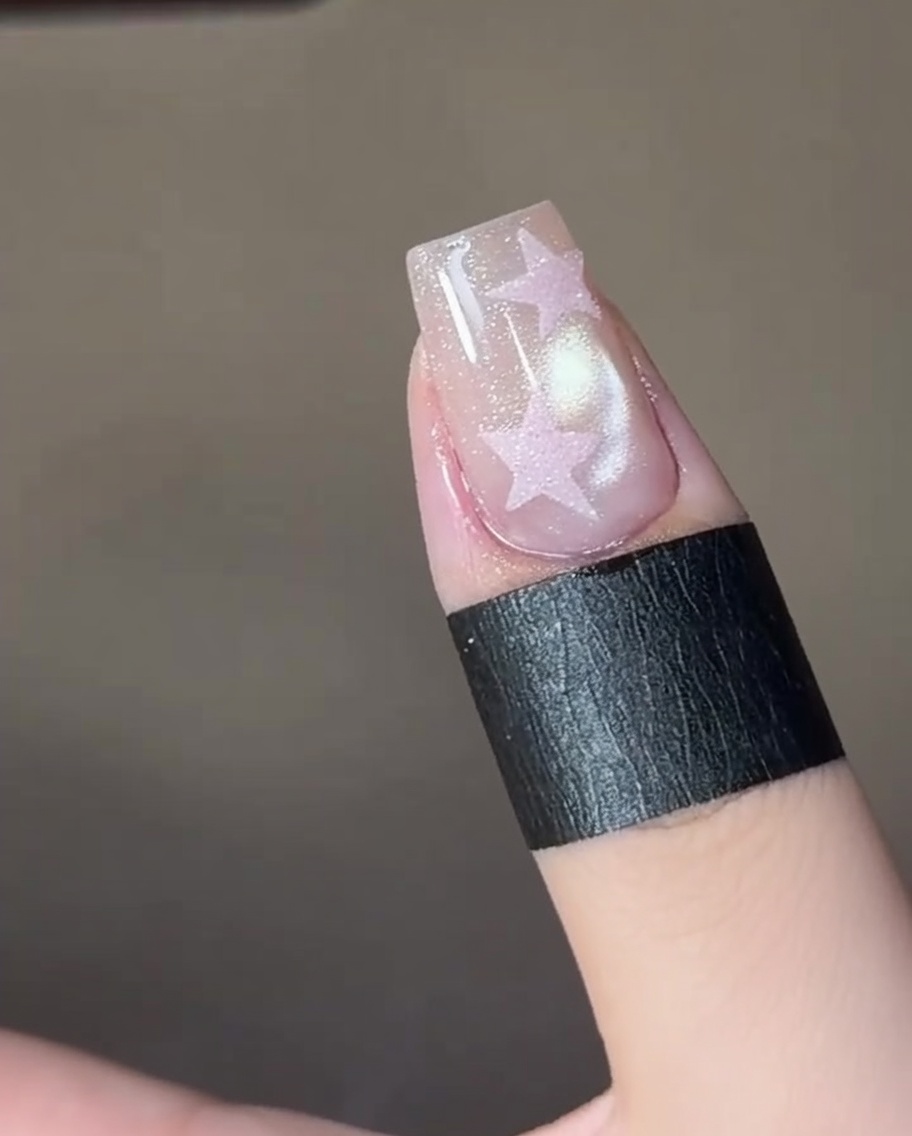
Position your star-shaped sticker precisely where you want the design to appear on the nail. Press it down firmly to ensure the edges are sealed against the nail surface.
Tip: Use a pair of tweezers for better placement control, especially on smaller nail beds. - 9Fill the star stencil
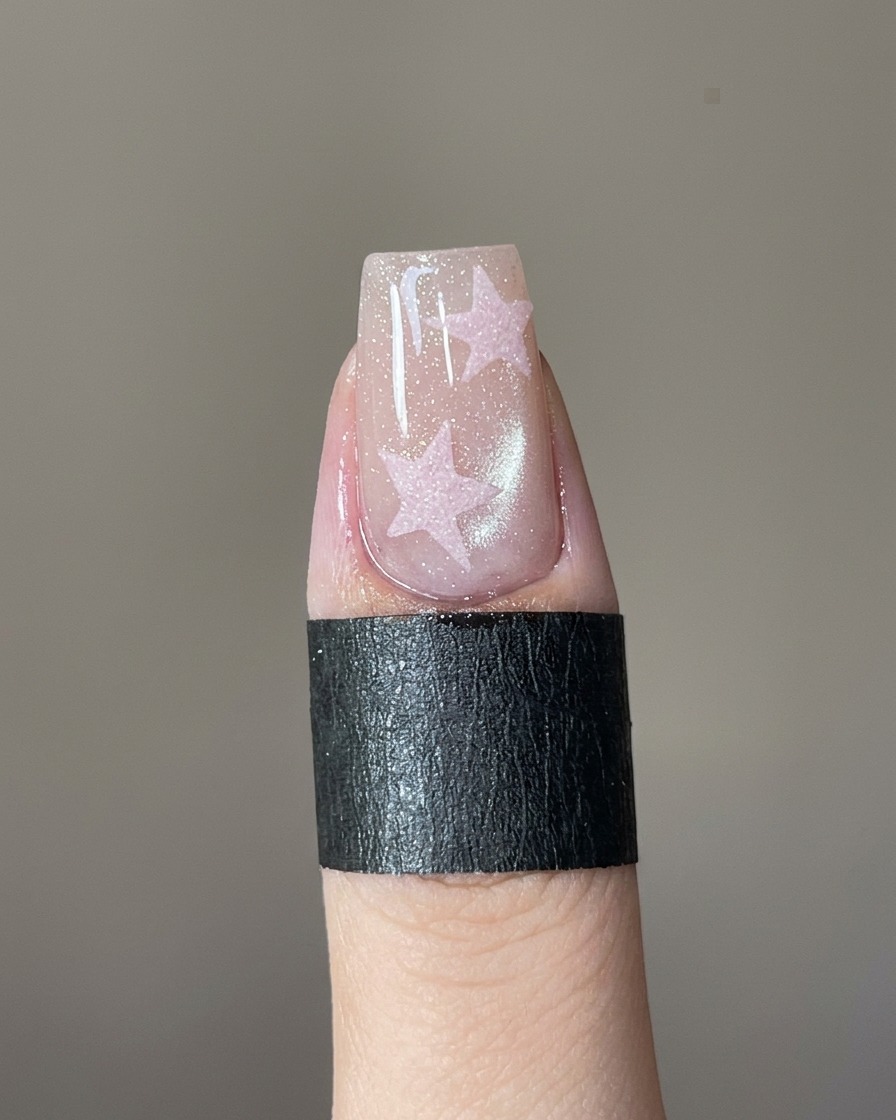
Carefully apply the pink gel polish inside the star sticker stencil, ensuring it covers the area evenly. Use a small brush to push the product to the edges for a clean, solid shape.
Tip: Use a thin layer of gel to prevent pooling outside the stencil lines. - 10Cure the star gel
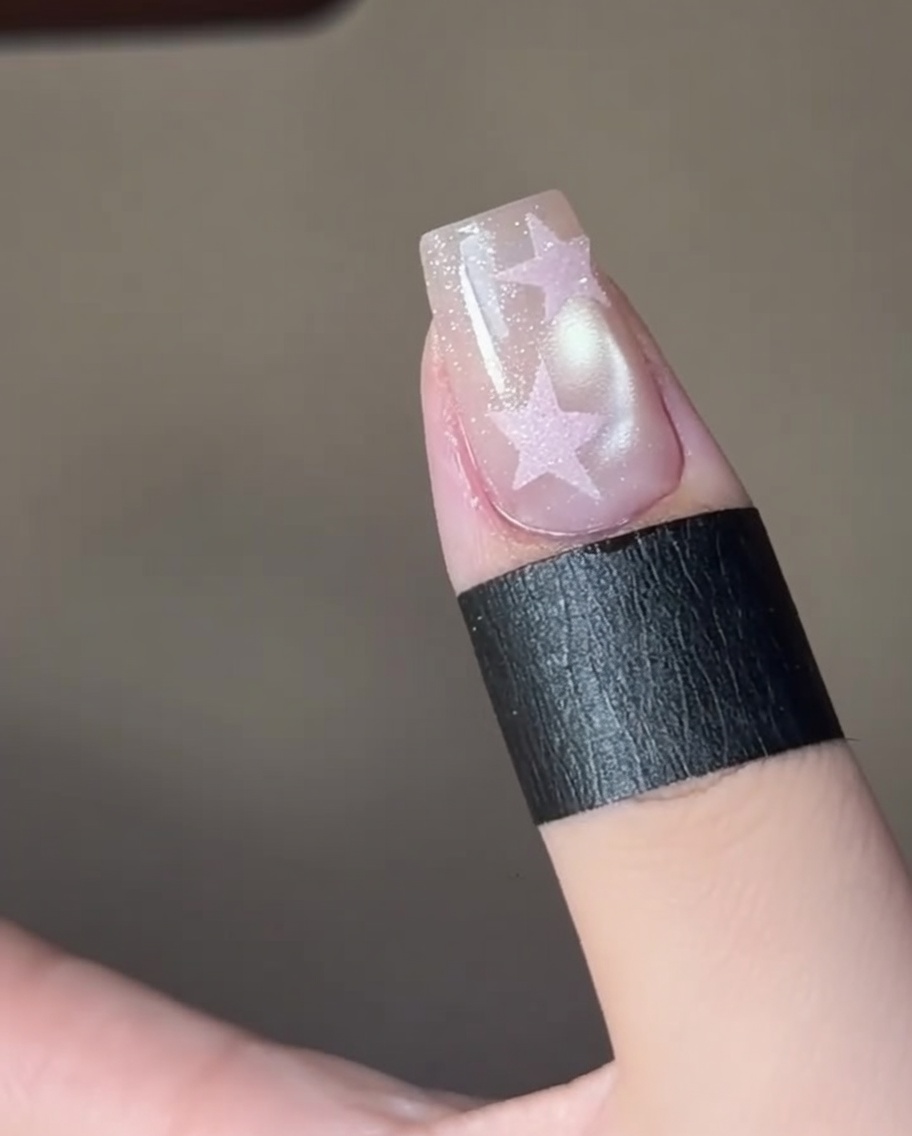
Place your nail under the UV/LED lamp to cure the pink gel filled into the star stencil. This hardens the product, ensuring the star design remains intact.
Tip: Ensure the nail stays still during the cure to avoid smudging the design. - 11Apply top coat over design
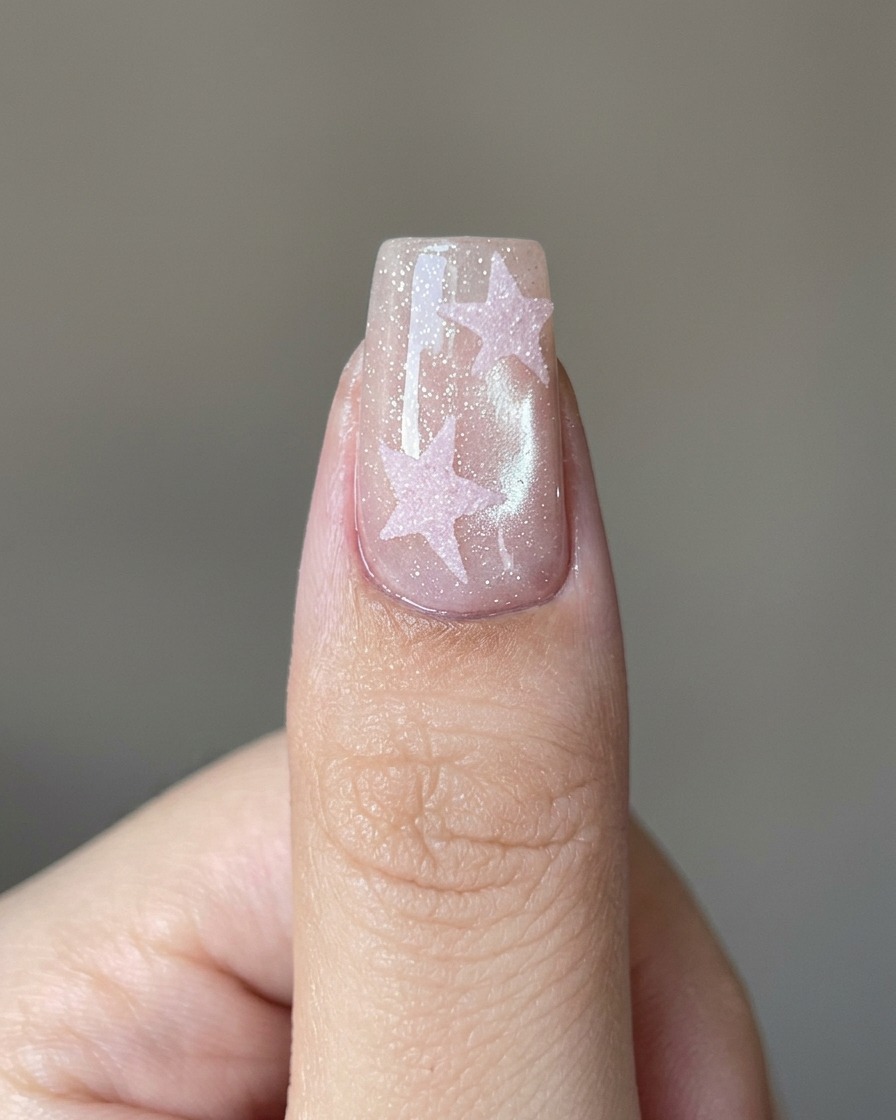
Apply a layer of no-wipe top coat directly over the pink star area to protect the design and prepare it for the sugar powder application.
Tip: Apply a thin, uniform layer so the powder adheres correctly. - 12Remove the stencil
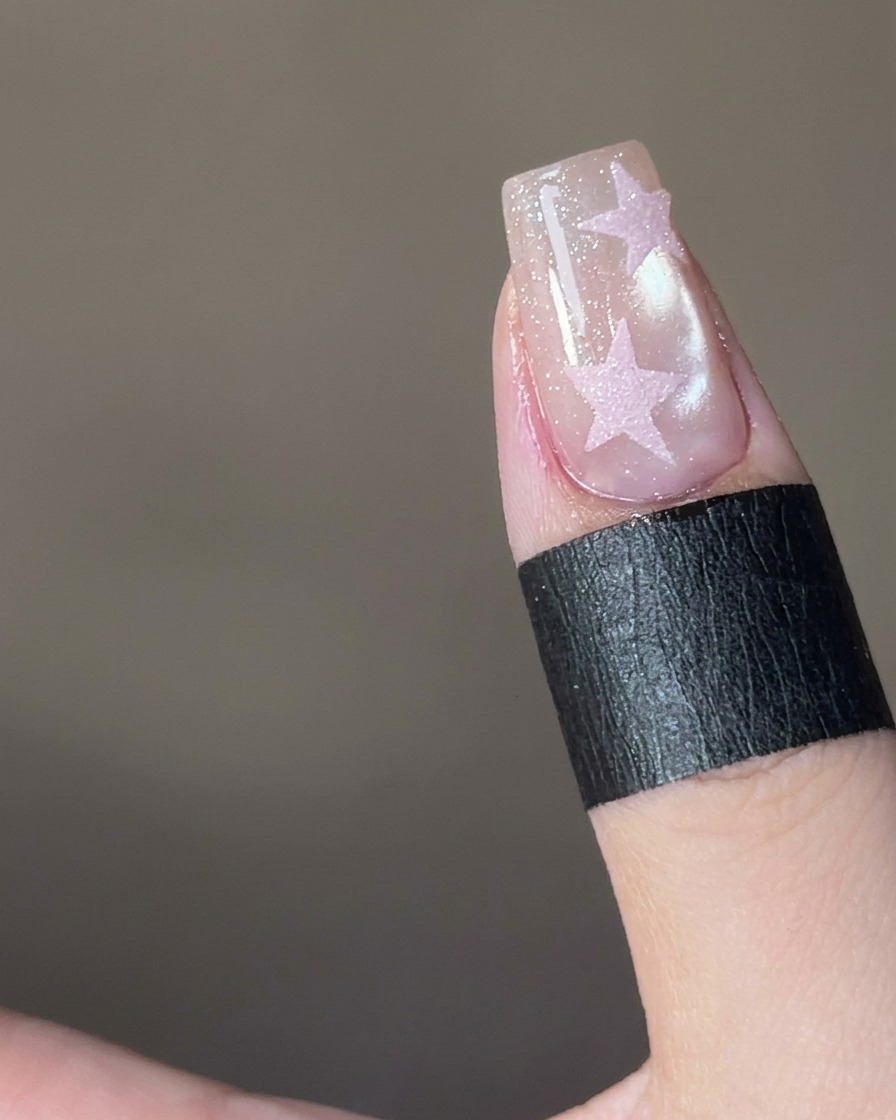
Gently peel off the star sticker while the top coat is still wet (or as per your gel brands instructions) to reveal the clean, sharp edges of your star design.
Tip: Peel slowly to avoid disturbing the edges of the gel design. - 13Apply sugar powder
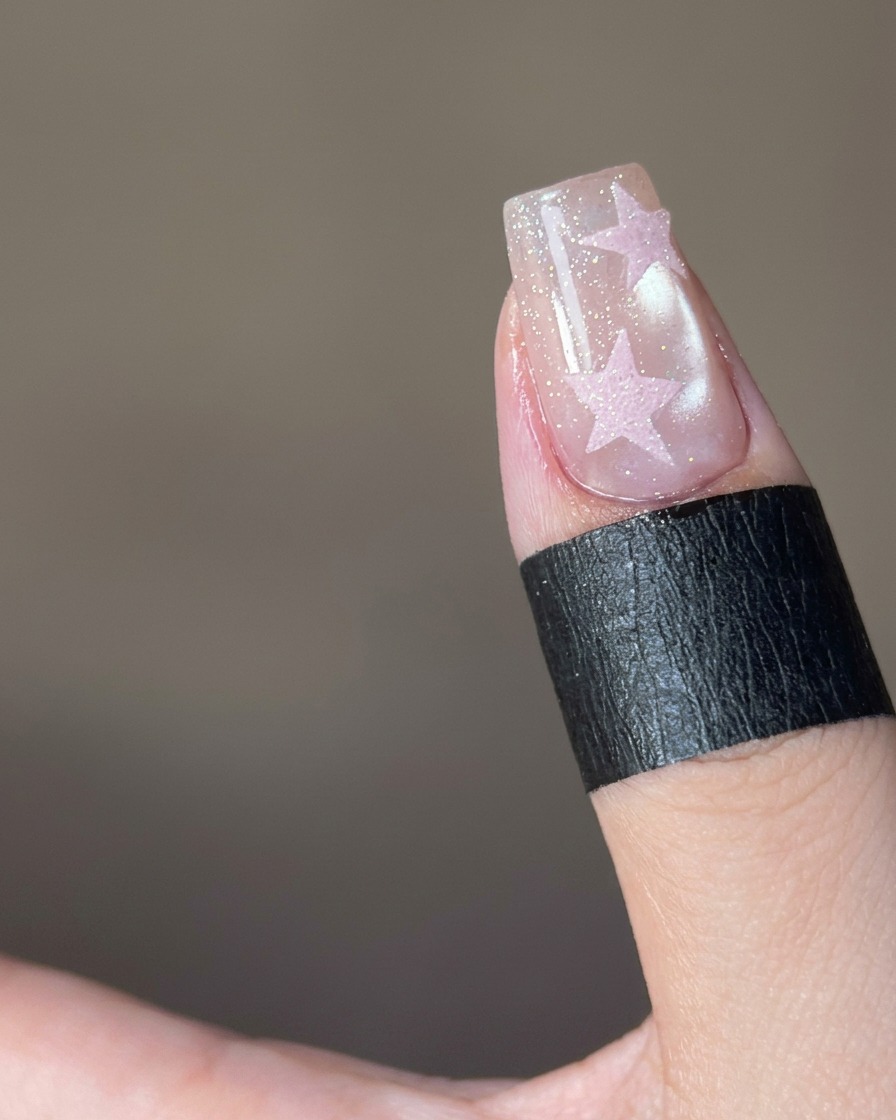
While the top coat over the star is still wet and uncured, gently sprinkle pink sugar powder over the entire star area. Ensure it is evenly coated to achieve the textured finish.
Tip: Do this over a tray or a piece of paper to easily collect the excess powder for reuse. - 14Cure the sugar design
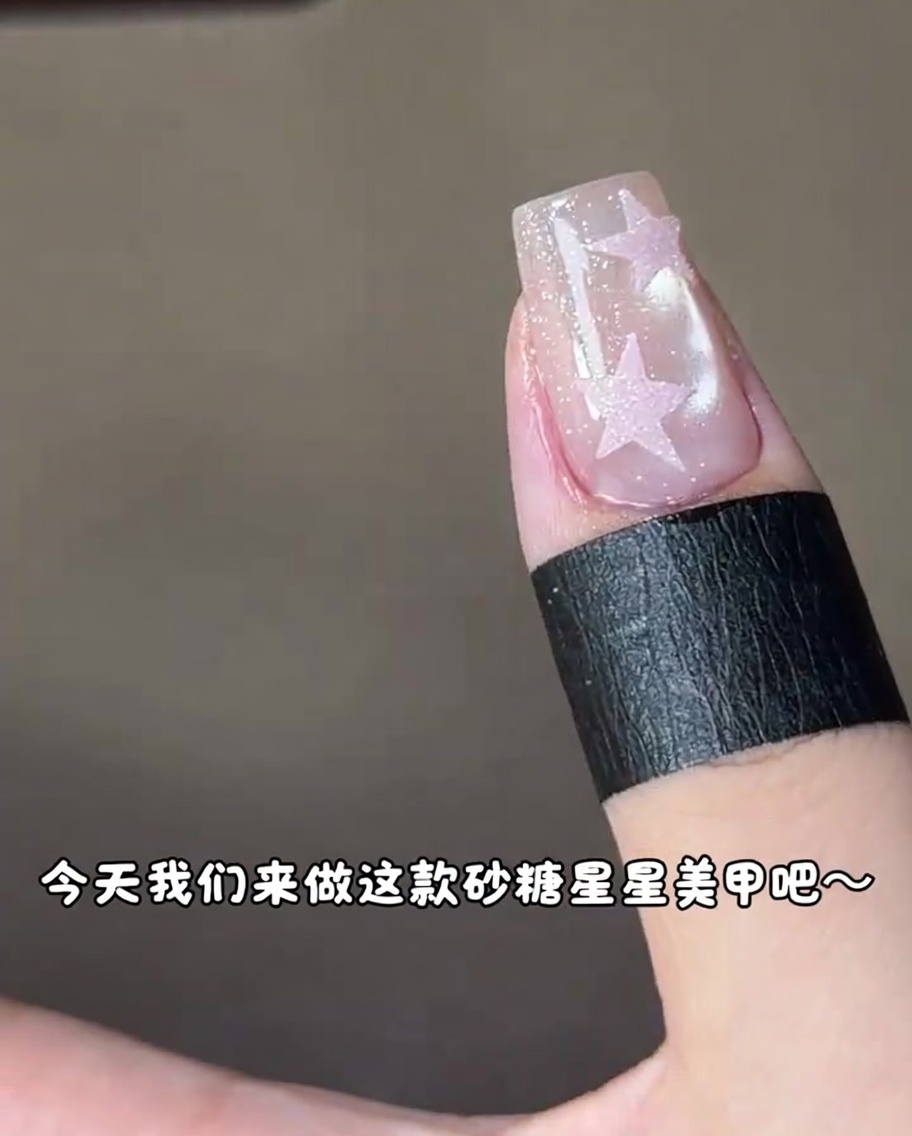
Place your nails under the UV or LED lamp to cure the top coat and set the sugar powder in place. Follow the curing time recommended for your specific top coat to ensure it is fully hardened.
Tip: Ensure your hand is positioned correctly under the lamp so the UV light reaches all parts of the star evenly. - 15Remove excess powder
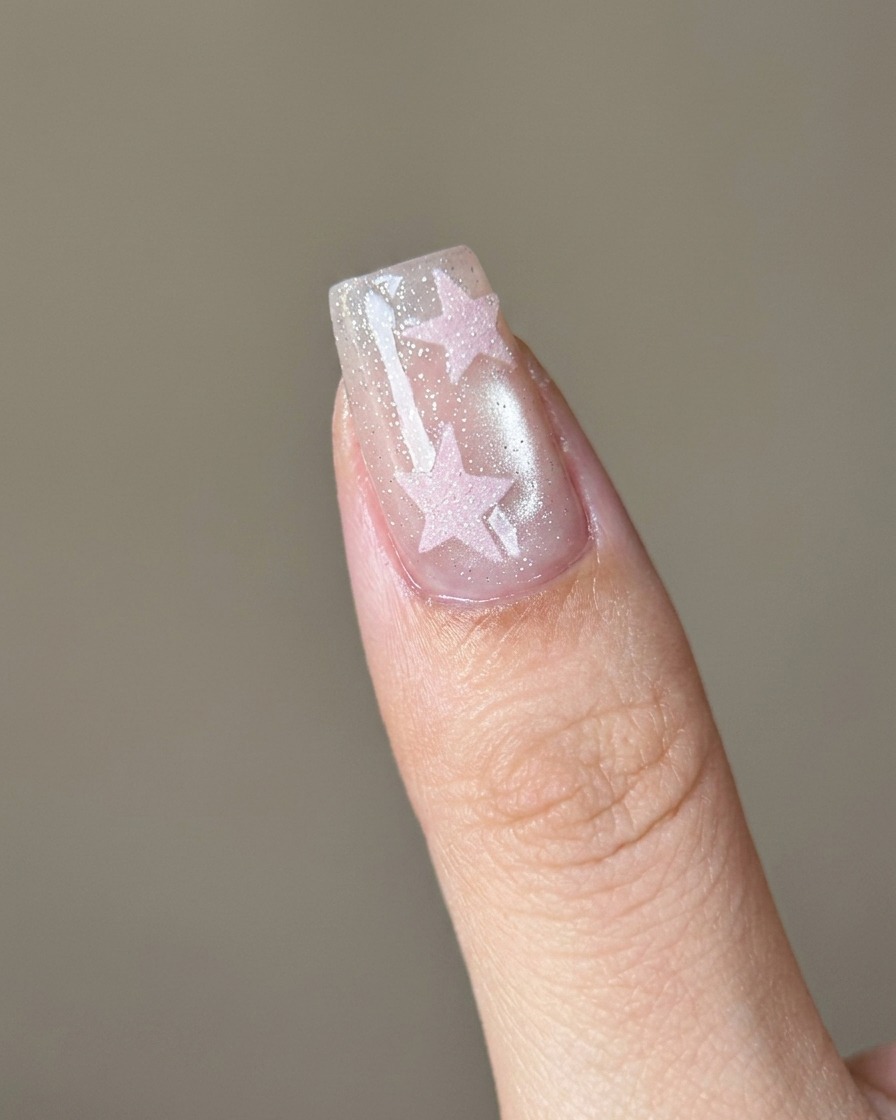
Once cured, use a clean, soft nail brush to gently dust off any loose sugar powder from the surface of the nail. This reveals the crisp star shape with its textured sugar finish.
Tip: Use light, sweeping motions to avoid damaging the textured surface of the star. - 16Apply second star sticker
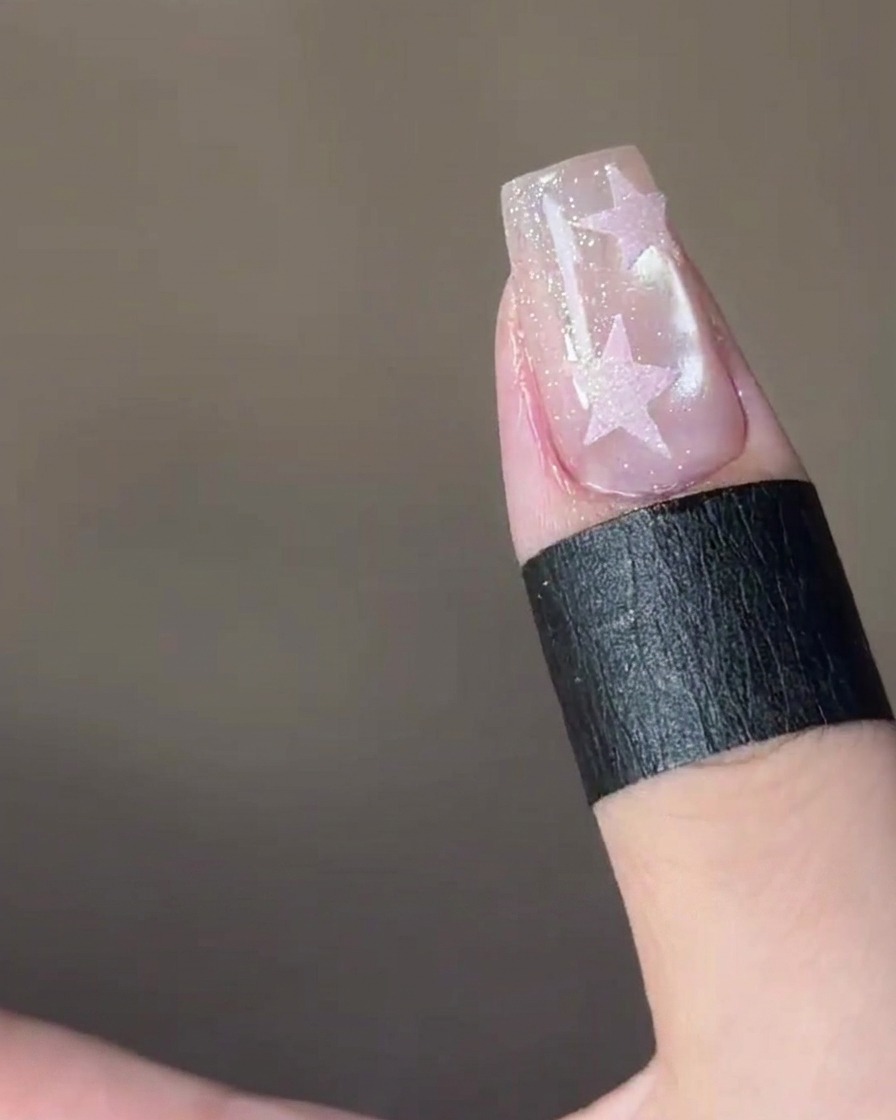
Position a second star sticker on the opposite corner of the nail to balance the design. Ensure it is pressed down firmly around the edges to prevent any gel from bleeding underneath.
Tip: Use tweezers for precise placement to ensure both stars are aligned nicely on the nail. - 17Fill the star with gel
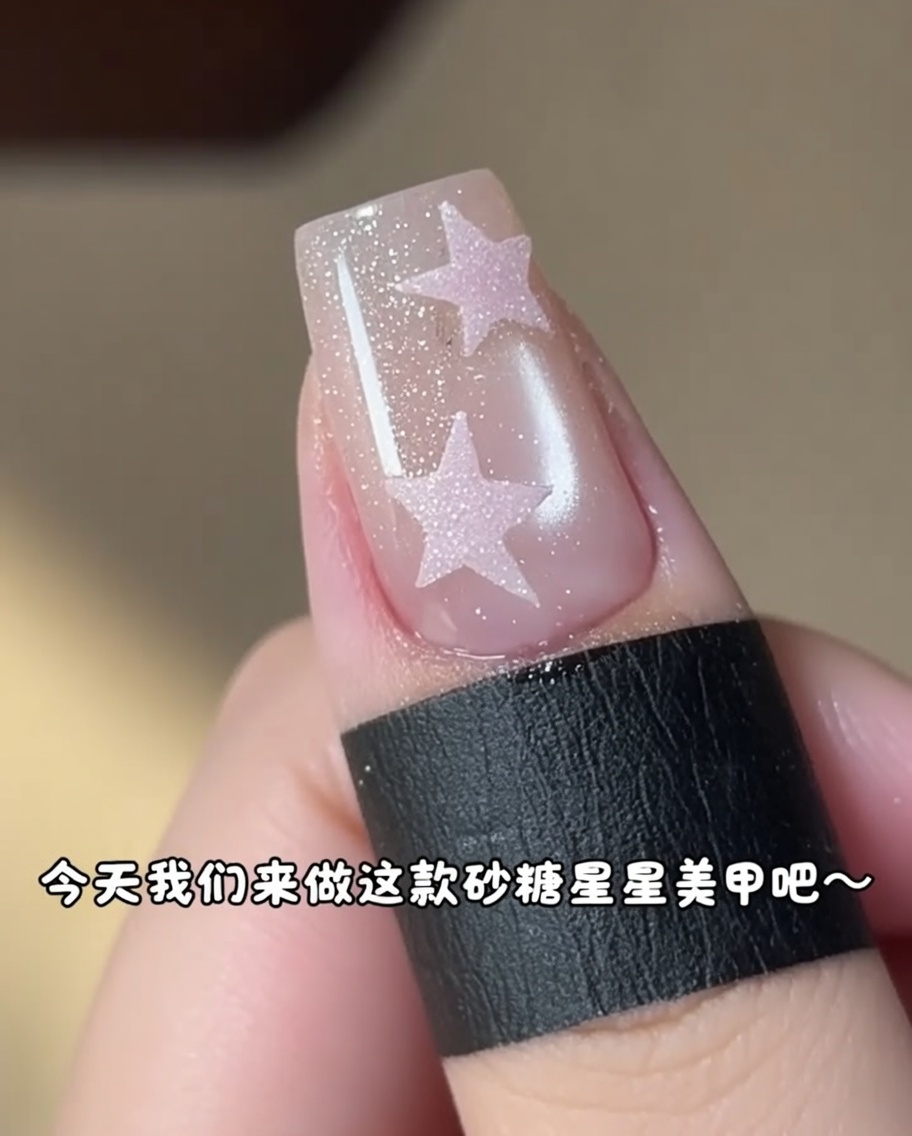
Carefully fill the inside of the star sticker with your pink gel. Use a fine detail brush to ensure you fill the star completely while keeping the edges sharp and clean.
Tip: Apply a thin layer to avoid bulkiness while still getting full opacity for the color. - 18Cure the star
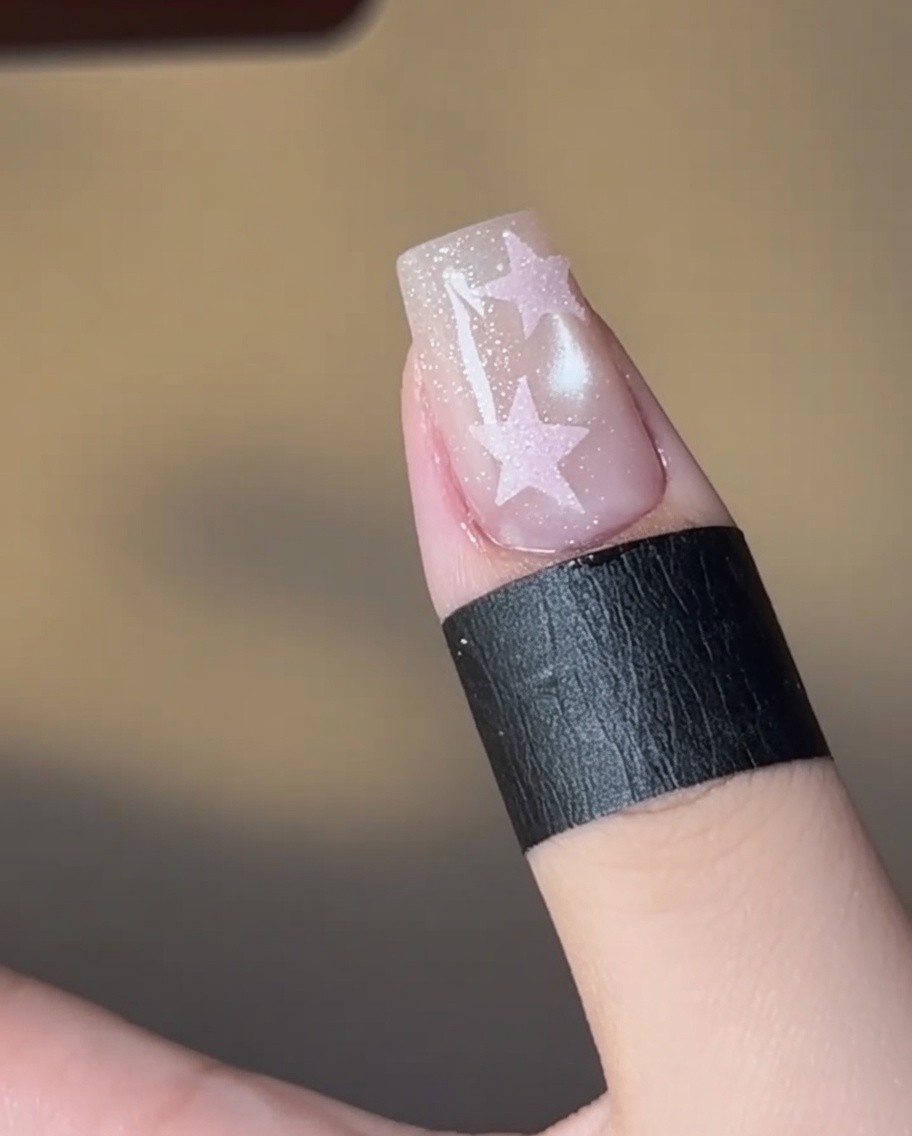
Place the nail back under the lamp to cure the pink gel. This ensures the gel is fully hardened before you proceed to the next step, which will be the final top coat application.
Tip: Check that the edges of the star are fully cured, as gel can sometimes be thicker in these areas. - 19Apply top coat to the star
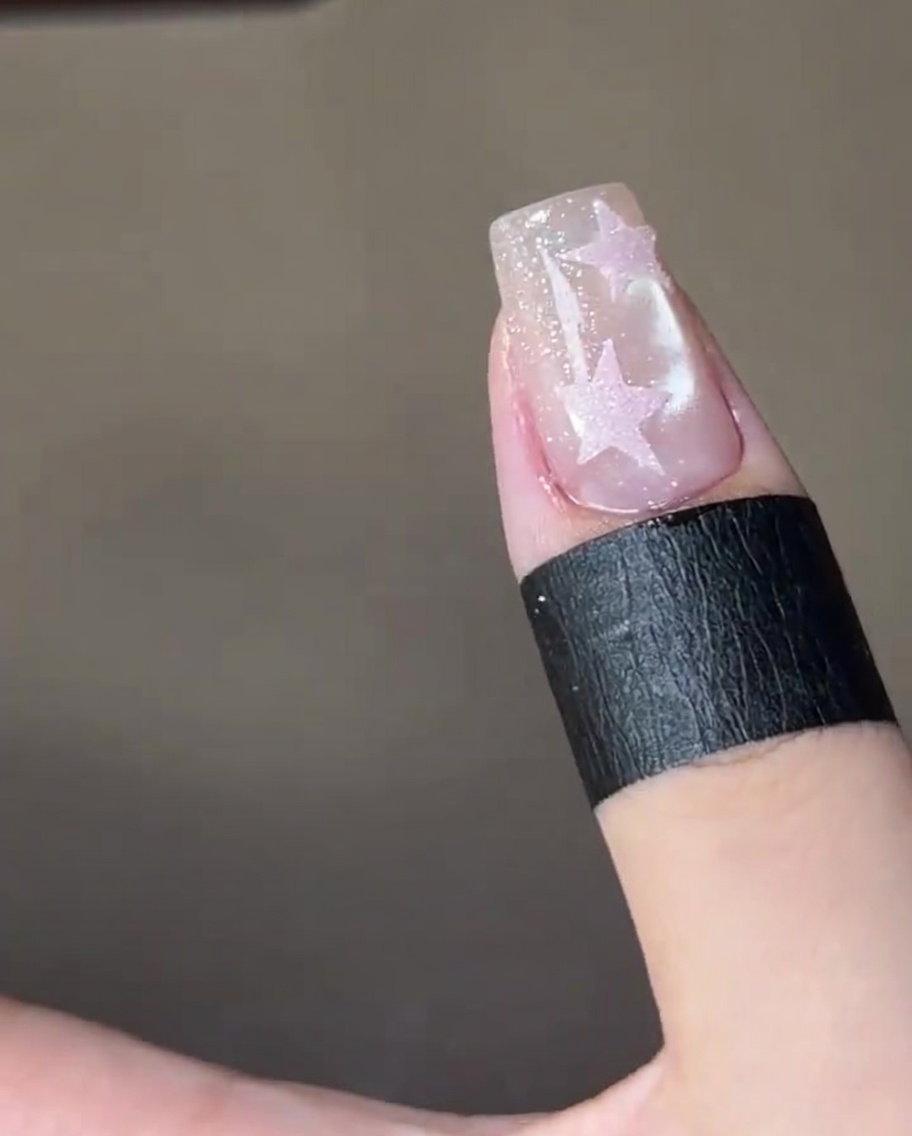
Apply a layer of no-wipe top coat over the newly painted pink star. Ensure the entire star area is covered to seal in the pigment, but be careful not to flood the surrounding nail area. This layer will act as the adhesive base for the sugar powder.
Tip: Work precisely around the star edges to maintain the clean shape of the design. - 20Apply sugar powder
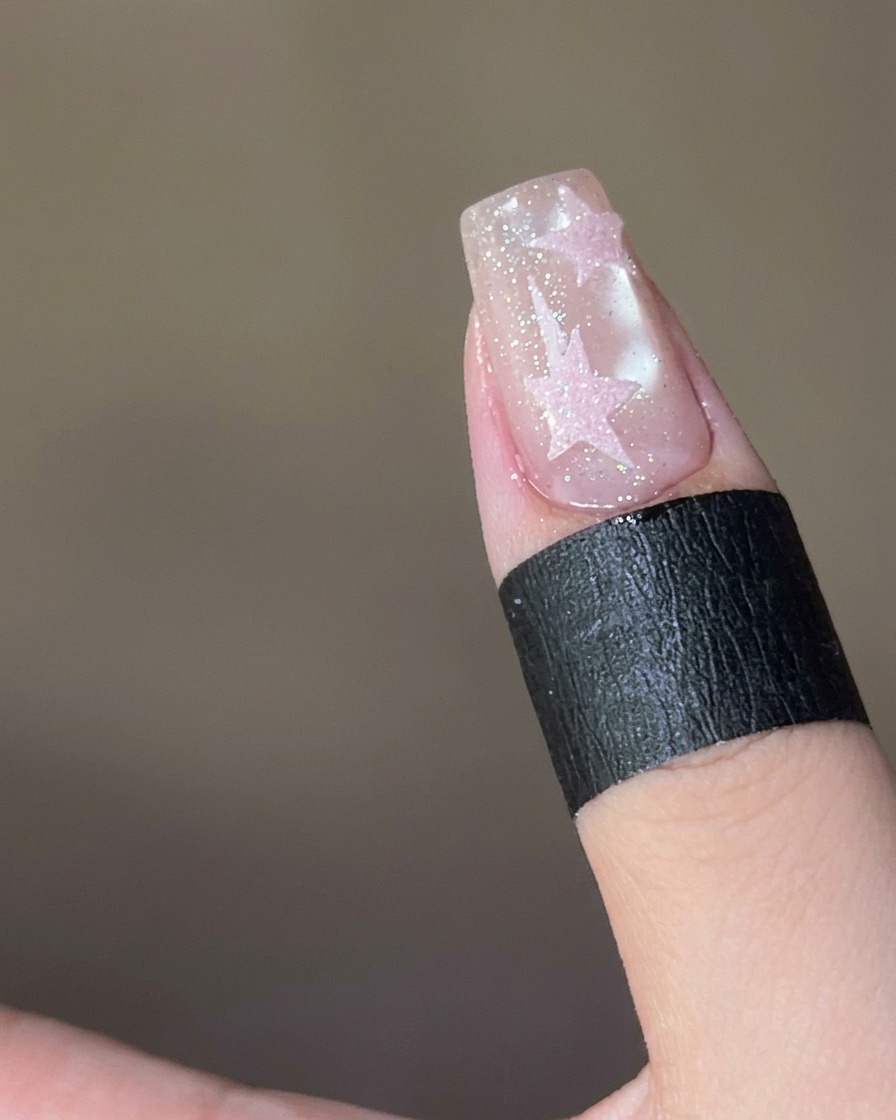
While the top coat is still wet, sprinkle pink sugar powder generously over the star. Make sure the powder covers the entire star design evenly. Cure the nail under a UV lamp to set the sugar powder into the top coat.
Tip: Gently press the powder into the wet gel if needed, but avoid smudging the edges. - 21Final cure
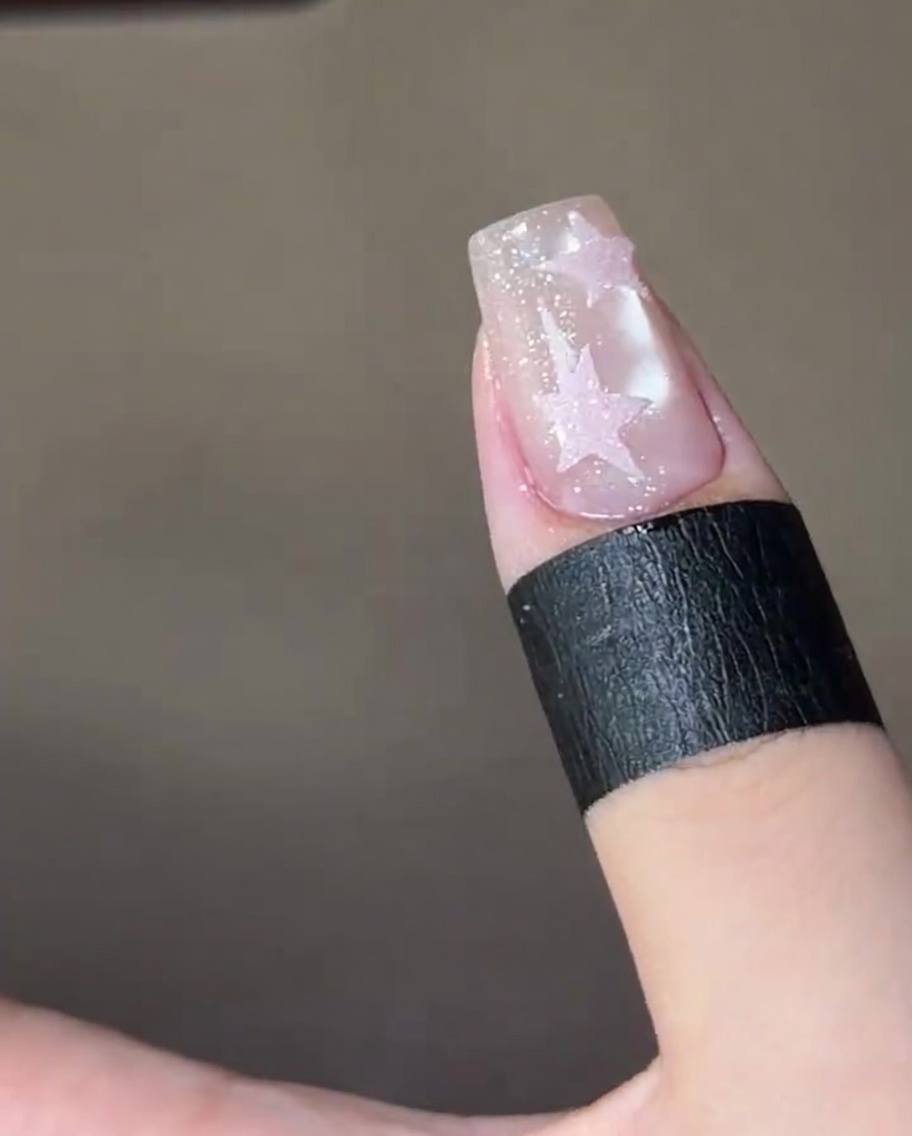
After removing the excess powder with a brush, perform a final cure under your UV lamp to ensure the sugar powder and all layers are fully hardened and set. This completes the sugar star nail design.
Tip: Ensure the nails are placed fully inside the lamp for an even, thorough final cure.