Pink Stamped Cat-Eye Nail Art Tutorial
Discover how to create delicate, textured star and heart nail art using stamping plates and cat-eye gel polish for a stunning, professional look.
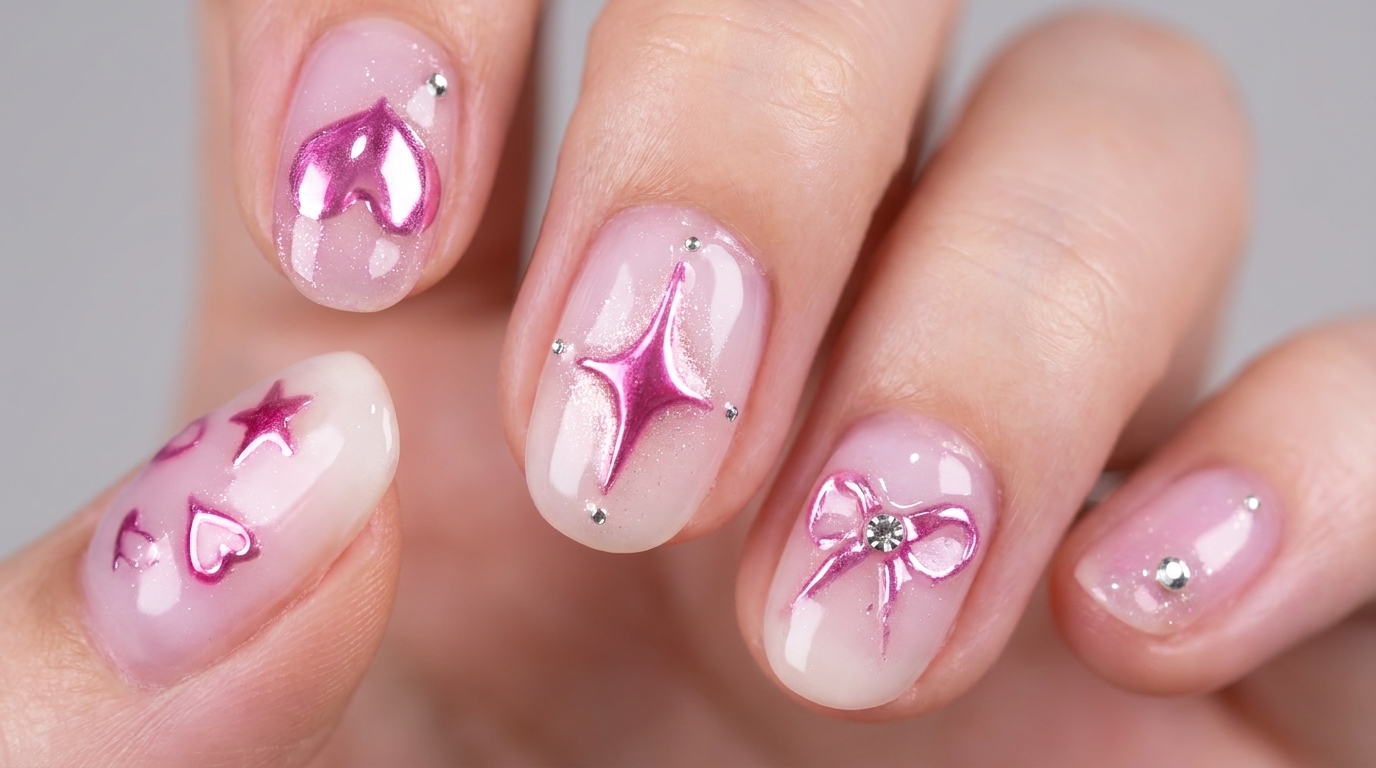
Elevate your DIY nail game with this elegant pink cat-eye design. By combining magnetic polish with precise stamping techniques and high-transparency powder, you can achieve a sophisticated, silk-like texture that looks like it came straight from the salon. This tutorial guides you through three variations, from sparkling stars to romantic hearts, perfect for any occasion.
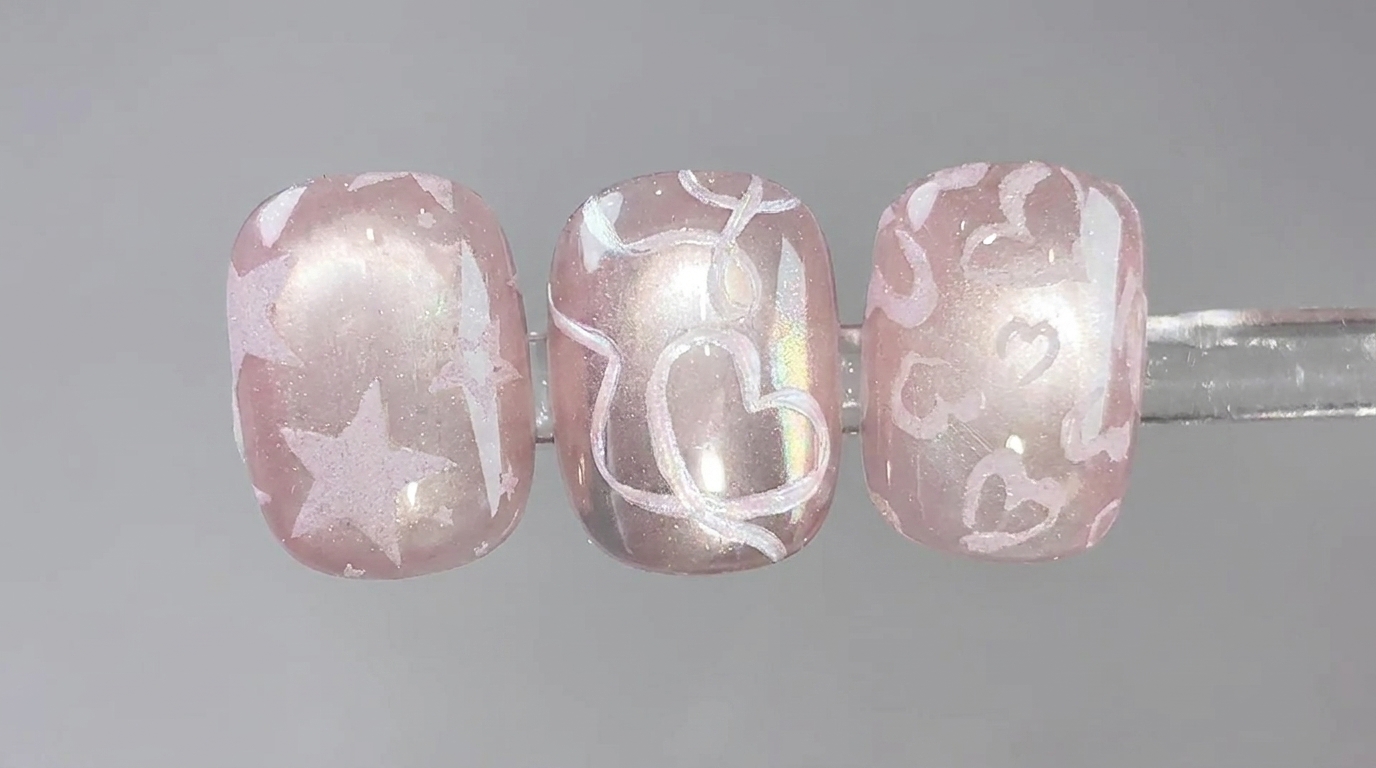
Steps
- 1Apply cat-eye gel
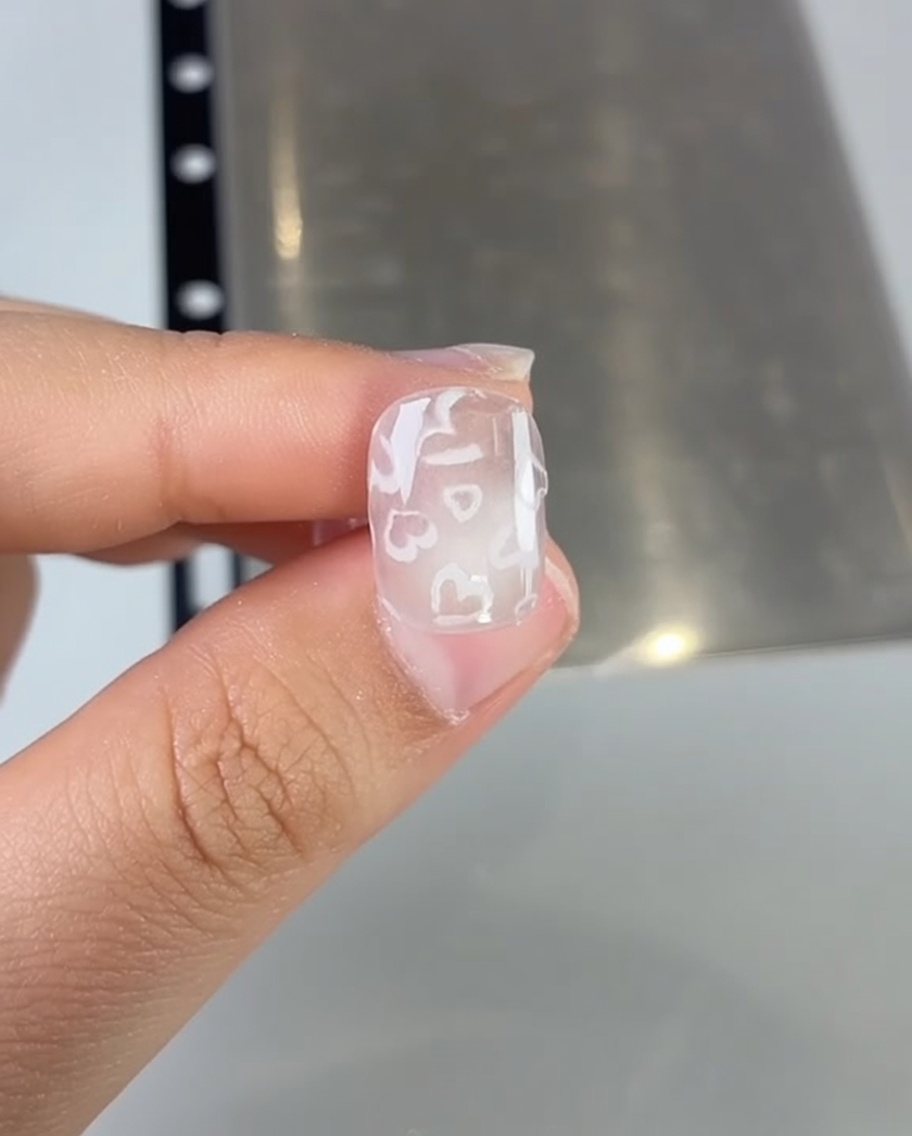
Apply a thin, even layer of light pink cat-eye gel polish over the nail. Ensure the coverage is smooth and avoids the cuticles. This creates the base for the magnetic cat-eye effect.
Tip: Apply in a thin layer to ensure it cures properly and doesnt flood the cuticles. - 2Create a glass-bead cat-eye effect
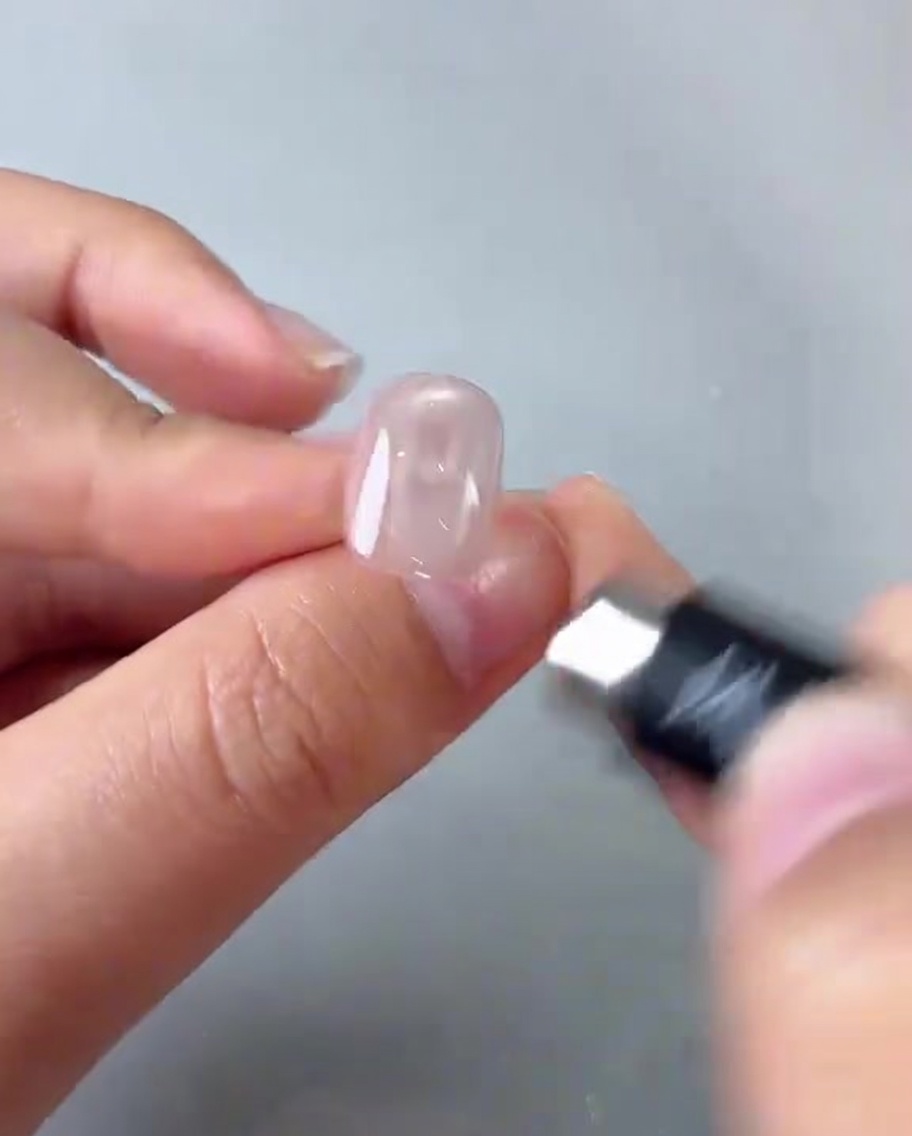
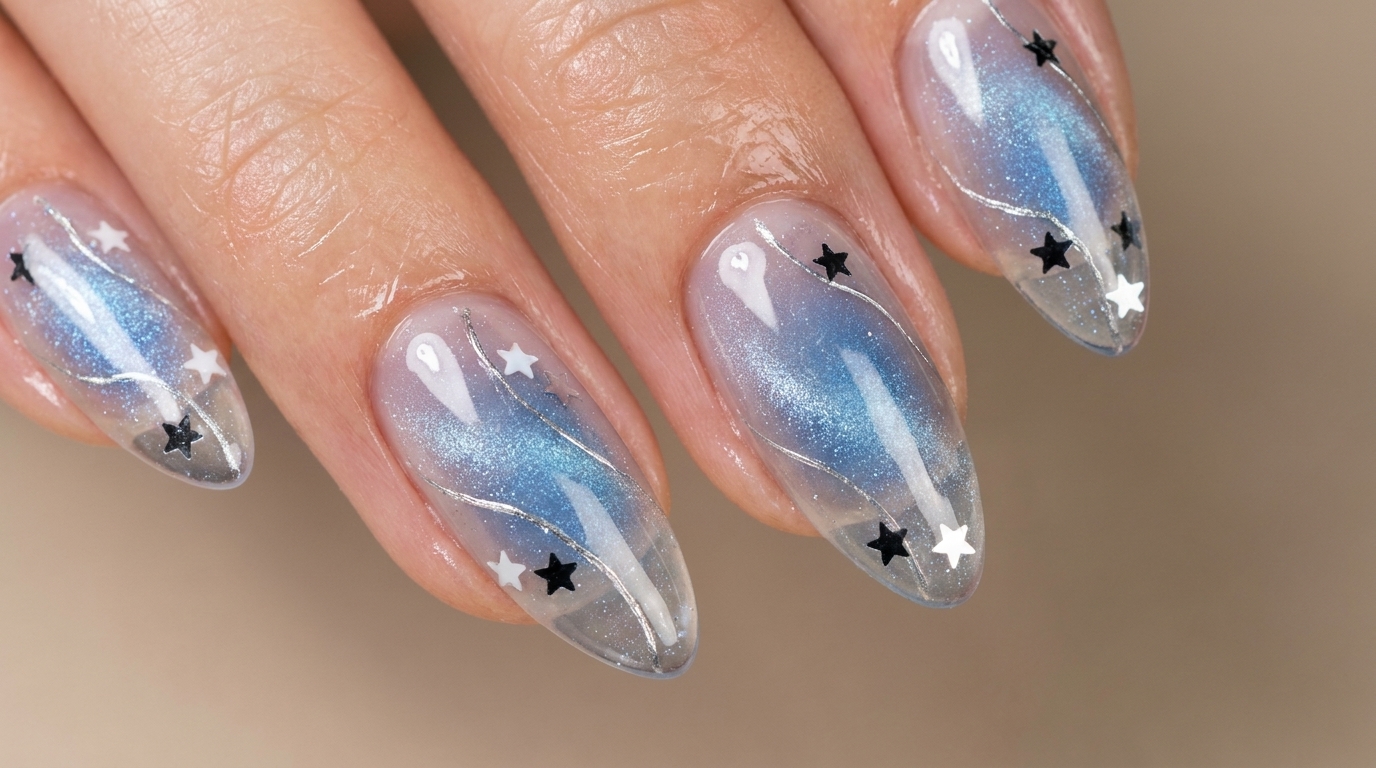
Hover a strong cylinder magnet closely over the uncured light pink cat-eye gel polish. Move the magnet gently to pull the magnetic particles into a bright, circular glass-bead pattern in the center of the nail. Once you are satisfied with the design, immediately cure the nail under your UV or LED lamp to lock the particles in place.
Tip: Work with one nail at a time when using cat-eye gels to prevent the magnetic particles from dispersing before curing. - 3Apply top coat
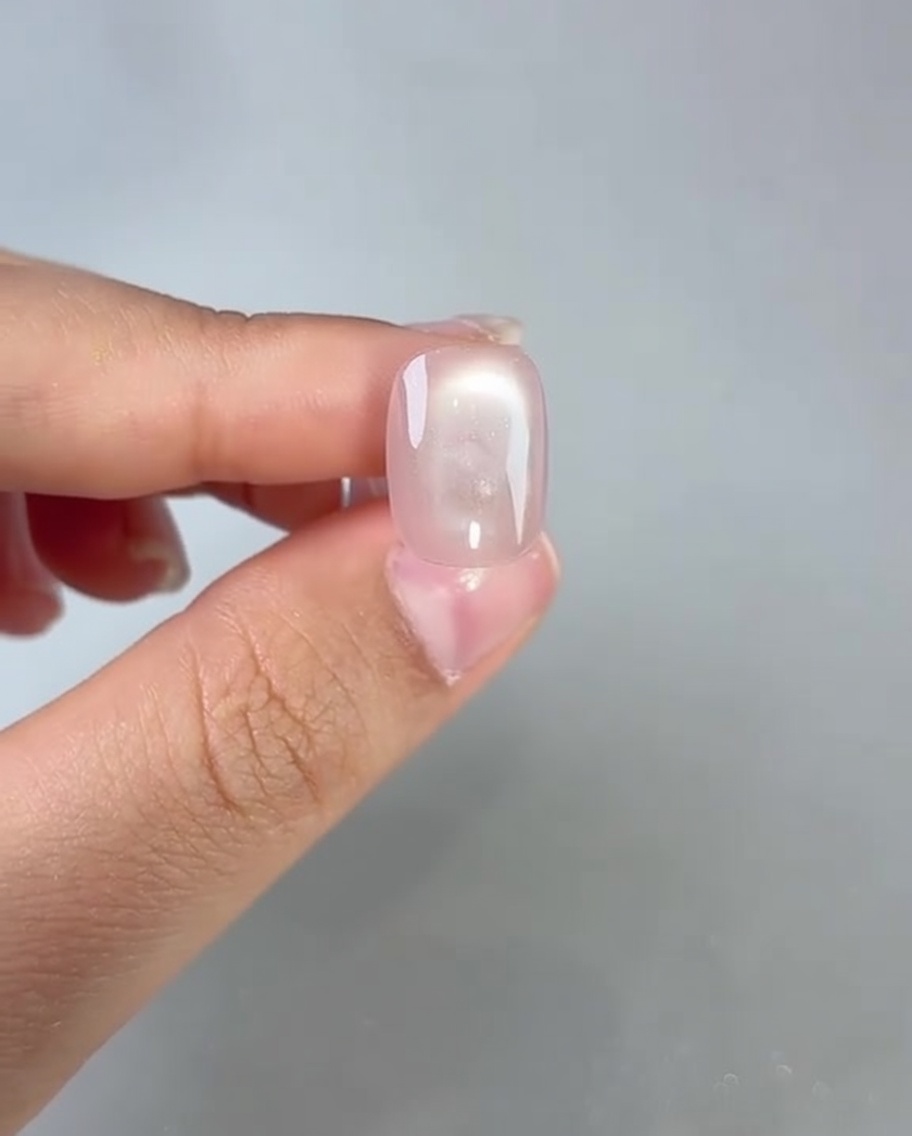
After curing the cat-eye gel, apply a layer of no-wipe top coat. This protects the design and provides a smooth surface for stamping.
Tip: Ensure the layer is thin to prevent bulkiness. - 4Apply pearl gel to plate
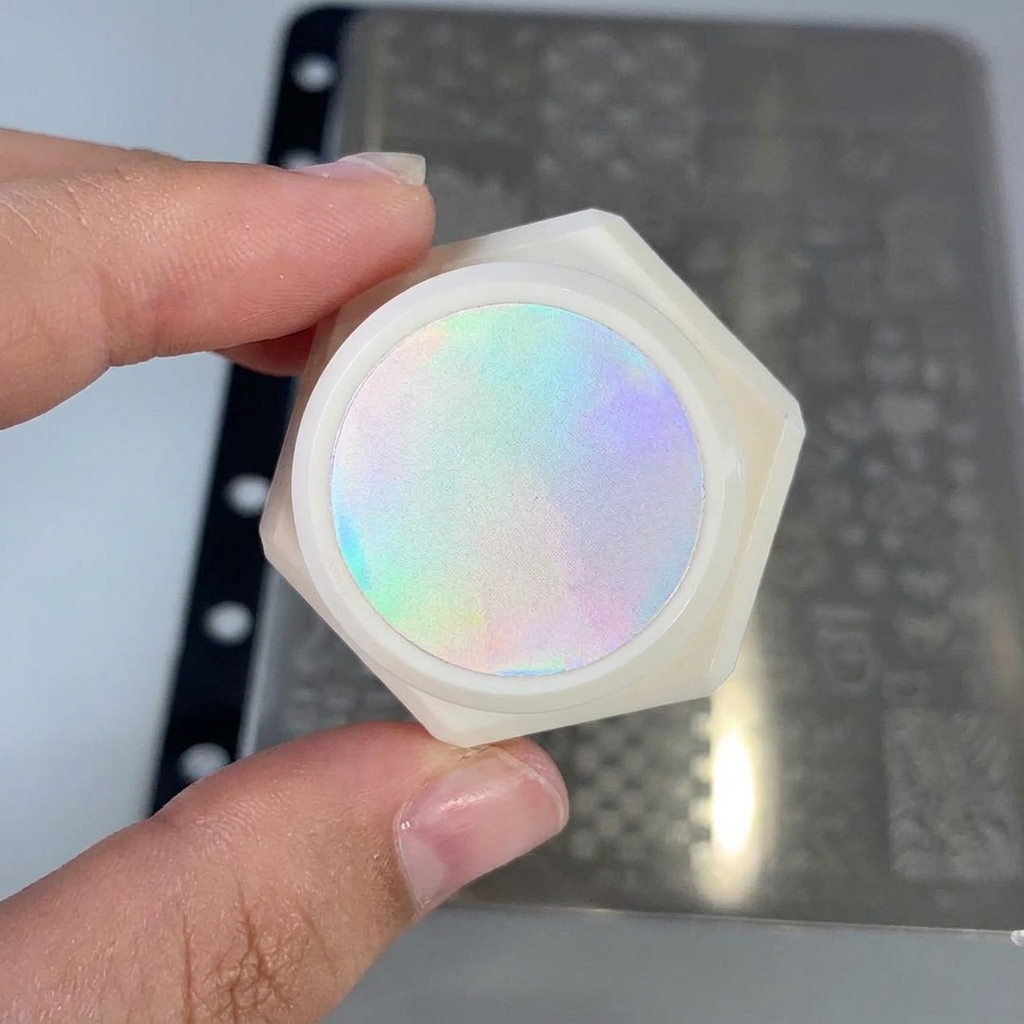
Apply a small amount of white pearl gel polish directly onto the star designs etched into the metal stamping plate.
Tip: Use enough gel to cover the design but dont overfill it. - 5Scrape the plate
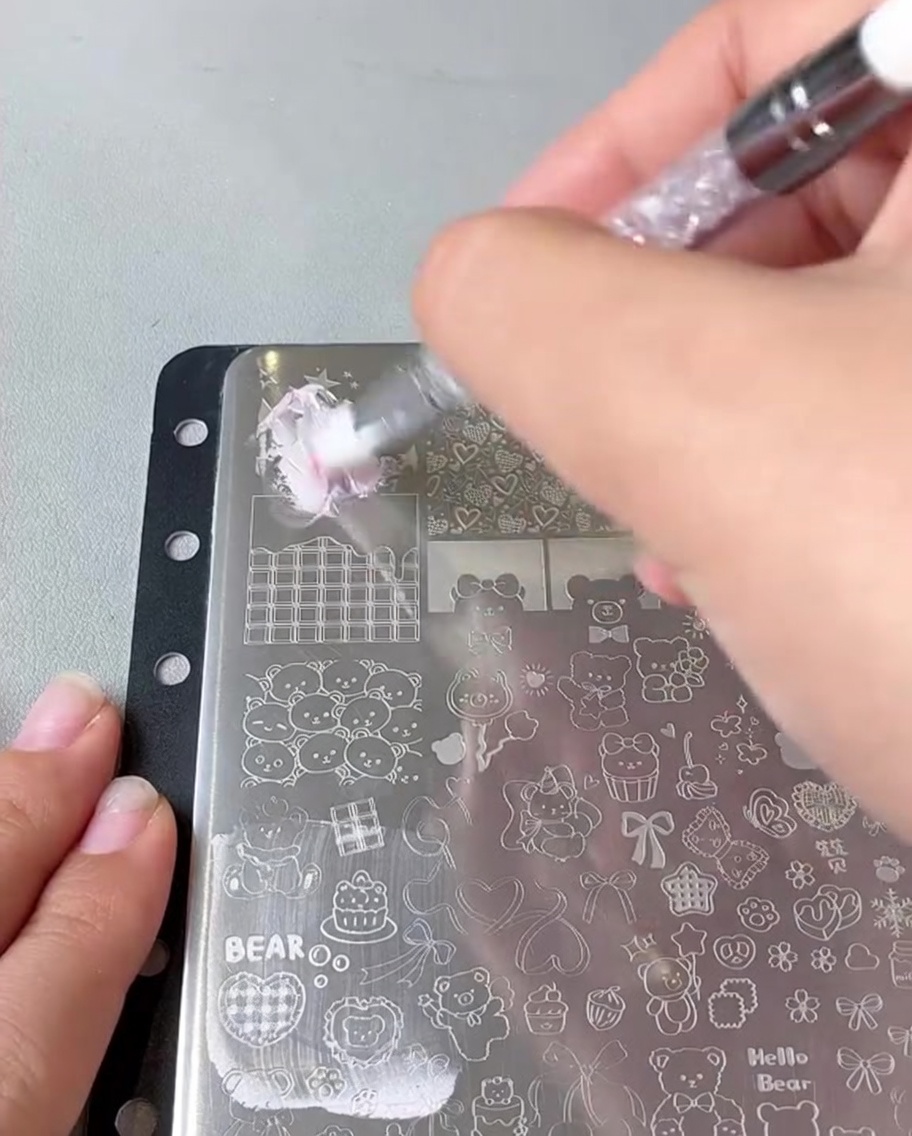
Using a metal or plastic scraper, firmly swipe across the stamping plate to remove excess gel, leaving the design filled in the etched grooves.
Tip: Swipe at a 45-degree angle for the cleanest results. - 6Pick up design
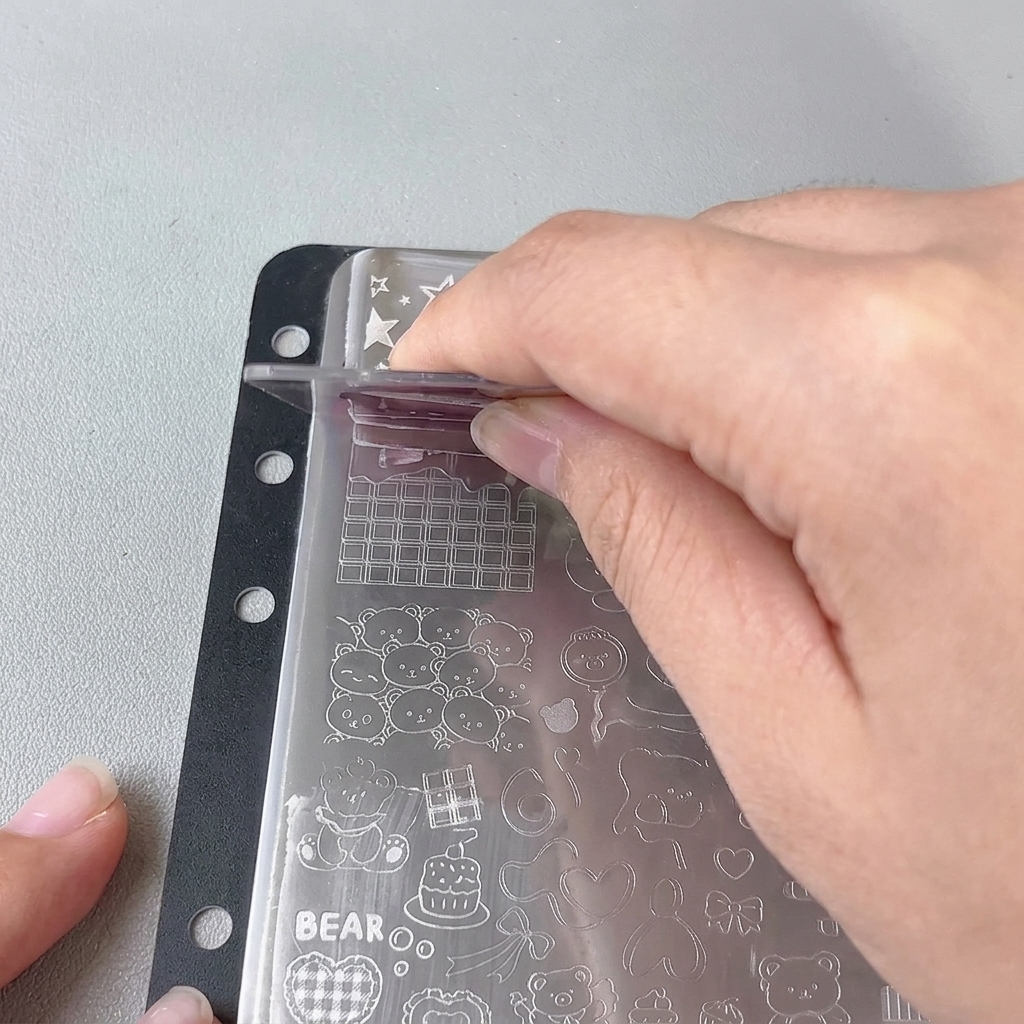
Press a clear jelly stamper firmly onto the filled design on the plate to lift the pattern.
Tip: Use a rolling motion for best pickup. - 7Stamp the design
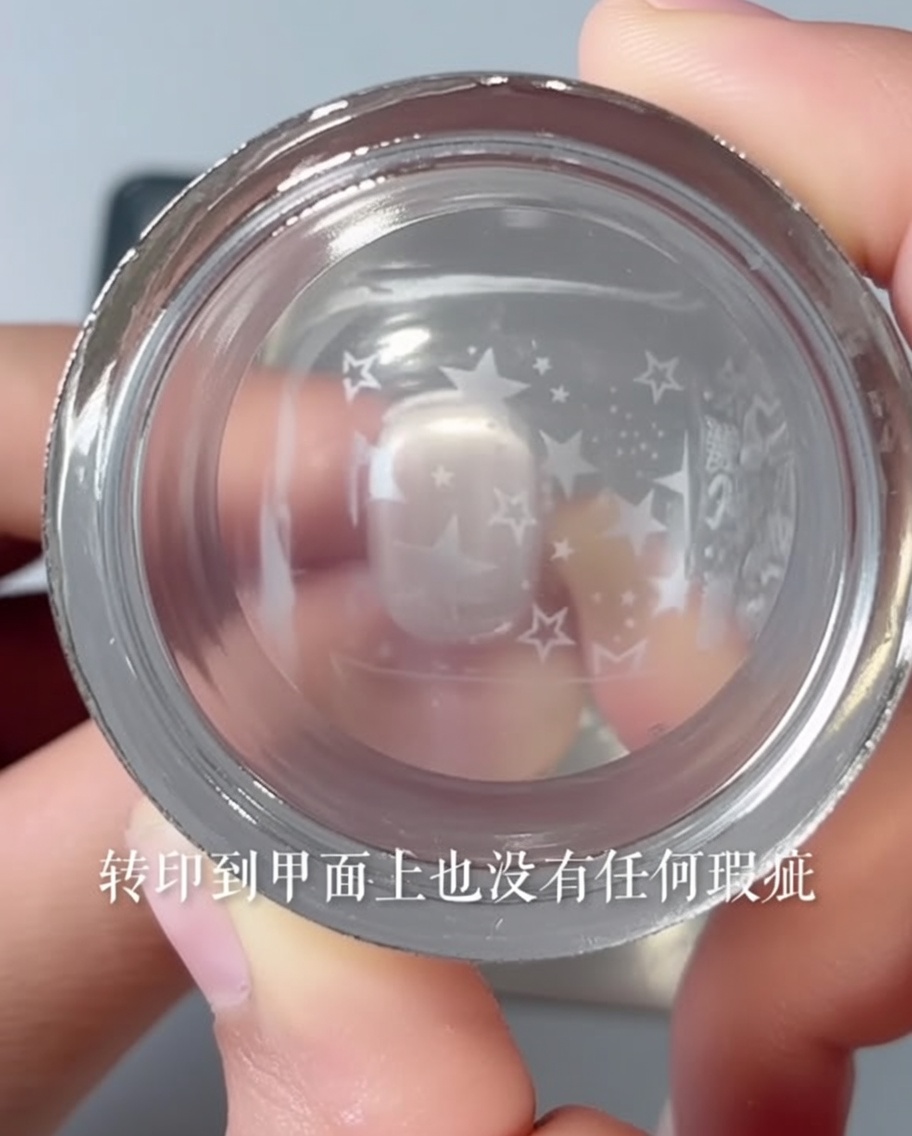
Gently press the stamper onto the nail tip to transfer the star pattern. Use a light touch to keep the design crisp.
Tip: Ensure the nail is steady before stamping. - 8Apply powder for textured design
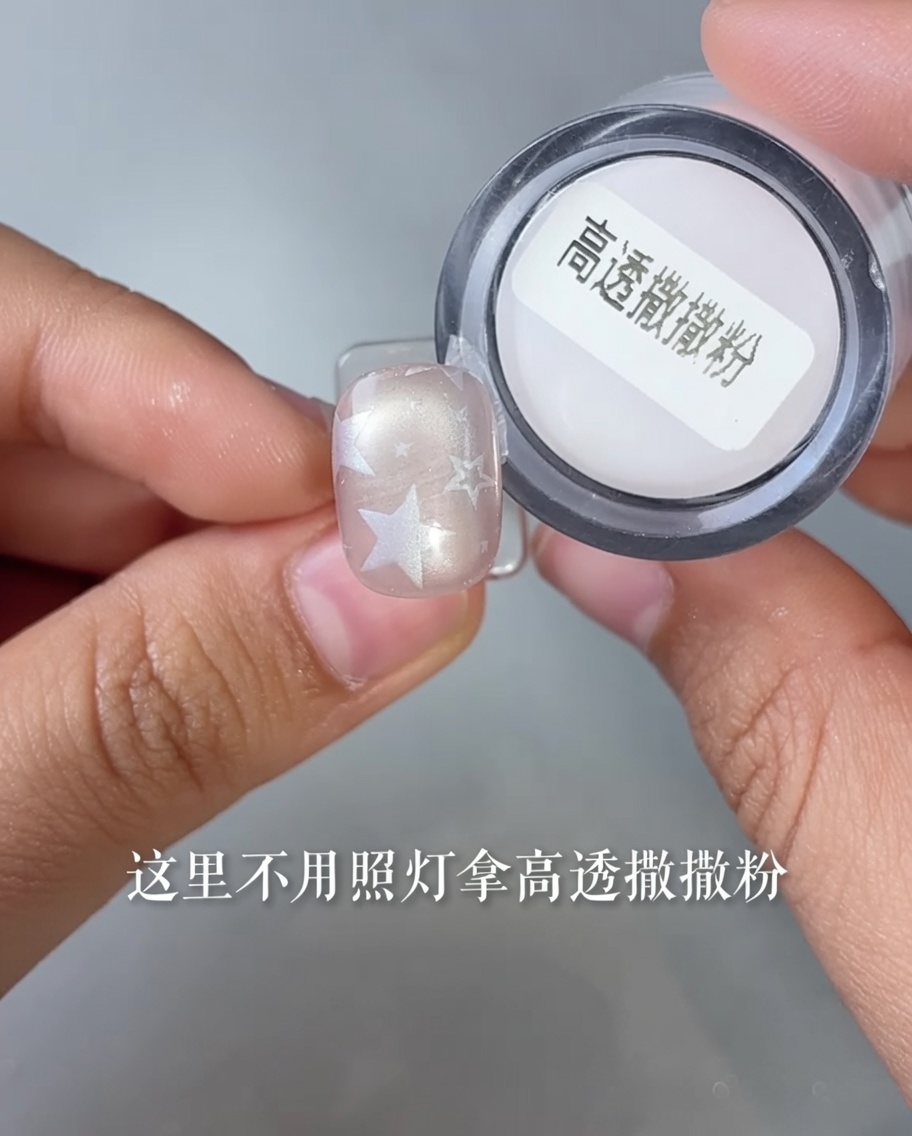
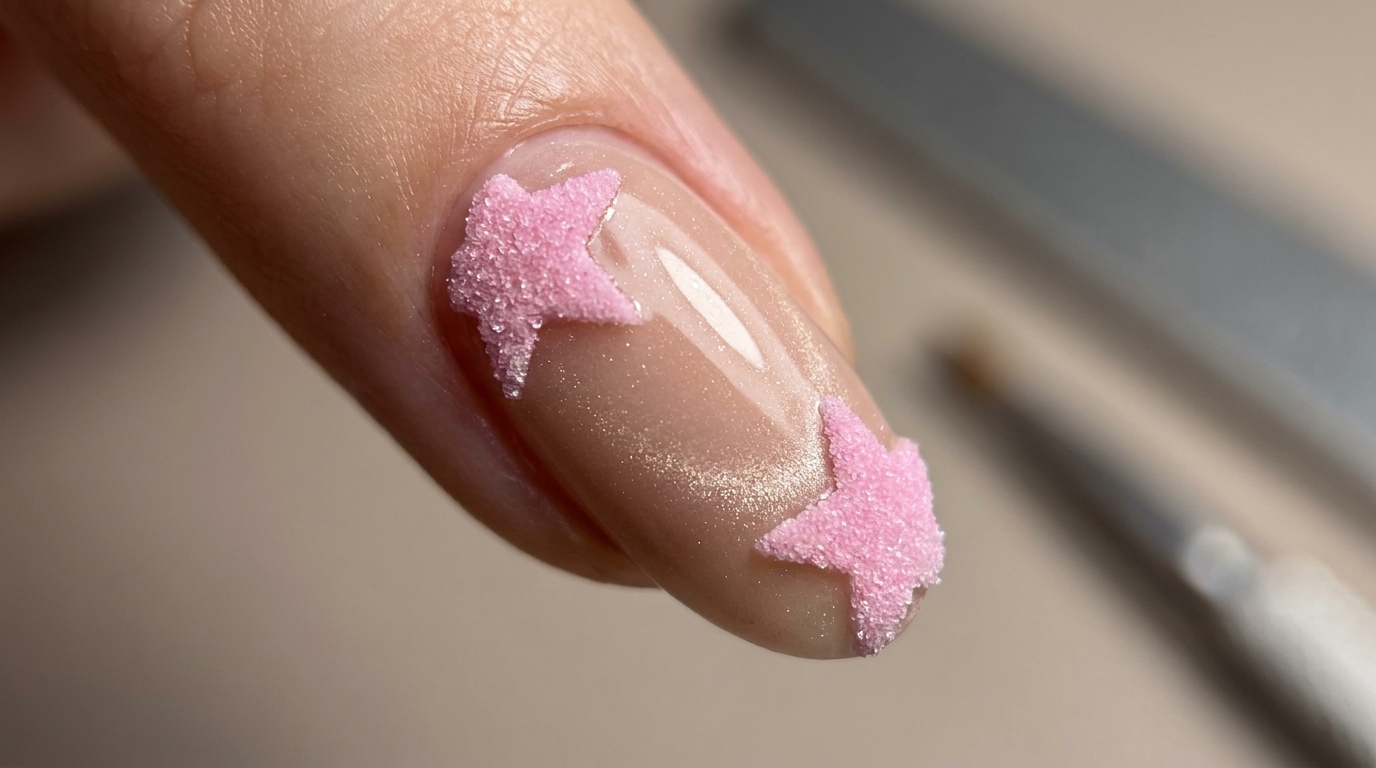
Immediately after stamping the design onto your nail, and before curing, gently dip the nail into the high-transparency powder. This ensures the powder adheres to the wet stamping gel, creating a delicate, silk-like texture.
Tip: Do not cure the stamped gel before dipping; the powder requires the wet surface to bond correctly. - 9Cure the design
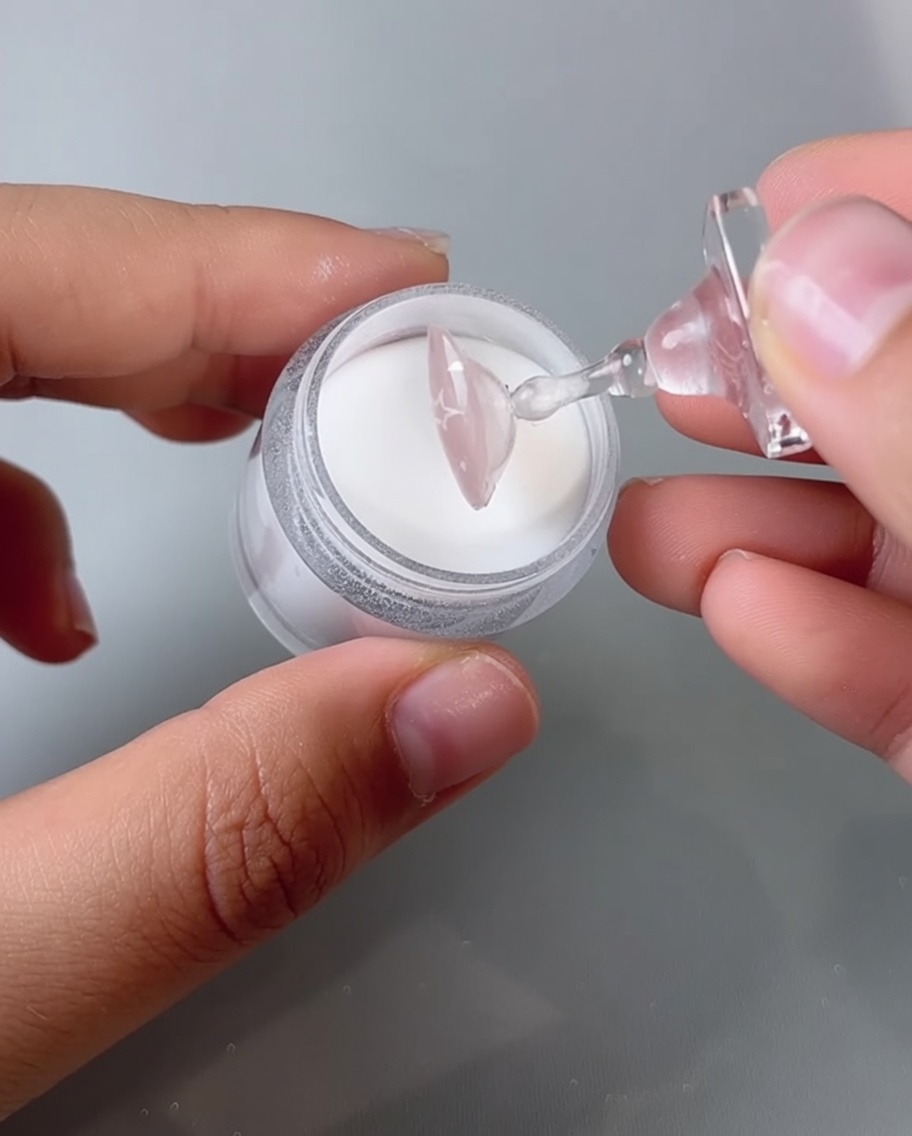
Place your nail into the UV or LED lamp to cure the stamped design and powder layer. This process sets the gel and locks in the delicate, textured finish.
Tip: Follow the curing time recommended by your gel polish manufacturer to ensure a fully hardened, durable finish. - 10Remove excess powder
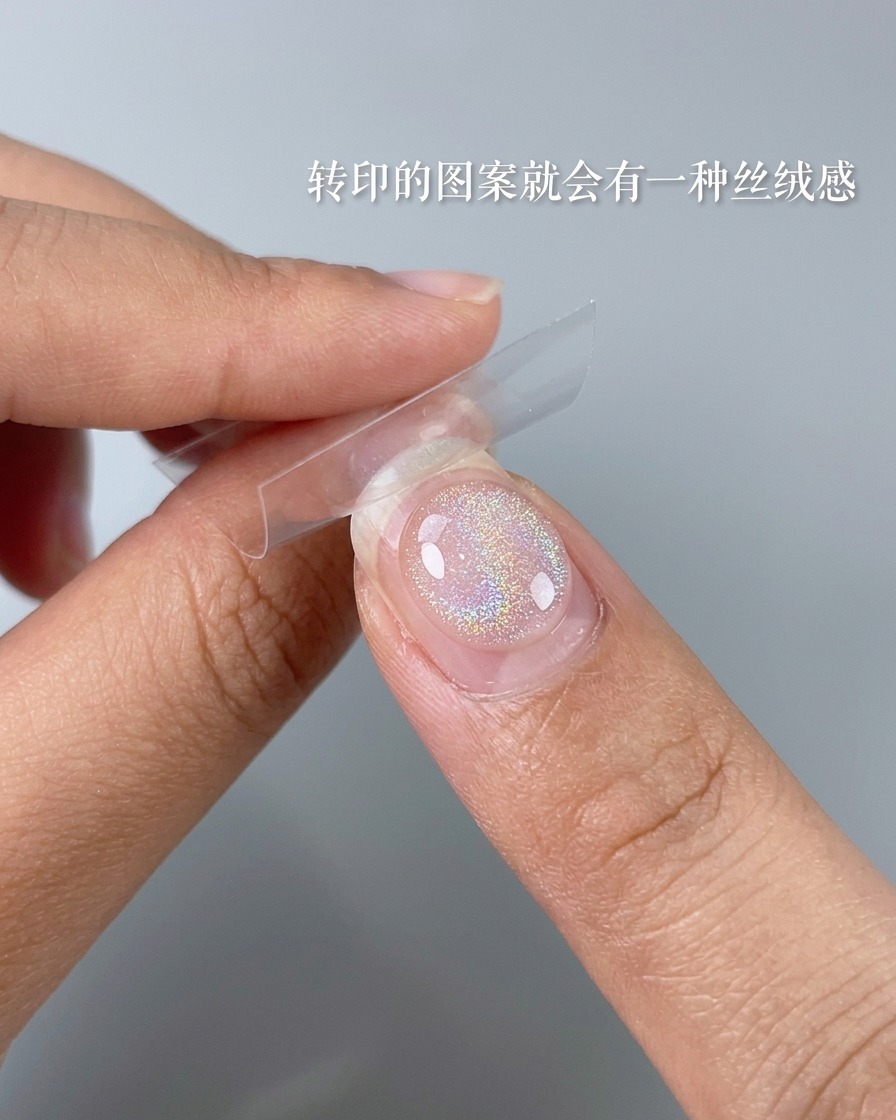
Once cured, take a soft brush and gently dust off any loose powder remaining on the nail surface. This reveals the clear, crisp details of your stamped pattern.
Tip: Use a clean, fluffy makeup brush or a specialized nail duster for the best results without scratching the surface. - 11Apply chrome-compatible top coat
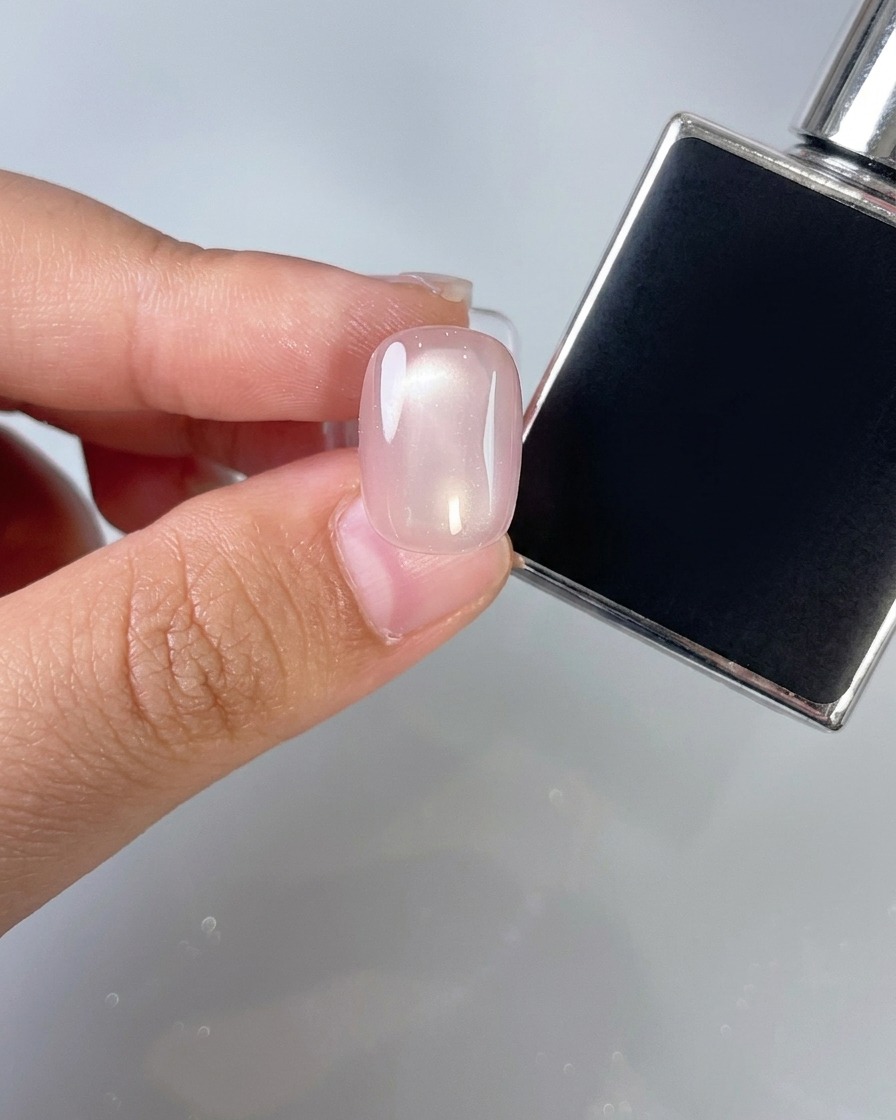
Apply a layer of your chrome-compatible top coat over the nail. This layer provides a smooth, adhesive base for the mirror powder application.
Tip: Ensure the layer is applied evenly for a consistent mirror finish, and cure for the time specified by the product. - 12Create chrome gradient
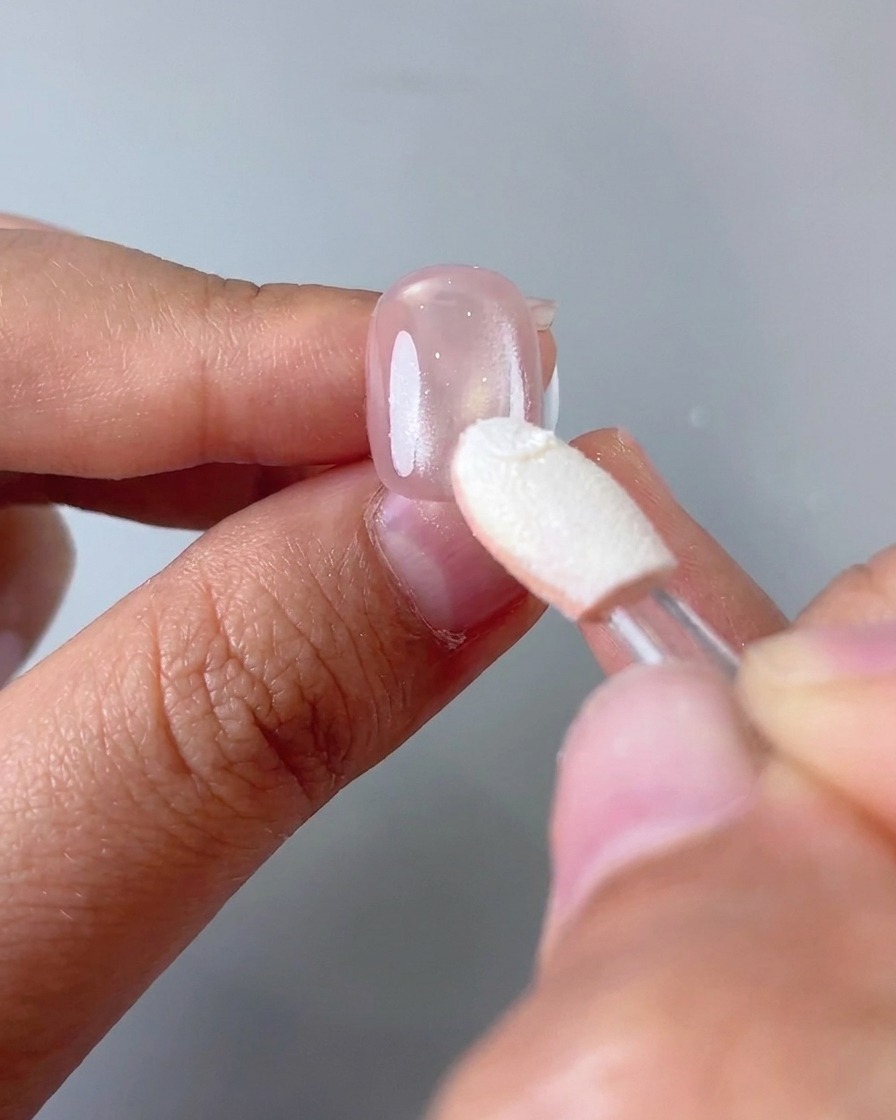
Using a sponge applicator, pick up some ice island mirror powder and gently rub it onto the lower two-thirds of the nail. Build up the color to create a seamless gradient effect, leaving the base of the nail sheer.
Tip: Start with a small amount of powder and layer it to achieve the desired gradient intensity. - 13Seal the chrome finish
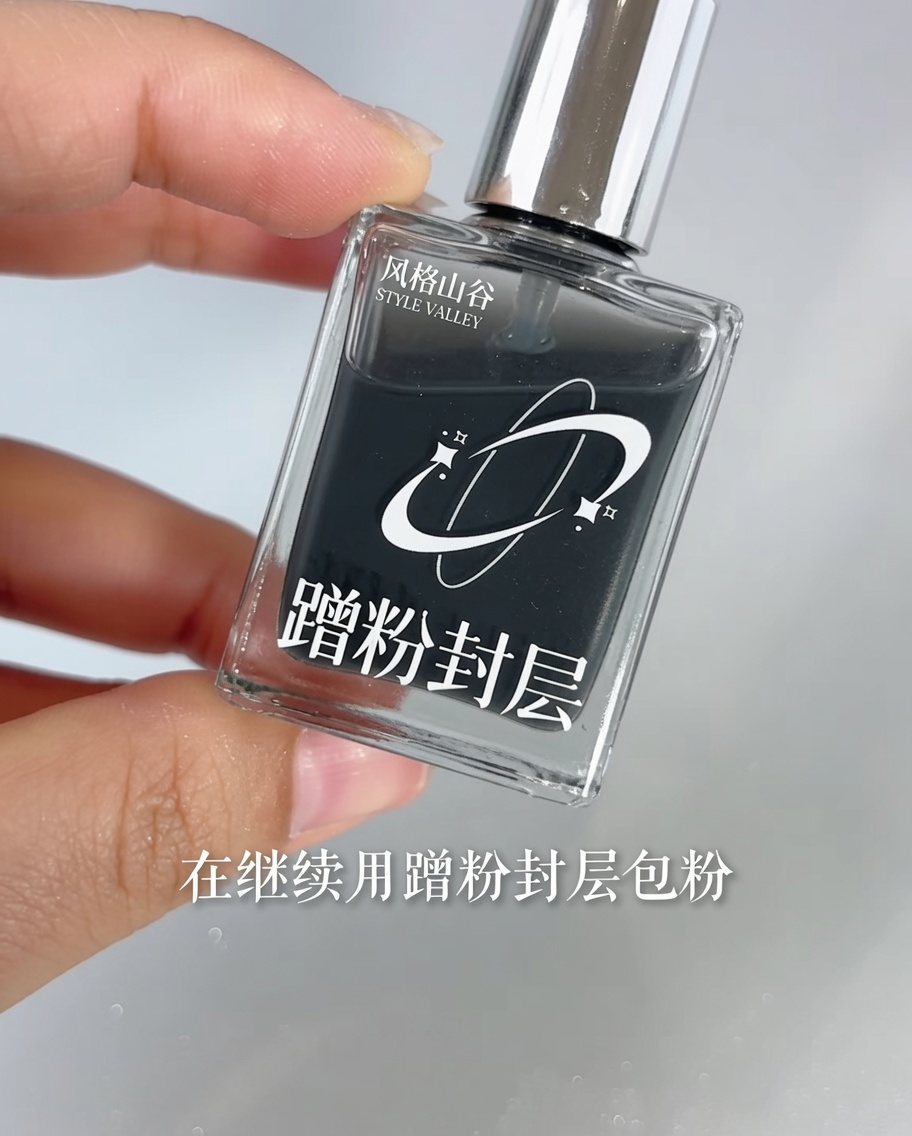
Apply a sealing top coat over the chrome powder to protect the design and smooth the surface. This ensures the mirror finish stays vibrant and resistant to wear.
Tip: Capping the free edge with this final layer will help prevent the mirror finish from chipping at the tips. - 14Transfer the heart design
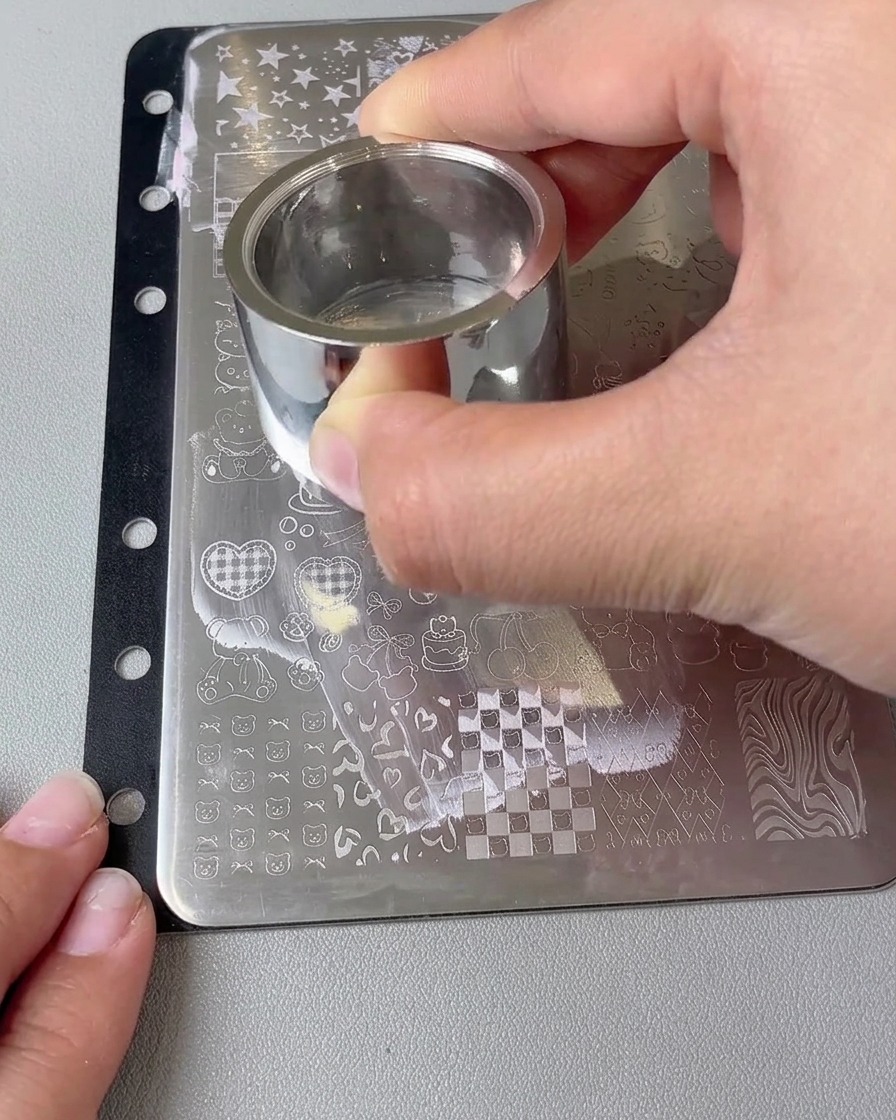
Take your large stamper and press it firmly onto the selected heart pattern on the stamping plate to pick up the design. Then, carefully align the stamper over the nail and press it down to transfer the pattern directly onto the nail surface.
Tip: Apply firm, even pressure to ensure the full pattern transfers clearly without gaps. - 15Refine the heart pattern
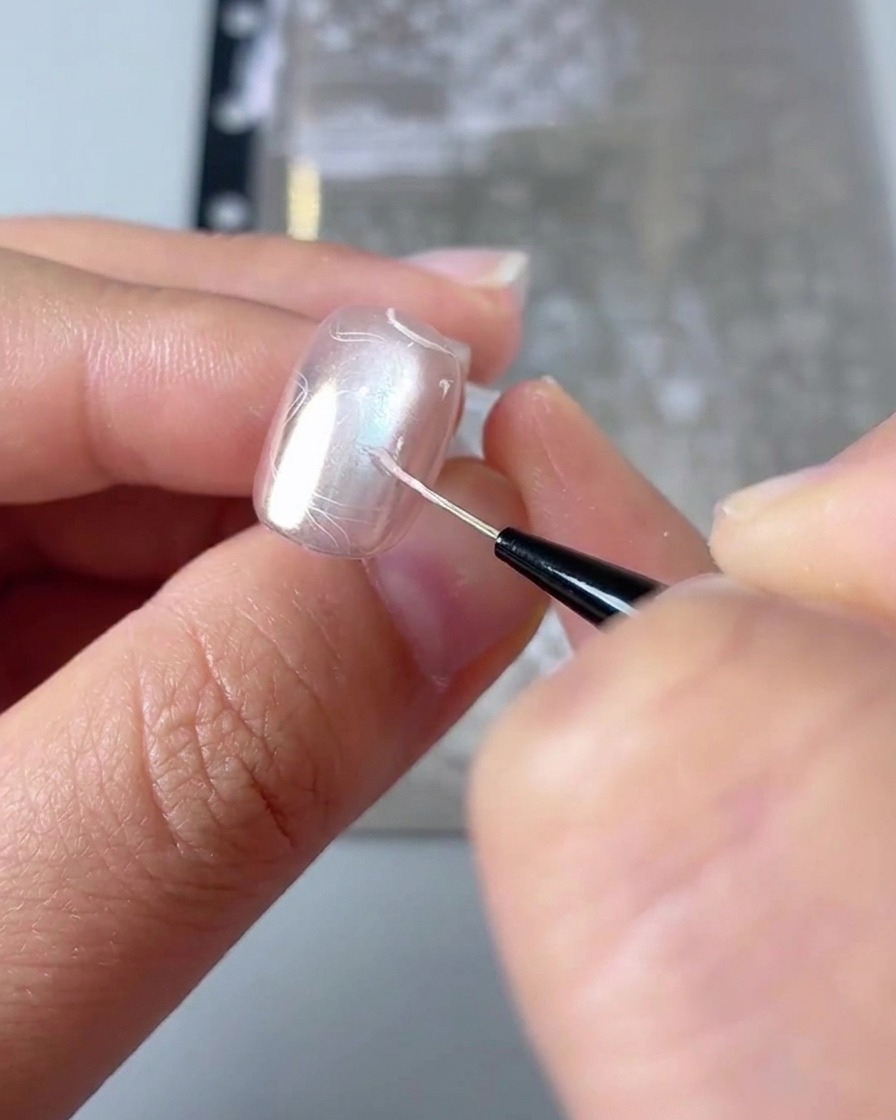
If the transferred heart pattern appears faint or has gaps, use a fine liner brush dipped in the desired gel color to carefully fill in the details. This ensures the heart design is sharp, vibrant, and clearly visible against the nail base.
Tip: Use a light touch with the fine liner brush to avoid smudging the original stamped design.