French Thread Star Nail Art — Elegant DIY Manicure Tutorial
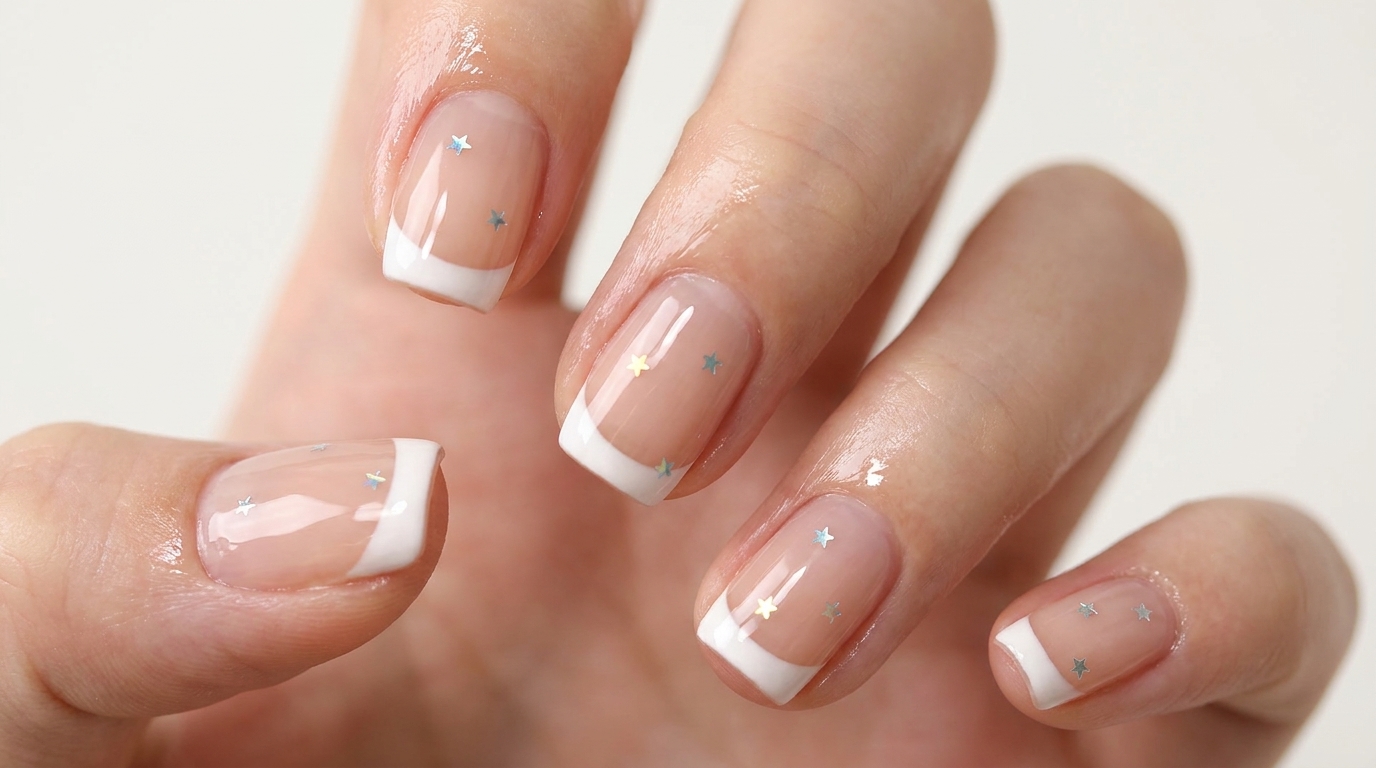
Elevate your classic French manicure with this trendy thread star design. Perfect for a clean, sophisticated look with a touch of whimsical detail.
The French manicure is a timeless staple, but adding delicate star sequins creates a modern, playful twist that feels fresh for any season. This style combines crisp, clean lines with subtle sparkle, offering an elevated look that is surprisingly easy to achieve at home. Follow these steps to master the precision of the French tip and the placement of delicate nail art accents.
Steps
- 1Seal the extension
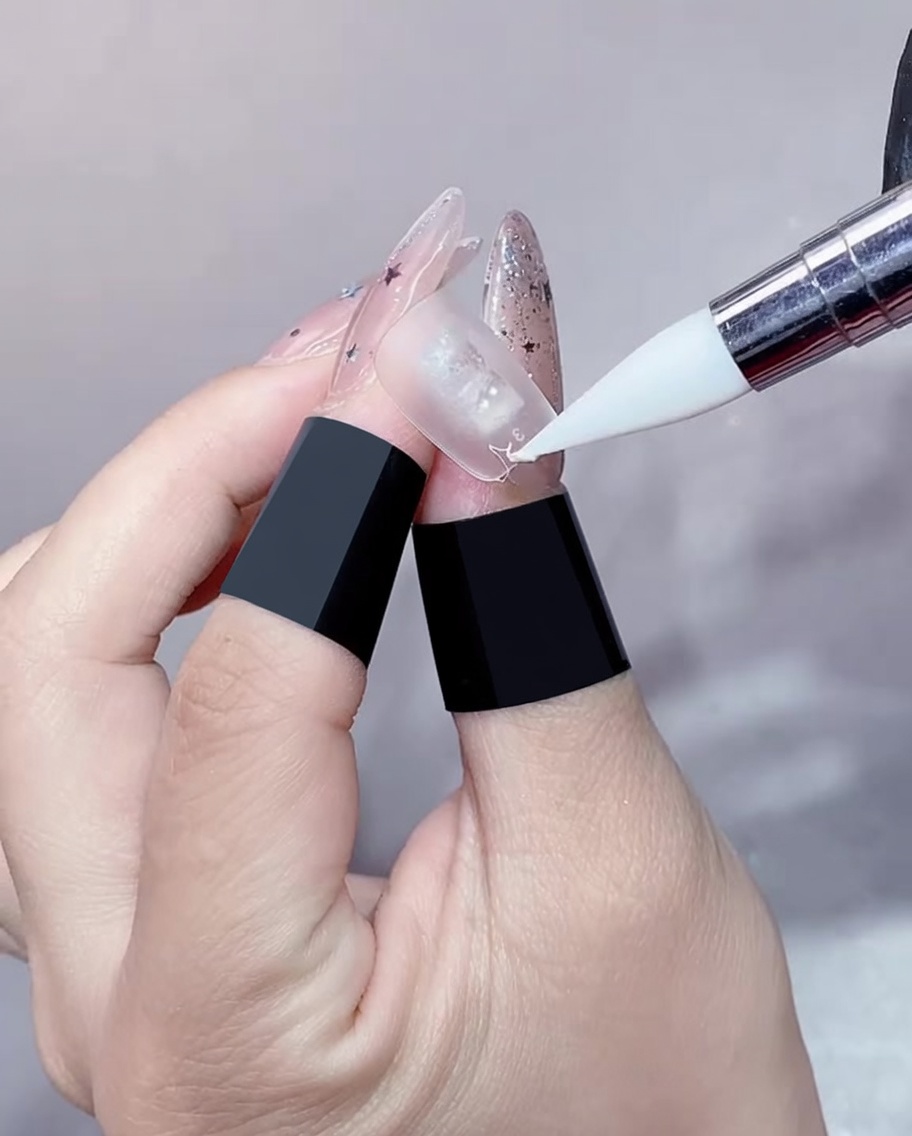
Using a gel brush, apply a small amount of tapping gel to seal the extension line at the tip. This smooths the transition between your natural nail and the extension for a seamless base.
Tip: Use a light tapping motion to avoid creating air bubbles in the gel. - 2Smooth the gel surface
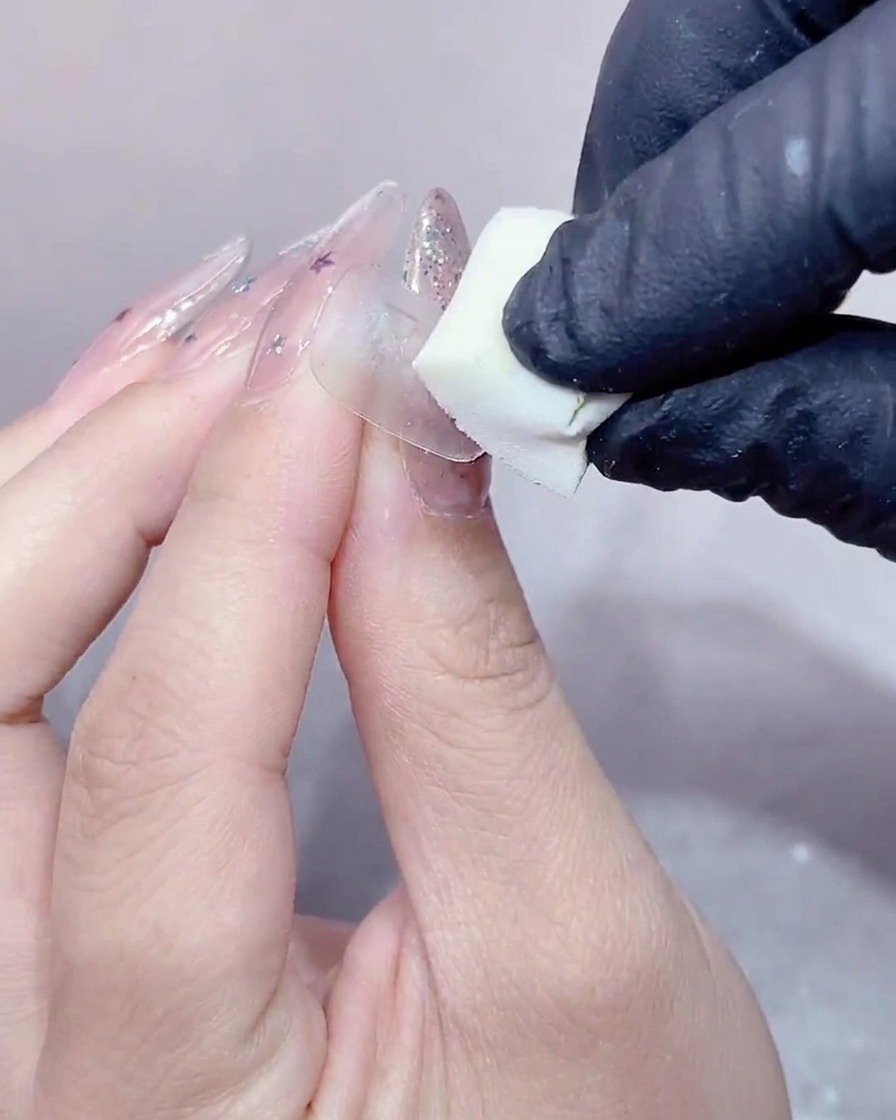
Use a small, clean sponge to gently press onto the surface of the gel. This action levels the product and ensures a smooth, even texture across the nail tip before curing.
Tip: Press lightly to prevent removing too much product. - 3Cure the tapping gel
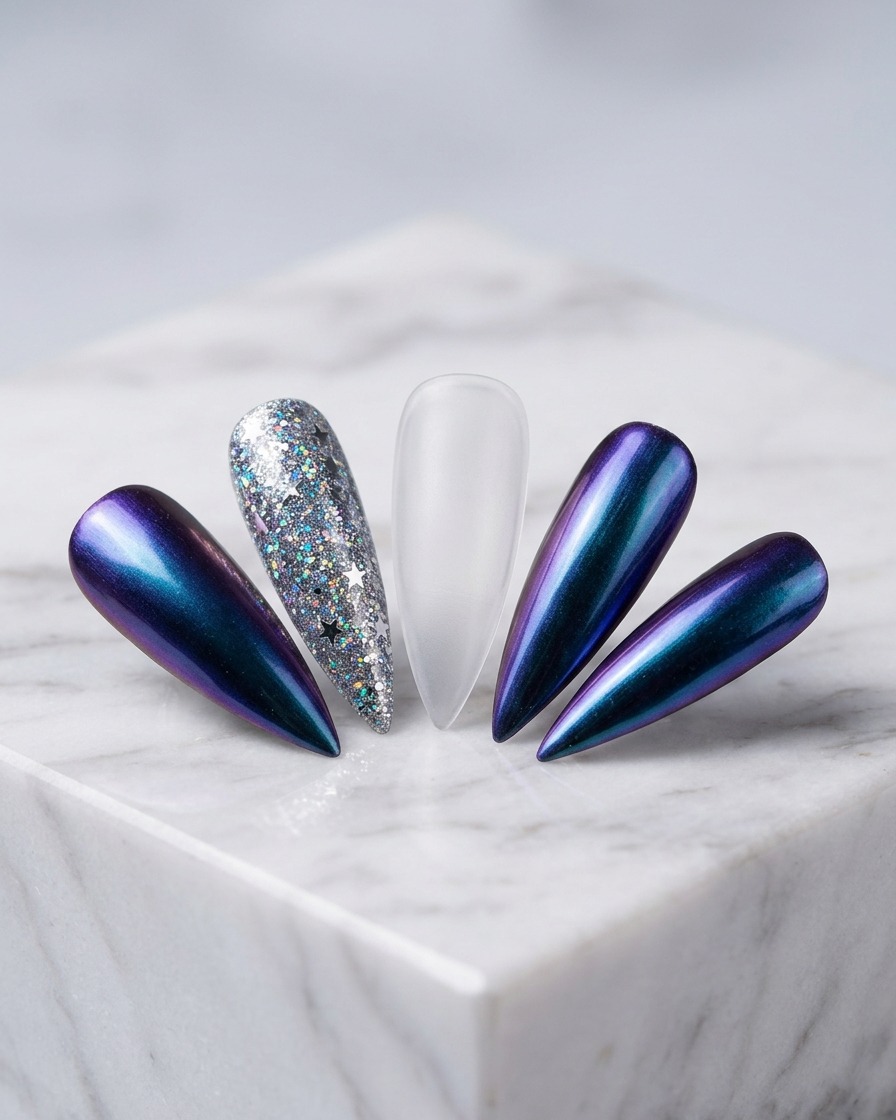
Place your finger inside the UV/LED lamp to cure the tapping gel layer. Follow the manufacturers recommended curing time to ensure the gel is fully set.
Tip: Keep your finger flat and centered inside the lamp for uniform curing. - 4Apply sheer nude gel
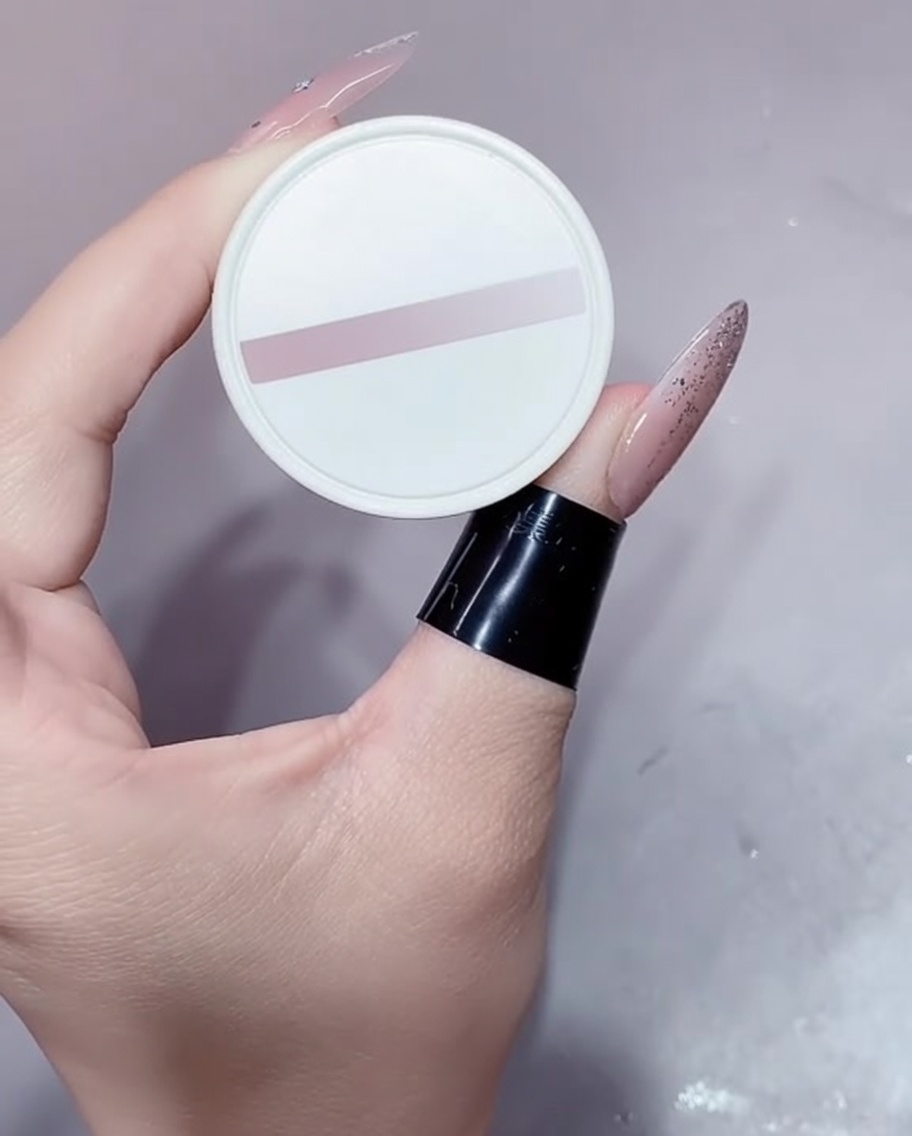
Apply a thin, uniform layer of sheer nude color gel over the entire nail plate. Work carefully to avoid the cuticles and ensure the color is evenly distributed.
Tip: Apply multiple thin coats rather than one thick coat for a smoother, more professional finish. - 5Cure the base color
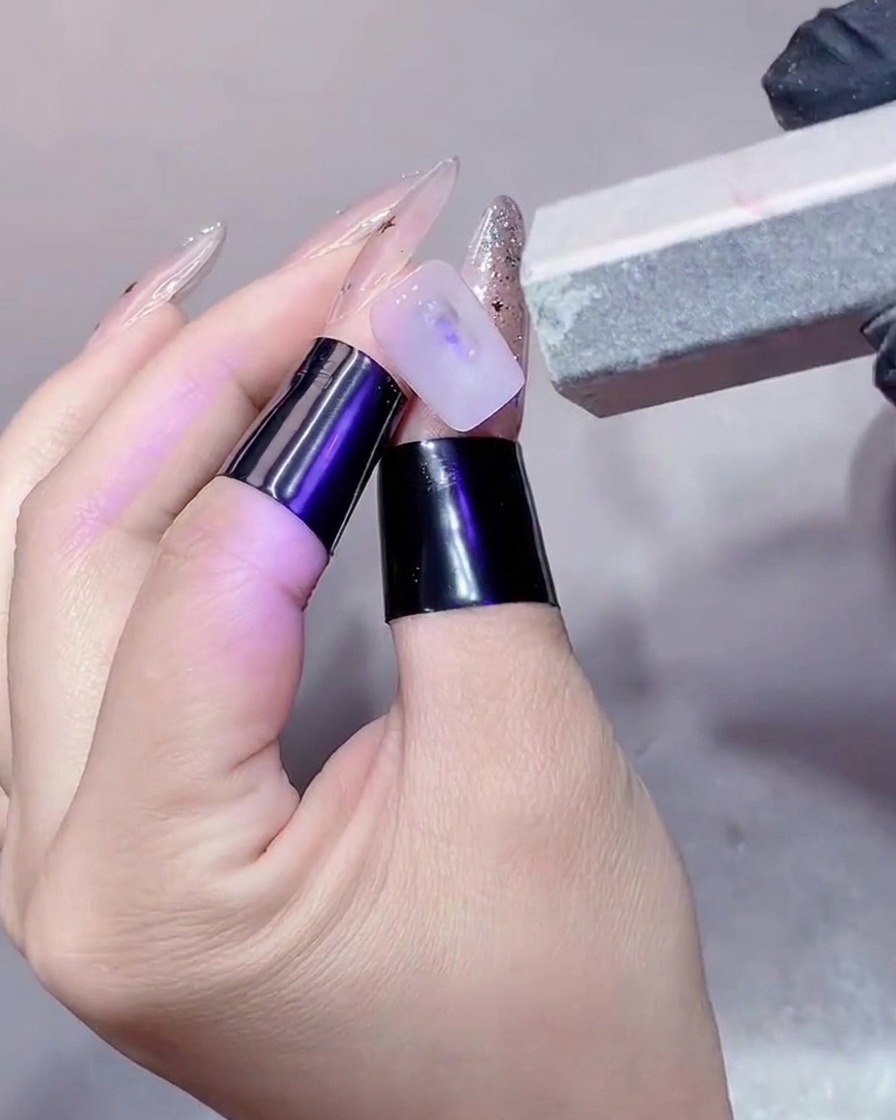
Place the nail under the UV/LED lamp to cure the sheer nude color gel. This step sets the foundation color for the nail art.
Tip: Ensure the entire surface of the nail is exposed to the light for a proper cure. - 6Outline the French tip
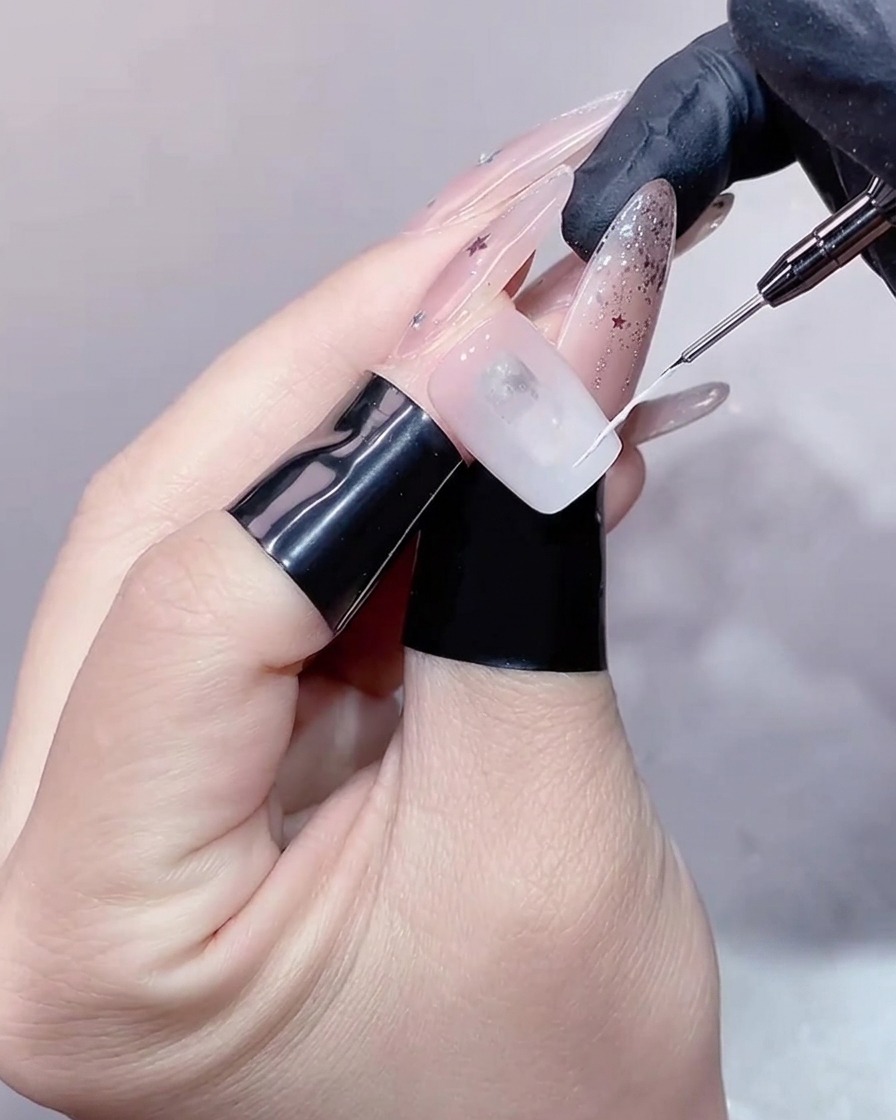
Using a thin liner brush and white gel, carefully draw the outline of the French tip on the nail. Define the curve of the smile line to your desired shape.
Tip: Steady your hand by resting your pinky on a stable surface for better control. - 7Fill the French tip
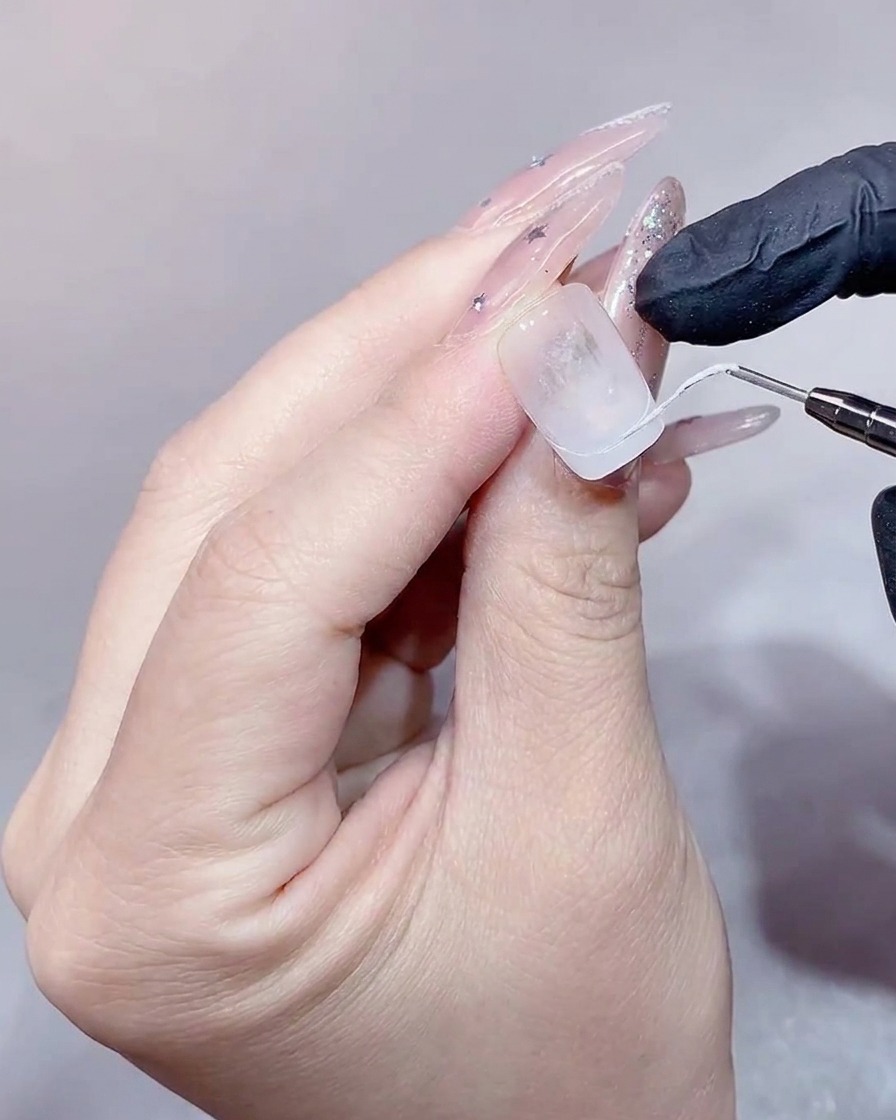
Using a small flat brush, carefully fill in the French tip area with your chosen color. Ensure the color is applied evenly and smooth out any brush strokes while staying within the boundaries of the pre-drawn French tip line.
Tip: Apply in thin, controlled strokes to prevent the gel from pooling at the edges of the tip. - 8Perfect the French Smile Line
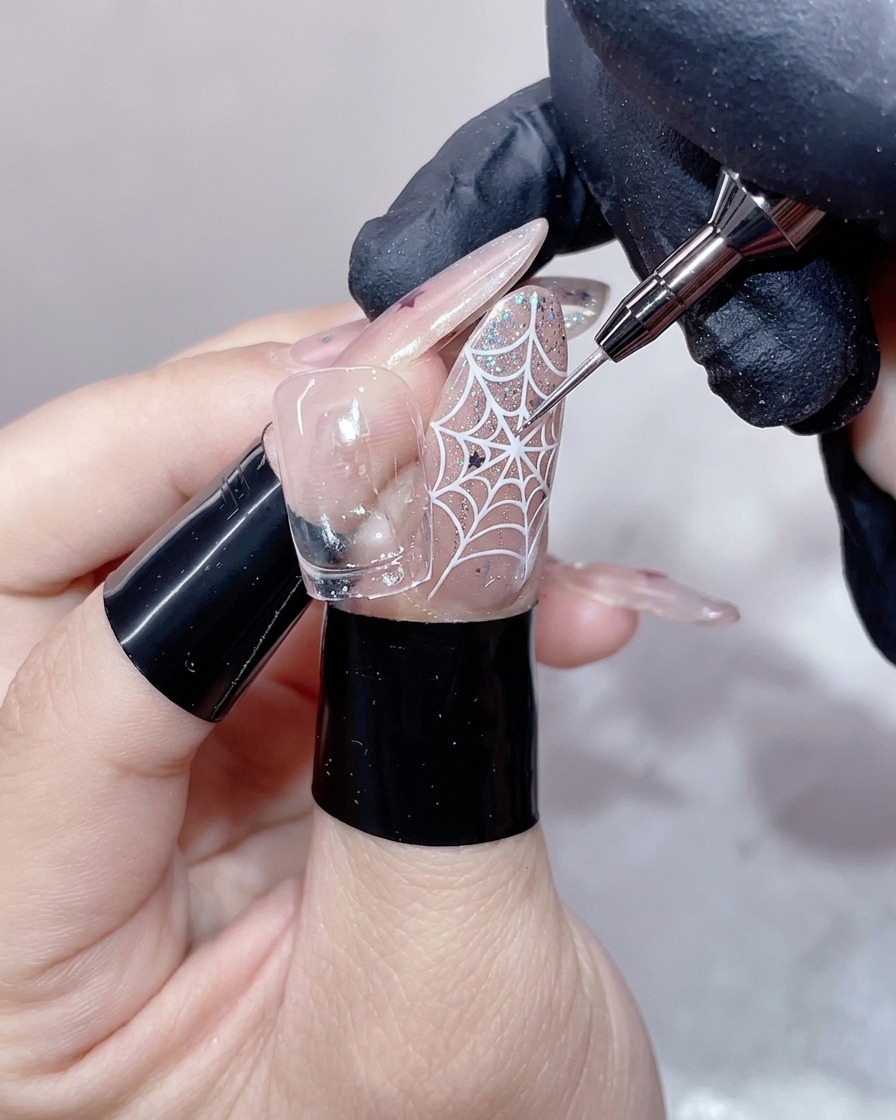
Use your liner brush to trace along the edges of the French tip. This refining step ensures your smile line is crisp, symmetrical, and free of any minor imperfections from the initial application.
Tip: Keep a small amount of base coat on your brush to help blend and smooth the edges of the color. - 9Cure the French tip
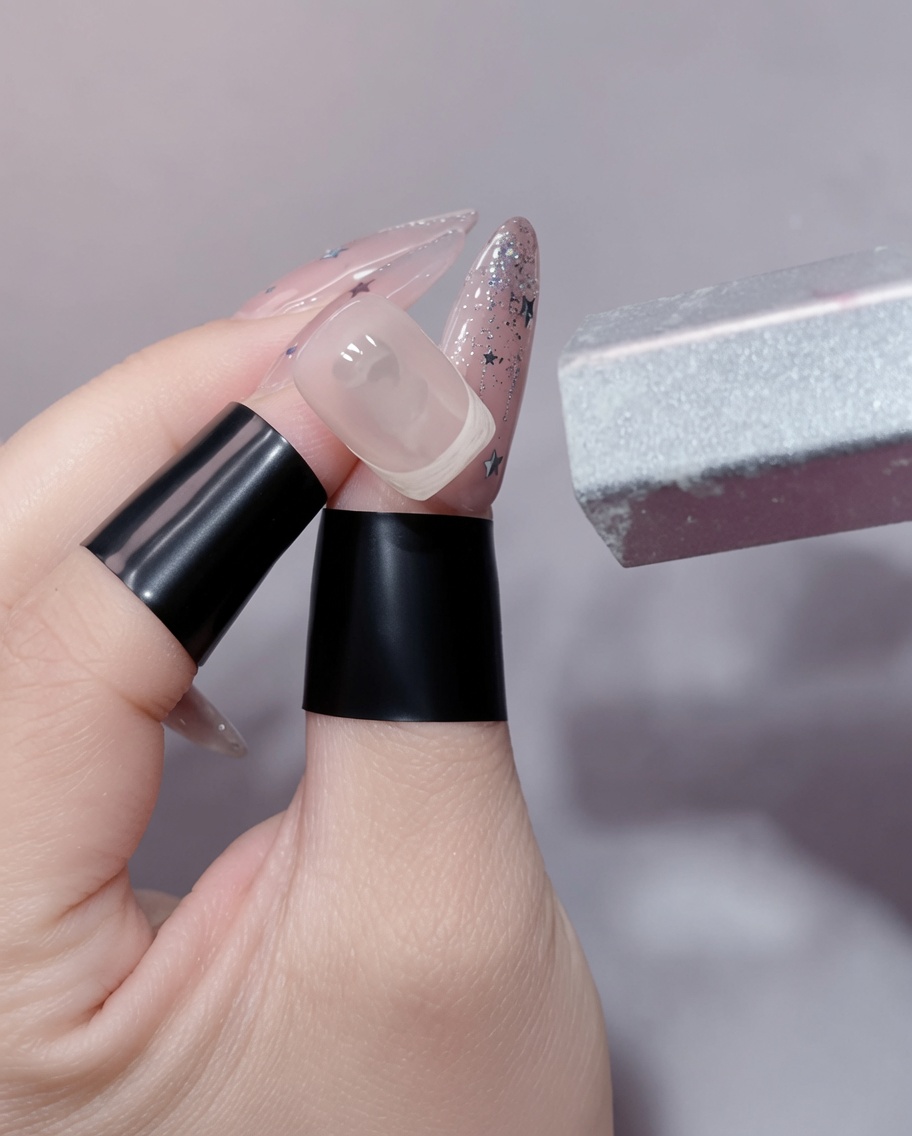
Place your finger inside the UV/LED lamp to cure the gel polish. Follow the specific cure time recommended by your gel product manufacturer to ensure the color is fully set and durable.
Tip: Make sure your finger is positioned flat and directly under the light source for an even cure. - 10Apply star sequins
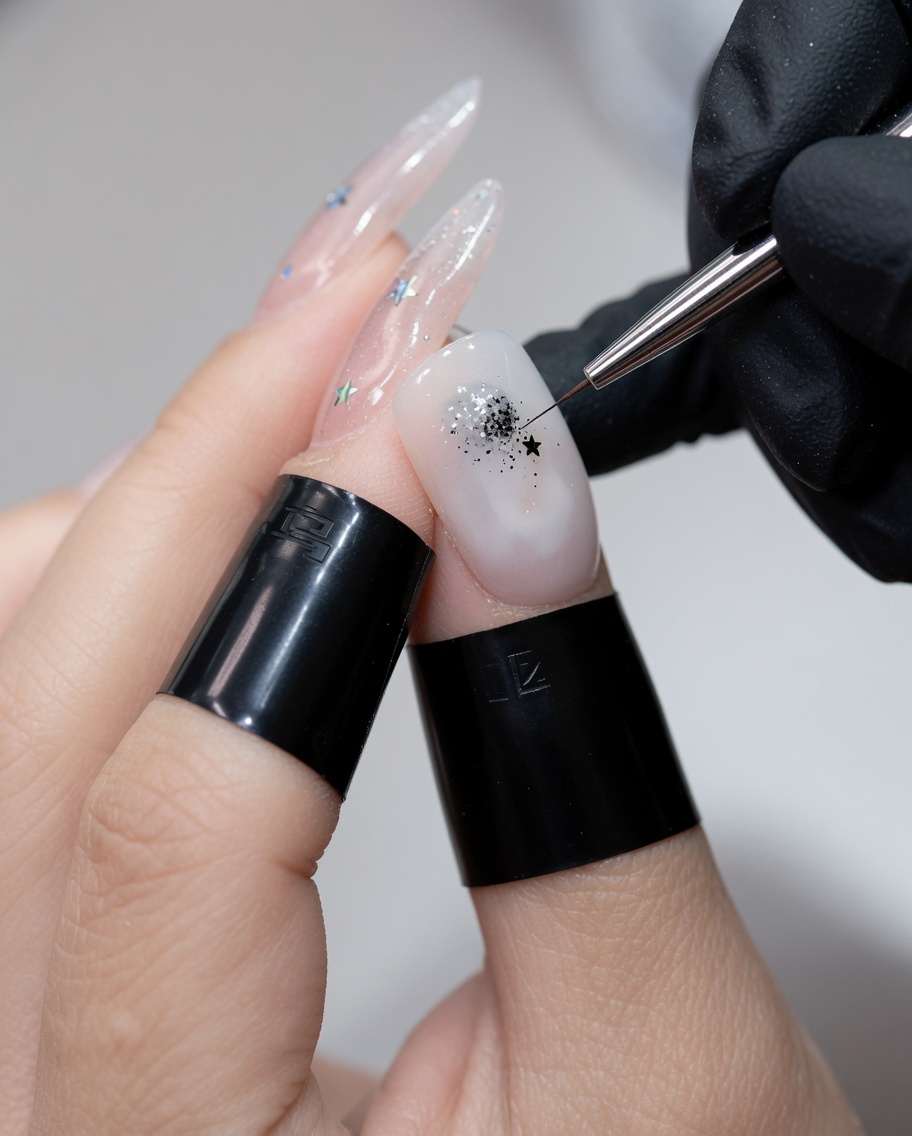
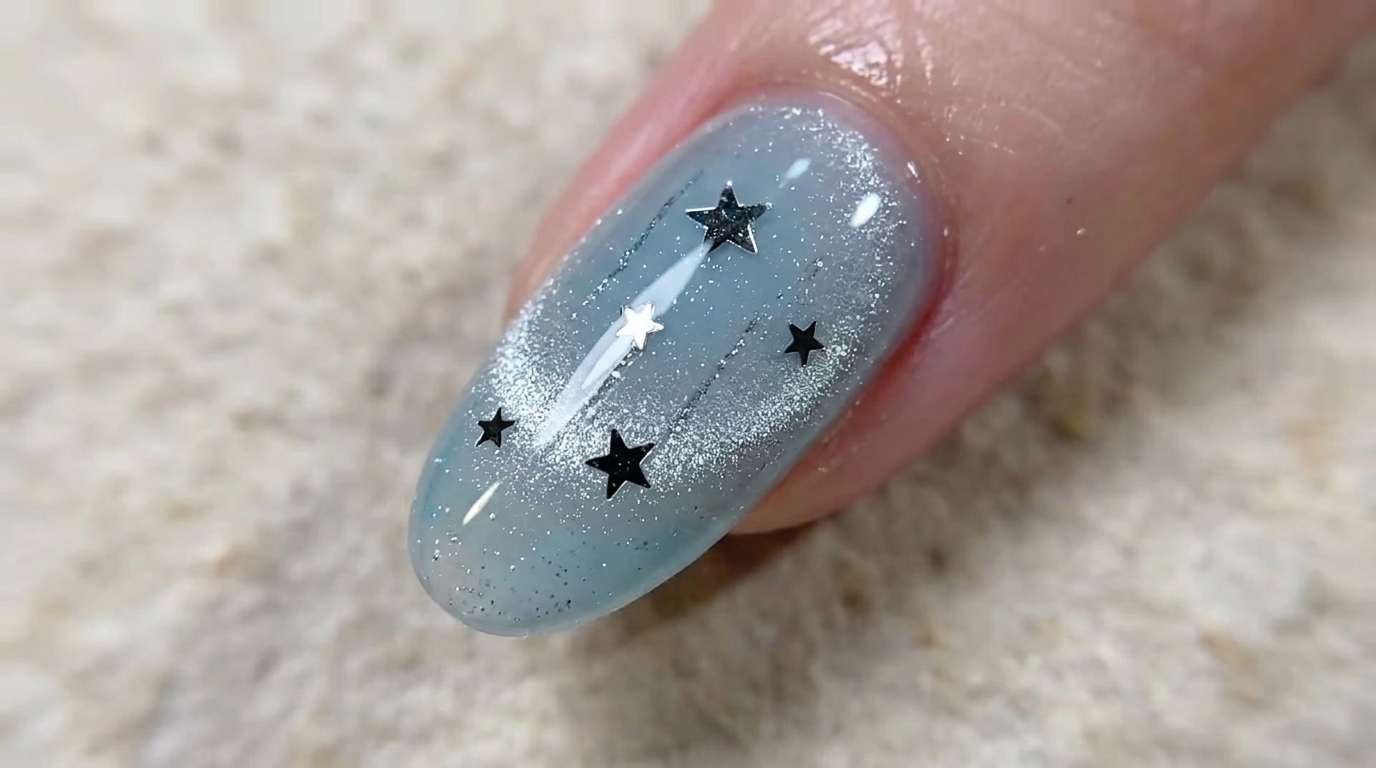
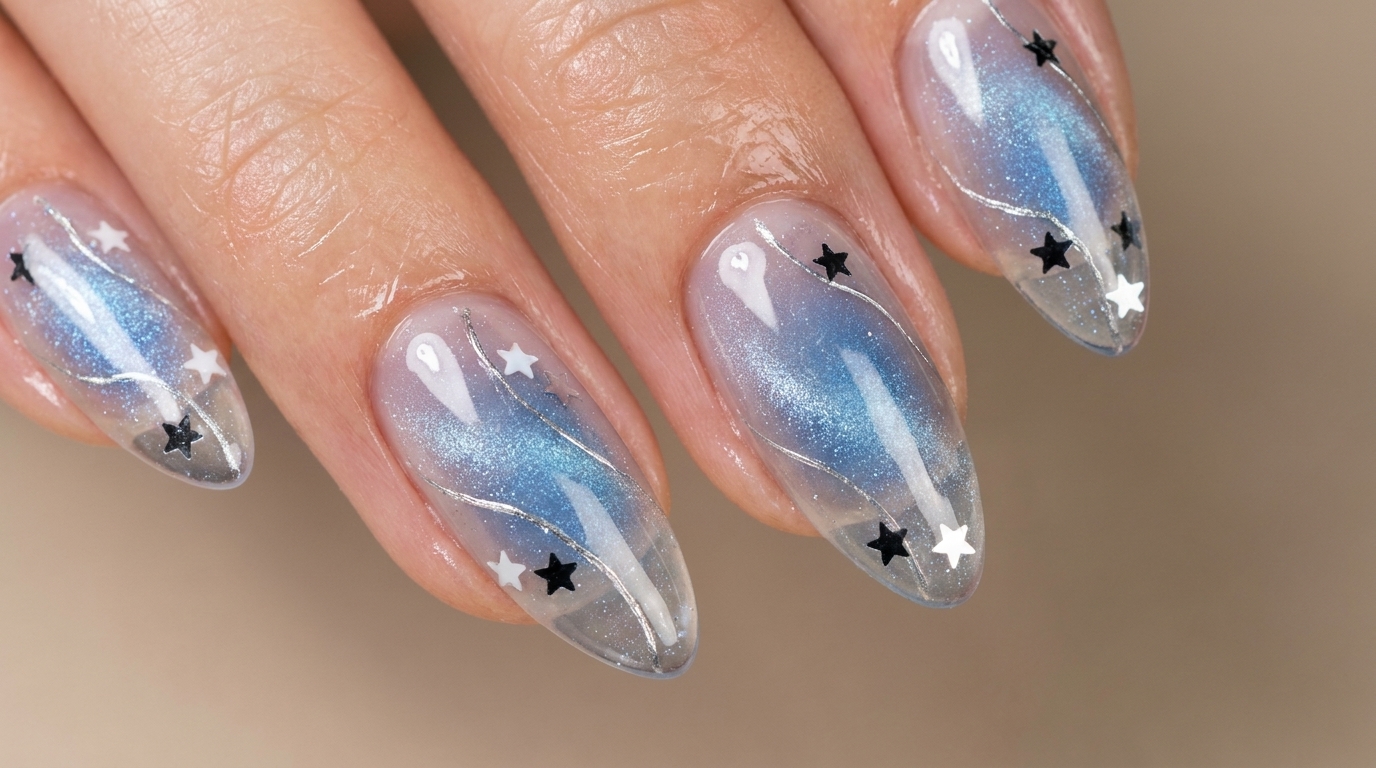
Using a liner brush or a dotting tool, pick up individual small silver star sequins and place them onto the nail surface according to your desired design. You can arrange them in a scattered pattern or a specific layout.
Tip: Pick up a tiny dab of clear gel on your brush to help the sequins stick to the tool for easier placement. - 11Cure the star sequins
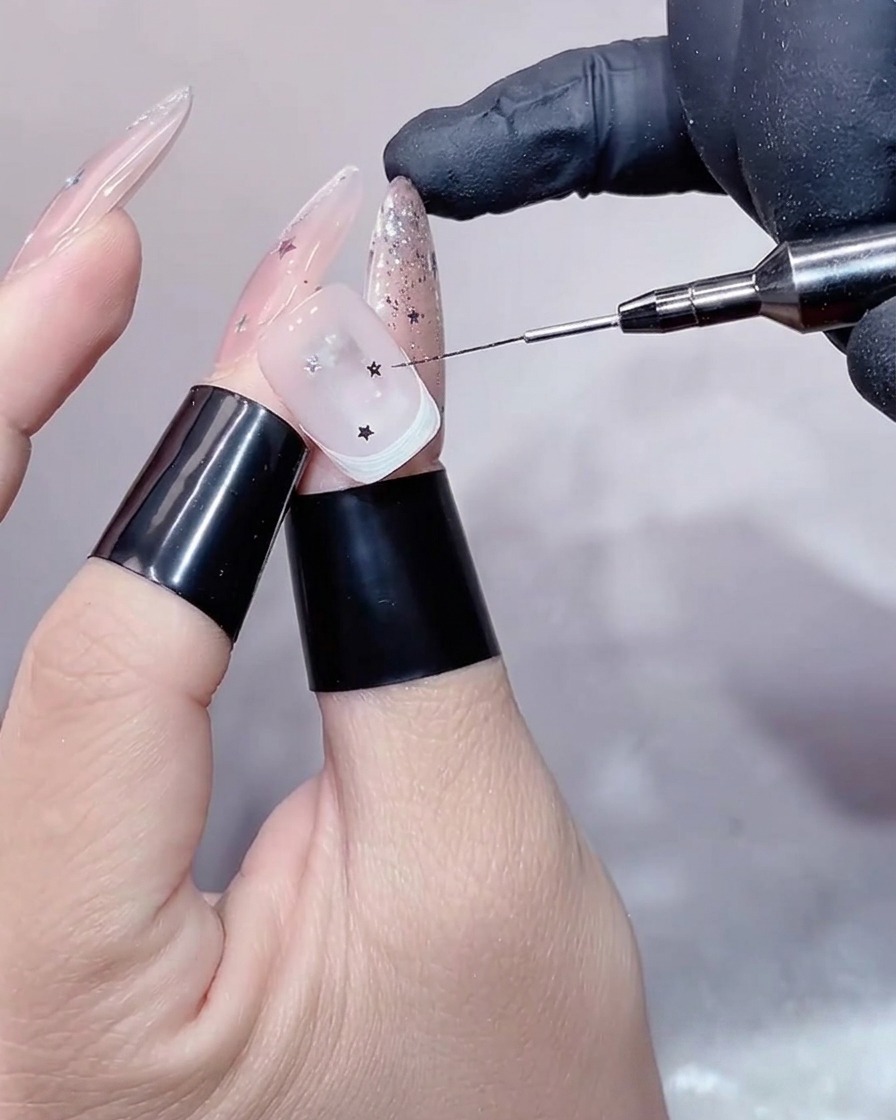
Once the star sequins are placed to your satisfaction, place your finger under the UV/LED lamp to cure and lock them into place. Ensure they are fully set before moving on to the final top coat application.
Tip: Check the position of the sequins one last time before curing, as they can sometimes shift slightly. - 12Apply top coat
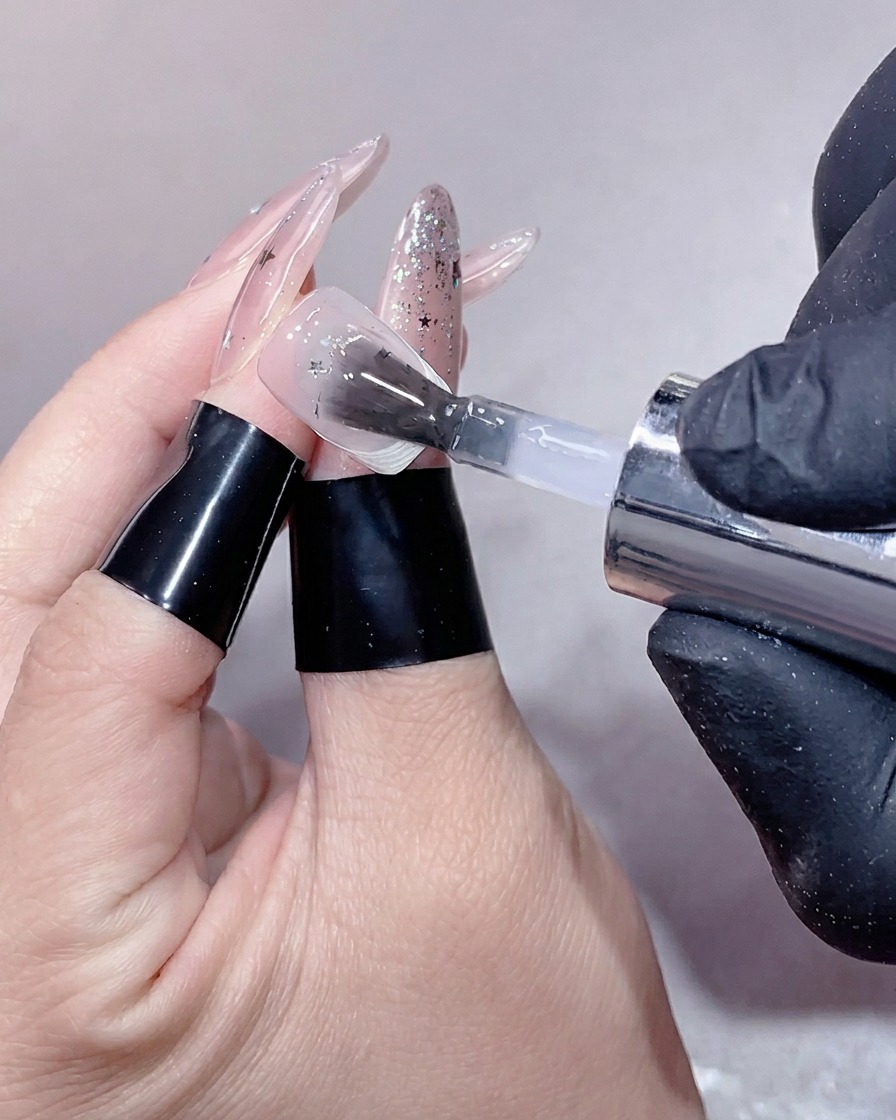
Apply a generous but controlled layer of clear top coat over the entire nail. This provides essential structural reinforcement, protects the delicate star sequins from snagging, and creates a high-gloss, smooth finish.
Tip: Cap the free edge with the top coat to prevent chipping and increase the longevity of your manicure. - 13Cure the final top coat
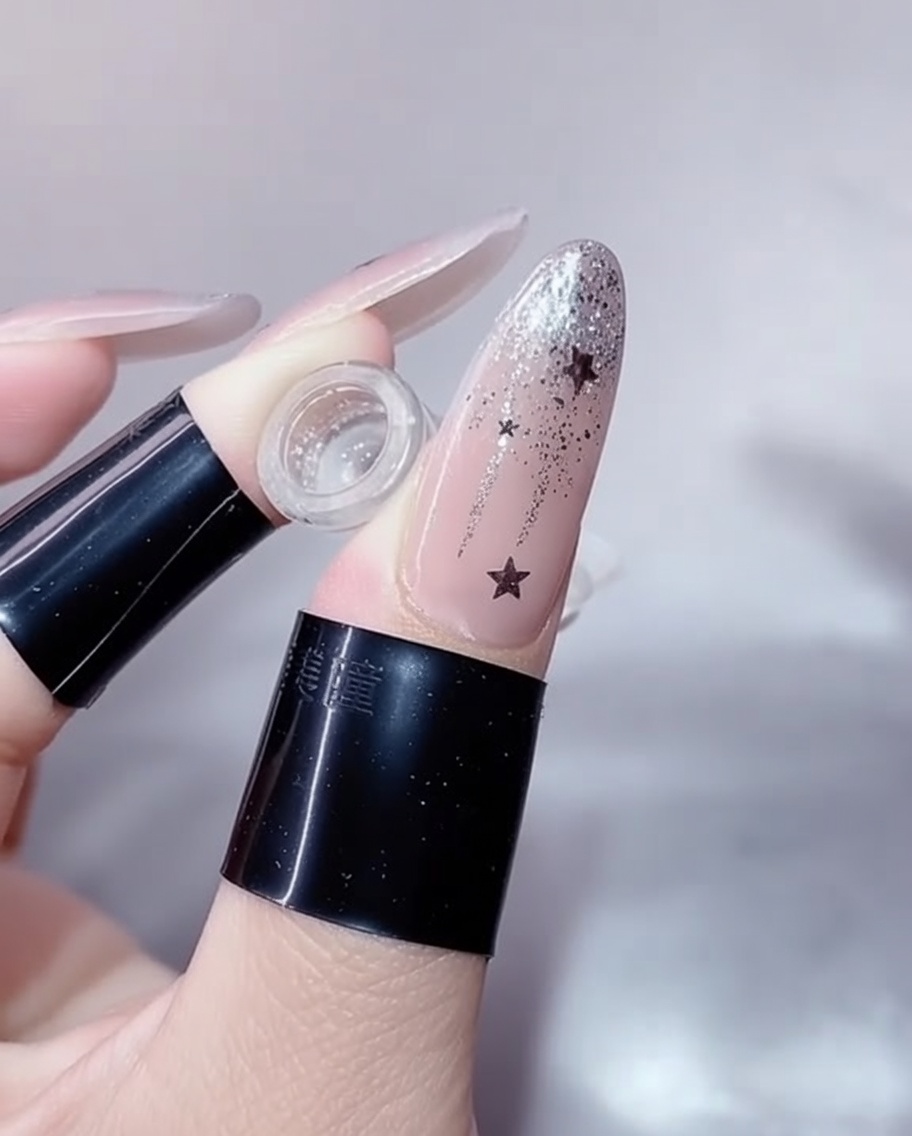
After applying a thin, structured layer of top coat to secure the star sequins and create a smooth finish, place the nail into the UV/LED lamp. Ensure the finger is positioned correctly to allow the light to cure the gel evenly across the entire surface.
Tip: Keep your finger flat and steady inside the lamp to prevent the wet top coat from pooling at the sides of the nail. - 14Remove the sticky inhibition layer
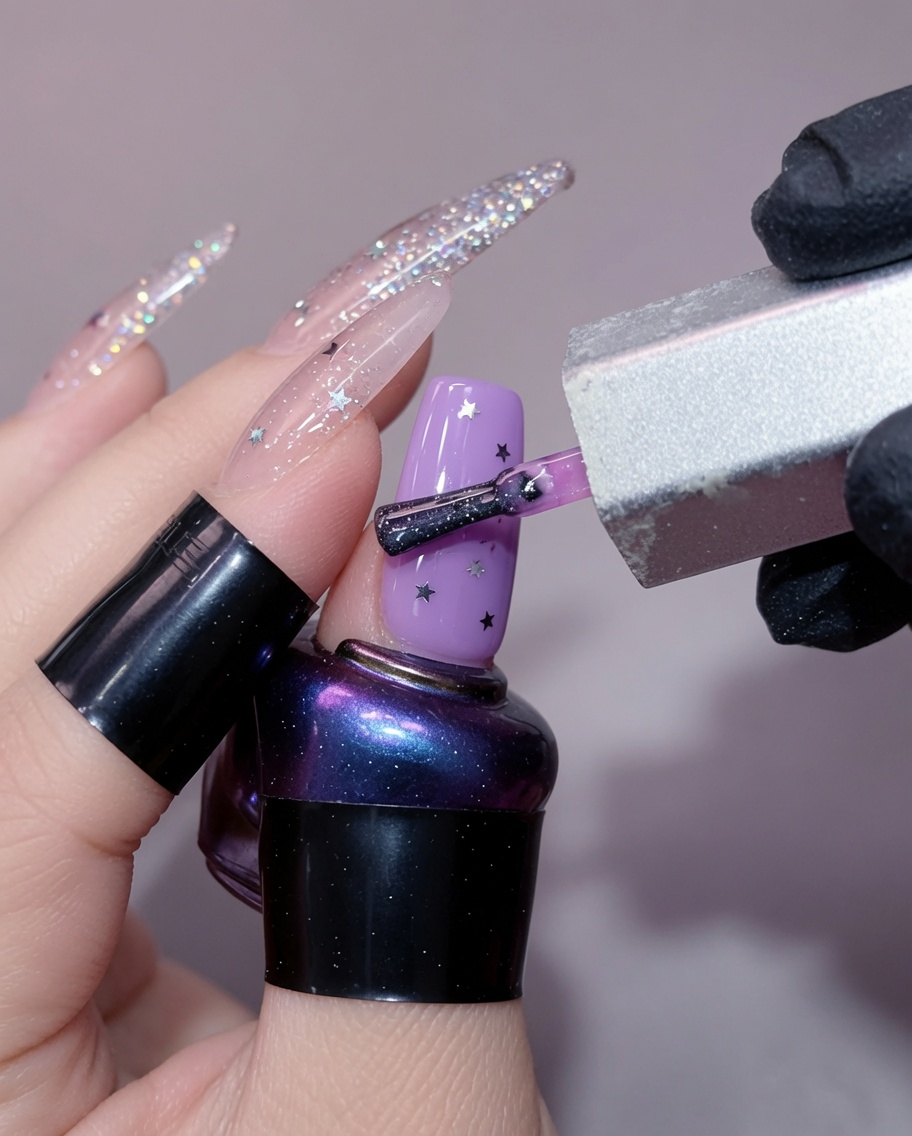
Once the final cure is complete, use a lint-free wipe saturated with nail cleanser to thoroughly remove the tacky inhibition layer from the surface of the nail. This will reveal the high-gloss shine and finalize your French thread star manicure.
Tip: Use a fresh section of the lint-free wipe for each nail to avoid spreading the sticky residue back onto the finished surface.