Clear Blue Star Cat Eye Nails — Celestial Gel Tutorial
Master this dreamy celestial look with sheer blue cat eye polish and delicate star sequins. Perfect for a sparkling, ethereal manicure.
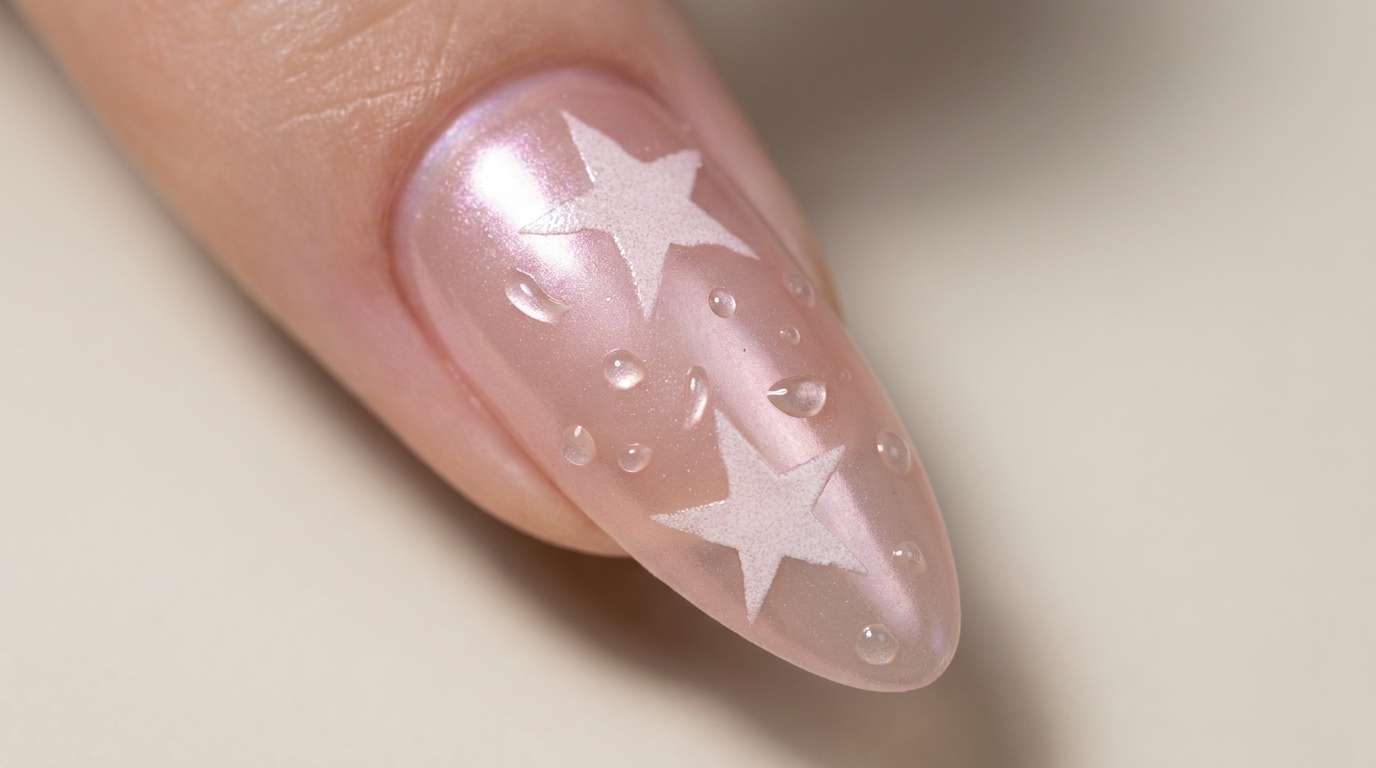
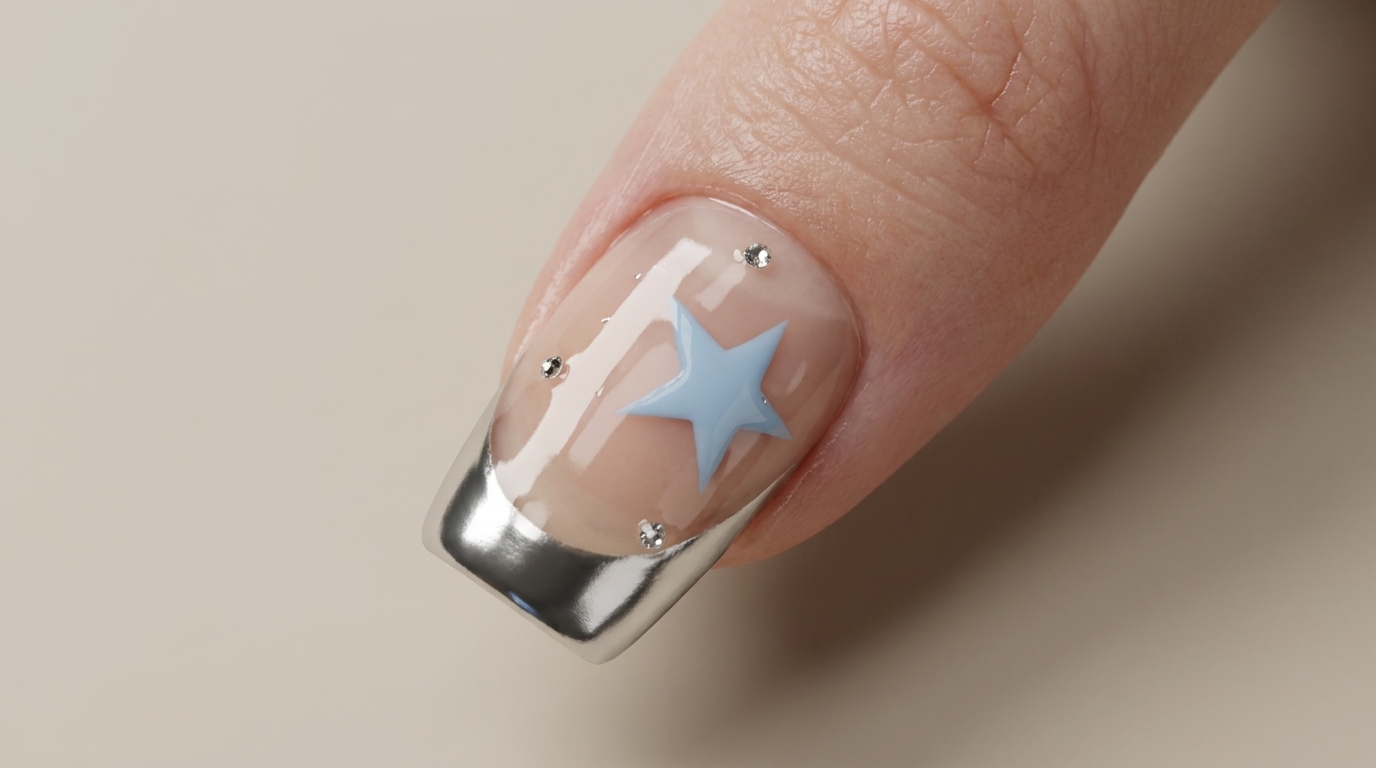
Bring the night sky to your fingertips with this stunning celestial nail design. By layering sheer blue bubble cat eye polish with scattered star accents, you achieve a multidimensional look that catches the light beautifully. This design relies on the depth of magnetic particles paired with clear, crisp star details for a modern, sparkling finish.
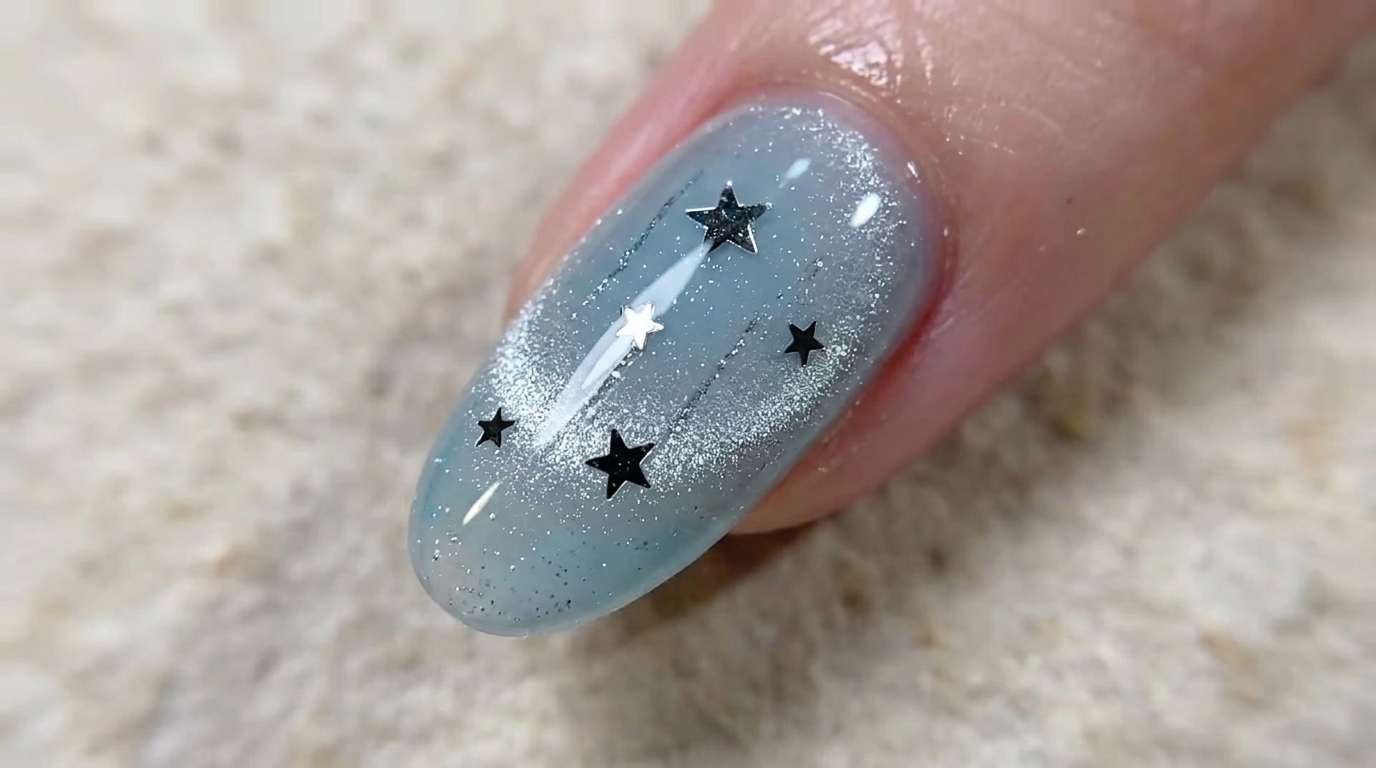
Steps
- 1Apply bubble cat eye gel
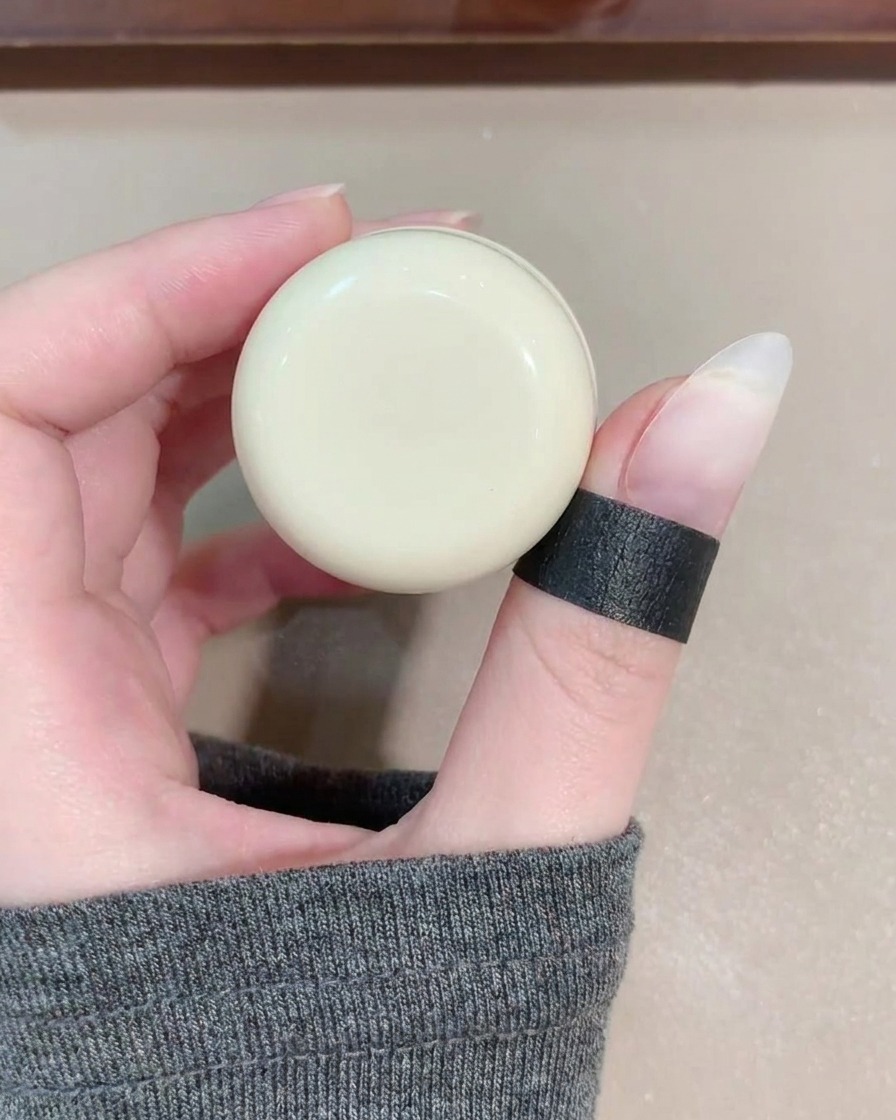
Apply a coat of sheer Sanyue bubble cat eye polish in number 17 to your nail plate using a gel brush. Ensure an even application across the nail surface to prepare for the magnetic effect.
Tip: This look works best with a sheer formula, allowing the layers and magnetic particles to shine through. - 2Create cat eye effect
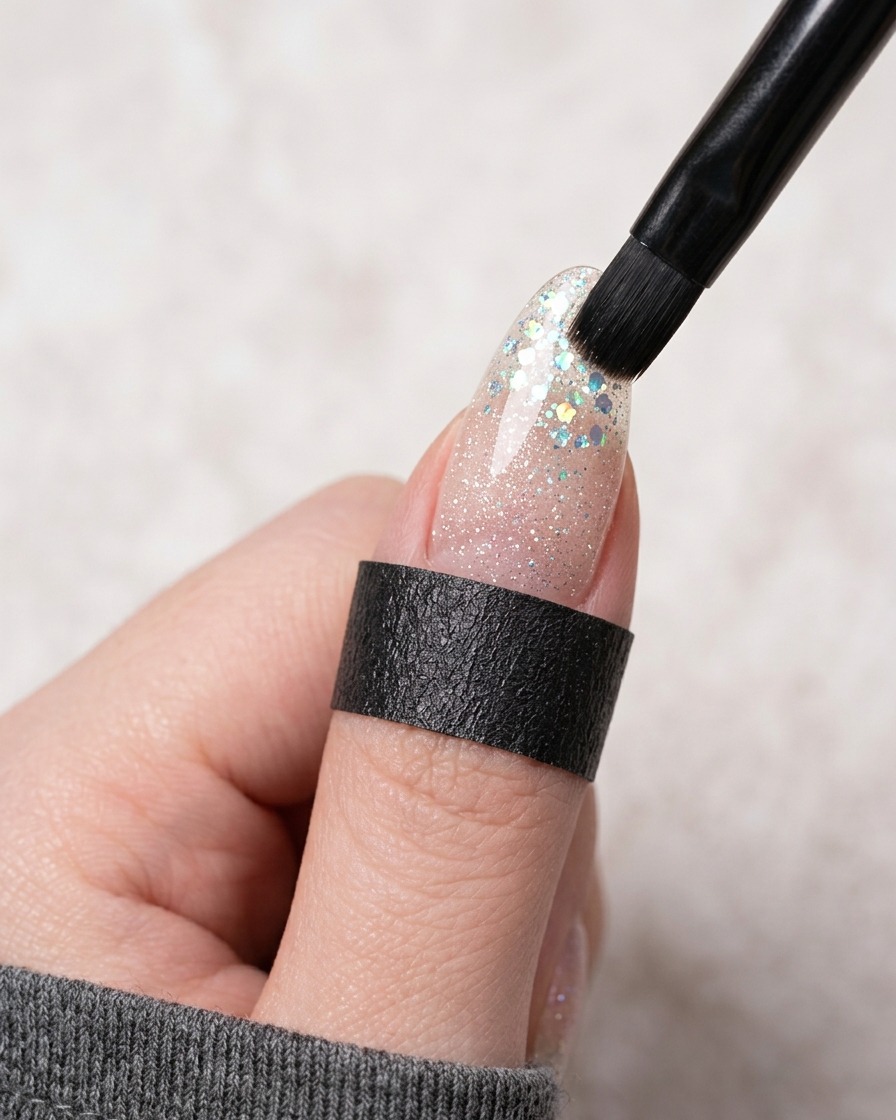
While the gel is still wet, hold a small magnetic tool over the nail to pull the magnetic particles into your desired pattern. Move the magnet around until you are satisfied with the shimmering design.
Tip: Hold the magnet close to the nail for a sharper, more defined line, or further away for a softer glow. - 3Cure the cat eye gel
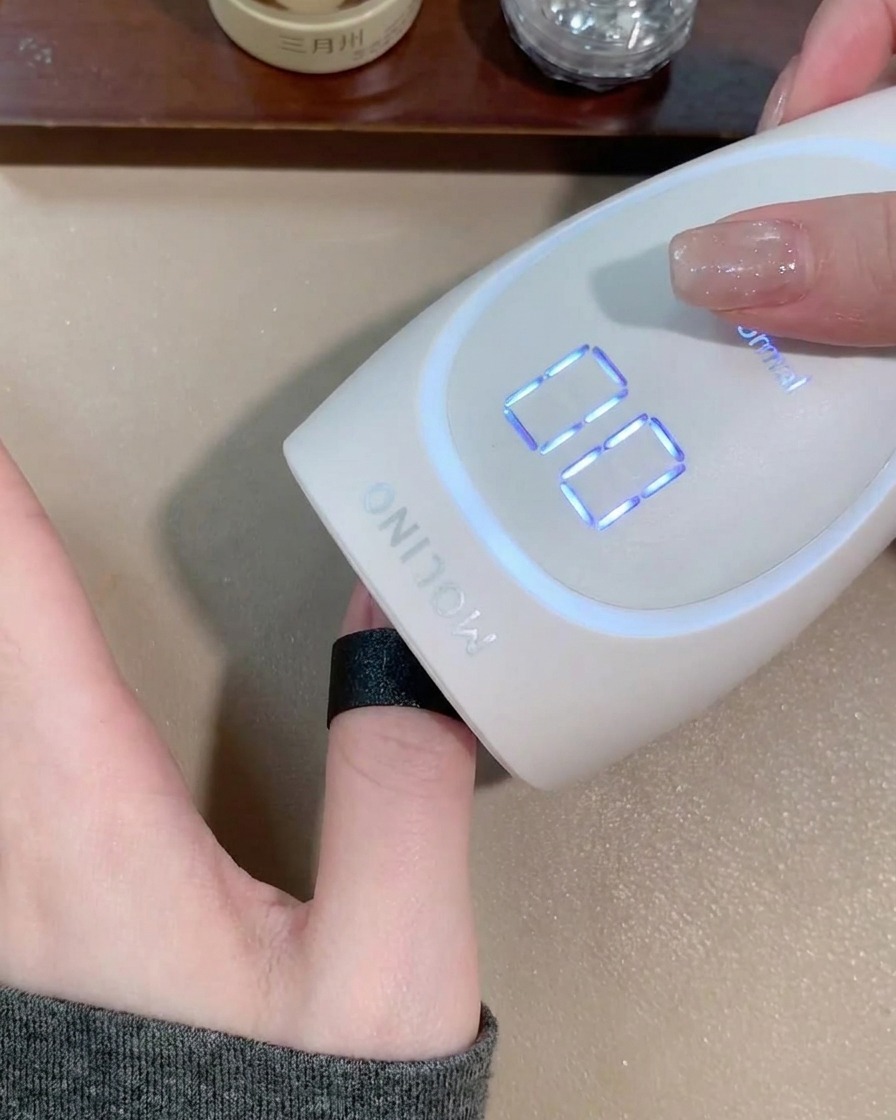
Place your hand under the portable LED lamp to cure the cat eye gel. This sets the magnetic pattern in place.
Tip: The lamp features an automatic light-sensing mode and a digital display to ensure precise curing time. - 4Add tapping gel detail
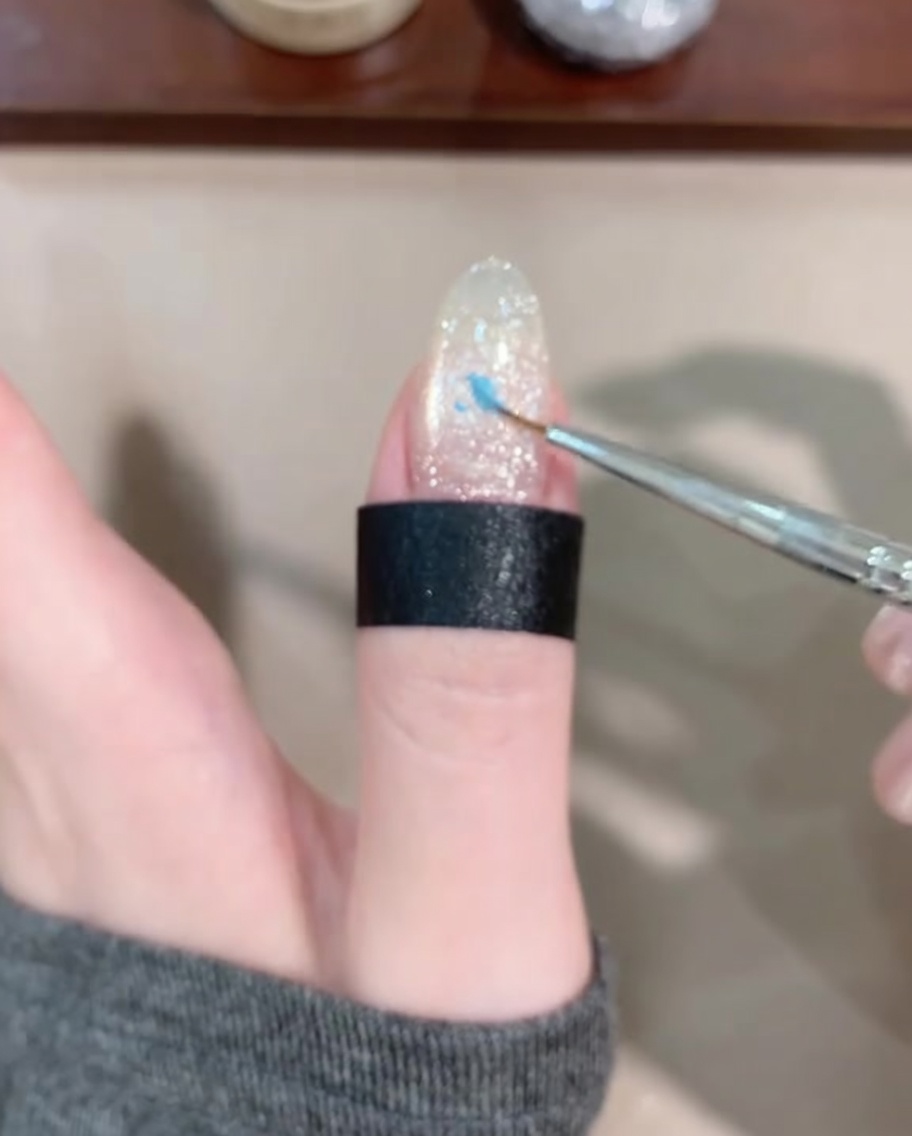
Using a fine liner brush, apply a small amount of blue tapping gel to the center of the cured nail. This adds depth and a unique texture to the design.
Tip: Work with small amounts to maintain control and avoid flooding the nail surface. - 5Cure the tapping gel
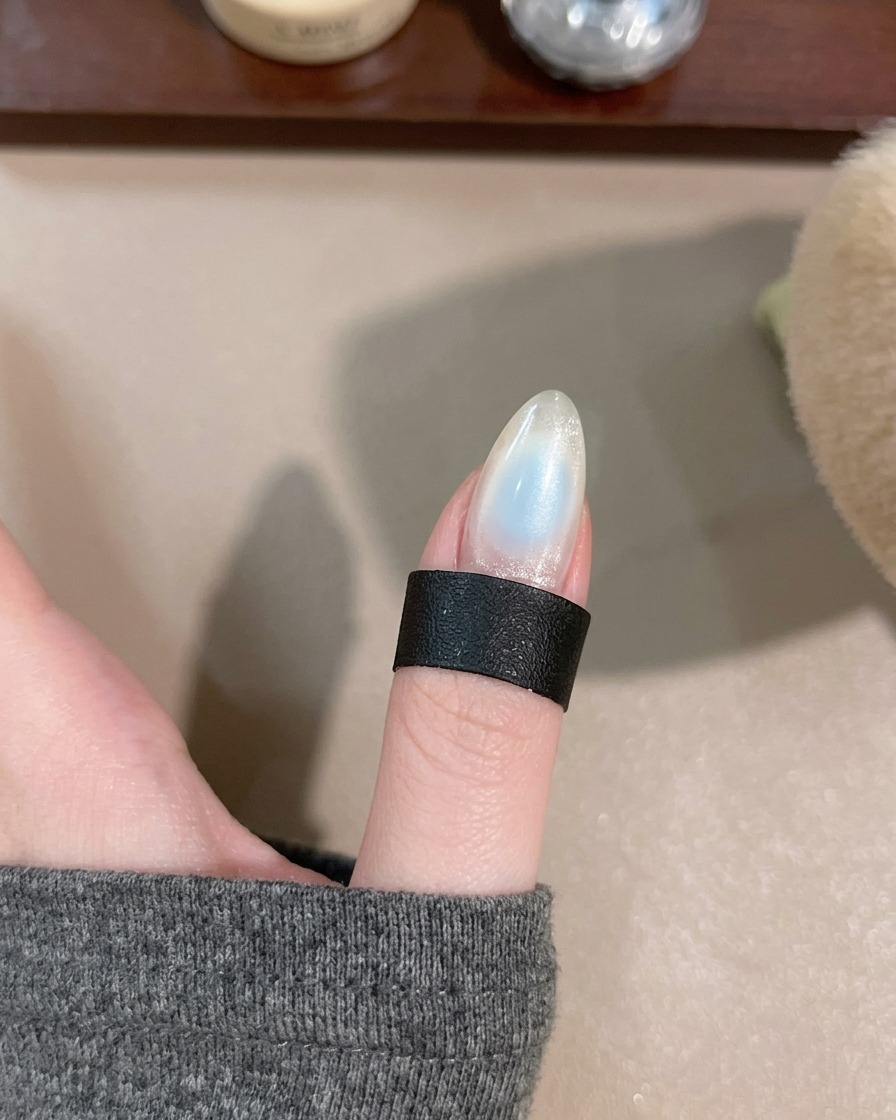
Place your hand back under the LED lamp to cure the blue tapping gel. Ensure the gel is fully set before moving on to the next step.
Tip: The lamps uniform LED beads ensure even curing without dead zones. - 6Apply base coat
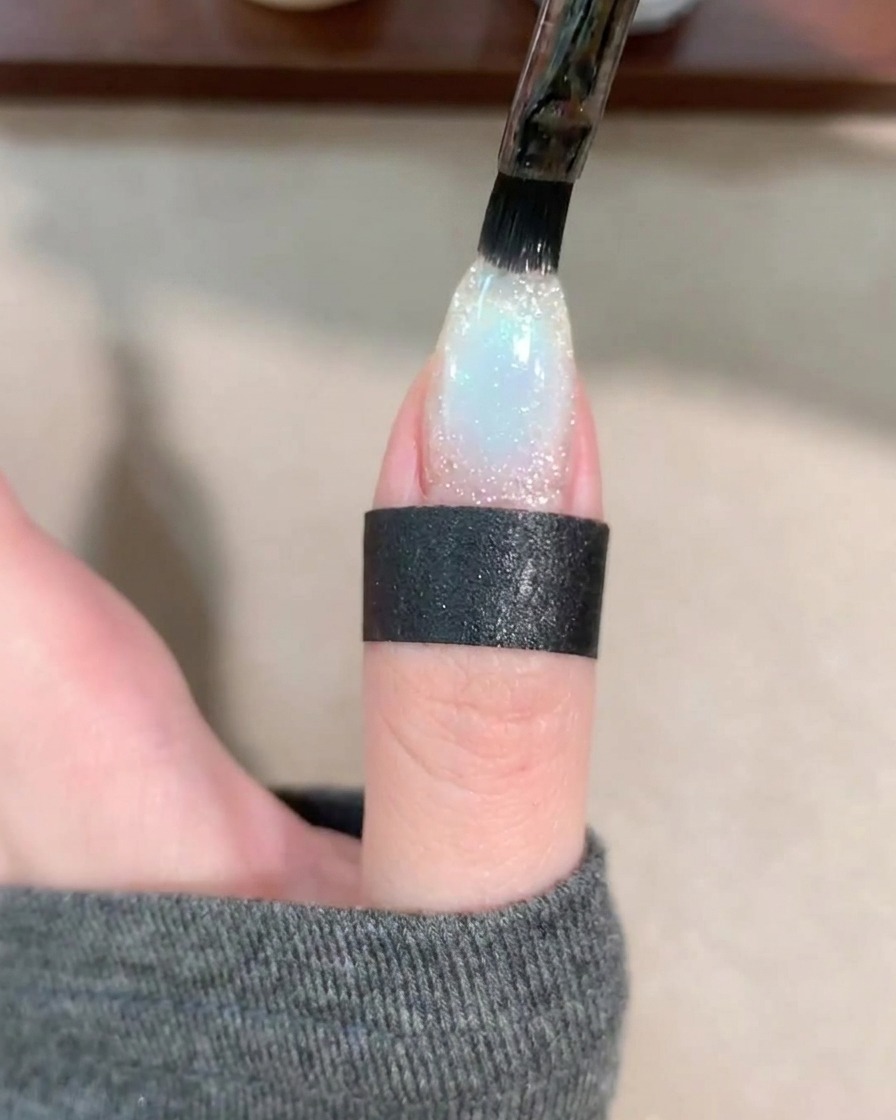
Apply a layer of base gel over the existing design to seal and smooth the nail surface, then cure under the lamp.
Tip: Capping the edge with the base gel helps prolong the life of your manicure. - 7Draw lines with blooming gel
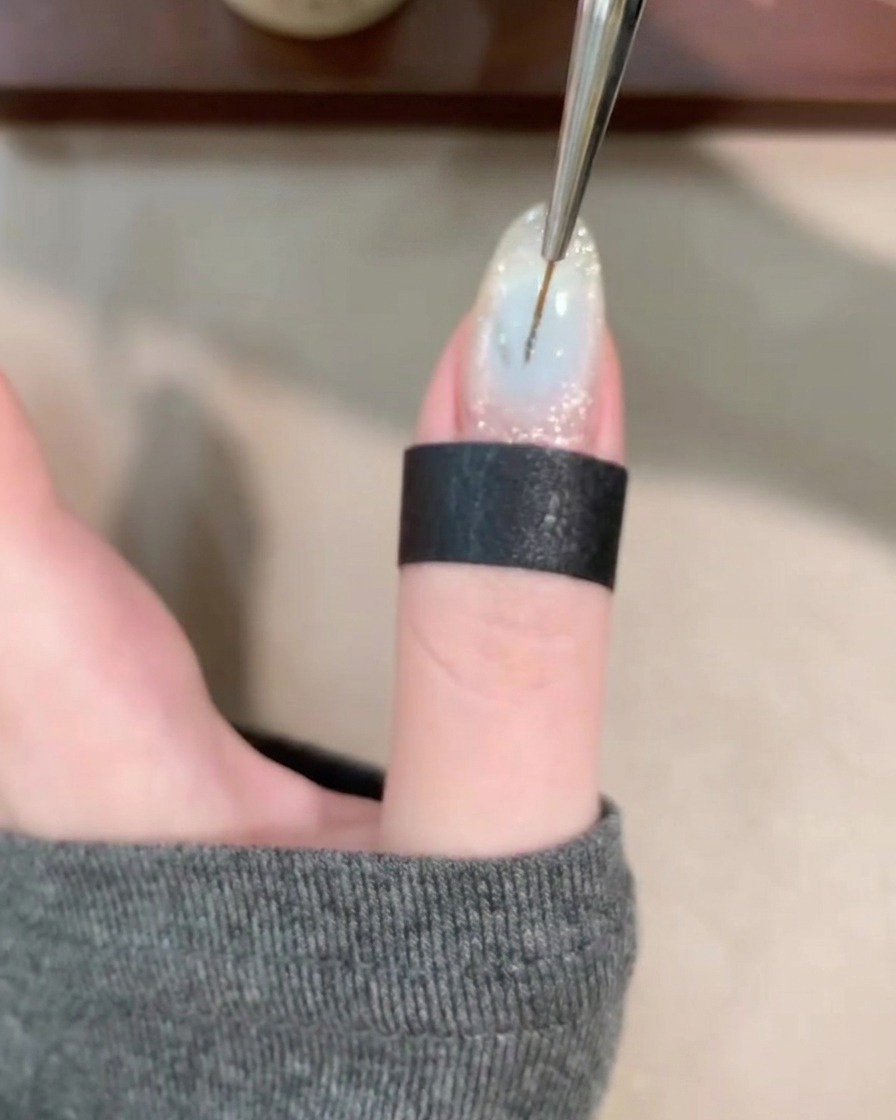
Using a thin liner brush, apply blooming gel to the nail. Then, take the same liner brush to draw random, thin, flowing lines across the nail surface. The blooming gel will cause the lines to naturally diffuse, creating a soft, artistic effect before you cure.
Tip: Work with a light hand to keep the lines delicate; too much pressure will make them too thick. - 8Add star sequins
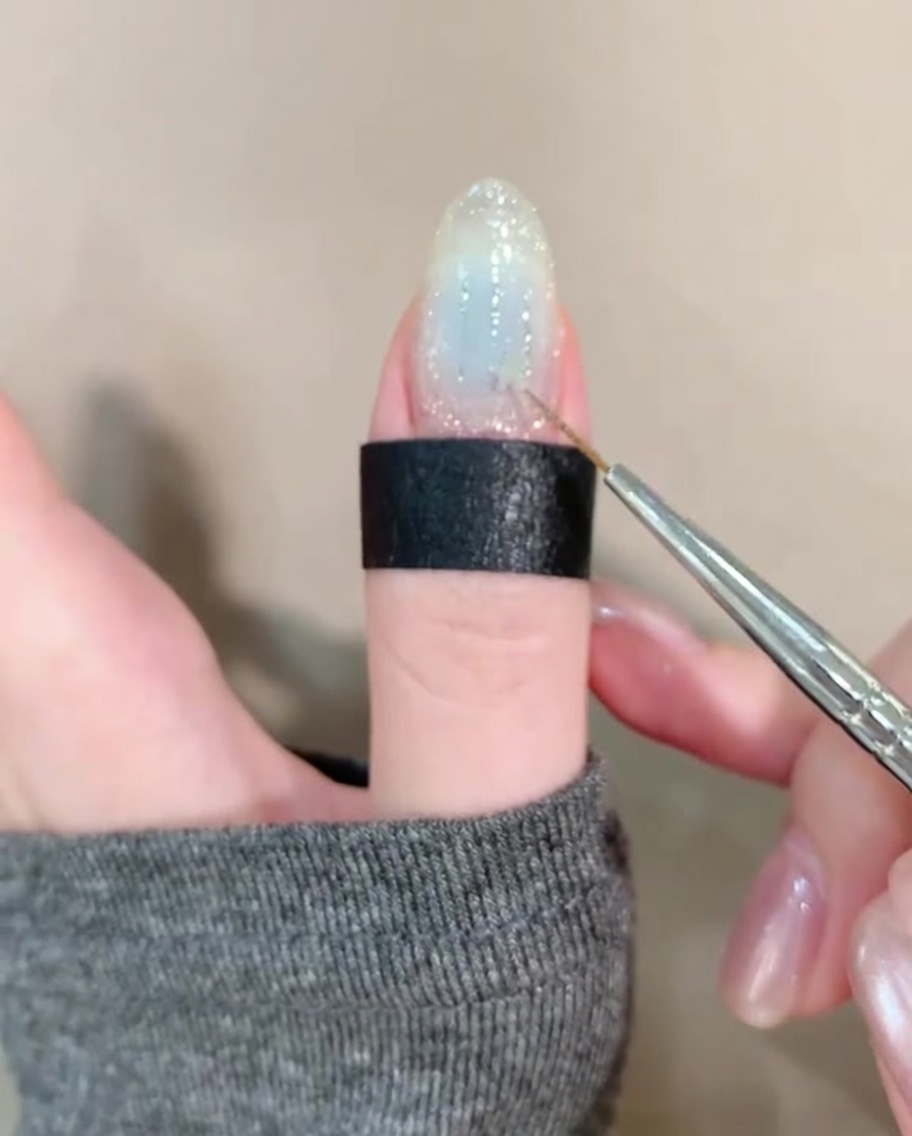
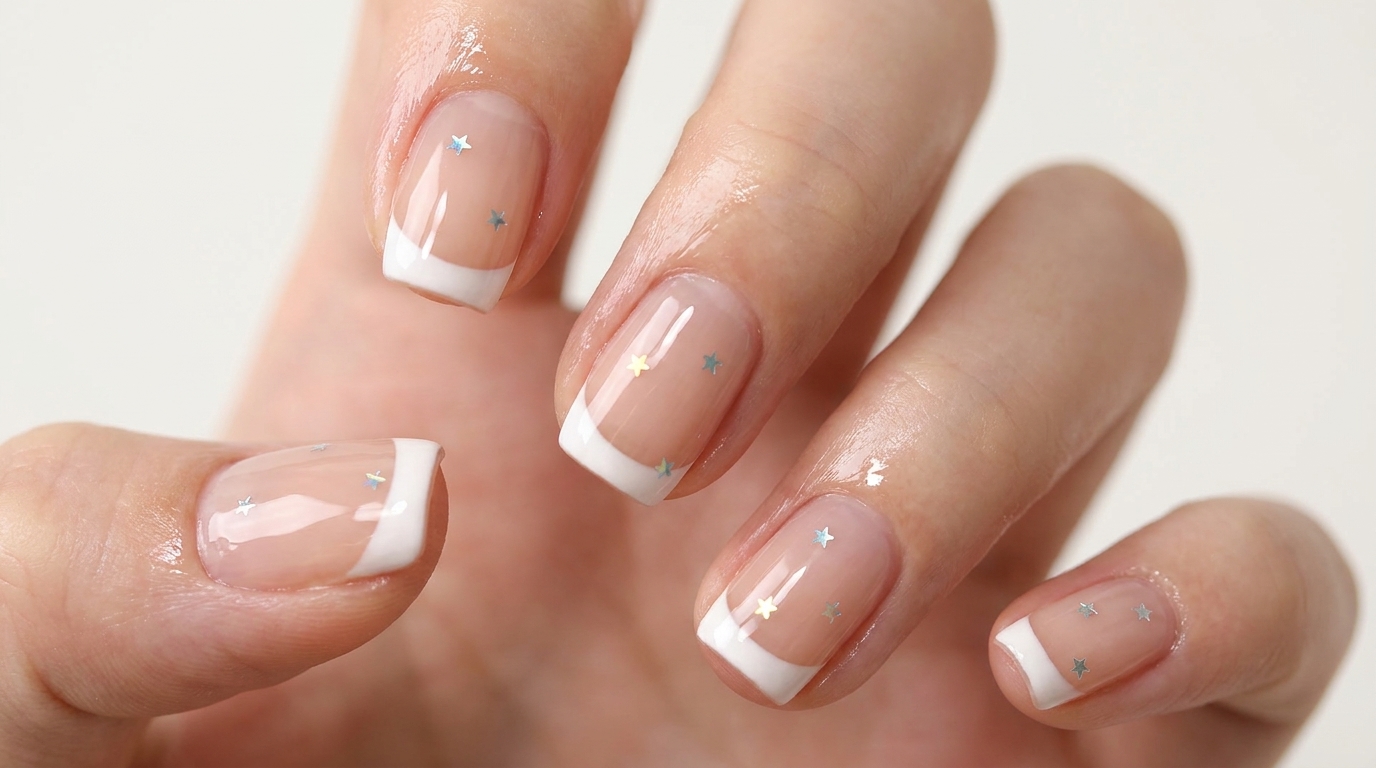
While the gel layer is still tacky, use tweezers to carefully place small star-shaped sequins onto the nail. You can arrange them randomly or in a specific pattern. Ensure they are laid flat against the nail surface, then cure under your lamp to lock them in place.
Tip: Press down gently on the center of each sequin with the tweezers to ensure the edges are flush with the nail surface, preventing them from catching later. - 9Apply top coat
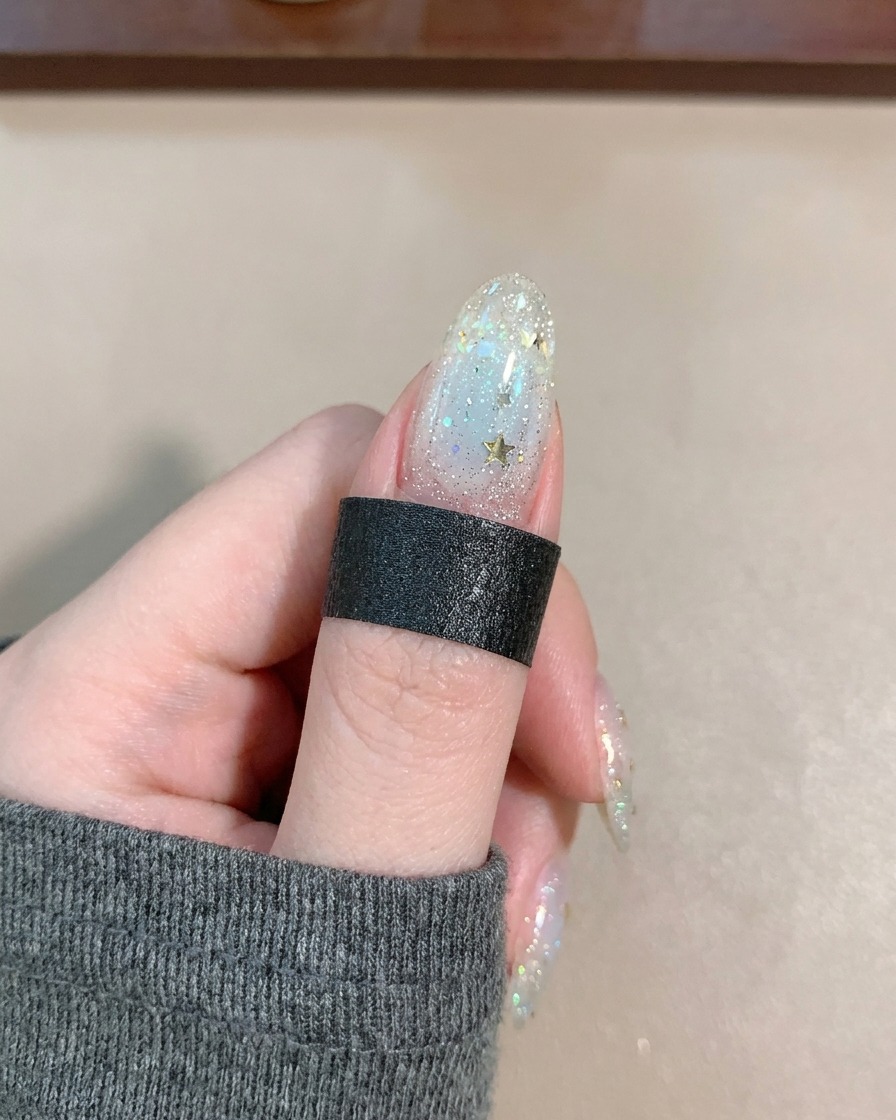
Seal your design with a final layer of clear top coat. Apply it evenly over the entire nail, ensuring you cover the sequins to smooth them out and protect the art. Cure completely under your lamp according to the product instructions.
Tip: If the sequins are bulky, you may need a slightly thicker top coat or a builder gel layer to ensure a perfectly smooth finish. - 10Final cure
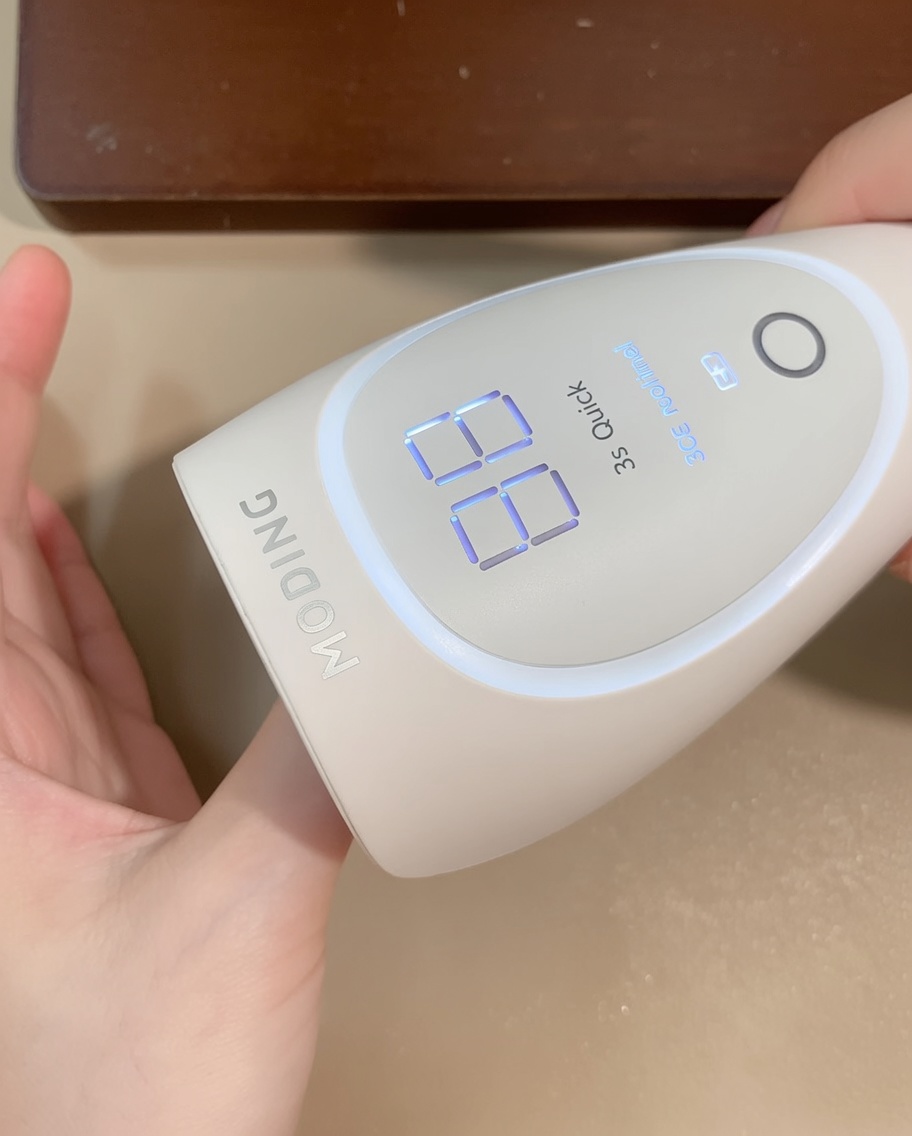
Position your hand under the portable LED lamp for the final cure. Ensure the nail is placed directly under the LED beads for uniform exposure. The lamp features an automatic light-sensing mode and a digital display to help you track your curing time accurately.
Tip: Keep your hand steady during the cure to ensure the light reaches all parts of the nail evenly, especially if the lamp is compact.