Soft Mist Pink Star Nails — Celestial Chrome Tutorial
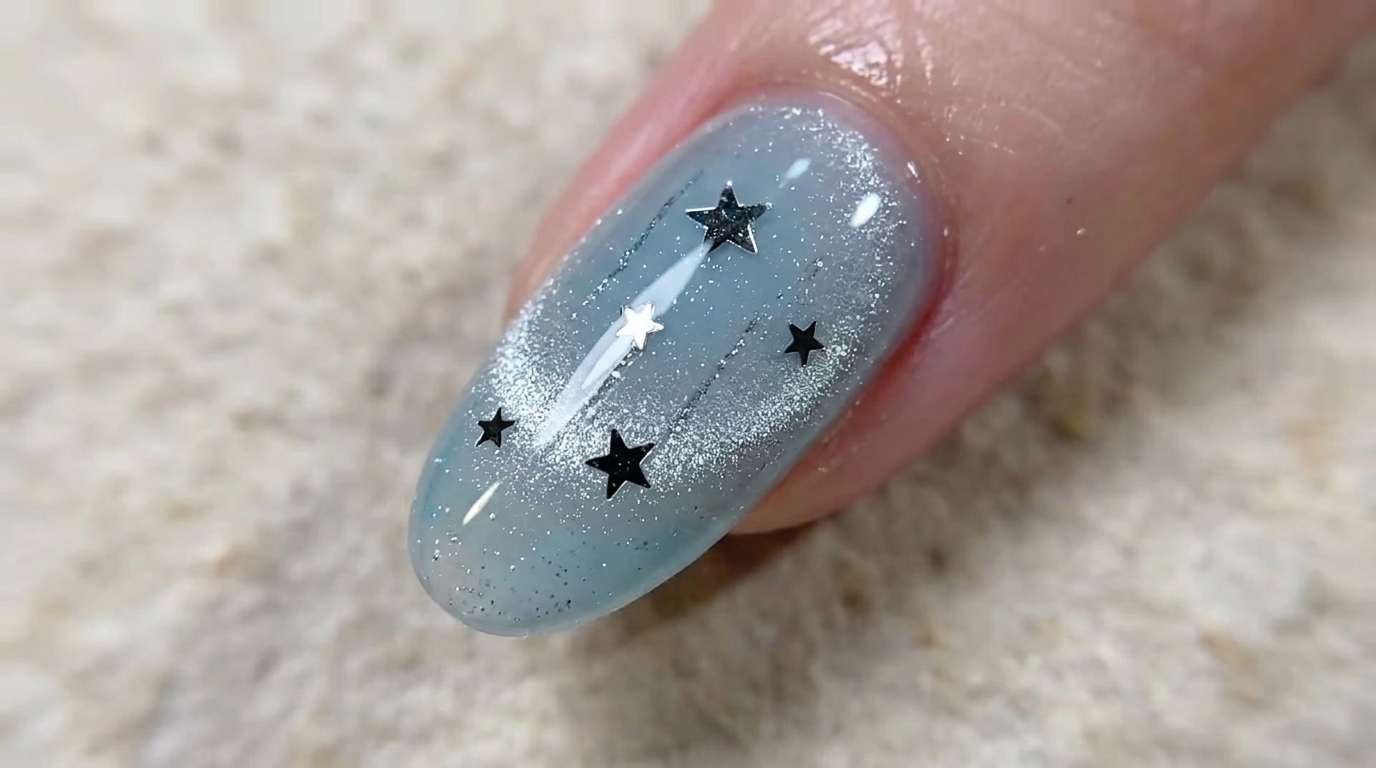
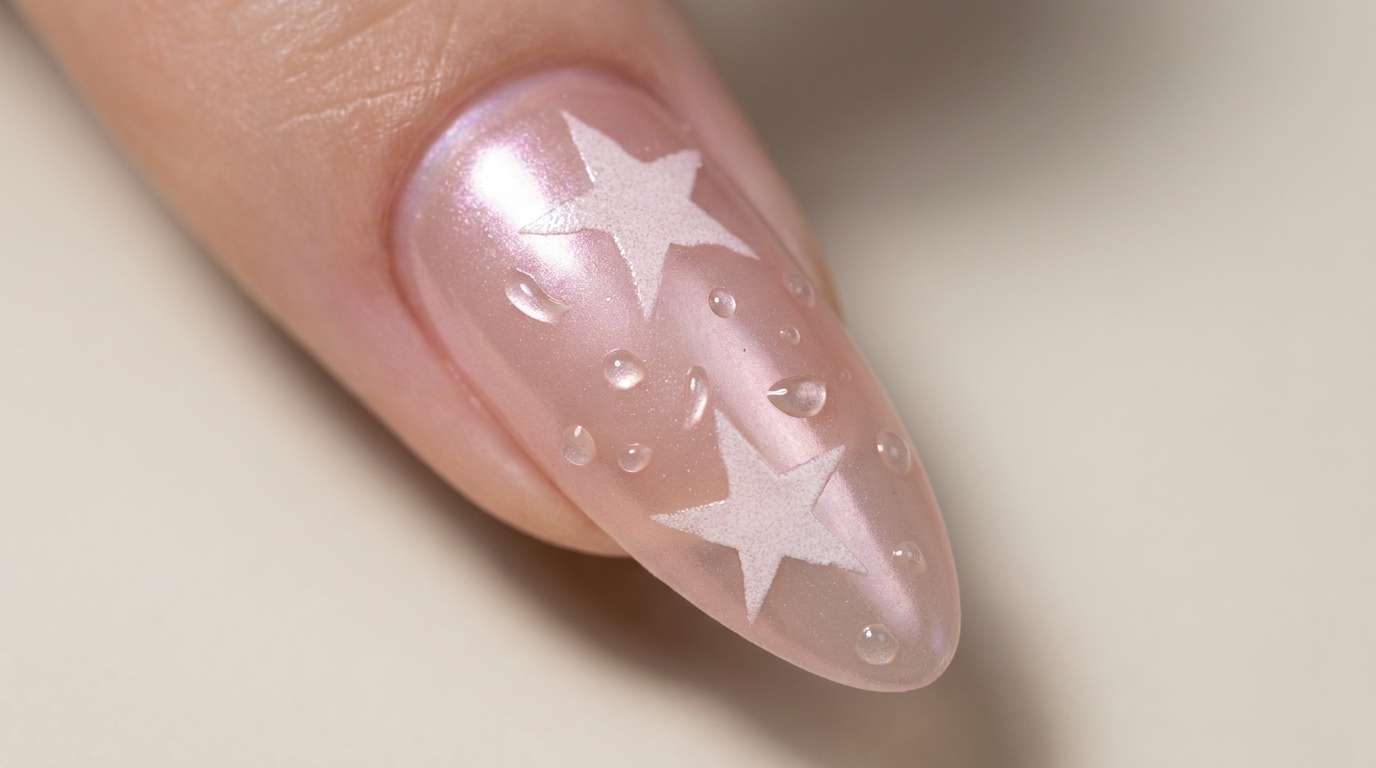
Create a dreamy celestial manicure with soft milky pink tones, aurora chrome, and realistic water droplets for a whimsical, high-shine finish.
This ethereal nail look blends the trending soft-girl aesthetic with celestial elements for a sophisticated yet playful manicure. By layering translucent milky pink gel over a pearlescent chrome base, we achieve a diffused, cloud-like depth that makes the hand-painted stars and water droplet accents truly pop. It is the perfect balance of modern technique and dreamy, high-dimensional texture.
Steps
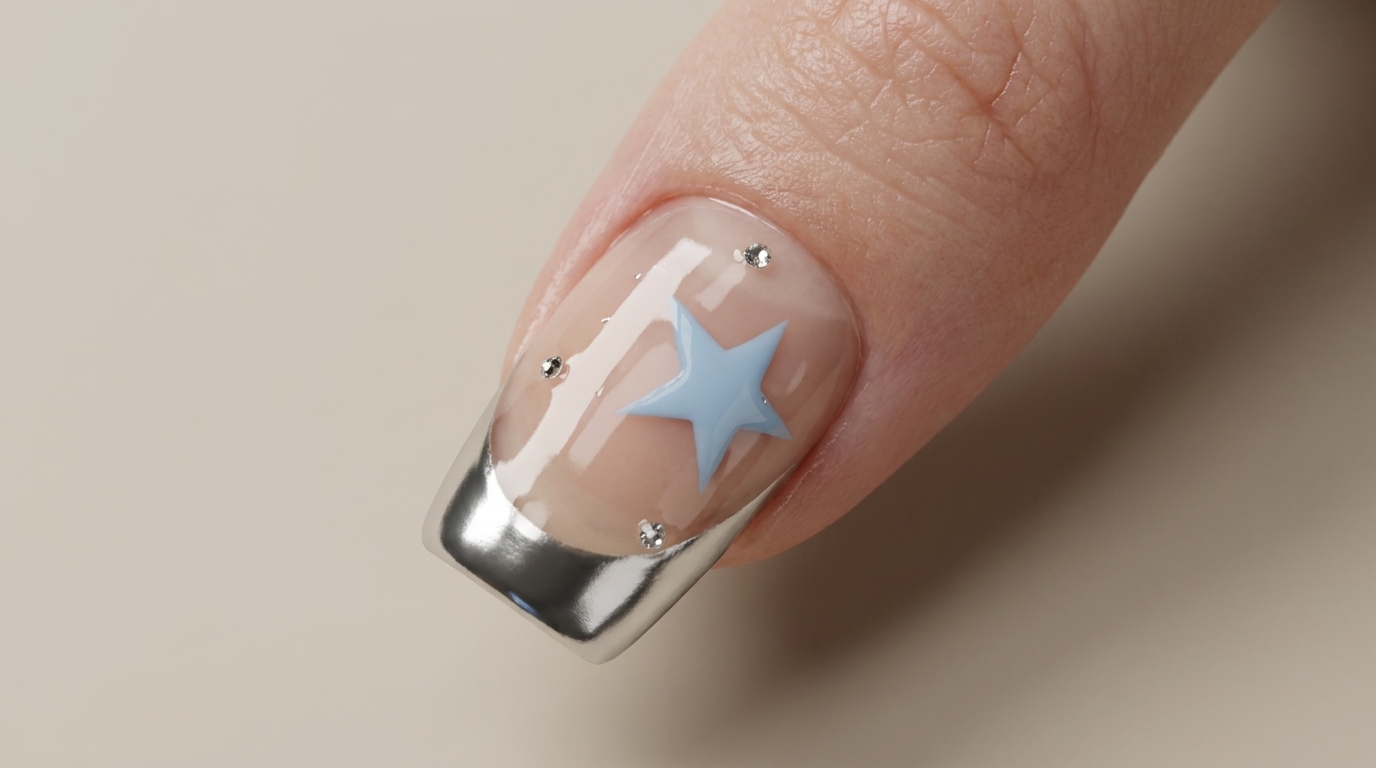
- 1Position the Star Decal
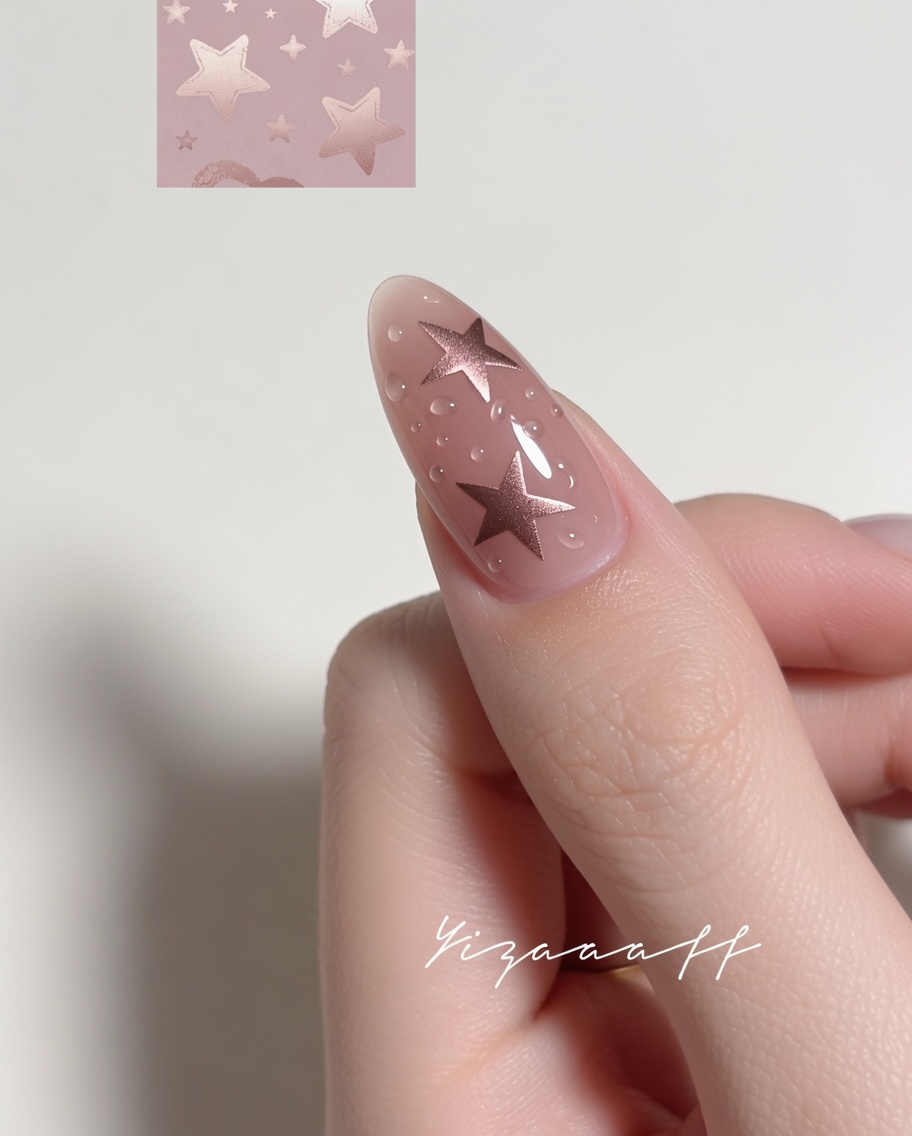
Using a metal cuticle pusher, gently pick up your chosen small star-shaped nail decal. Carefully place it onto the center of the nail plate, ensuring it is positioned exactly where you want it before pressing down firmly to secure the edges.
Tip: If the decal moves, use the tip of the pusher to nudge it back into place before applying your top coat. - 2Seal with Clear Gel
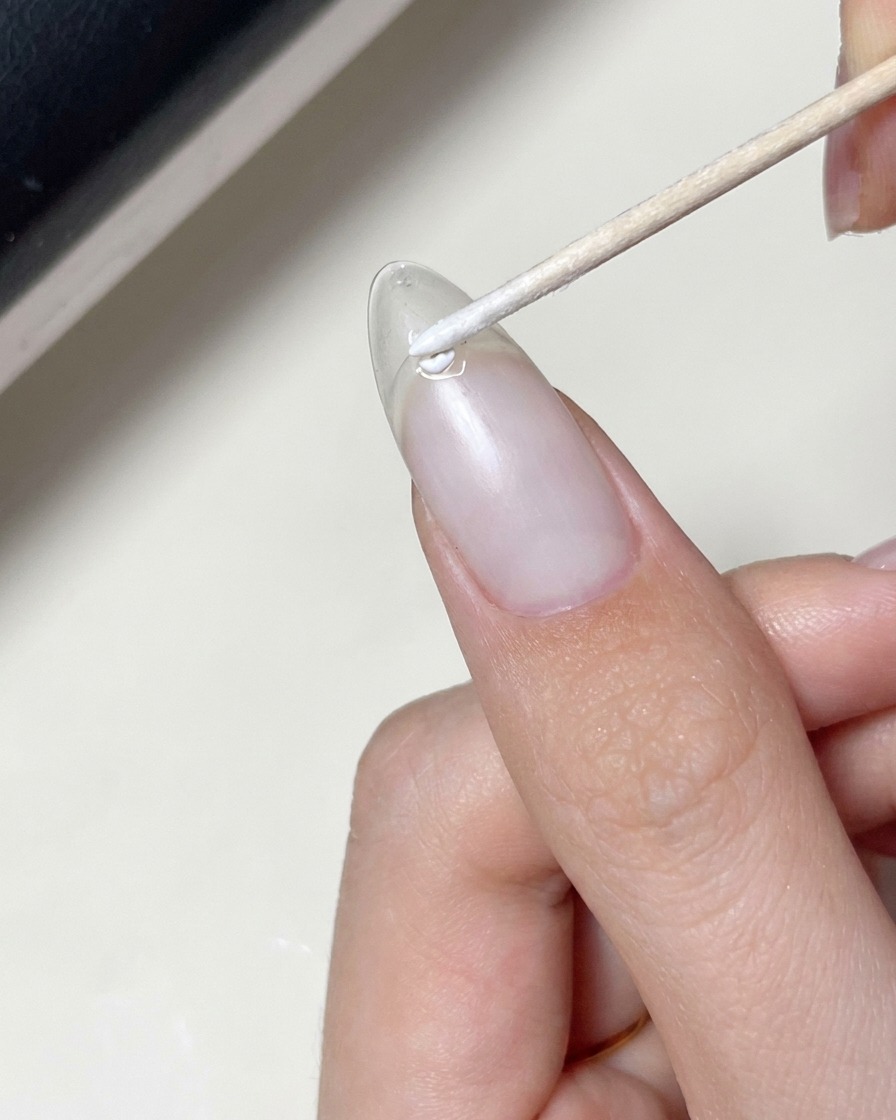
Apply a thin, smooth layer of clear gel overlay over the entire nail surface, ensuring you cover and seal the decal completely. This step locks the decal in place and creates a smooth, level foundation for the subsequent layers.
Tip: Cap the free edge of the nail with the clear gel to help prevent the decal from peeling at the tips. - 3Apply sheer pink gel
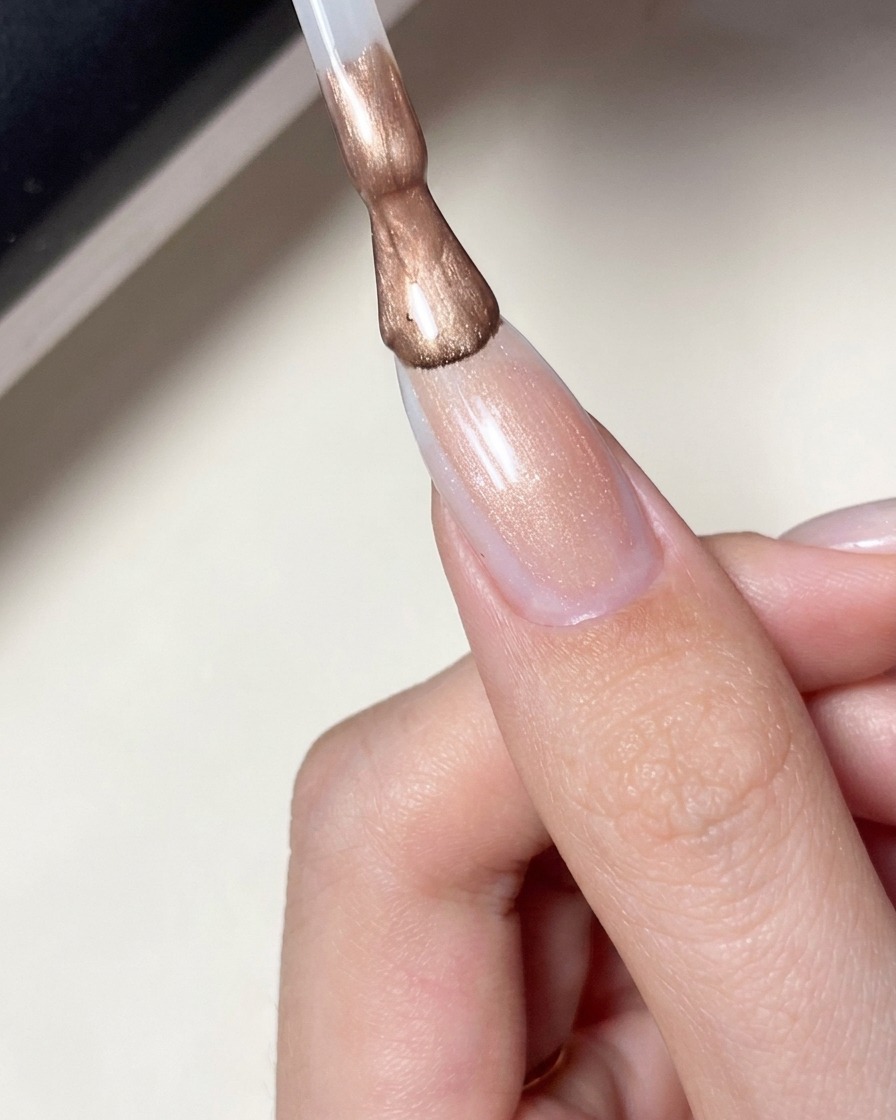
Apply a thin, even layer of sheer pink gel polish over the entire nail. This translucent layer creates a soft, milky finish that subtly clouds the underlying decal for a dreamy, diffused effect.
Tip: If you want a more opaque look, you can cure this layer and add a second thin coat of the sheer pink. - 4Buff on chrome powder
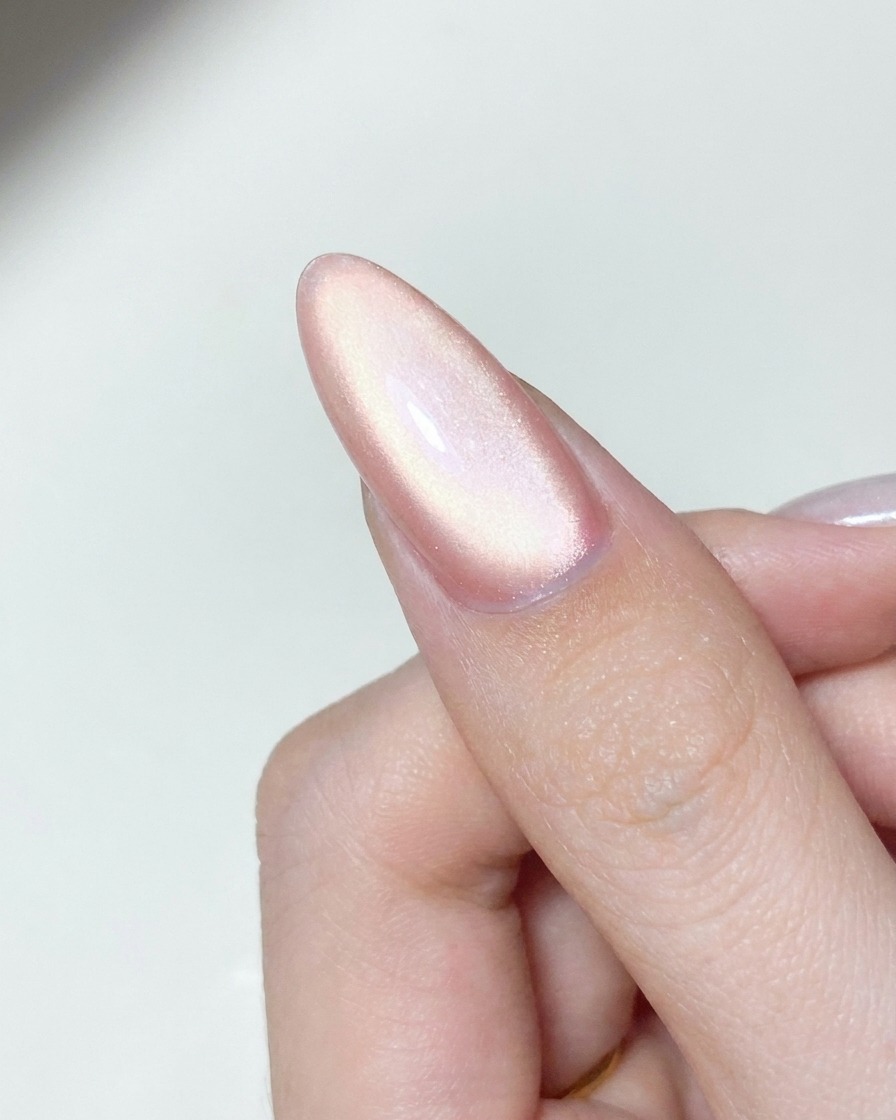
Once the previous gel layer is fully cured, use a specialized sponge-tip applicator to gently buff aurora chrome powder onto the nail surface. Work in small circular motions to ensure an even, pearlescent glow across the entire nail.
Tip: A little powder goes a long way; start with a small amount and add more only if needed for extra intensity. - 5Draw Star Outline
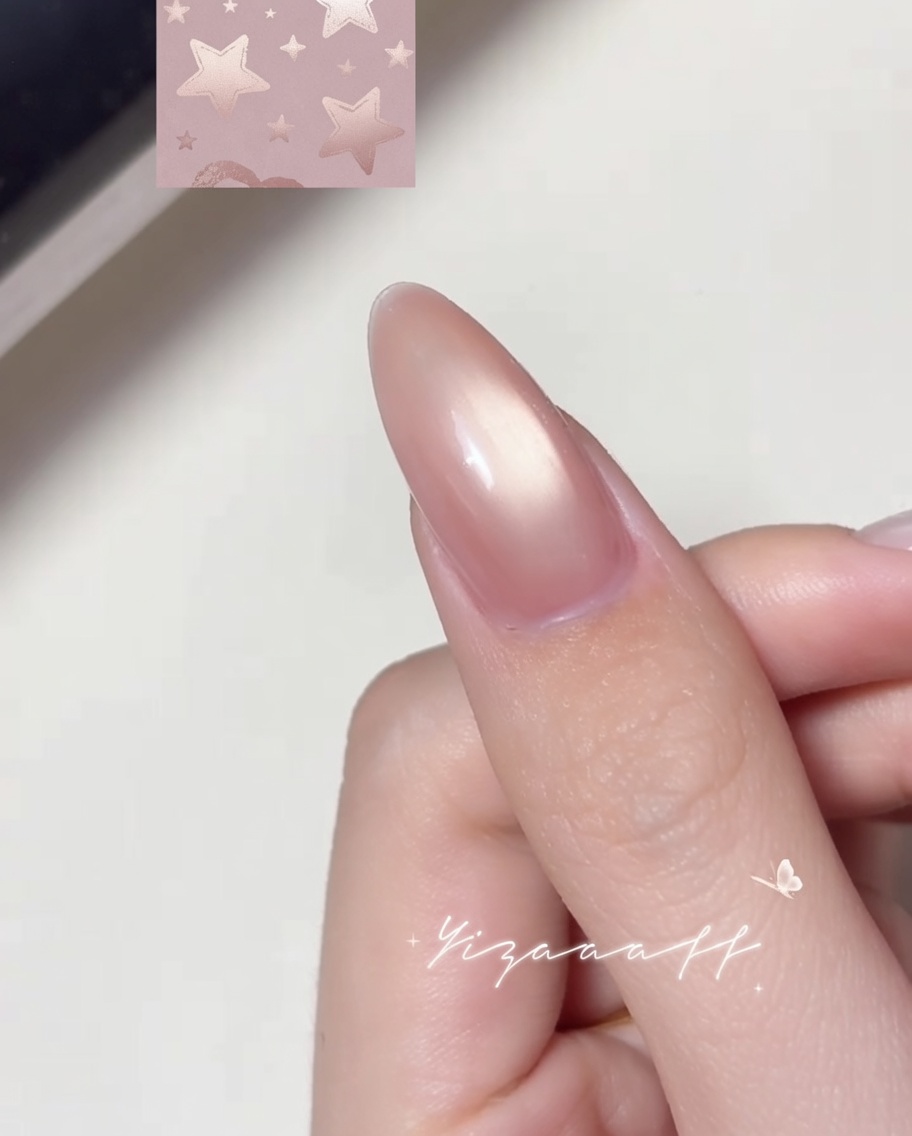
Using a fine liner brush and white gel liner, carefully trace the outline of a star directly onto the surface of the nail. Use light, steady pressure to create a clean, crisp, and precise star shape.
Tip: Rest your painting hand on a stable surface to help keep your lines steady and precise. - 6Fill the Star
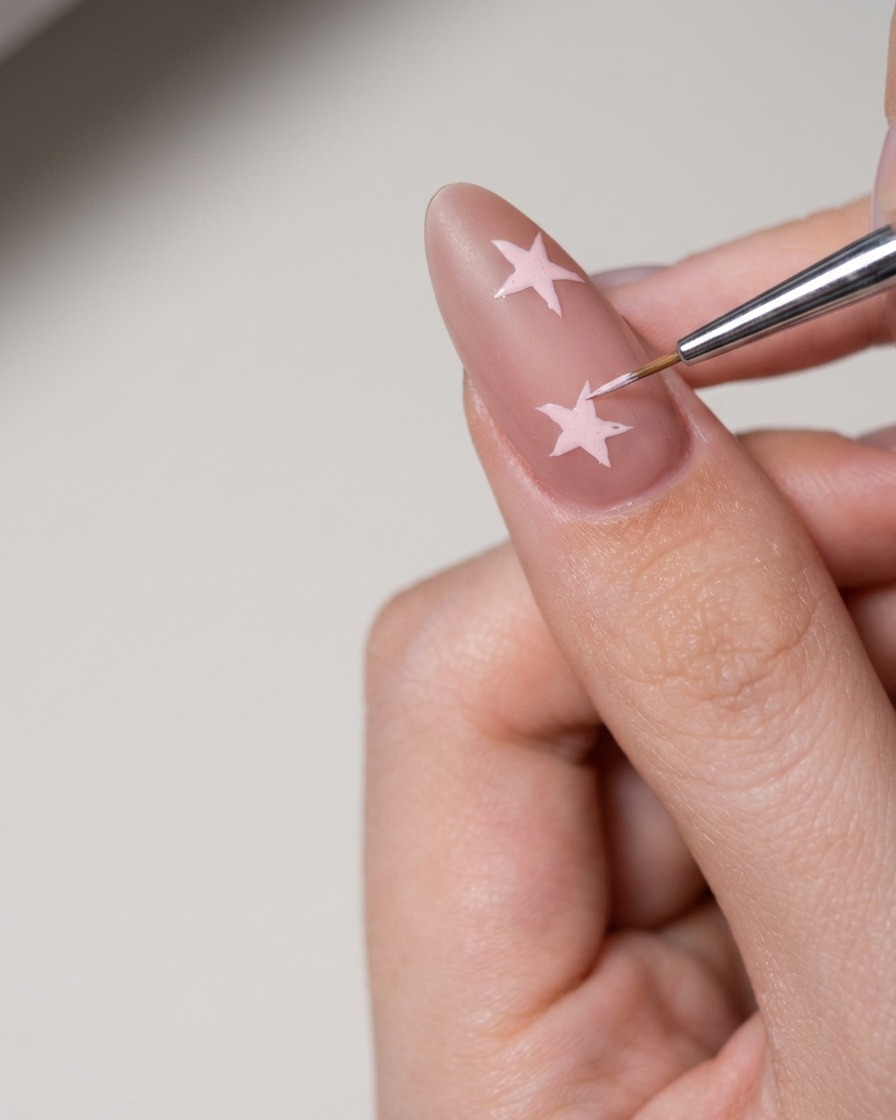
Using a small dotting tool, pick up a small amount of white nail art paste. Carefully fill in the star outline you previously drew, ensuring the paste is distributed evenly and reaches the edges of your outline for full opacity.
Tip: Work carefully to keep the paste inside your lines for a clean and professional-looking finished design. - 7Cure the star design
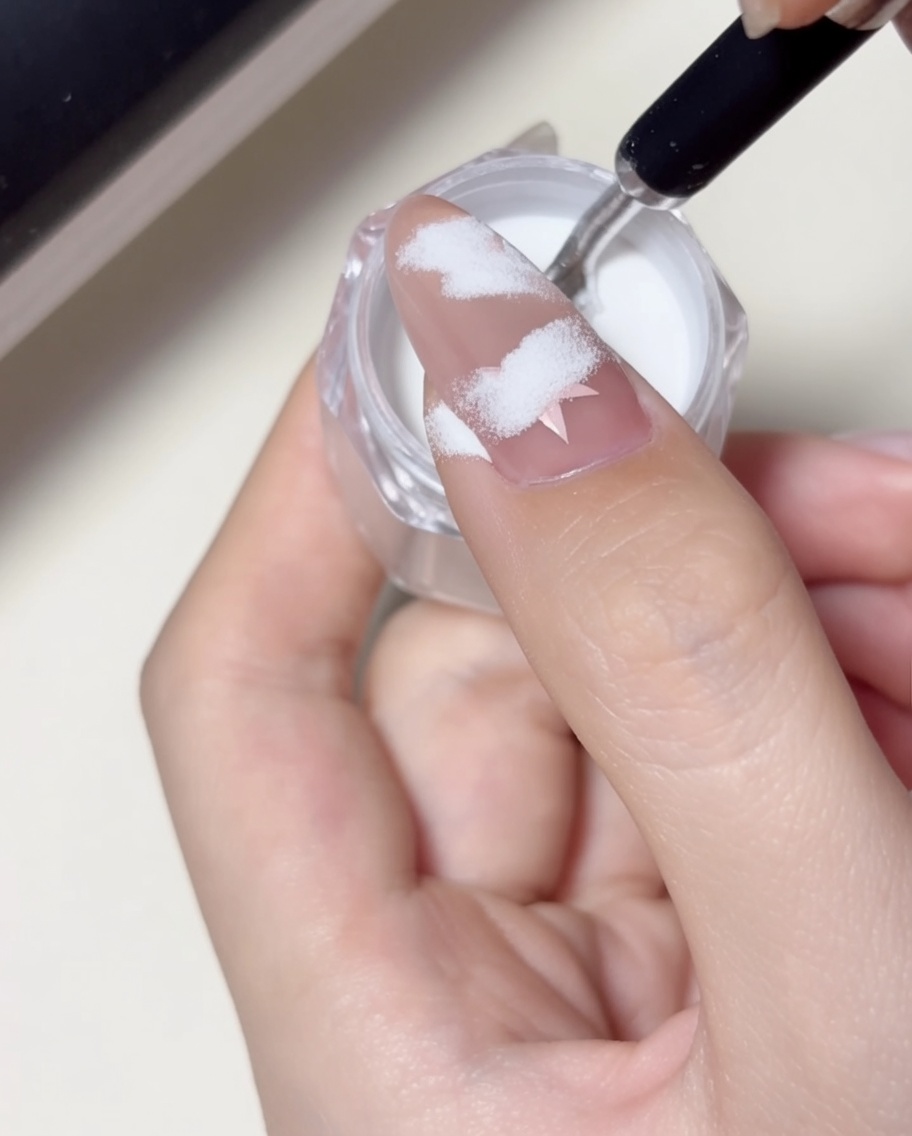
Place your finger under the LED lamp to cure the applied white star design and gel base. Ensure your finger is positioned directly under the light for the duration recommended by the gel manufacturer to guarantee a complete and durable cure.
Tip: Keep your finger flat and still inside the lamp to prevent any movement that could cause the uncured gel to shift. - 8Dust off excess powder
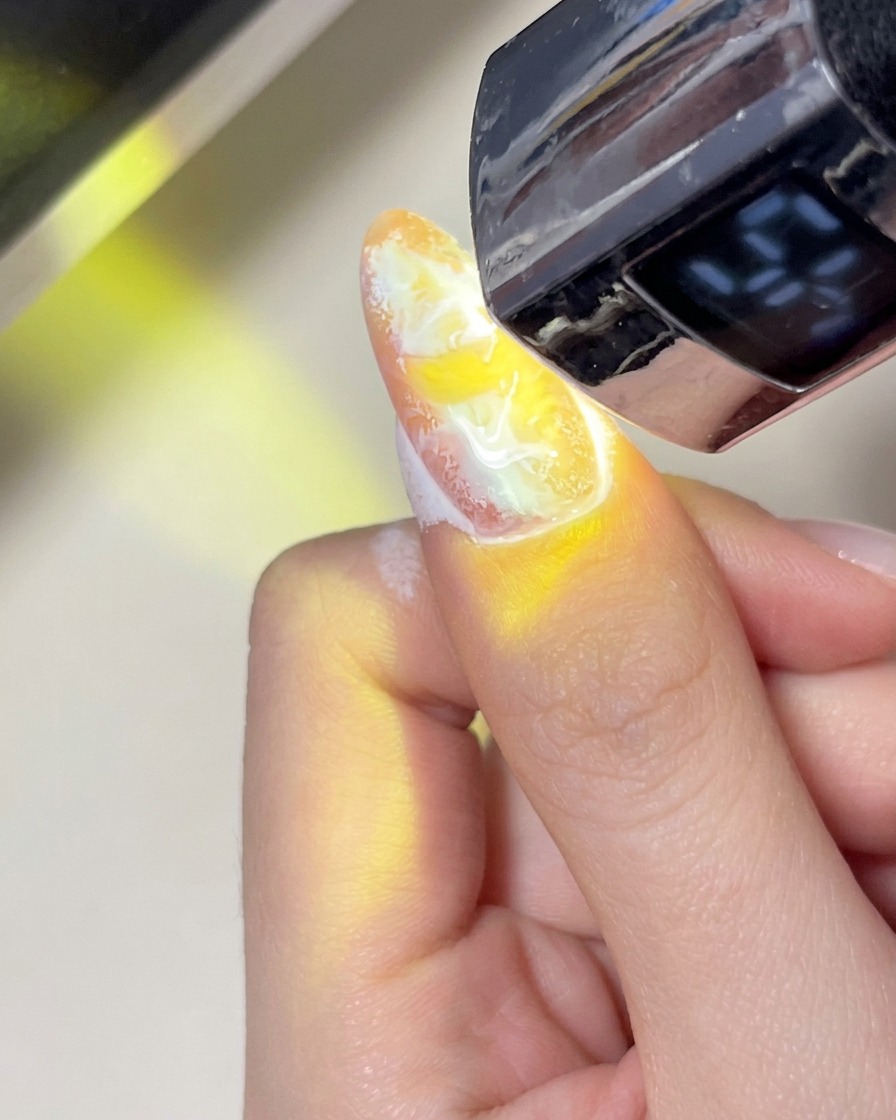
Using a soft, clean brush, gently sweep away any loose powder or debris from the surface of the nail. This step is essential to ensure that your top coat application is smooth and free of unwanted particles.
Tip: Use a light touch to avoid disturbing the star design while removing the excess powder. - 9Add Water Droplets
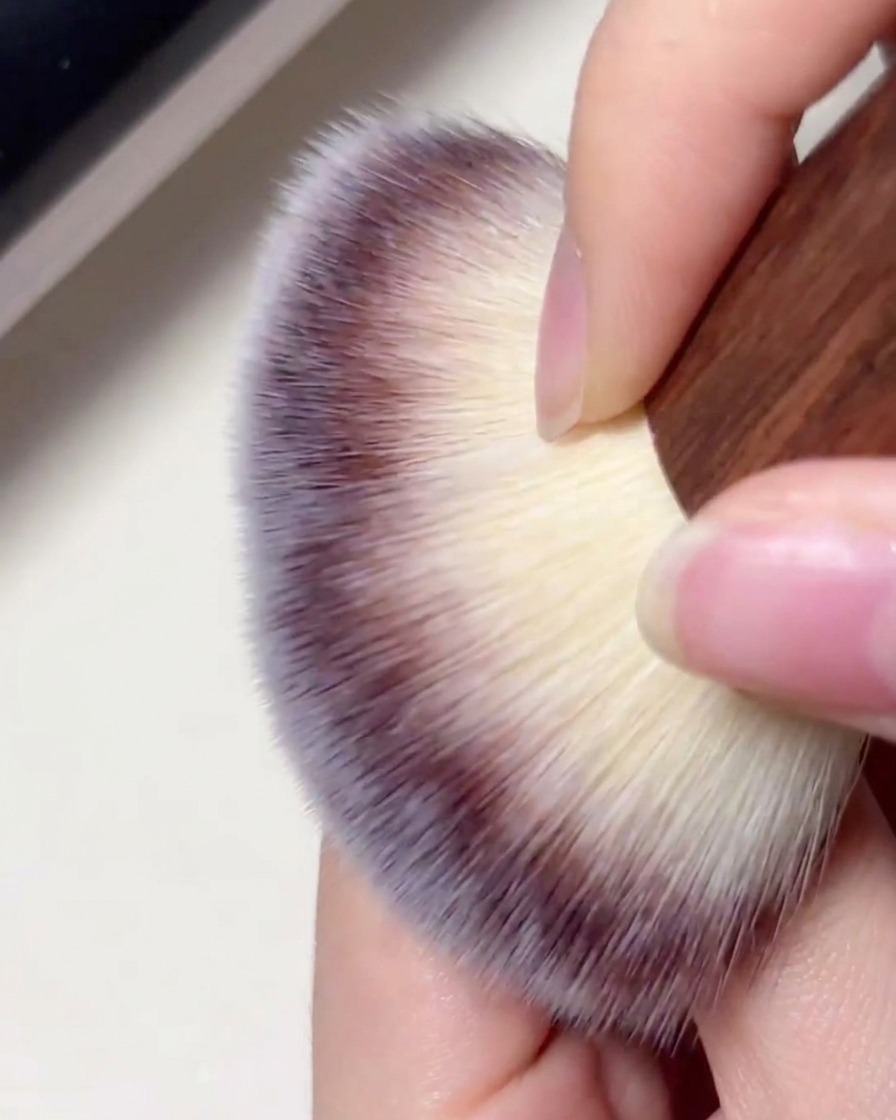
Dip a fine-tipped dotting tool into your clear top coat and carefully apply small, individual beads onto the nail surface. Placing these dots strategically around the star design creates a realistic, raised water droplet effect.
Tip: Vary the size of your dots slightly by applying different amounts of pressure to the dotting tool for a more natural look.