Elegant Black
White Floral Butterfly Nail Art — Detailed Tutorial
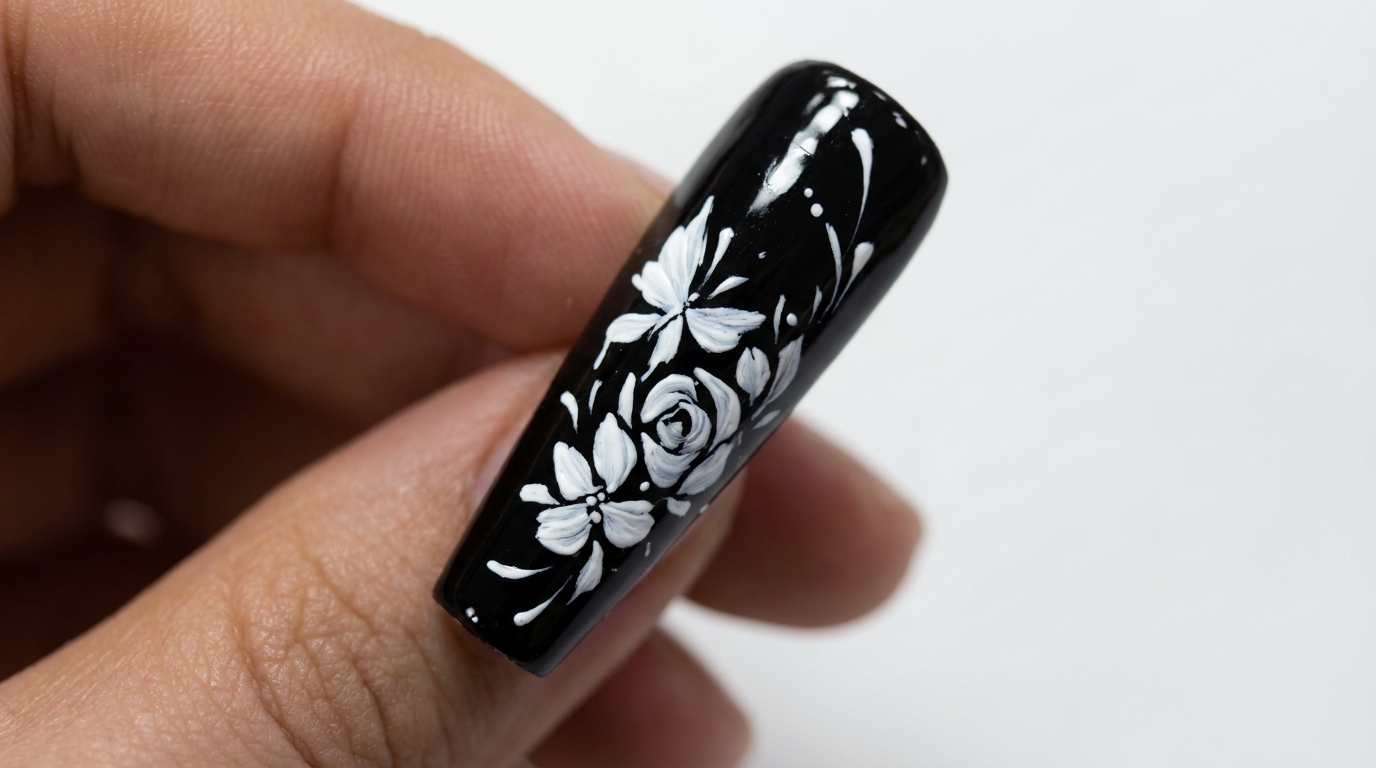
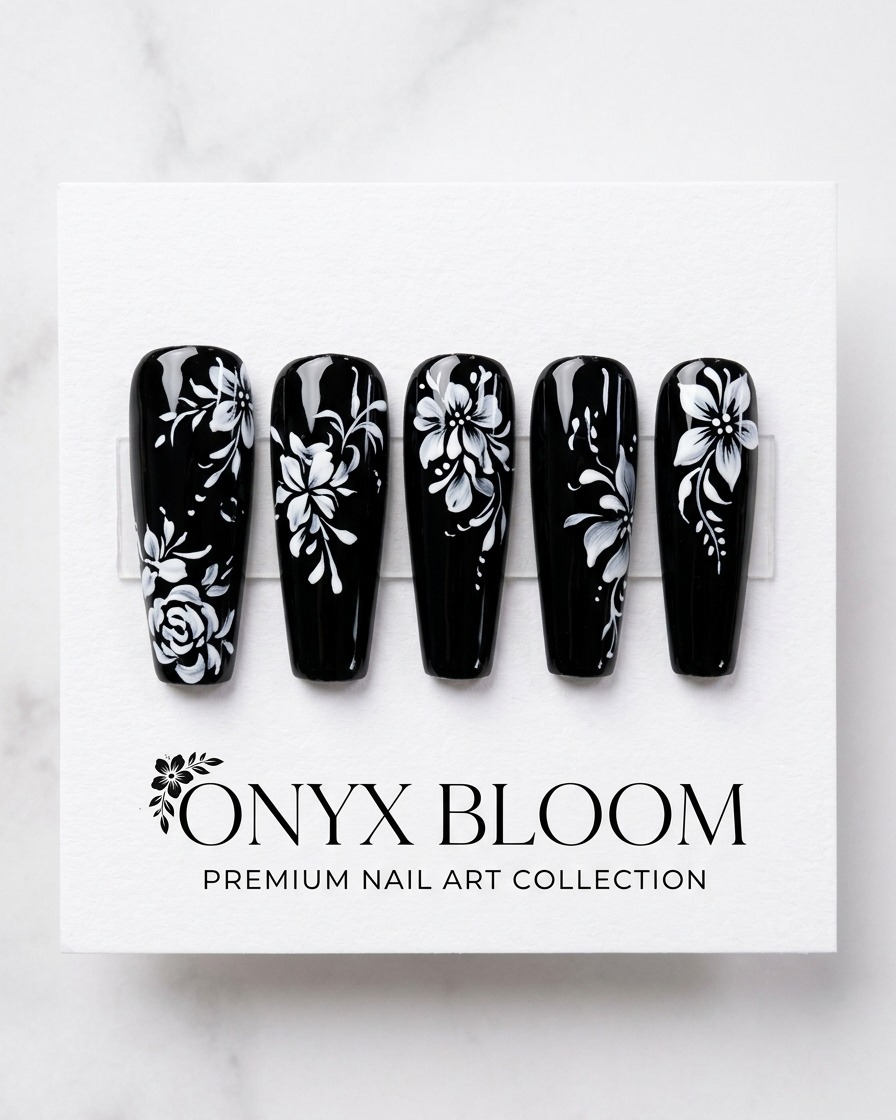
Create stunning, sophisticated nail art with this black and white floral butterfly design. Perfect for an ethereal, high-contrast look.
This intricate nail design blends the bold depth of a glossy black base with delicate, hand-painted white floral motifs and butterflies. It offers a refined, artistic aesthetic that is both timeless and eye-catching. By mastering these fine-line painting techniques, you can achieve a professional salon-quality result at home that feels both ethereal and elegant.
Steps
- 1Paint the rose base
Using a fine detail brush and white gel polish, create a small, circular shape on the black nail surface. This will serve as the foundation for your rose nail art. Ensure the application is thin and precise to keep the circular shape well-defined.
Tip: Keep your brush strokes light and steady to avoid thick, uneven edges on your base circle. - 2Detail the rose petals
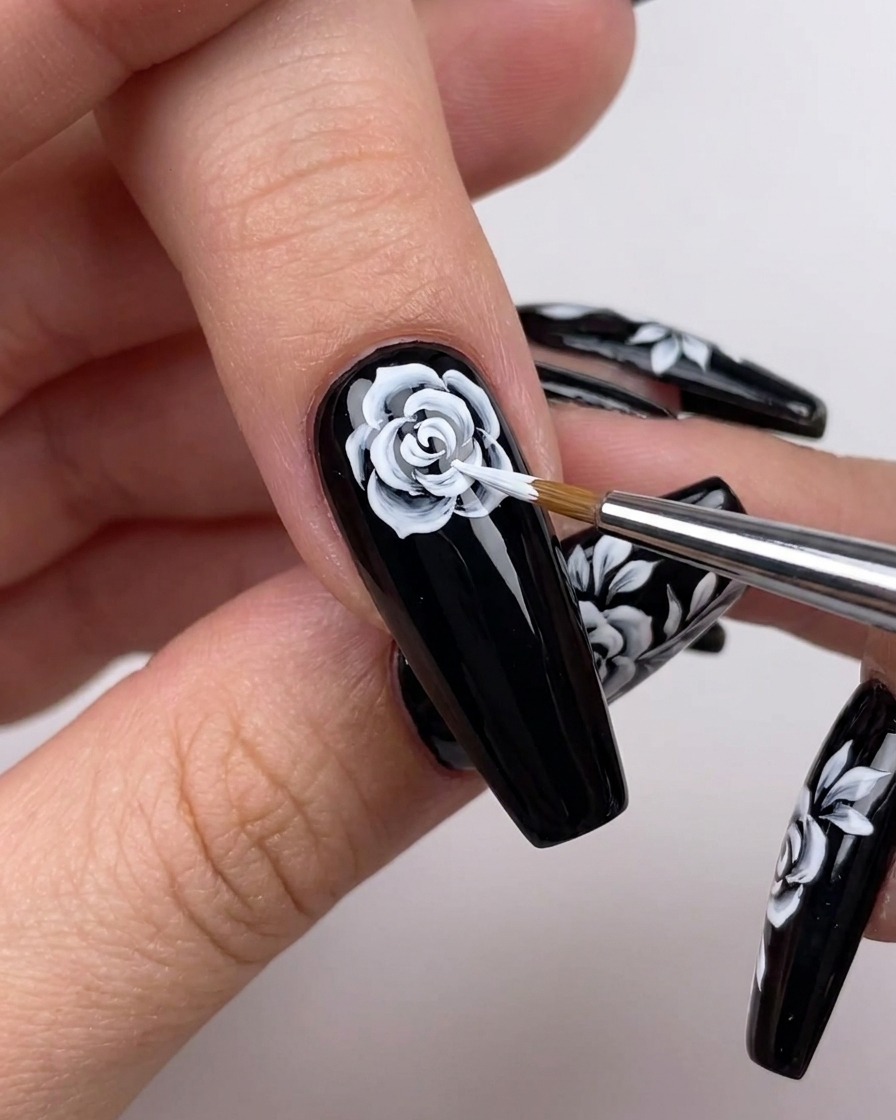
With a fine detail brush loaded with white gel, paint delicate, curved strokes around the center of the base circle. Layer these strokes to build the appearance of overlapping petals. Focus on varying the length and curve of each line to create depth.
Tip: Varying the pressure on your brush will create more natural, tapered petal edges. - 3Extend the rose design
Continue building your rose by adding larger, thinner curved lines around the outer edges of the existing petals. Ensure the lines remain fine to maintain the intricate look of the flower. This step adds volume and completes the floral shape.
Tip: Rotate the nail slightly as you work to make it easier to reach all areas of the nail. - 4Add foliage
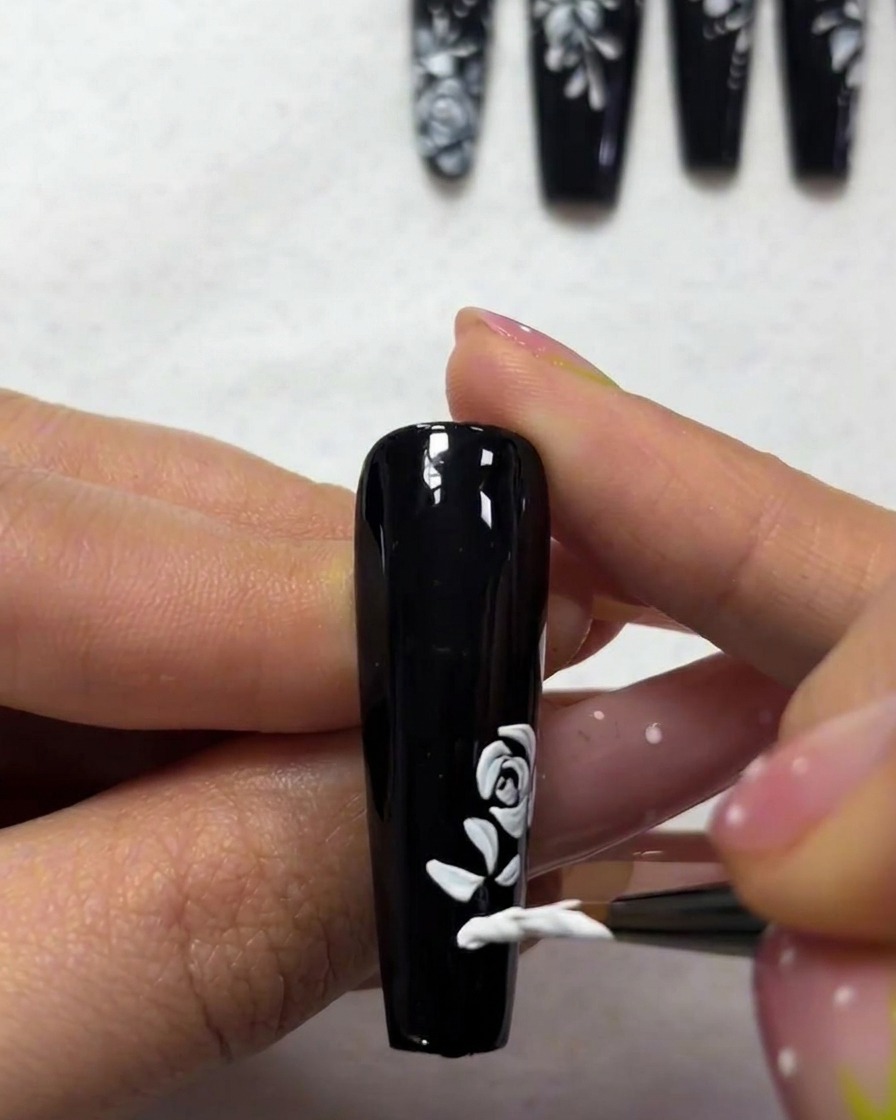
Using the fine liner brush, paint delicate, pointed leaf shapes branching out from the base of your rose. These should complement the curves of the flower, adding balance to the composition. Use consistent pressure to create tapered points.
Tip: Keep your leaf shapes small and sparse to ensure they dont overpower the rose design. - 5Draw delicate stems
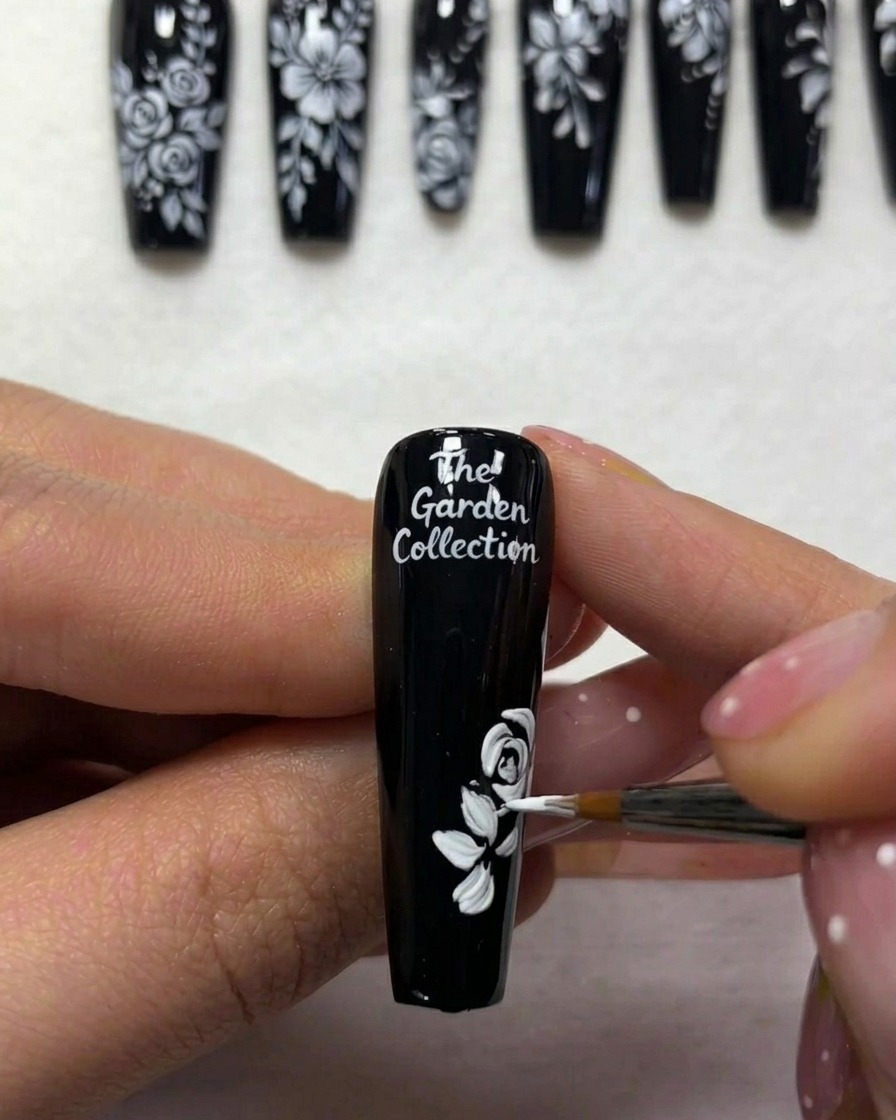
Connect your leaves to the main design by painting thin, flowing white stem lines that extend from the base of the leaves. These lines should be very fine to maintain the elegant, minimalist aesthetic of the nail art. Be gentle to keep lines smooth.
Tip: Use a light touch to ensure your stem lines are as thin as possible. - 6Paint the butterfly
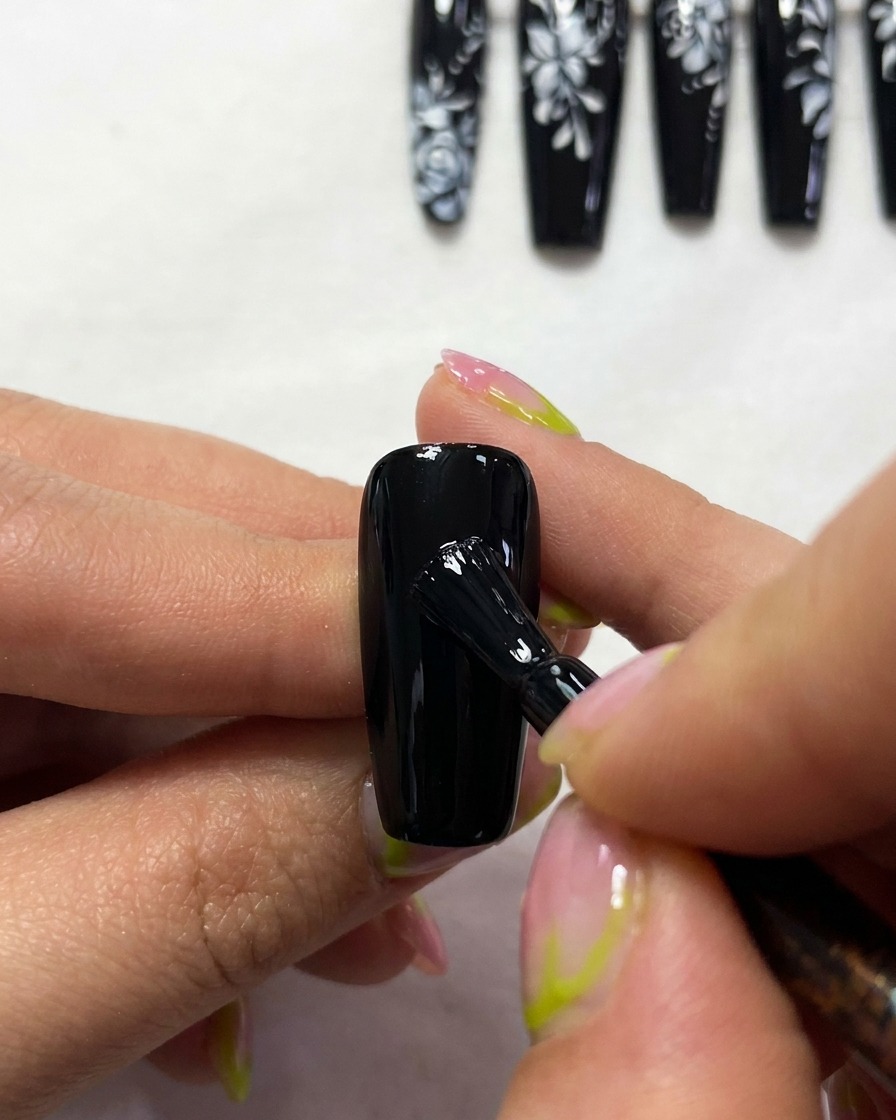
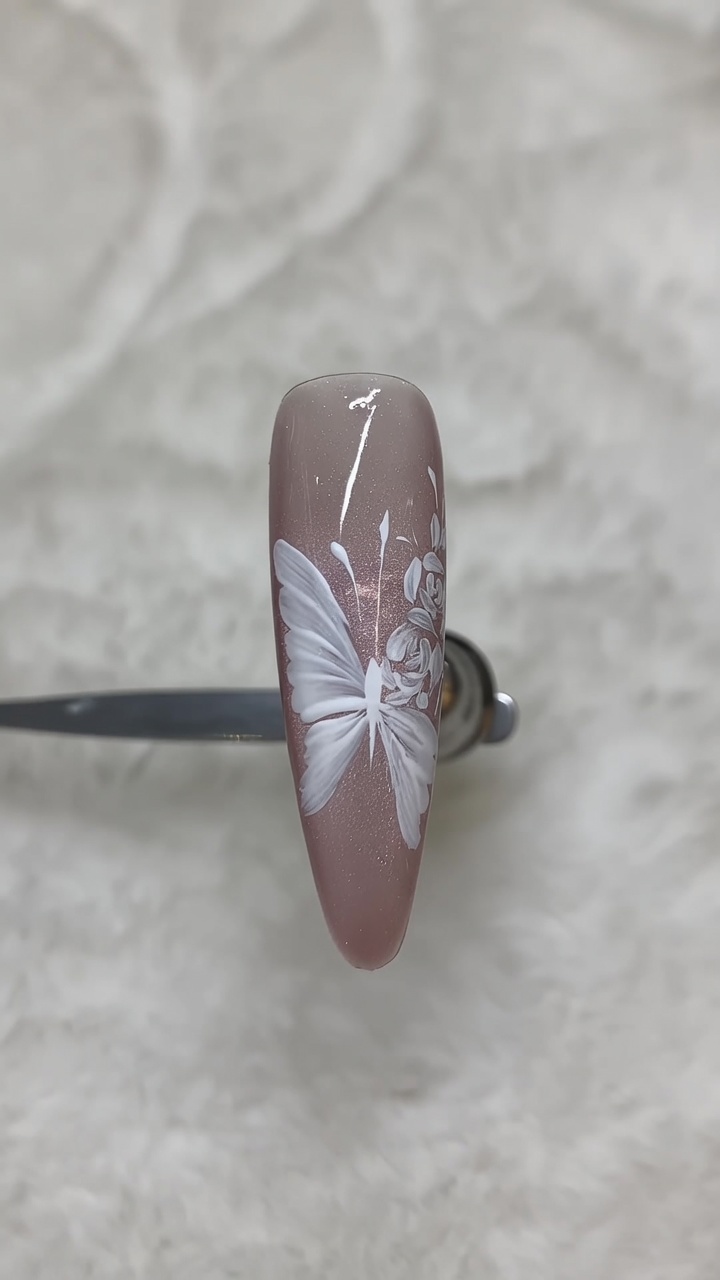
With your fine detail brush and white gel, begin outlining the body and wings of a butterfly near your floral elements. Focus on creating the elongated central body first, then add light, symmetrical wing structures on either side. Keep the lines delicate for a graceful look.
Tip: Reference images of butterfly wings can help with achieving a natural, balanced shape. - 7Define butterfly wings
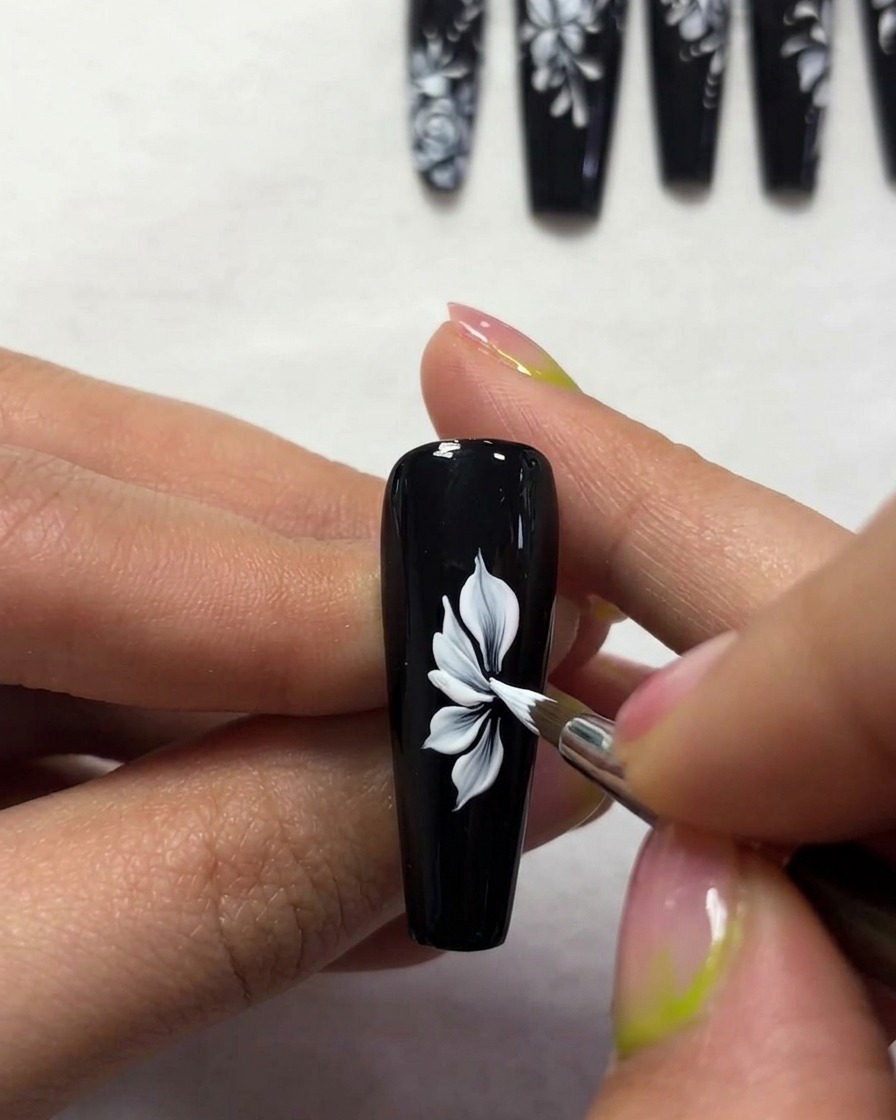
Using a thin detail brush and white gel paint, draw the delicate, sharp outlines of the butterfly wings on the black base. Focus on creating fluid, tapering lines that capture the lightness of a butterflys wings. Ensure the lines are crisp and fine to maintain the intricate look.
Tip: Keep a very light touch with the brush to maintain fine line precision. - 8Detail butterfly wings
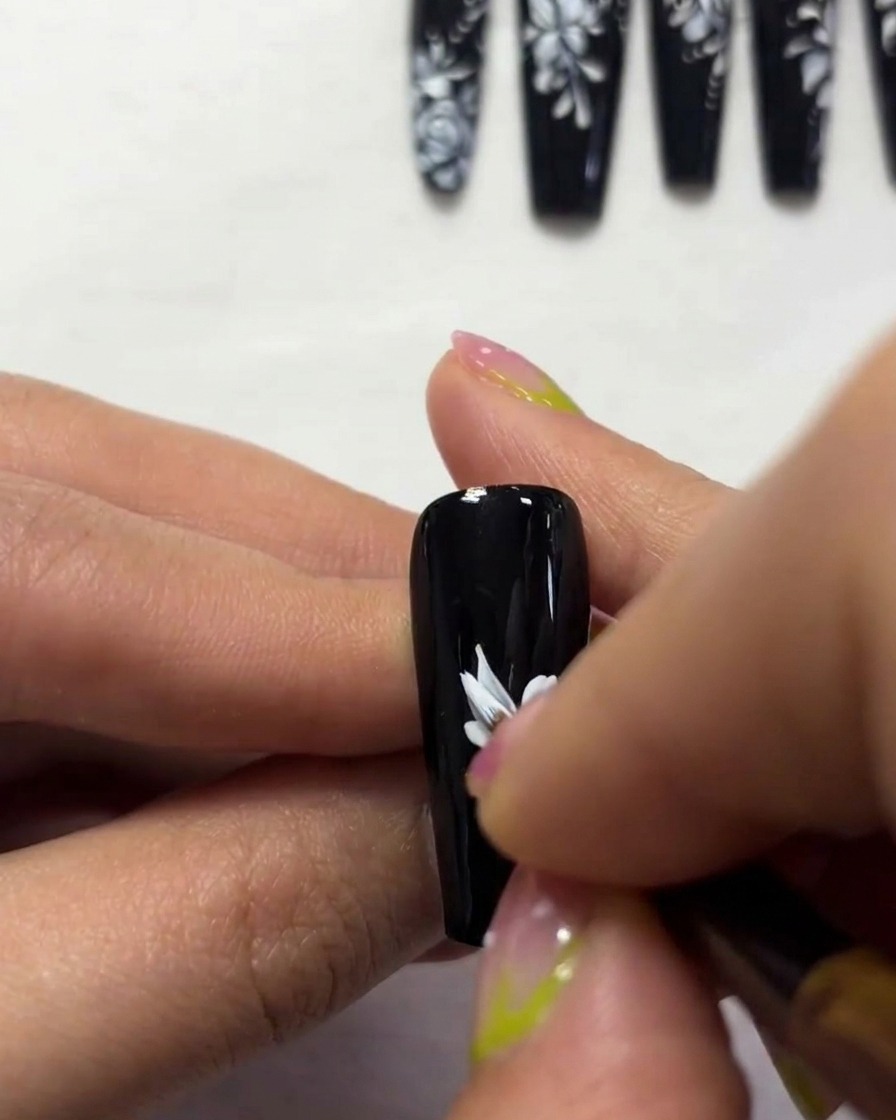
Continue the design by adding inner details to the butterfly wings, such as slight shading or fine vein lines to enhance the dimension. Focus on the edges of the wings to give them a finished, lifelike appearance against the dark background.
Tip: Varying the pressure on your brush can help create natural-looking, tapered details in the wings. - 9Add antennae and accents
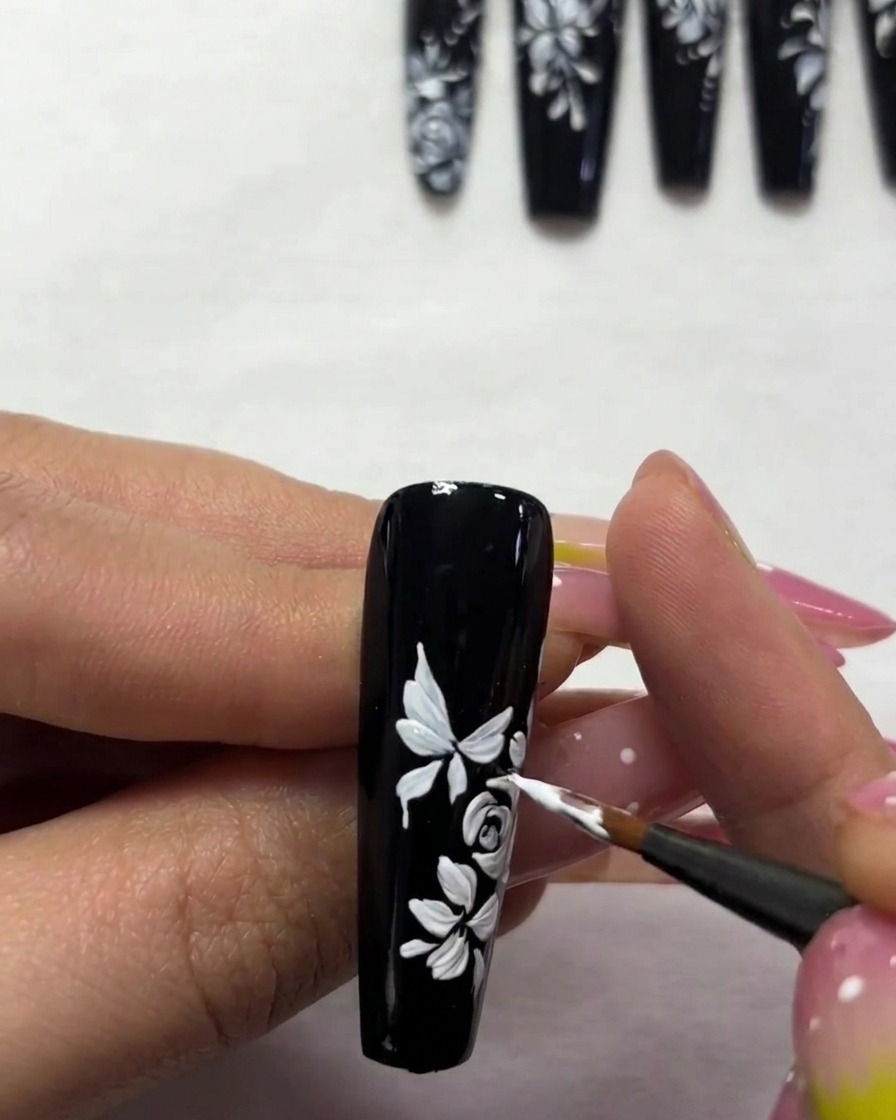
Using the same fine detail brush, carefully add two delicate white antennae to the head of the butterfly. To frame the design, add small, subtle decorative dots around the butterfly to enhance the ethereal aesthetic.
Tip: Use a dotting tool or the very tip of your brush to keep the decorative dots small and uniform. - 10Paint a second butterfly
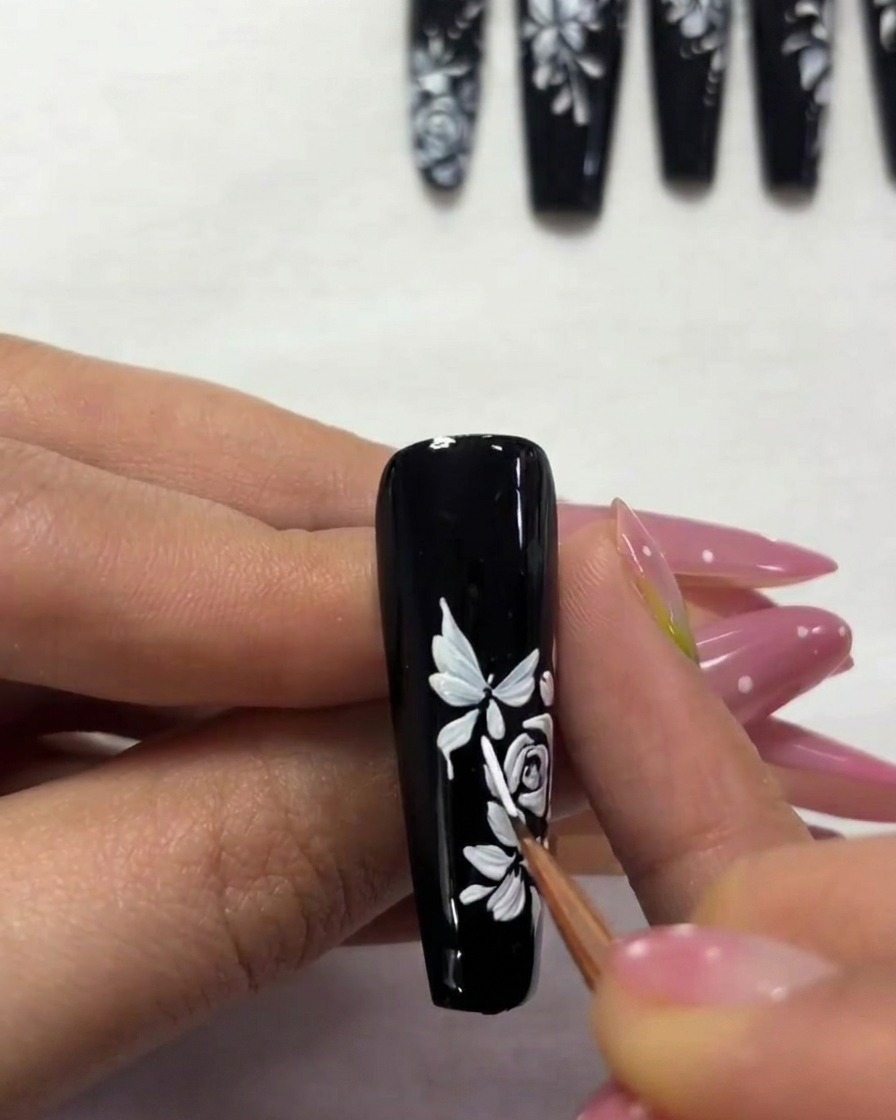
Position a second, smaller butterfly design near the top of the nail to create visual balance. Mirror the painting technique used for the first butterfly, keeping the strokes sharp and delicate to maintain consistency in the artistic style.
Tip: Working from the center outward helps ensure the smaller butterfly remains symmetrical. - 11Refine second butterfly wings
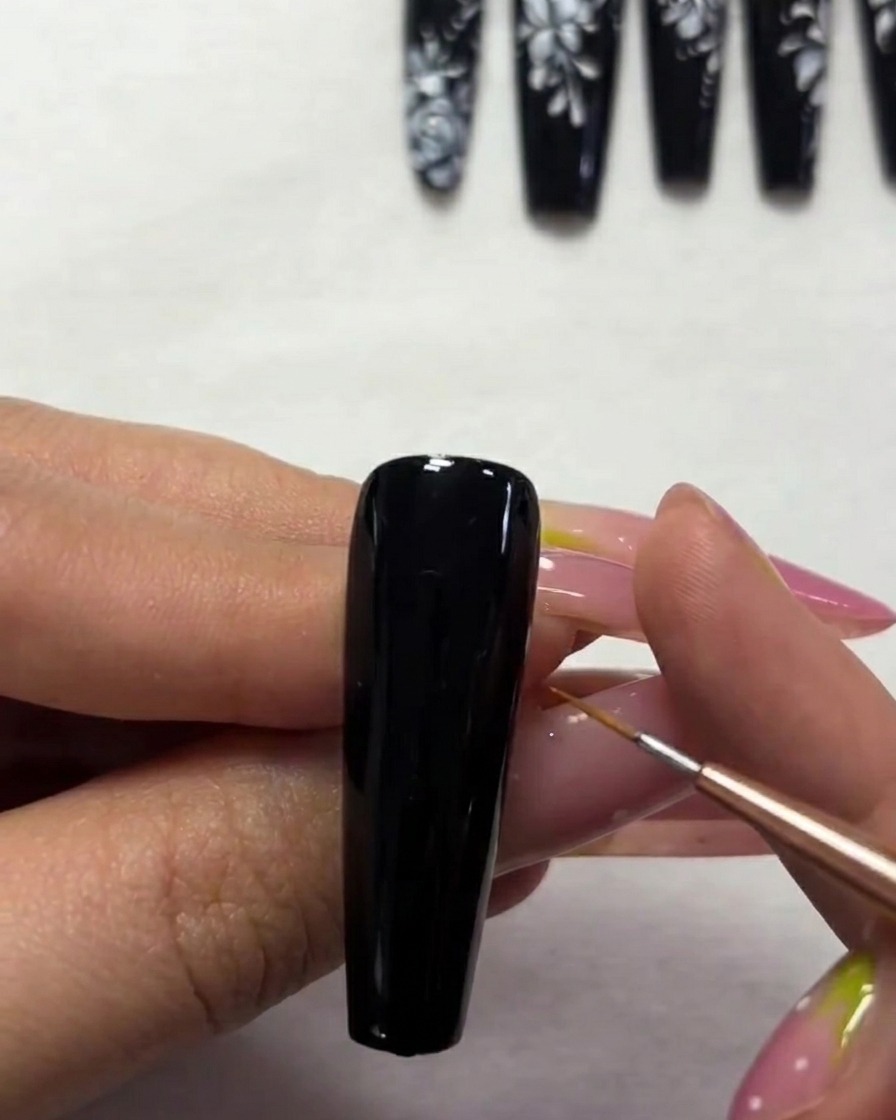
Use your fine detail brush to refine the wing structure of the smaller butterfly. Add light highlights or definition lines to match the detail level of the primary butterfly, ensuring both designs look cohesive and balanced.
Tip: Fine-tuning the wings now ensures a polished look before adding final accents or top coat. - 12Apply filigree patterns
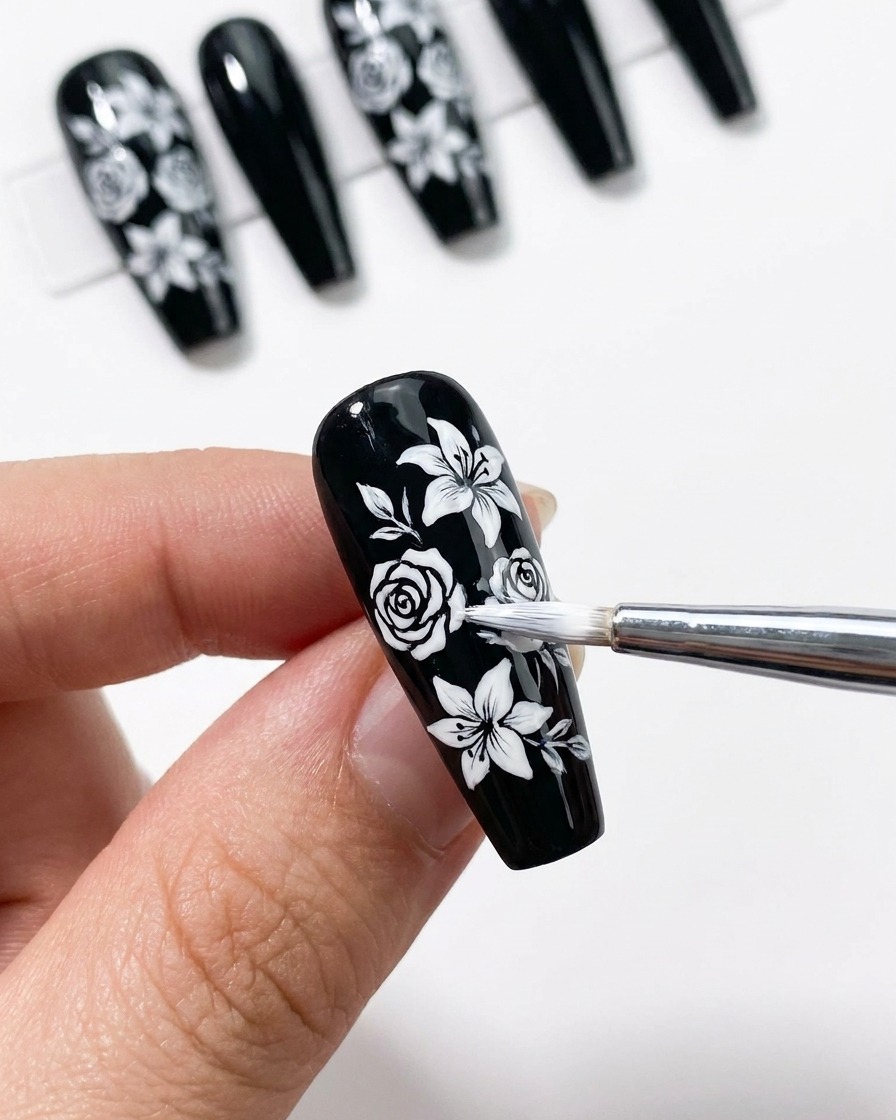
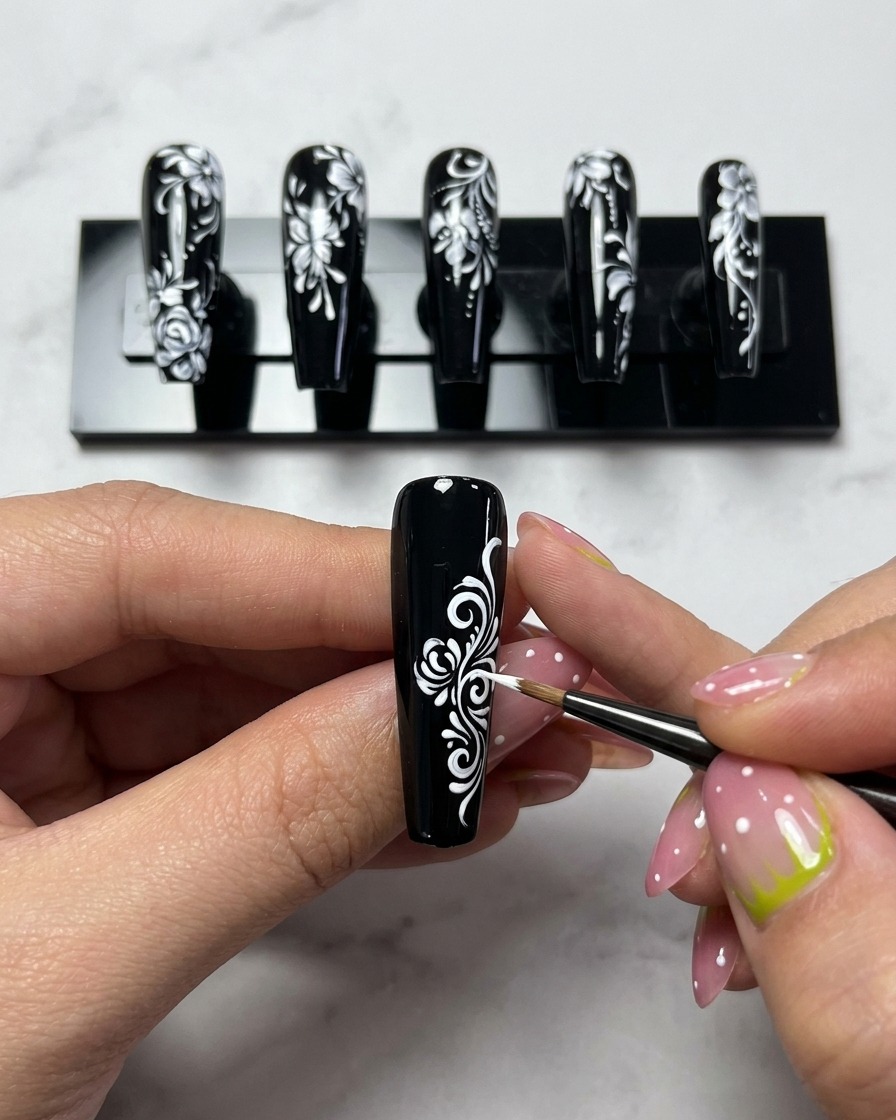
To tie the composition together, add delicate white filigree or swirl patterns into the empty spaces between the flowers and butterflies. These subtle lines fill the gaps, creating a dense, professional, and elegant nail art arrangement.
Tip: Use a very thin liner brush for the filigree to keep the lines light and airy. - 13Add final highlights and dots
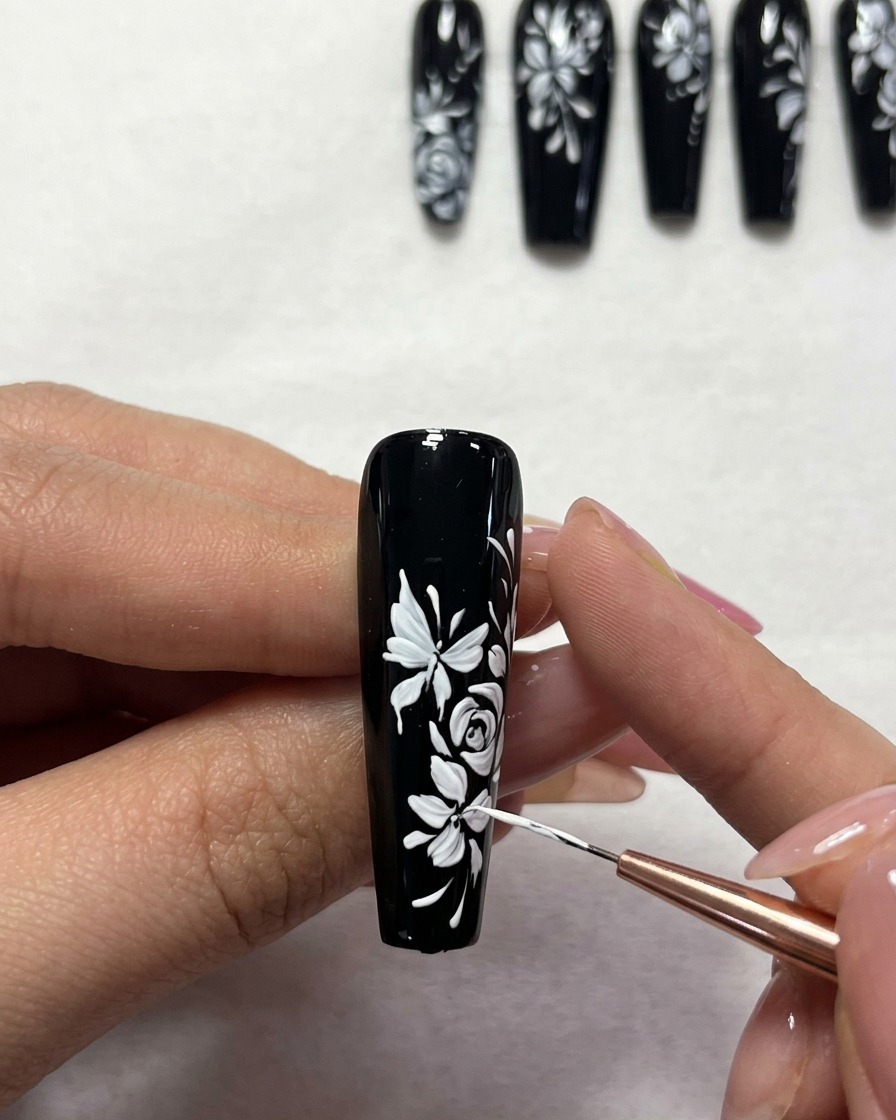
Using a thin detail brush, apply small, precise white dots and highlights to the floral design. This balances the composition and adds depth to the painted elements on the black base.
Tip: Use a light touch to ensure the dots are uniform and perfectly round. - 14Apply top coat
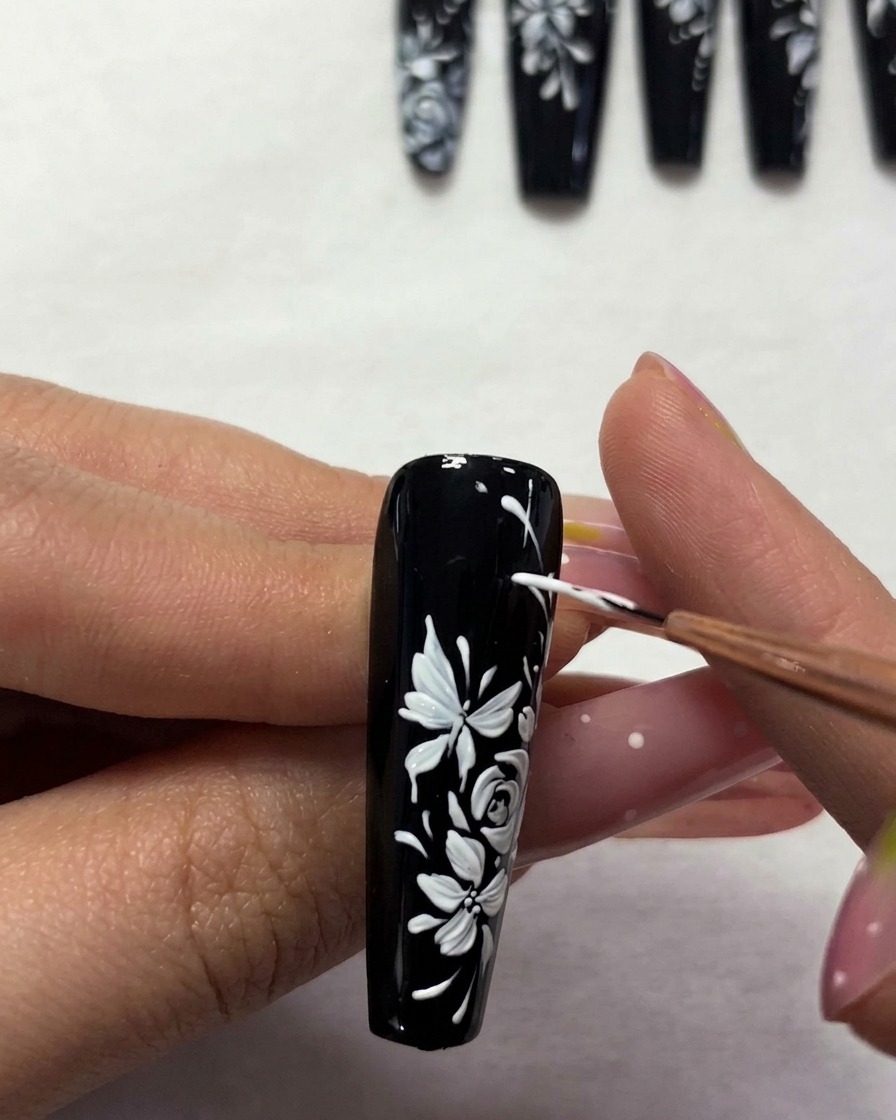
Apply a smooth, even layer of clear gel top coat over the entire nail to seal the design and provide a high-gloss finish. Ensure the free edge is capped for durability.
Tip: Check the surface for any streaks before curing to ensure a glass-like finish. - 15Cure the top coat
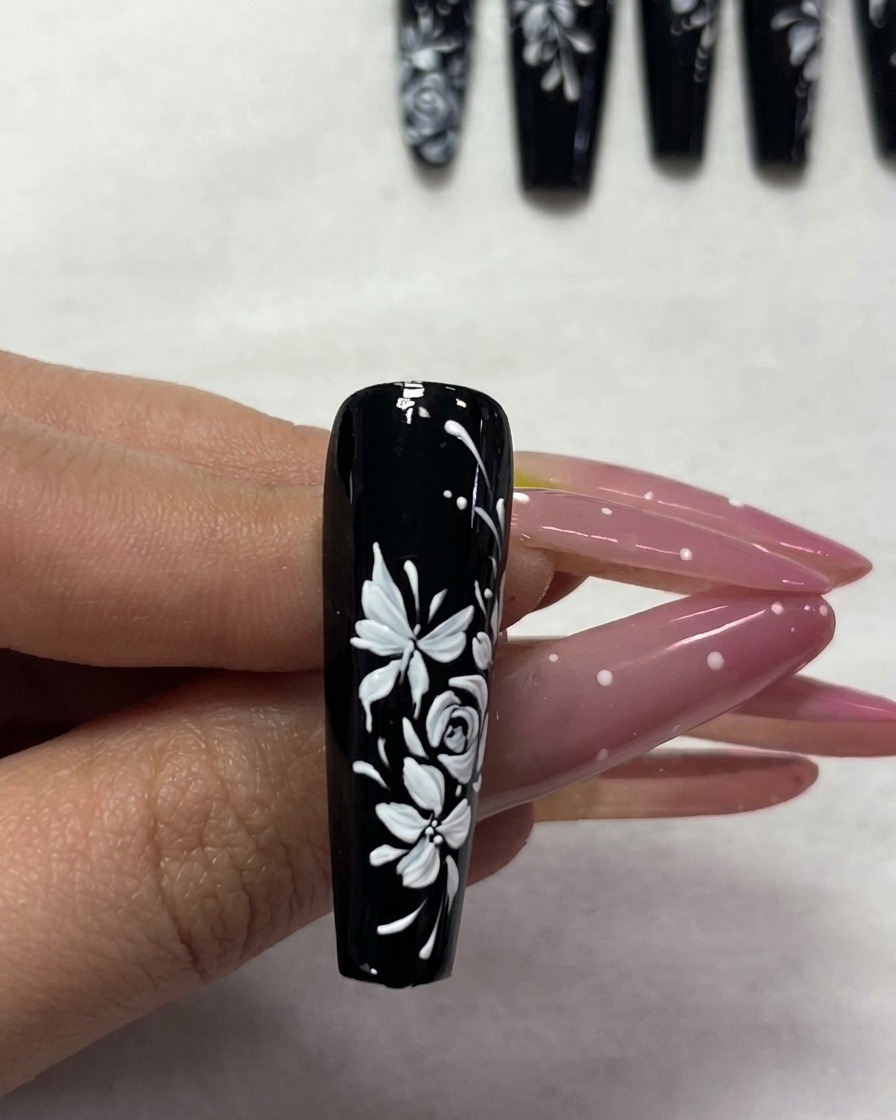
Place the nail under a UV/LED lamp to fully cure the final top coat. This step locks in the design, protects the nail art, and ensures the finish is completely set.
Tip: Follow the gel polish manufacturers specified curing time to achieve the best results.