Hand-Painted Butterfly
Rose Nail Art Tutorial
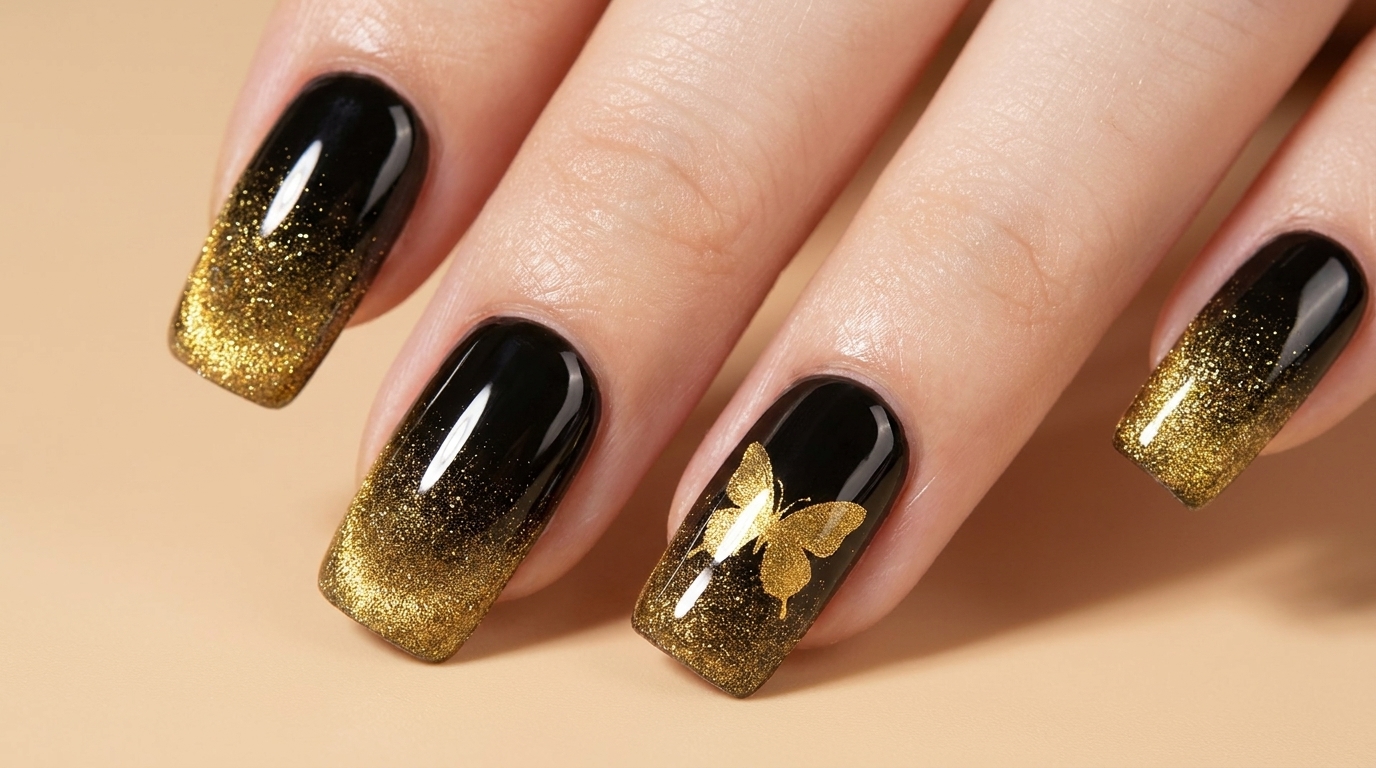
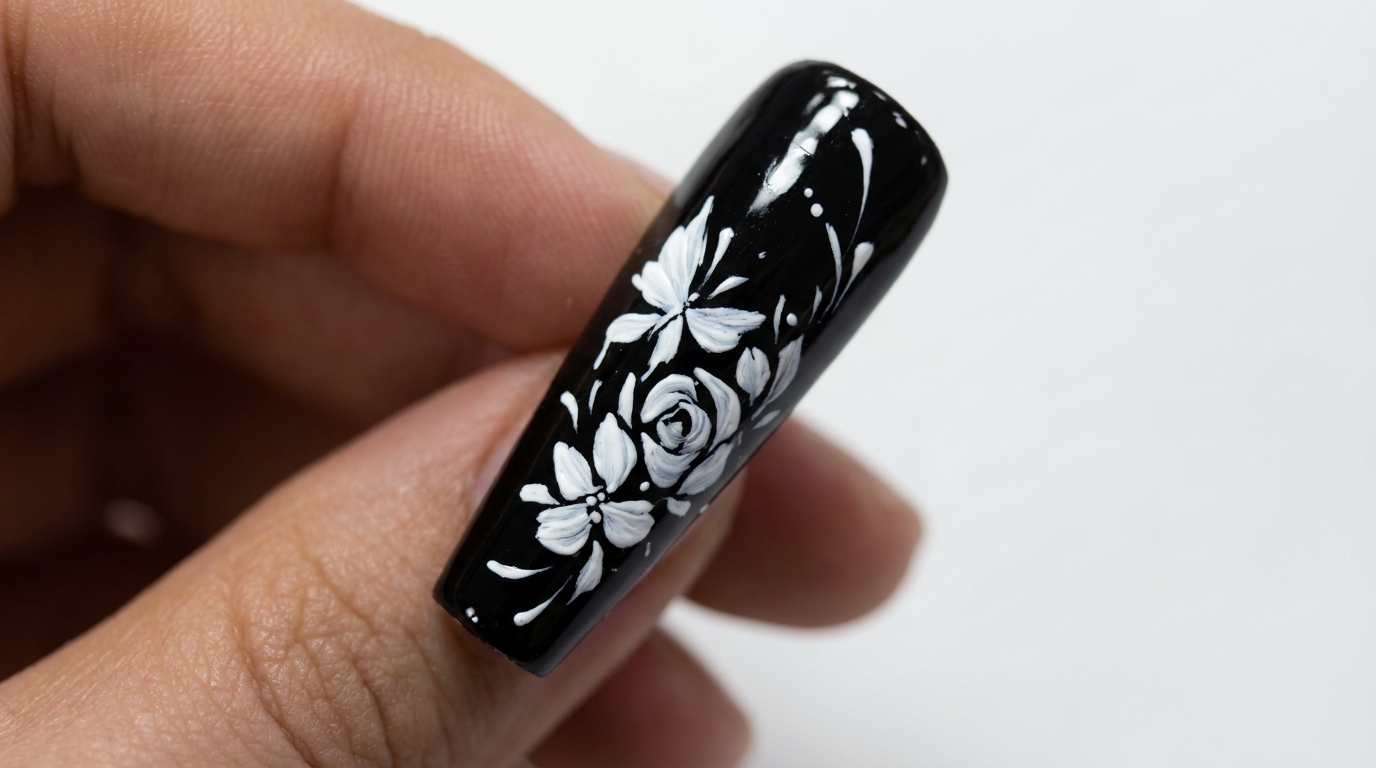
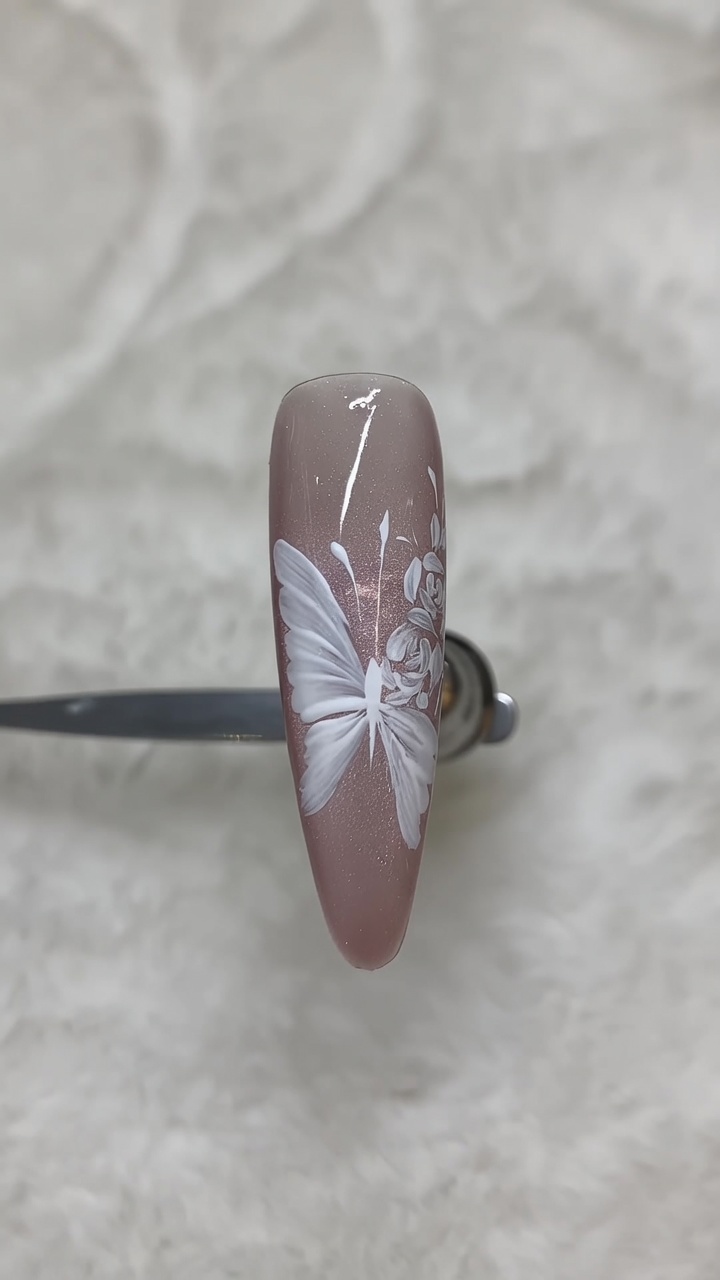
Elevate your manicure with this elegant butterfly and rose nail art design. Learn how to hand-paint delicate floral and insect details using gel polish.
Hand-painted nail art allows for incredible creative expression and personalized detail. This tutorial focuses on combining delicate white gel butterfly wings with soft, romantic rose accents over a shimmering cat-eye base, creating a look that is both artistic and sophisticated. Perfect for those looking to practice fine liner brush precision and layering techniques.
Steps
- 1Draw the butterfly body base
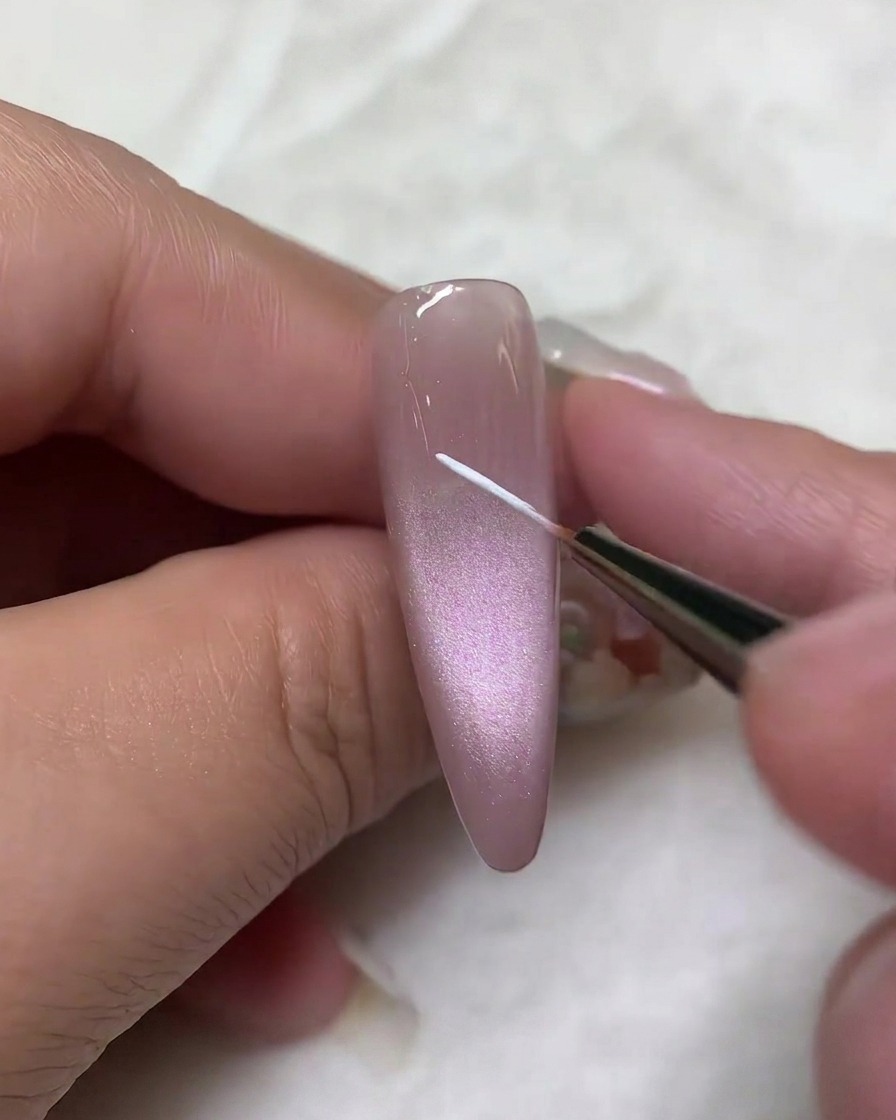
Using a fine liner brush and white gel paint, carefully draw a thin, vertical line down the center of the nail. This line will serve as the foundation for the butterfly body and help guide the symmetry of the wings.
Tip: Keep the line thin and centered to ensure the butterfly looks balanced. - 2Outline the butterfly wings
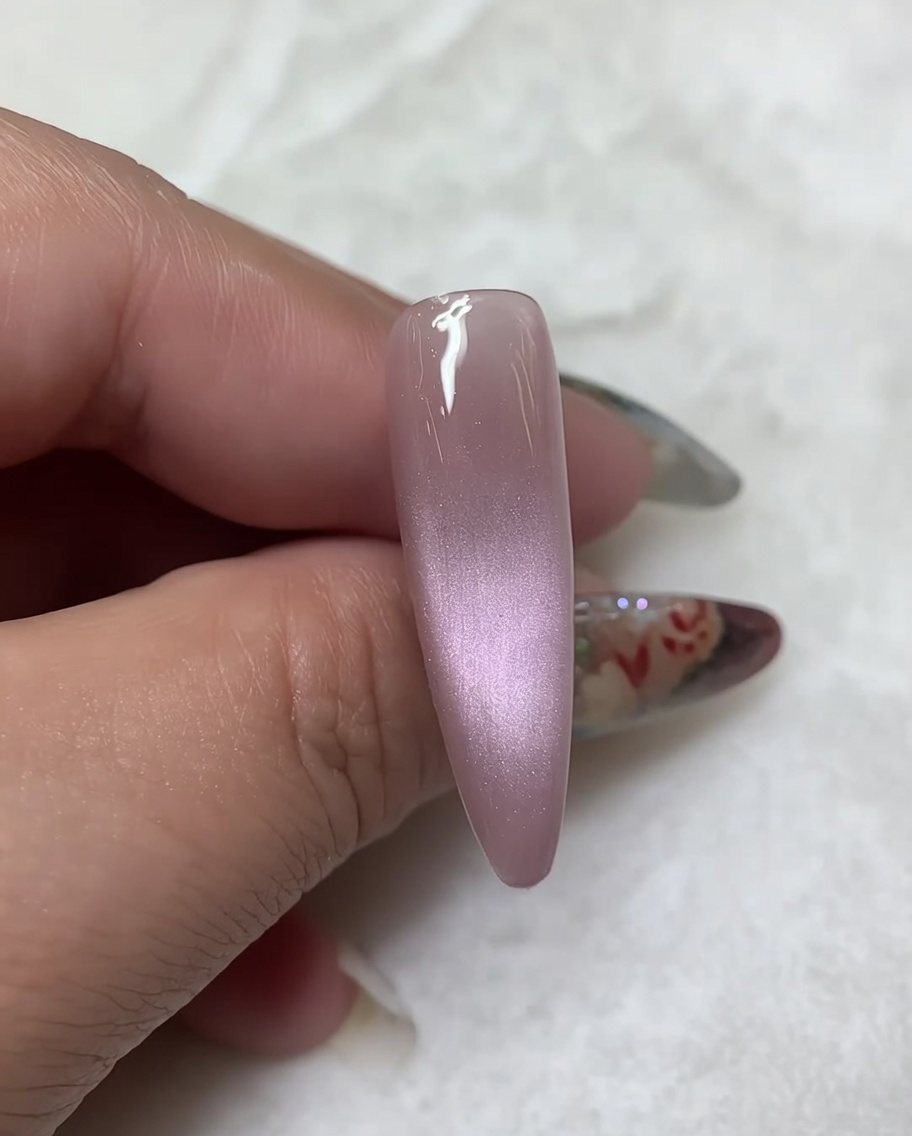
Using the fine liner brush, extend two diagonal strokes from the central vertical line to begin outlining the top wings. These lines create the framework for the butterflys upper wing shape.
Tip: Apply light pressure for delicate, clean lines that are easy to refine later. - 3Refine the top wings
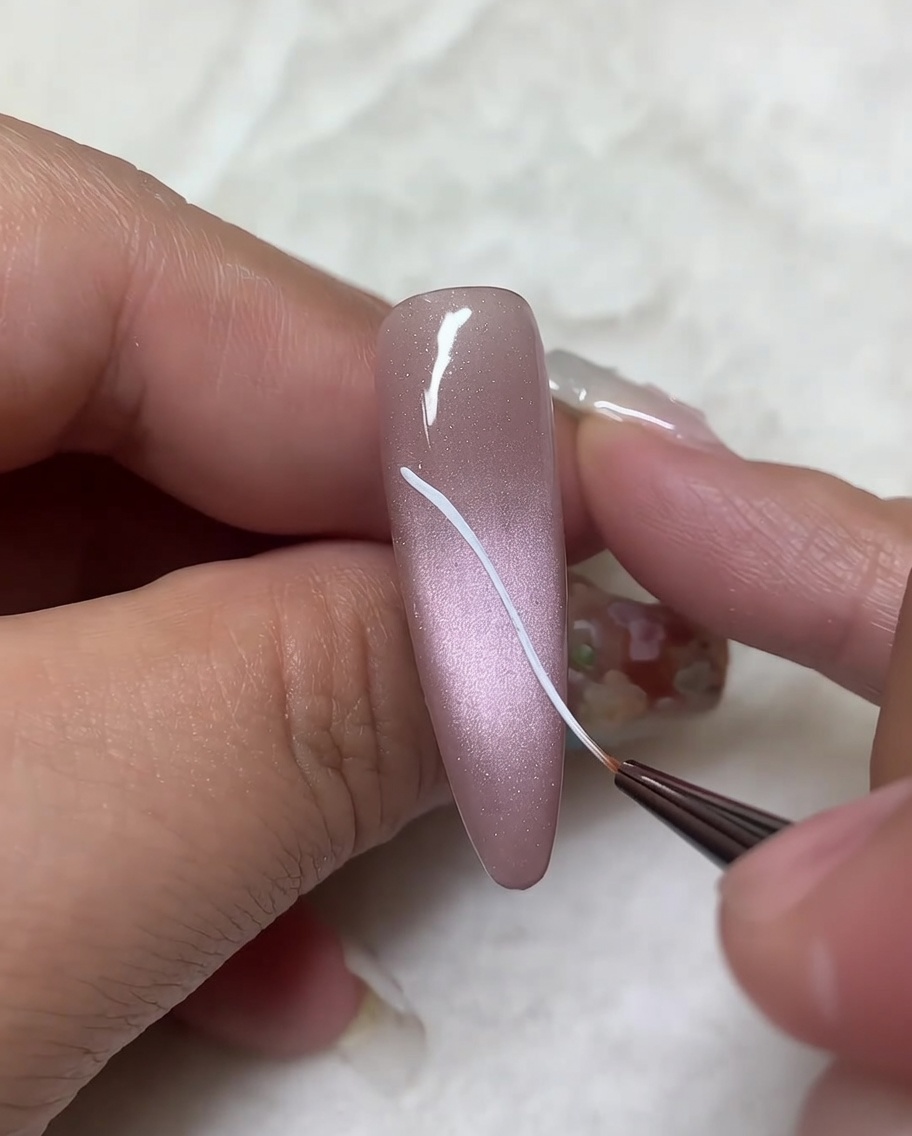
Add a curved stroke to the ends of your previous diagonal lines to define the outer edge of the top wings. This rounding motion gives the butterfly a more organic and realistic wing silhouette.
Tip: Connect the curved stroke back toward the center to close the shape of the upper wings. - 4Draw the bottom wings
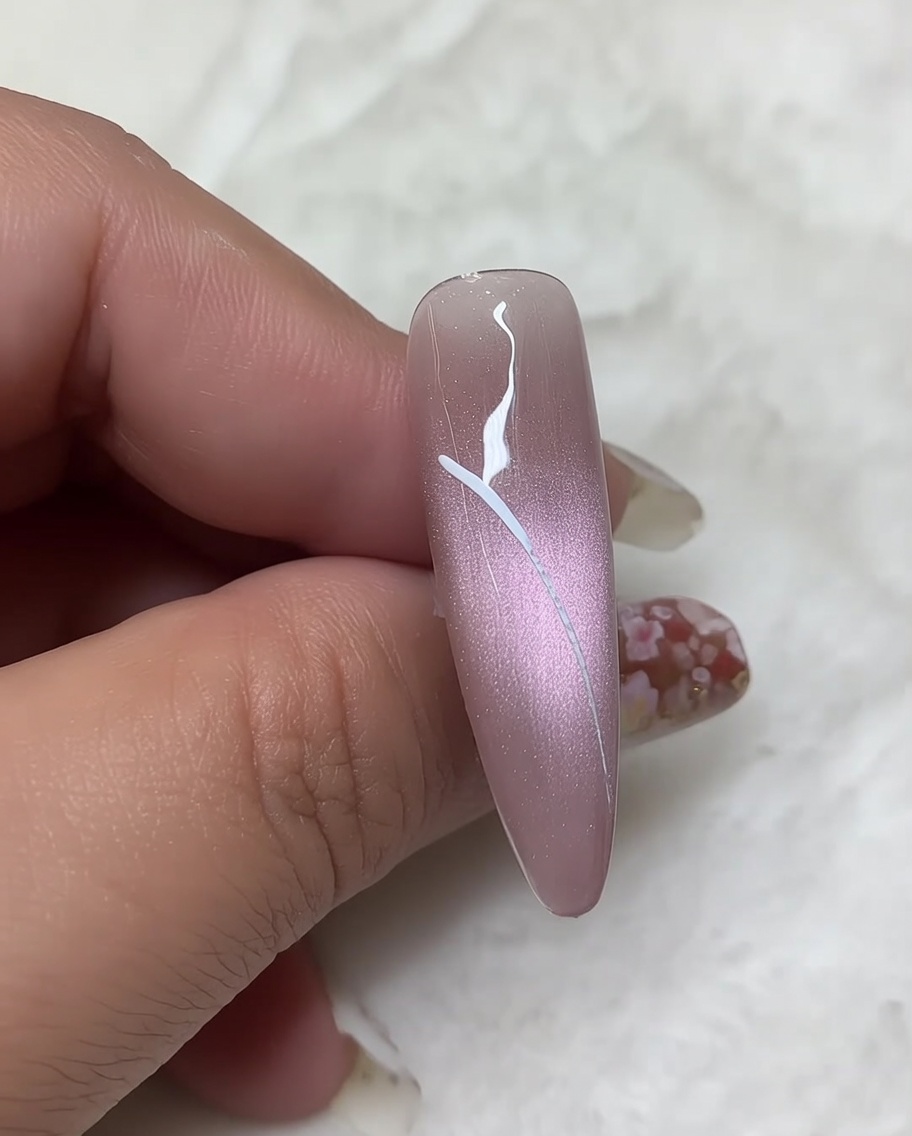
Extend a line from the central body downward and curve it outward to create the outline of the lower wings. Connect this line back to the main body to complete the lower wing structure.
Tip: Ensure the bottom wings are slightly smaller than the top ones for proper proportion. - 5Fill in the butterfly wings
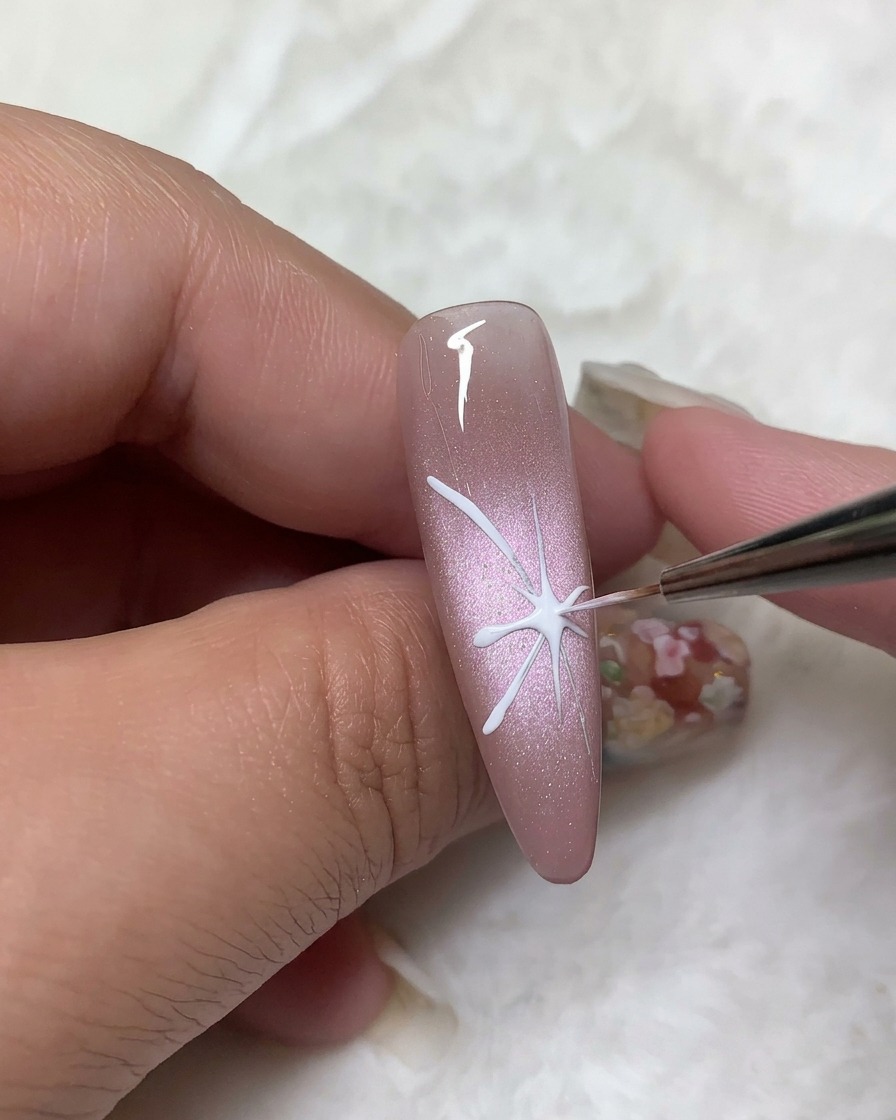
Use your liner brush or a small detail brush to fill in the outlined wing areas with white gel. Ensure the gel is applied evenly within the borders of the wings for a solid, opaque look.
Tip: Work in thin coats to prevent the gel from pooling at the edges of your outline. - 6Add final wing details
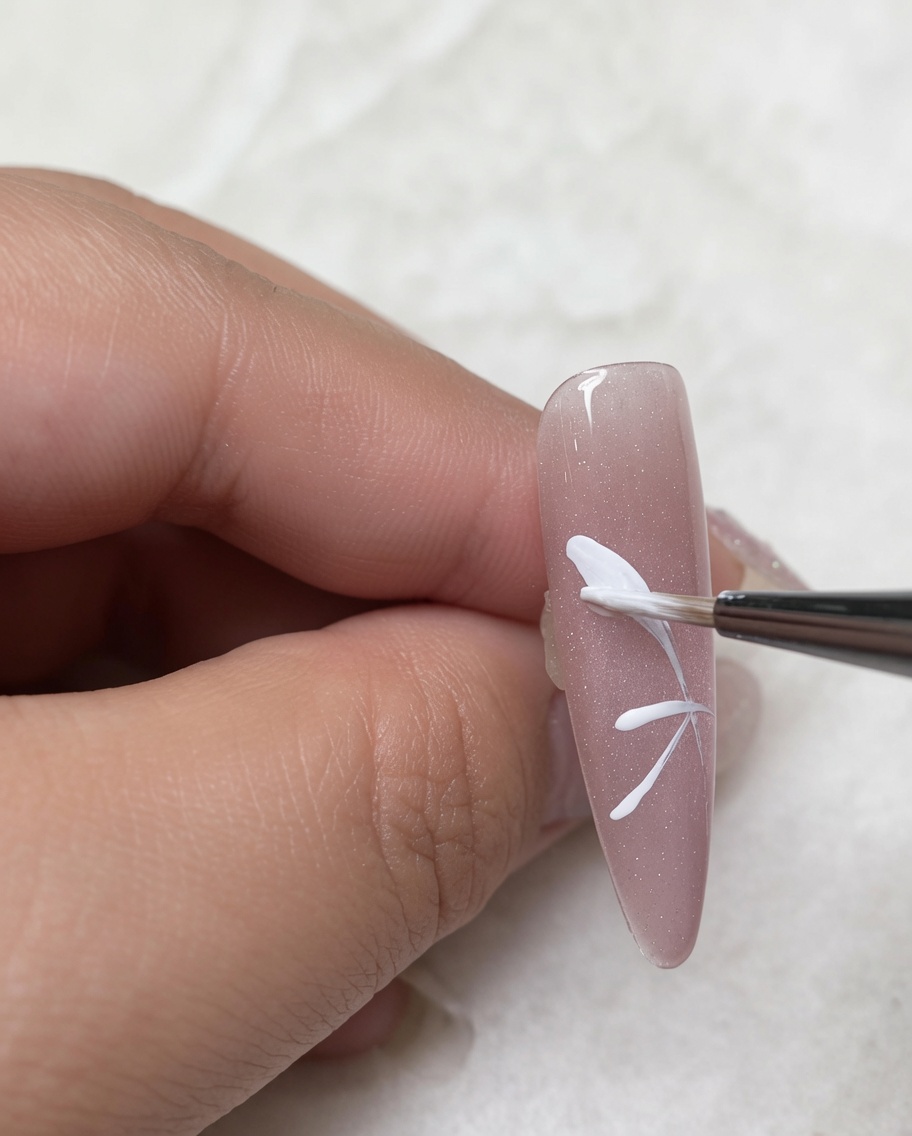
Use the fine liner brush to add small, precise strokes along the edges of the wings. These highlights or detail lines add texture and dimension, making the butterfly design look intricate.
Tip: Use a very light touch to keep these detail lines as thin as possible for a professional finish. - 7Outline the butterfly
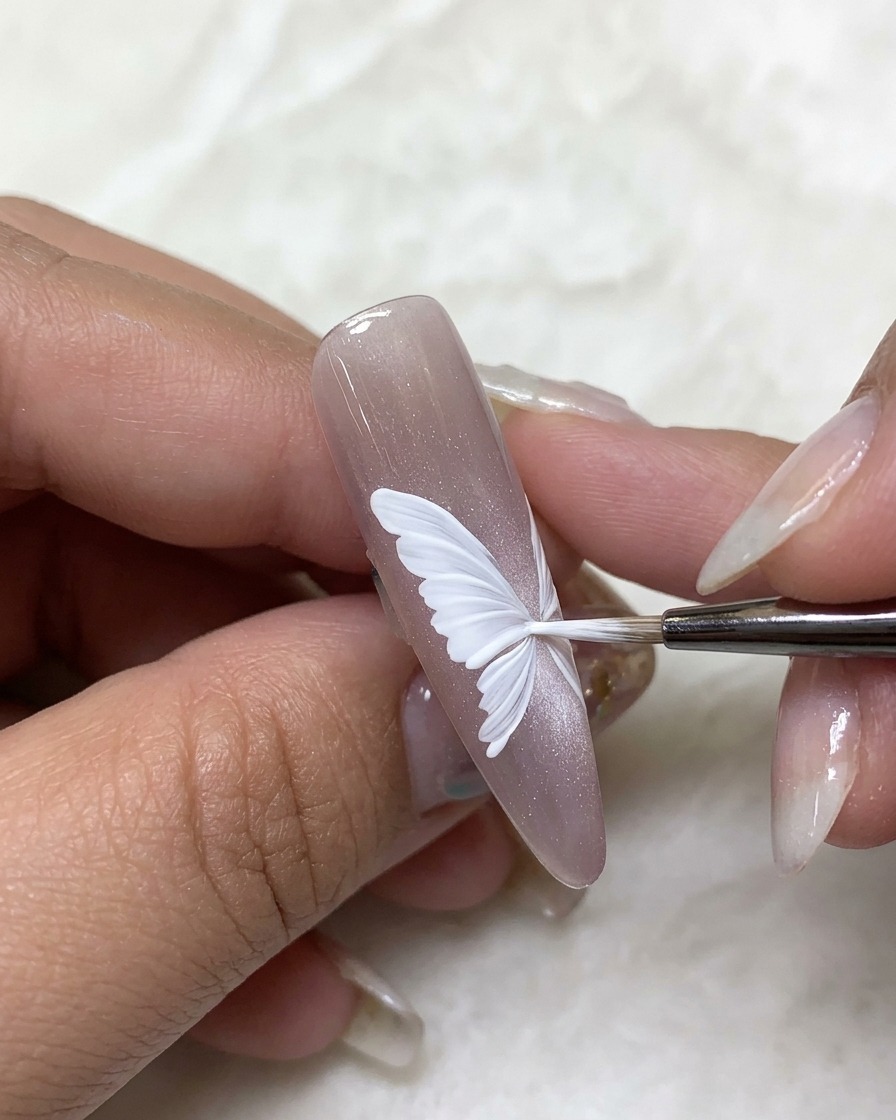
Using a fine liner brush and white gel paint, carefully outline the full butterfly wing shapes on the nail. Keep the lines delicate and consistent to define the structure of the butterfly design before adding finer details.
Tip: Maintain a light touch with the liner brush to keep the butterfly wings looking elegant and ethereal. - 8Add wing details
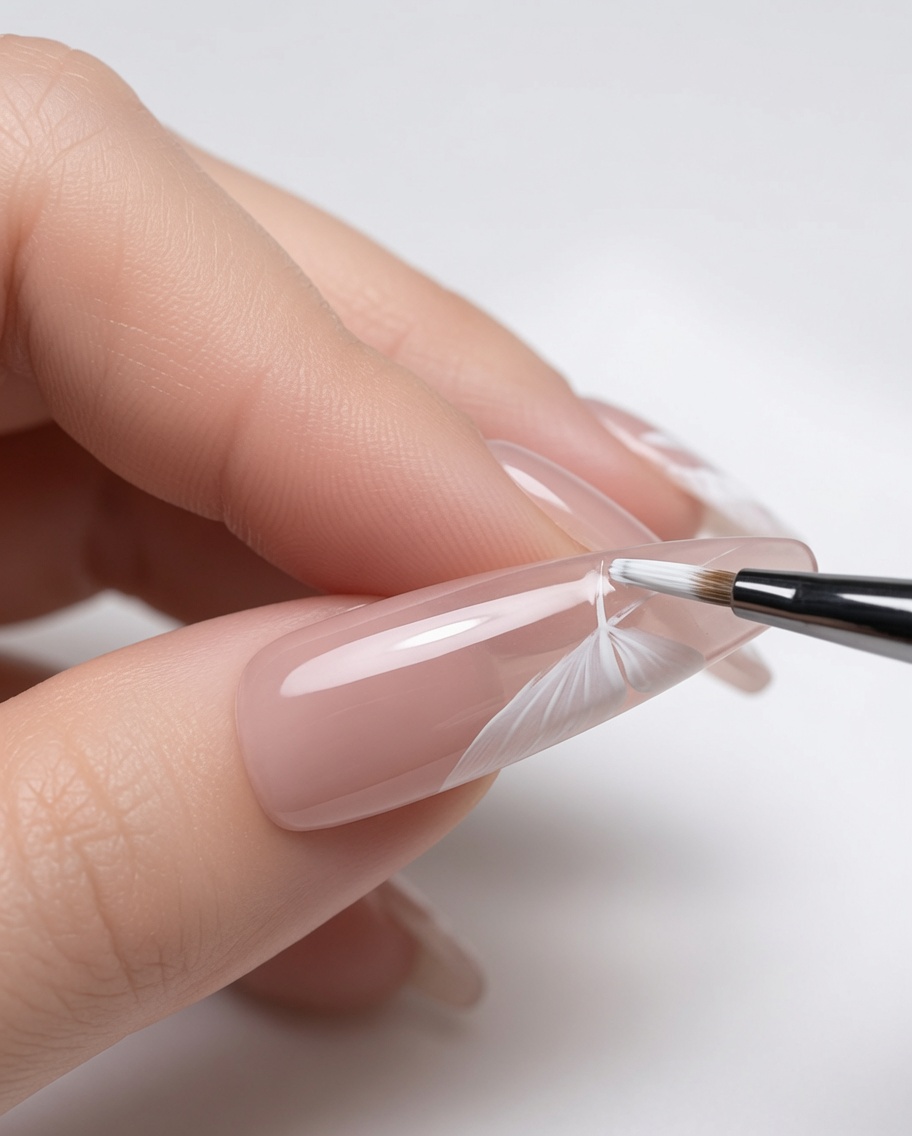
With the same white gel paint and fine liner brush, draw intricate, petal-like markings within the previously outlined butterfly wings. These small, curved strokes create the texture and depth characteristic of delicate butterfly wings.
Tip: Vary the length of the strokes slightly to give the wings a more natural, organic appearance. - 9Create rose base
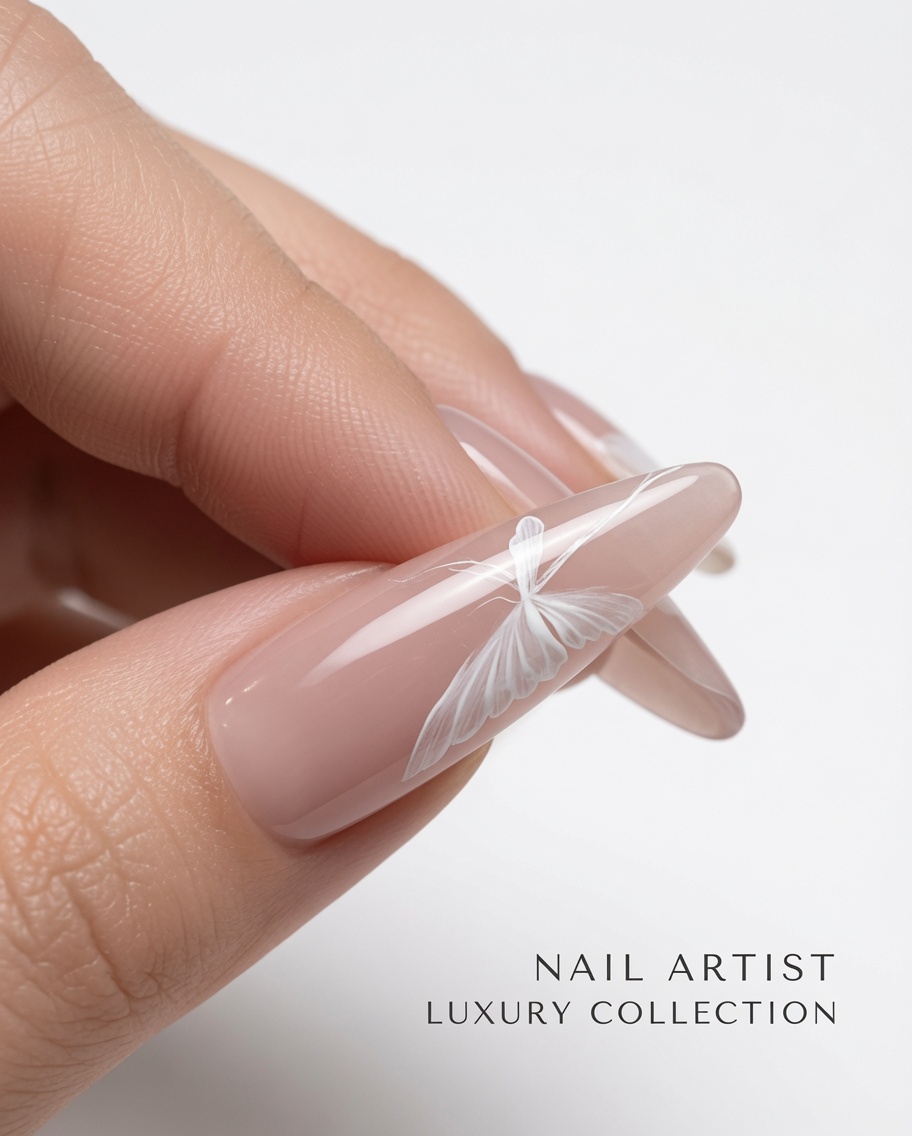
Beside the completed butterfly, use the white gel paint to draw small, soft circular shapes. These circles serve as the foundational base for the roses that will be detailed in the next steps.
Tip: Keep the circular shapes light and slightly irregular to better mimic the natural form of a rosebud. - 10Form rose petals
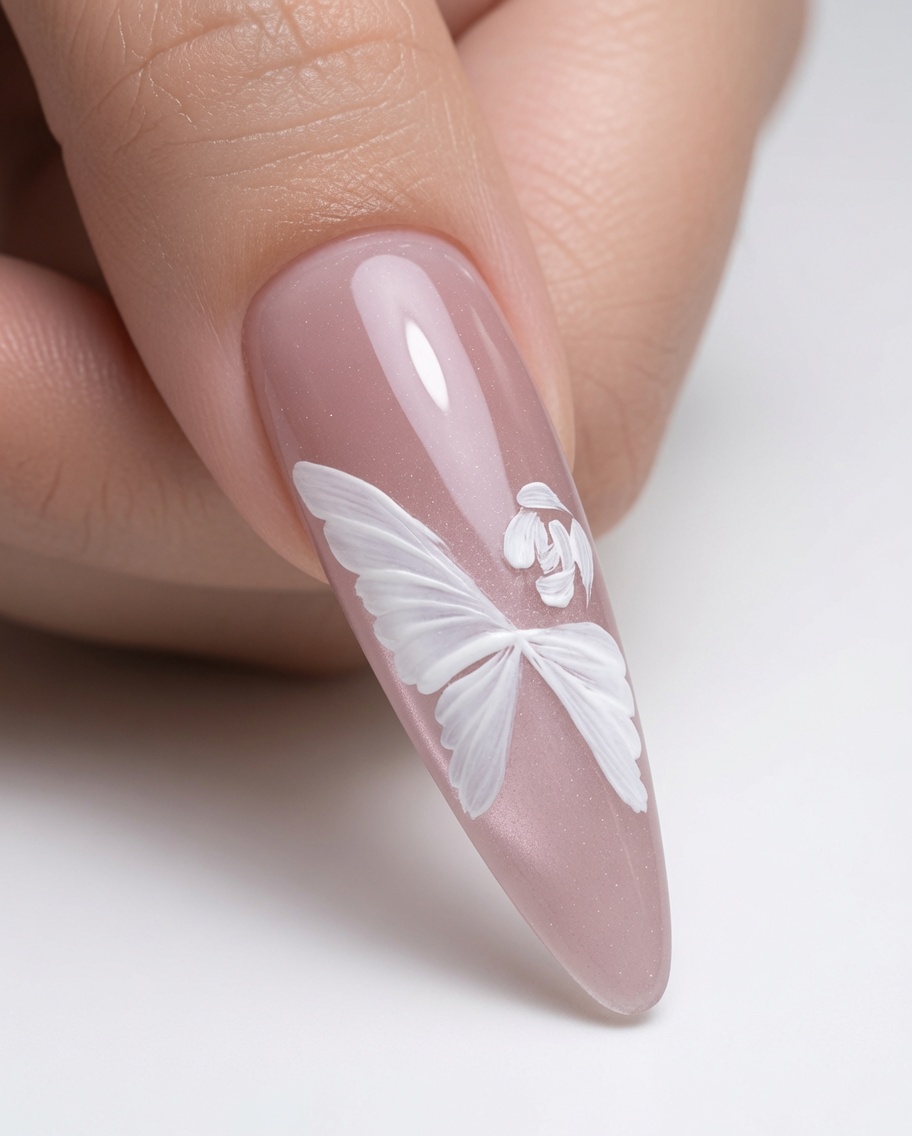
Using the fine liner brush, begin drawing small, spiraling lines within the white circular bases created earlier. These spirals will establish the inner structure of the rose petals.
Tip: Start the spiral from the center of the circle and work outwards for a realistic floral look. - 11Detail the rose petals
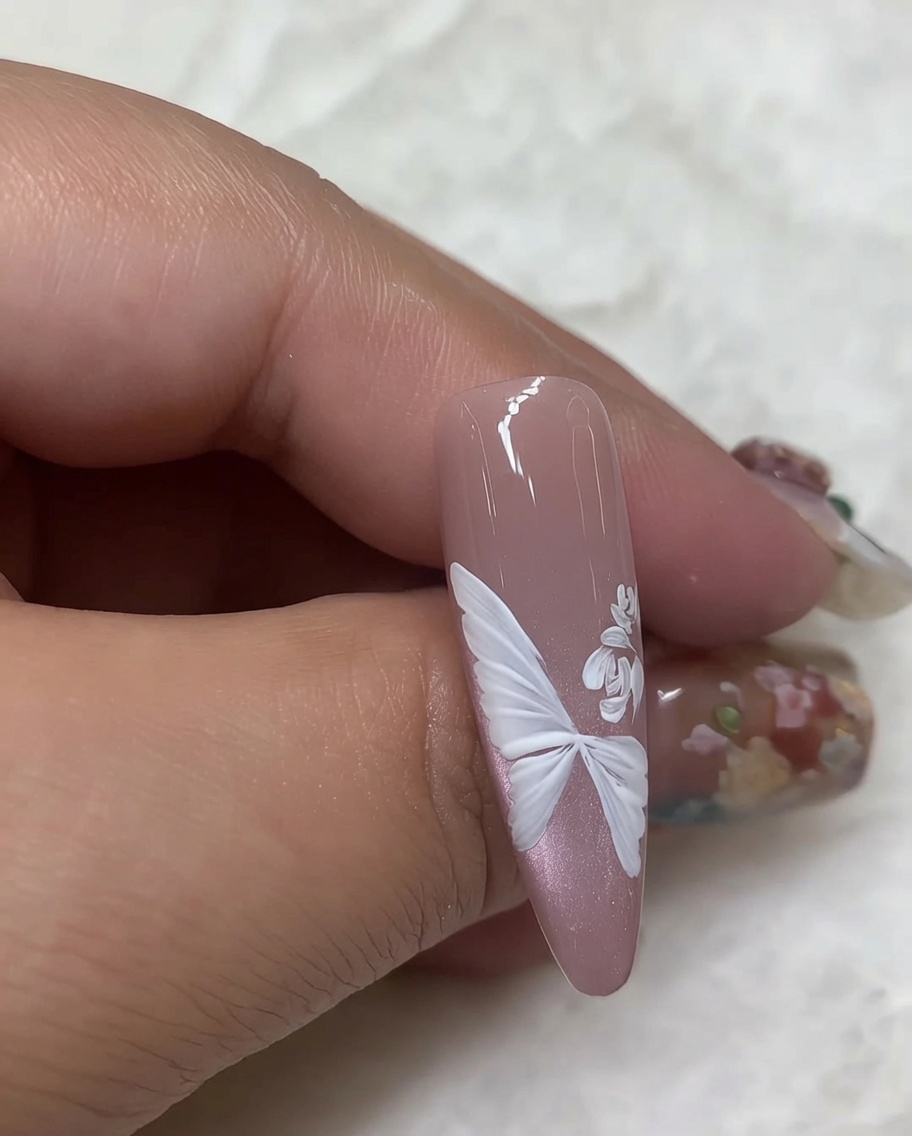
Build upon the spiral base by adding layers of delicate, curved strokes around the perimeter. Continue these layers until the rose petal detail is sufficiently expanded and looks full.
Tip: Use a gentle hand to ensure the curved strokes do not overlap too heavily, keeping the petals distinct. - 12Deepen the rose center
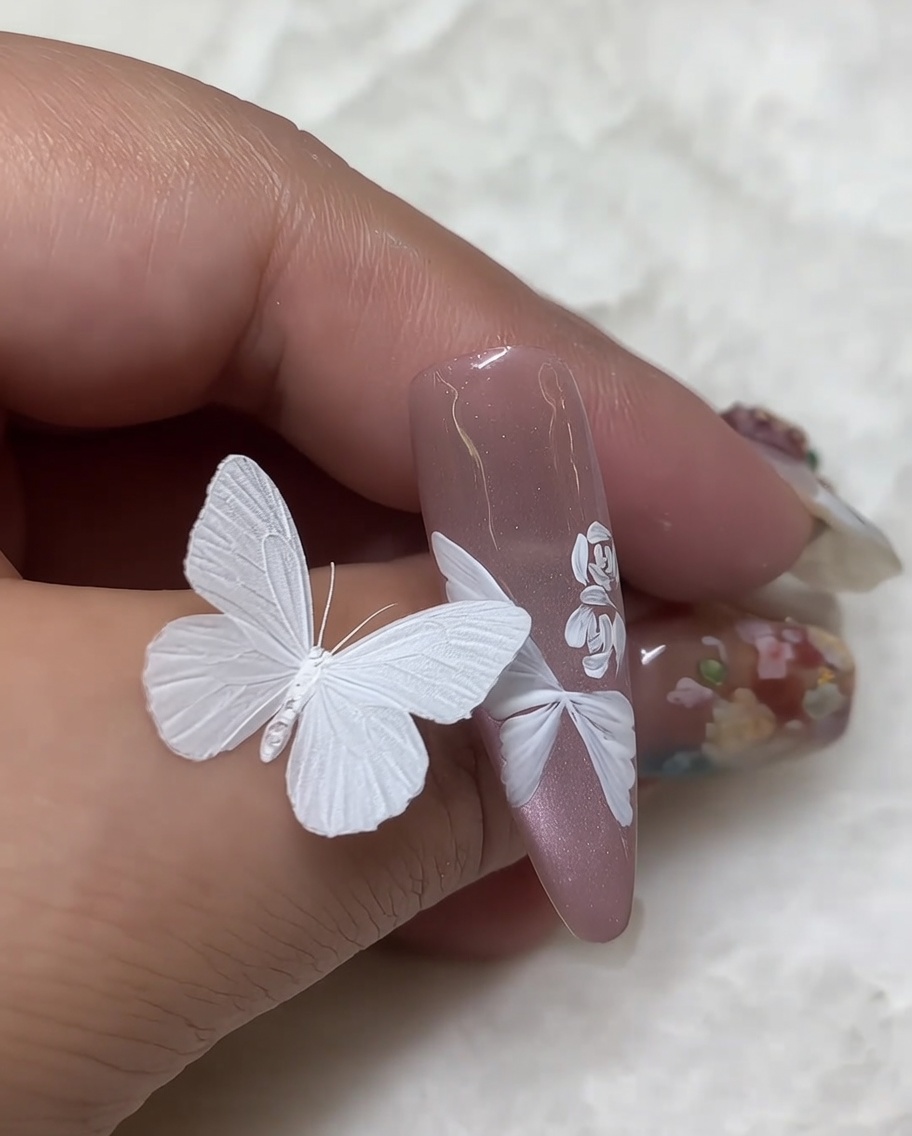
Complete the rose design by adding short, dense brush strokes into the very center of each flower. This increases the contrast and depth, making the center appear more shadowed and realistic.
Tip: Ensure these center strokes are smaller and tighter than the outer petal strokes. - 13Paint leaves beside the rose
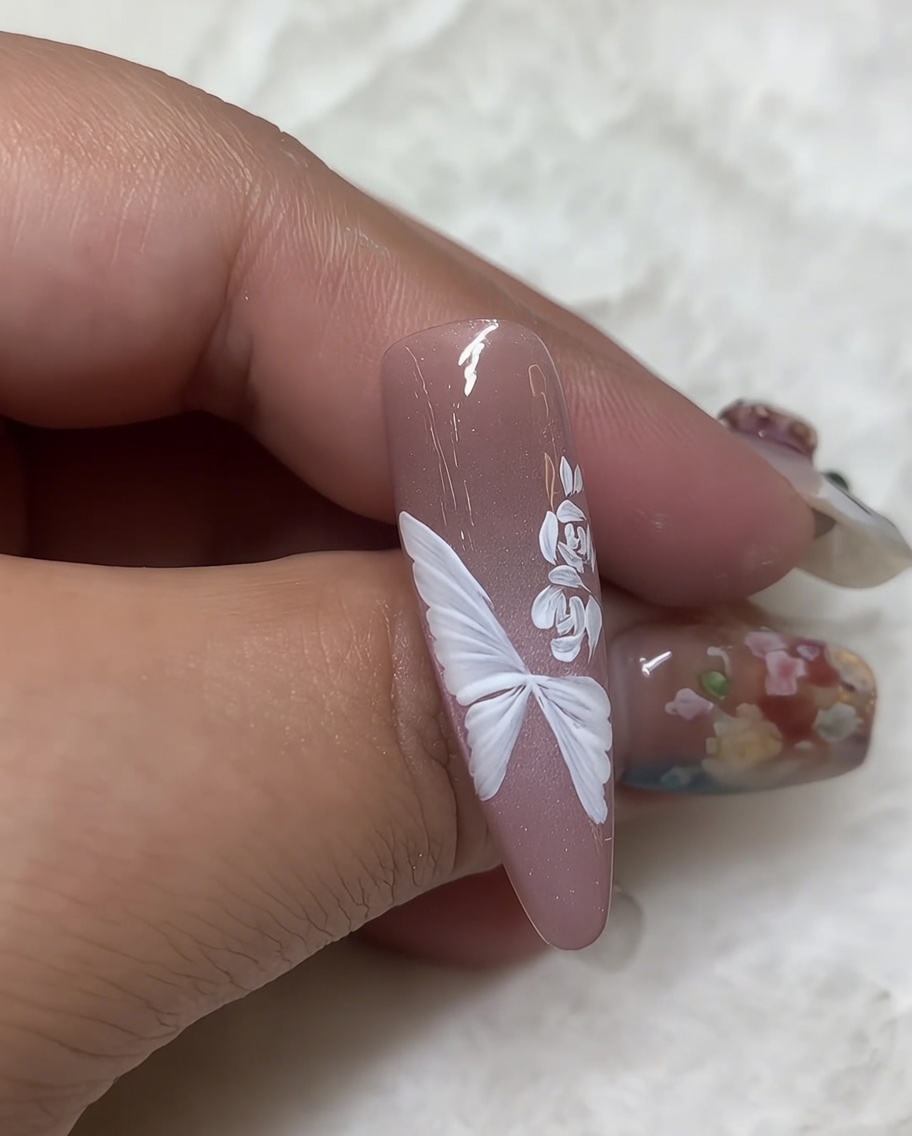
Using a fine liner brush and white gel paint, carefully draw small, delicate leaves positioned right next to the previously painted rose bloom. Use light, feathery strokes to give the leaves a natural, organic shape that complements the detailed petals of the rose.
Tip: Keep your brush strokes light and tapering at the ends to create a realistic, pointed leaf effect. - 14Add highlight accents
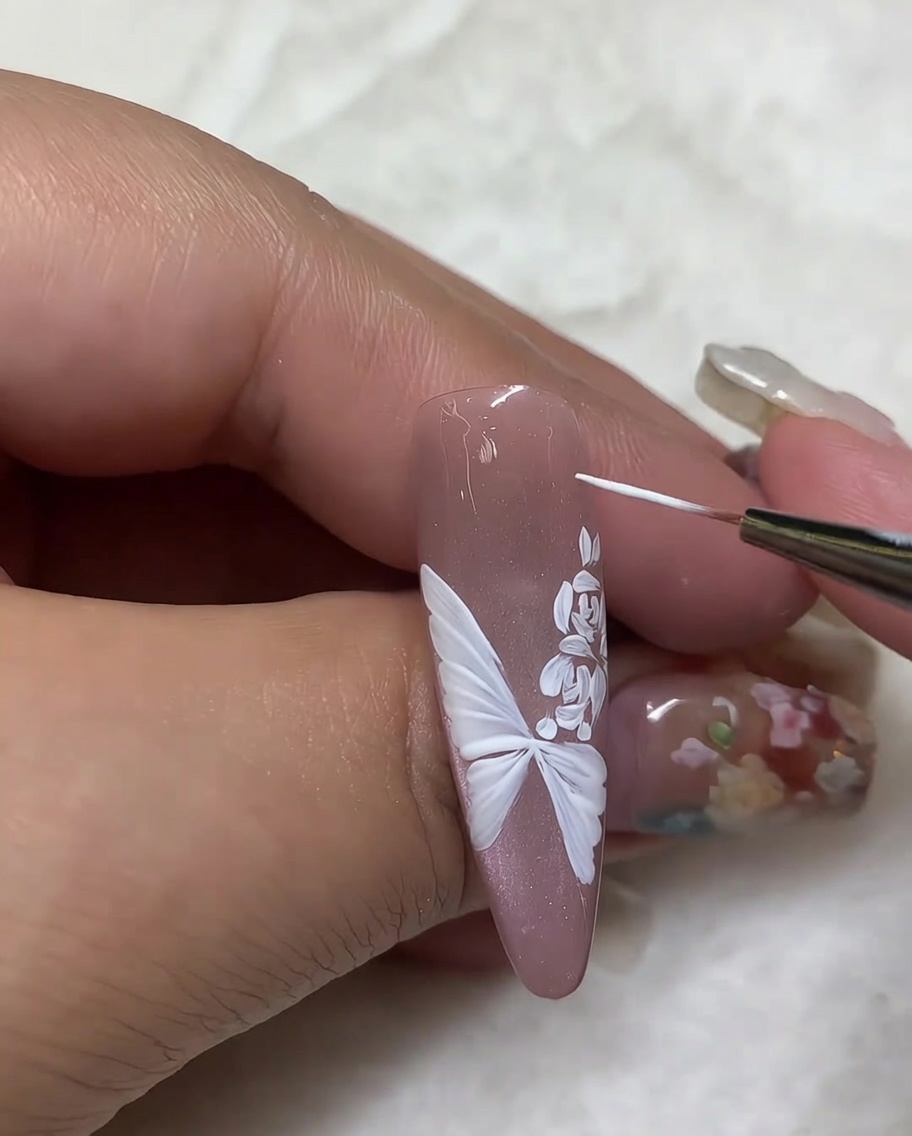
Use the tip of your fine liner brush to add small, precise dots of white gel paint around the butterfly and rose nail art design. These highlights add depth and a touch of brilliance to the overall composition, making the white details pop against the nude base.
Tip: Vary the size of your dots slightly to make the highlight accents look more natural and decorative. - 15Define butterfly wing edges
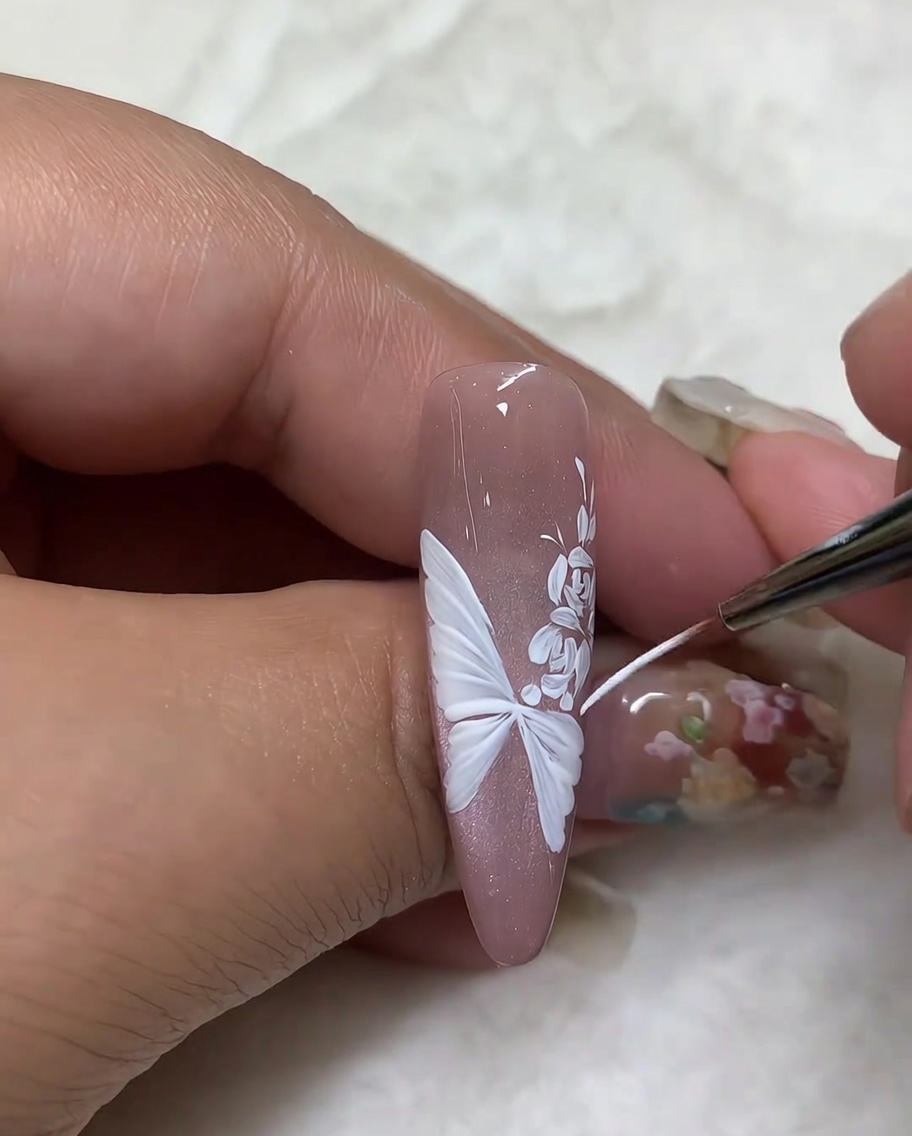
With a thin liner brush and white gel, go over the edges of the butterfly wings to ensure the lines are crisp, clean, and defined. Precision at this stage is key to achieving a professional, intricate look for the butterfly wing art.
Tip: Use a steady hand and very little product on your brush for the cleanest, sharpest line work. - 16Final rose petal touch-ups
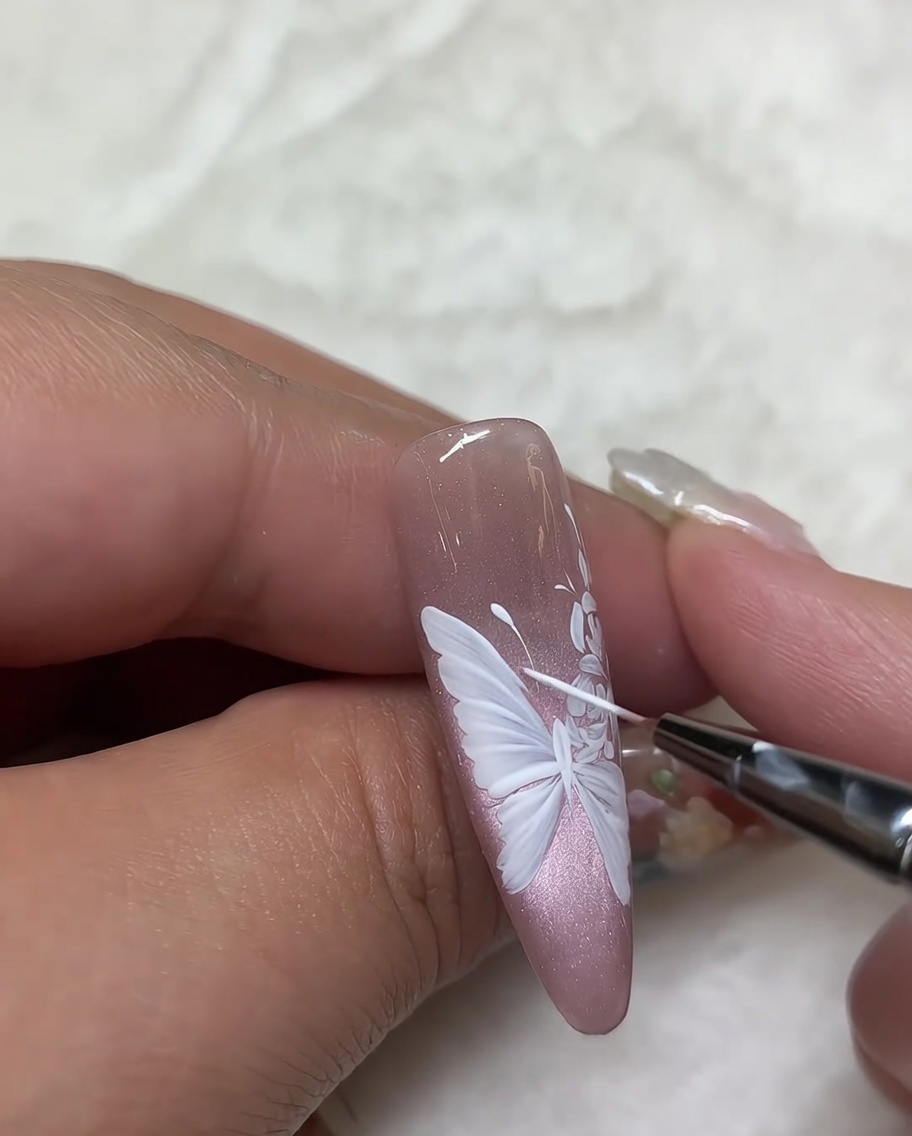
Perform a final inspection of the rose design and use your fine liner brush to touch up any petals that need more definition or balance. Ensure the overall composition on the nail looks cohesive and refined before moving on to the final curing step.
Tip: Take a moment to look at the nail from different angles to ensure the petal distribution looks balanced.