Chrome French Tip
Star Nail Art — Step-by-Step Tutorial
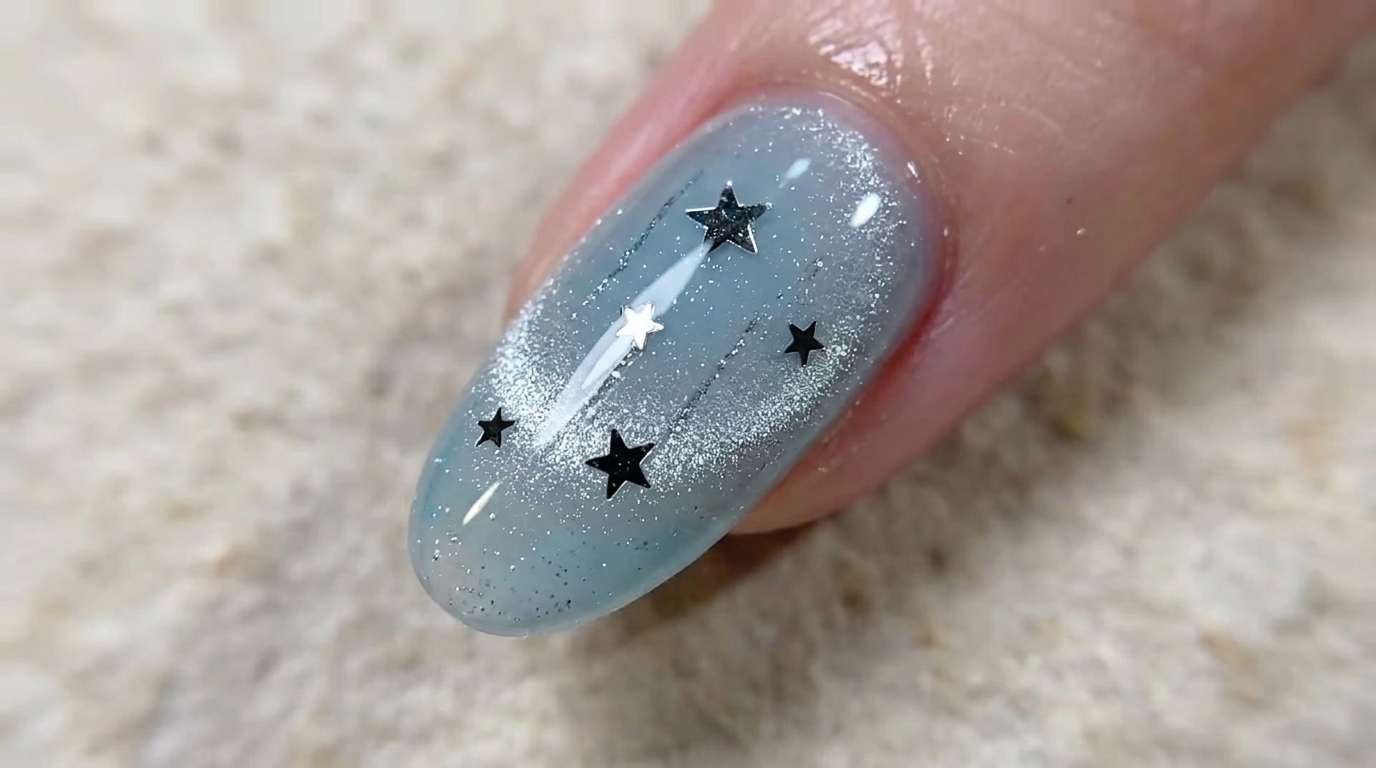
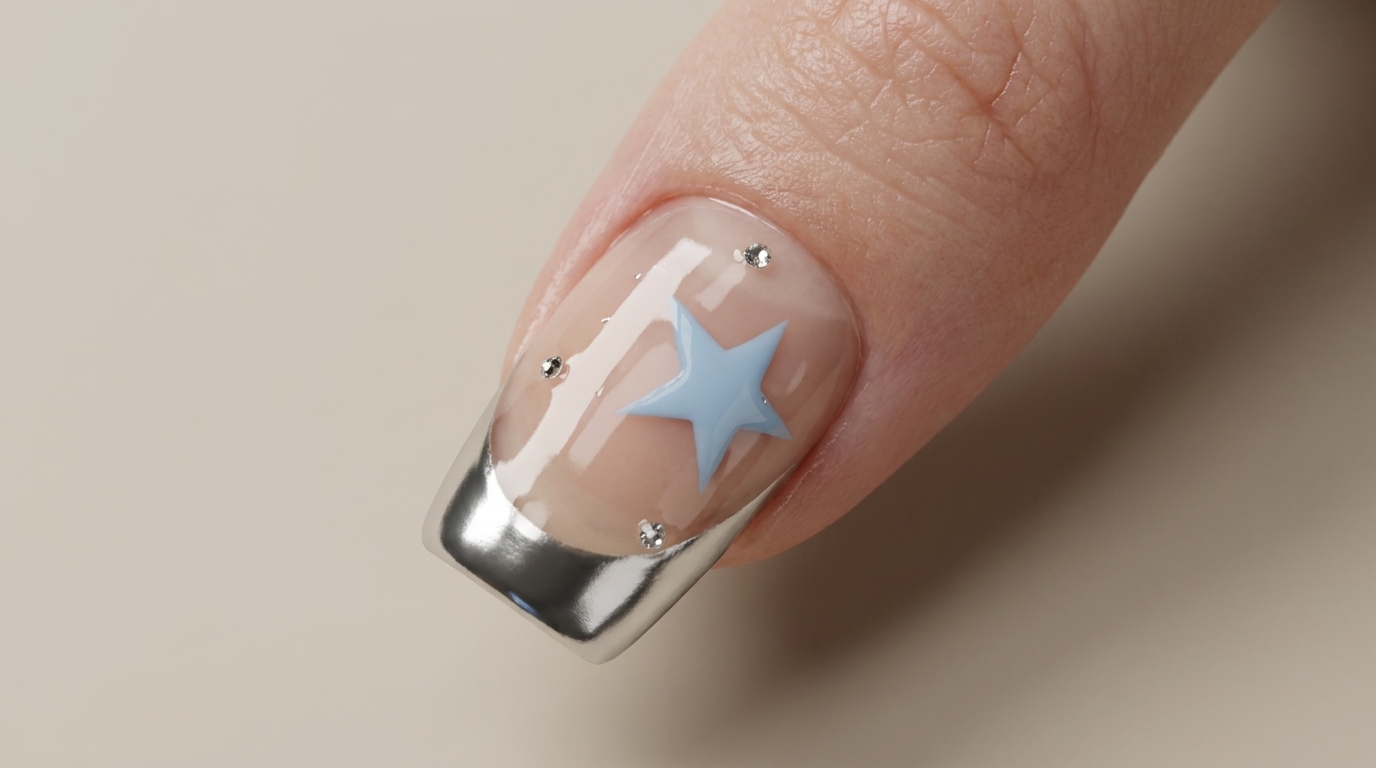
Create this trendy chrome French tip design with a delicate blue star accent. This sophisticated, high-shine look is perfect for elevating your manicure.
The chrome French tip is a must-have trend, combining sleek metallic brilliance with a modern edge. Adding a soft blue star creates a charming focal point that makes this manicure stand out. Follow along to master this clean, professional nail art look at home.
Steps
- 1Clean the nail bed
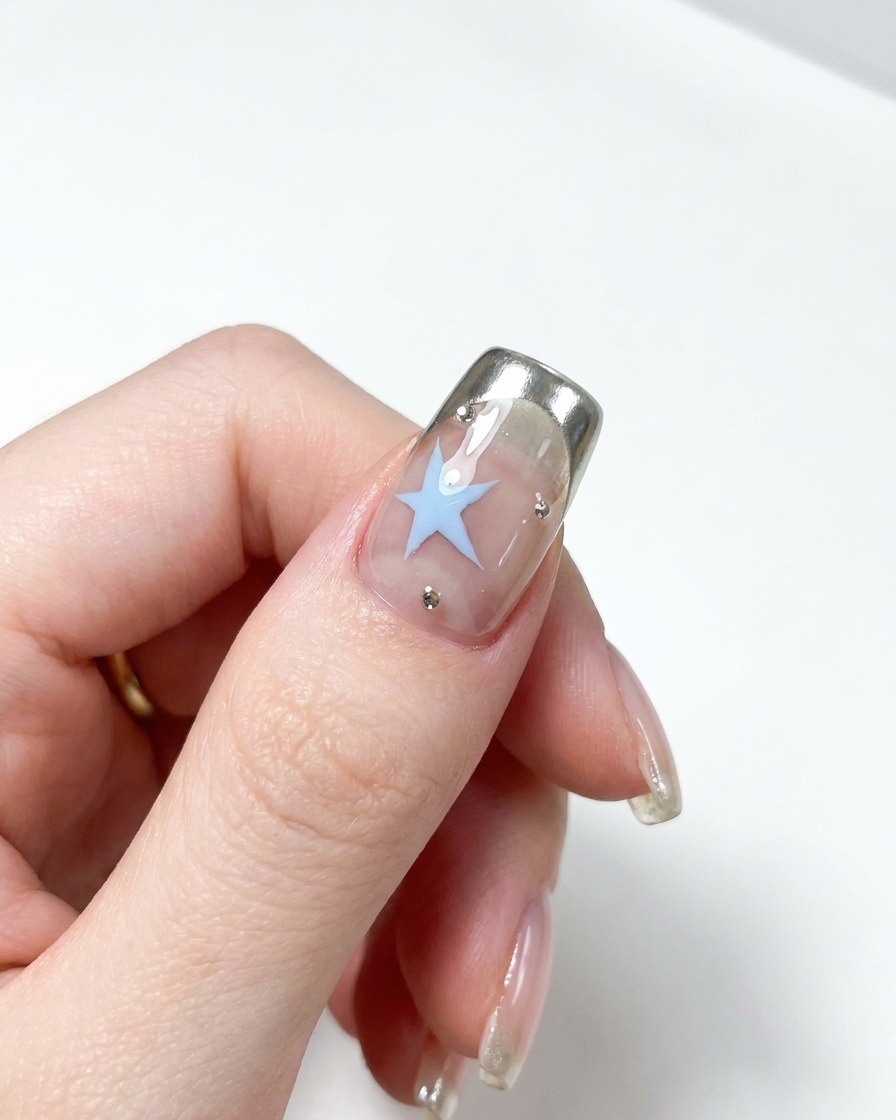
Using a metal cuticle pusher, gently push back the cuticles to clear the nail plate. This ensures a clean base for the gel application, preventing the product from lifting or flooding the skin.
Tip: Be gentle to avoid damaging the delicate matrix of the nail. - 2Apply base gel
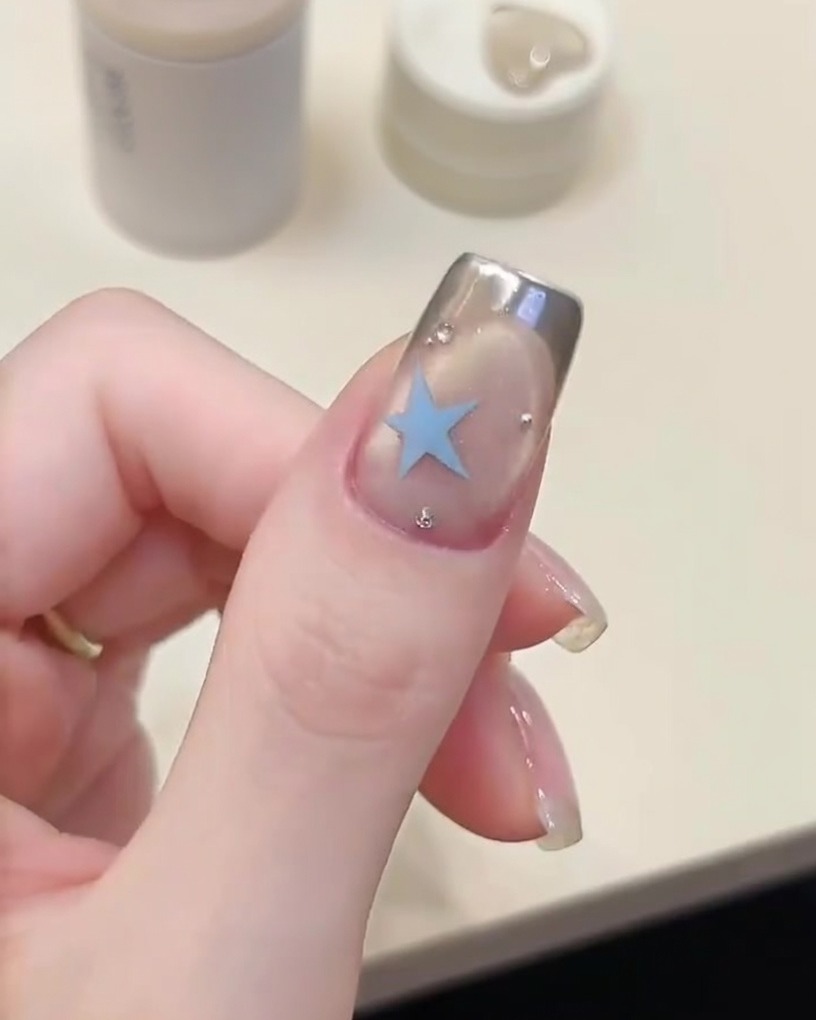
Apply a thin, even layer of clear base gel over the entire surface of the prepared nail. Cap the free edge to seal the application and provide a smooth, adhesive surface for the color layers.
Tip: Apply in a thin layer to prevent bubbling and ensure proper curing. - 3Cure the base gel
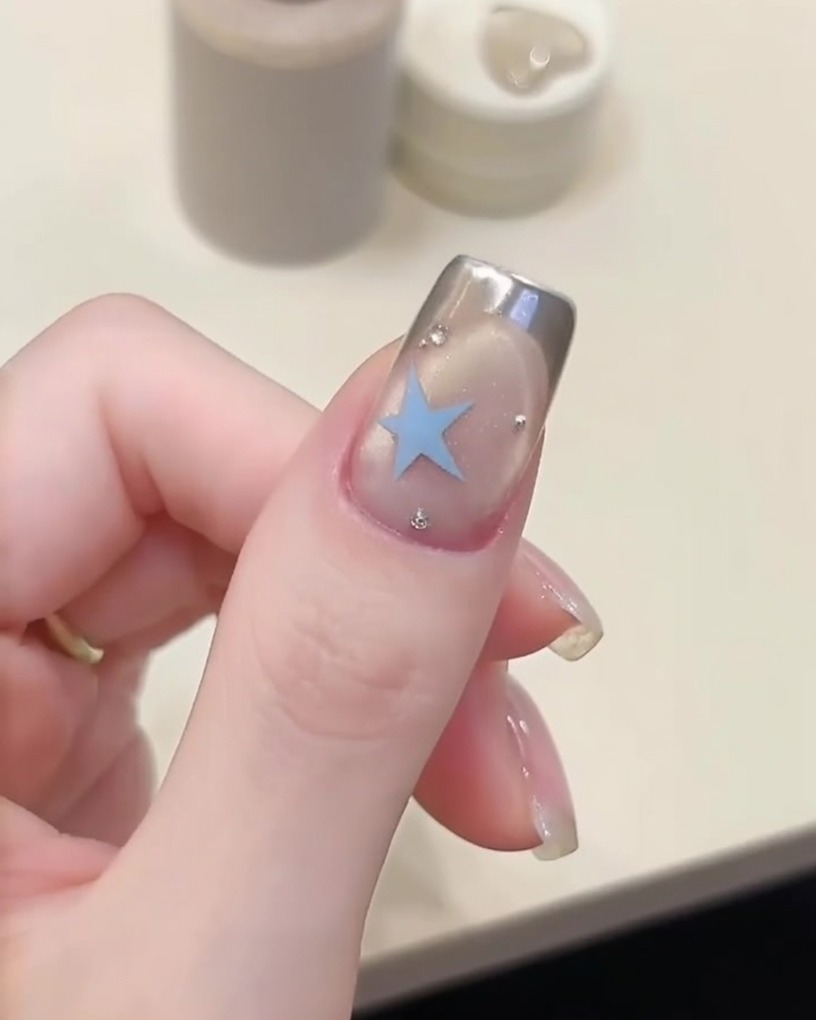
Place the thumb into a UV or LED lamp to cure the base gel. Follow the manufacturers instructions for the specific curing time required to ensure the gel is fully set.
Tip: Ensure the entire nail is inside the lamps light range for an even cure. - 4Apply cat-eye gel
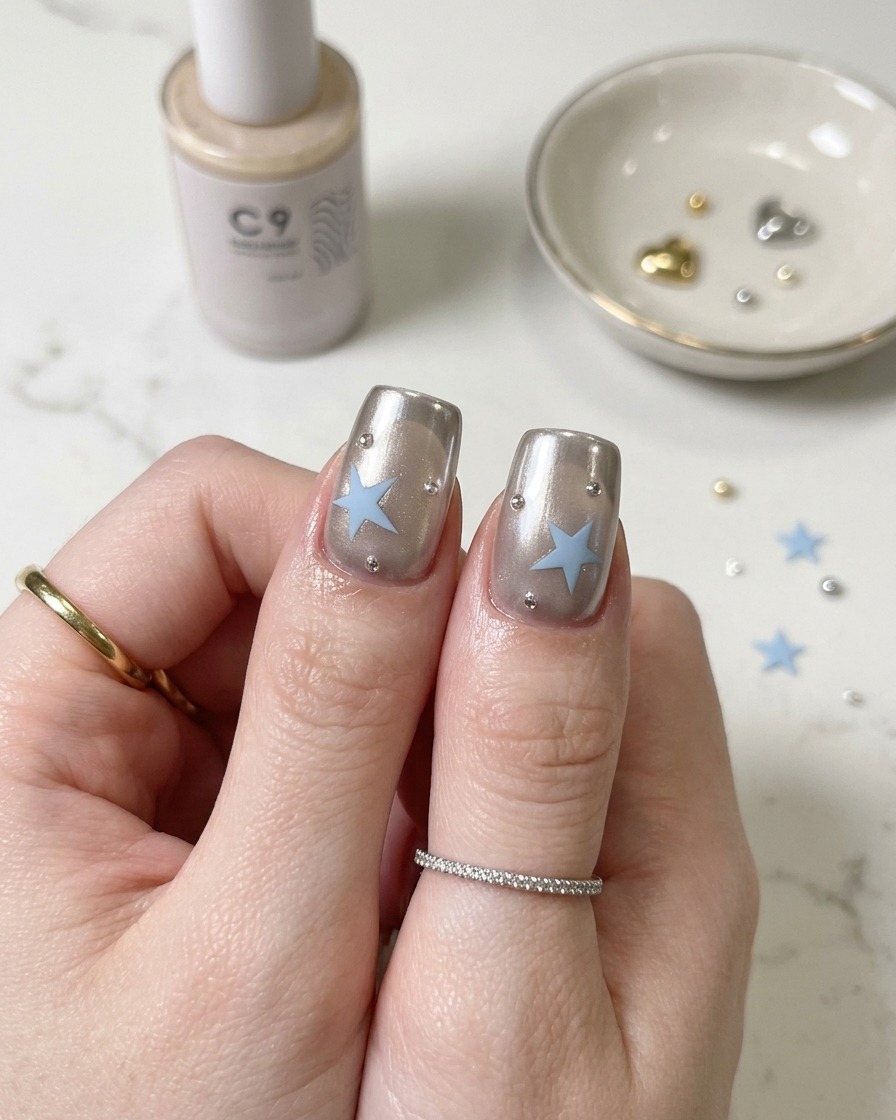
Apply a layer of silver magnetic cat-eye gel primarily to the tip of the nail. This gel contains metallic pigments that will react to the magnet to create the desired chrome effect.
Tip: Use a steady hand to keep the gel concentrated at the tip for the French-style effect. - 5Create cat-eye effect
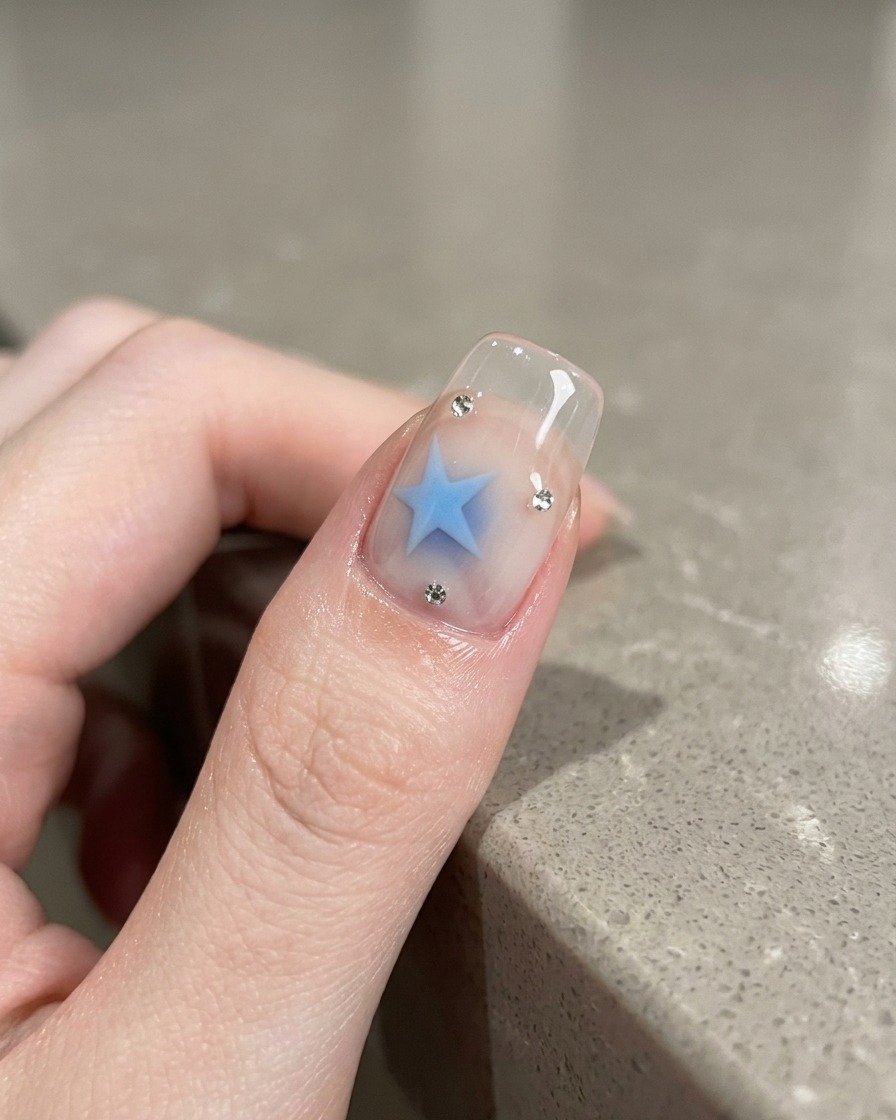
Hold the magnet tool on both sides of the nail tip to draw the metallic pigments into a sharp, defined line. The movement should be quick and precise to catch the pigment before curing.
Tip: Position the magnets close to the nail without touching the wet gel. - 6Sharpen the cat-eye line
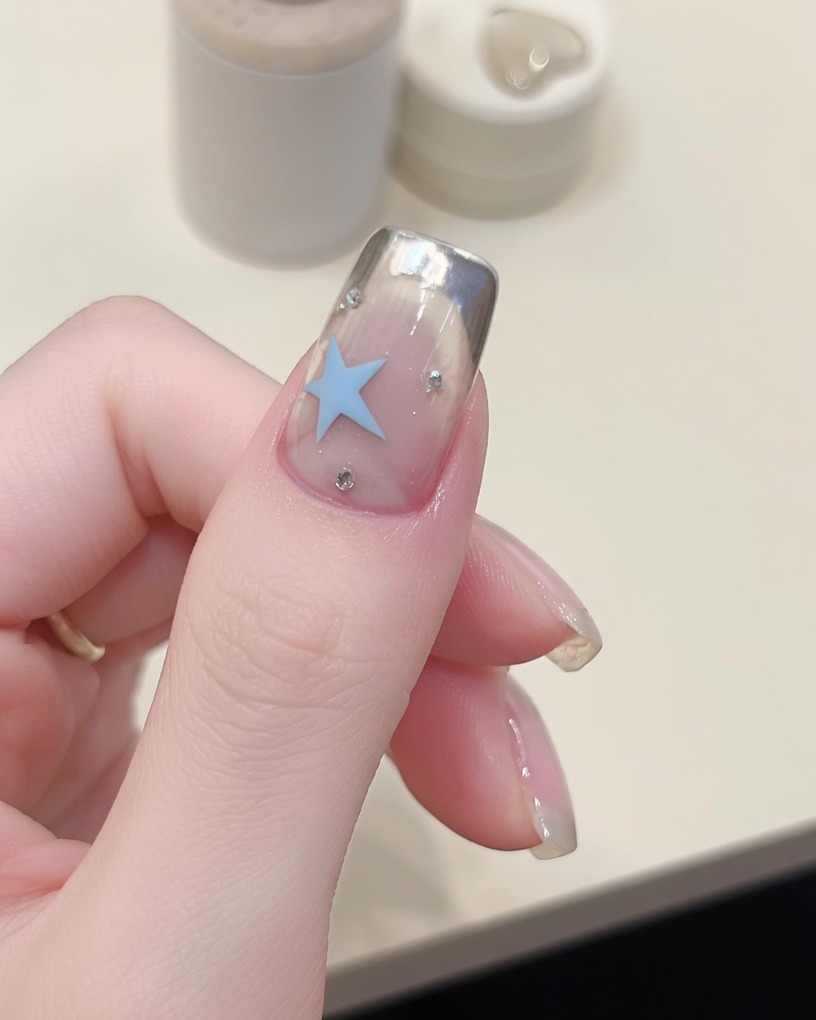
For a more precise and sharp look, use a long, thin magnet to further refine the cat-eye line on the nail tip. This step ensures the chrome effect is clean and crisp before curing the gel.
Tip: Keep the magnet held at the desired angle for a few seconds to set the pigment design. - 7Cure the cat-eye tip
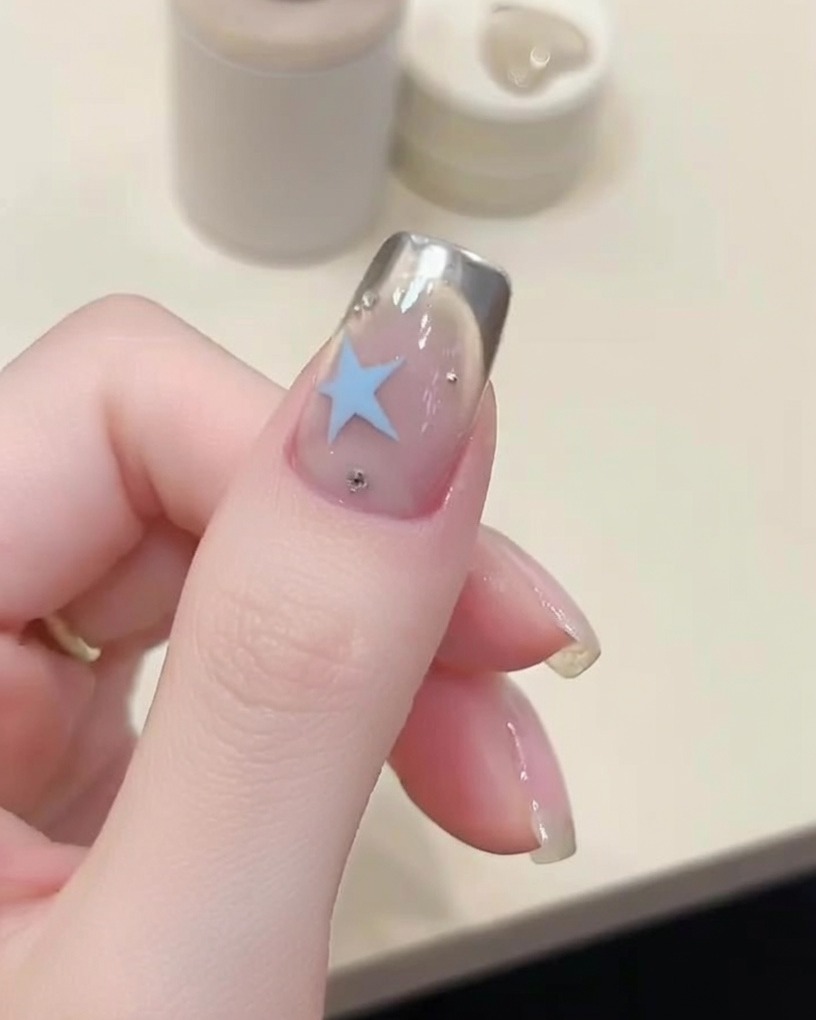
Place your hand inside the UV lamp to cure the cat-eye gel application. Curing fully sets the polish and locks the magnetic effect in place, creating the signature shimmering chrome-like appearance. Ensure your nails are centered under the light for even curing throughout the recommended cycle time.
Tip: Check that the cat-eye effect is positioned exactly where you want it before curing, as it will be permanent once the gel sets. - 8Apply top coat
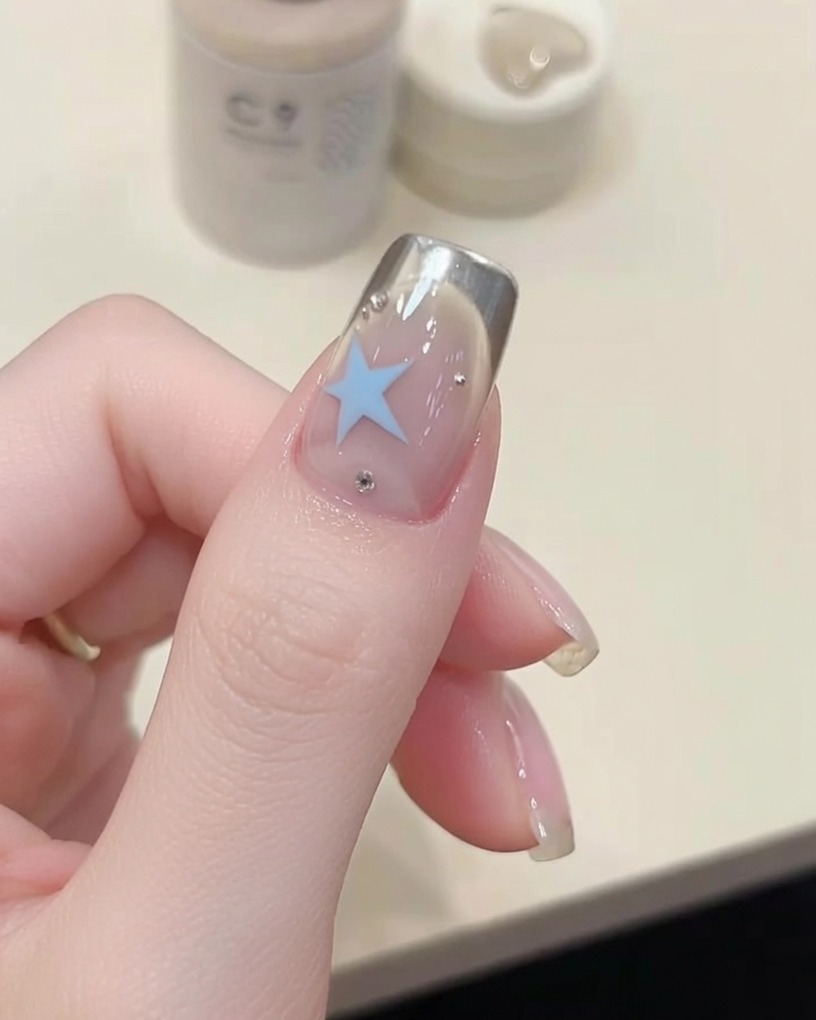
Apply a generous, even layer of C9 top coat over the entire nail surface. This step seals in the nail art, adds a protective glossy finish, and smooths out the surface of the nail. Be sure to cap the free edge of the nail to prevent chipping and maximize the longevity of your manicure.
Tip: Use a light hand when applying the top coat to avoid dragging or smudging the underlying nail art design. - 9Cure top coat
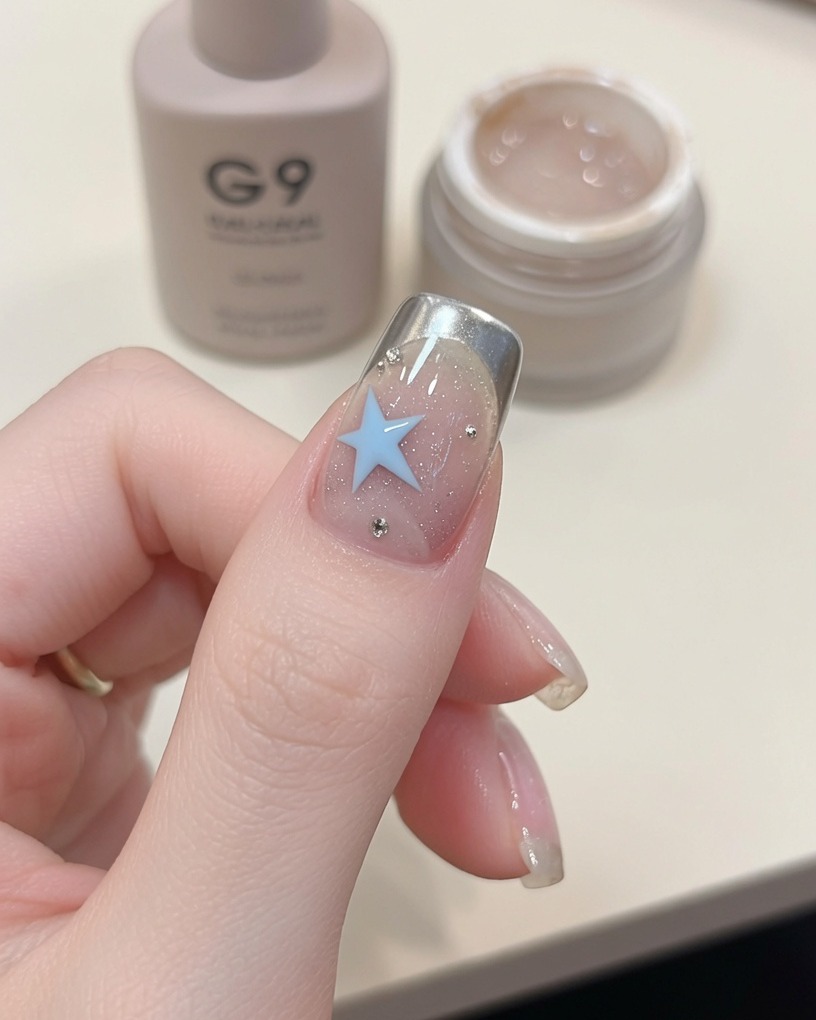
Place your hand back into the UV lamp to cure the top coat. This final curing step ensures the entire manicure is fully hardened and protected. Once the lamp cycle is complete, the surface should be completely dry and highly reflective.
Tip: Ensure your fingers are positioned flat to avoid pooling of the top coat around the cuticles during the cure. - 10Apply French tip stencil
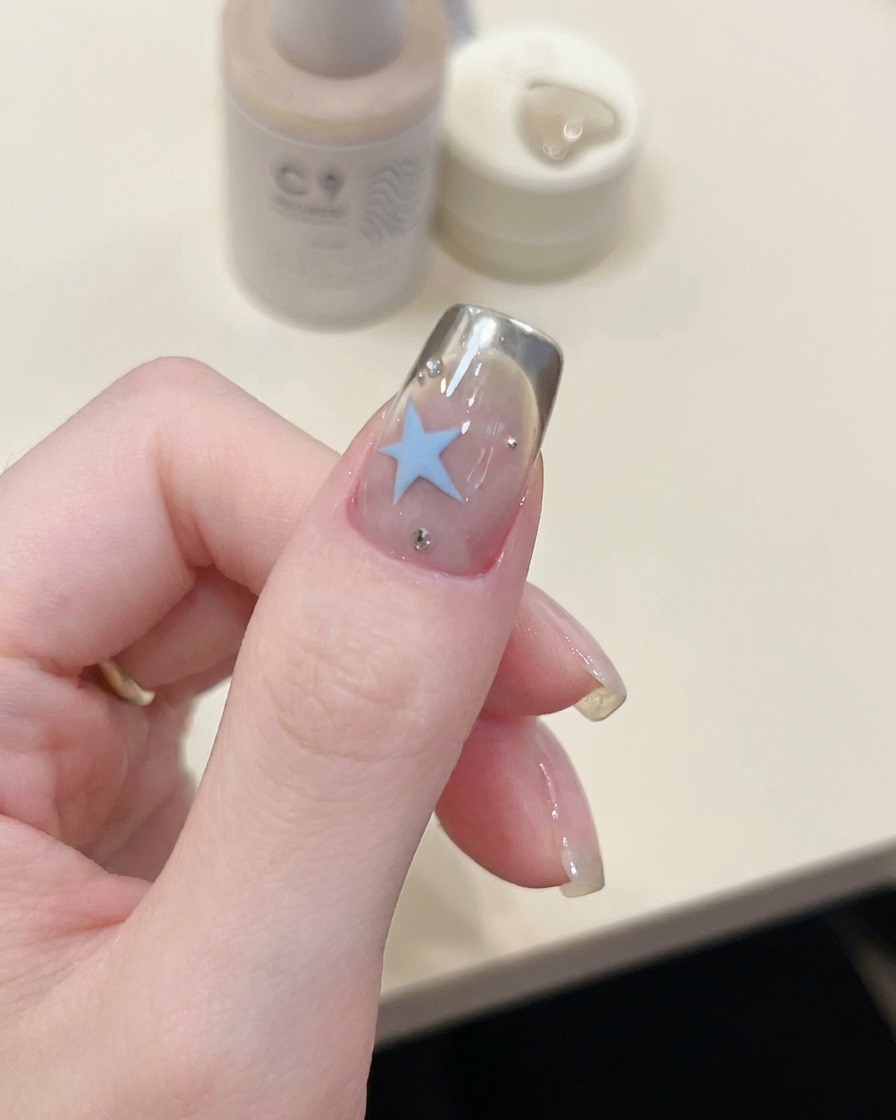
Carefully place a curved French tip stencil or sticker onto the nail to create a clean, crisp guideline for the chrome effect. Press down firmly along the edges of the stencil to ensure a tight seal against the nail surface, which prevents the chrome powder from bleeding underneath.
Tip: Position the stencil slightly lower for a deeper smile line, or higher for a more classic, subtle French tip look. - 11Apply silver chrome powder
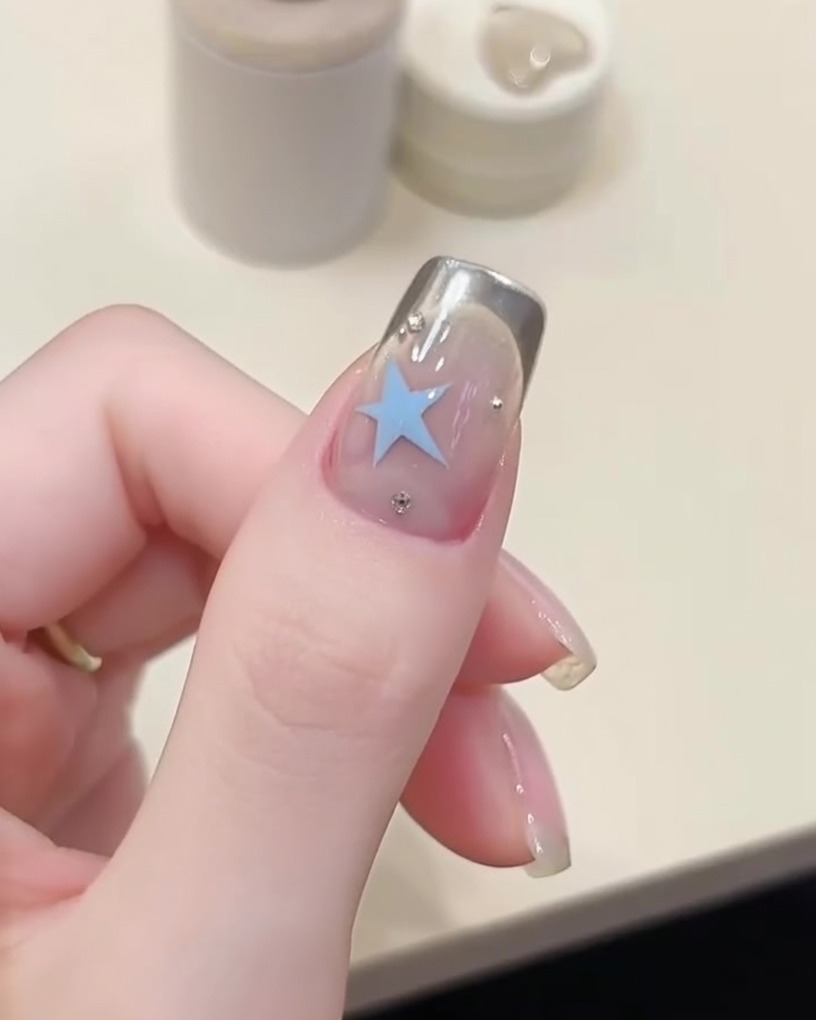
Using a small sponge applicator or silicone tool, gently rub the silver chrome powder onto the exposed nail tip area left by the stencil. Buff the powder into the nail surface until it achieves a high-shine, mirror-like chrome finish. Remove any excess powder with a soft brush before moving to the next step.
Tip: A little powder goes a long way; start with a small amount and build up to reach the desired opacity and shine. - 12Remove the stencil
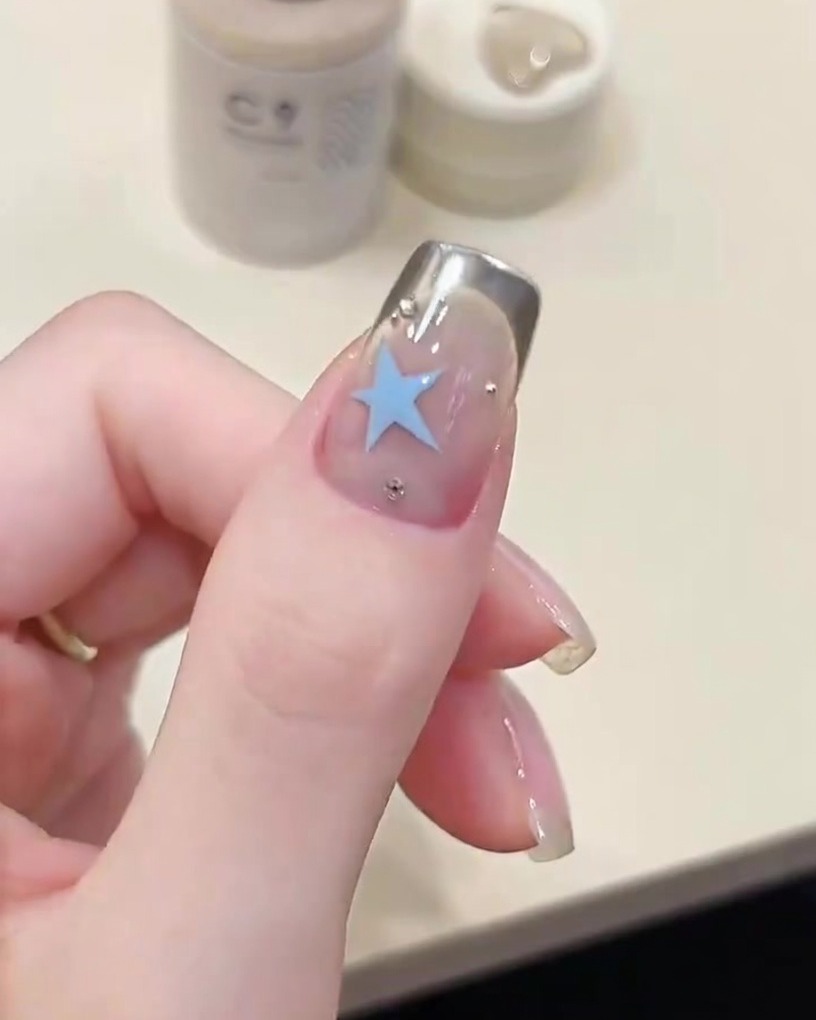
Gently and slowly peel away the French tip stencil from the nail to reveal a sharp, perfectly defined chrome line. Be careful not to lift or smudge the chrome powder in the process. If any small cleanup is needed around the edges, use a small brush dipped in acetone.
Tip: Peel the stencil back while the edge is still relatively crisp to ensure the cleanest possible line. - 13Paint a blue star
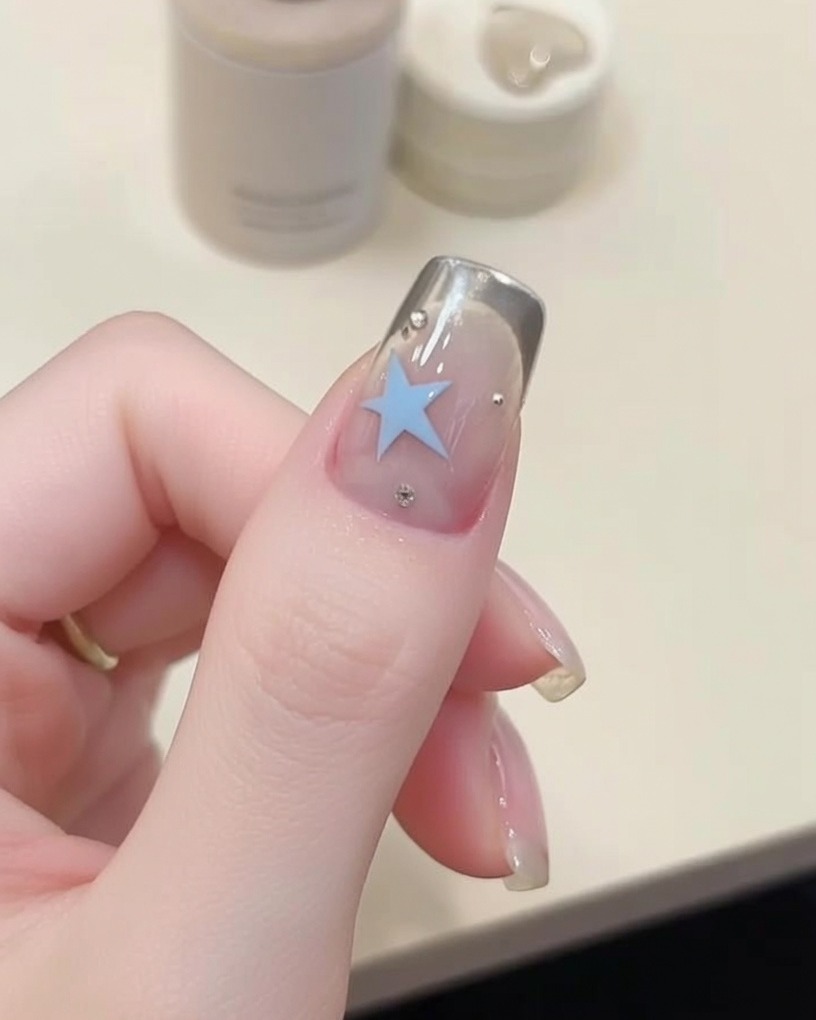
Using a fine liner brush and blue gel polish, carefully paint a star shape onto the desired area of the nail. Take your time to ensure the lines are clean and the star is balanced before proceeding to the next step.
Tip: If you struggle with hand tremors, anchor your pinky finger on the table to stabilize your hand while painting the star. - 14Cure the star design
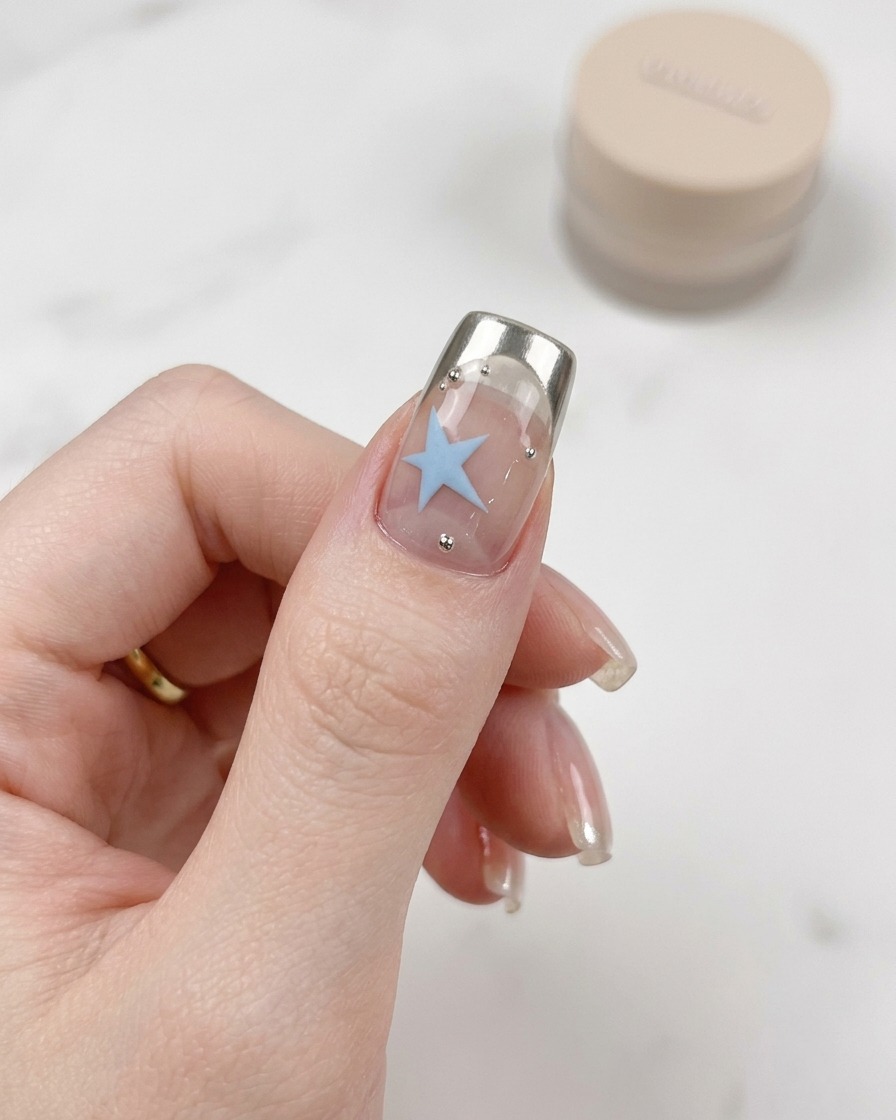
Place your hand under a UV or LED lamp to cure the blue star design. Ensure the nail is positioned directly under the light for the duration recommended by your gel polish manufacturer to ensure the art is fully set.
Tip: Avoid moving your hand while curing to prevent the gel from shifting or smudging before it hardens. - 15Apply top coat
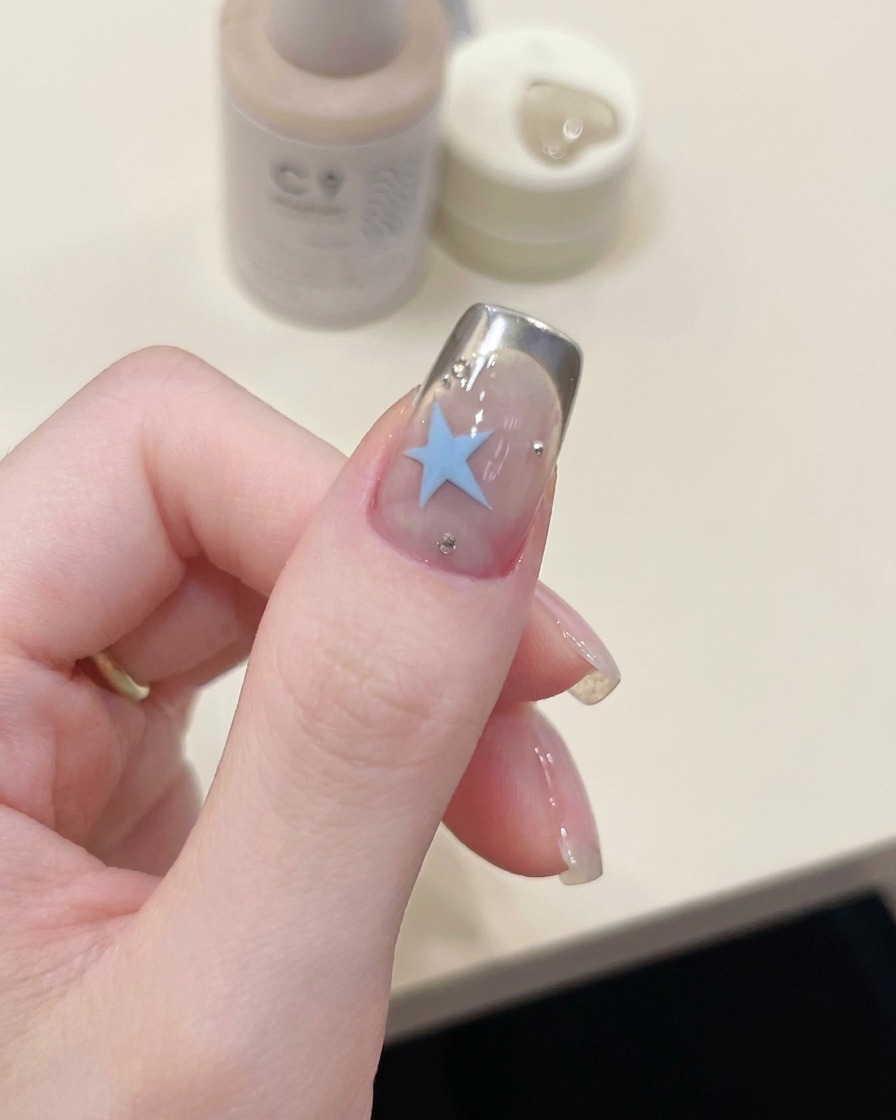
Apply a final layer of C9 top coat over the entire nail, ensuring you cover the blue star design and the silver chrome French tip. This layer seals the design, adds shine, and provides a smooth, protective finish.
Tip: Cap the free edge with the top coat to ensure the manicure lasts longer and resists chipping.