Pink Chrome Heart
Star Gel Art Tutorial
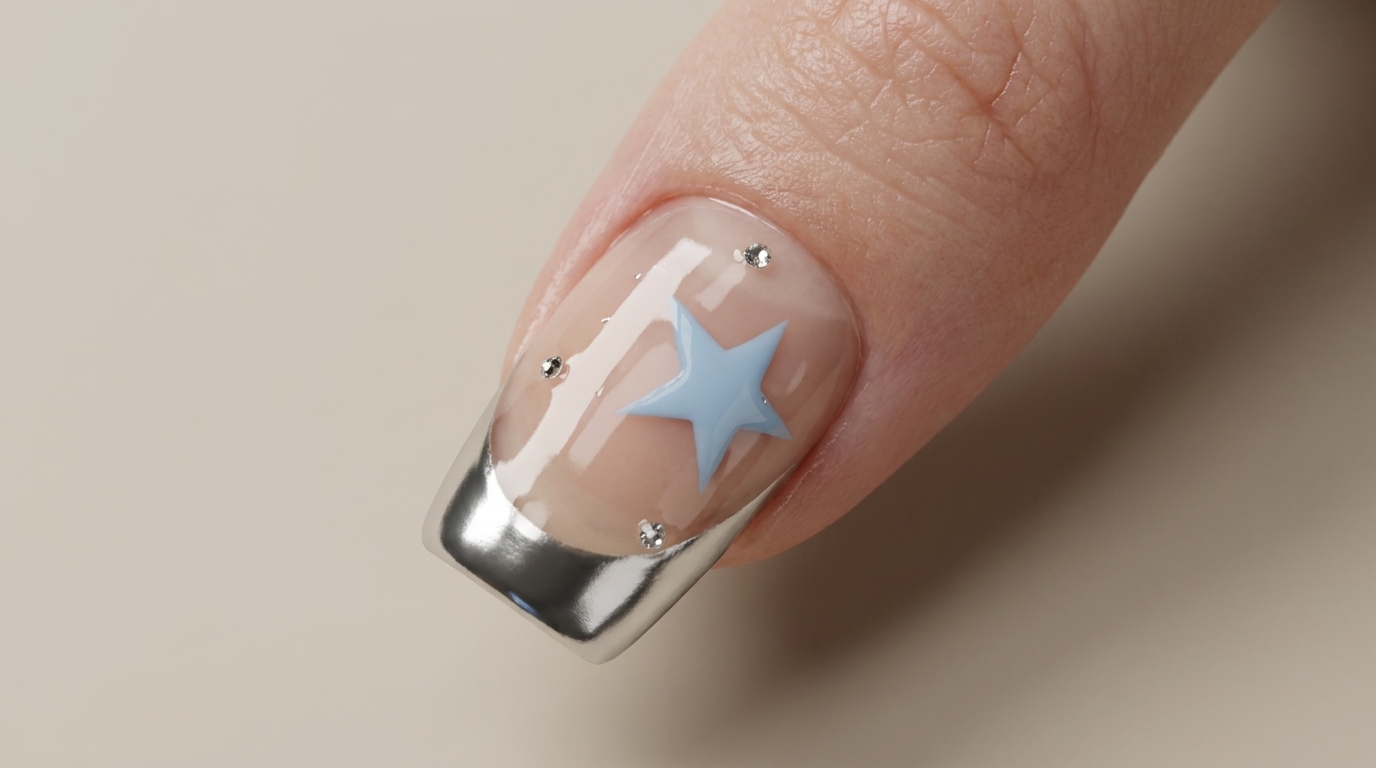
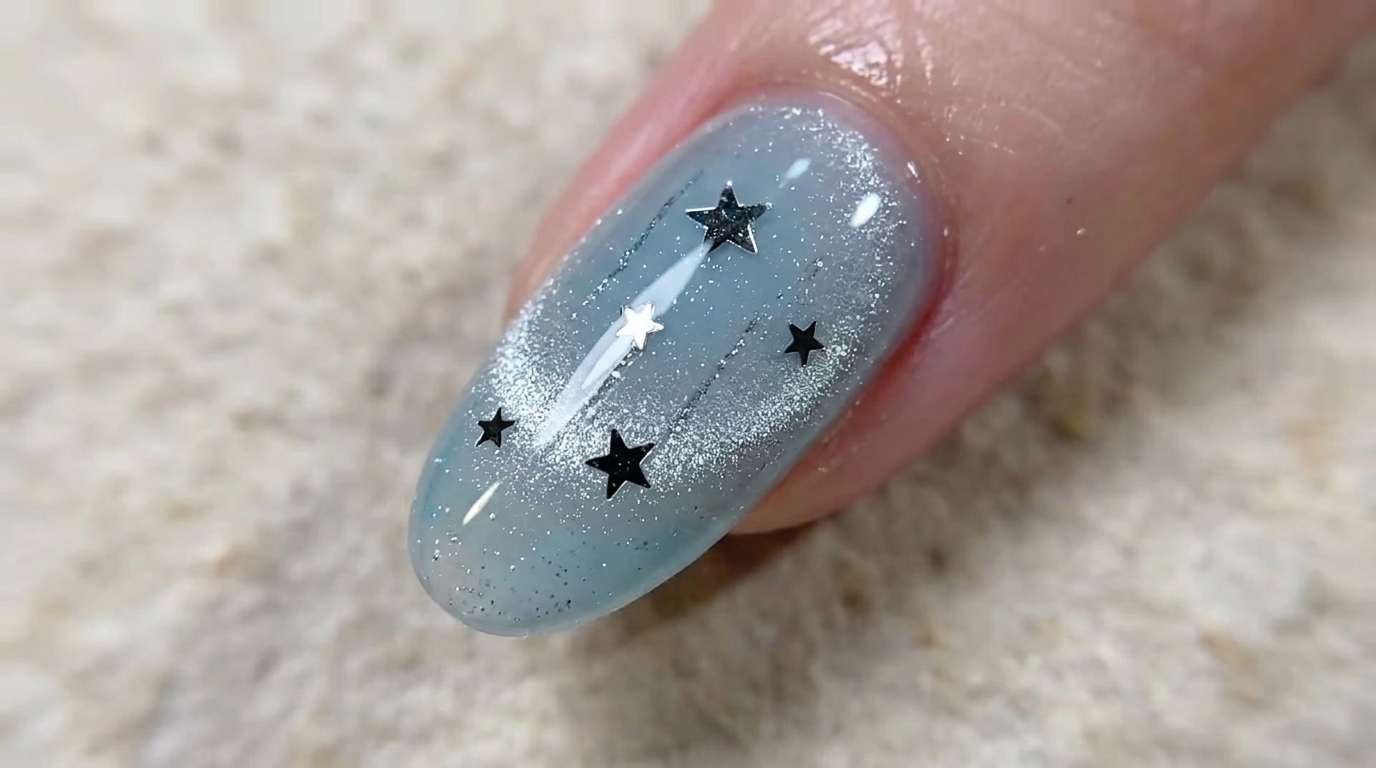
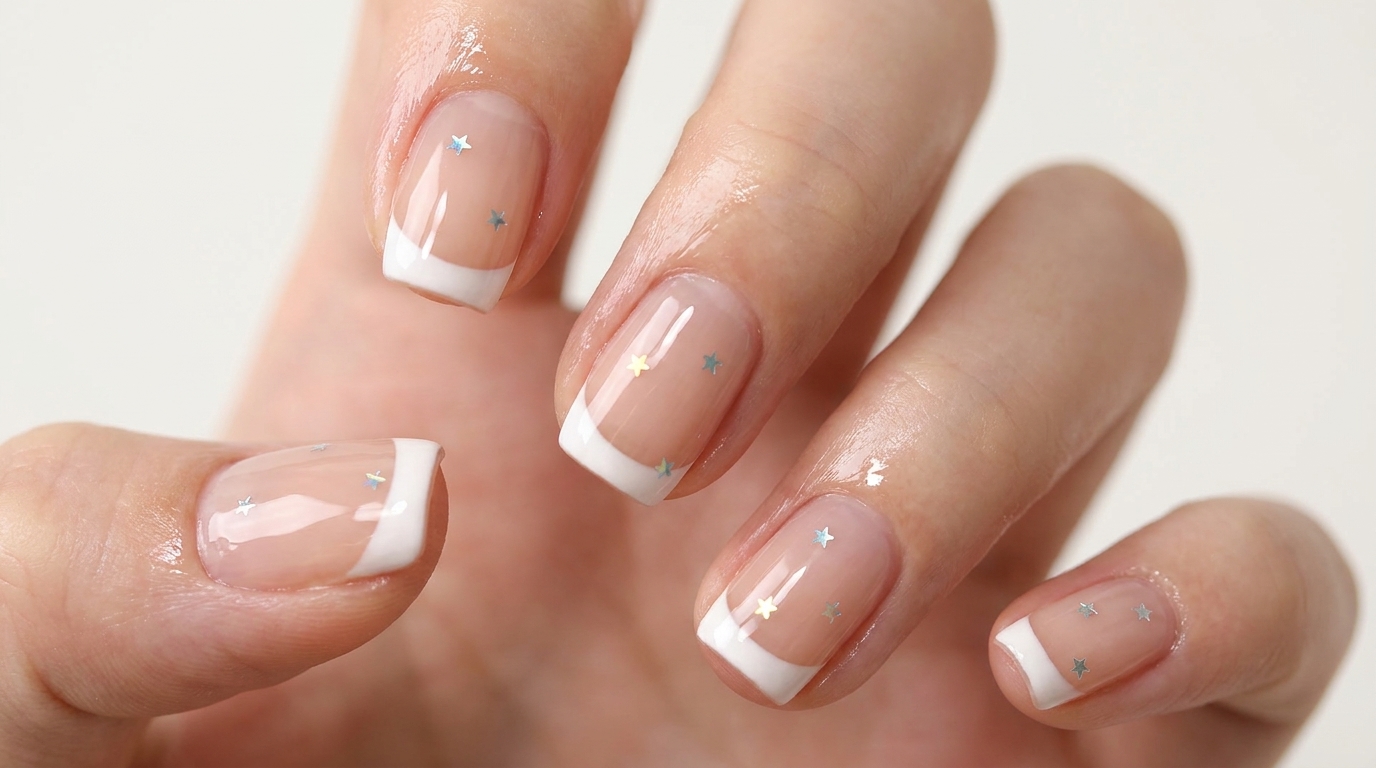
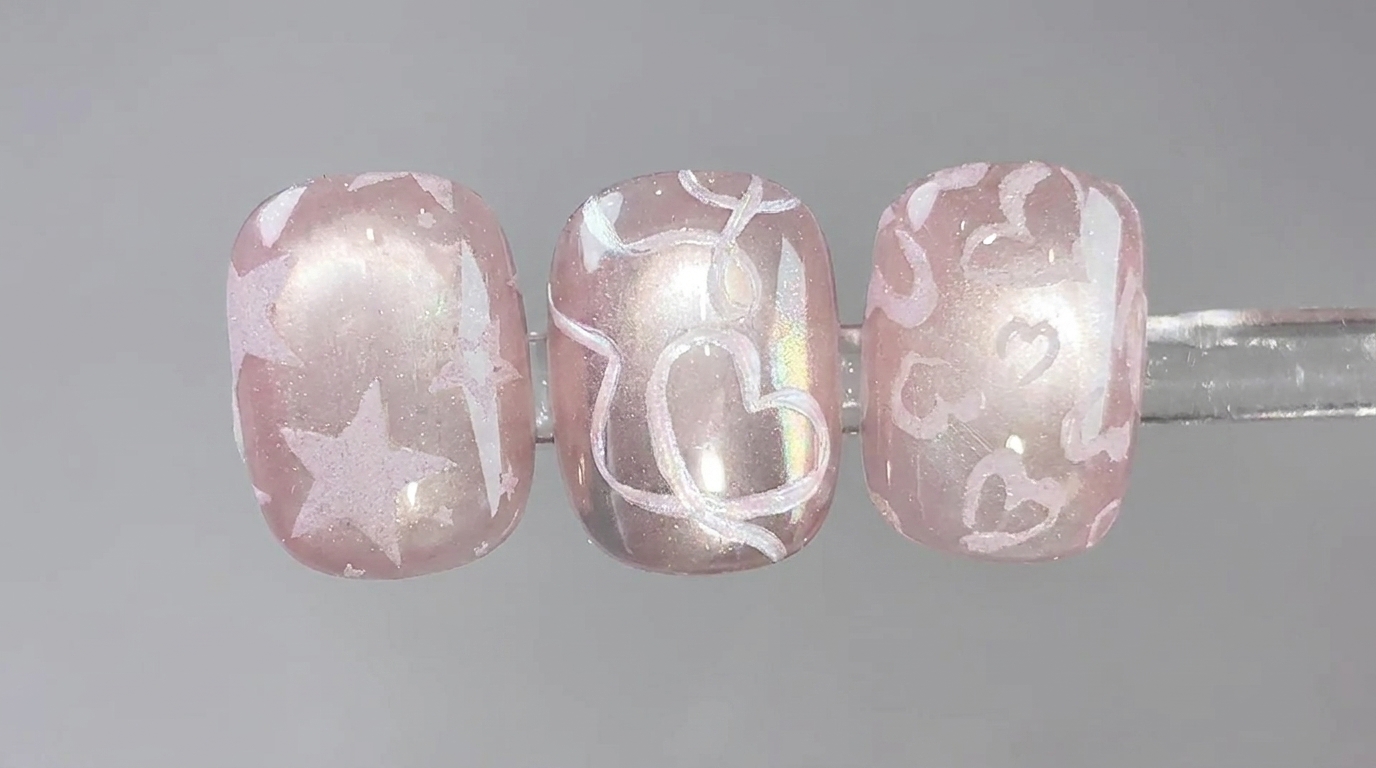
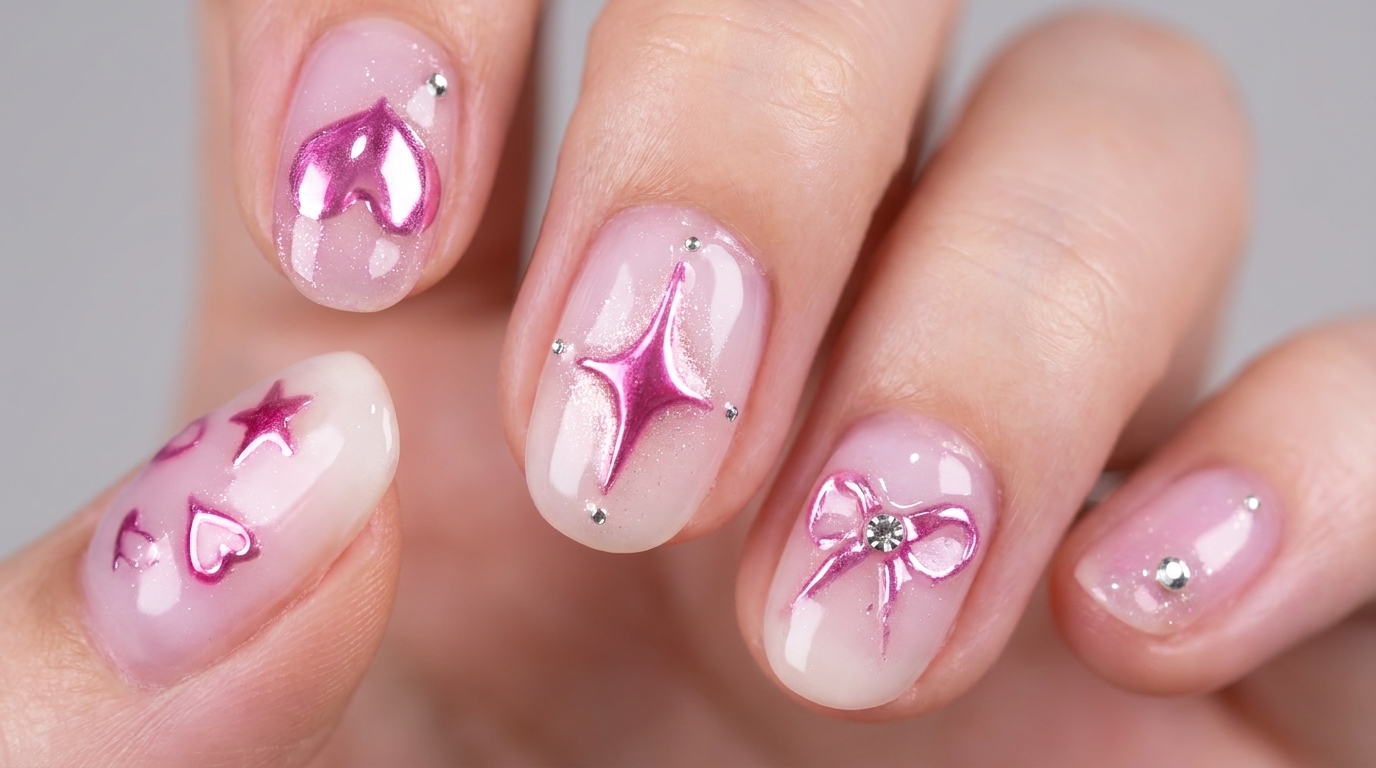
Create a trendy, high-shine aesthetic with this pink chrome heart and star gel art tutorial. Perfect for achieving a glossy, mirror-finish look at home.
This whimsical nail look combines the softness of milky white and nude bases with the striking brilliance of pink chrome details. By layering cat-eye effects with precise hand-painted art and mirror-finish powders, you can achieve a professional, multi-dimensional finish. It is a fantastic way to elevate a classic manicure with modern, eye-catching elements that catch the light beautifully.
Steps
- 1Prep the cuticles
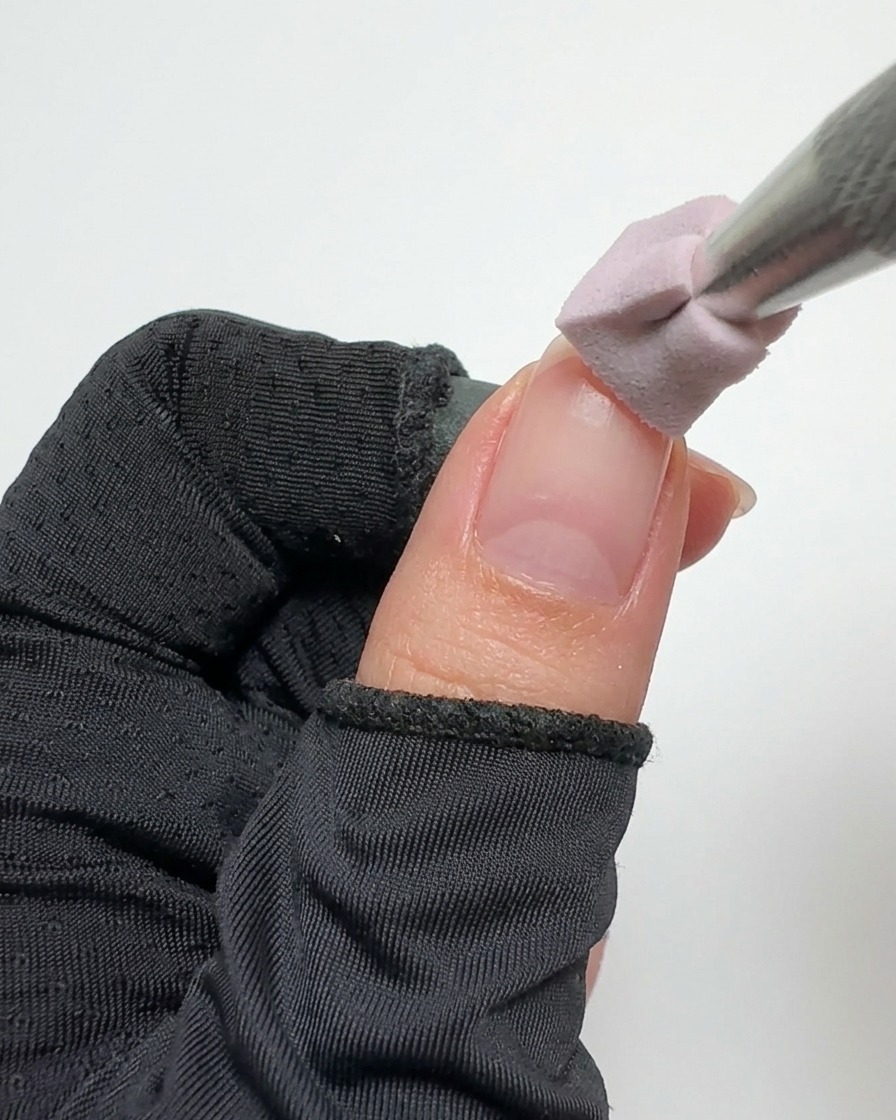
Using a metal cuticle pusher, gently push back the cuticles on each finger. This clears the nail plate of any excess tissue and creates a clean surface for smooth gel application.
Tip: Apply gentle pressure to avoid damaging the nail matrix. - 2Apply milky white gel
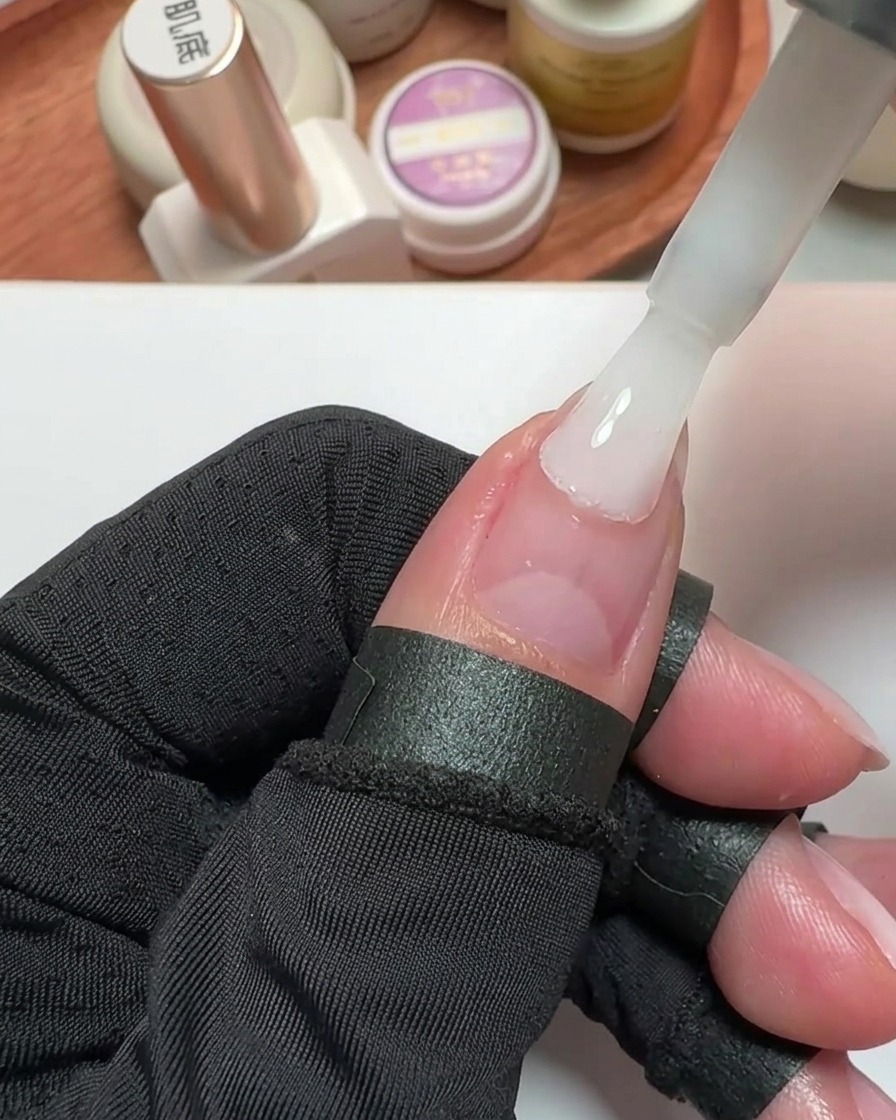
Using a building technique, apply a thin layer of milky white gel over the thumb, middle, and ring fingers. Ensure even coverage across the nail surface to build a smooth foundation for the rest of the design.
Tip: Work with thin layers to prevent flooding the cuticles and to allow the gel to self-level smoothly. - 3Cure under UV lamp
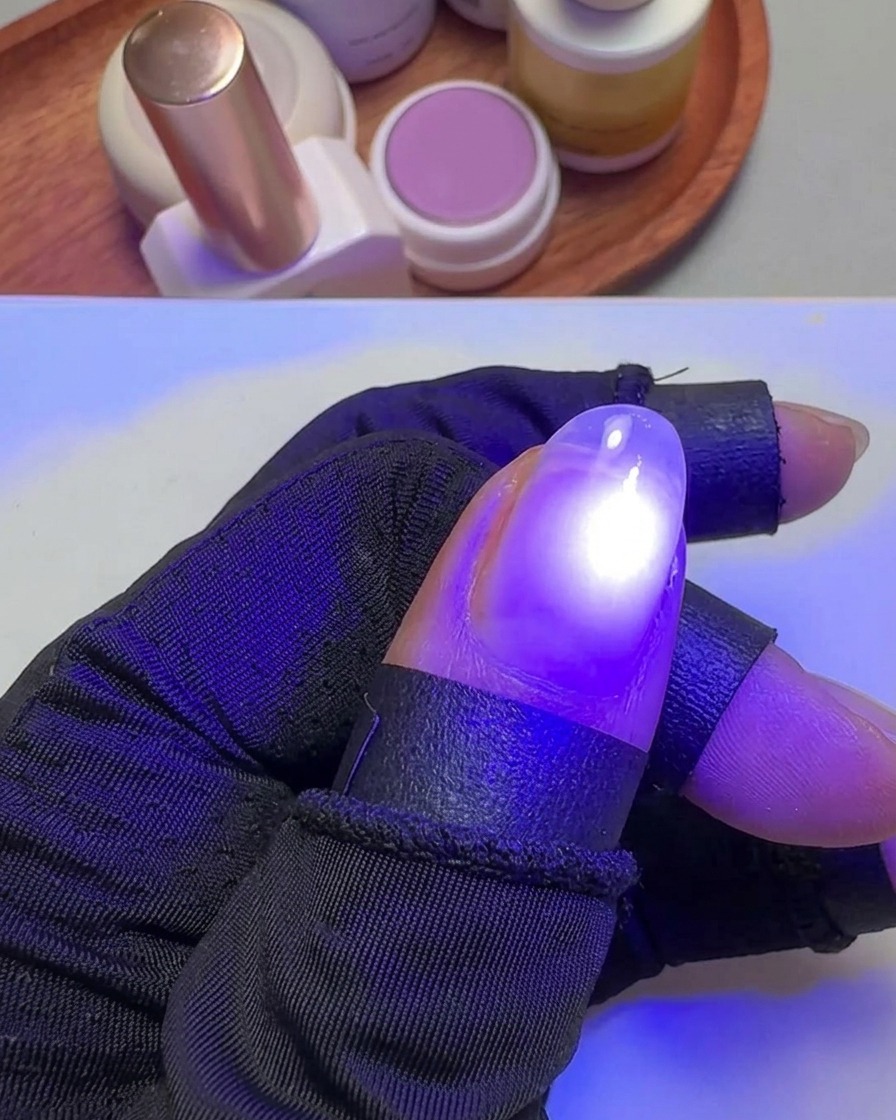
Once the milky white gel is applied evenly, place the thumb under a UV or LED lamp to fully cure. Make sure to rotate the thumb slightly if needed to ensure all sides are exposed to the light.
Tip: Always cure according to the gel manufacturers recommended time for a secure and long-lasting finish. - 4Apply pink nude gel
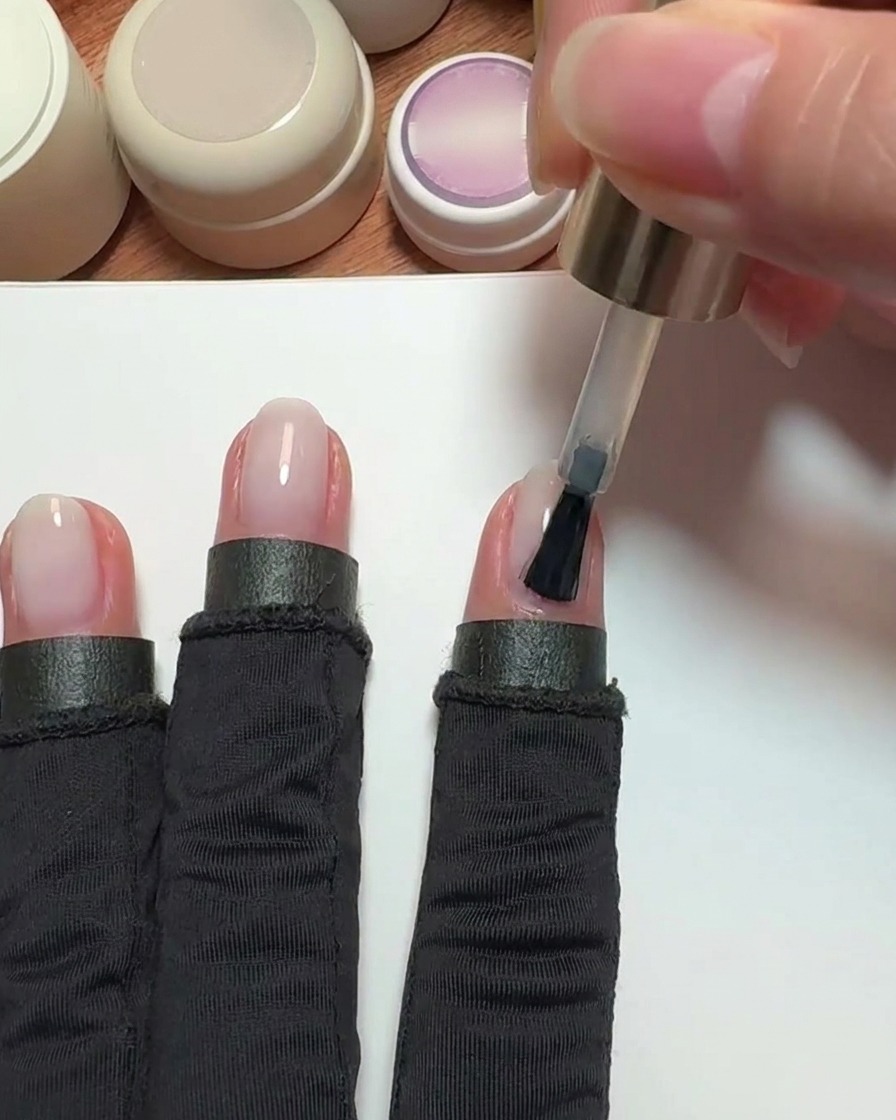
Move on to the index and pinky fingers. Brush on an even layer of pink nude gel polish over these nails. This provides a soft, natural base color that beautifully complements the milky white applied to the other fingers.
Tip: Keep a clean-up brush handy to wipe away any excess gel that might pool near the sidewalls before curing. - 5Apply pink cat-eye gel
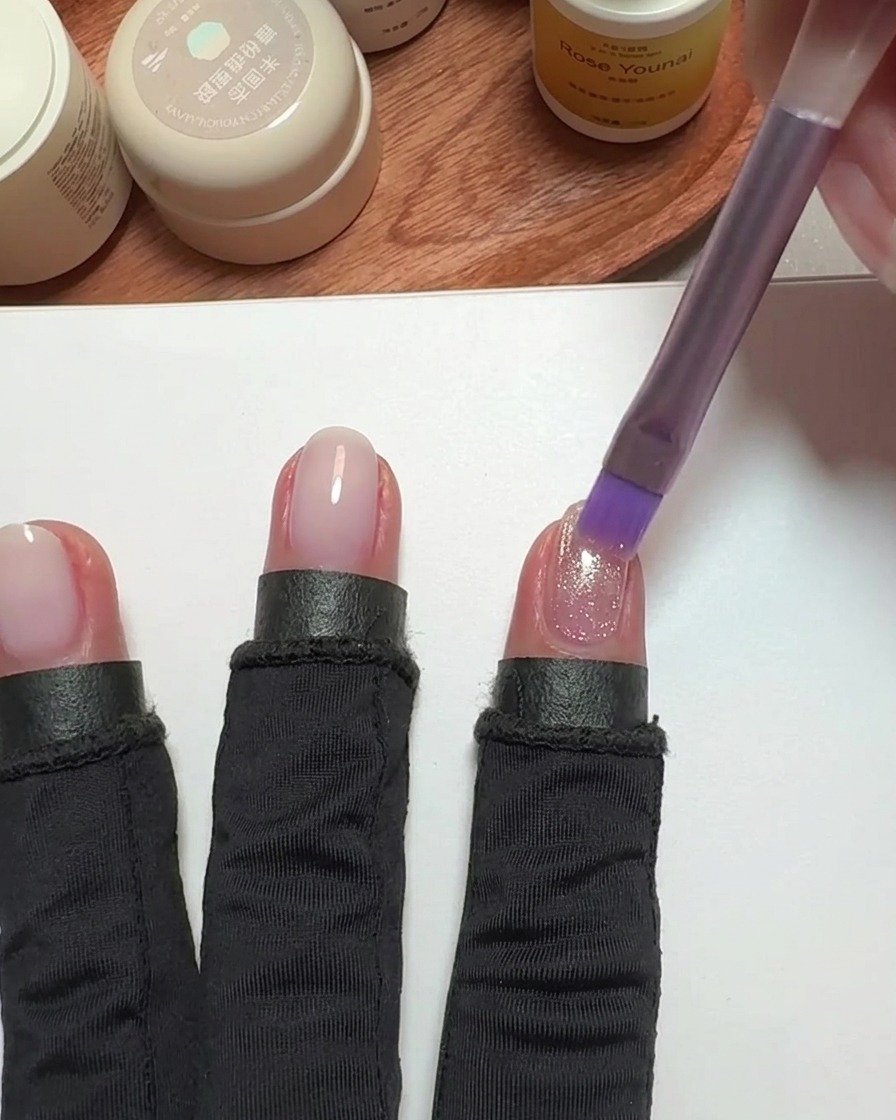
Apply a layer of pink cat-eye gel to the index and pinky fingers. Use a magnet before curing to manipulate the metallic particles, creating the signature glass-bead effect across the nail surface.
Tip: Hold the magnet steady for a few seconds to sharpen the magnetic effect. - 6Create the cat-eye effect
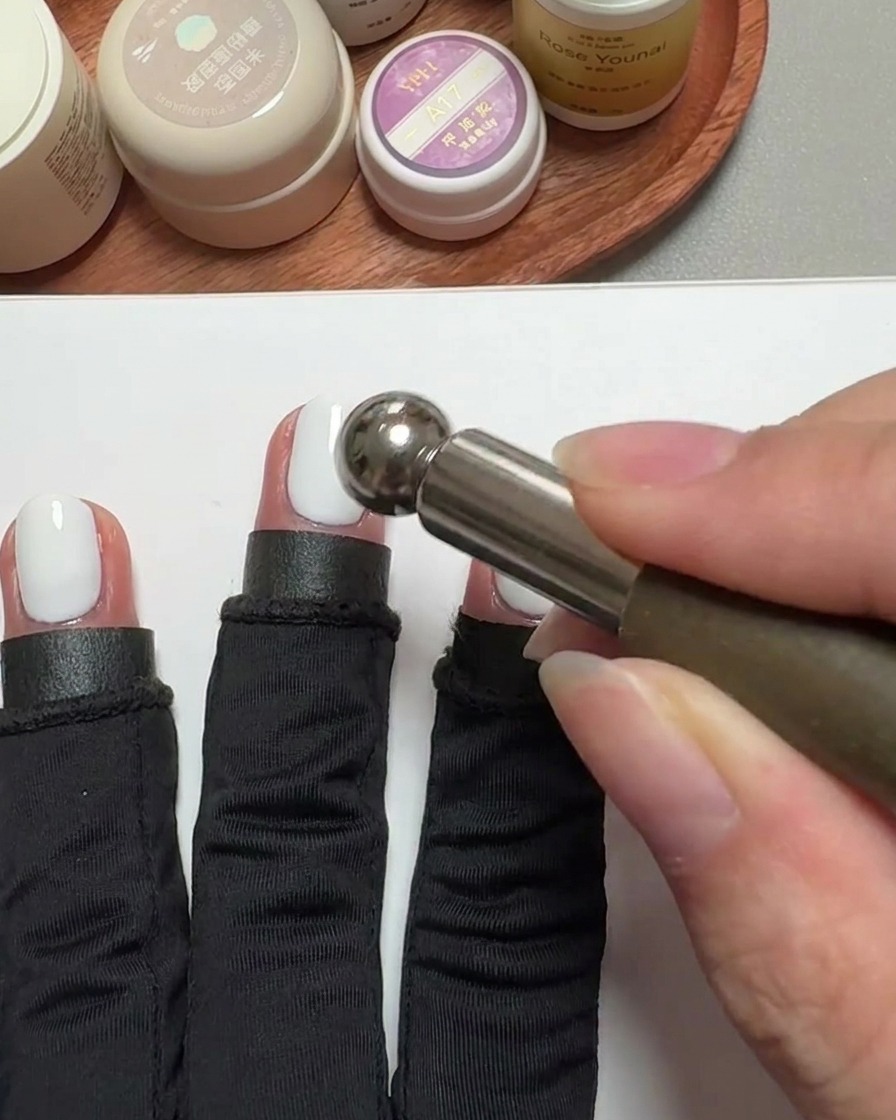
After applying the pink cat-eye gel to your index and pinky fingers, use a magnetic tool to activate the metallic particles. Hover the magnet close to the nail surface without touching it, shaping the particles to create a luminous, glass-bead effect before curing.
Tip: If you make a mistake with the magnet, simply re-brush the cat-eye gel layer to reset the particles and try again before curing. - 7Cure the cat-eye gel
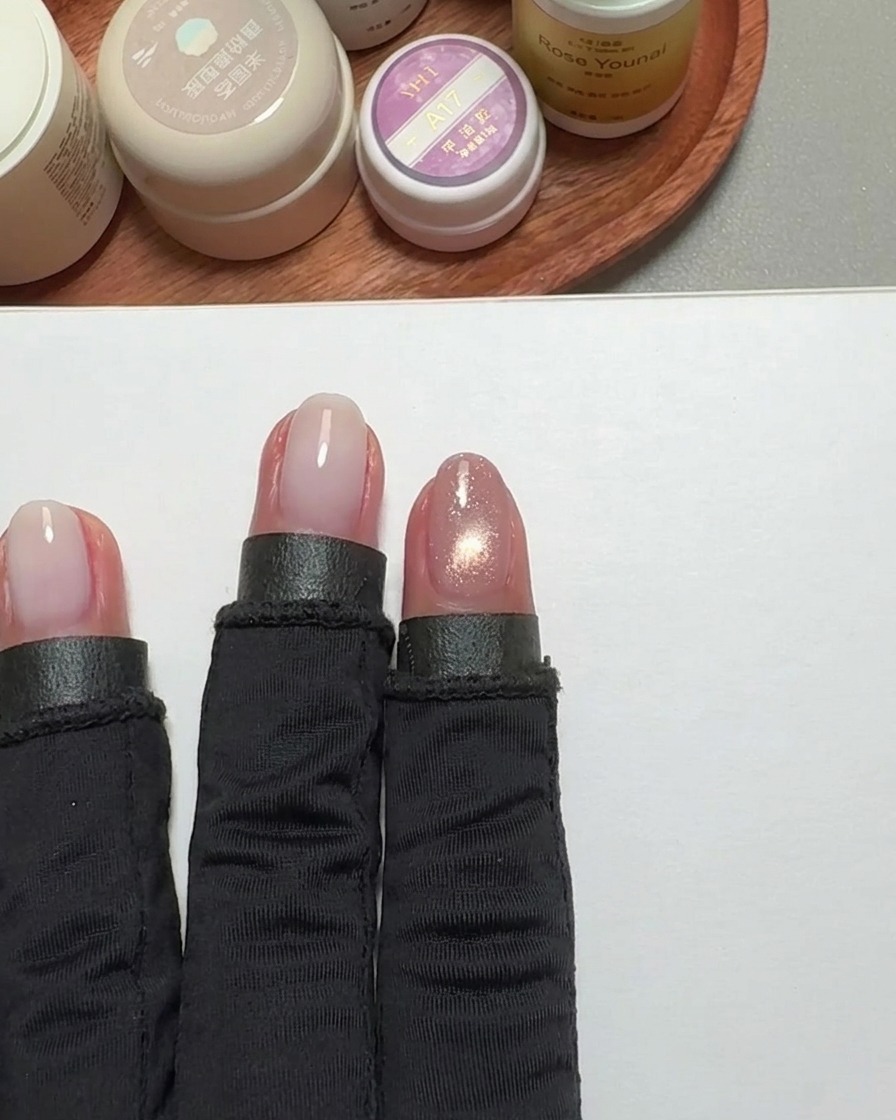
Place the nails under the UV lamp to cure the pink cat-eye gel. This hardens the polish and locks the magnetic design in place.
Tip: Ensure the hand is positioned correctly inside the lamp for an even cure. - 8Mix gel for nail art
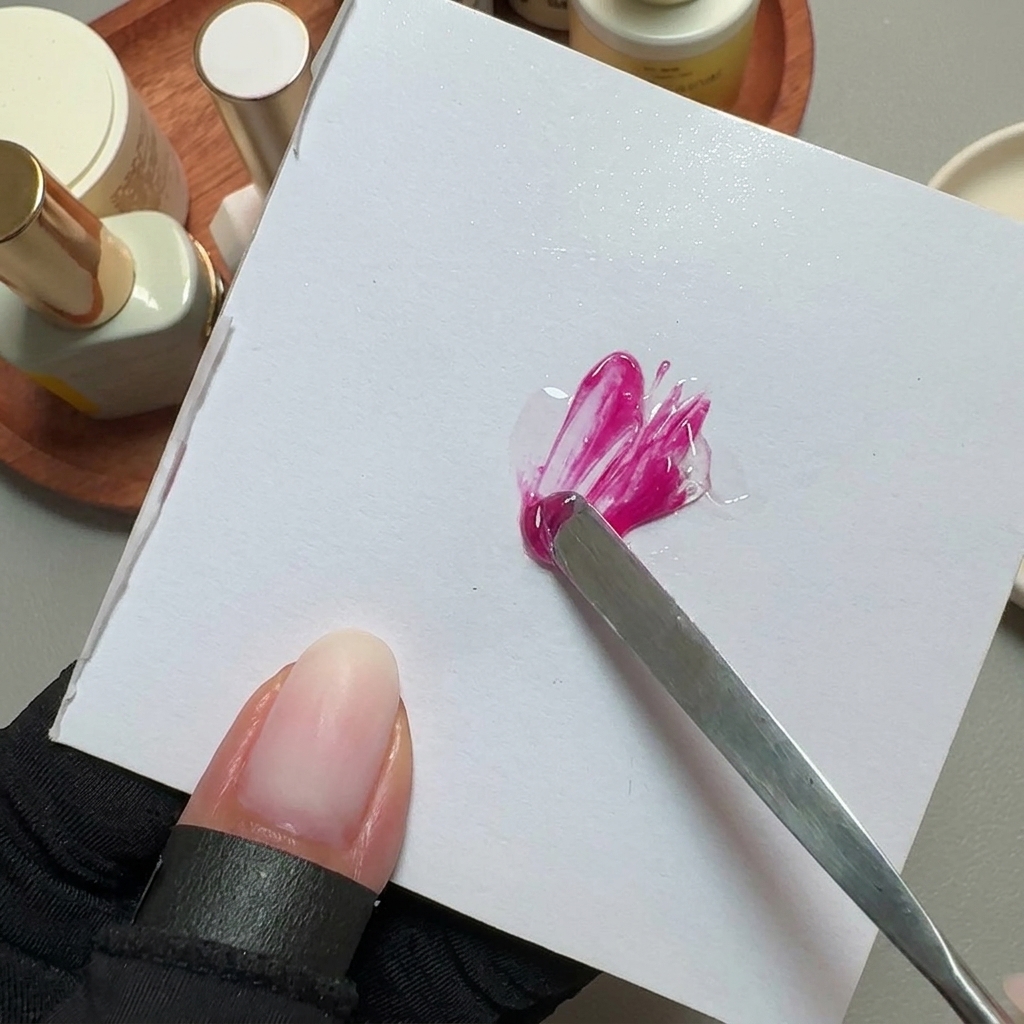
Prepare your custom color for the nail art designs by mixing a bright pink gel with a small amount of top coat on a palette. Use a spatula to blend the mixture thoroughly until you achieve a smooth, workable consistency. This creates the perfect texture and opacity for drawing precise shapes.
Tip: Mixing your gel color with a bit of top coat can improve its flow, making it much easier to paint crisp, fine lines and shapes without the gel running. - 9Paint the heart, star, and bow shapes
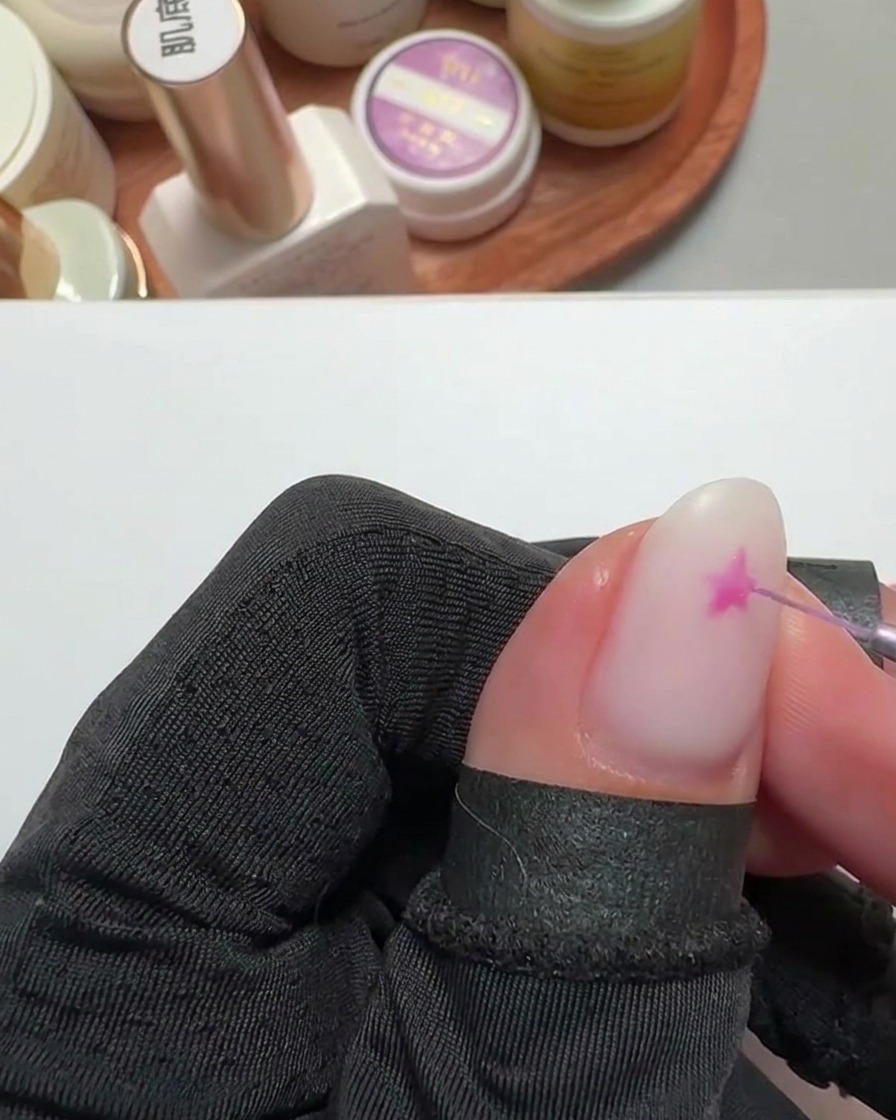
Using a fine liner brush and your custom-mixed pink gel, carefully draw heart, star, and bow shapes onto the nails over your cured milky base. Work slowly to outline the shapes, then fill in the centers for a crisp, solid design. Flash cure between different fingers to prevent the gel from shifting or bleeding before the final cure.
Tip: Anchor your pinky finger on a stable surface or the clients hand to keep your hand perfectly steady while painting detailed linework. - 10Refine art with transfer stickers
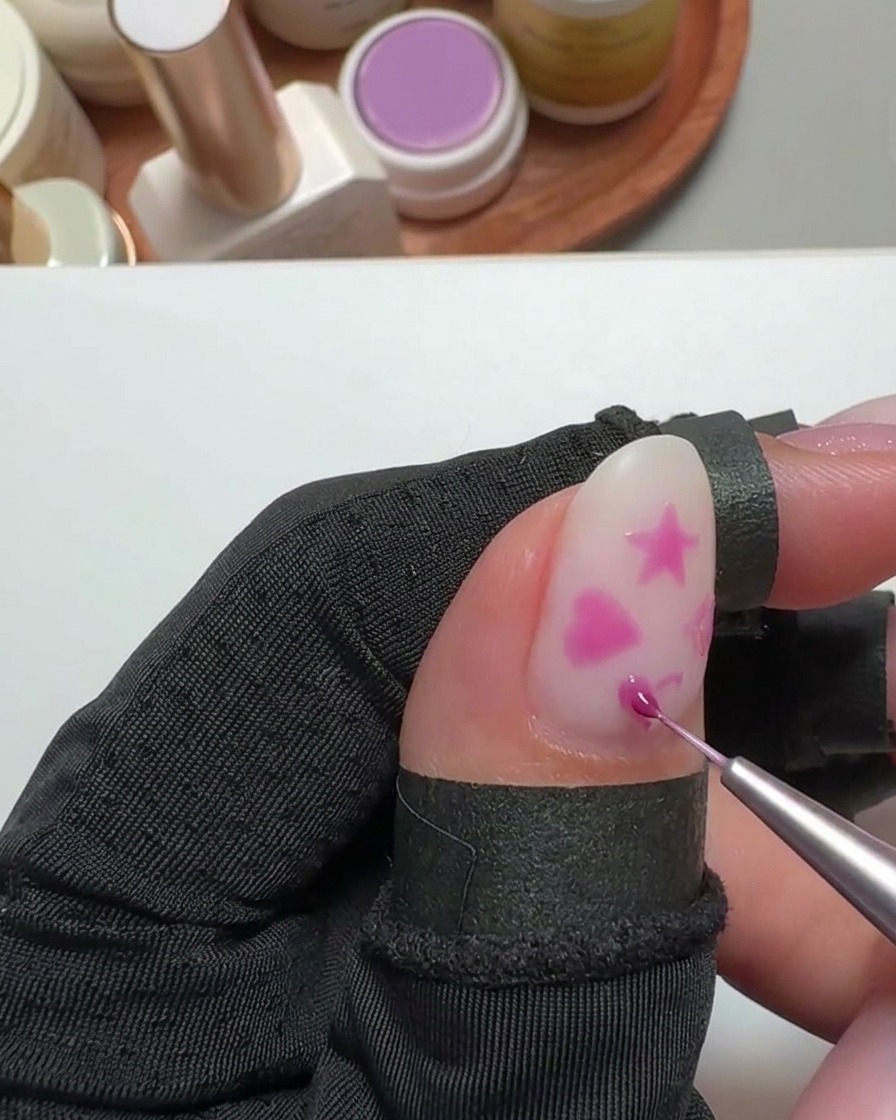
Use a transfer sticker to help sharpen and refine the heart shape design previously drawn on the nail. Carefully place the sticker to outline or define the edges for a clean, precise look.
Tip: Use tweezers to position the transfer sticker accurately. - 11Fill in art shapes
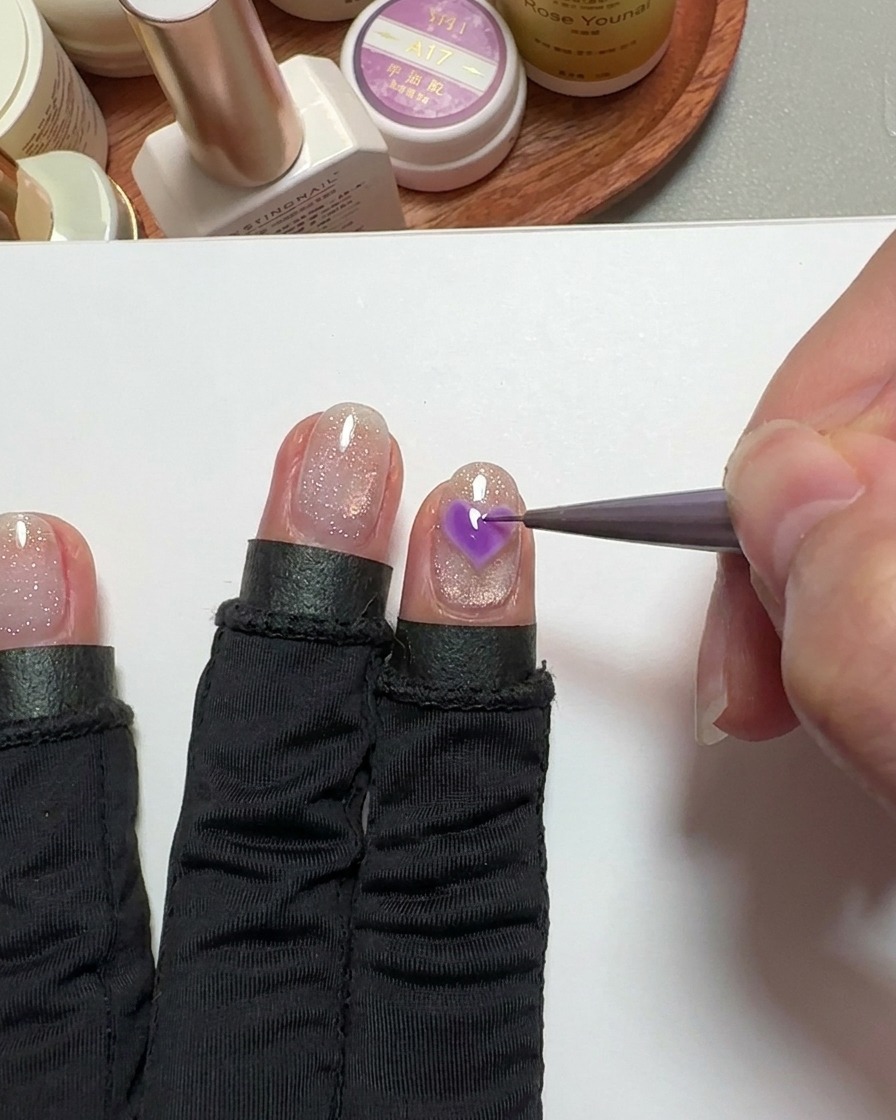
Using a thin liner brush, fill in the defined heart shape with pink gel to ensure the color is vibrant and uniform. This step finalizes the visual intensity of the nail art.
Tip: Keep the layer thin to prevent pooling at the edges of the design.