Sparkling Gold Cat-Eye Butterfly Nails — Step-by-Step Tutorial
Create a mesmerizing look with this gold cat-eye butterfly nail tutorial. Learn how to combine magnetic gel gradients with stencils for a flawless finish.
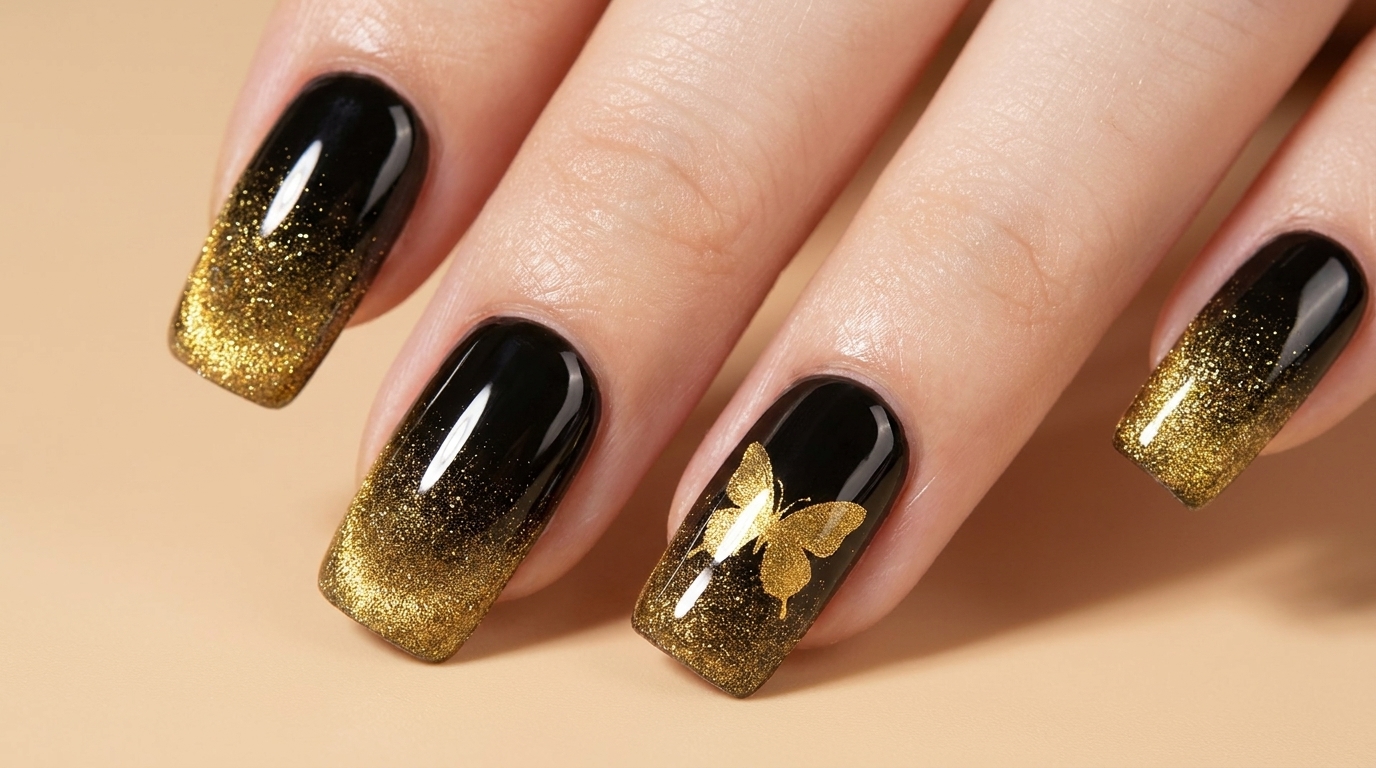
Cat-eye gels offer incredible dimension, and pairing them with negative space stenciling elevates the design to a whole new level. This stunning look starts with a rich, glossy black base and introduces a sparkling gold magnetic gradient at the tips. By layering opaque black over a delicate hollow butterfly sticker, you reveal a brilliantly glowing, gem-like silhouette trapped within the nail. It is a striking combination of texture and precision that looks intricate but is highly achievable.
Steps
- 1Apply magnetic cat-eye gel
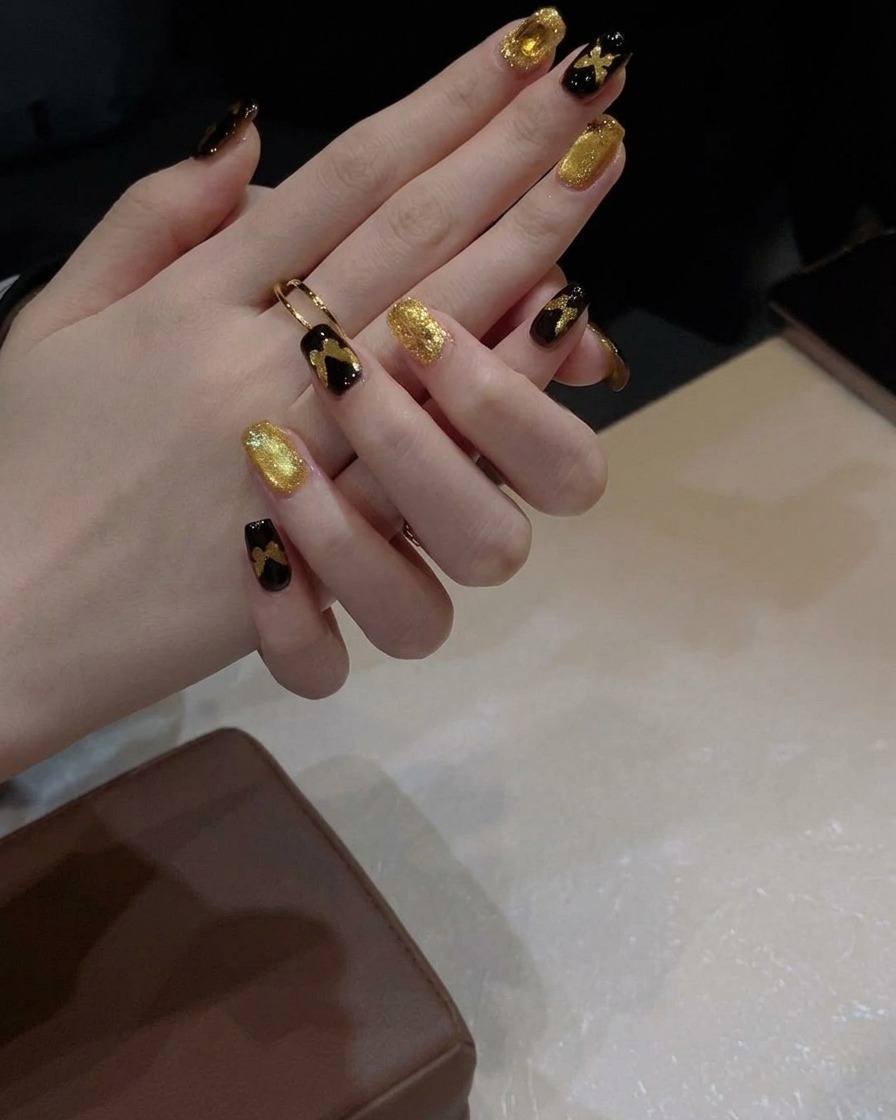
Apply an even layer of rich gold cat-eye gel polish to the tip area of nails that have already been painted and cured with a black base. Use a standard gel brush to distribute the product smoothly across the surface.
Tip: Apply a slightly more generous layer than a standard color coat to ensure the magnetic particles have enough fluid to move freely. - 2Create a magnetic gradient
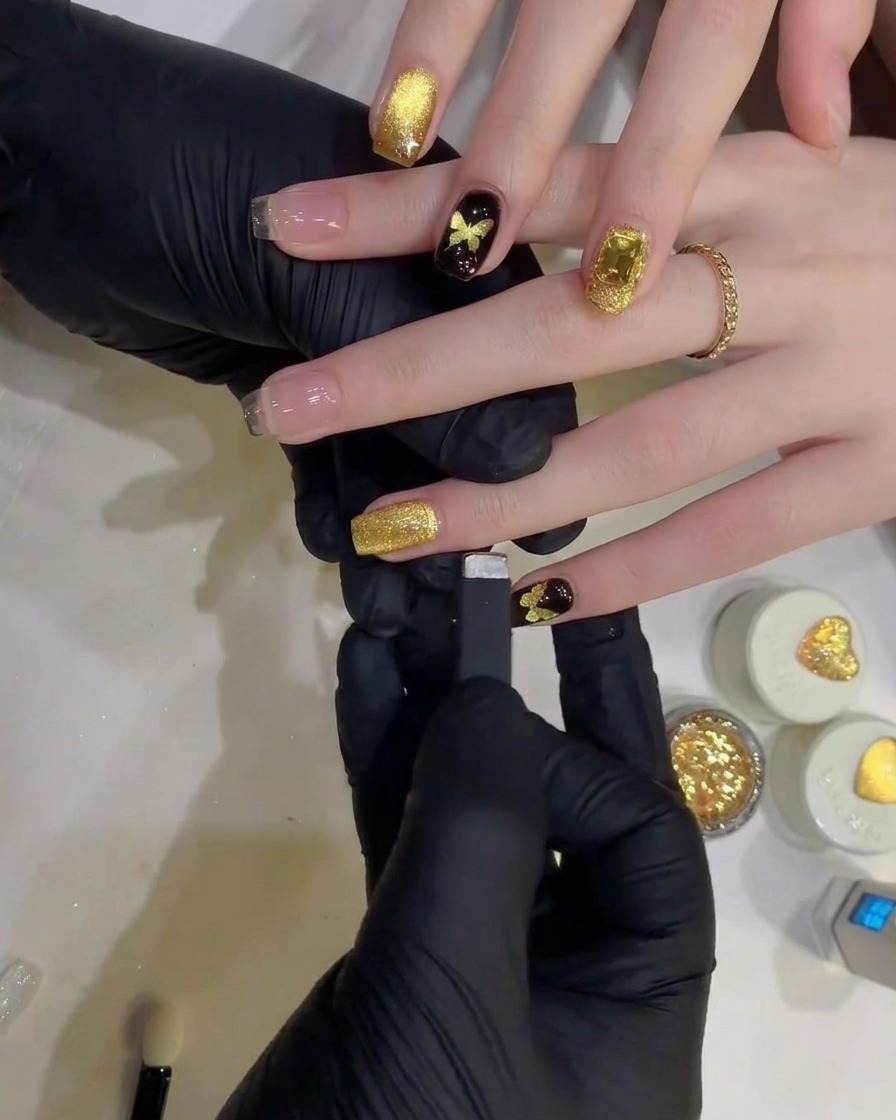
Before curing, hold a wide rectangular magnet near the free edge of the nail. The magnetic force will pull the glitter particles toward the cuticle, creating a smooth, fine shimmer gradient fade.
Tip: Keep the magnet close to the nail surface without touching it to get the strongest reaction from the glitter. - 3Create a glass bead effect
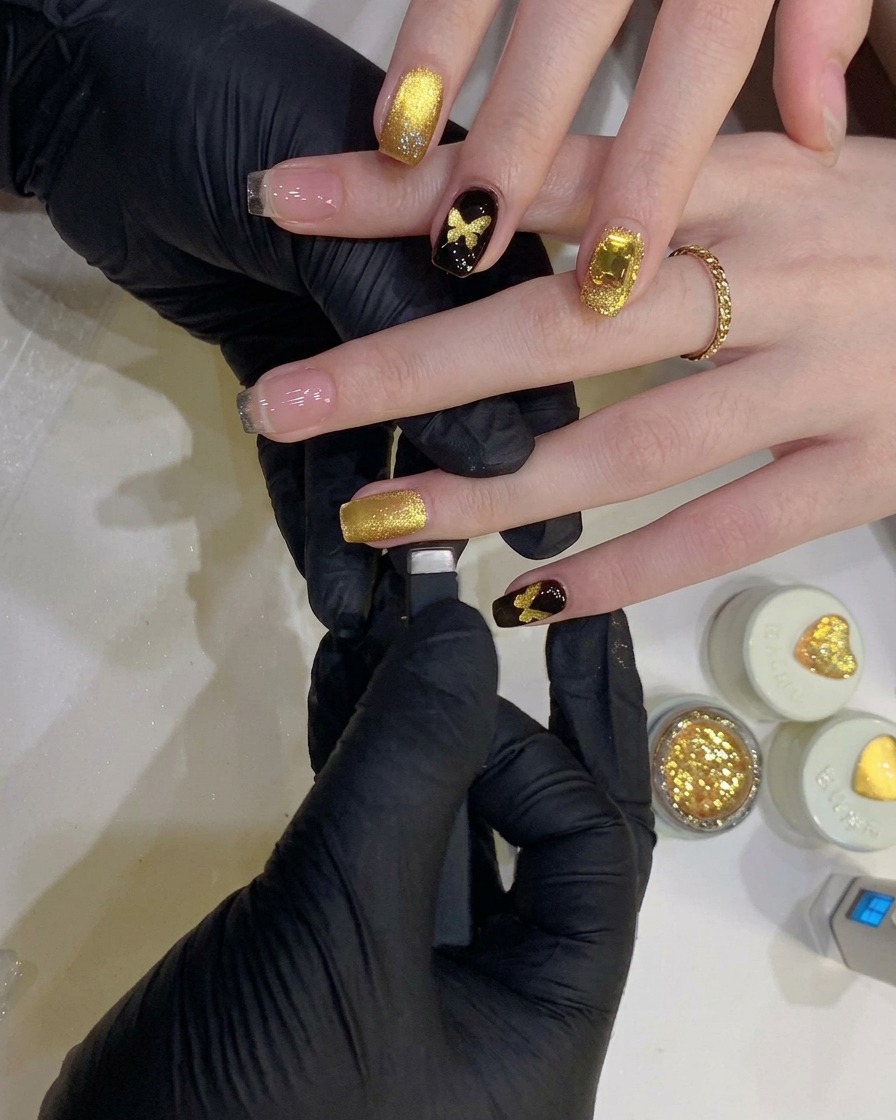
While the gel is still wet, use a small, precision round magnetic pen to concentrate the glitter particles into a specific area. Move the tool in small circular motions to gather the shimmer into a brilliant, rounded glass-bead highlight.
Tip: This technique gives the nail a three-dimensional depth that mimics a gem. - 4Cure the cat-eye design
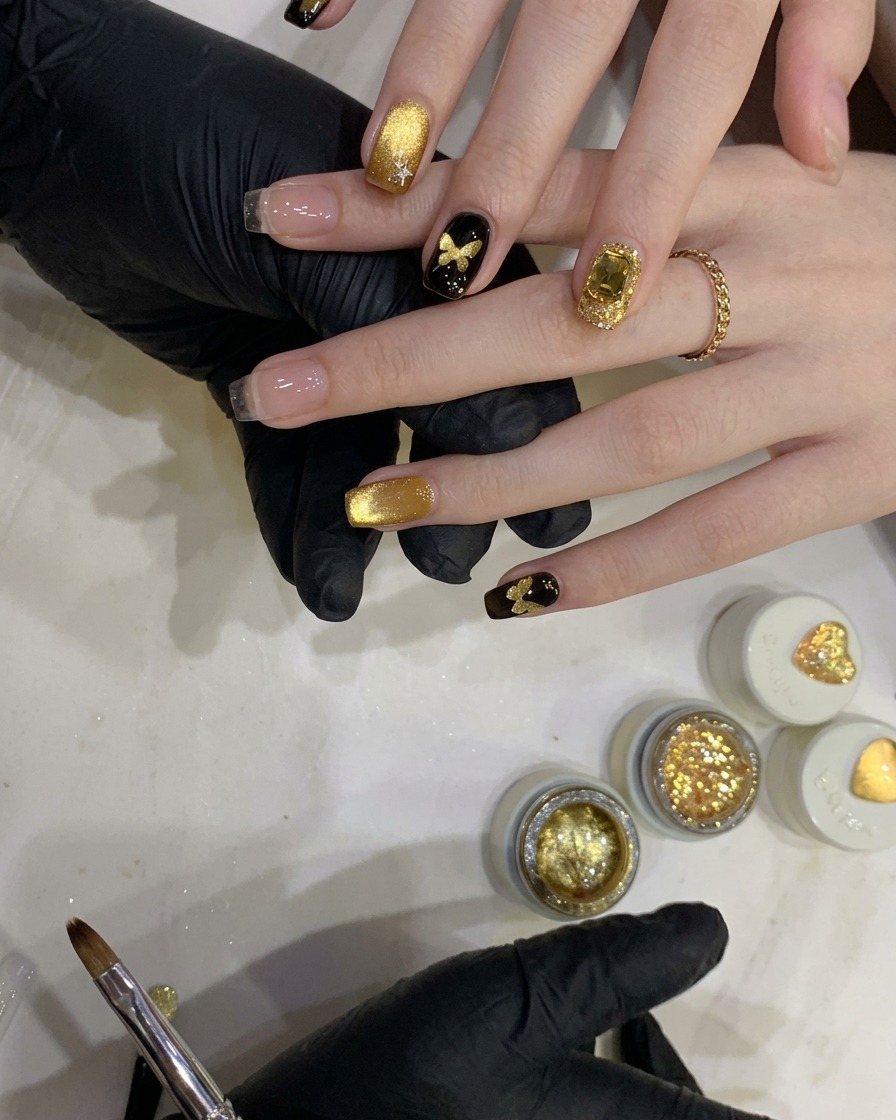
Once you are satisfied with the placement of the glitter highlight, place the finger under a UV/LED lamp. Cure the gel thoroughly to lock the magnetic effect in place.
Tip: Ensure the lamp is centered over the nail to provide consistent light coverage. - 5Prepare butterfly stencil
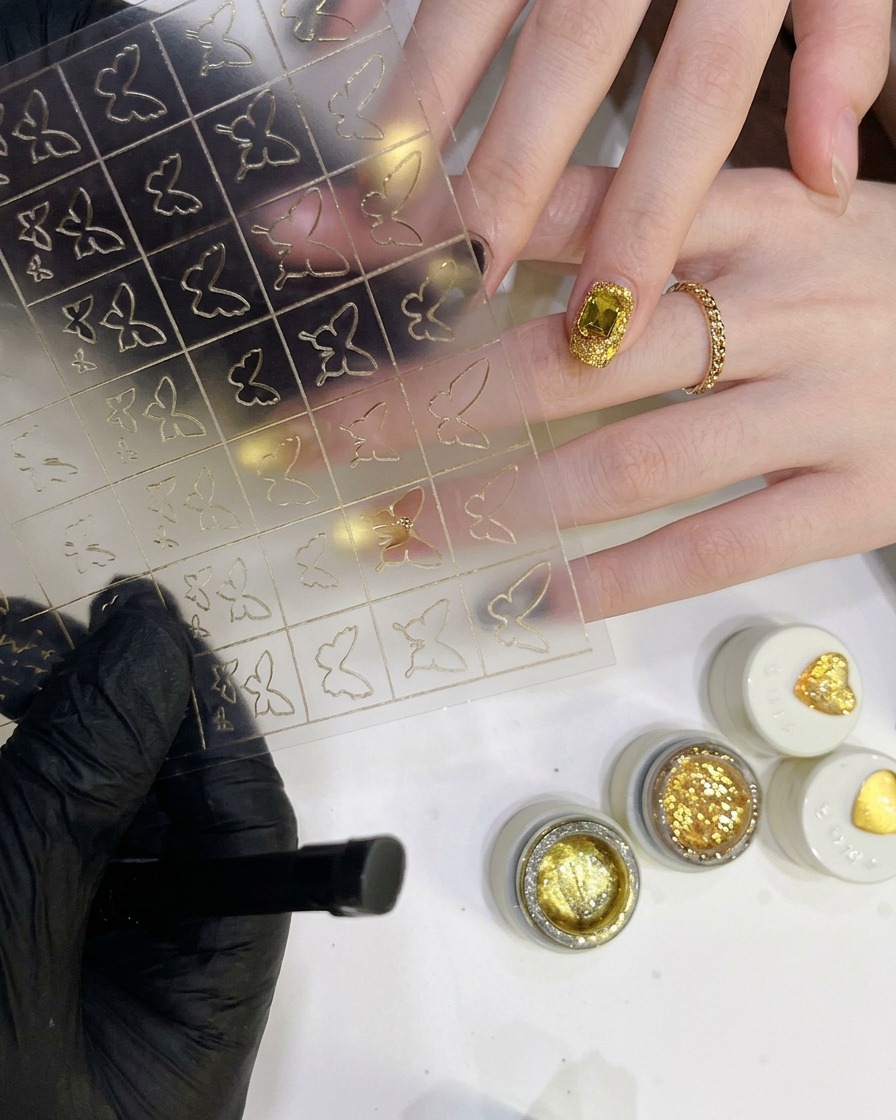
Using fine-tipped tweezers, gently peel a hollow butterfly stencil sticker from its backing sheet. Be careful not to stretch or tear the delicate lines of the sticker.
Tip: Use tweezers for better precision to avoid oils from your fingers affecting the adhesive quality of the sticker. - 6Apply the stencil
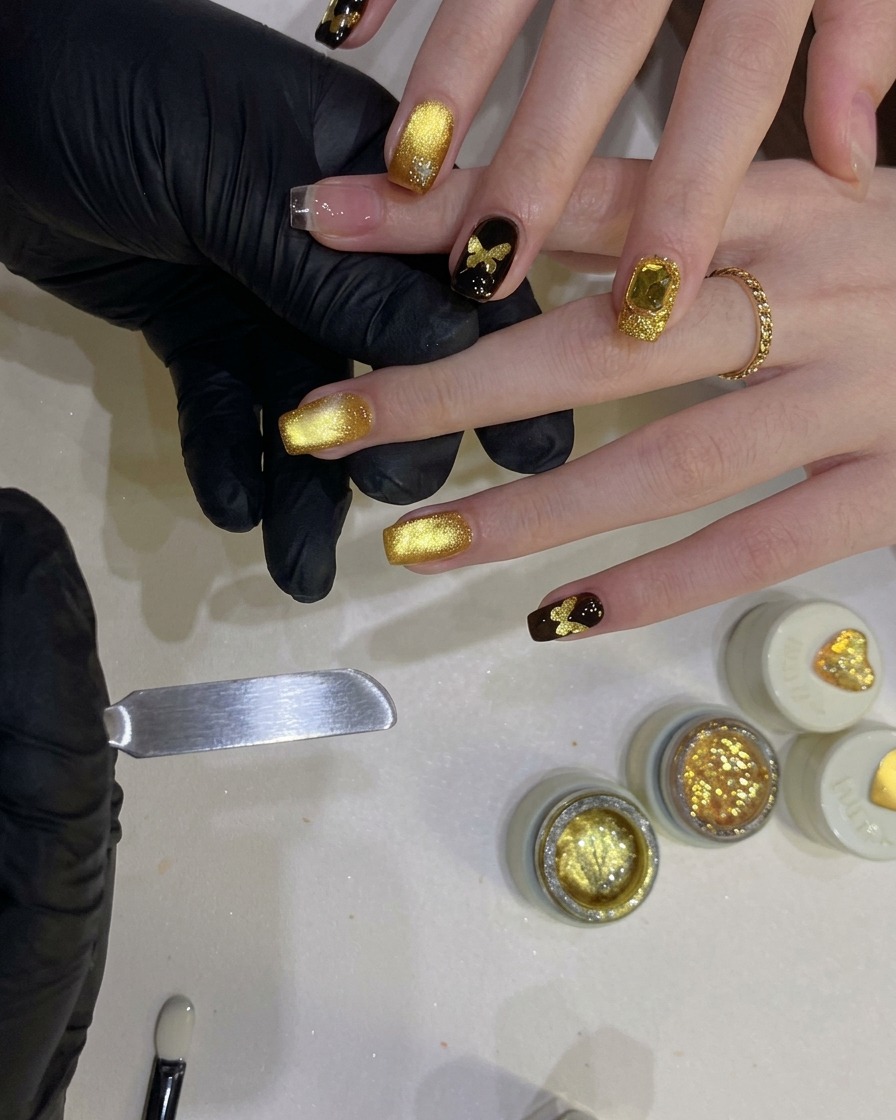
Carefully place the hollow butterfly stencil onto the center of the cured nail. Press it down firmly with a silicone tool or your finger to ensure all edges are flat and fully adhered to the surface.
Tip: Ensure no air bubbles are trapped under the edges of the stencil to get crisp lines when applying the gel over it. - 7Load the sponge tool
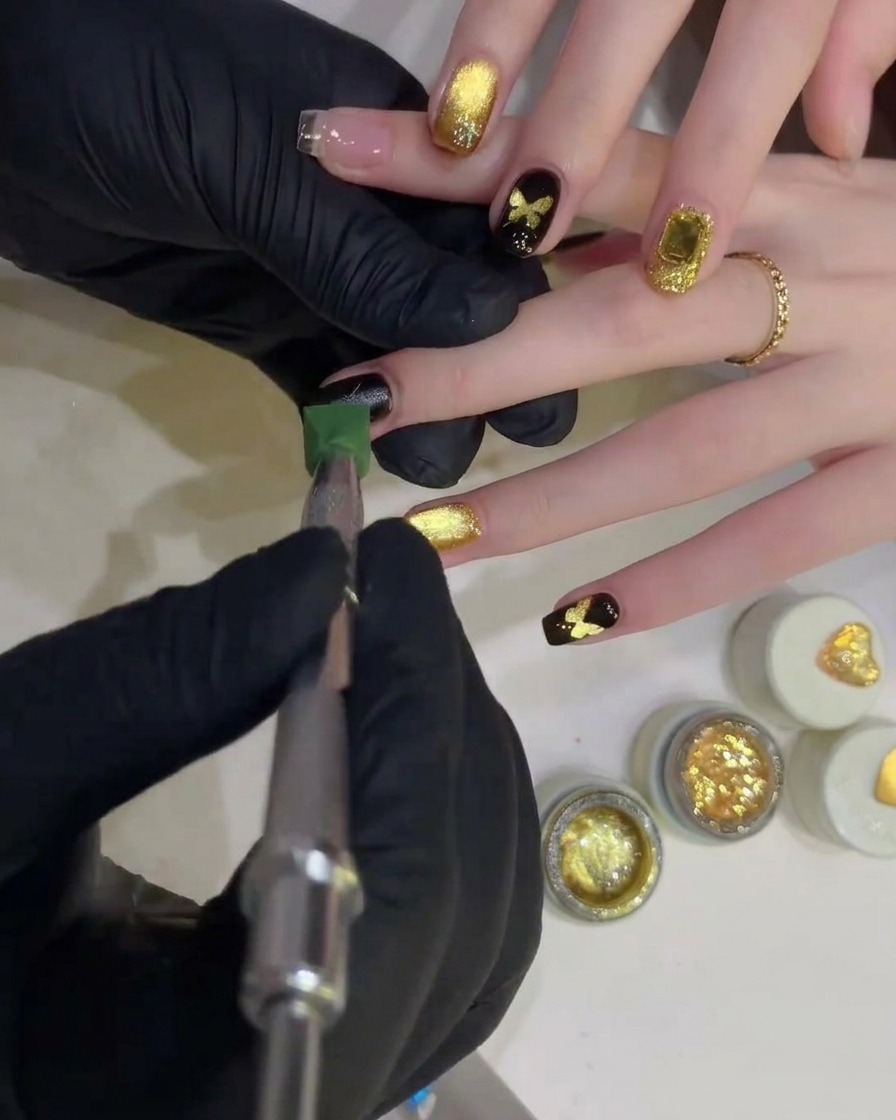
Take a small detailing sponge tool and load it with a sufficient amount of opaque black gel polish. Ensure the sponge is evenly saturated so you can easily dab the gel onto the butterfly stencil for full, clean coverage.
Tip: Do not overload the sponge, as excess gel can seep under the stencil and blur the edges of your design. - 8Apply black gel over the stencil
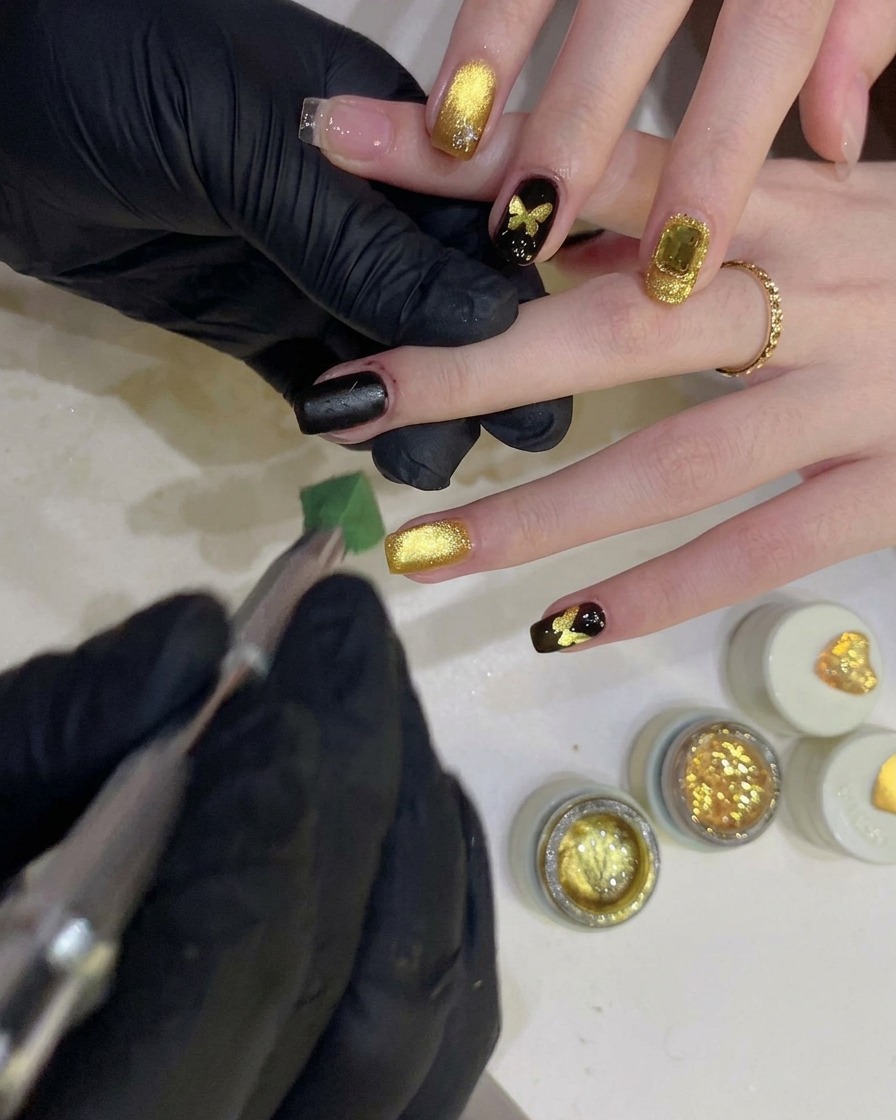
Using the sponge tool loaded with black gel, repeatedly dab and press over the hollow butterfly shape. This technique ensures the gel fills in the stencil pattern completely, creating a seamless background that will eventually reveal a crisp golden butterfly silhouette.
Tip: Use a light dabbing motion rather than dragging the sponge to prevent smudging or lifting the stencil edges. - 9Cure the black gel layer
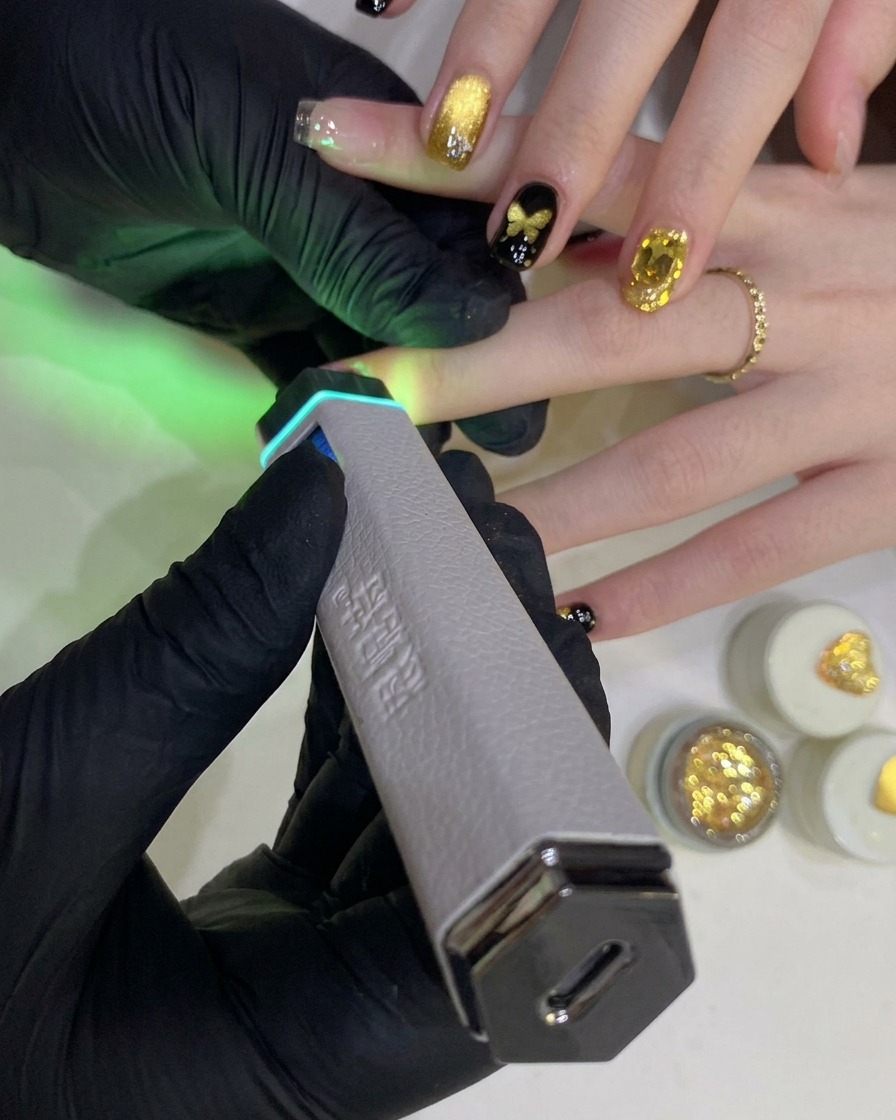
Once the stencil area is fully covered with opaque black gel polish, place the finger under a handheld UV or LED lamp. Cure the nail completely to ensure the black layer sets securely over the gold base without smudging. Ensure the gel is fully hardened before attempting to remove the sticker.
Tip: A handheld lamp is excellent for flash curing nail art quickly, preventing the gel from bleeding or pooling before a full cure. - 10Remove the stencil to reveal the design
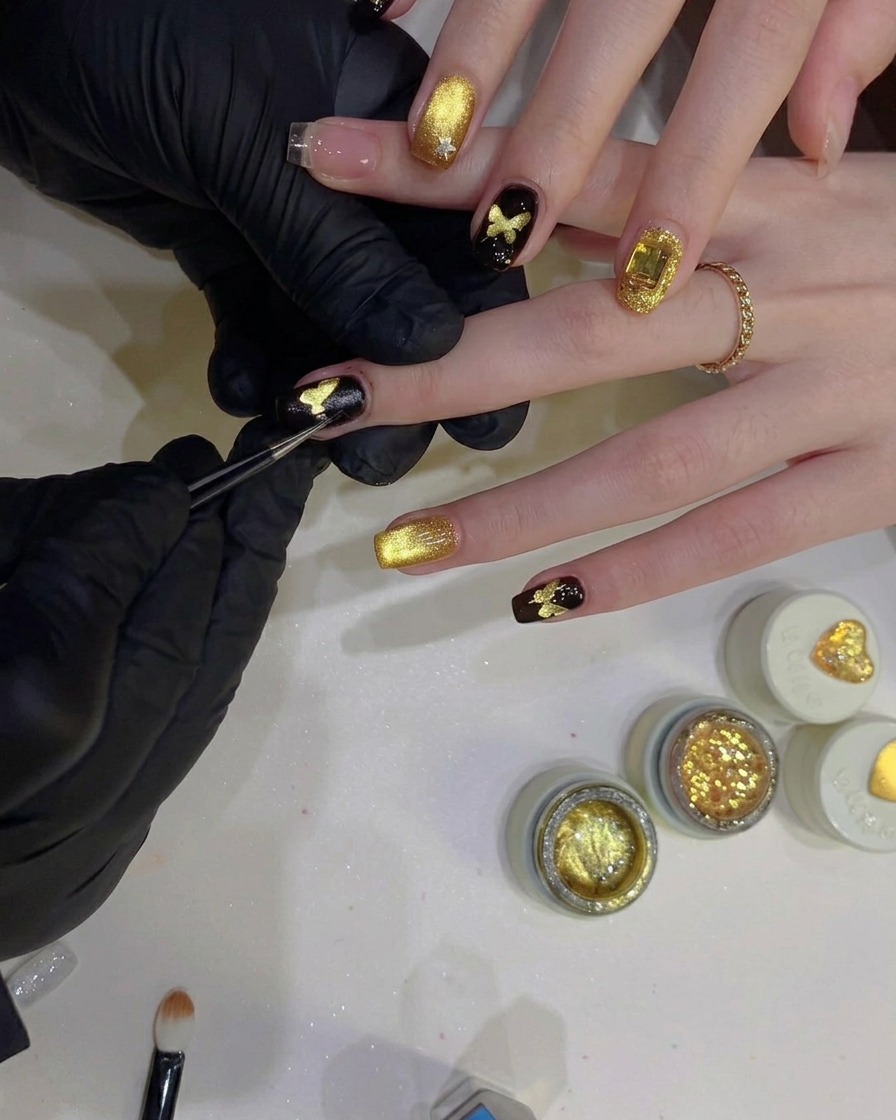
Using a pair of fine-tipped tweezers, carefully grasp the edge of the hollow butterfly sticker. Slowly and steadily peel it away from the nail plate. This reveals the rich, sparkling gold cat-eye gel underneath, creating a sharp, flawless butterfly silhouette against the dark background.
Tip: Peel the stencil slowly and close to the nail surface to maintain crisp, clean edges around the revealed design. - 11Seal with a reinforcement top coat
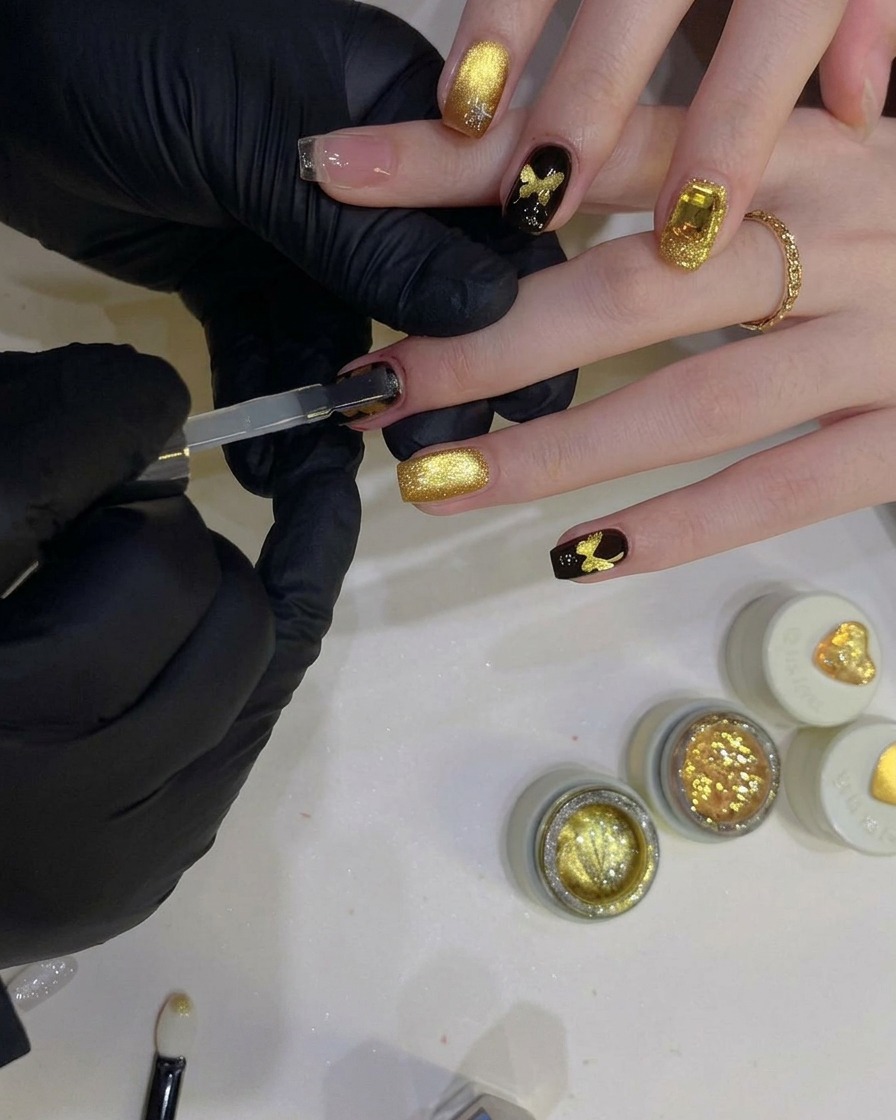
Take a flat gel brush and apply a layer of clear reinforcement top coat over the entire nail. This evens out any ridges left by the stencil and provides a smooth, leveled surface. Make sure to cap the free edge to lock in the butterfly design and prevent chipping.
Tip: Using a reinforcement gel before your final top coat is crucial for smoothing out layered or textured nail art. - 12Final cure under the lamp
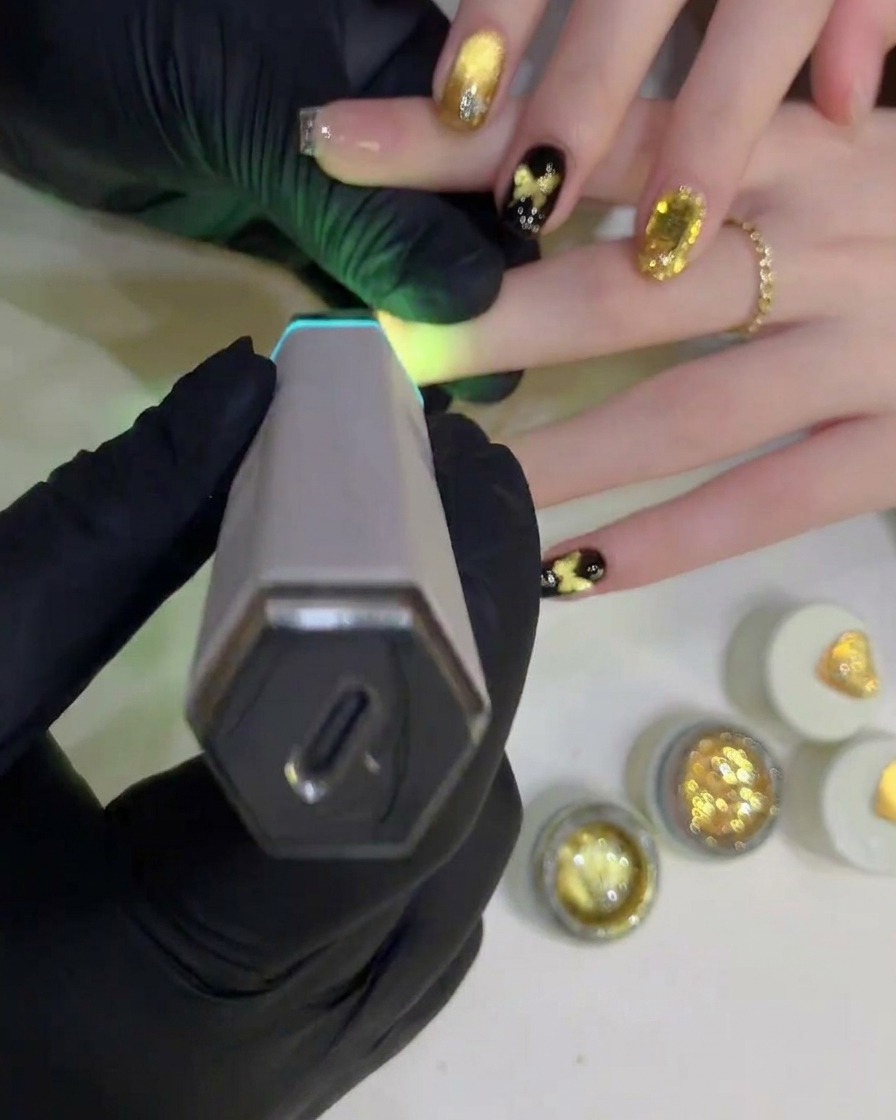
Place the fully coated nail under your handheld UV or LED lamp for one last cure. Hold the light steady for the recommended time to ensure the reinforcement and top coats are completely hardened. This step guarantees a durable, high-gloss finish that will protect your intricate butterfly nail art.
Tip: Always follow the gel manufacturers recommended curing time to prevent a tacky finish or under-cured product.