Rose Gold Glitter
White Gradient Water Pipe Square Nails
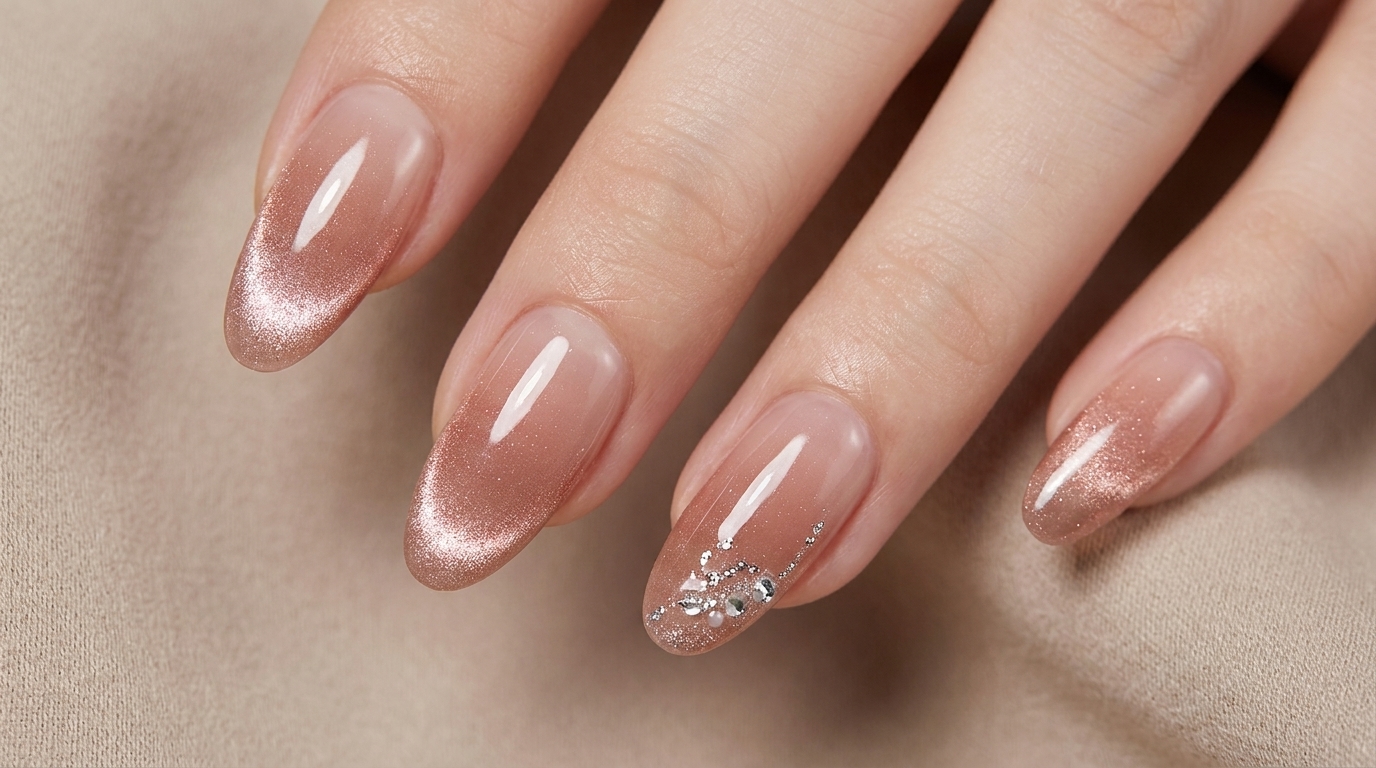
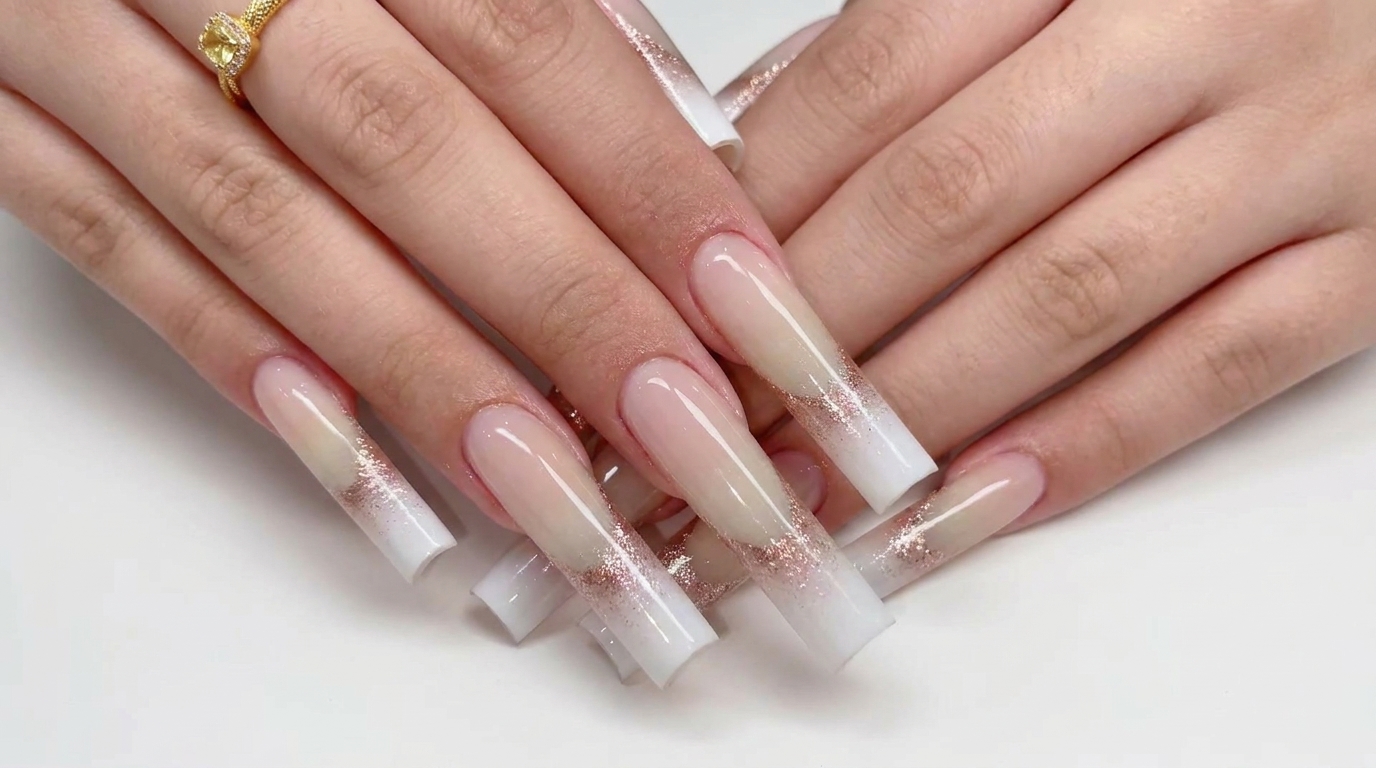
Elevate your style with high-end water pipe square nails, featuring a sparkling rose gold glitter gradient and a soft white baby boomer fade.
The water pipe square shape is a sophisticated, high-end nail style that provides incredible structure and a modern, architectural look. By combining a nude base with a shimmering rose gold glitter gradient and a misty white baby boomer transition, this design achieves a perfectly balanced, elegant aesthetic. It is a timeless look that works beautifully for any occasion requiring a touch of glamour.
Steps
- 1Prepare for nail extension
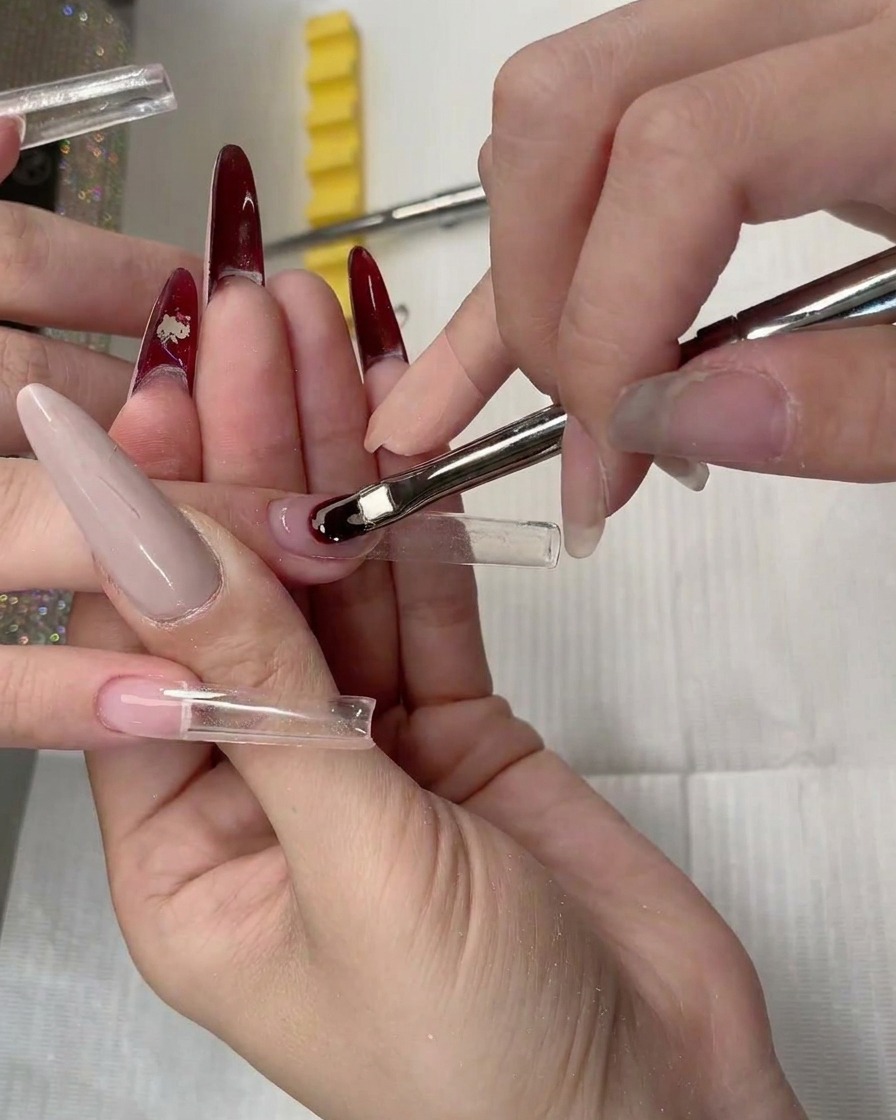
Carefully place a clear nail extension form under the free edge of the natural nail. Ensure the form is aligned straight with the nail to provide a solid foundation for the water pipe square structure.
Tip: Check the alignment of the form from multiple angles to ensure the resulting extension will be perfectly straight. - 2Apply clear builder gel
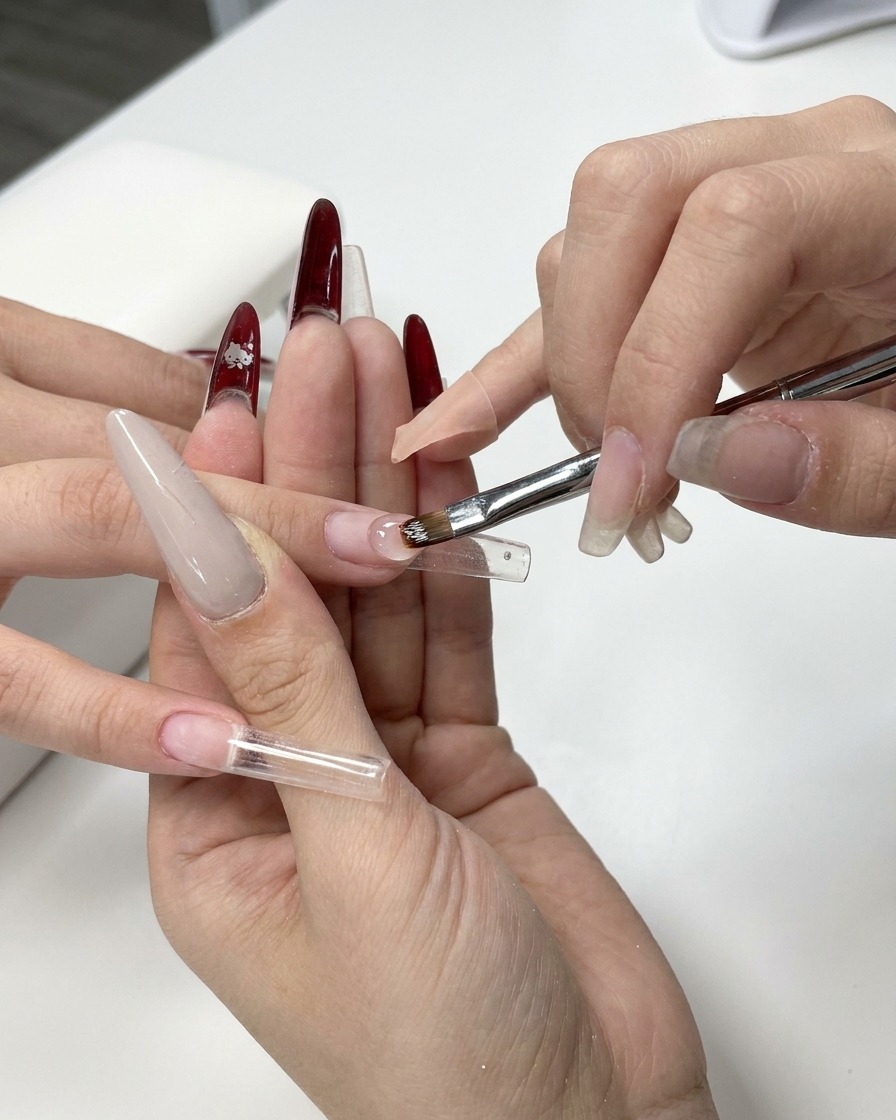
Using a gel brush, pick up a bead of clear builder gel and apply it onto the nail form. Gently guide the gel down the form to begin building the foundation for the water pipe square extension, ensuring even coverage.
Tip: Keep the gel slightly thicker at the stress area for added strength and durability. - 3Level the builder gel
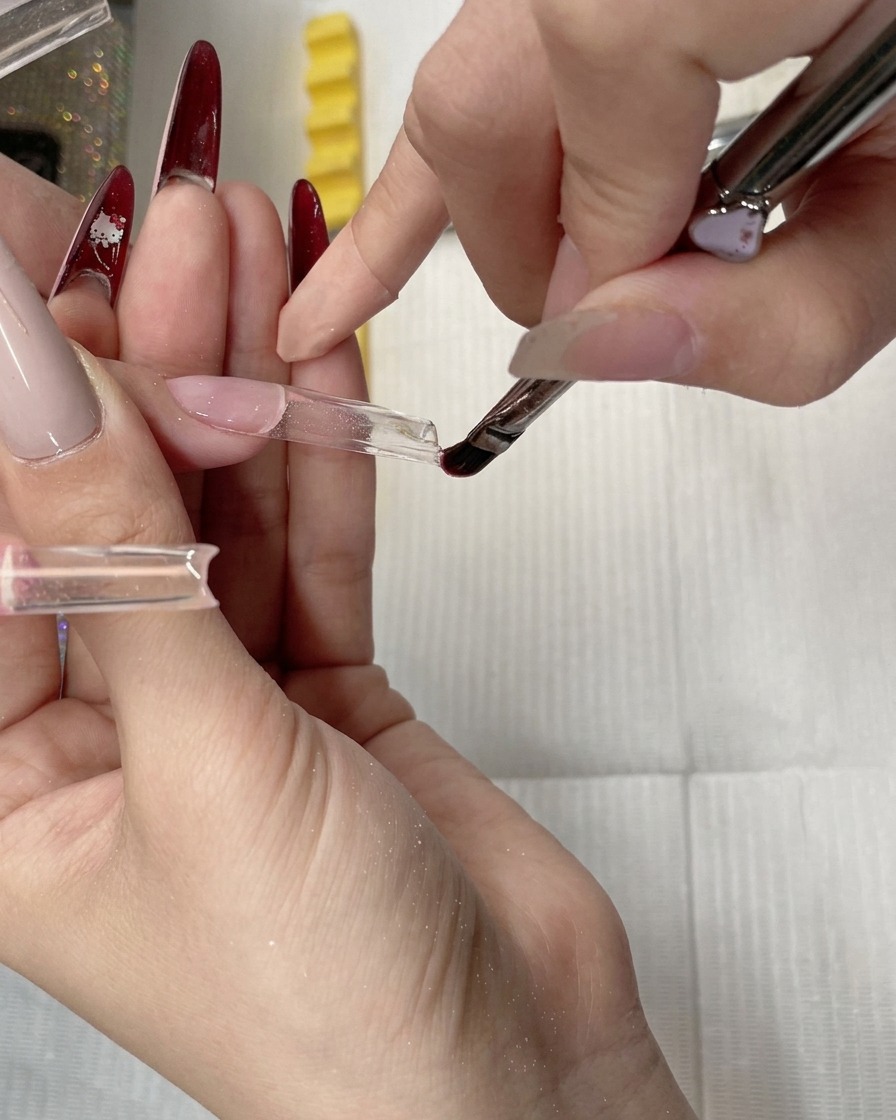
Float the gel brush over the surface of the clear builder gel to spread and level it. Work the product down to your desired extra-long square length, refining the shape and ensuring the surface is smooth before curing.
Tip: Use light, feathery strokes to allow the gel to self-level without creating dips or air bubbles. - 4Cure the clear builder gel
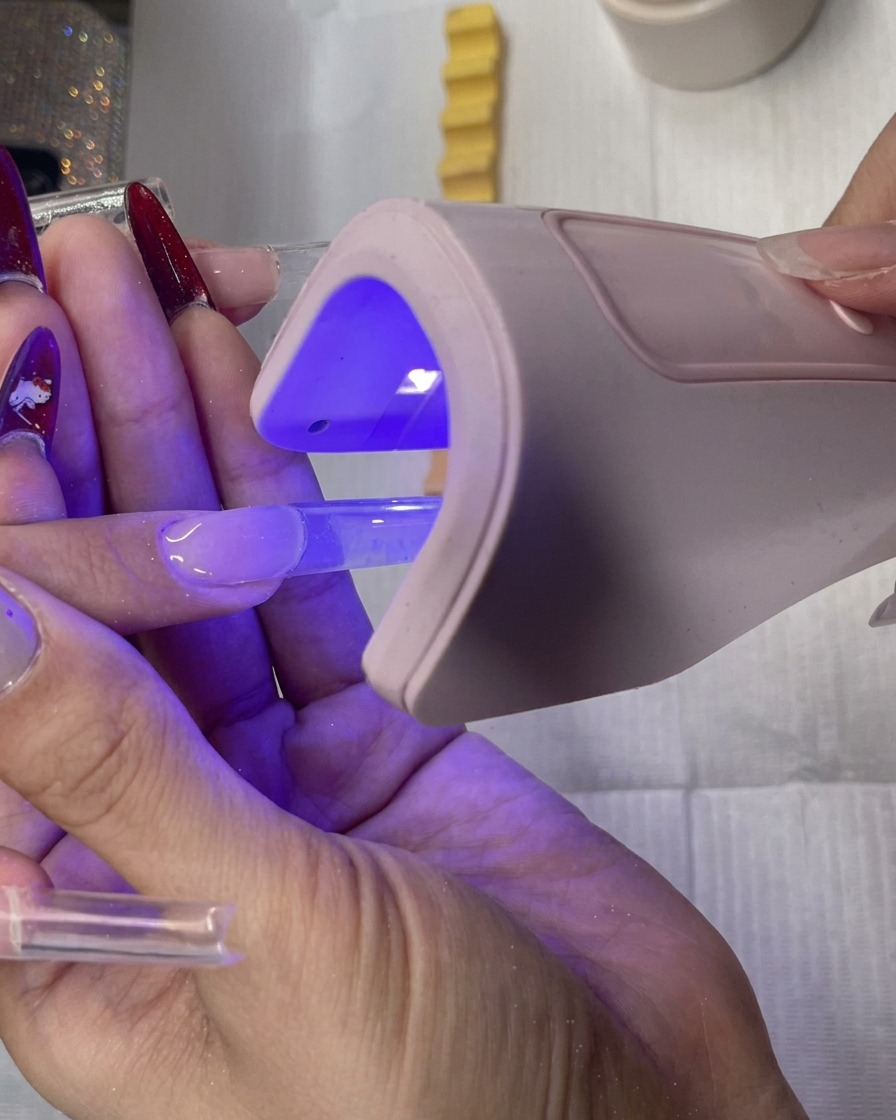
Once you have applied and shaped the clear builder gel for the water pipe square extension, use a small handheld pink LED lamp to flash cure the gel. This ensures the structure stays perfectly in place before you move on to a full cure.
Tip: A handheld lamp is excellent for flash curing as it prevents the wet gel from shifting before the structure sets. - 5Pinch the C-curve
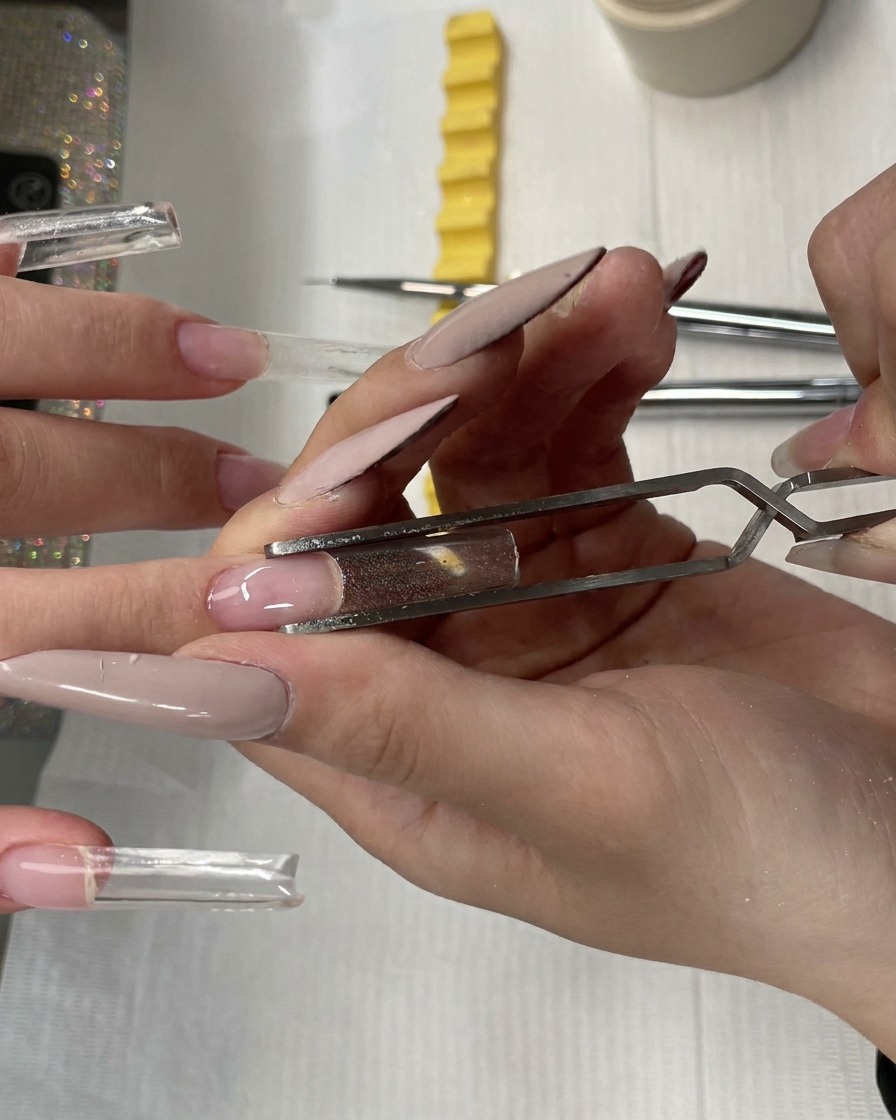
While the gel is still slightly warm and flexible from a partial cure, use metal tweezers to gently pinch the sides of the extension. This action narrows the C-curve, creating the sleek, high-end structure characteristic of the water pipe square shape.
Tip: Apply gradual, even pressure when pinching to prevent the gel extension from cracking. - 6Flash cure and pinch
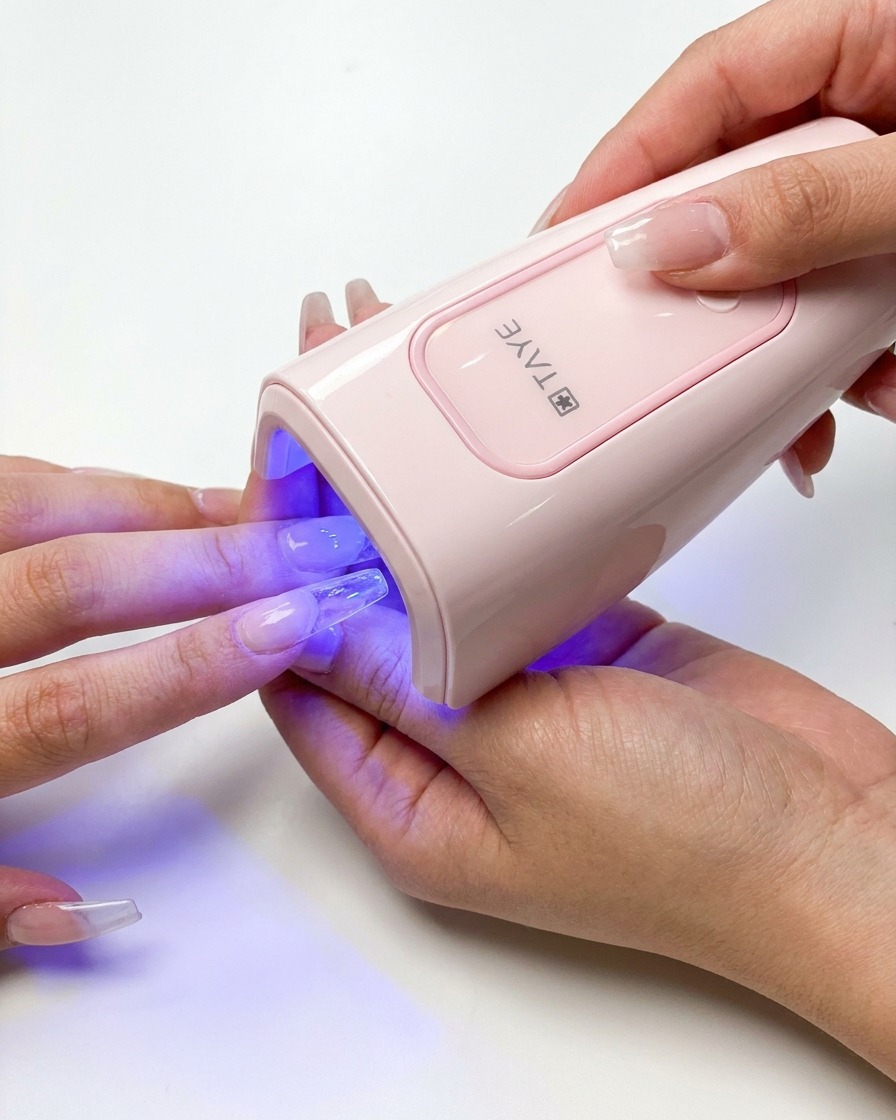
While the gel is partially cured under the handheld UV lamp, use tweezers to maintain a pinch on the extension form. This sets the signature water pipe arch of the nail.
Tip: Keep the pinch firm but gentle to avoid discomfort while the gel is setting. - 7Review the built extensions
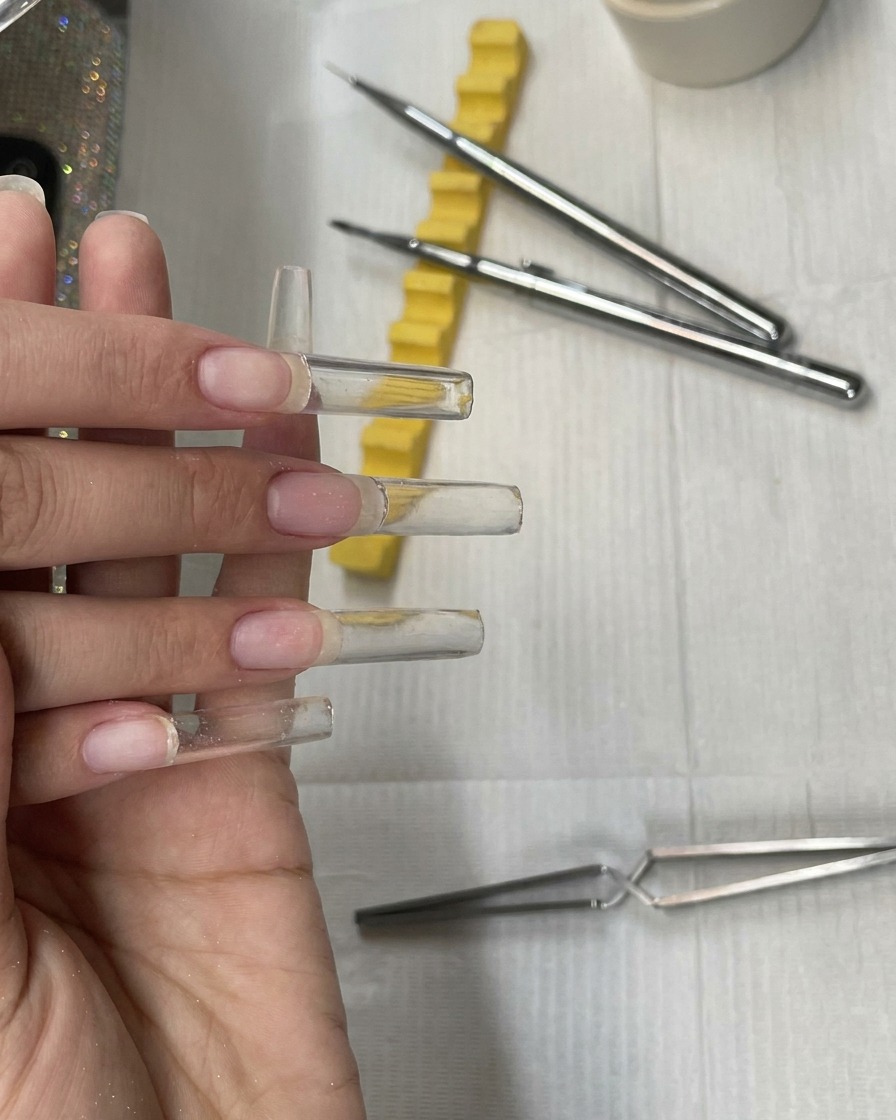
After completely curing the clear builder gel, review the fully built extra-long square extensions. Check the overall structure, thickness, and uniformity across all the nails to ensure a solid foundation before you begin the filing stage.
Tip: Building a solid, even structure with your clear gel will significantly minimize the amount of filing required later. - 8Apply nude concealer gel
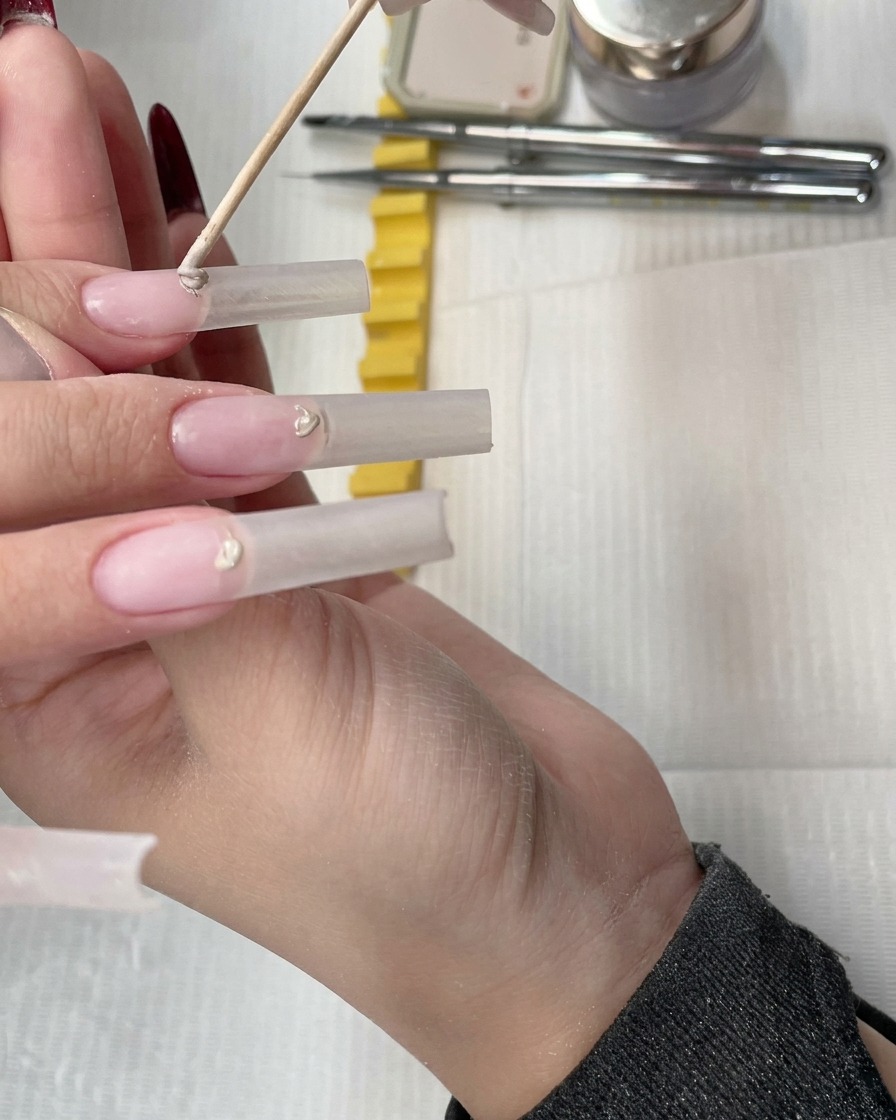
Using a small wooden stick, pick up a bead of nude gel and carefully place it near the cuticle and smile line. This step acts just like makeup concealer, seamlessly hiding the natural free edge line for a flawless transition.
Tip: A wooden stick provides excellent control for picking up and precisely placing small beads of gel exactly where you need coverage. - 9Diffuse concealer gel
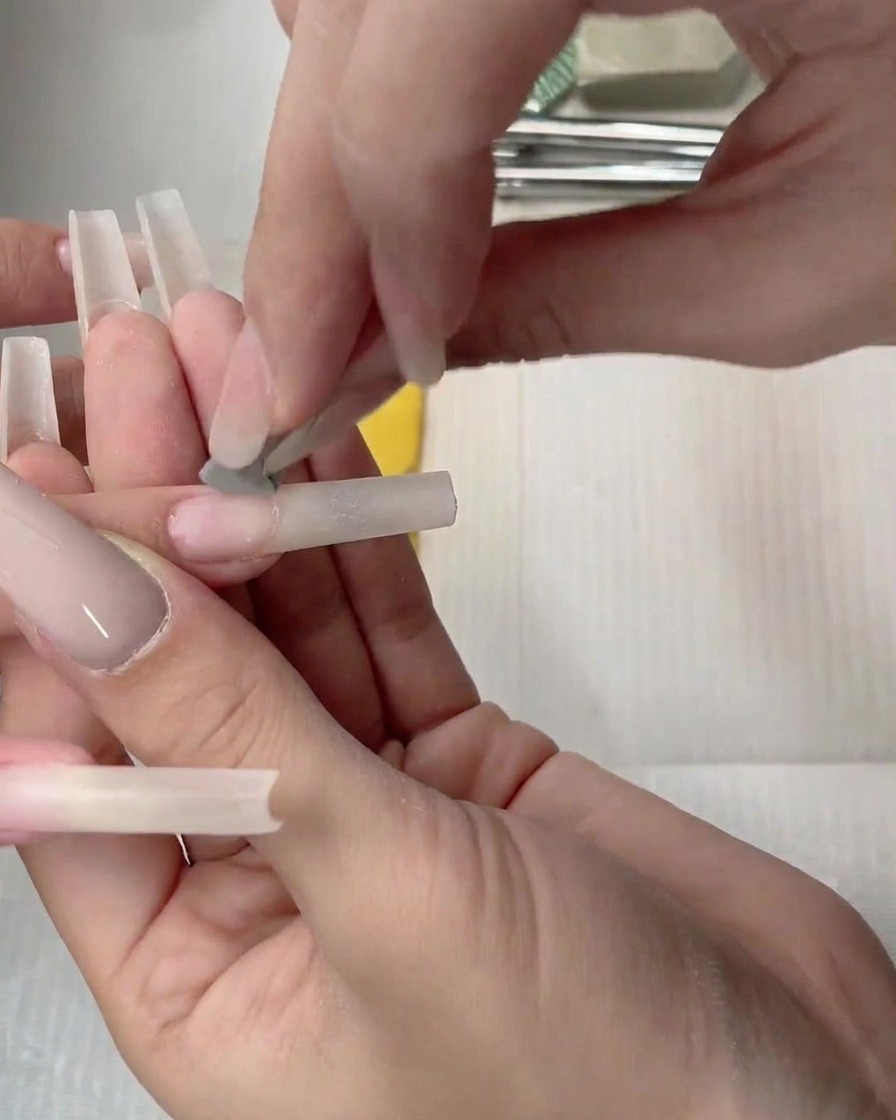
Use a small sponge applicator to gently pat and diffuse the nude concealer gel. This technique ensures a soft, smooth transition and eliminates harsh lines.
Tip: Patting with a light touch provides a more natural gradient than dragging the applicator. - 10Blend concealer over free edge
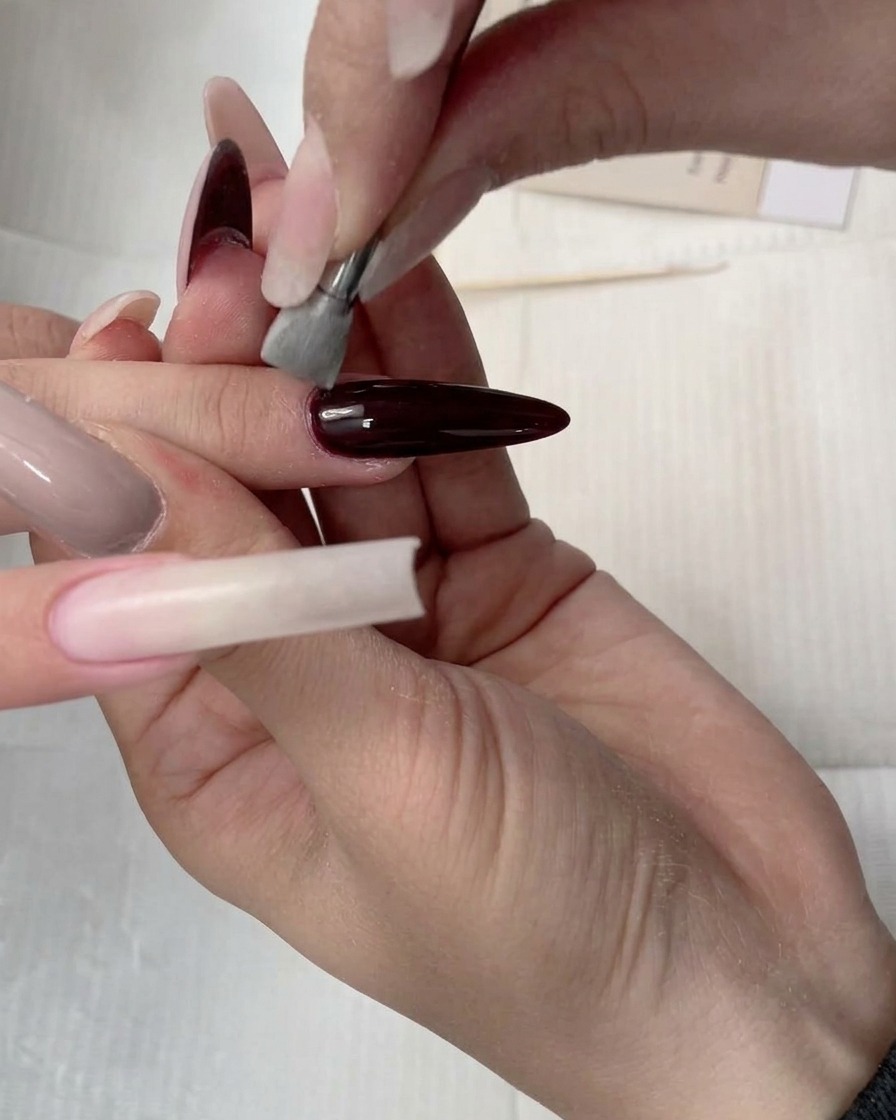
Continue patting the concealer gel downward toward the tip. This step effectively masks the natural free edge line, creating the appearance of a seamless, extended nail bed.
Tip: Ensure the gel is blended thinly at the transition point for a natural look. - 11Refine sidewalls
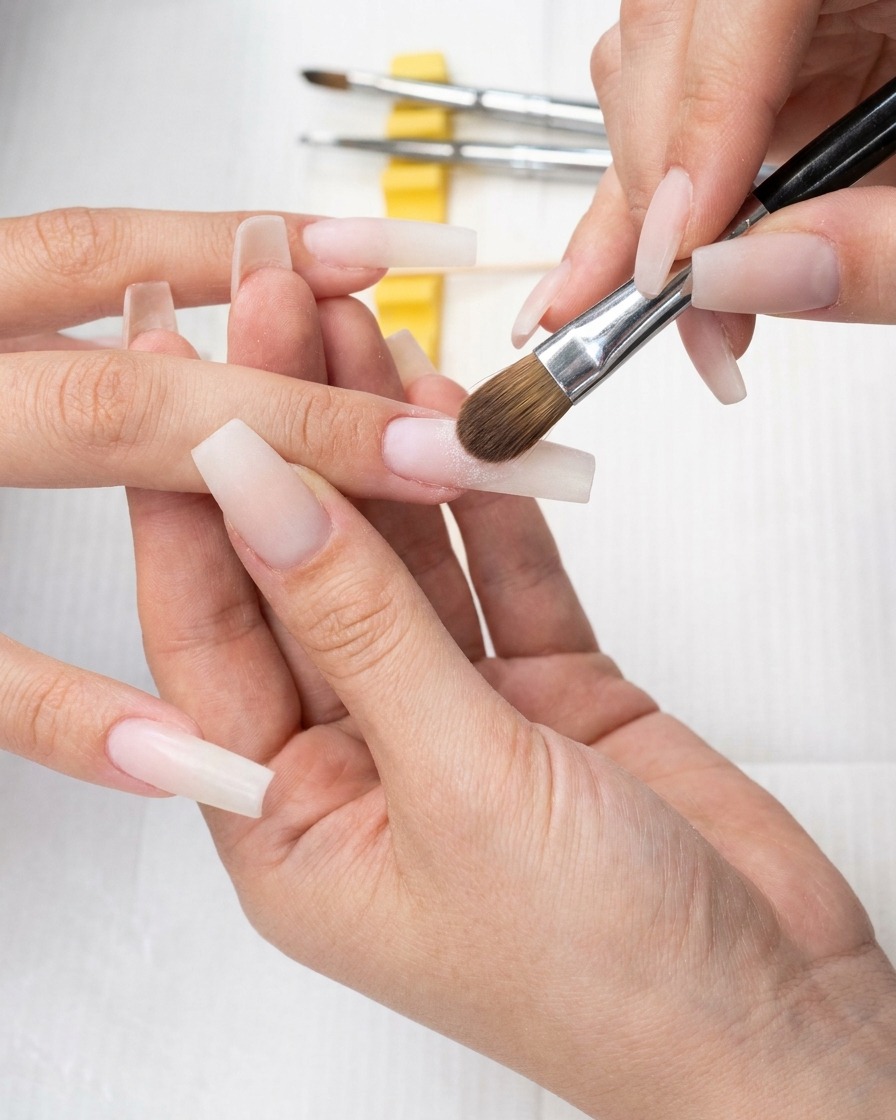
Use the edge of your sponge tool to clean up and refine the concealer gel application along the sidewalls. This keeps the shape sharp and prevents gel from flooding the cuticles.
Tip: A clean edge here makes the final filing process much faster. - 12Apply sheer nude base
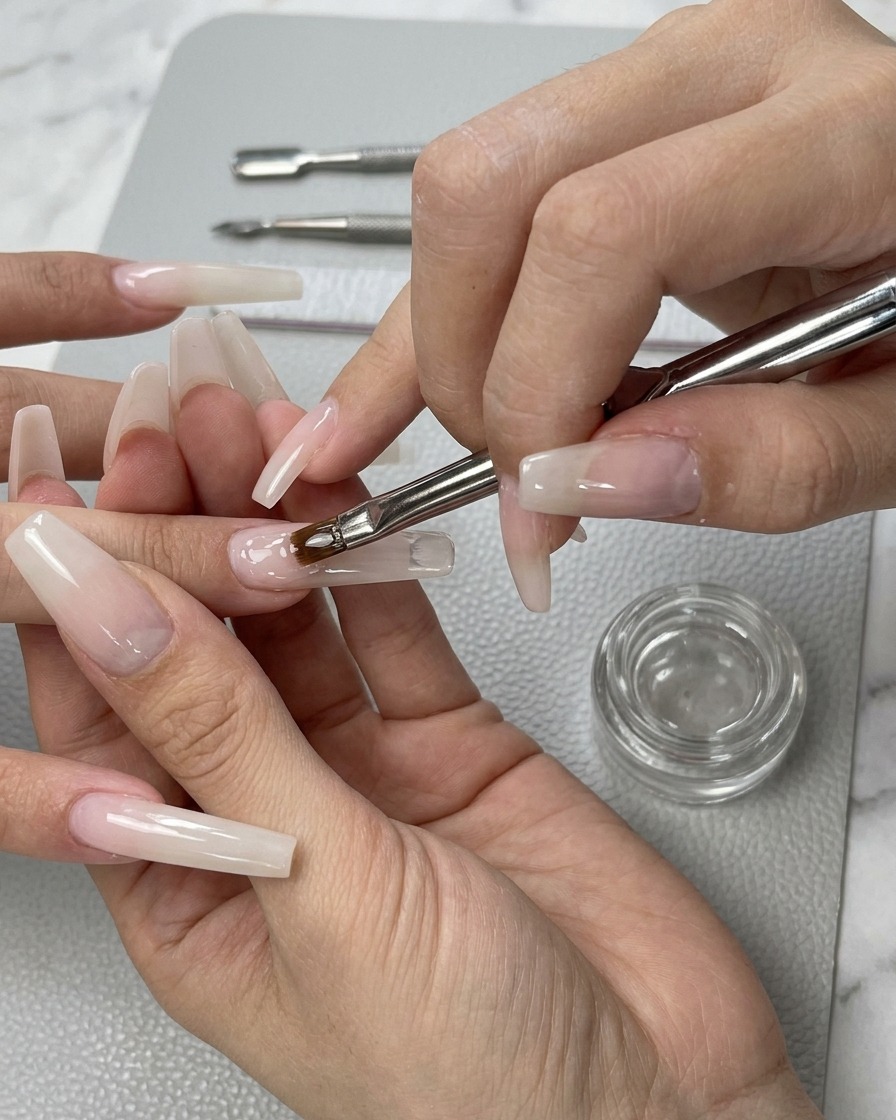
Apply a single, even layer of sheer nude base color gel over the entire nail using a flat gel brush. This adds a beautiful, moist, and shiny finish to the nail structure.
Tip: Use long, smooth strokes to avoid brush marks in the sheer base color. - 13Smooth the sheer nude gel
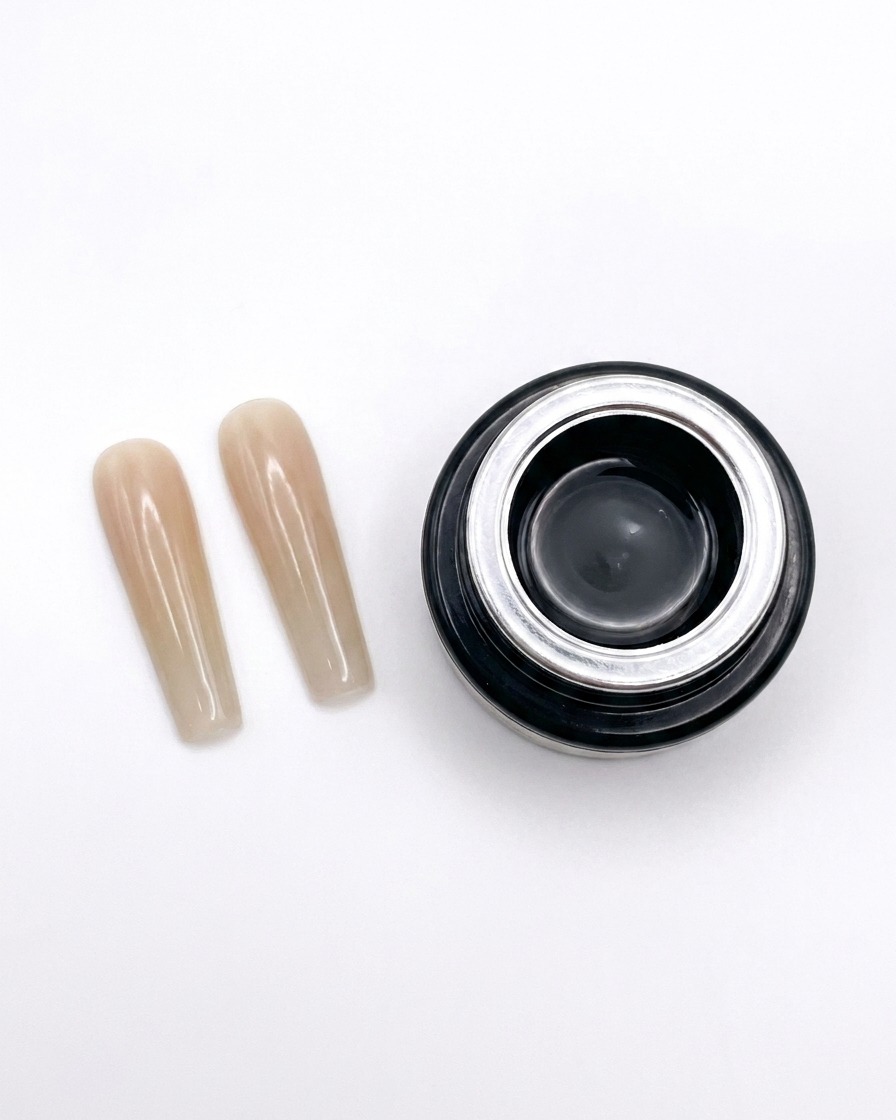
Using a flat brush, gently smooth the sheer nude gel from the nail bed down toward the extension tip. Ensure an even application and maintain the desired structure for the water pipe square shape. Work carefully to prevent any bubbling or uneven thickness before curing.
Tip: Apply in thin, controlled strokes to maintain the integrity of the shape. - 14Draw the rose gold smile line
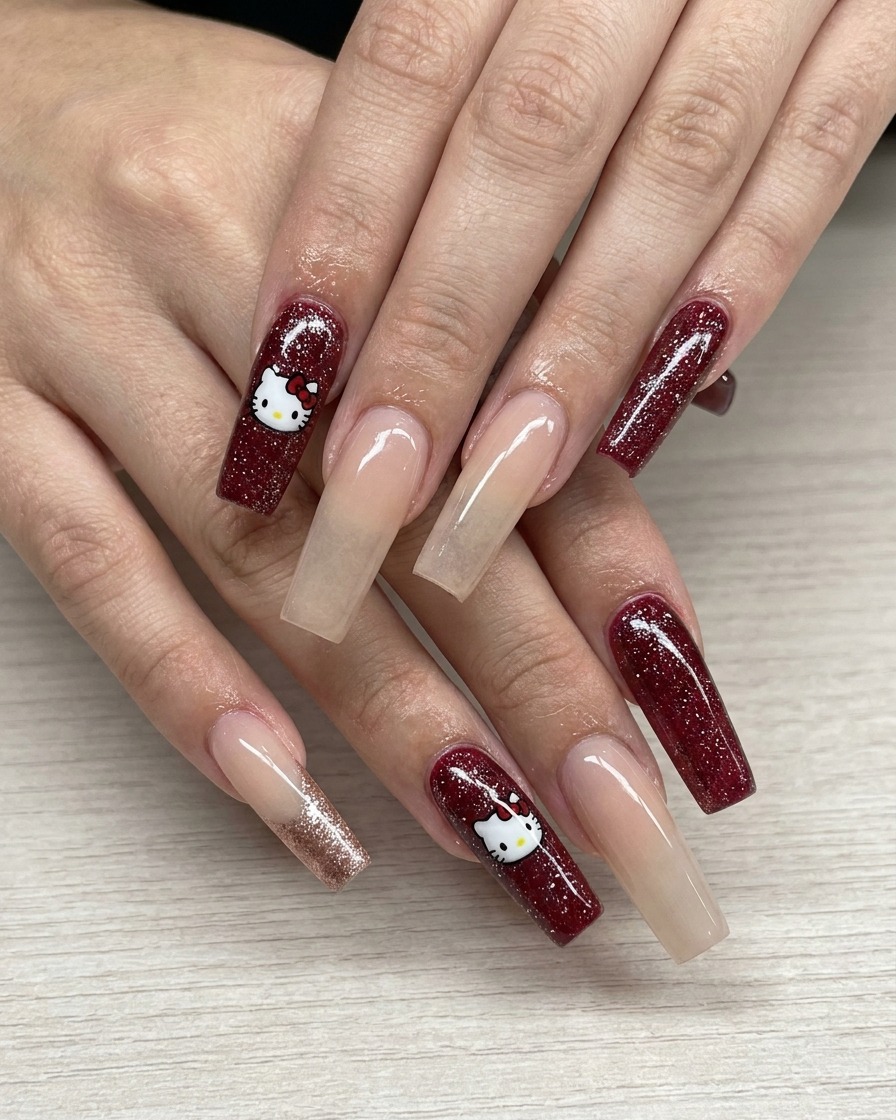
With a fine liner brush, carefully trace a thin curve of mixed platinum rose gold glitter gel along the smile line area. This establishes the base for your gradient effect, adding a touch of elegance to the water pipe square structure.
Tip: Keep a steady hand to ensure the curve is clean and follows the natural smile line contour. - 15Extend the glitter line
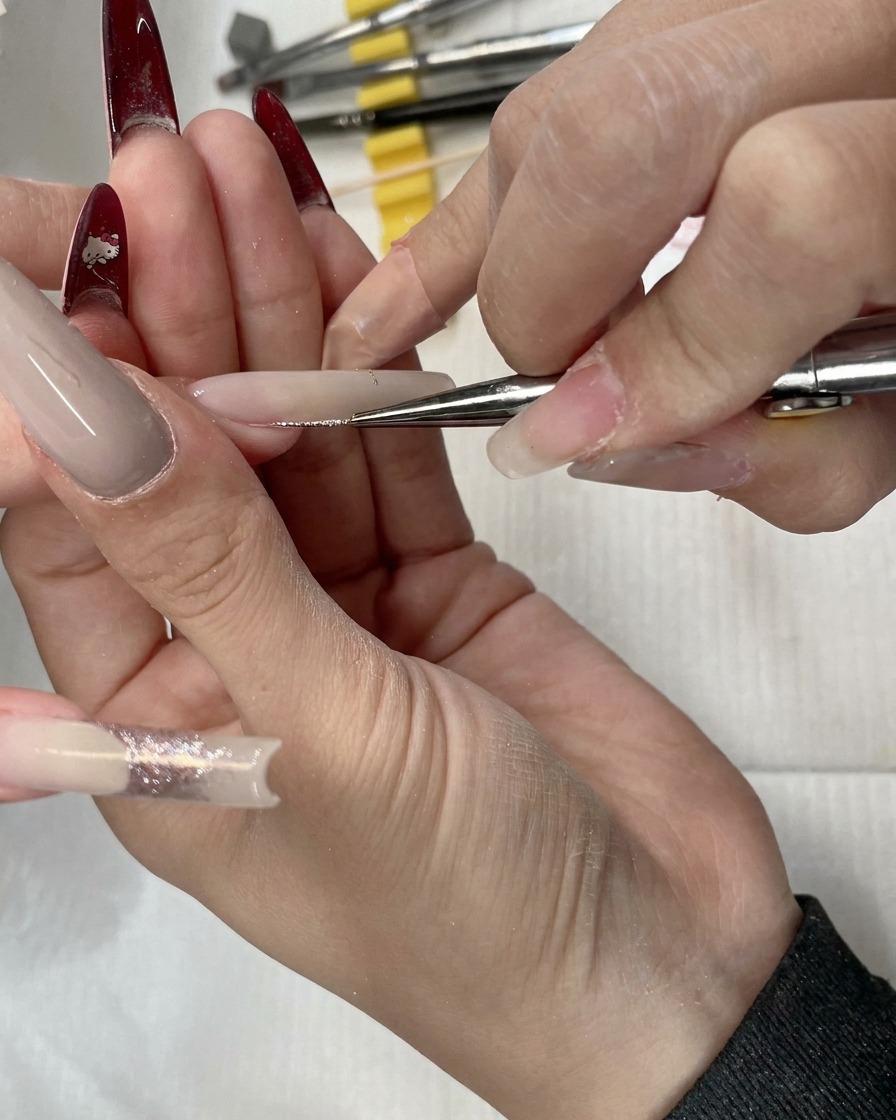
Continue applying the rose gold glitter gel, extending the line fully across the width of the nail bed. This ensures the design is uniform and perfectly prepared for the subsequent blending step to create the transition.
Tip: Ensure the glitter is distributed evenly across the entire smile line area for a consistent look. - 16Create the glitter gradient
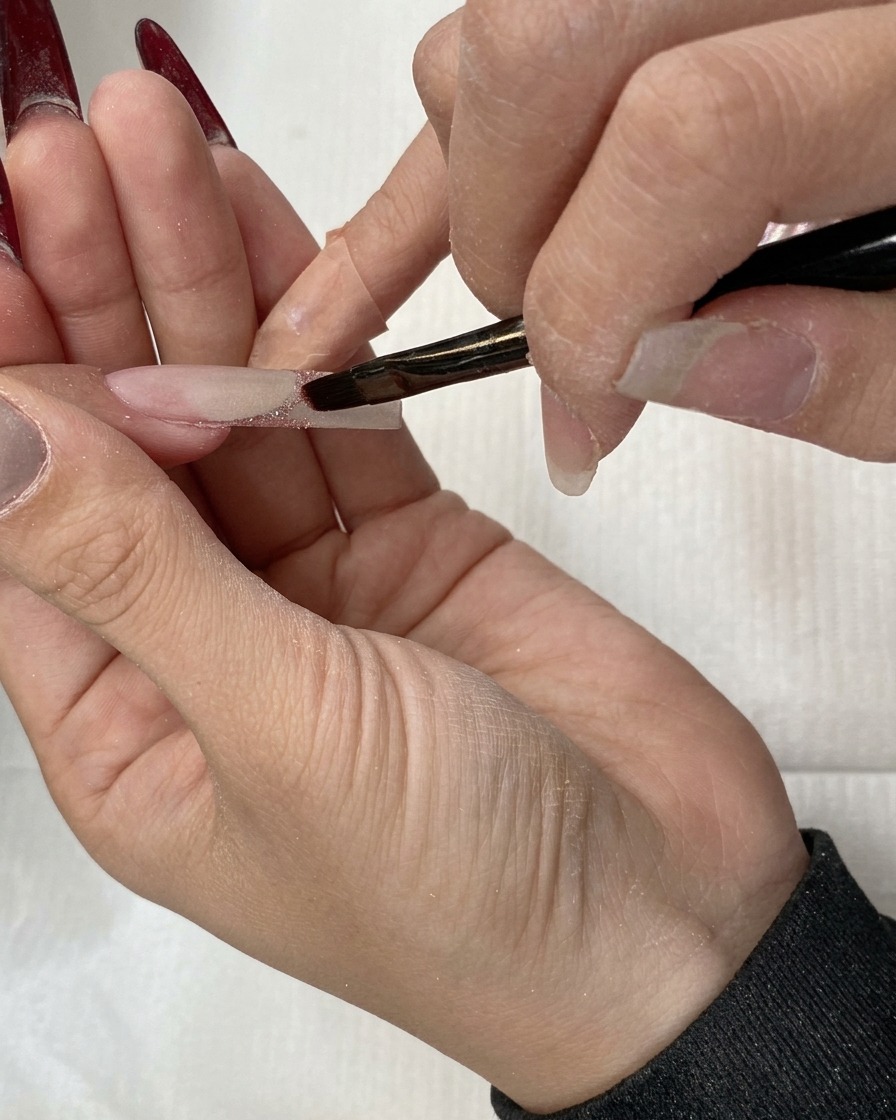
Switch to a flat brush to gently pull and drag the rose gold glitter downward toward the free edge. This motion creates the signature gradient effect, softening the crisp line and blending it beautifully into the base color.
Tip: Use light pressure to avoid removing too much product, ensuring the gradient stays pigmented. - 17Perfect the gradient transition
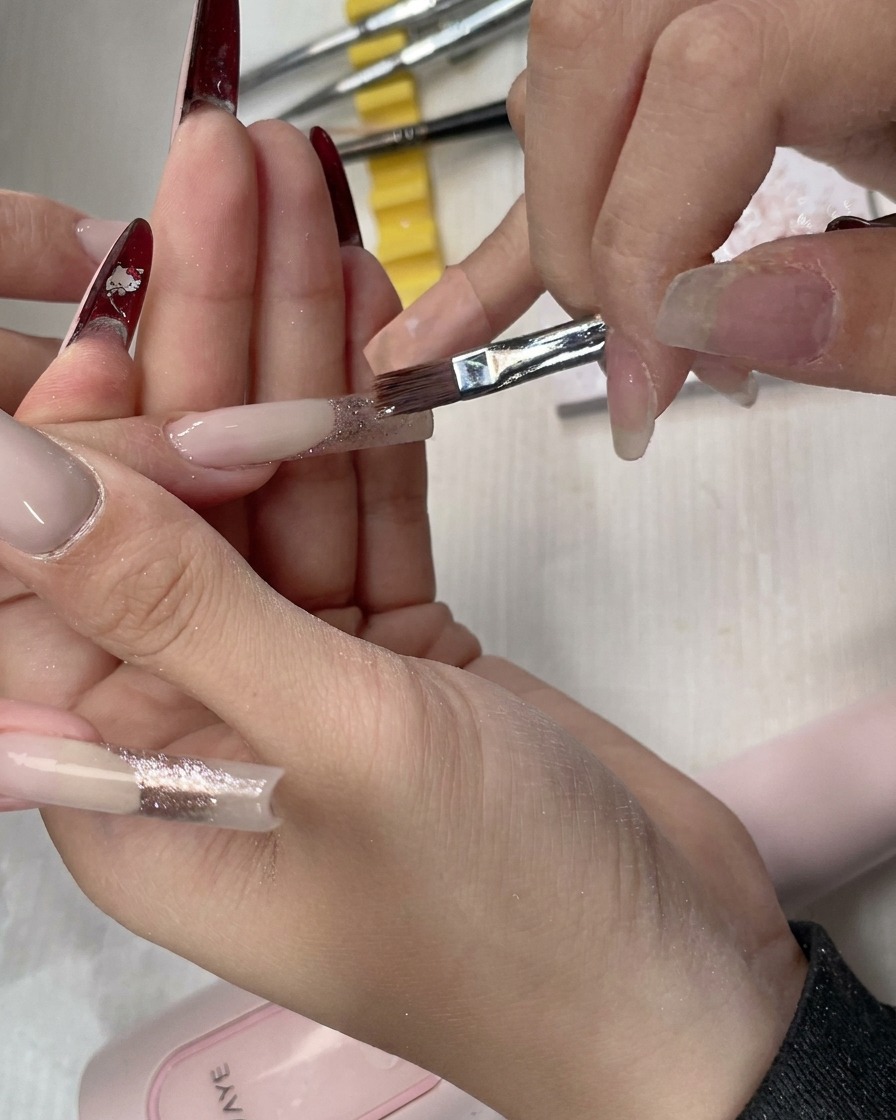
Continue sweeping the flat brush over the glitter area until you achieve a seamless, fading transition. This final blending stage ensures the rose gold glitter looks natural and high-end, characteristic of the water pipe square style.
Tip: Clean your brush with a tiny bit of base gel if it starts picking up too much product during blending. - 18Touch up the glitter detail
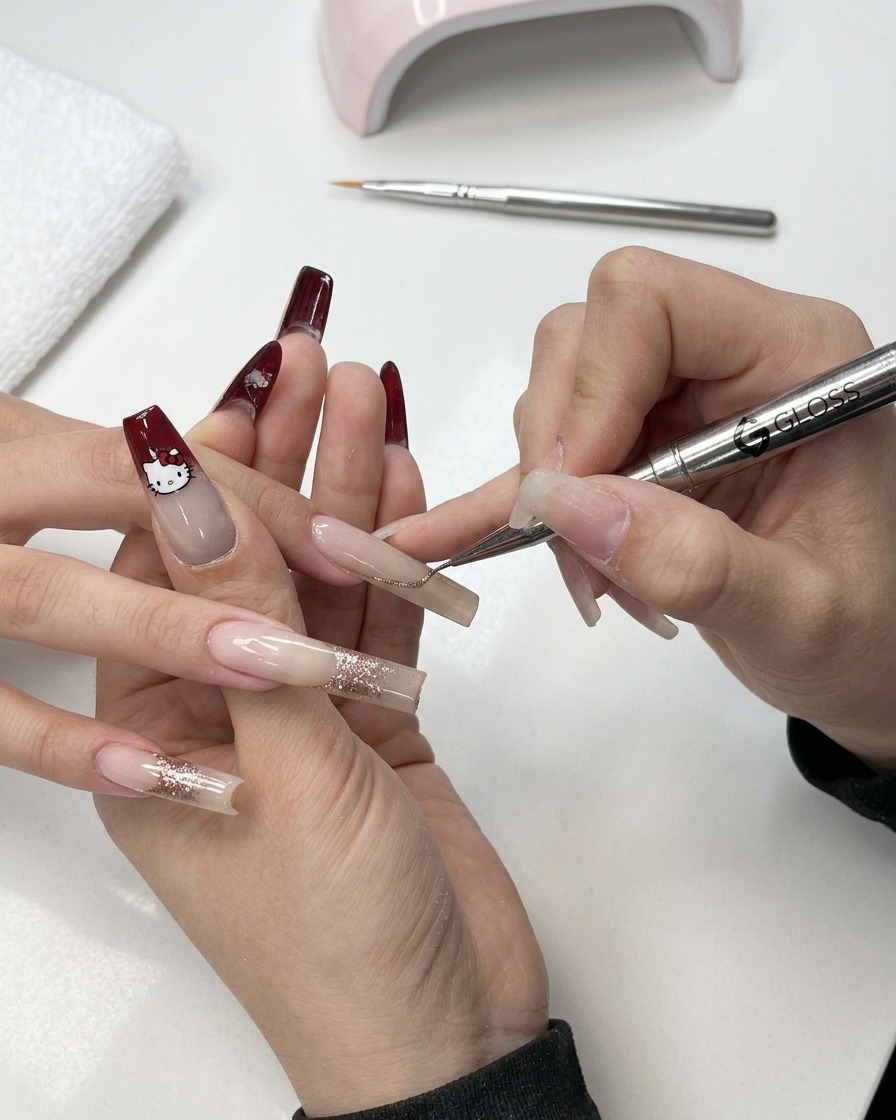
Using a detail brush, add a small amount of extra rose gold glitter to the opposite side of the smile line to balance the design. This ensures the glitter intensity is symmetrical and perfectly placed across the nail.
Tip: Work in small increments, adding more glitter only where necessary for perfect balance. - 19Blend the glitter gradient
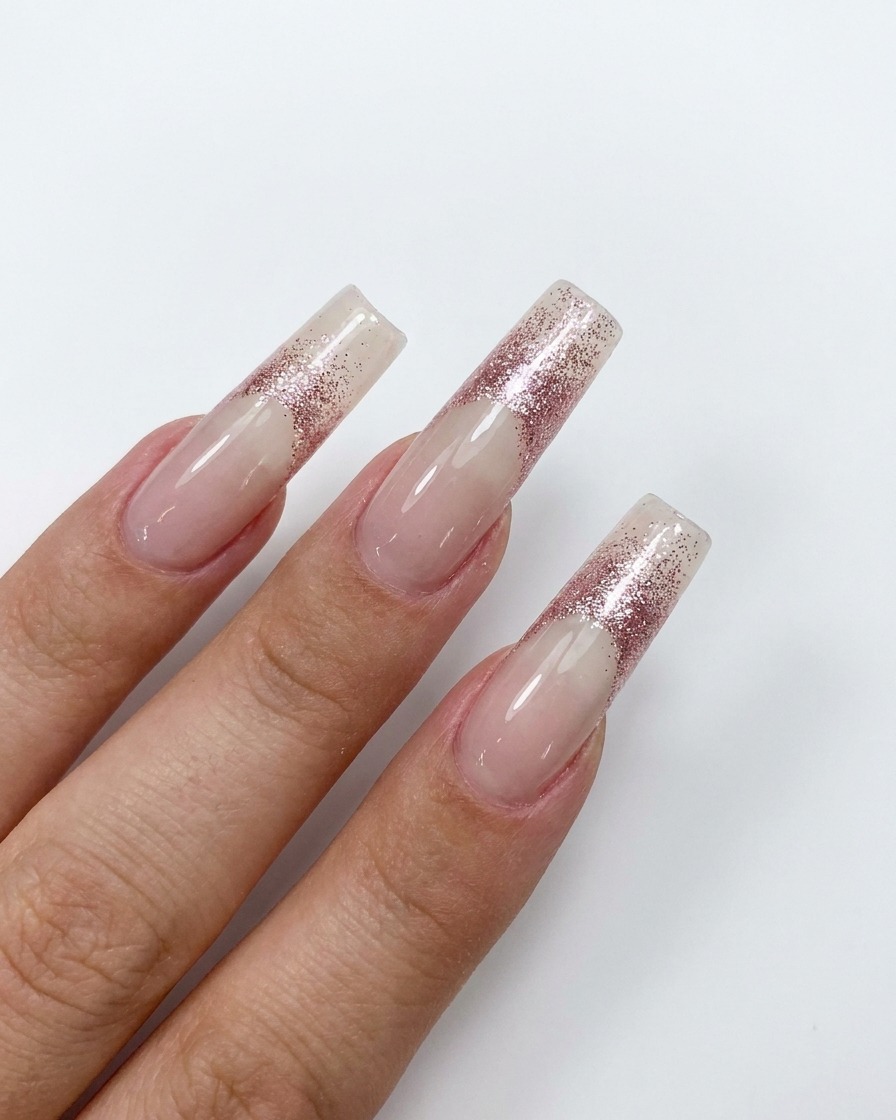
Using a clean flat brush, gently sweep the rose gold glitter downward from the center of the nail toward the tip. This creates a smooth, faded gradient effect that transitions seamlessly into the nude base. Work with light, feather-like strokes to ensure an even distribution of sparkles without creating harsh lines.
Tip: Keep your brush strokes consistent in one direction to maintain the gradients softness and prevent clumping. - 20Refine the glitter transition
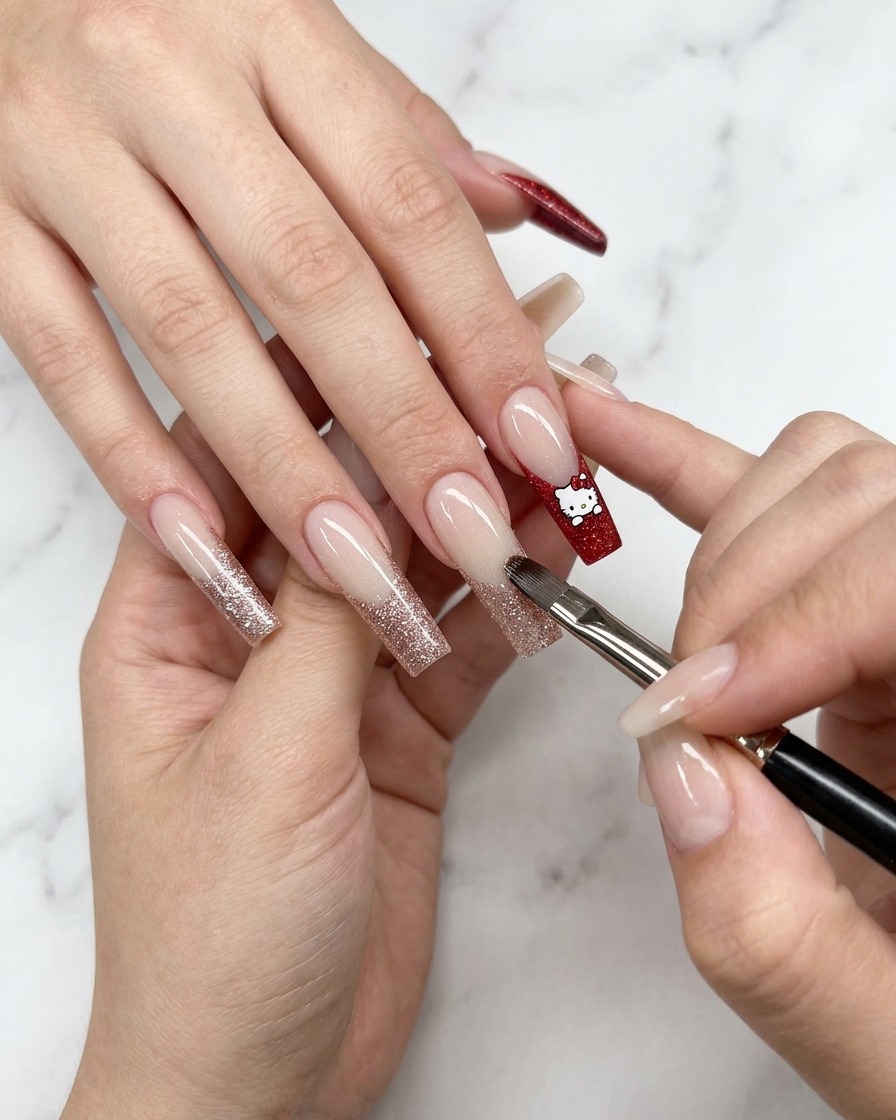
Focus on the midpoint of the nail where the glitter meets the nude base. Use light, sweeping motions to soften the transition area, ensuring the glitter appears to fade naturally. This refinement step is crucial for achieving that high-end, professional look.
Tip: If the transition looks too abrupt, add a tiny bit of clear gel to your brush to help diffuse the glitter particles further. - 21Perfect the sparkling fade
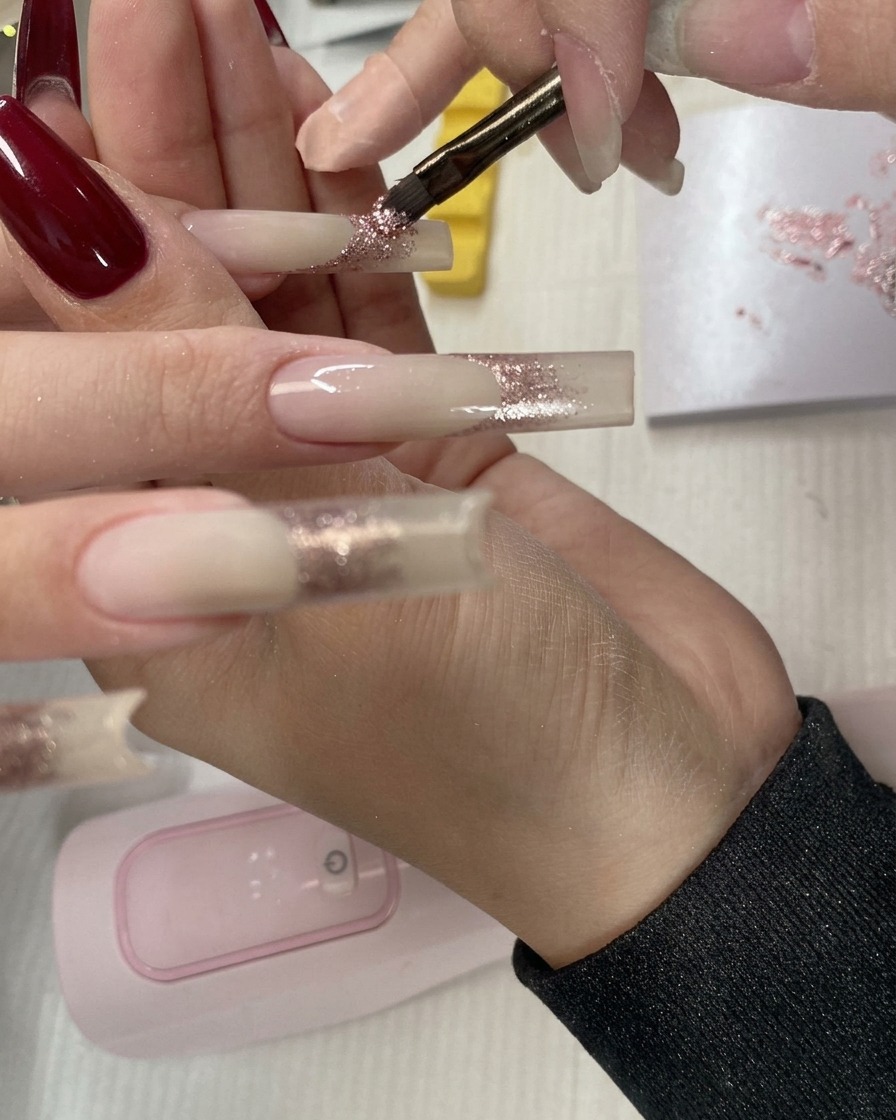
Perform final smoothing sweeps across the entire glitter gradient. Ensure that all glitter particles are laid flat and the surface is even. This prepares the nail for the curing process and ensures a smooth finish once the top coat is applied.
Tip: Take a moment to check the nail from different angles to make sure the sparkle density is uniform across all nails. - 22Cure the glitter layer
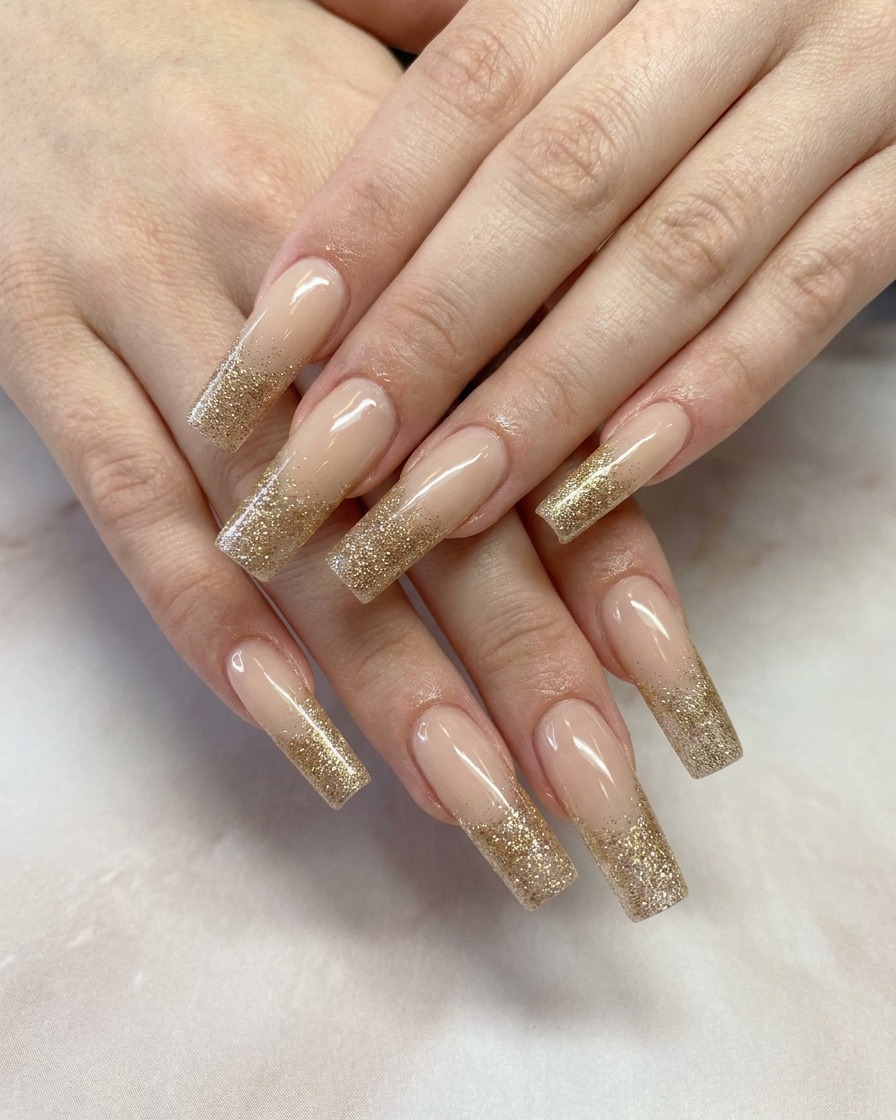
Place the hand under the UV/LED lamp to cure the glitter gradient layer. Ensure all fingers are positioned correctly to receive even light exposure. Follow the manufacturers recommended curing time for your specific glitter gel to guarantee durability.
Tip: Check that the nails are not angled or touching the sides of the lamp, which can cause the gel to cure unevenly. - 23Apply white gradient tip
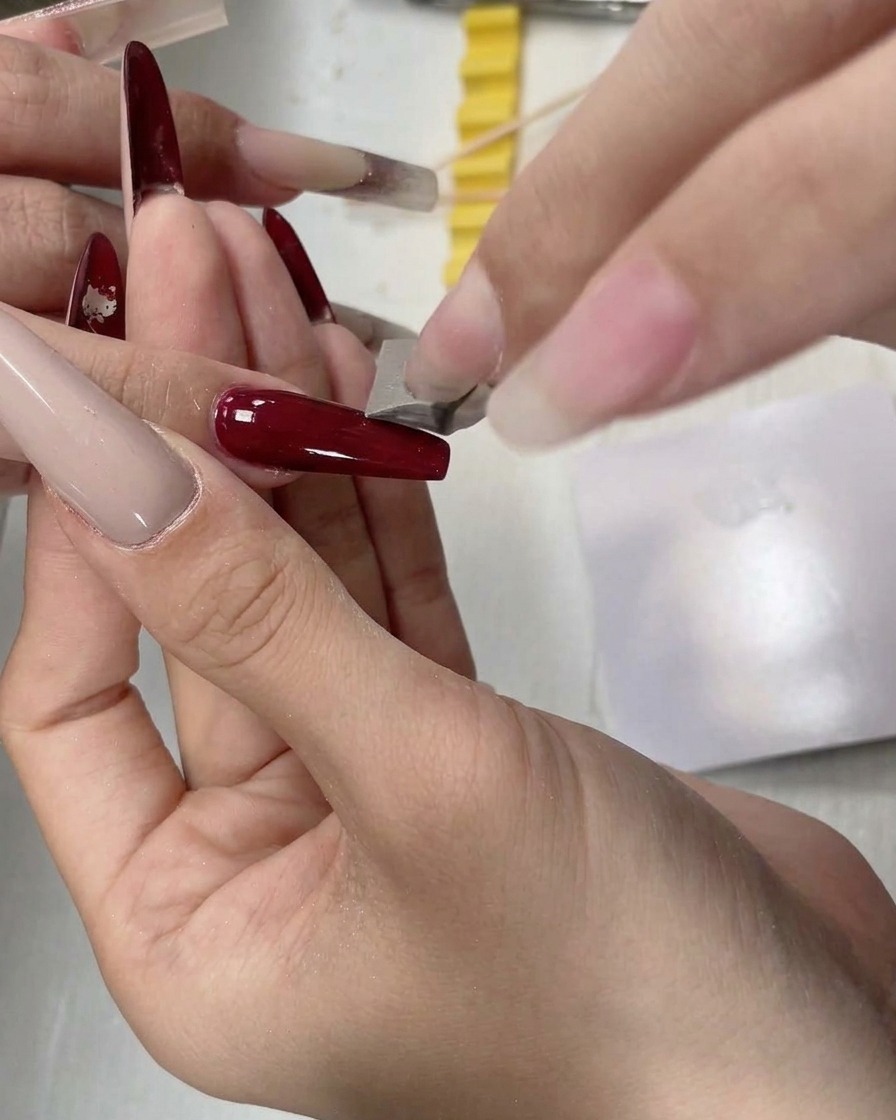
Take a small, clean sponge tool and apply a small amount of white gel. Gently pat the gel onto the very tip of the nail. This creates the beginning of a soft, baby boomer style gradient, adding brightness to the nail edge.
Tip: Use a light, dabbing motion with the sponge to avoid creating bubbles and to keep the white layer thin. - 24Blend the white ombre
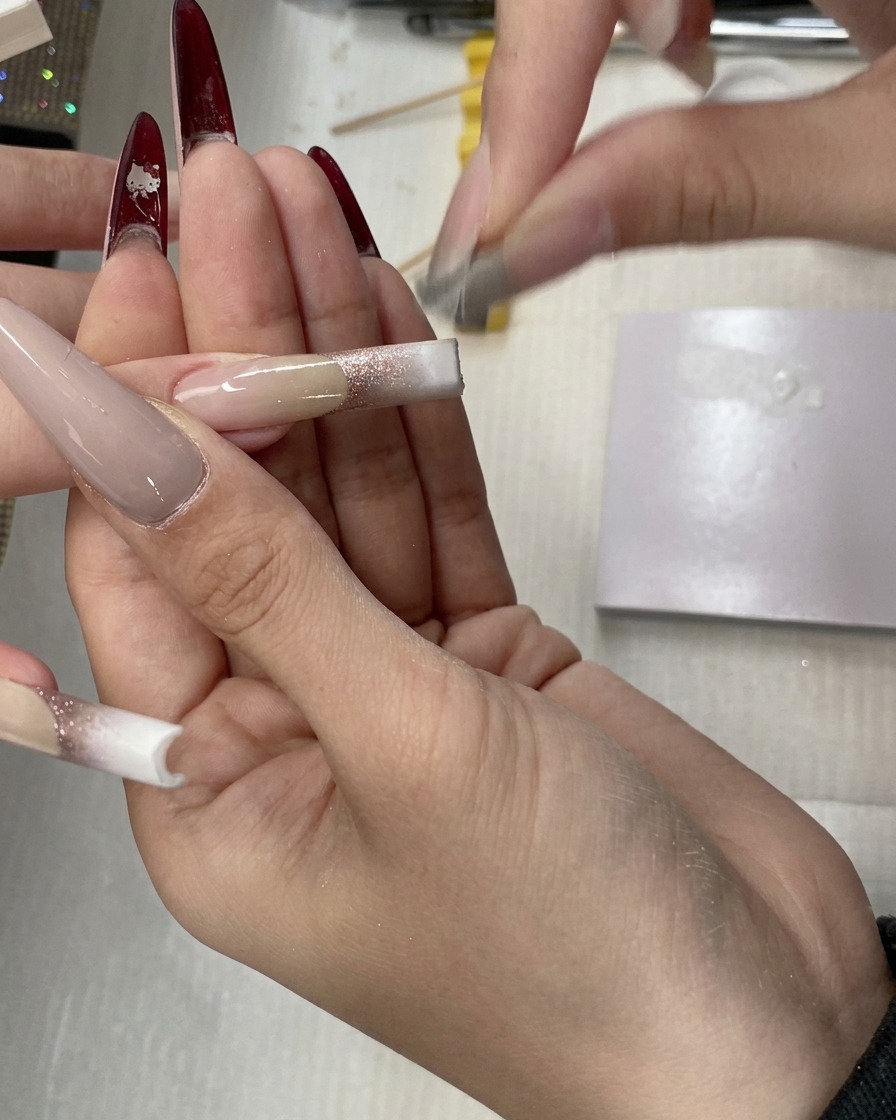
Continue using the sponge tool to gently tap the white gel upward towards the center of the nail. Gradually decrease the pressure as you move higher to create a soft, natural transition into the nude base. This technique achieves the iconic baby boomer effect.
Tip: Build the opacity gradually with multiple thin layers rather than one thick layer for the best blended appearance. - 25Apply white gradient
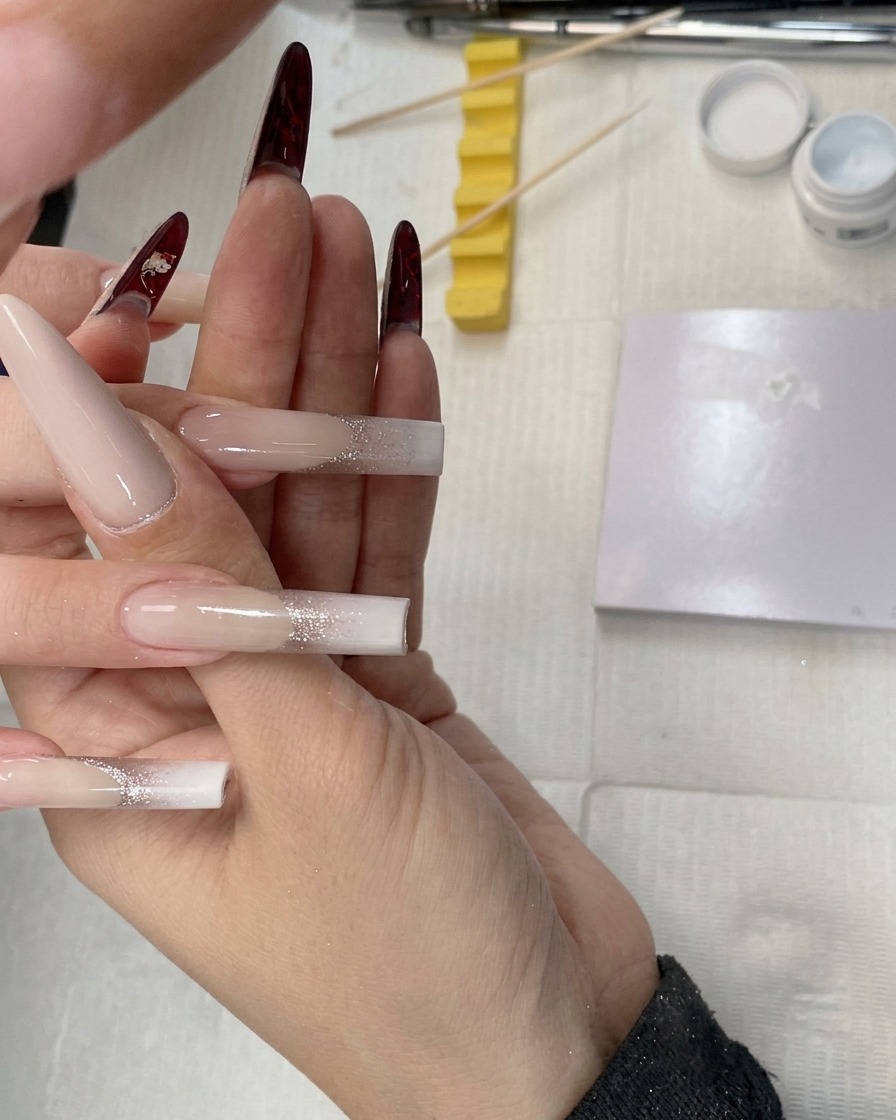
Using a sponge, gently pat the white gel onto the free edge of the nail. Tap lightly and repeatedly to build opacity while ensuring the color transitions smoothly into the base nude color, creating a seamless ombre effect.
Tip: Use a light, stippling motion with the sponge to avoid harsh lines and ensure an even, gradient transition. - 26Build white gradient opacity
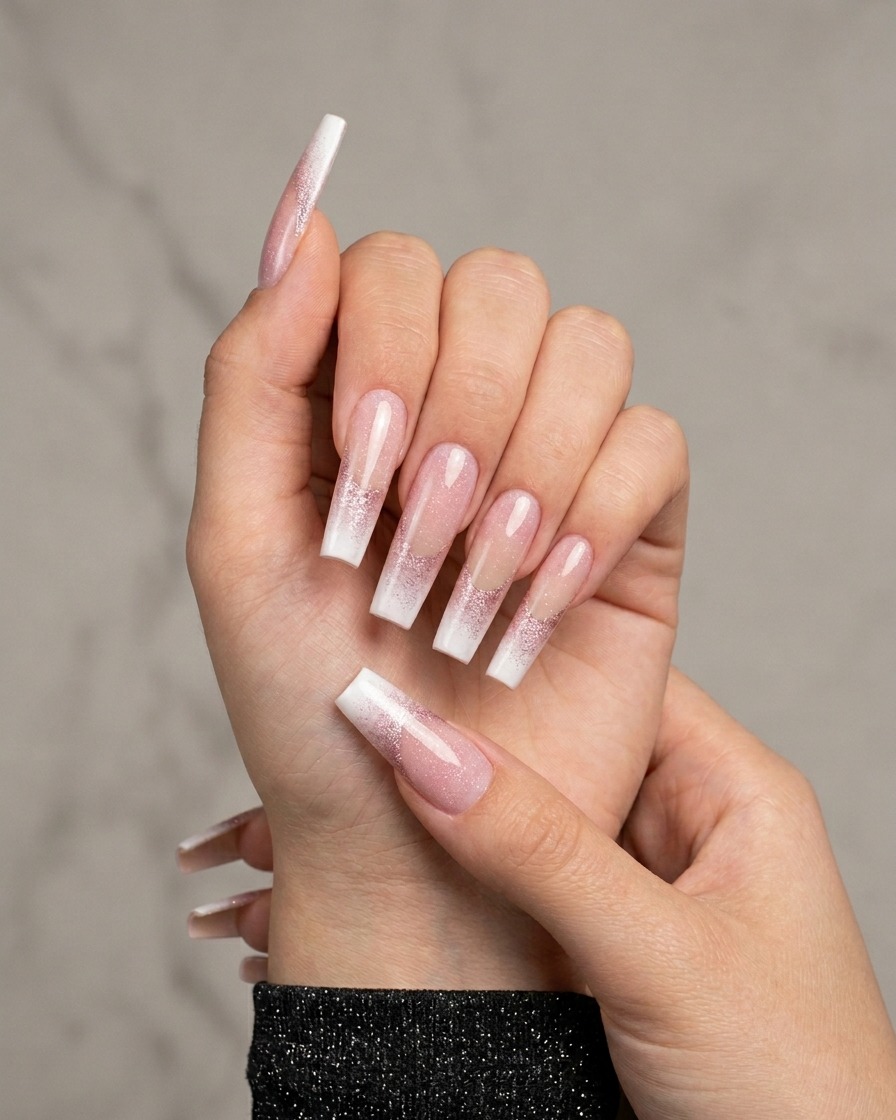
Apply a second coat of white gel using the sponge, focusing specifically on the free edge where you want the most intensity. Continue to pat upwards towards the center of the nail to maintain the gradients softness.
Tip: Building the gradient in thin, multiple layers prevents bulkiness at the tip and keeps the nail structure clean. - 27Refine the ombre blend
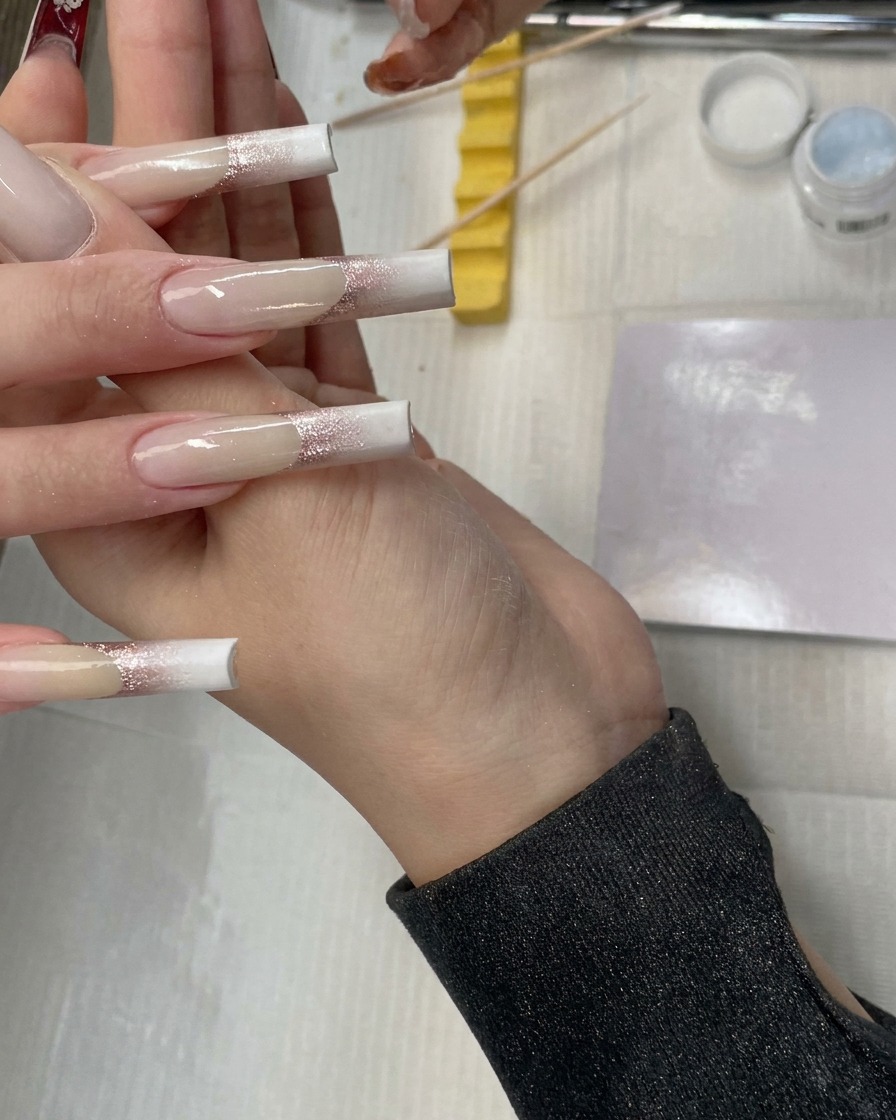
Gently tap the sponge slightly higher towards the center of the nail to blend the second layer of white into the nude base. This ensures the transition between the pinkish nude and the white tip remains natural and seamless.
Tip: Keep the pressure light as you blend upwards to avoid moving too much product into the center of the nail bed.