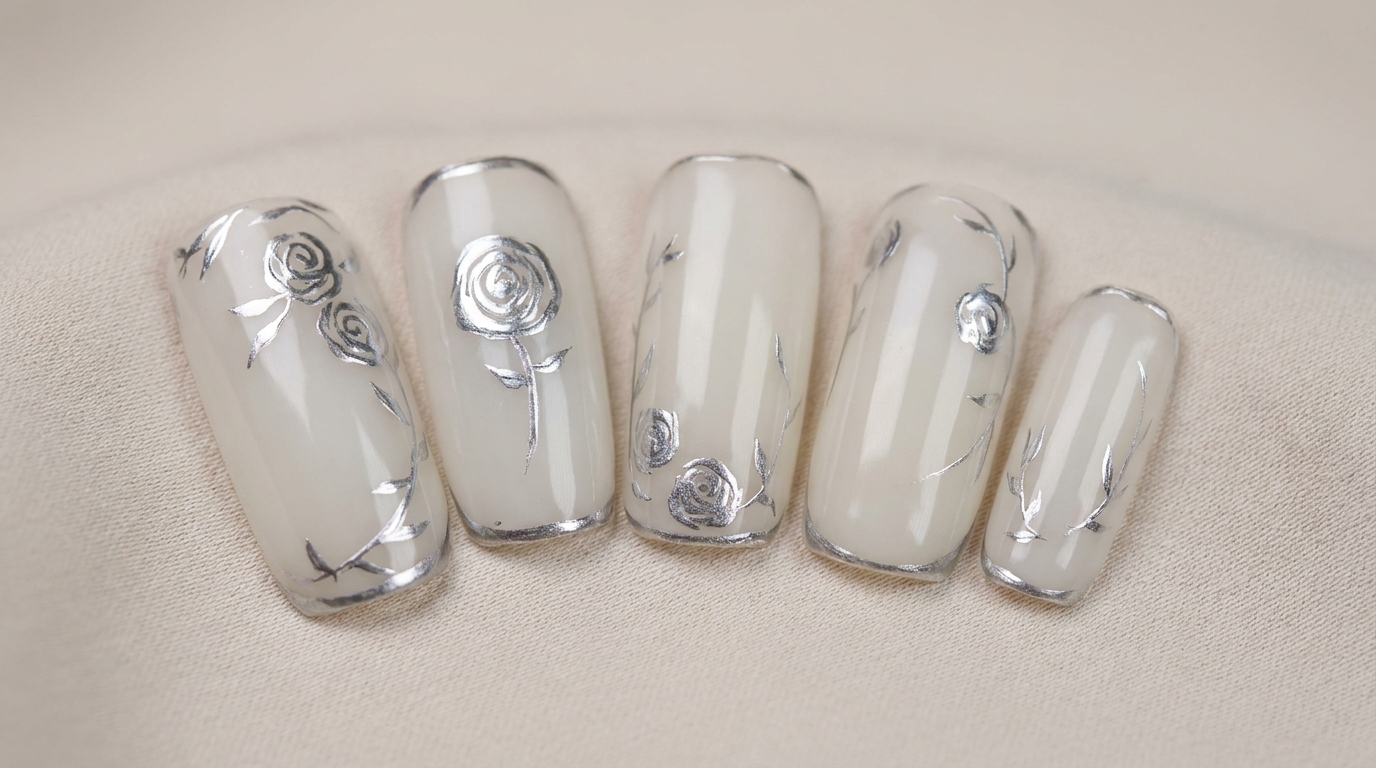
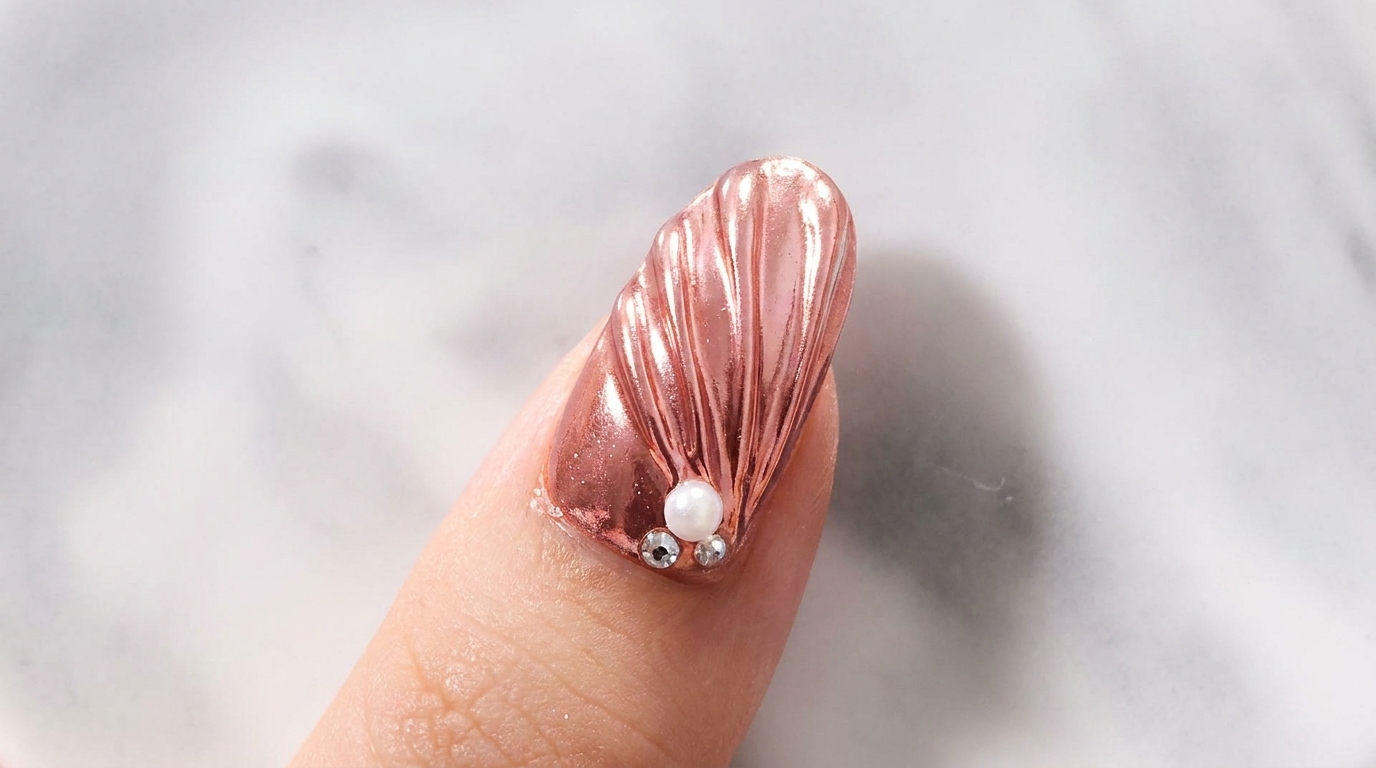
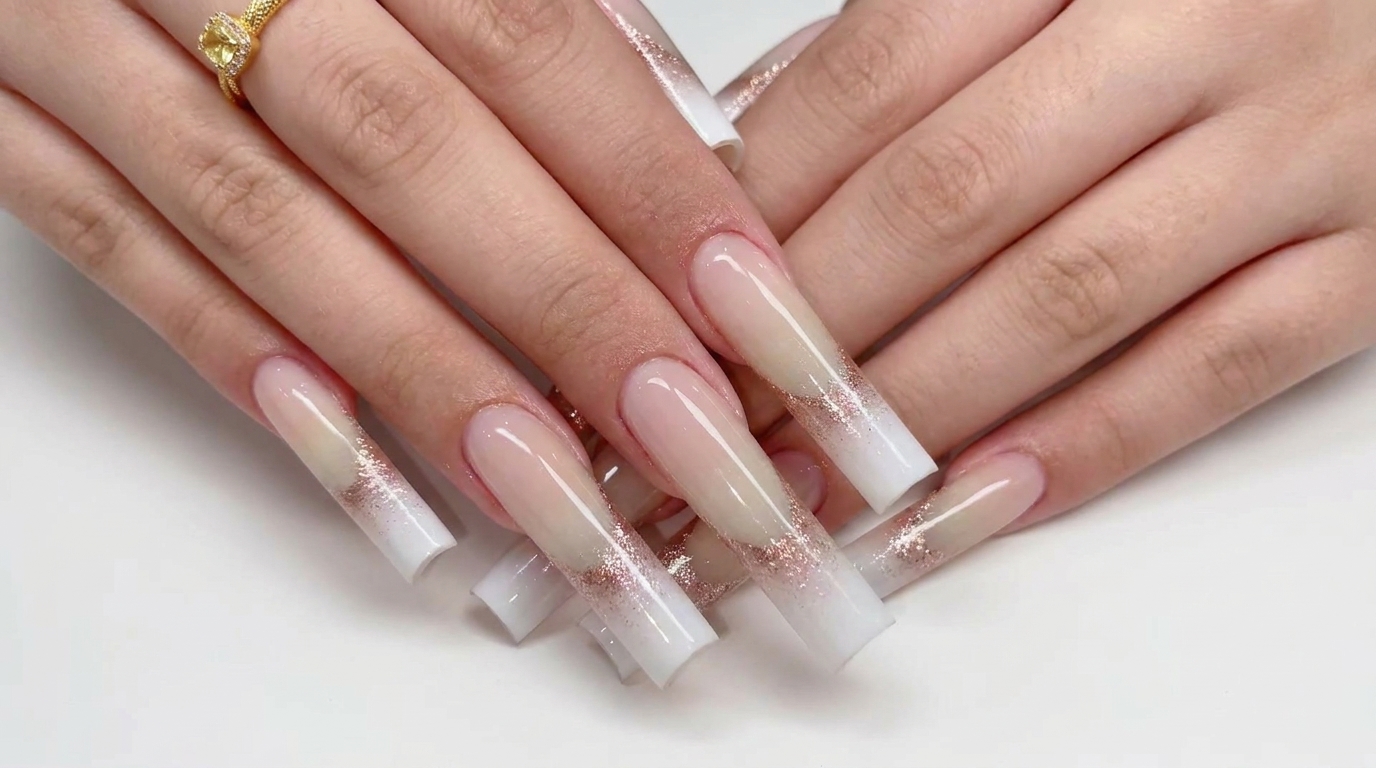
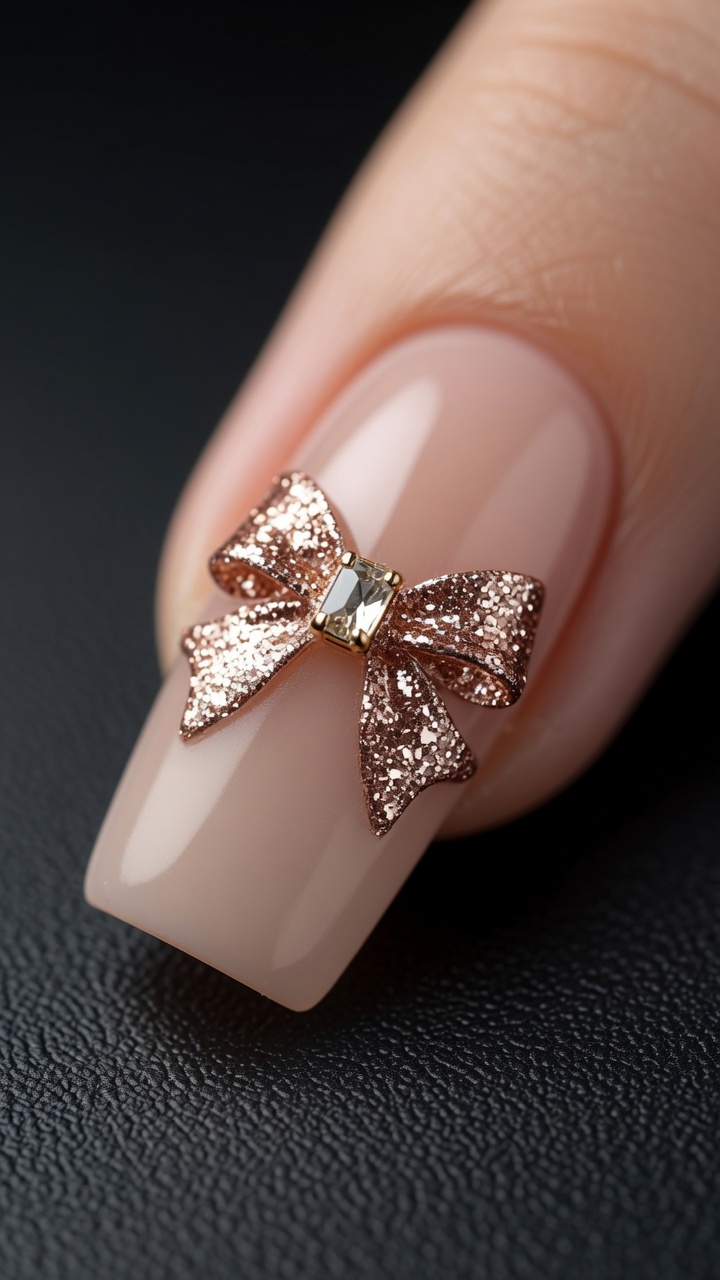
Rose Gold Gradient Cat-Eye Press-On Nails — Easy Application Tutorial
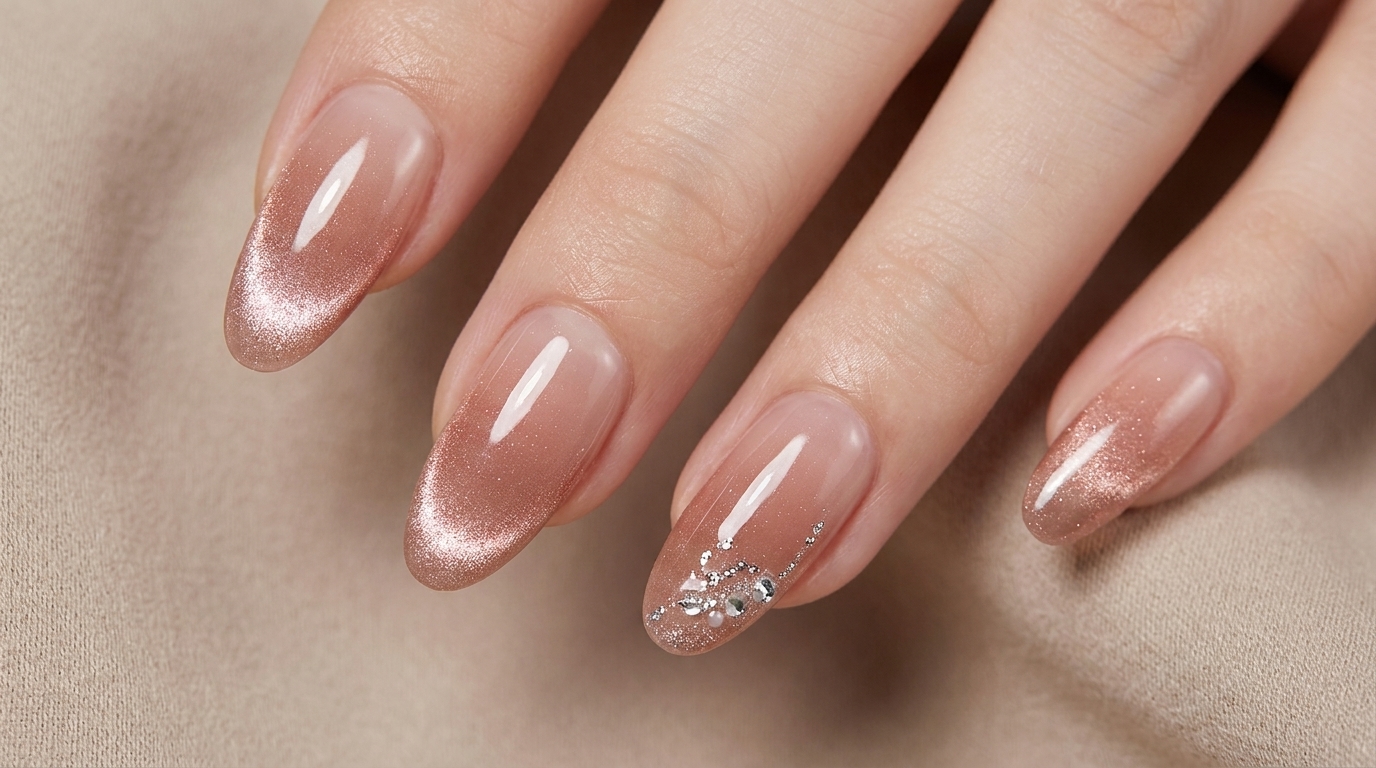
Learn how to flawlessly apply these stunning rose gold gradient cat-eye press-on nails. This easy adhesive tab method ensures a secure, natural-looking fit.
This rose gold gradient cat-eye design is perfect for brightening your skin tone, especially for those with warmer or deeper complexions. Cat-eye finishes add a mesmerizing, multidimensional sparkle that catches the light beautifully from every angle. Using adhesive tabs is a fantastic, damage-free way to wear these elegant press-ons for a special event or a weekend outing.
Steps
- 1Apply adhesive tabs
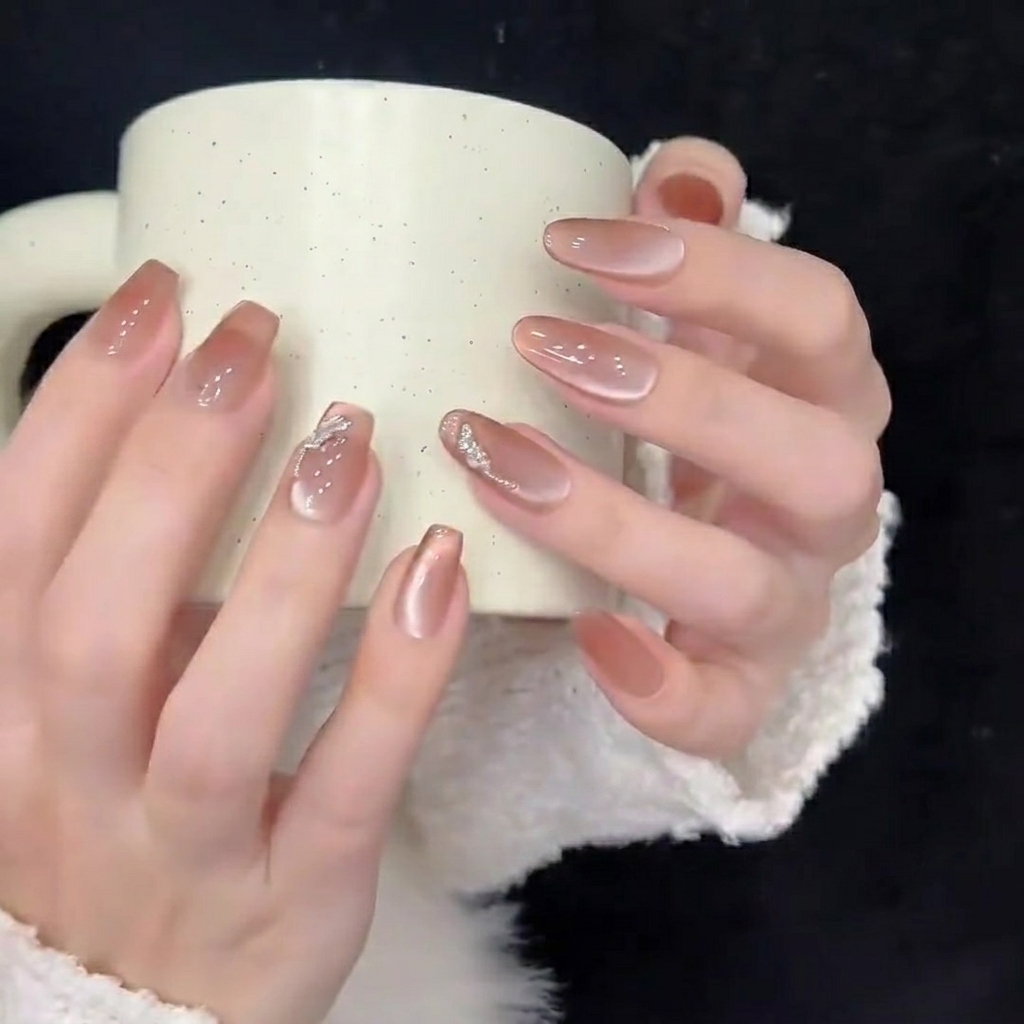
Clean your natural nails thoroughly, then select the appropriately sized adhesive tab for each nail. Peel the tab from the backing and apply it firmly onto the center of the natural nail plate, pressing down to remove any air bubbles for a secure bond.
Tip: Ensure your nails are free of oil or debris before application to guarantee the best adhesion for your press-on nails. - 2Remove protective film
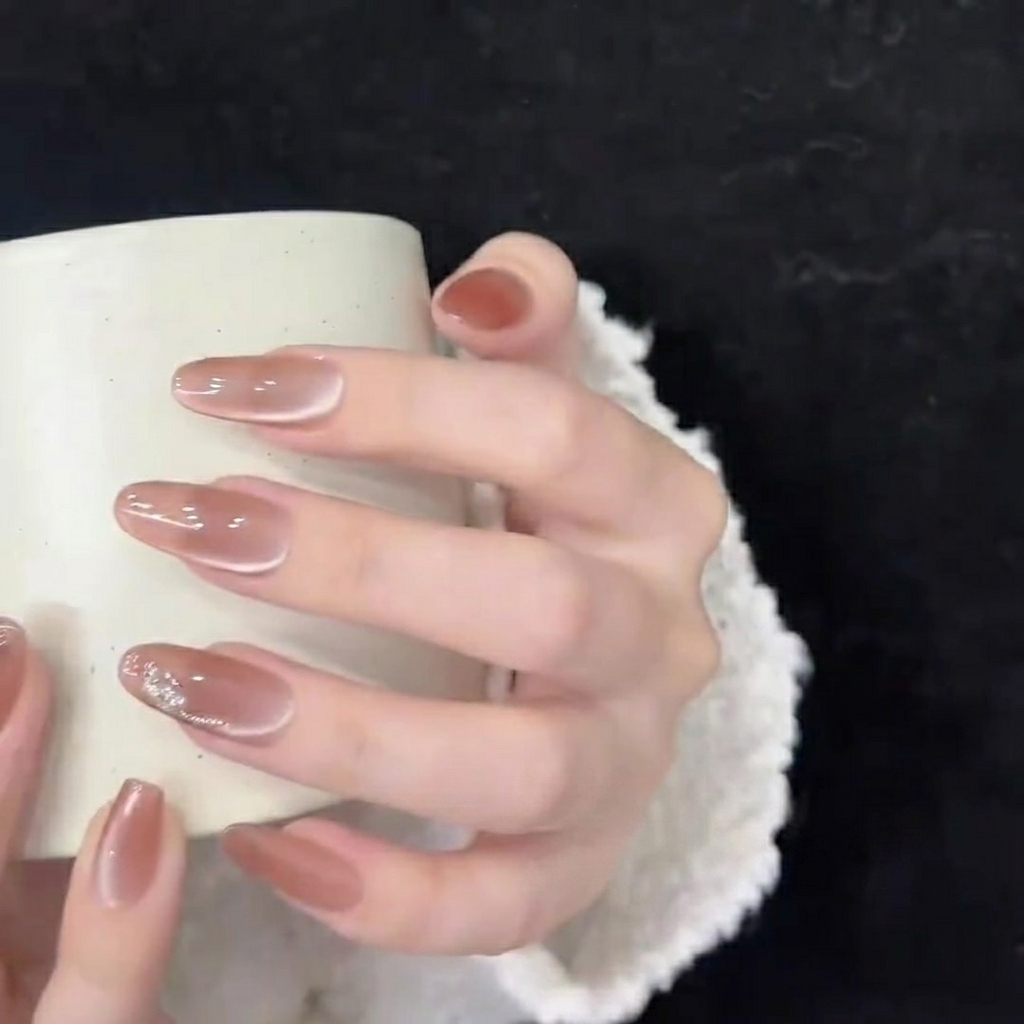
Once the adhesive tab is securely in place on the nail, use the small tab handle to peel away the top layer of protective film. This exposes the sticky surface, preparing it for the press-on nail application.
Tip: Avoid touching the exposed adhesive with your fingers, as oils from your skin can reduce its stickiness. - 3Align and press on nails
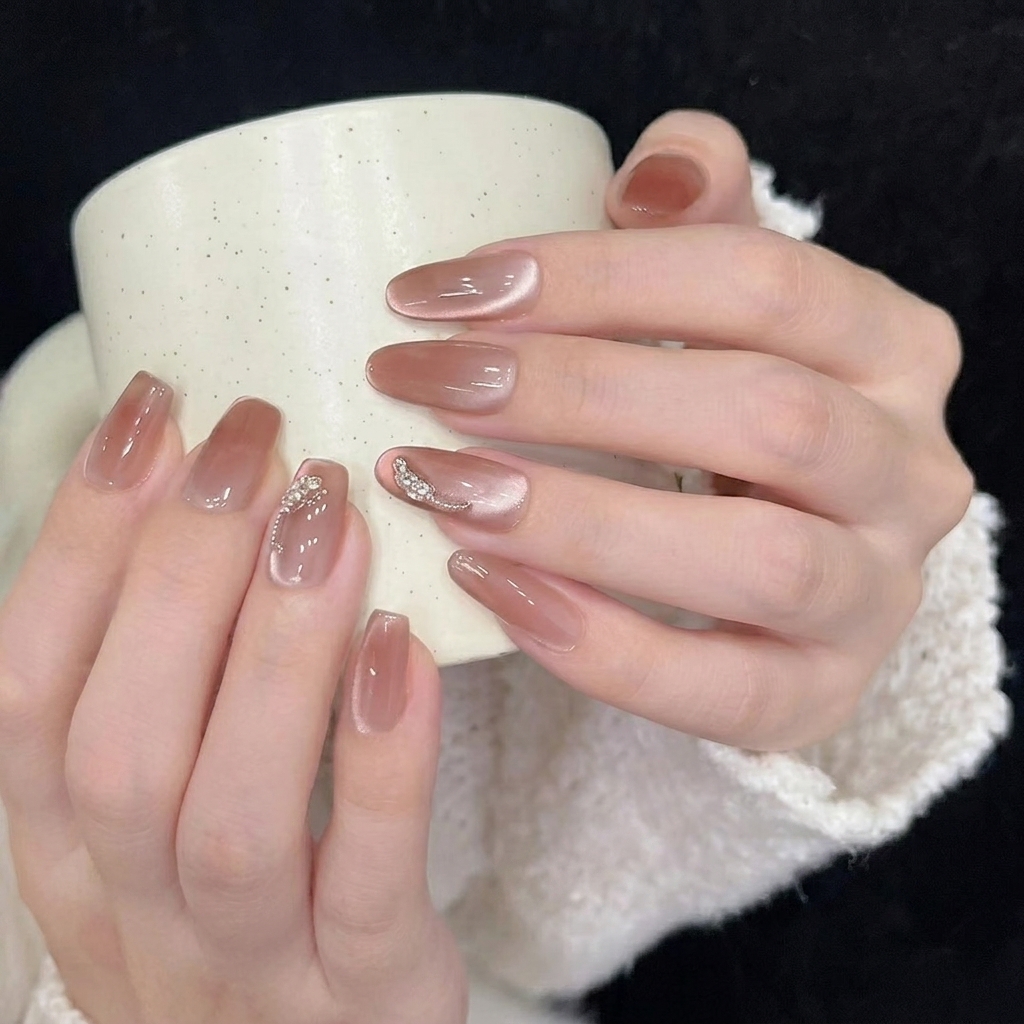
Position the press-on nail at a 45-degree angle against the cuticle line. Slowly lower the nail onto the adhesive tab, ensuring it is centered. Press down firmly from the cuticle toward the free edge to set the adhesive.
Tip: If the nail is slightly too wide, you can gently file the sides for a more custom fit before applying. - 4Secure the adhesive bond
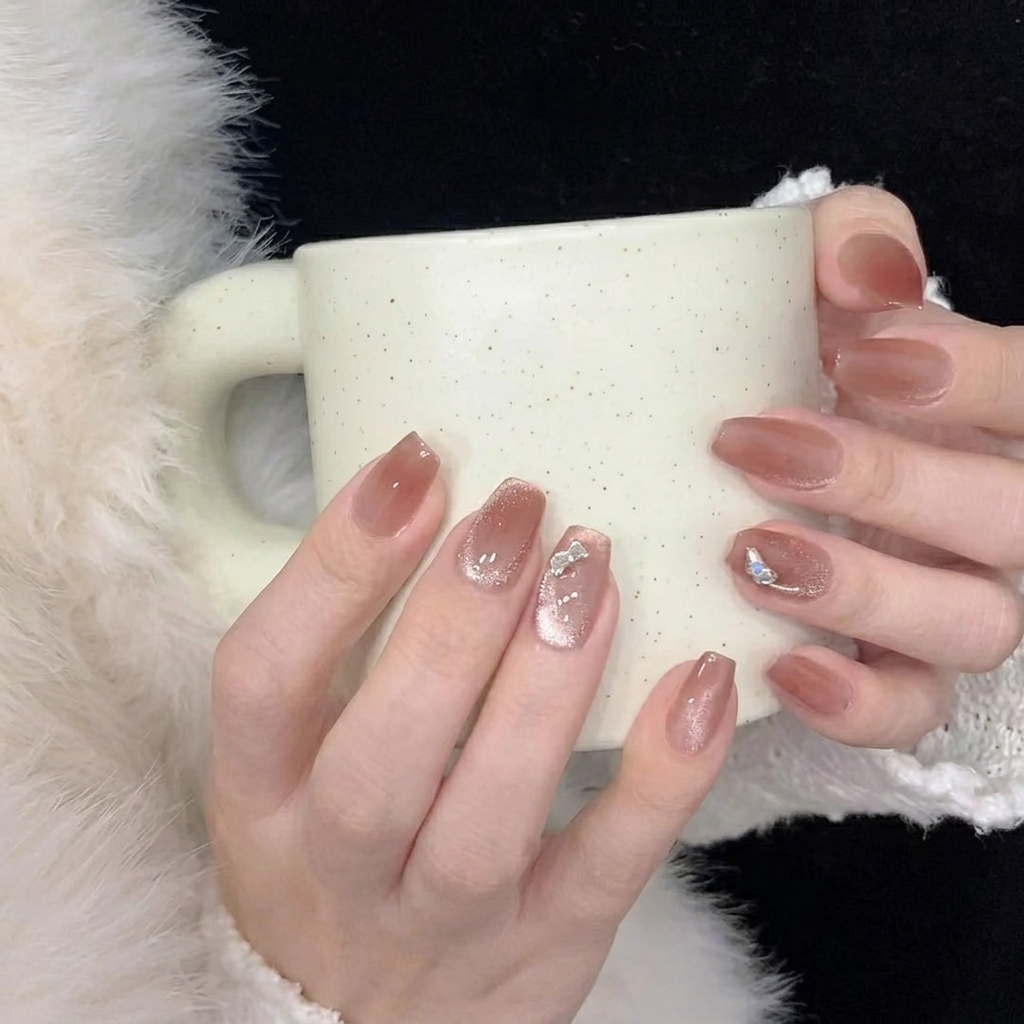
After initial placement, apply firm, even pressure across the entire surface of the press-on nail for about 10–15 seconds. This ensures the adhesive fully bonds with both the natural nail and the back of the press-on tip.
Tip: Focus extra pressure on the sides and the cuticle area to prevent lifting during daily wear. - 5Check alignment and fit
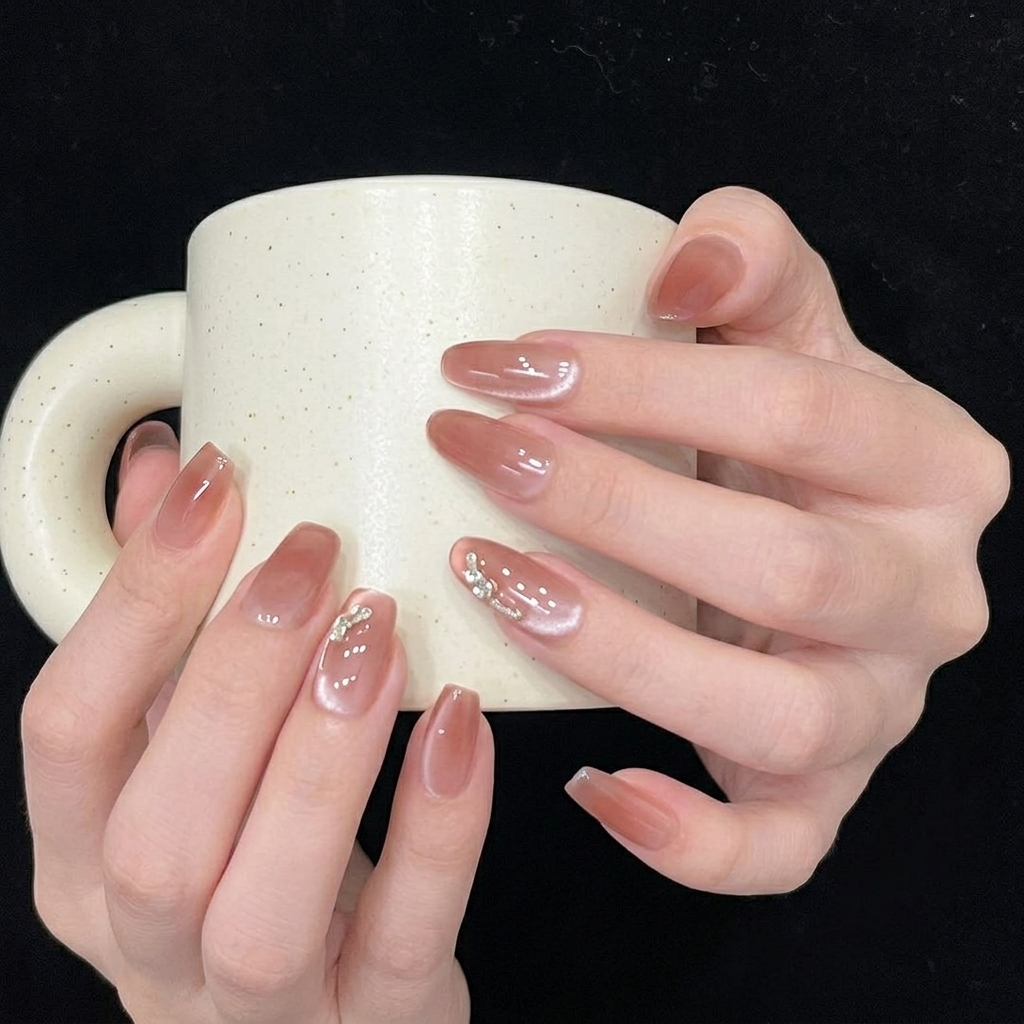
Inspect the nail from multiple angles to ensure it is perfectly centered and lies smooth against the cuticle without gaps. If the nail is slightly off-center, gently nudge it into place while the adhesive is still setting.
Tip: A seamless fit at the cuticle makes the press-on nails look much more natural and similar to a salon manicure.