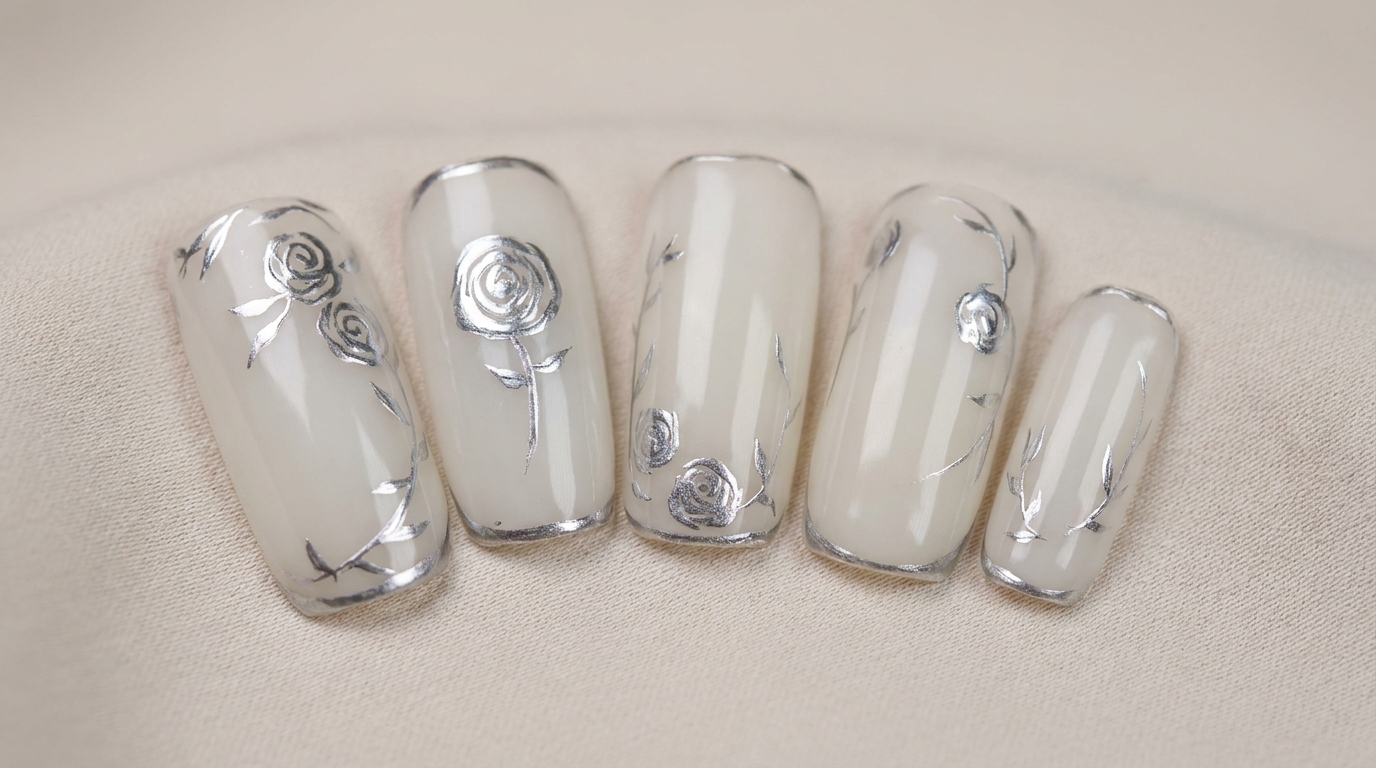
Elegant Metallic Rose Nail Art — Step-by-Step Tutorial
Create stunning, high-contrast metallic rose nail art with a milky white base. This tutorial shows you how to achieve dimensional silver floral details.
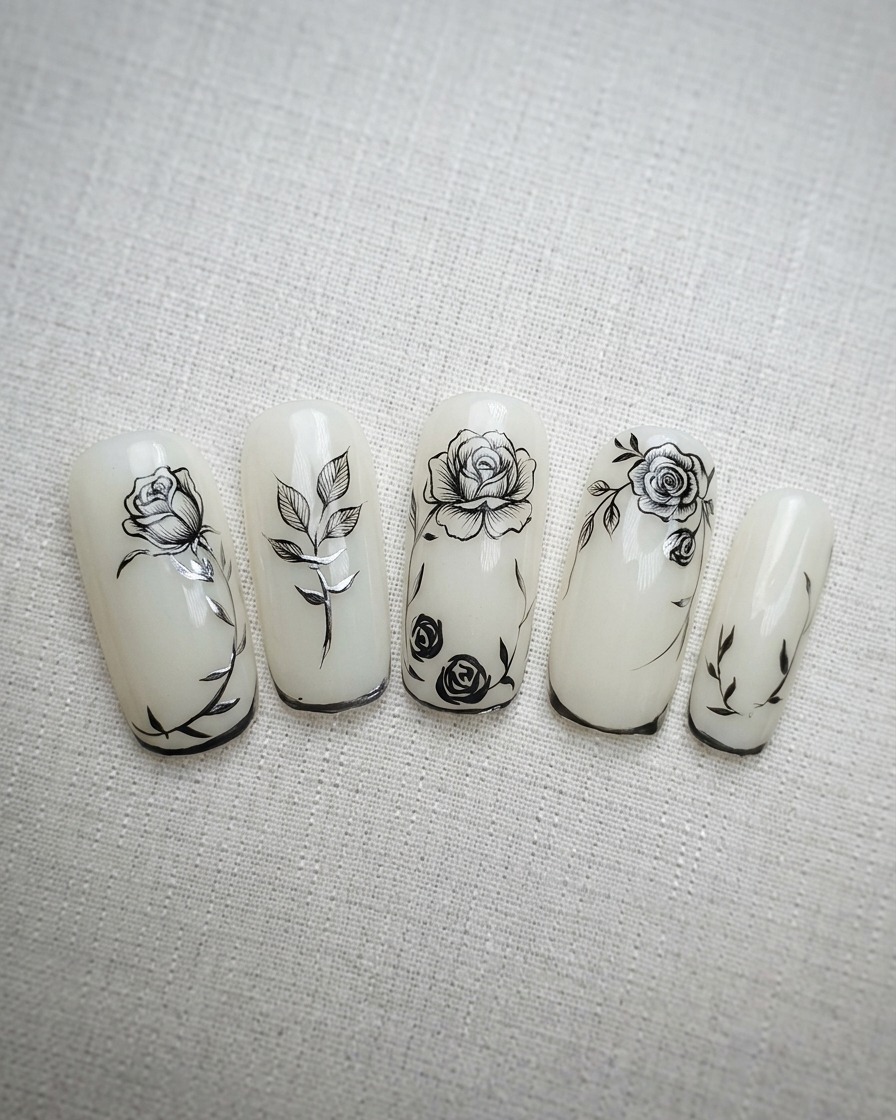
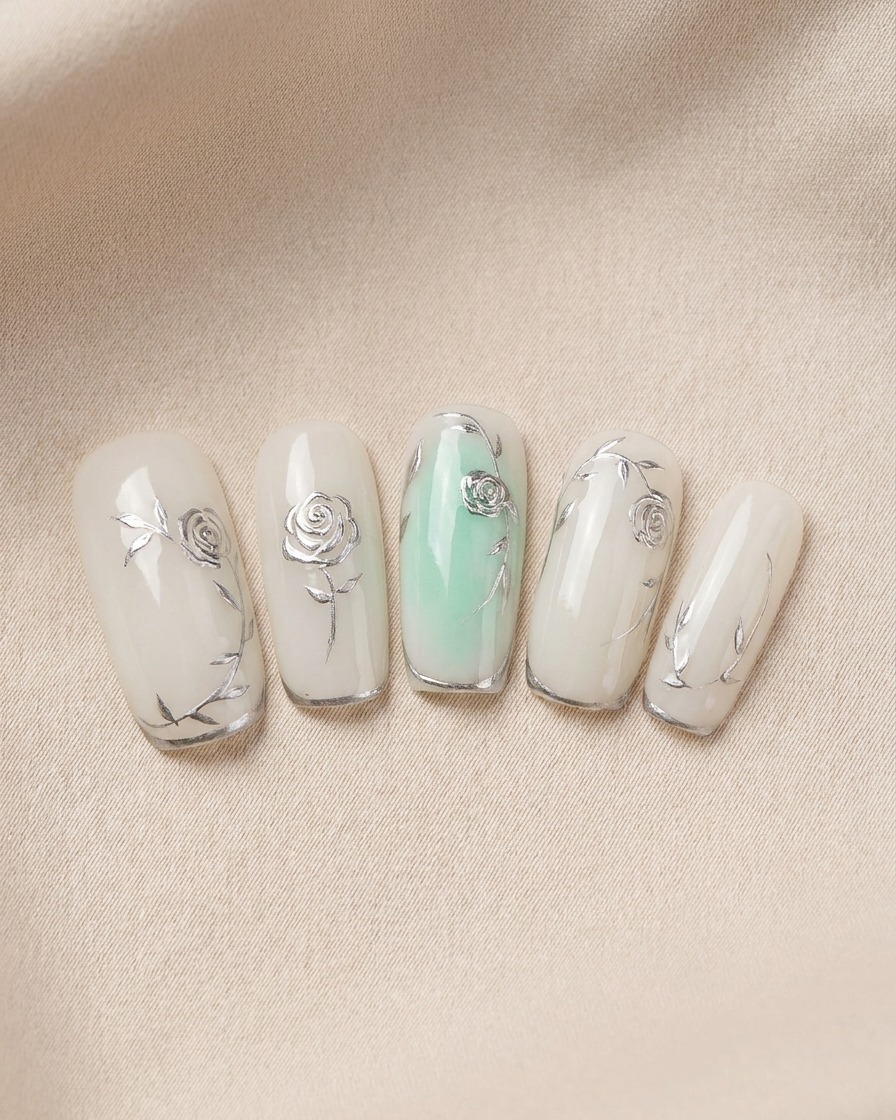
Embrace a sophisticated look with this metallic rose nail design that perfectly balances modern elegance with intricate detail. By layering metallic silver gel over a soft milky white base, you can achieve a beautiful three-dimensional effect that makes the roses pop. This design is perfect for those who want to add a touch of luxury and artistic flair to their manicure.
Steps
- 1Apply milky white base
Apply a thin, even layer of milky white gel polish to the entire nail surface. Ensure the coverage is uniform and cure under a UV or LED lamp for the manufacturers recommended time.
Tip: Apply in thin layers to avoid bubbling or uneven curing. - 2Apply second base layer
Apply a second coat of the milky white gel polish to increase opacity. Cure fully under your UV or LED lamp.
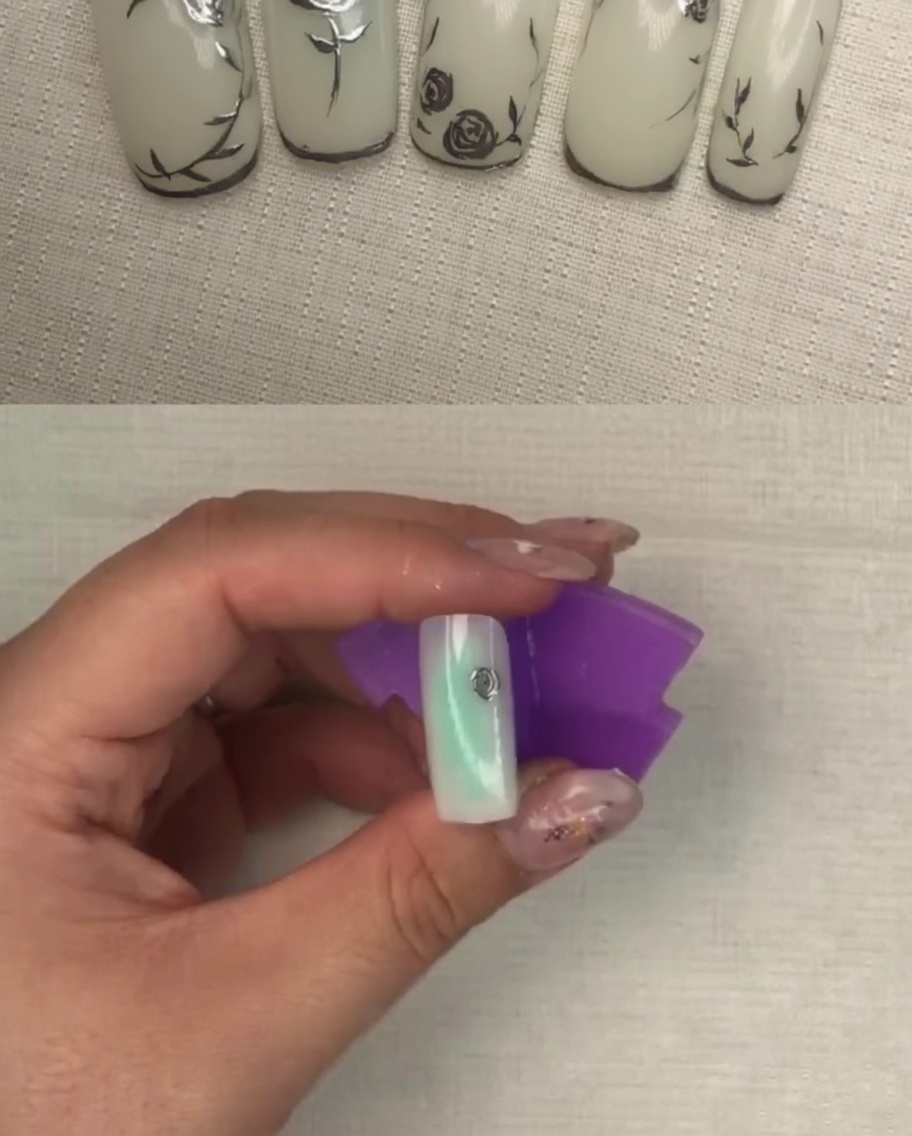
Tip: Take care to cap the free edge with each layer to ensure a long-lasting manicure. - 3Create the flower center
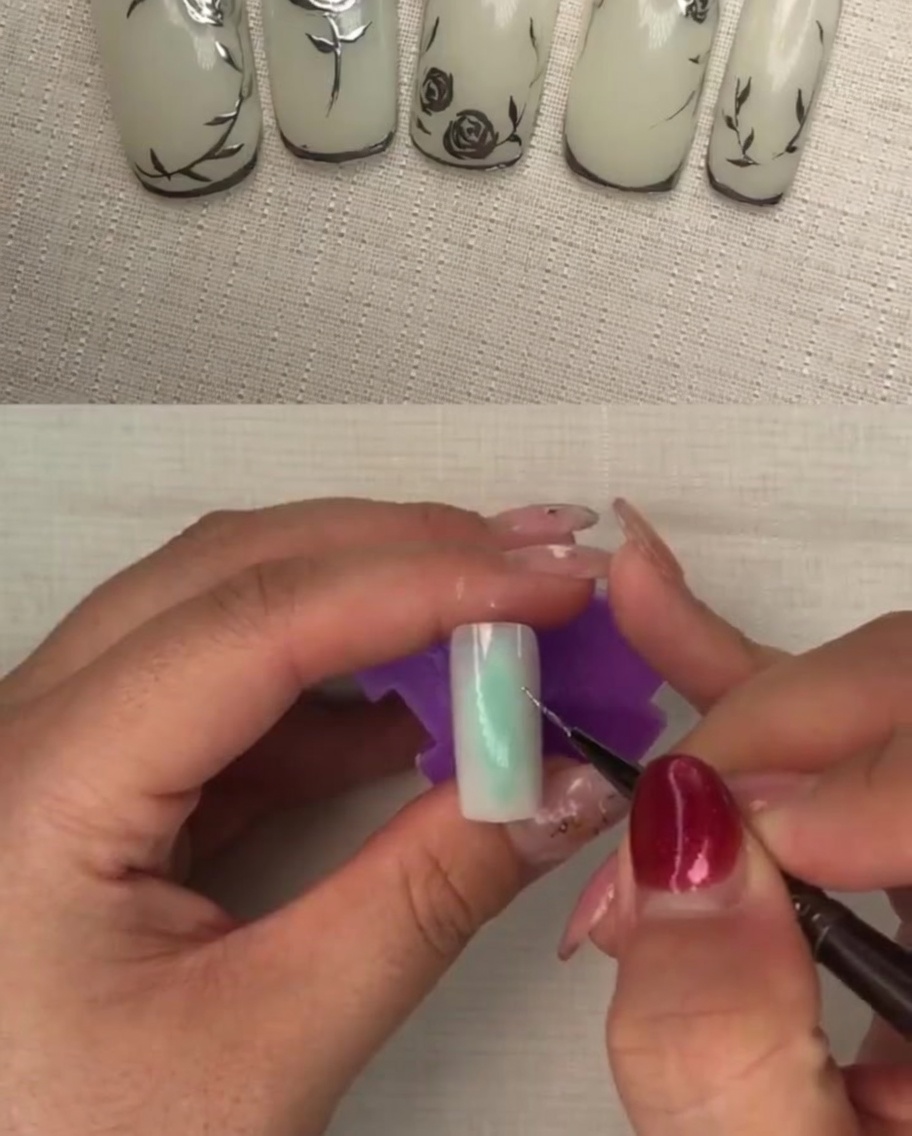
Dip a fine liner brush into metallic silver gel and apply a small dot or circle at the desired location on the nail to serve as the center of the flower.
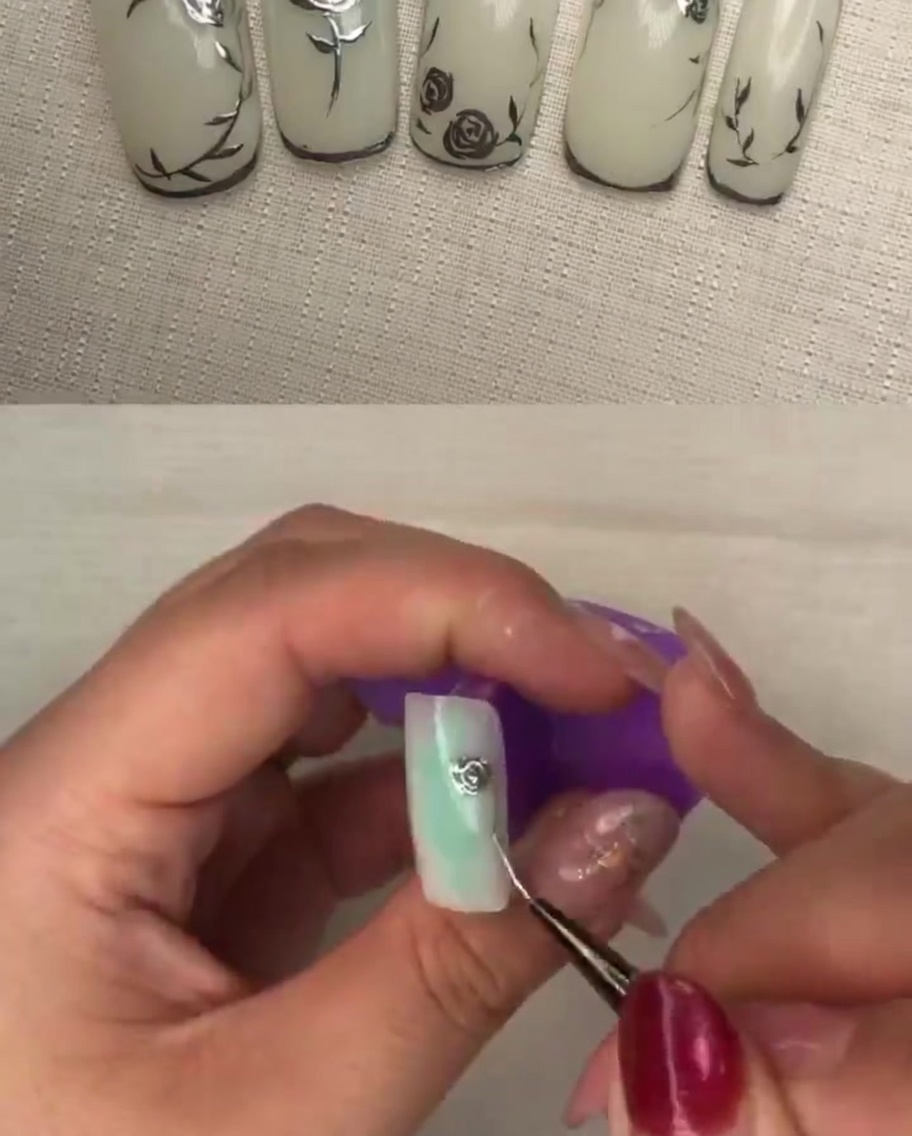
Tip: Use a small amount of product to keep the center precise and prevent it from spreading too much. - 4Form initial petals
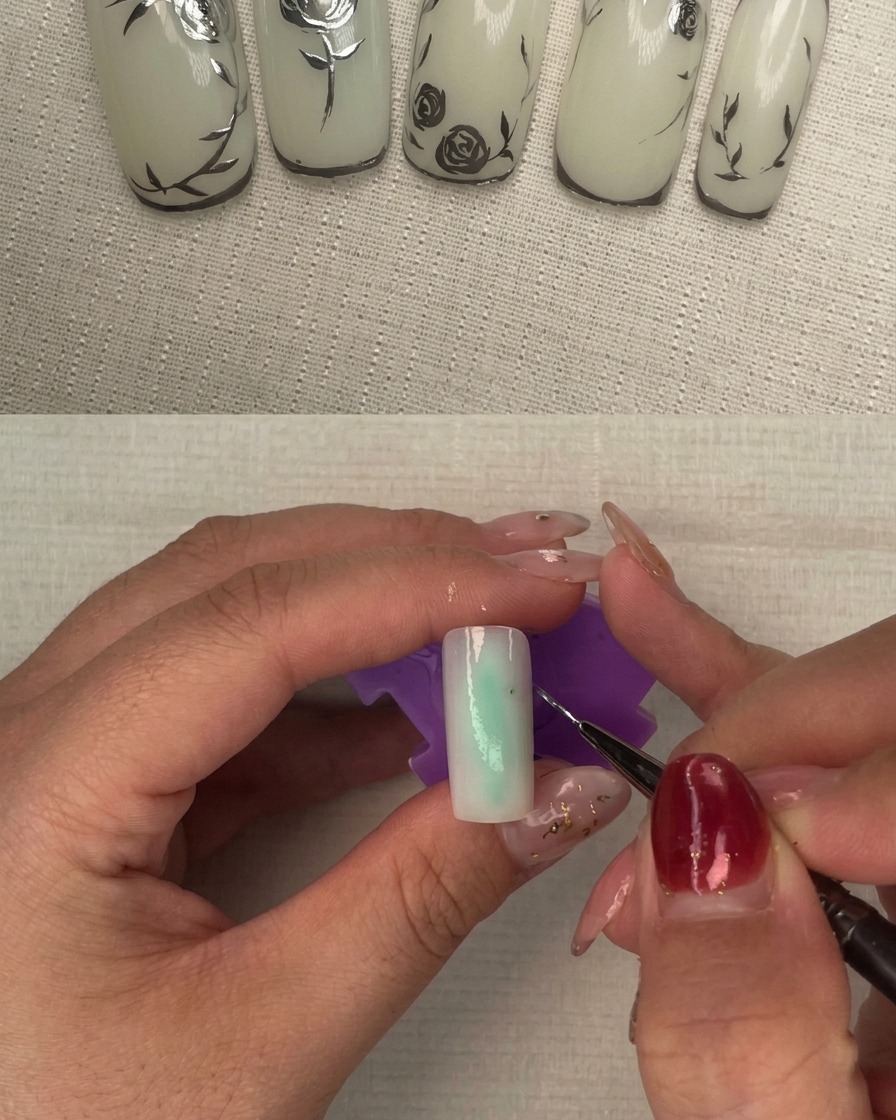
Using the metallic silver gel and a liner brush, carefully draw the first set of petals radiating out from the center point.
Tip: Keep your strokes light to allow for easy layering and shaping later. - 5Define additional petals
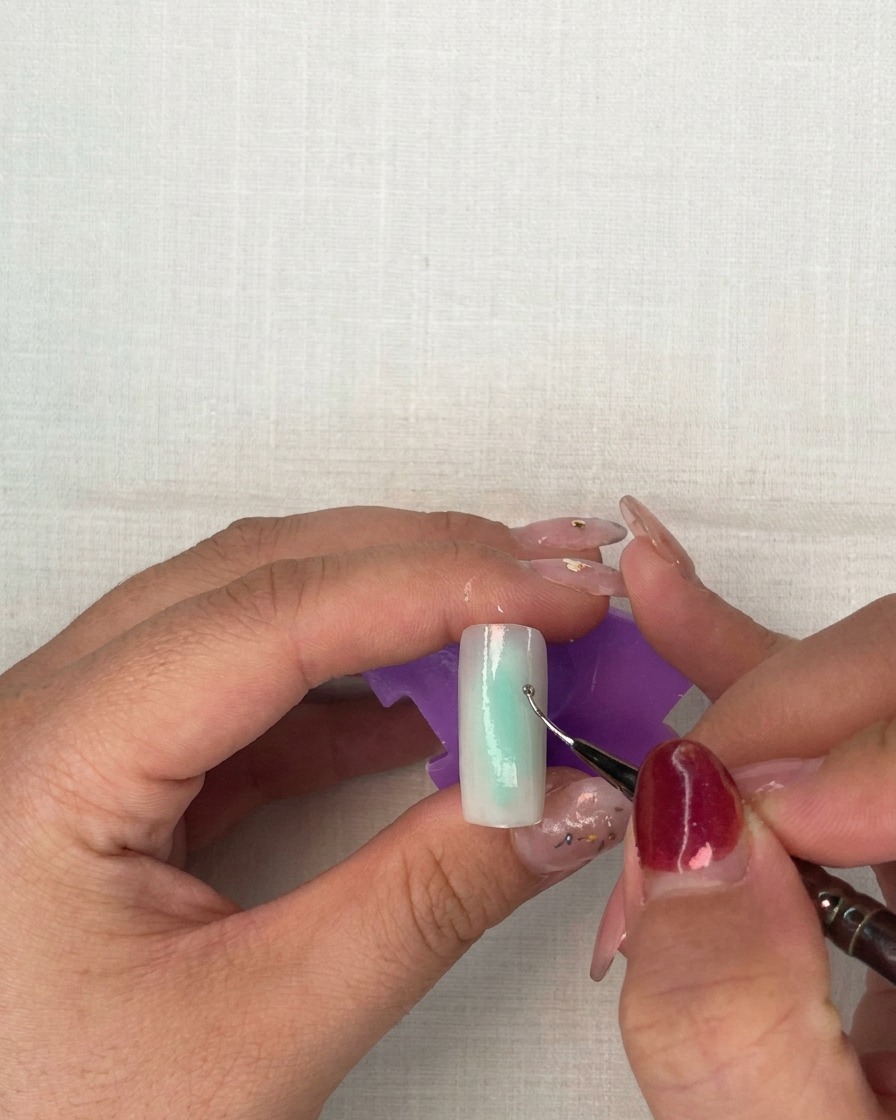
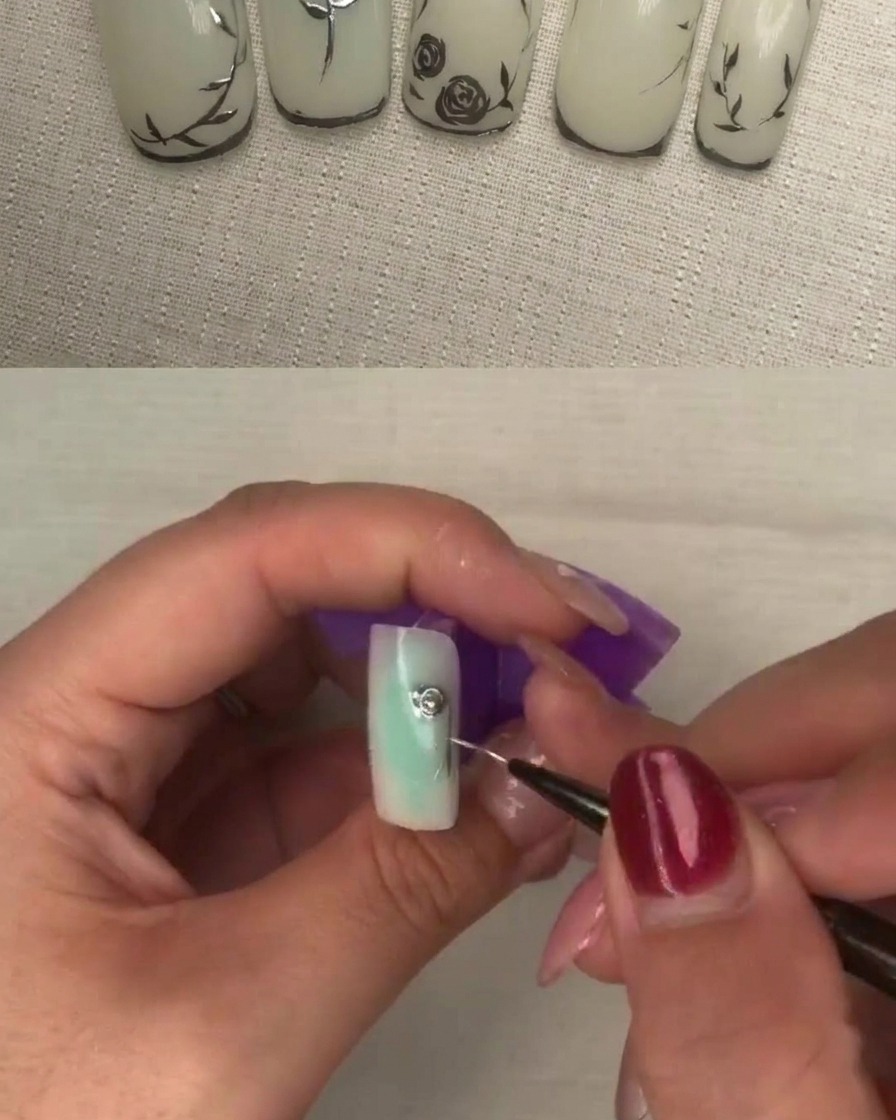
Add more metallic gel to the design to create additional petals, overlapping them slightly to build volume and detail.
Tip: Varying the size and direction of the petals adds a more natural look to the floral art. - 6Add depth to petals
Using the liner brush, apply direct pressure to the petals to build a three-dimensional effect. Focus on making the center of each petal thicker than the tips.
Tip: This technique gives the metallic design a raised, relief-like texture that pops against the base. - 7Detail the petal edges
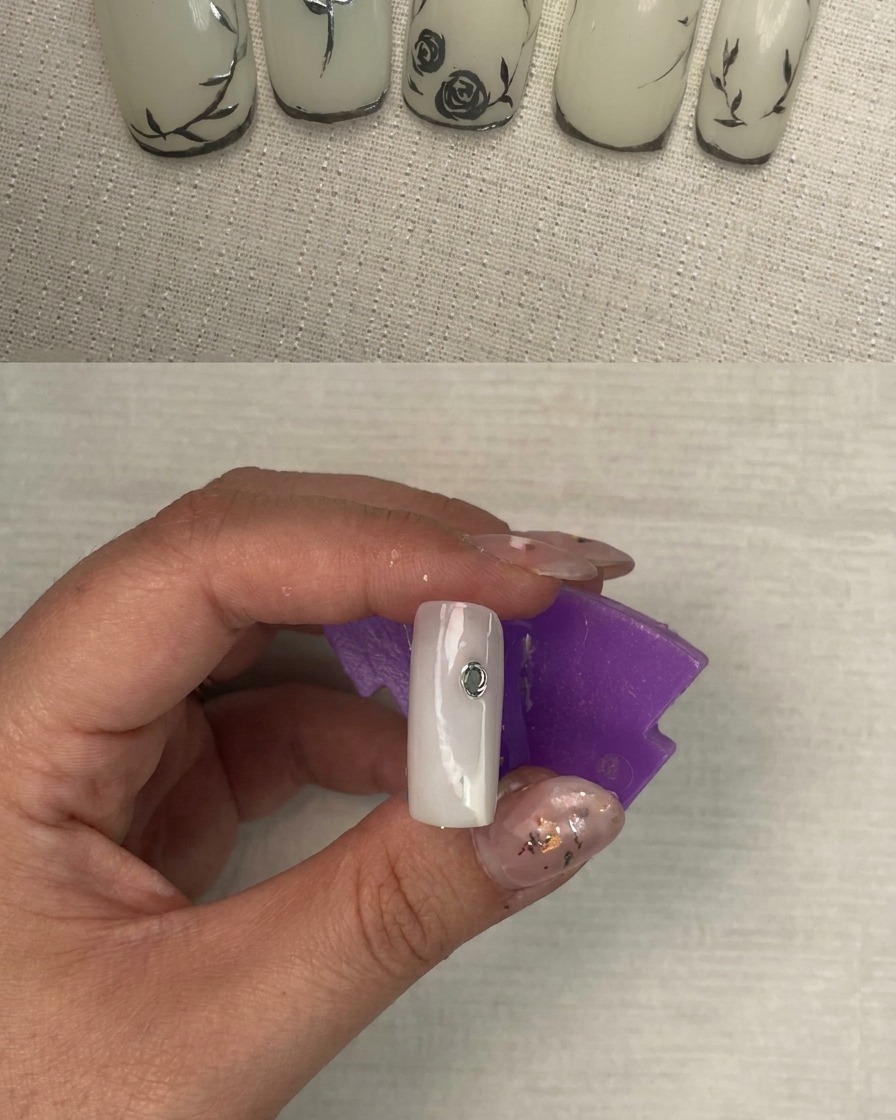
Using a fine liner brush, continue defining the edges of the metallic petals. Maintain a thicker application of metallic gel in the center of each petal to enhance the 3D relief effect, gradually tapering the pressure as you reach the edges.
Tip: Varying the pressure on your brush allows you to control the thickness of the gel, which is key to achieving a dimensional metallic look. - 8Refine petal dimensions
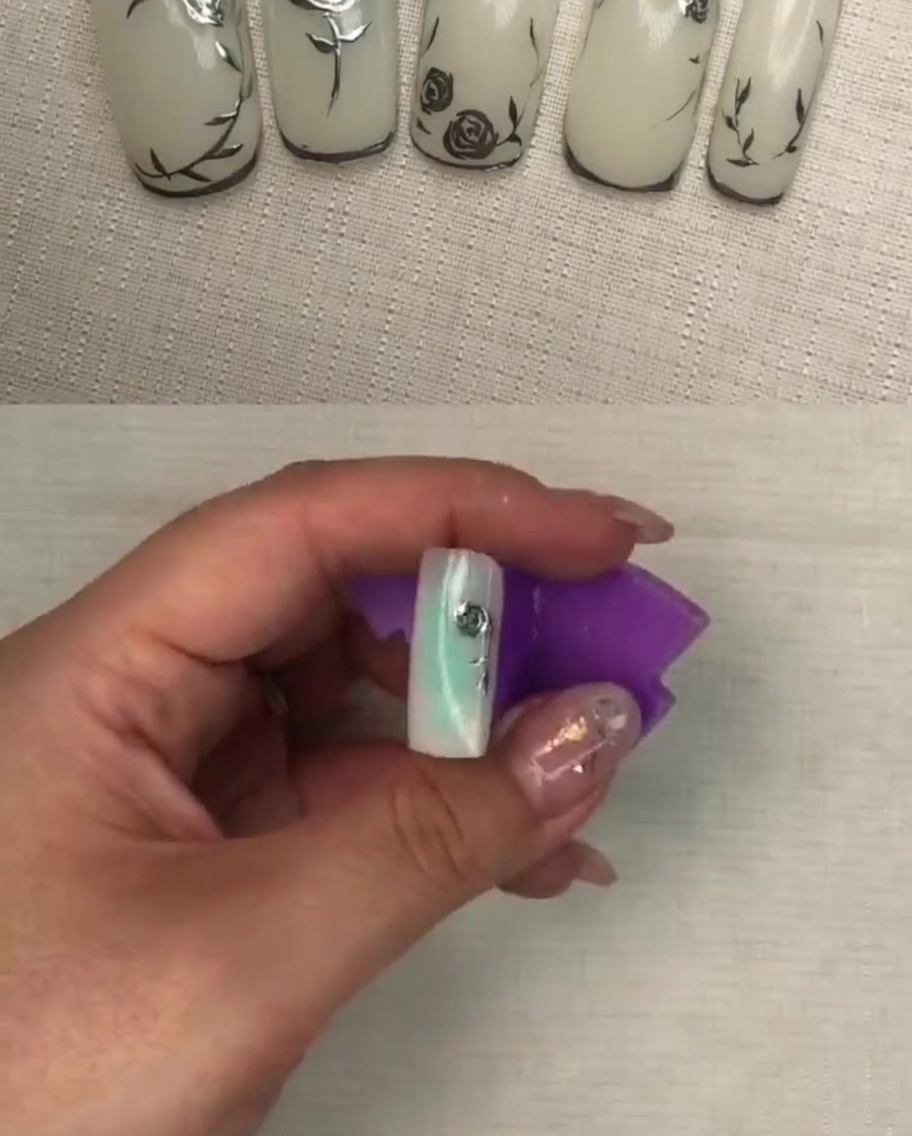
Focus on finalizing the petal details. Ensure there is a visible variation in the thickness of the metallic gel across the petals to maximize the light-reflecting metallic effect once cured.
Tip: Dont worry about perfect symmetry; natural, organic petal shapes often look more elegant in nail art. - 9Add vines and leaves
Using your fine liner brush dipped in the metallic gel, draw delicate stems and leaf accents extending from the rose design. Keep the strokes light and fluid to complement the floral art.
Tip: Use the very tip of the liner brush for the thin vines and apply slightly more pressure at the base of the leaves to give them shape. - 10Apply top coat
Apply a final layer of gel top coat over the entire nail to seal and protect the metallic design. Ensure the top coat fully encapsulates the 3D metallic elements for a smooth, high-shine finish.
Tip: Ensure you cap the free edge with the top coat to prevent chipping. - 11Cure the design
Place the nails under your UV or LED lamp to cure the final top coat and the underlying metallic gel design. Follow your specific products recommended curing time to ensure the metallic gel is fully set.
Tip: Keep your hand still inside the lamp during the full duration of the cure to ensure a perfect finish.