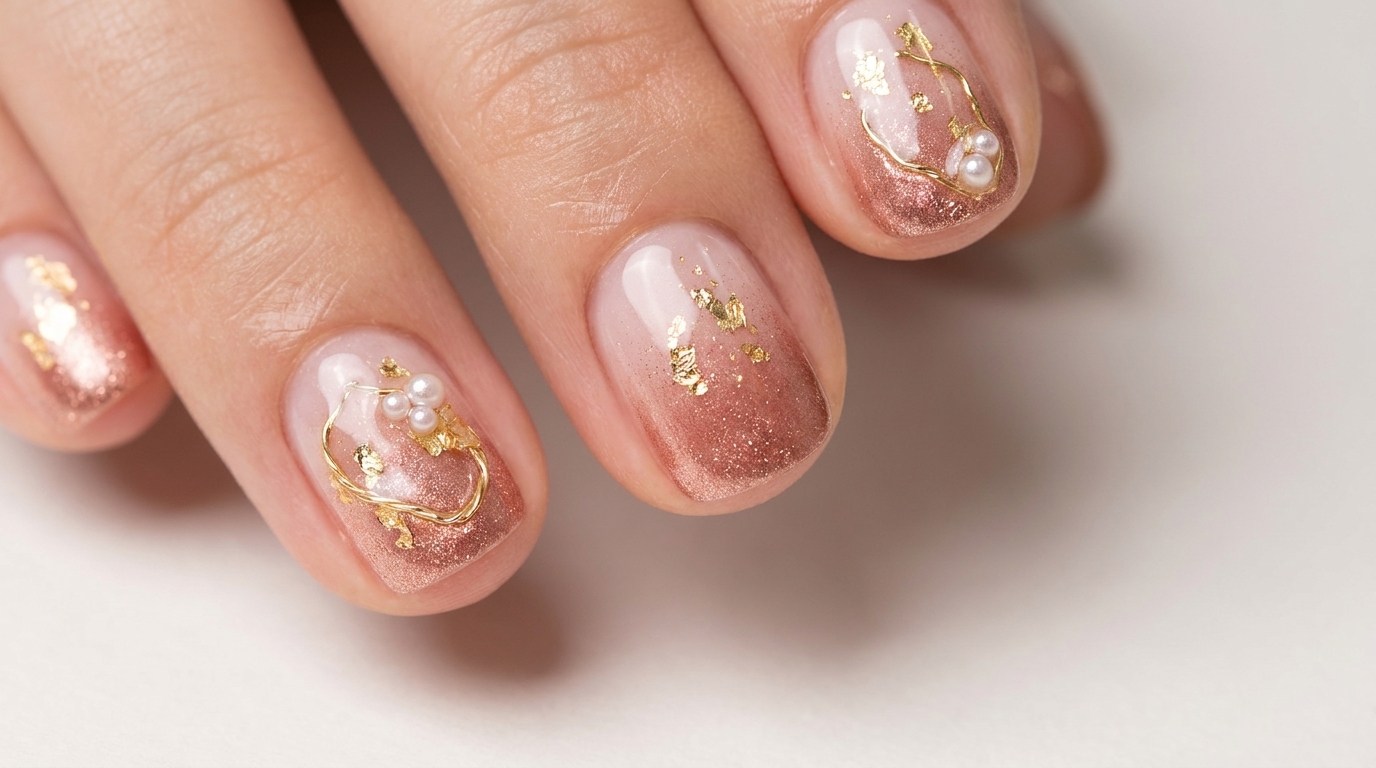
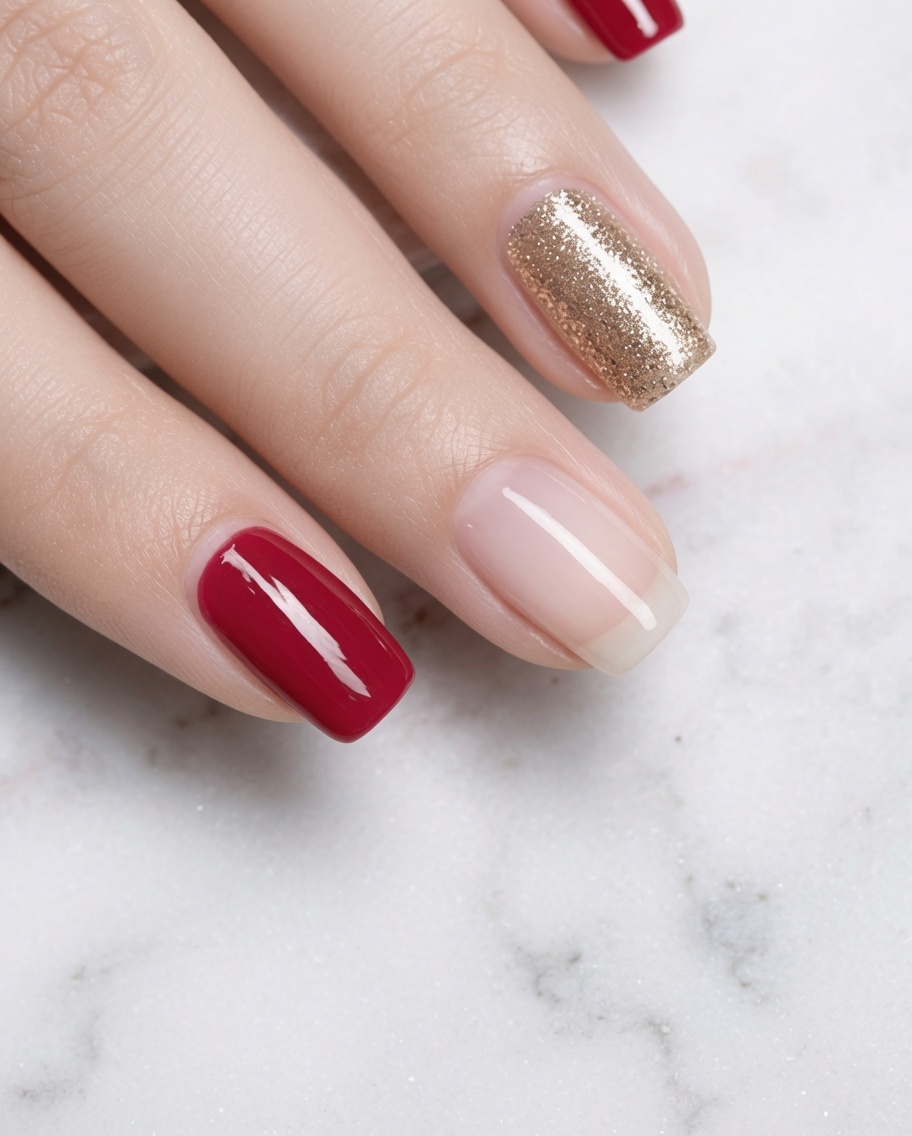
Vintage Rose Gold Gradient Nails
Gold Foil & Pearls
Create an elegant rose gold gradient on short nails with this beginner-friendly tutorial. Features a milky white base, gold foil, metal wire, and pearl accents.
Today we are arranging a beautiful, strong, and sparkling rose gold gradient look perfect for short nails. This vintage-inspired style uses a soft milky white base to make the retro, skin-brightening rose gold truly pop. With delicate embellishments like gold foil, fine metal wire, and tiny pearls, it is a gentle yet eye-catching design that transitions beautifully into the fall and winter seasons.
Steps
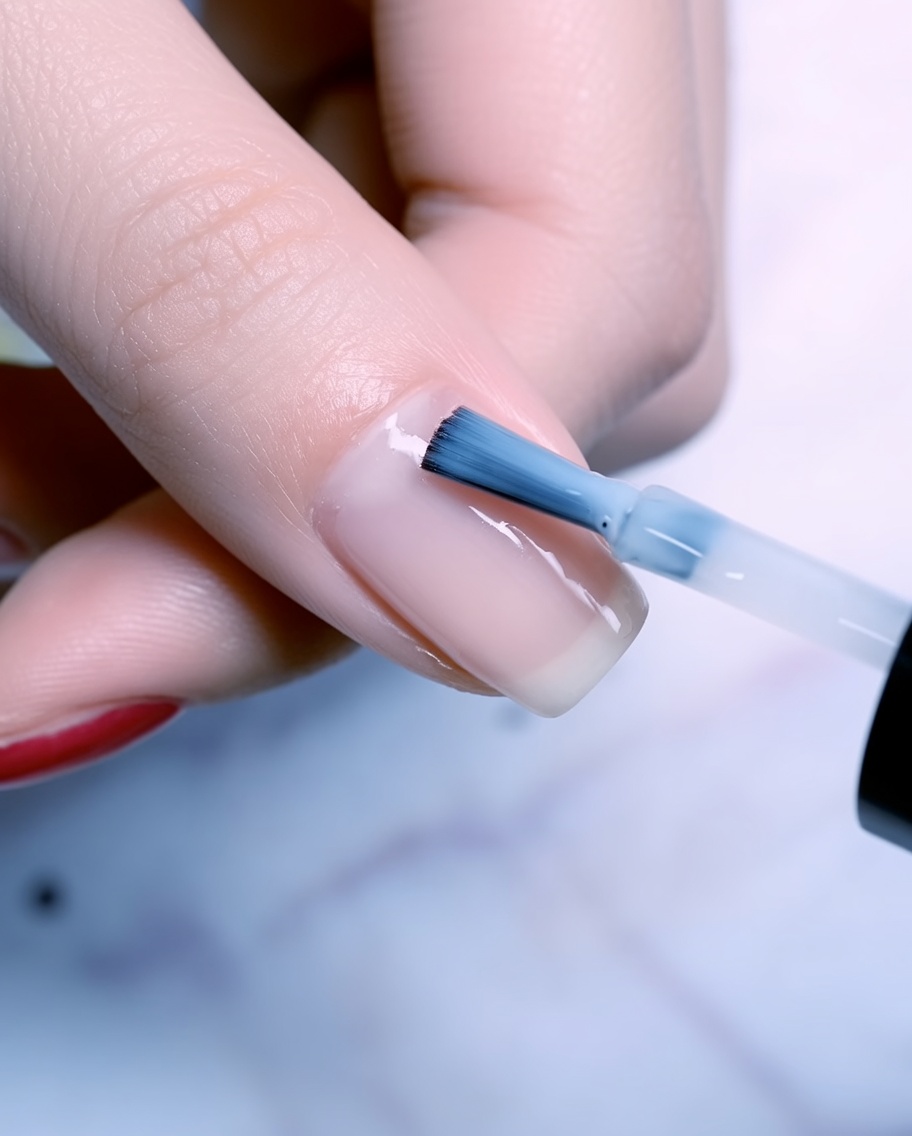
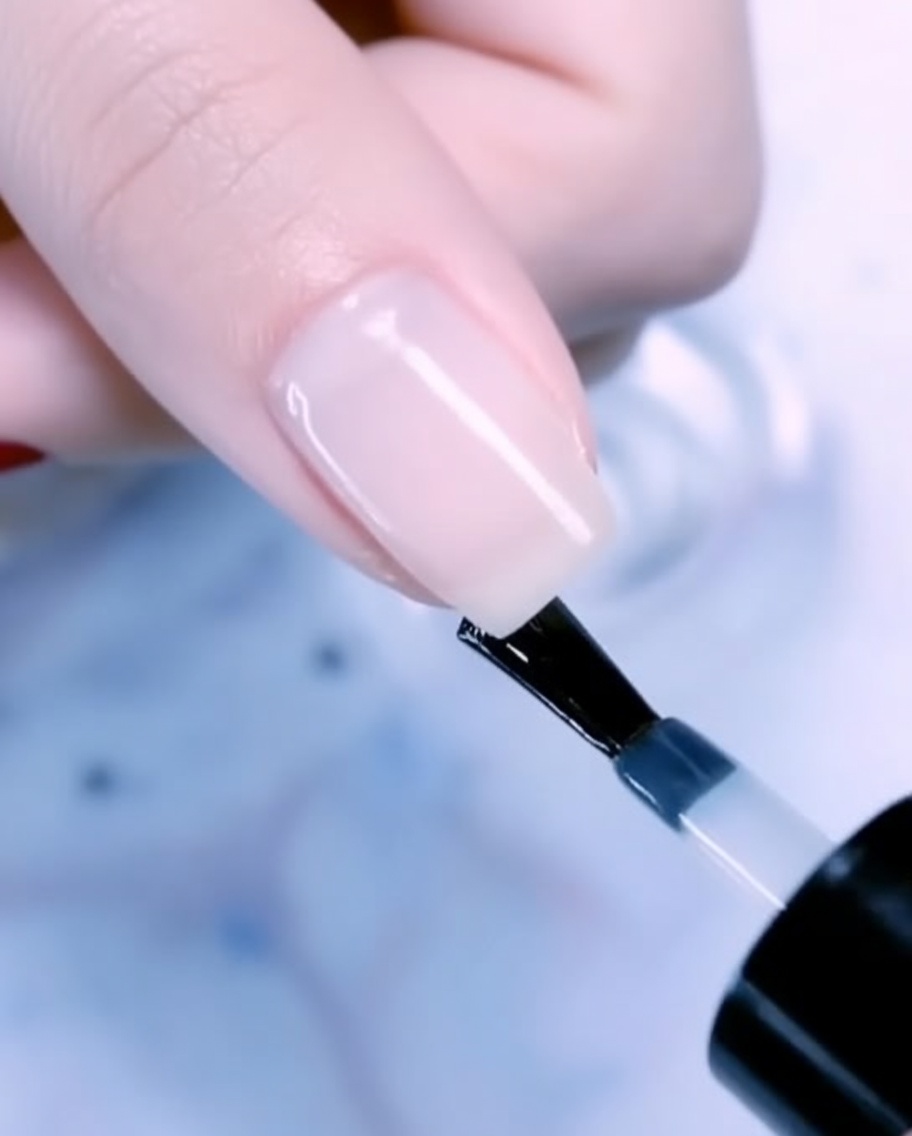
- 1Apply milky white base coat
Apply a thin, even layer of milky white base coat to the little, middle, and thumb nails. Ensure you cap the free edge to prevent lifting and avoid flooding the cuticles. Cure under your UV or LED lamp as per the product instructions.
Tip: Apply in thin layers to ensure an even, streak-free base that provides a soft, opaque foundation for the subsequent gradient. - 2Apply second base coat layer
Repeat the application process by applying a second thin layer of the milky white base coat to the same fingers to build up opacity. Cure thoroughly under the lamp.
Tip: Building opacity with two thin layers is better than one thick layer, which may not cure properly. - 3Apply fine gold glitter polish

Apply the first layer of the 283 fine gold glitter polish to the ring finger. Distribute the glitter evenly across the nail surface for a smooth finish. Cure under the lamp.
Tip: Use a light dabbing motion with the brush to ensure the glitter particles are distributed evenly without creating bulk. - 4Apply second glitter layer
Apply a second layer of the 283 fine gold glitter polish to the ring finger to increase the density and brilliance of the sparkle. Cure completely under the lamp.
Tip: Adding a second layer deepens the gold effect and provides full coverage for the glitter. - 5Apply rose gold color
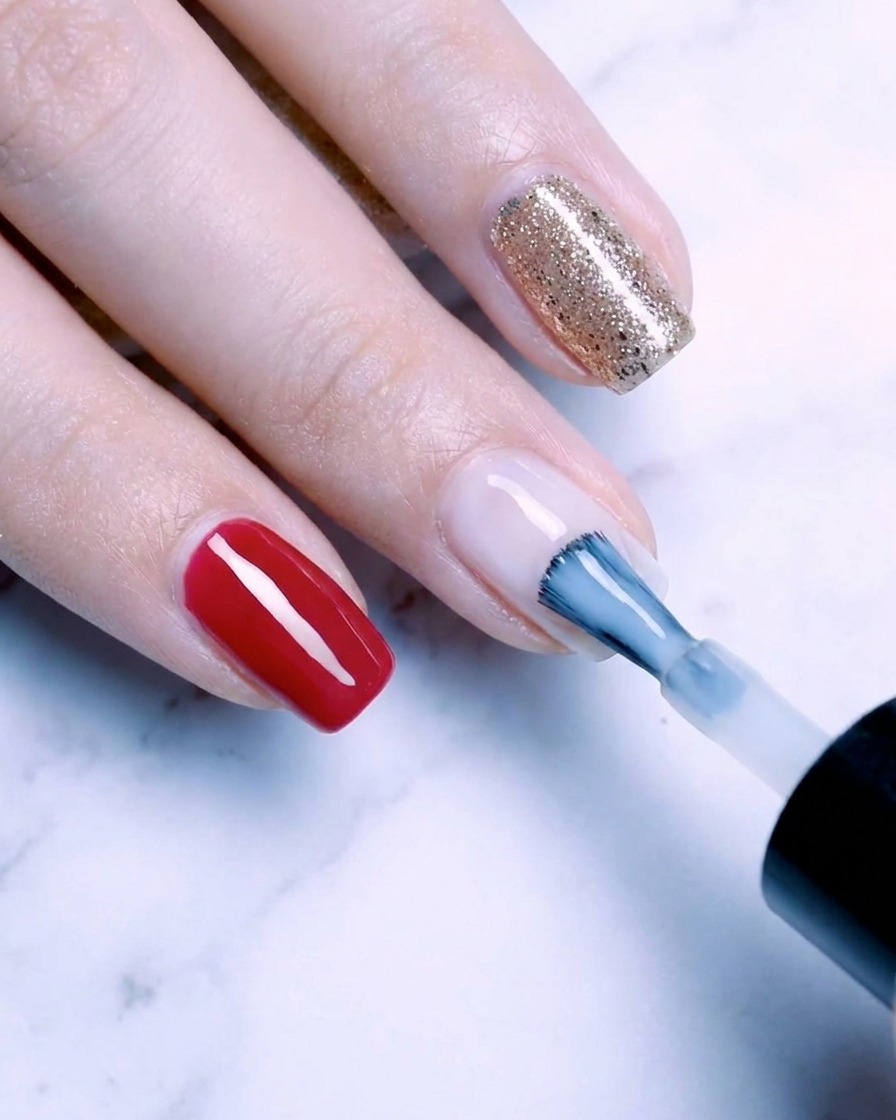
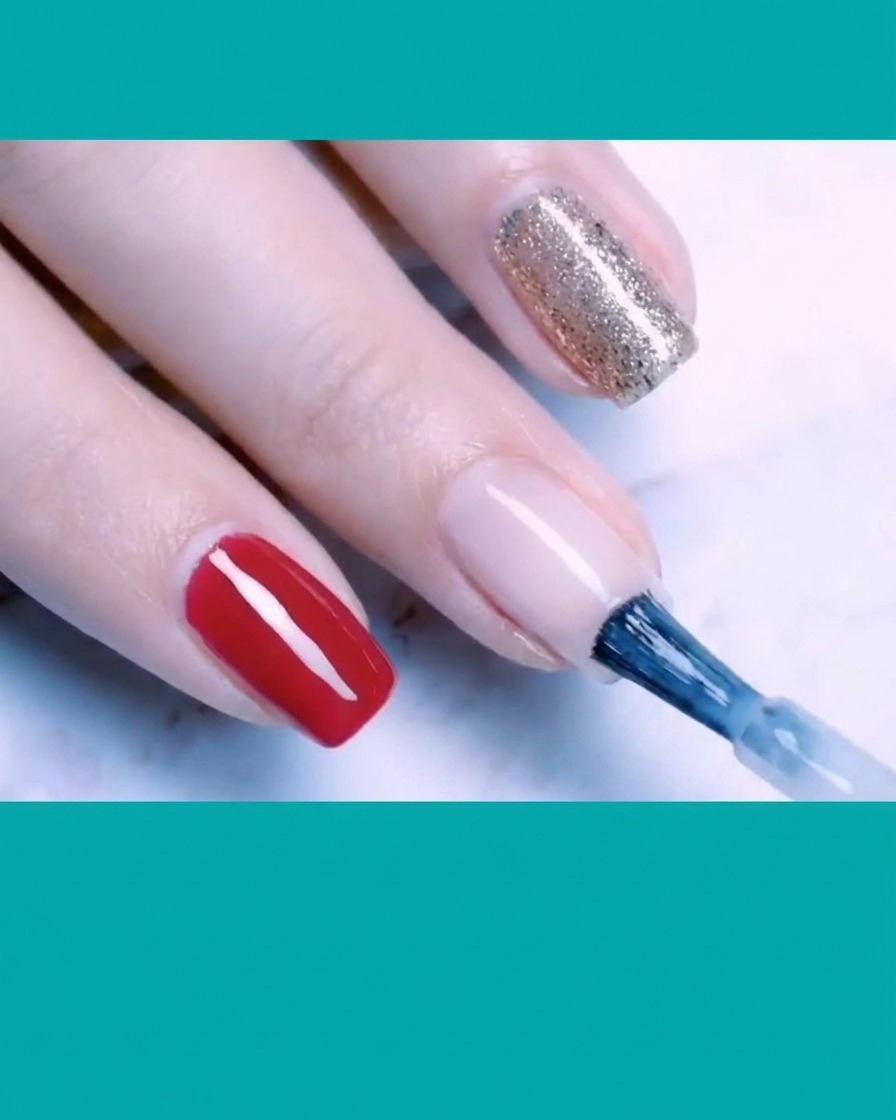
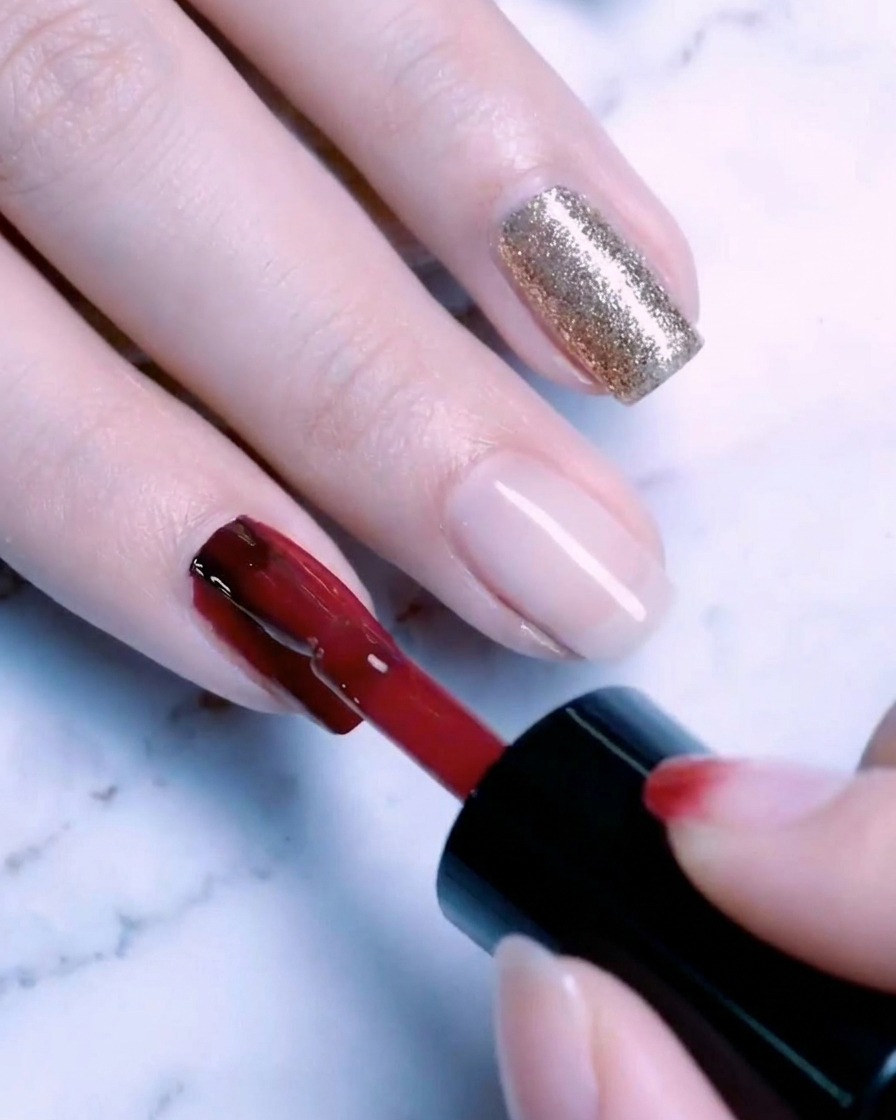
Apply the first layer of the 342 rose gold polish to the index finger. Keep the application thin and even, avoiding the cuticle area. Cure under the lamp.
Tip: The 342 rose gold shade is elegant and brightening; ensure the edges are neatly defined for a professional look. - 6Apply second rose gold layer
Apply a second layer of the 342 rose gold polish to the index finger to achieve full color saturation. Carefully cure under the lamp to ensure a long-lasting, glossy finish.
Tip: Capping the free edge with this second layer helps protect the tip of the nail from chipping. - 7Apply rose gold for gradient
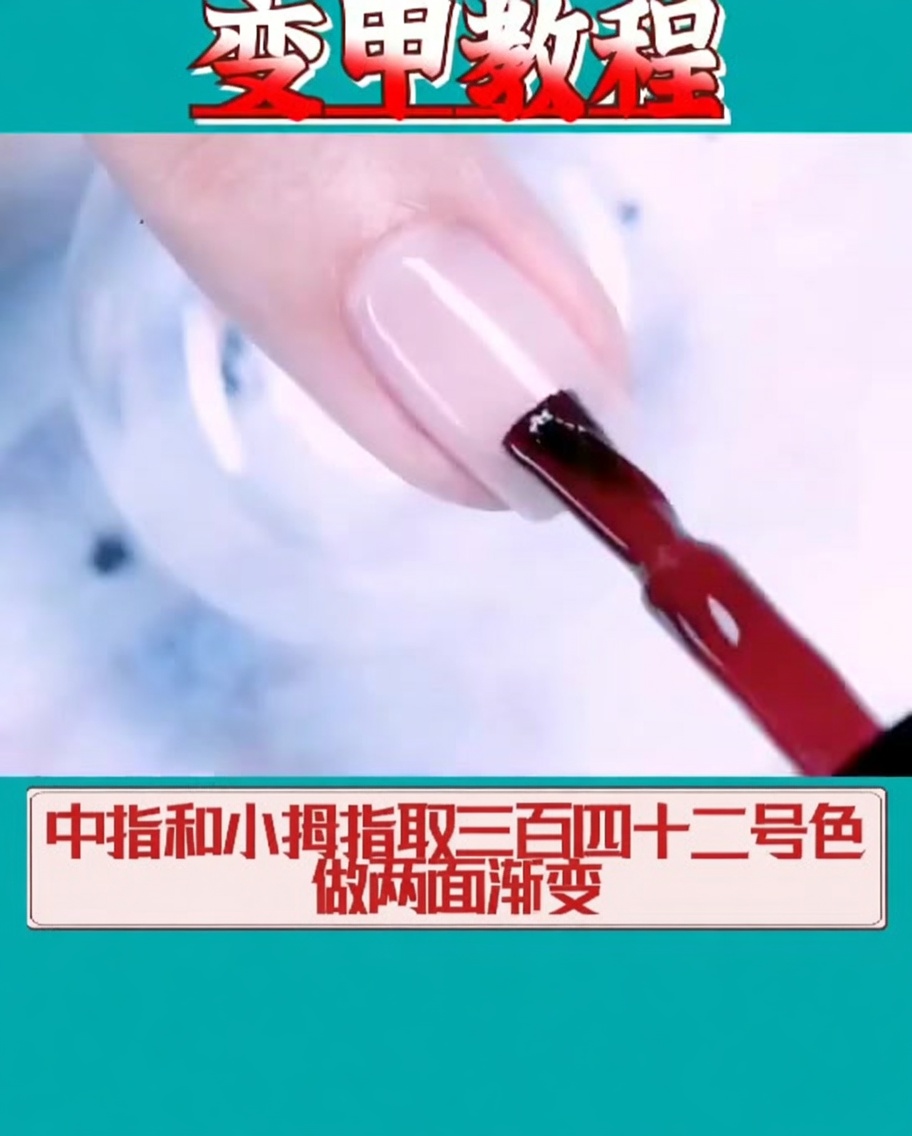
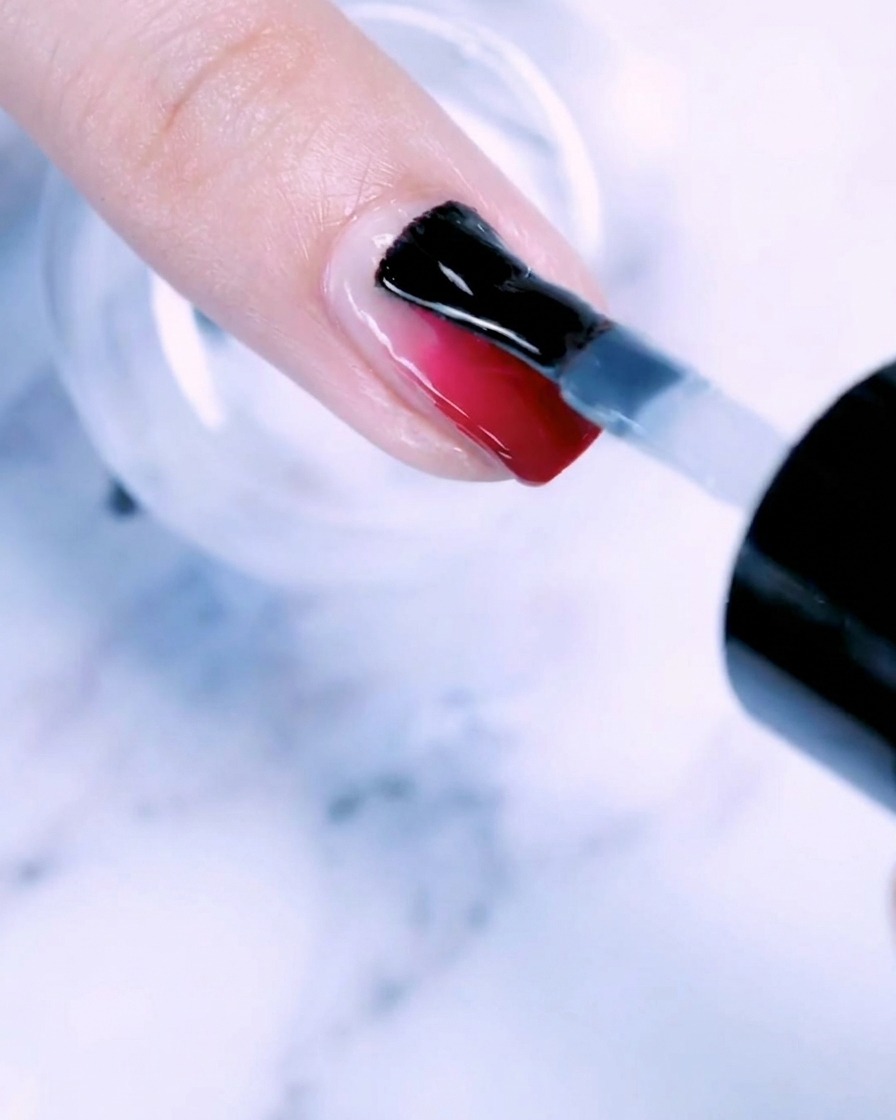
Apply the 342 rose gold color to the tips of the middle and little fingers. This serves as the base for creating a two-sided gradient effect. Ensure the application is focused on the tip area to prepare for blending.
Tip: Keep the color application at the tip thin to make blending easier and smoother. - 8Blend gradient and cure
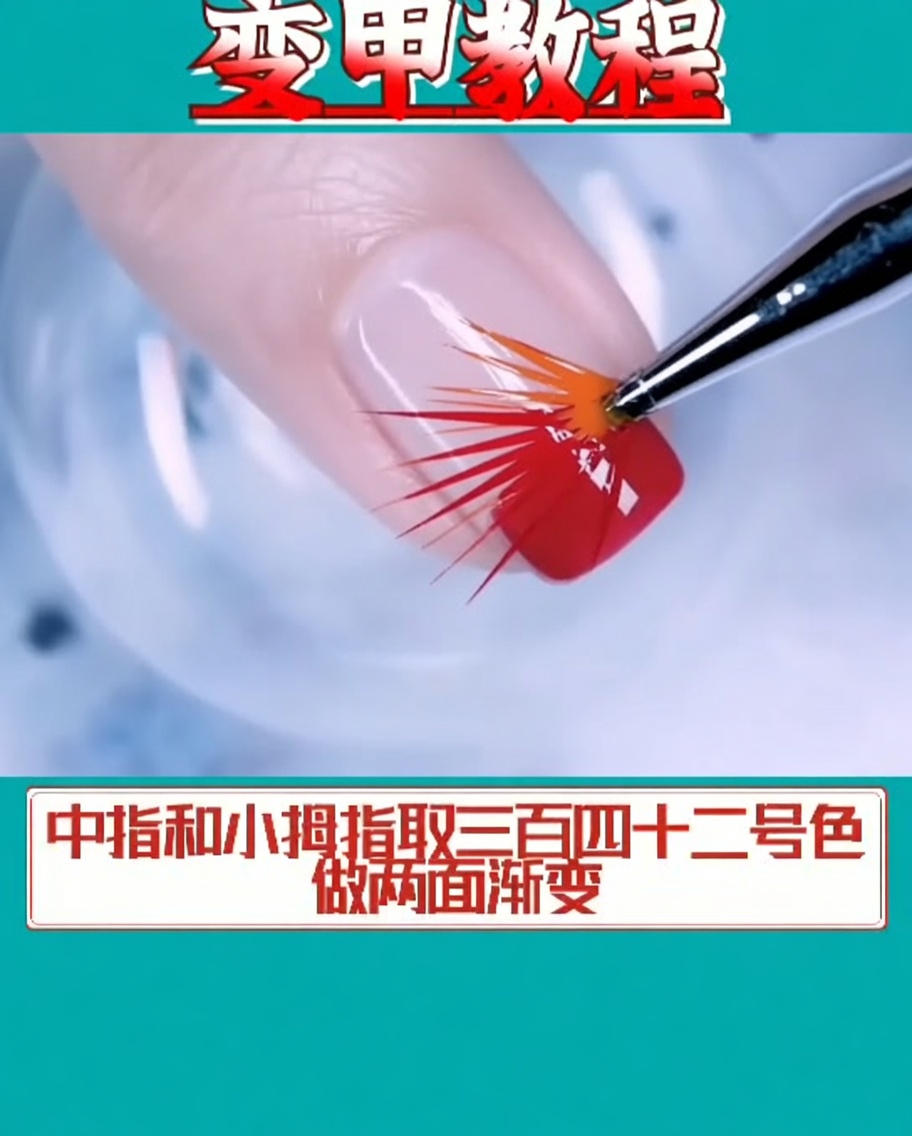
Using a fan brush, gently blend the 342 rose gold color on the middle and little fingers toward the center of the nail to create a smooth, two-sided gradient. Once blended to your satisfaction, cure the nails under your UV or LED lamp.
Tip: Use light, sweeping motions with the fan brush to achieve a soft, seamless transition. - 9Apply base gel for embellishments
Apply a thin, even layer of base gel to the middle finger. This layer acts as an adhesive base for placing your chosen nail art decorations, such as gold foil, metal wire, or pearls.
Tip: Apply a slightly thicker layer of base gel if you plan to place larger or heavier embellishments. - 10Add nail art decorations
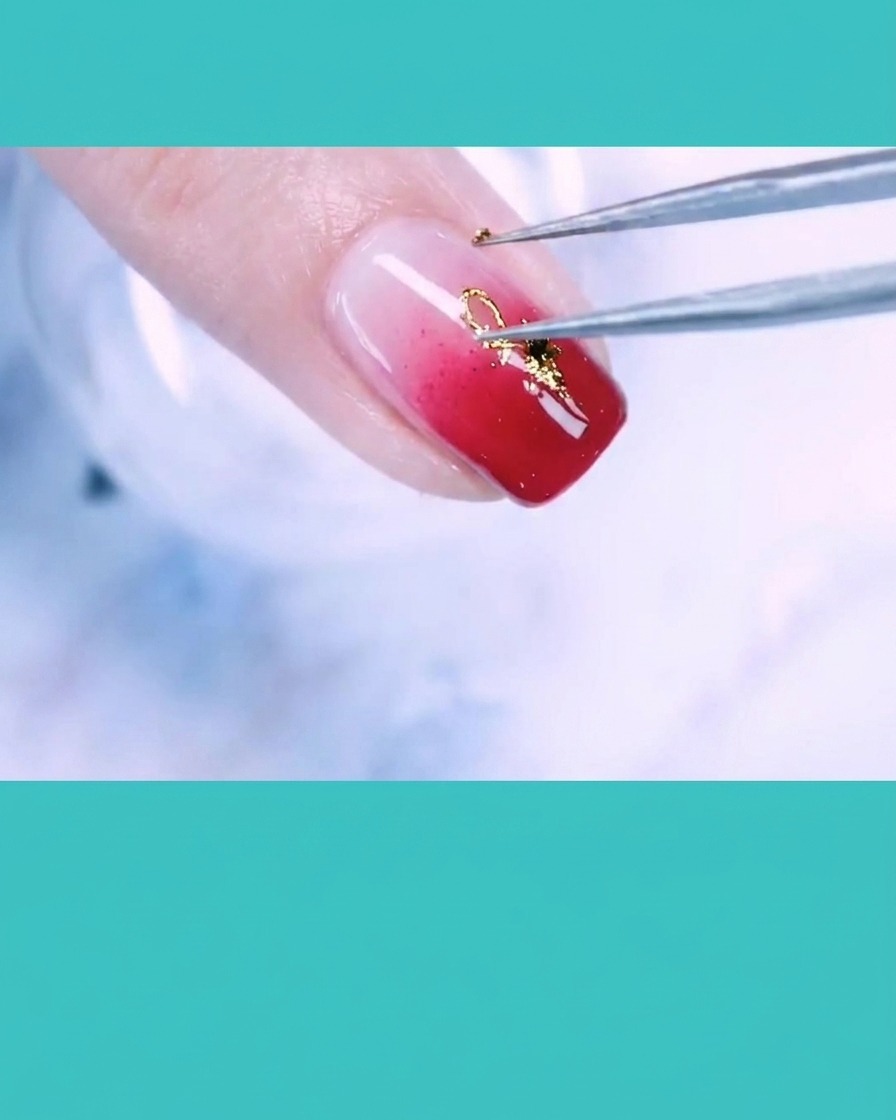
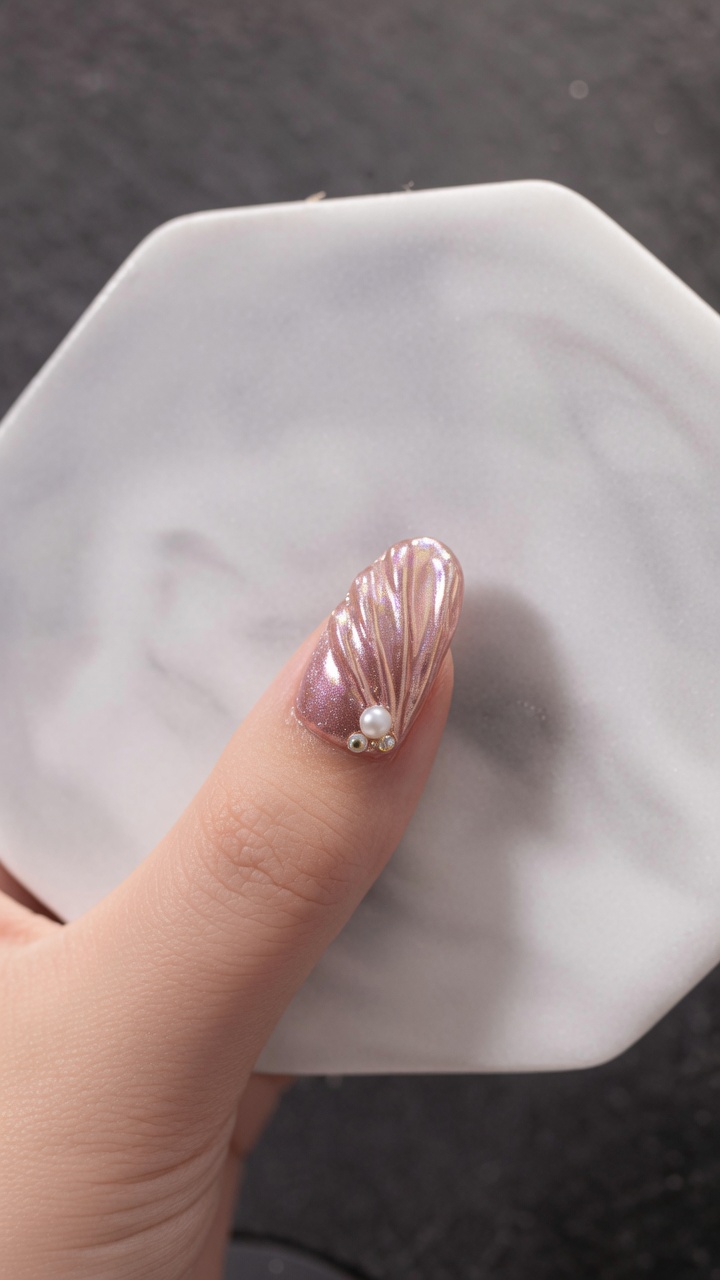
Carefully place pieces of gold foil, thin metal wire, and small pearls onto the uncured base gel on the middle finger. Arrange them to your desired design, then cure the nail under your UV or LED lamp to set everything in place.
Tip: Use precision tweezers for accurate placement of small embellishments like pearls and wires. - 11Decorate index finger

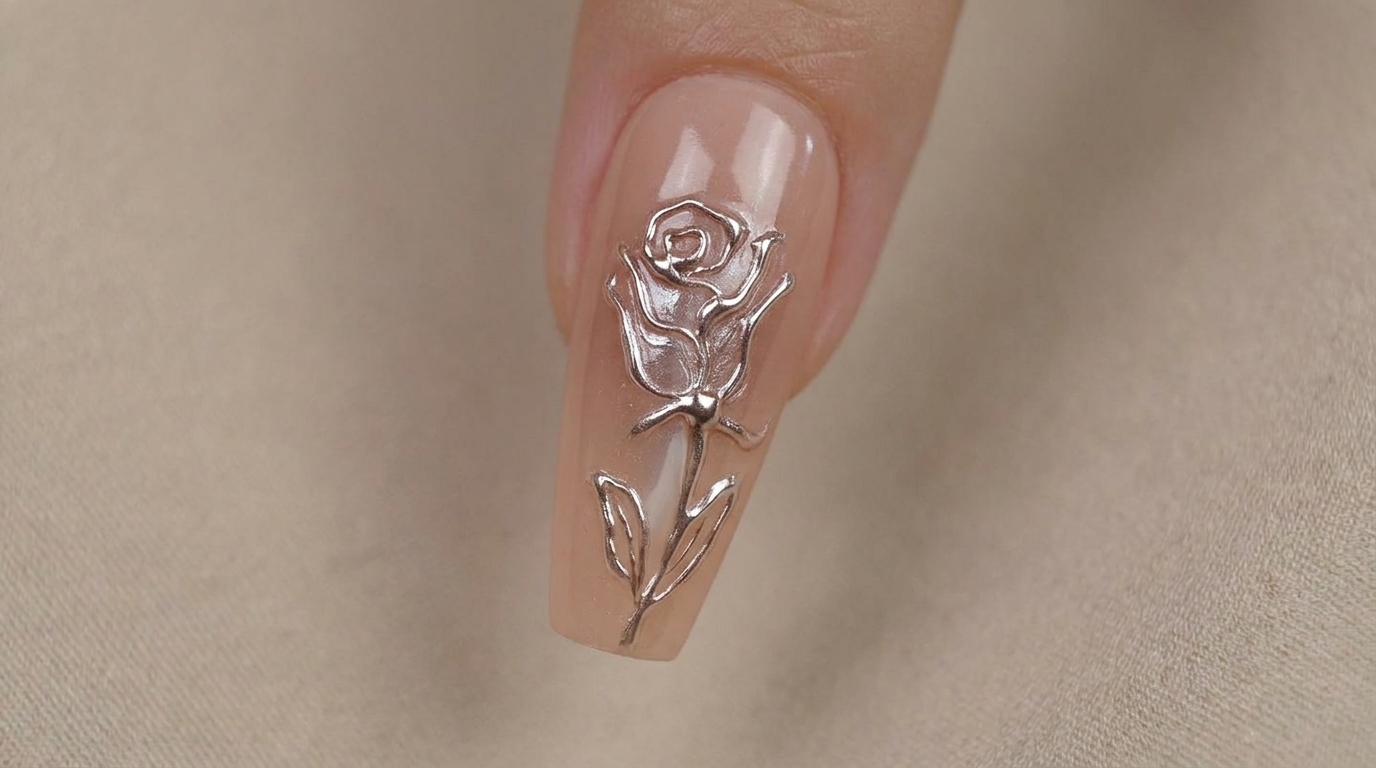
Apply metal glue to the index finger where you want to add your gold accents. Place the gold embellishments carefully into the glue, then cure the nail under your UV or LED lamp to secure the design.
Tip: Metal glue is stronger and better suited for holding metal accents securely to the nail. - 12Start thumb blush gradient
Apply a small dot of the 342 rose gold color at the base of the thumb. This will be the starting point for creating a soft, blush-effect gradient on the thumb nail.
Tip: You can adjust the size of the dot depending on how large you want the blush effect to be. - 13Create blush effect gradient

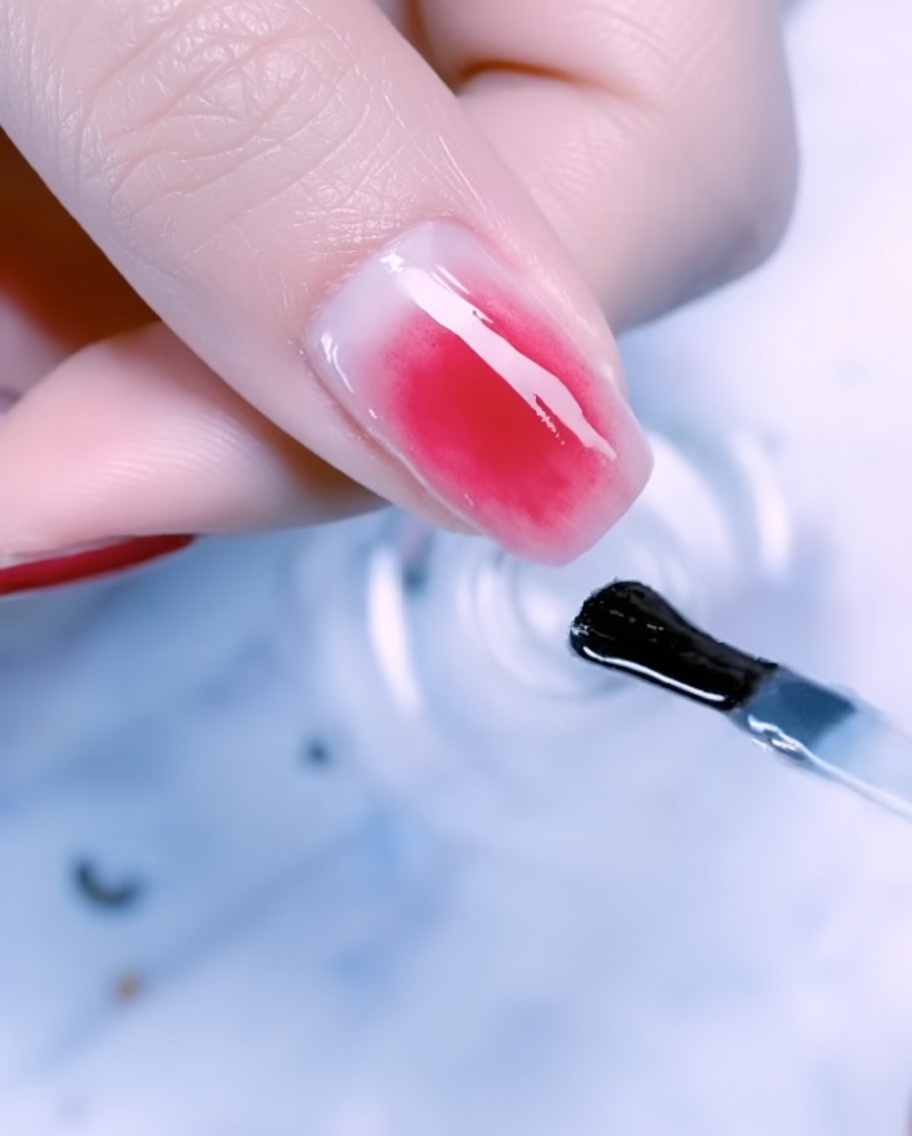
Place a dot of the 342 rose gold color onto the center of the milky white base on the thumb. Using a fan brush, gently sweep and blend the color outward toward the sides of the nail to create a soft, diffused blush effect. Ensure the transition is smooth before curing under the lamp to set the gradient.
Tip: Use a light hand with the fan brush to avoid creating harsh lines or dragging too much polish off the nail. - 14Deepen the blush gradient
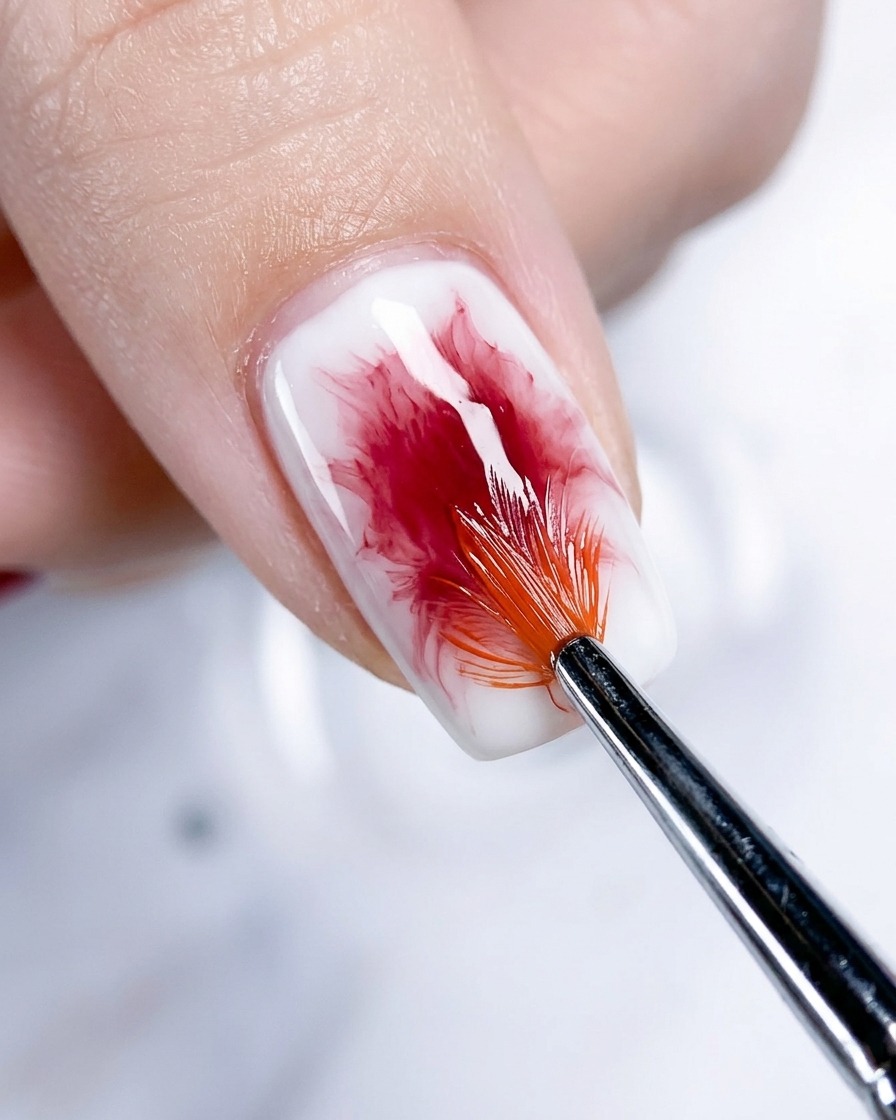
To achieve a richer, more vibrant look, repeat the application of the 342 rose gold color at the center of the nail. Use the fan brush again to blend the color outward, deepening the intensity of the gradient. Cure the nail once you are satisfied with the depth and transition of the color.
Tip: Building the color in two thin stages prevents the polish from becoming too thick or pooled in the center. - 15Apply embellishments to thumb
Apply a thin layer of base gel over the cured gradient to act as an adhesive. Carefully place gold foil flakes, delicate metal wire, and small pearls onto the nail surface according to your design. Once arranged, cure the nail under the lamp to lock all decorative elements in place.
Tip: Use a pair of precision tweezers to place small pearls and metal wire pieces for better control.