Rose Gold Chrome Shell Nails — 3D Step-by-Step Tutorial
Create stunning 3D rose gold shell nails with this easy tutorial. Learn to combine textured builder gel and metallic chrome powder for a flawless finish.
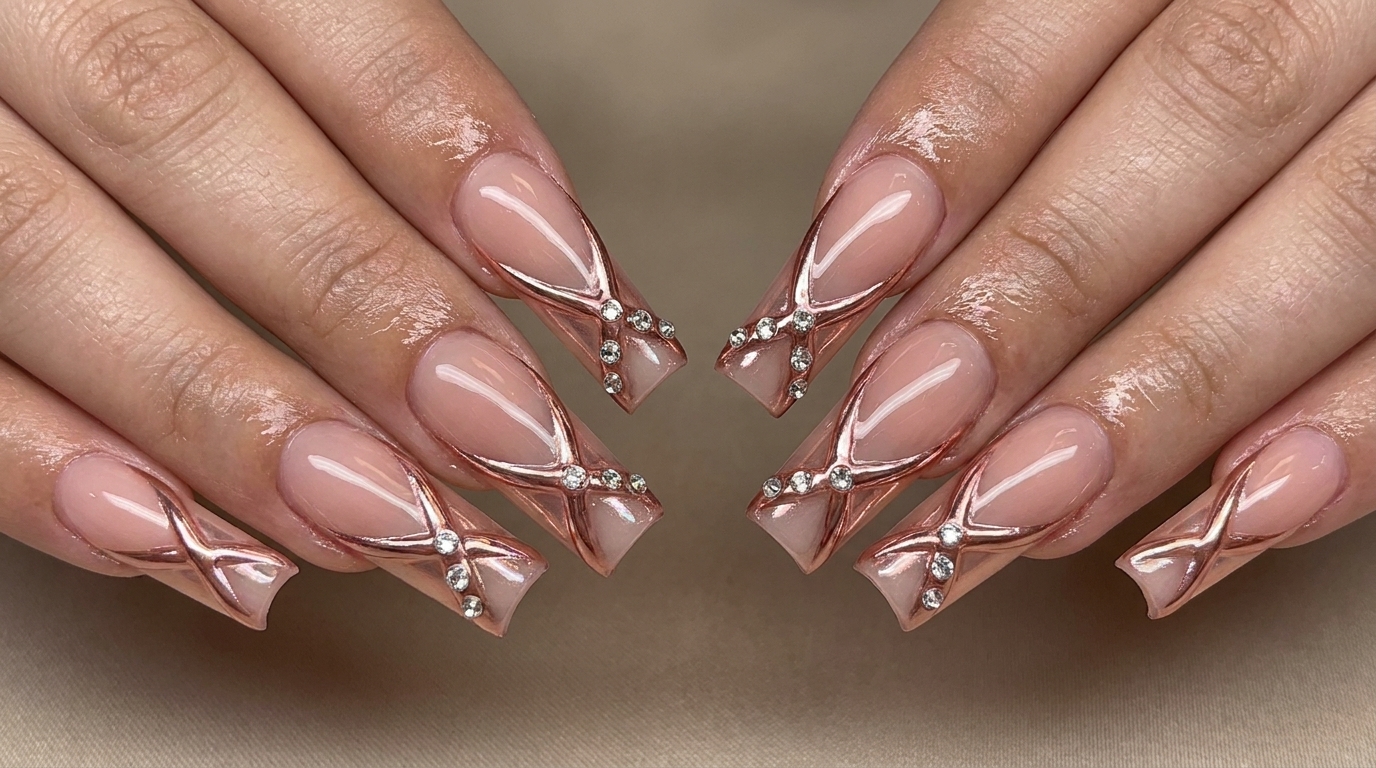
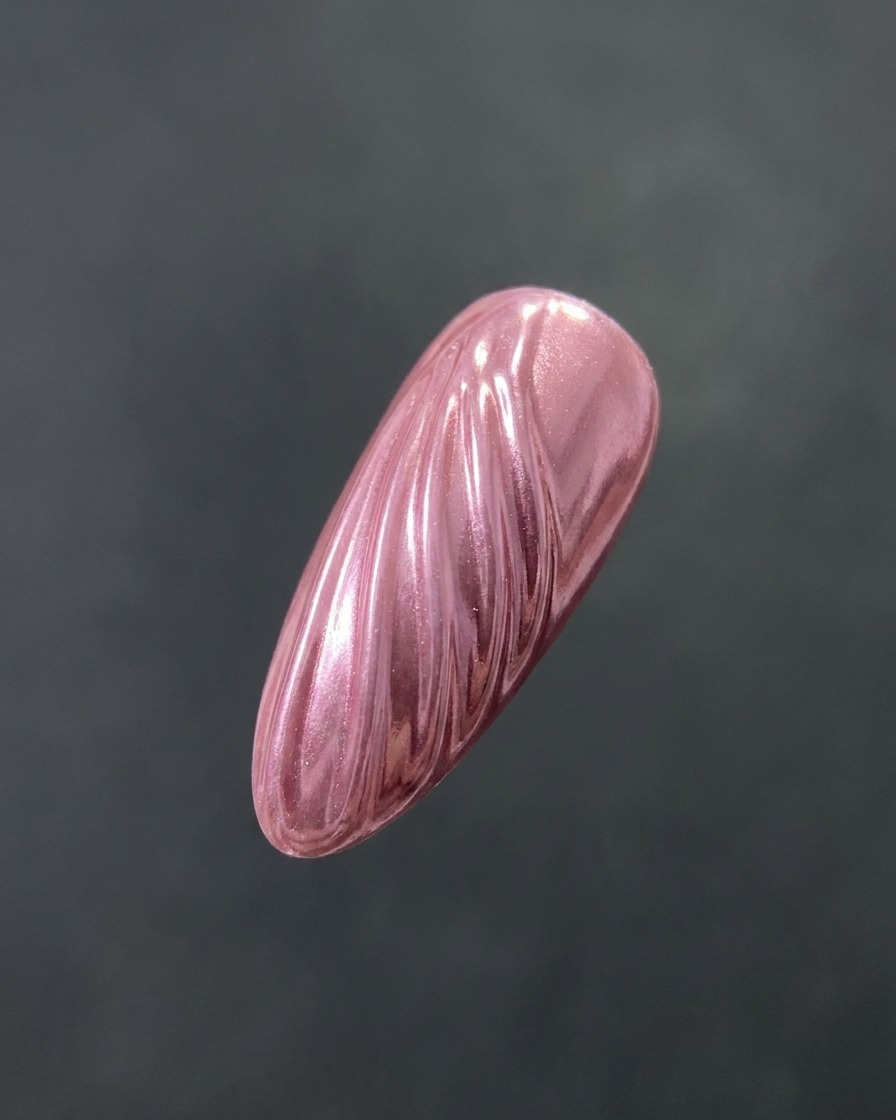
Textured nail art continues to dominate salon requests, and the 3D shell design is a timeless favorite for elegant, ocean-inspired manicures. By combining raised builder gel lines with a highly reflective rose gold chrome powder, this look achieves a luxurious mirror finish. The addition of delicate pearl accents at the cuticle perfectly completes the sophisticated mermaid aesthetic, making it an ideal choice for vacations or special events.
Steps
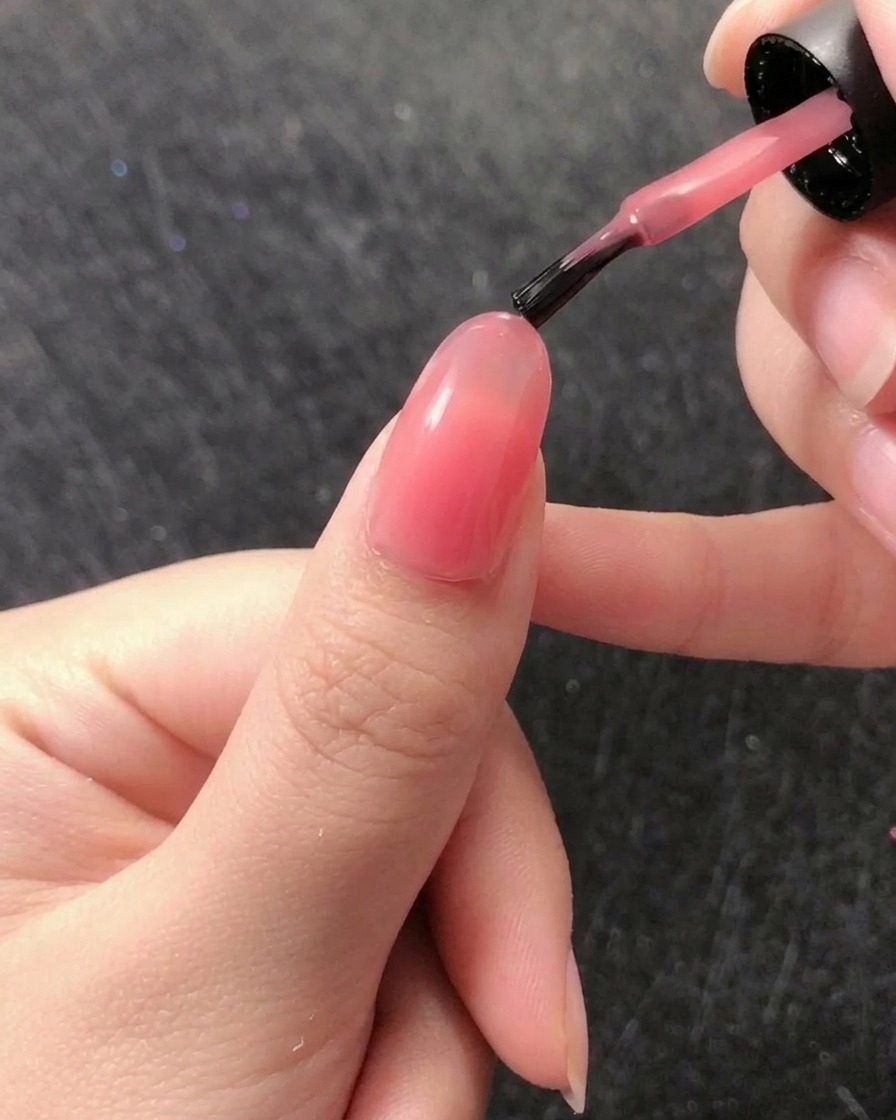
- 1Apply first translucent base coat

Apply a thin, even coat of translucent pink gel base to the nail. Ensure you cover the entire surface while keeping a small margin away from the cuticle to prevent flooding. This provides the soft, sheer base necessary for the upcoming shell design.
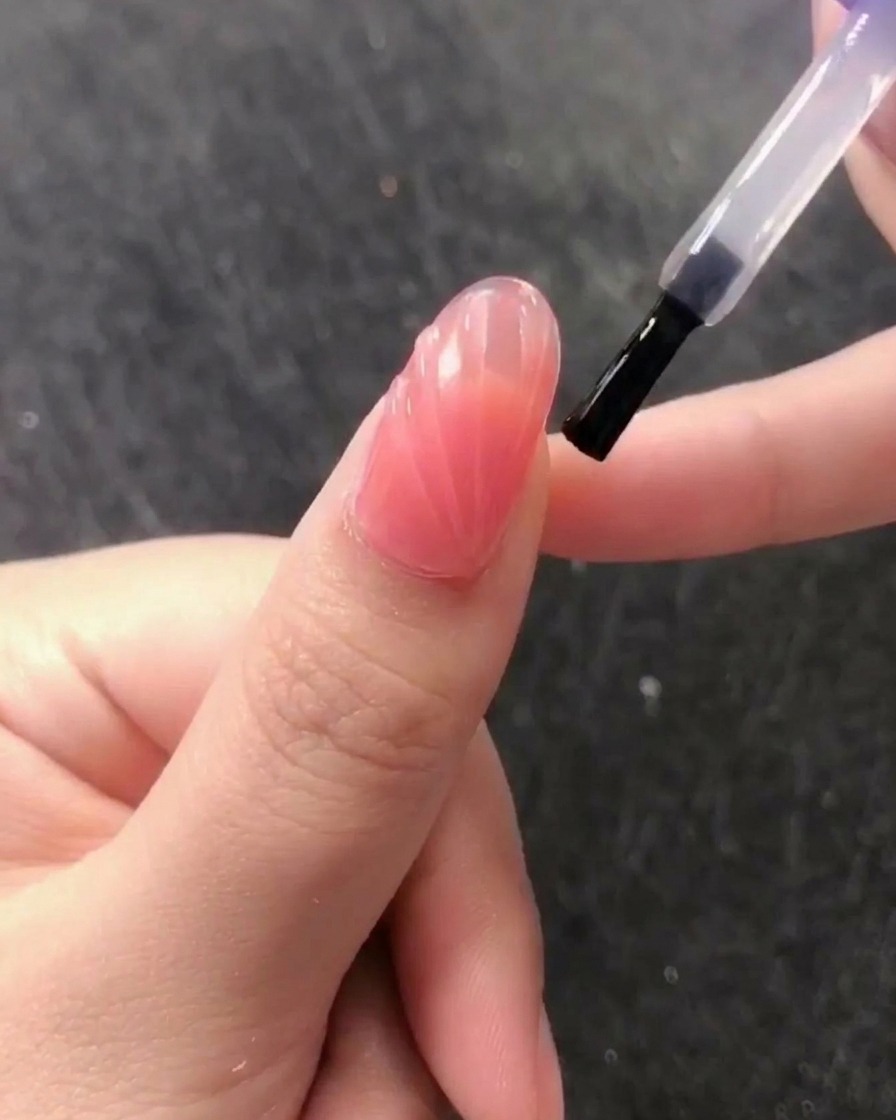
Tip: Keep the layer thin to ensure it cures properly without bubbling. - 2Apply second pink gel layer
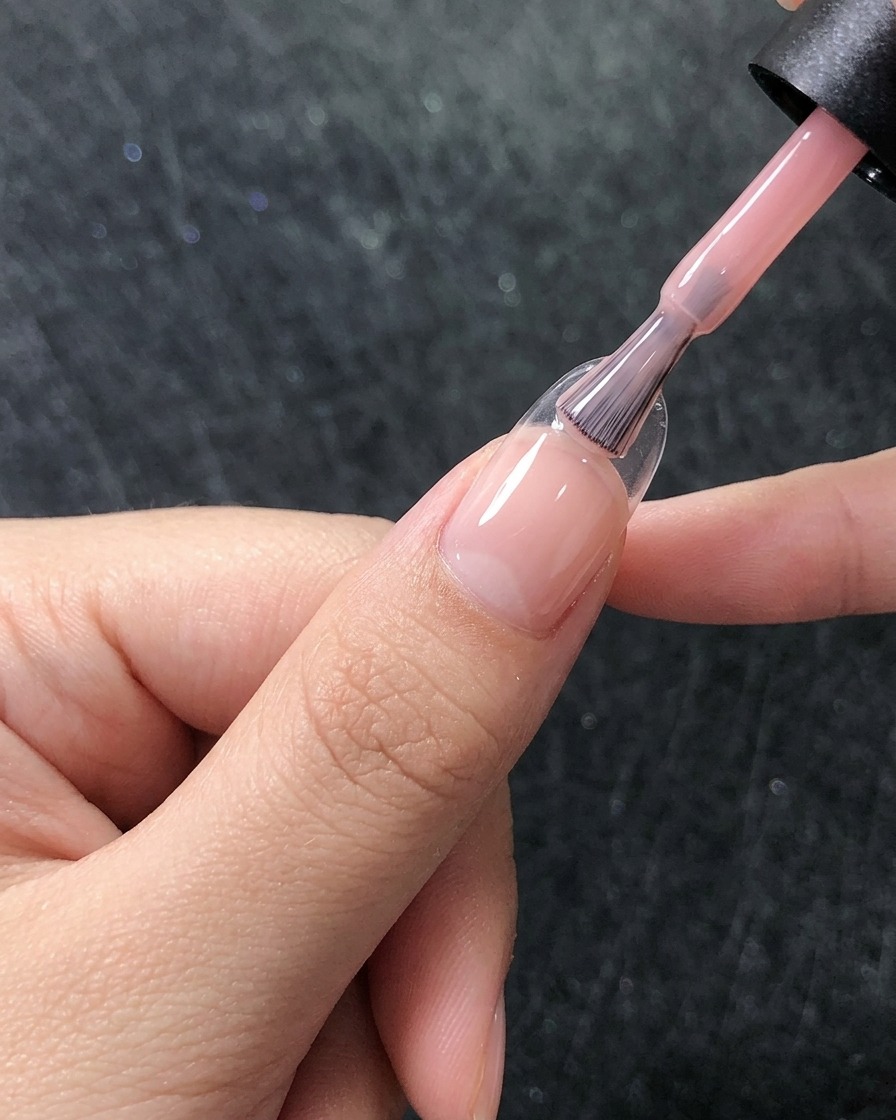
Apply a second coat of the translucent pink gel to build up the color density and create an even, smooth finish. Cap the free edge of the nail to seal the color and ensure longevity. Cure under a UV/LED lamp as directed.
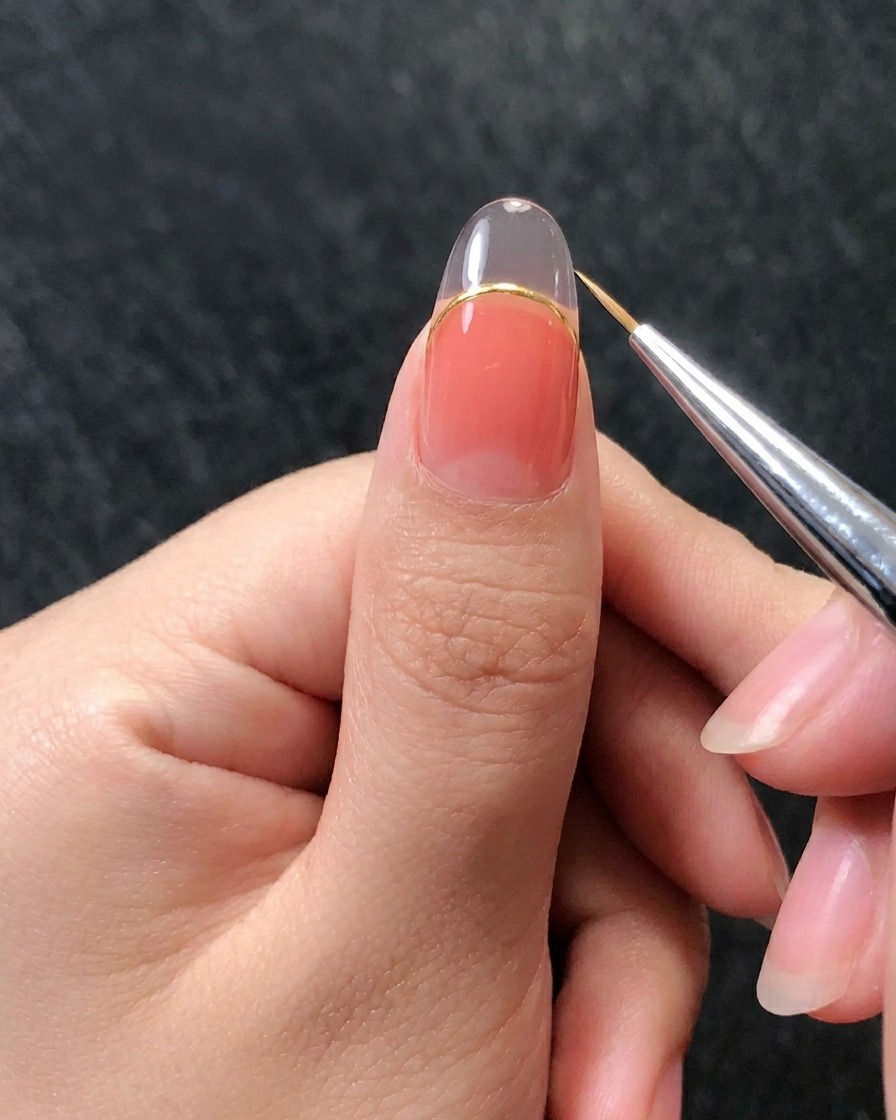
Tip: Check for any uneven spots or streaks before placing the hand in the lamp. - 3Prepare builder gel
Using a thin liner brush, pick up a small amount of clear builder gel. You only need a controlled amount to create the raised lines for the shell texture, so avoid overloading the brush to maintain precision.
Tip: Use a high-viscosity builder gel to ensure the lines hold their shape and do not spread before curing. - 4Create shell texture lines
Carefully draw vertical, raised lines on the nail surface using the liner brush and clear builder gel. These lines should fan out to resemble a seashell pattern. Once the design is complete, cure it in the lamp to lock the texture in place.
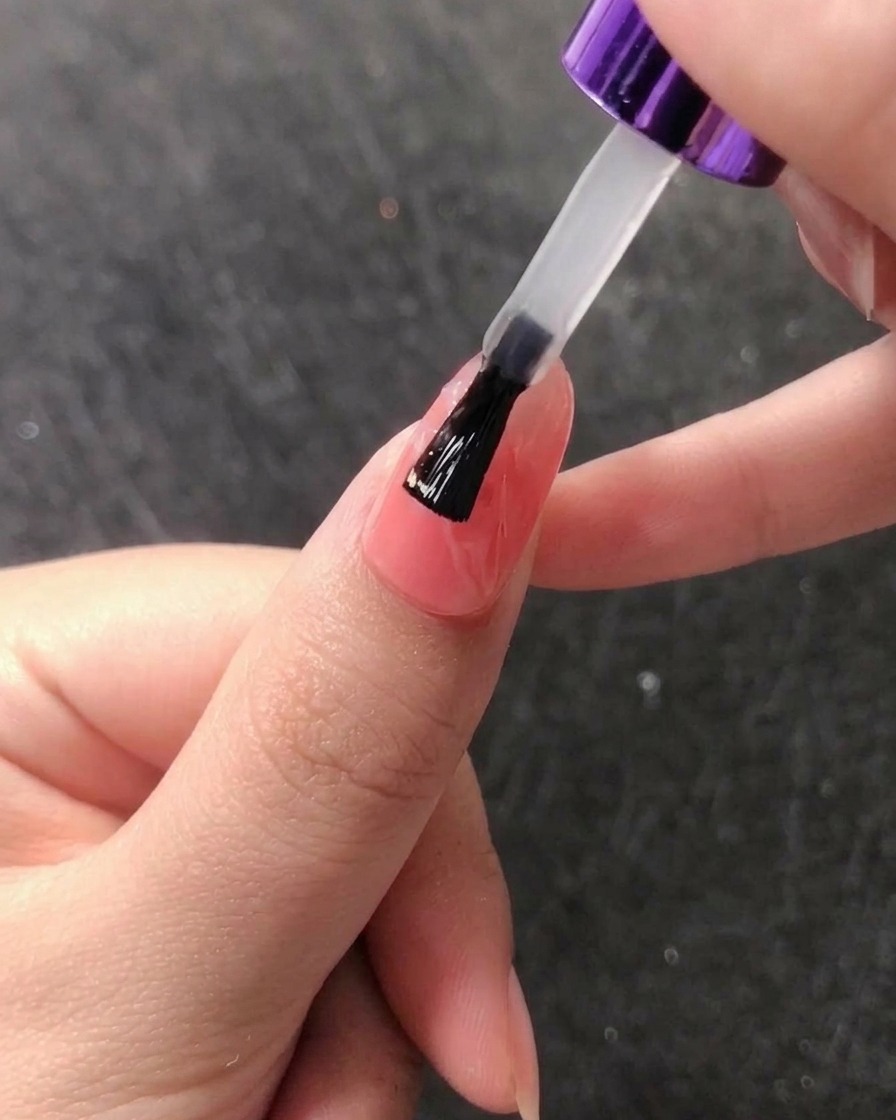
Tip: Flash-cure every few lines if you find the gel is self-leveling too quickly and losing the raised texture. - 5Apply no-wipe top coat
Apply a thin, even layer of no-wipe top coat over the entire nail, ensuring you coat the raised shell texture lines. This step prepares the surface for the chrome powder, which will adhere to the top coat during the next stage.
Tip: Ensure the top coat is applied thoroughly over the texture to avoid any missed spots for the chrome. - 6Apply chrome powder
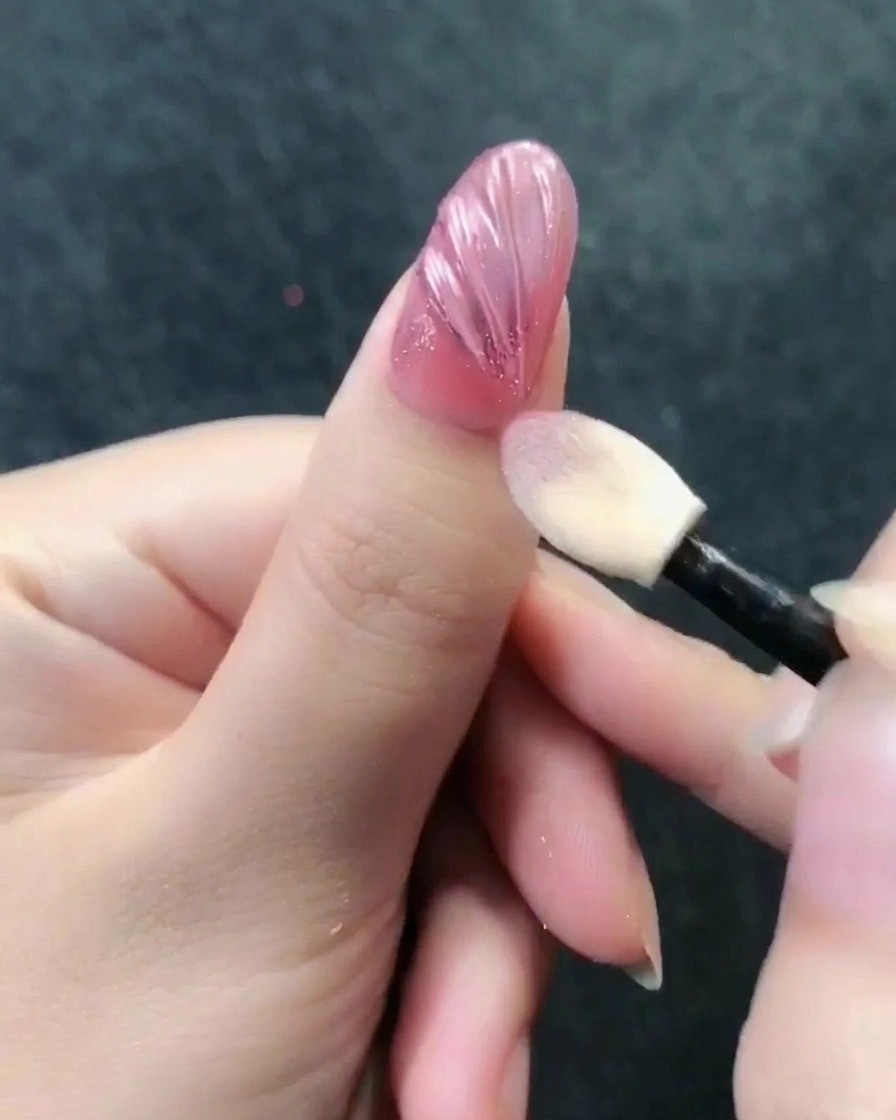
Pick up a small amount of rose gold chrome powder with your sponge applicator and gently press it over the nail surface. Ensure the powder reaches deeply into the grooves between your raised shell lines.
Tip: A little powder goes a long way; start with a small amount and build intensity as needed. - 7Buff to a mirror finish
Once the powder is evenly distributed, use the applicator to firmly buff the chrome into the surface. Use swift rubbing motions to activate the highly reflective metallic finish, then sweep away any loose particles with a soft dusting brush.
Tip: Apply the powder with a light touch to ensure even coverage across all the raised details. - 8Apply top coat
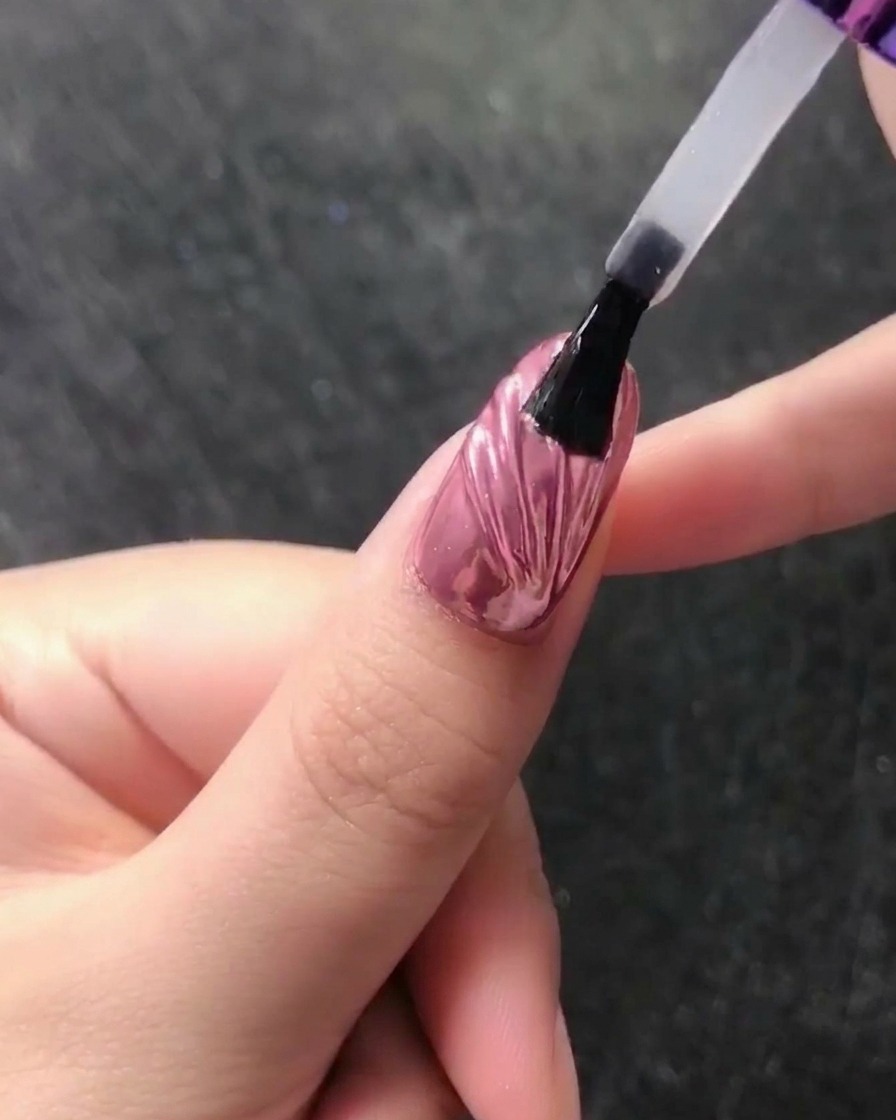
Apply a layer of glossy top coat over the entire nail to seal the chrome powder and protect the design. Ensure you cap the free edge to prevent the chrome from wearing off.
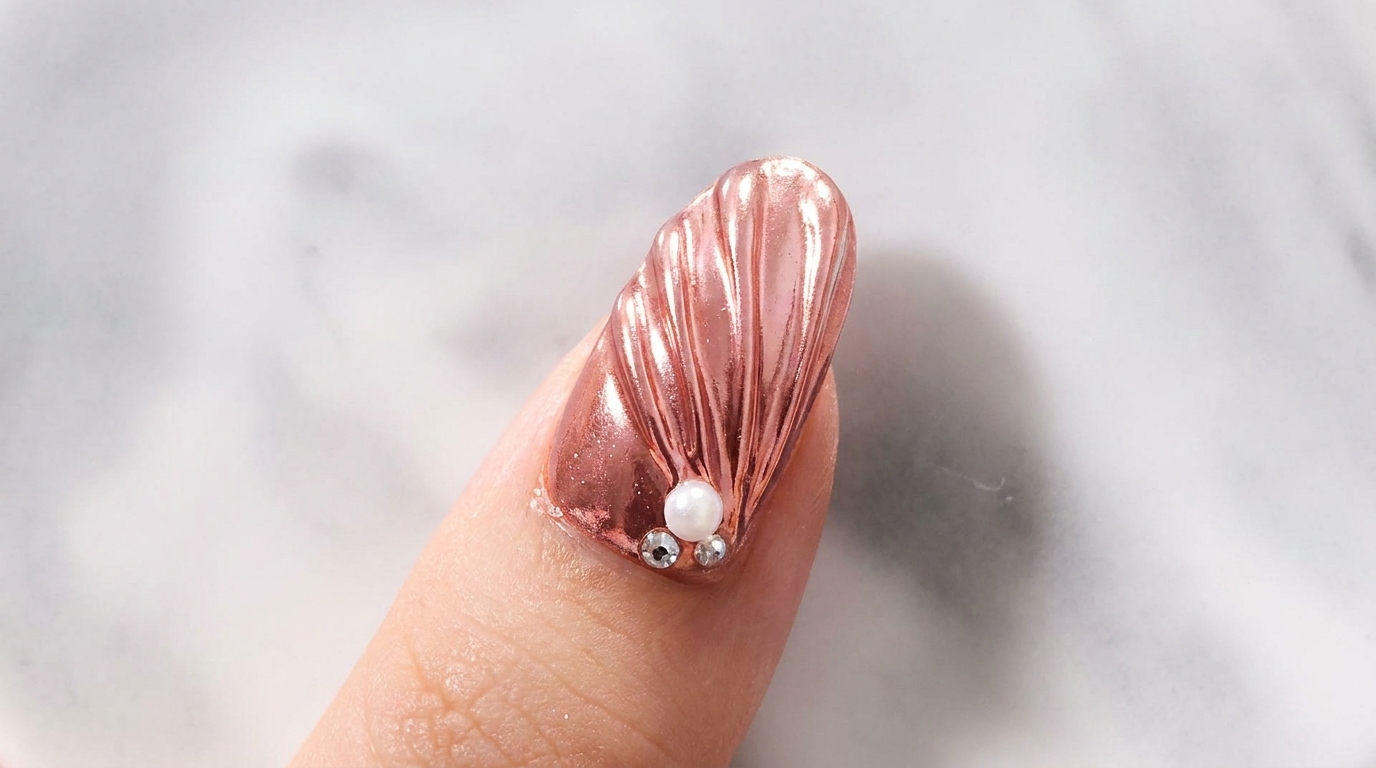
Tip: Using a non-wipe top coat will maintain the best shine for your chrome effect. - 9Add pearl accents
Using a wax pencil or tweezers, pick up small white pearls and place them near the cuticle area on top of the uncured top coat. Once satisfied with the placement, cure the nail.
Tip: Press the pearls slightly into the top coat to ensure they are anchored securely before curing.