Matte Nude Nails
Rose Gold Glitter Bow — Elegant Nail Art Tutorial
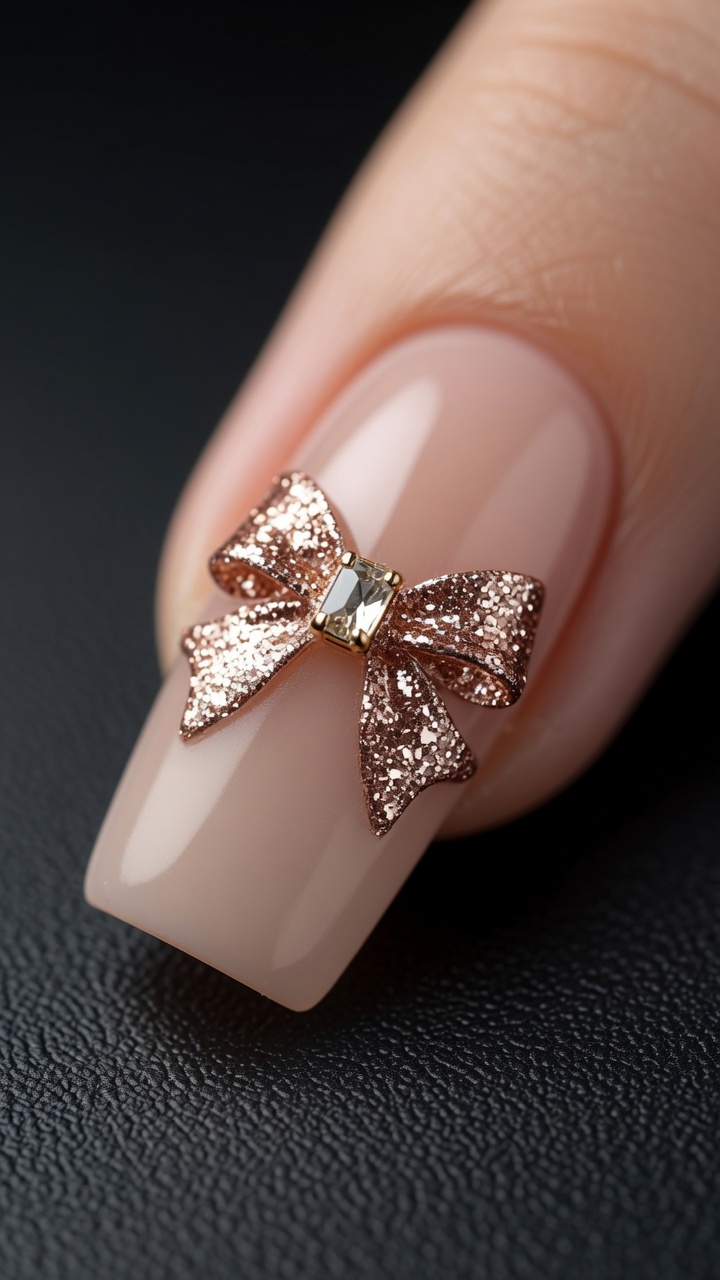
Elevate your manicure with this sophisticated matte nude look featuring a sparkling rose gold glitter bow and a central rhinestone accent.
This design masterfully balances the understated elegance of a matte nude base with the luxurious, textured sparkle of a handcrafted rose gold bow. It is a perfect choice for those who love refined details without overwhelming the nail. By using a tempered top coat only on the bow, we create a beautiful textural contrast that makes the design truly stand out.
Steps
- 1Apply base nude color
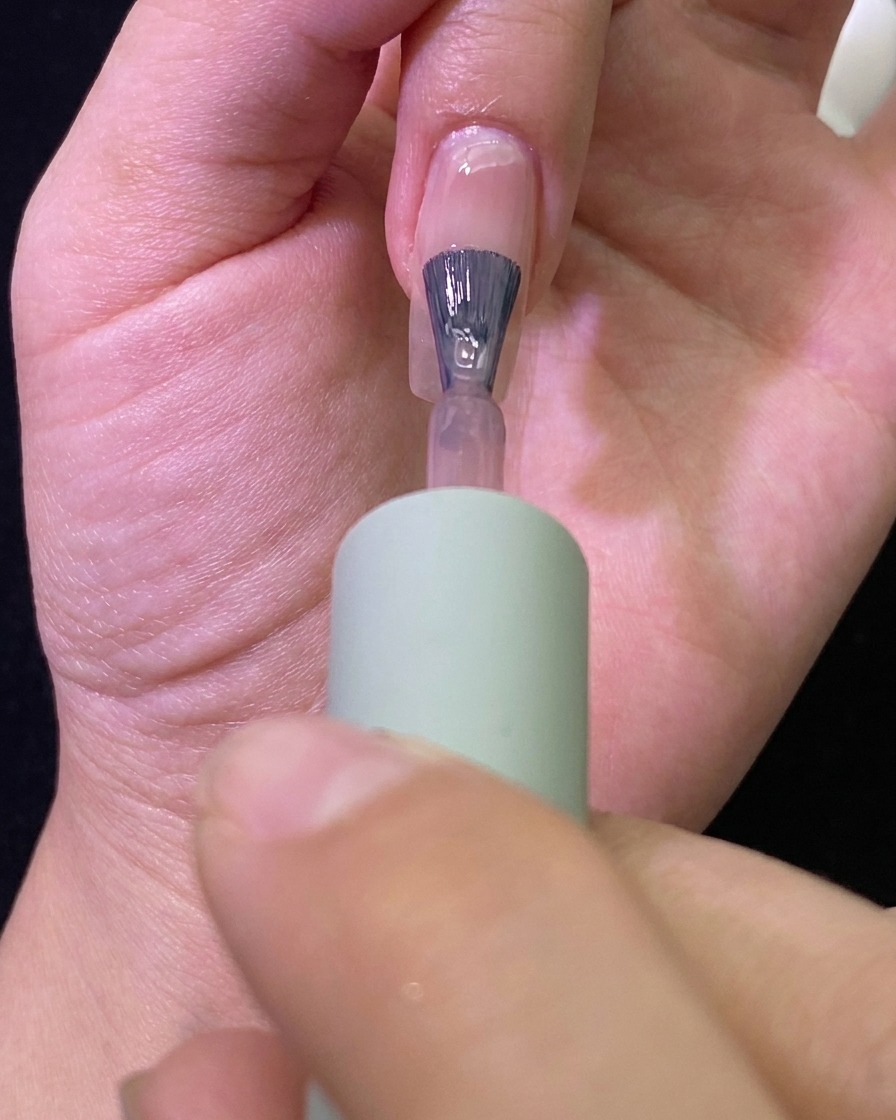
Apply a thin, even layer of sheer nude gel color over the entire nail surface, ensuring you cover the nail plate completely. Cap the free edge to prevent chipping, then cure under a UV/LED lamp as recommended by the product instructions. Repeat this process for a second coat to achieve the desired opacity.
Tip: Apply in thin, even layers to avoid pooling at the cuticles and ensure a smooth, professional finish. - 2Cure the base color
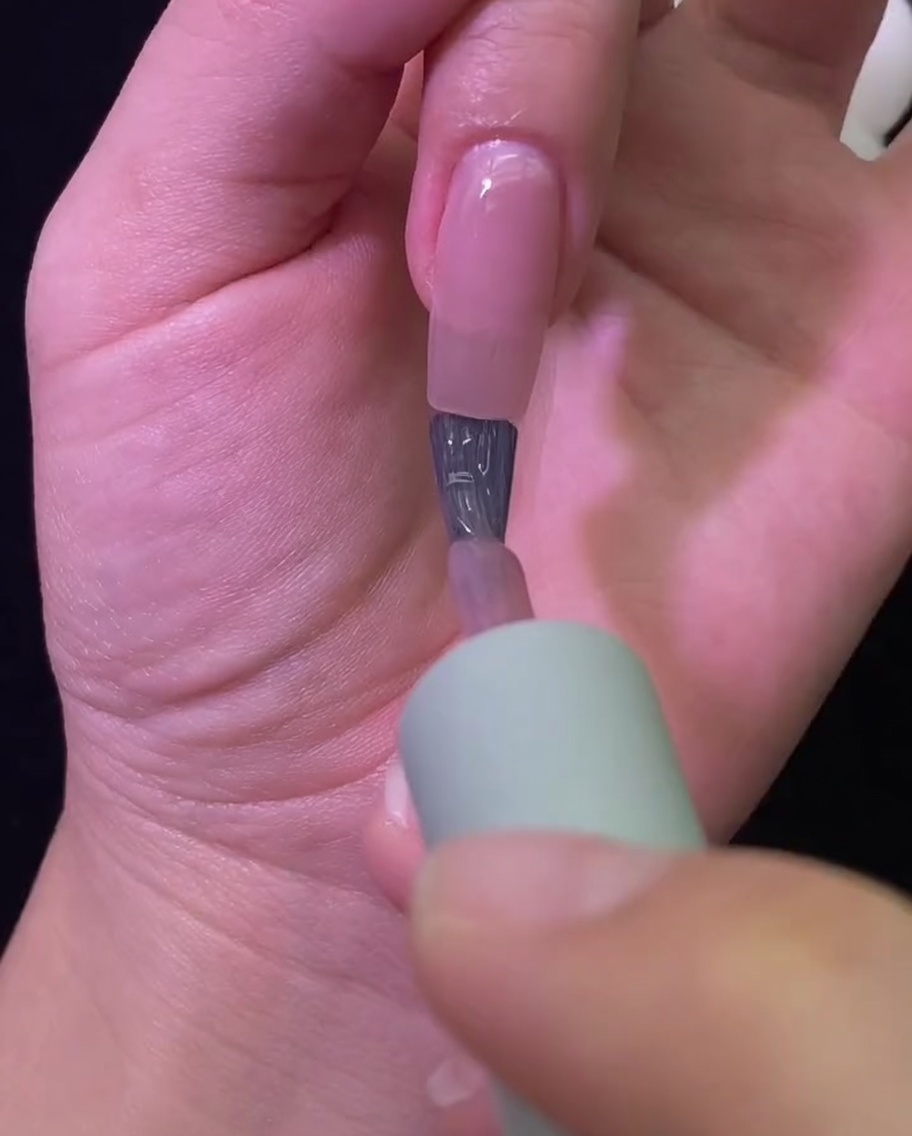
Place your hand inside the UV/LED lamp, ensuring all fingers are positioned directly under the light source for an even cure. Follow the specific curing time required for your gel polish to ensure the color sets properly and provides a durable foundation for your nail art.
Tip: Keep your hand steady during the curing process to prevent the gel from shifting or running before it sets. - 3Apply matte top coat
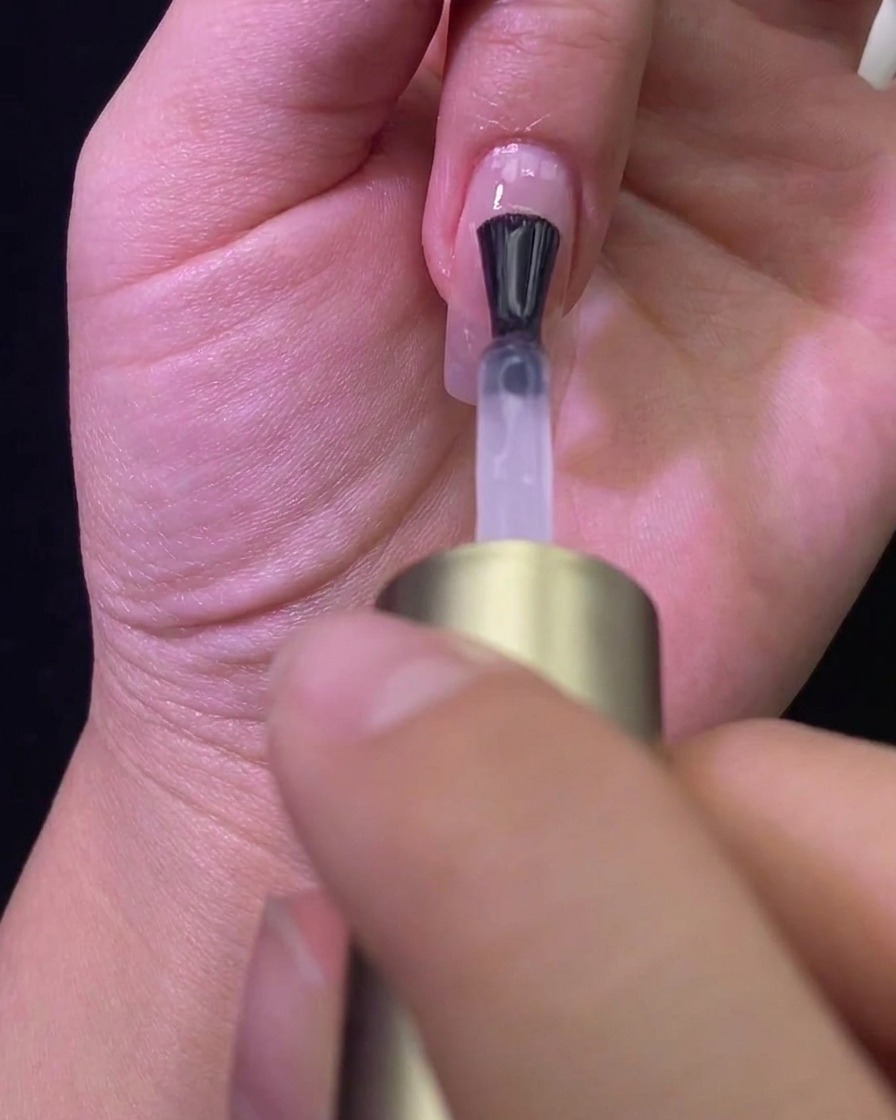
Once the nude base color is fully cured, apply a thin layer of matte top coat over the entire nail. This creates a smooth, non-shiny surface that will make the subsequent rose gold glitter bow design pop against the matte background.
Tip: Ensure the matte top coat is applied evenly to avoid any streaks or shiny patches on the nail surface. - 4Cure the matte top coat
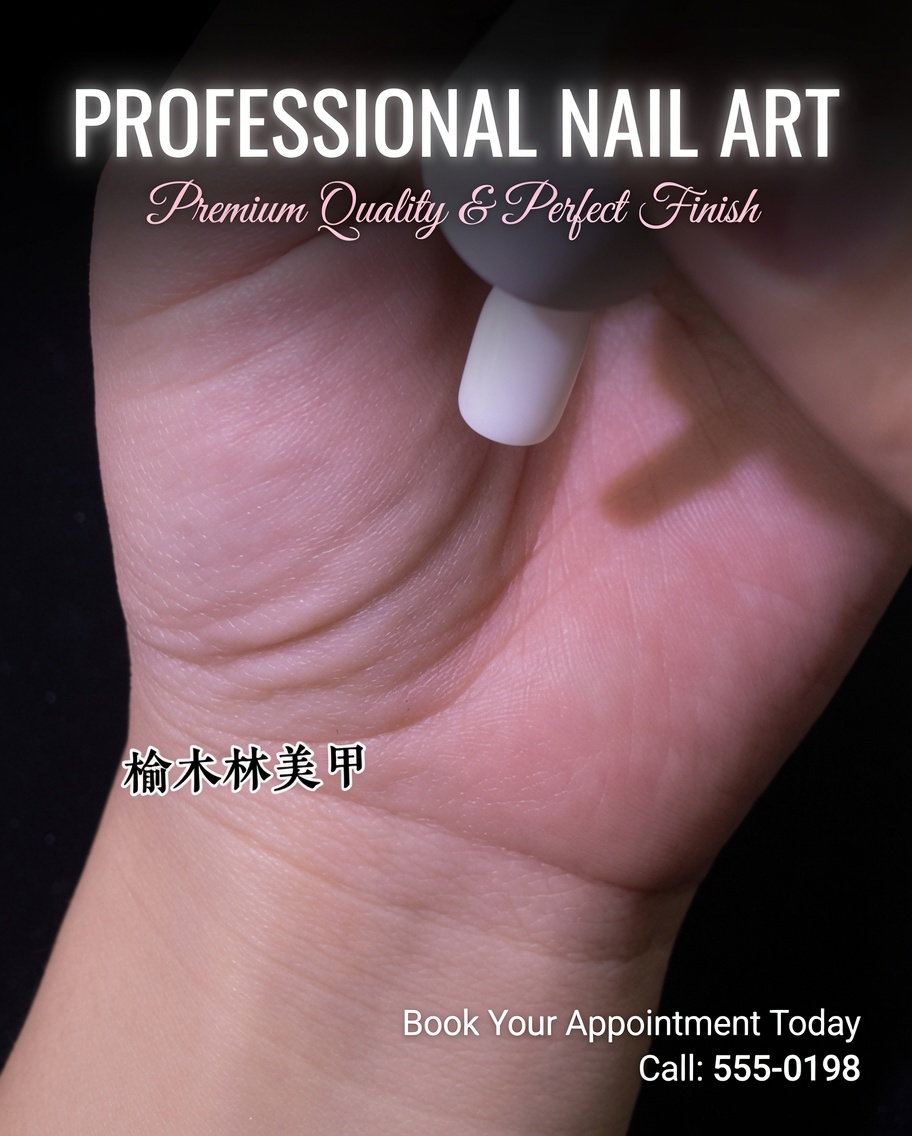
Place your hand under the UV/LED lamp to cure the matte top coat. Ensure that the coat is completely cured, as a proper cure is essential for the matte effect to be consistent and to provide a stable base for the intricate glitter art that follows.
Tip: Proper curing prevents the matte finish from appearing tacky or uneven. - 5Outline the bow base
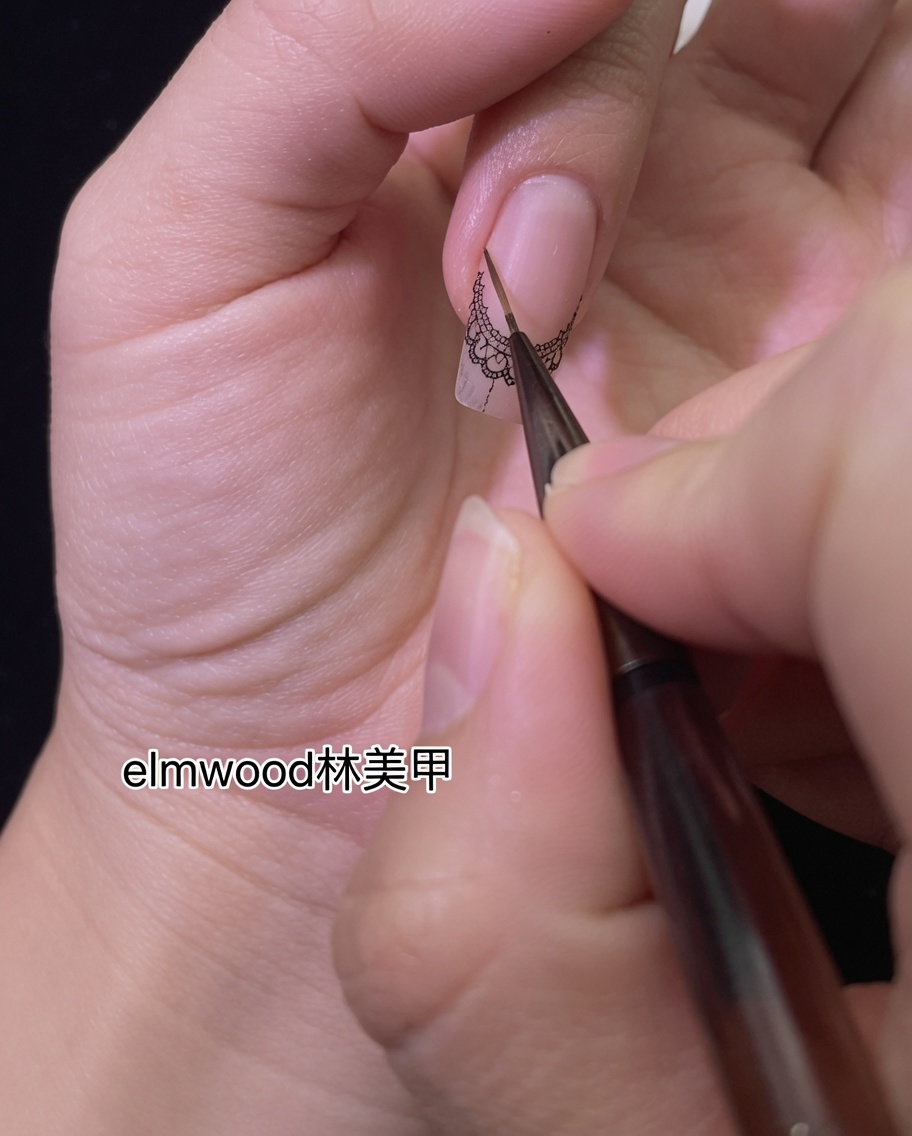
Using a fine liner brush dipped in high-density rose gold glitter gel, carefully draw a thin, crisp X shape in the center of the nail. This X will serve as the structural guide for the bow design, ensuring symmetry and proper placement.
Tip: Use a light touch with the liner brush to keep the lines thin and precise for a more delicate bow. - 6Form the bow wings
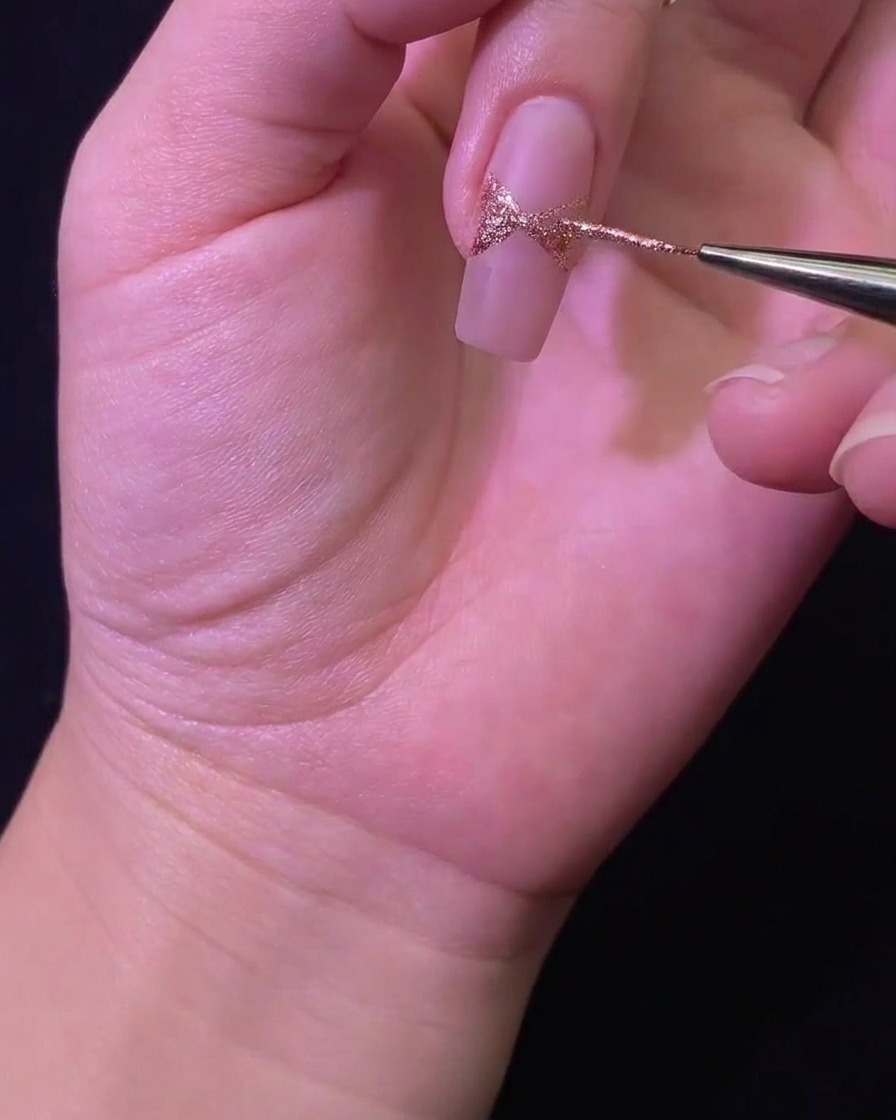
With the liner brush, fill in the spaces between the lines of your X shape to create solid, triangular wings for the bow. Carefully refine the edges and corners to give the bow a clean, intentional shape before curing.
Tip: Build the shape slowly, adding small amounts of glitter gel at a time to maintain control over the bows dimensions. - 7Refine the glitter bow
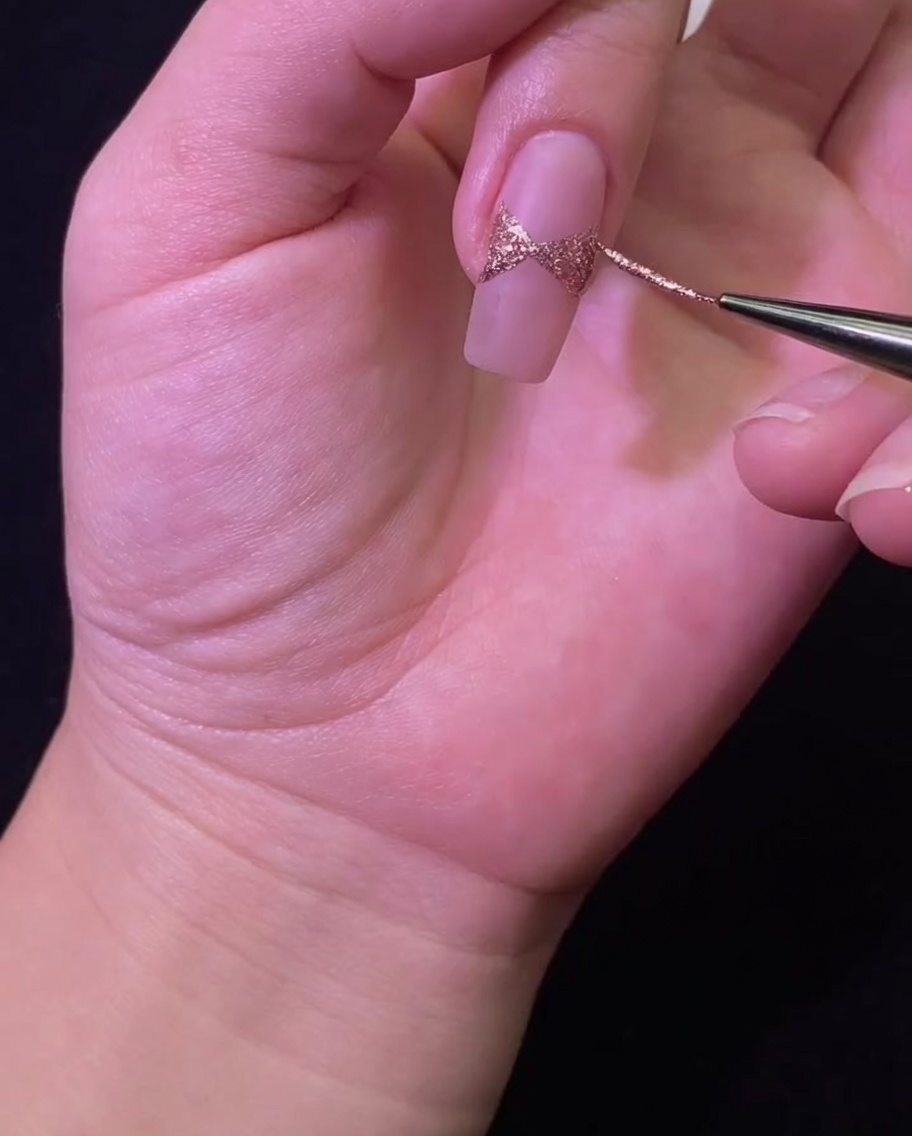
Using the tip of a fine liner brush, carefully refine the outer edges and corners of the rose gold glitter bow. This step ensures clean lines and a crisp, well-defined shape before you move on to curing the gel.
Tip: Keep your hand steady and use a very light touch to maintain the precision of the bows shape. - 8Cure the glitter bow
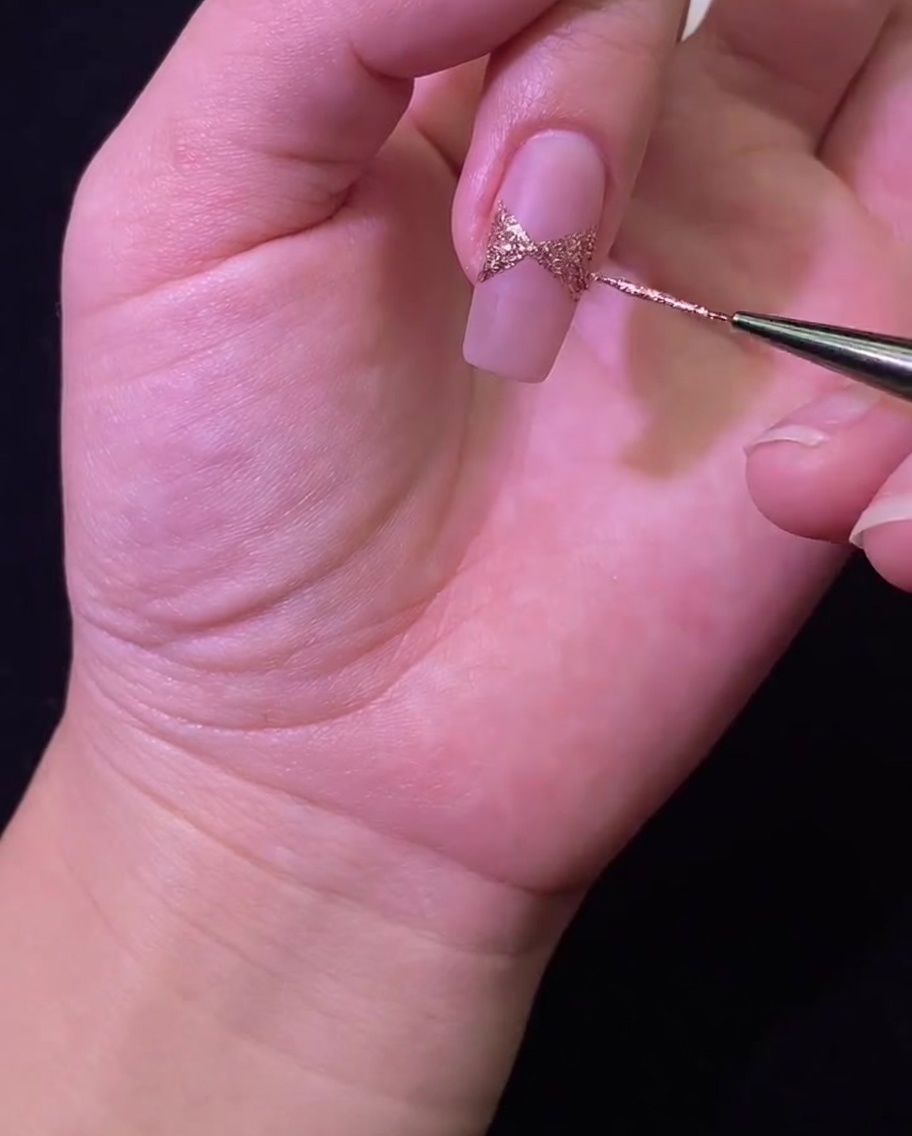
Place your finger under the UV/LED lamp to cure the freshly applied rose gold glitter gel. Ensure the nail is positioned correctly under the light to guarantee that the gel cures fully and sets the bow design in place.
Tip: Check that the entire bow design is exposed to the UV/LED light to prevent uncured or tacky spots. - 9Place the center rhinestone
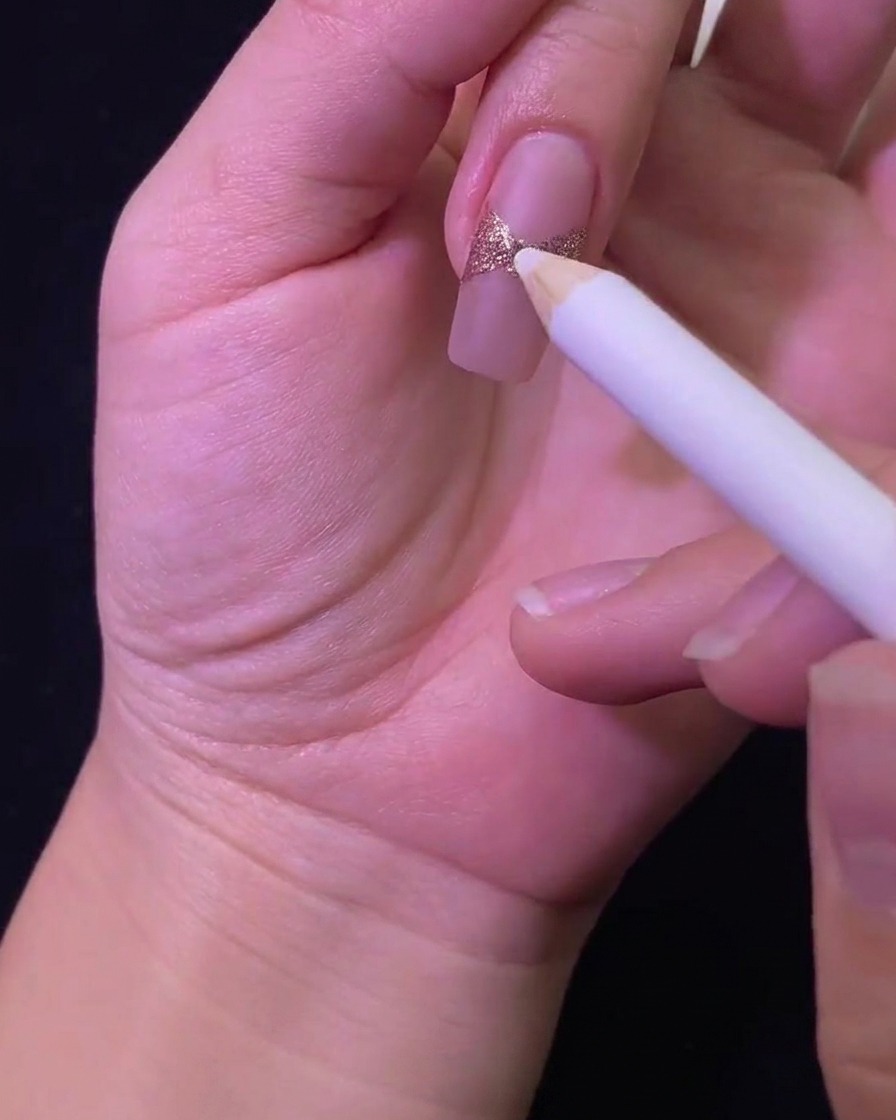
Using a wax pencil picker tool, gently pick up a small champagne gold flat-back rhinestone. Carefully place it exactly in the center of the bow where the lines cross, ensuring it is positioned straight for a polished finish.
Tip: A small amount of base gel or rhinestone glue under the stone can help it adhere securely before you seal it. - 10Seal the bow
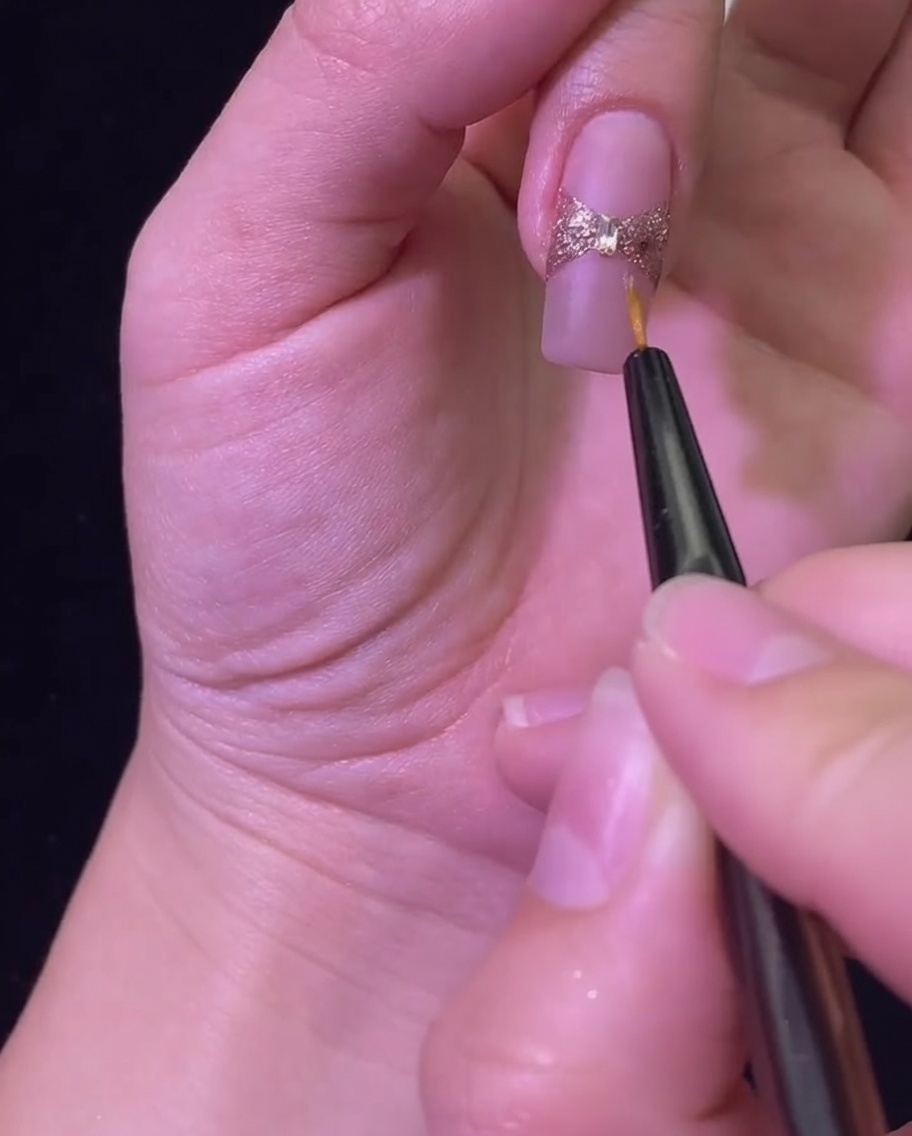
Using a clean liner brush, carefully apply a thin layer of tempered glossy top coat over the bow and the rhinestone. Focus only on the art to maintain the contrast between the glossy bow and the matte base.
Tip: Take care not to let the glossy top coat bleed onto the surrounding matte base, as this will alter the finish.