Clear Sea Salt Mint Star Nail Art — Ethereal Celestial Design
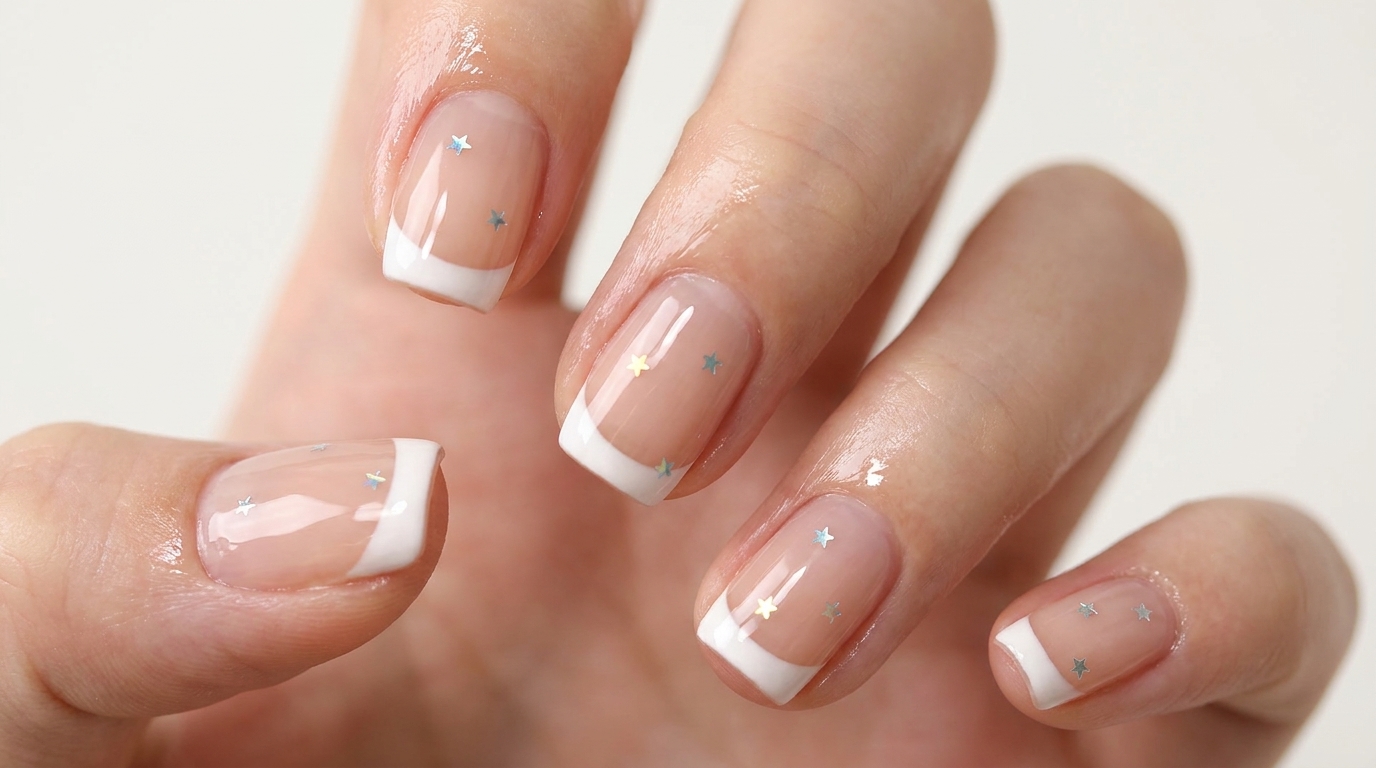
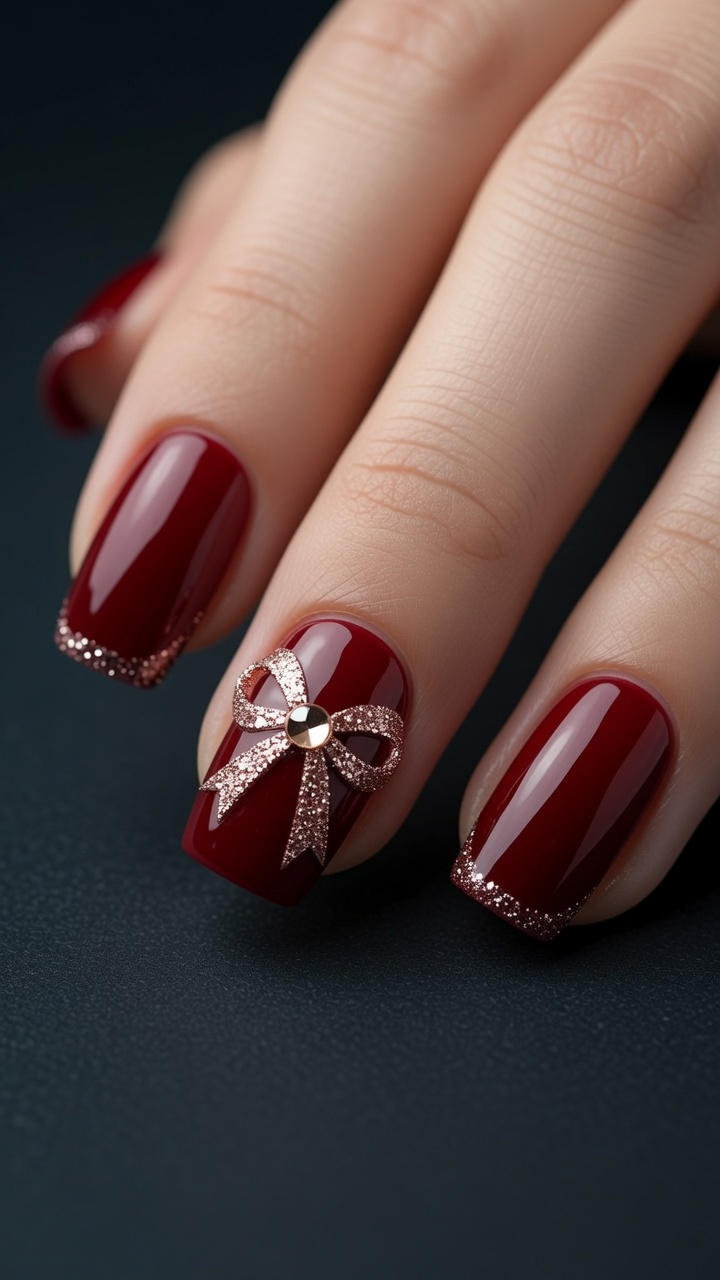
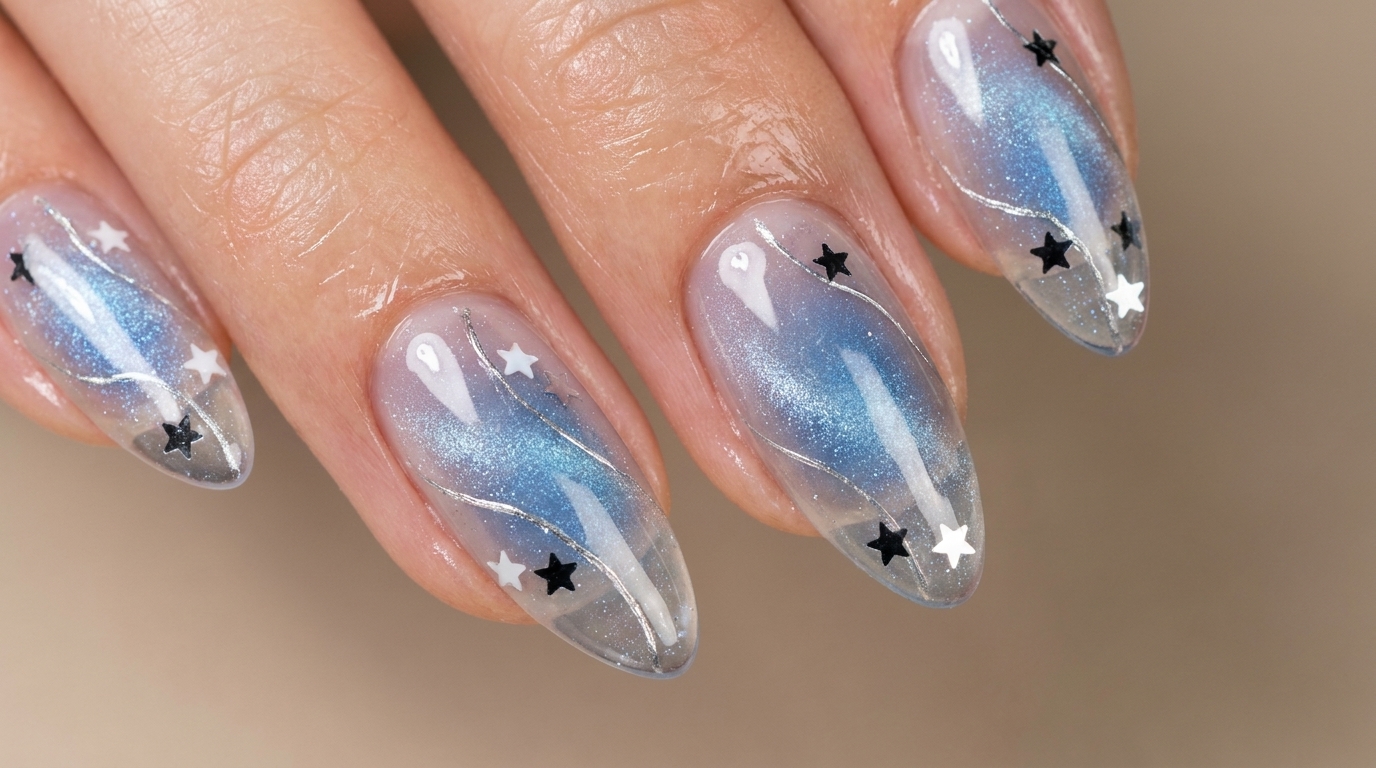
Create an ethereal, celestial-inspired manicure with this stunning sea salt mint and star-themed nail art tutorial, perfect for a whimsical and clean aesthetic.
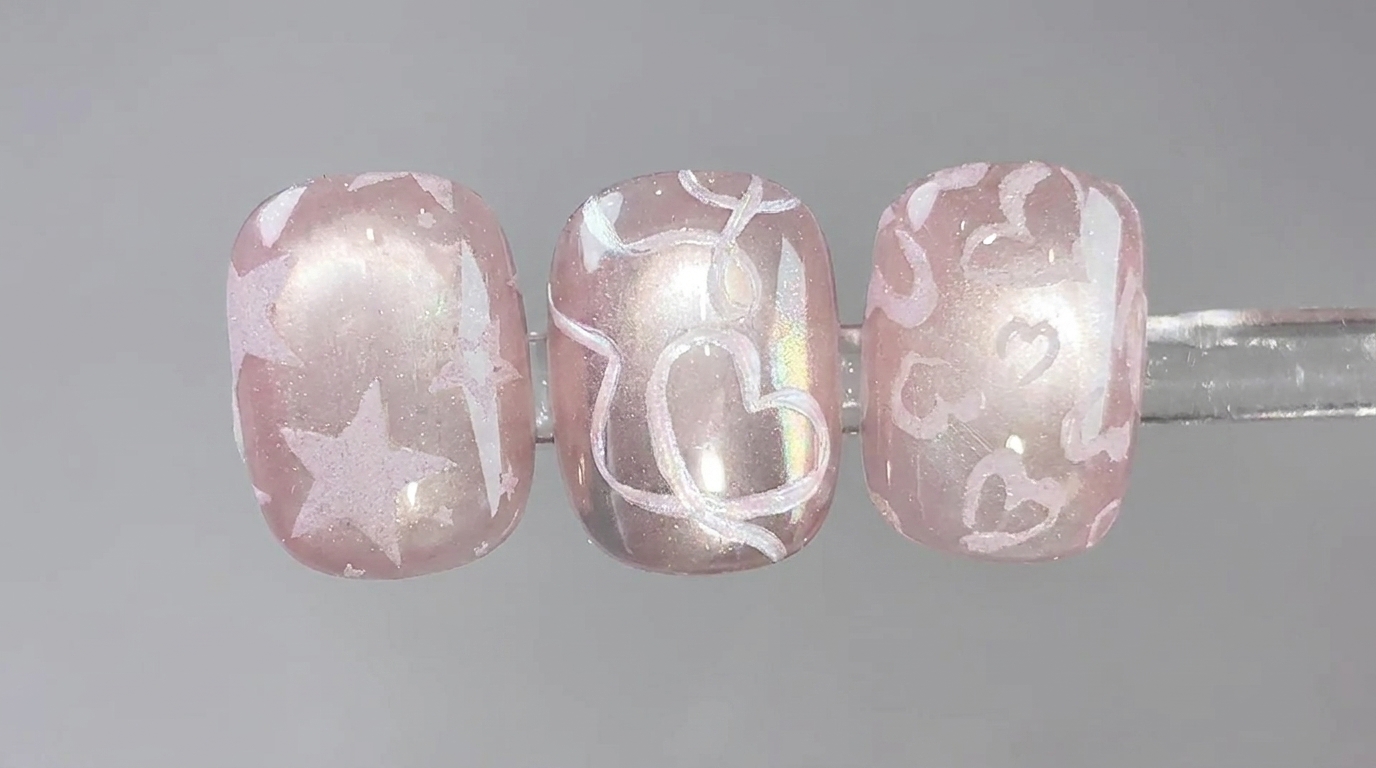
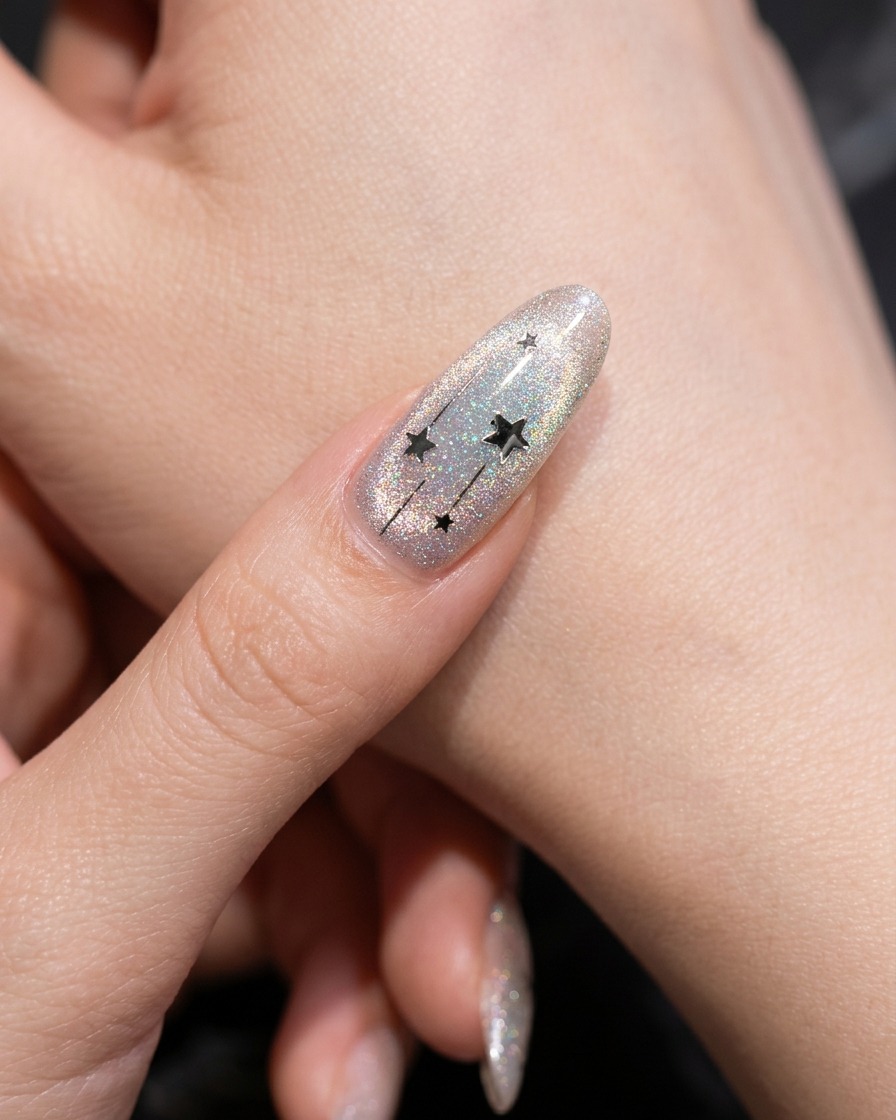
Capture the magic of a clear night sky on your fingertips with this delicate and enchanting design. By combining a sheer milky base with a blue cat-eye shimmer, intricate silver lines, and playful star accents, you can achieve a sophisticated, multidimensional look that feels both clean and dreamy. This tutorial guides you through each layer to ensure a polished finish that shines from every angle.
Steps
- 1Push back cuticles
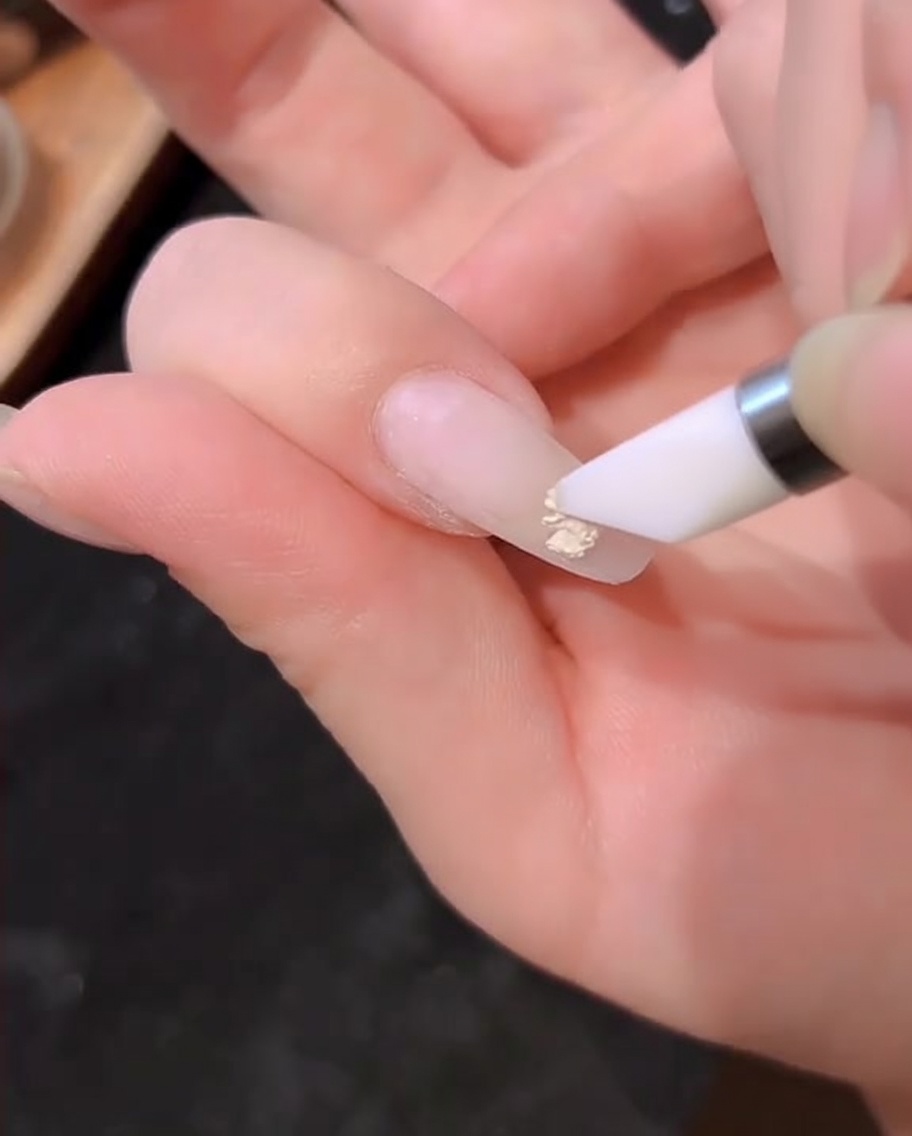
Using a sterilized cuticle pusher, gently push back the cuticles on each finger. This clears the nail plate of any overgrowth, creating a clean canvas for your nail products to adhere smoothly without lifting.
Tip: Be gentle to avoid damaging the delicate living tissue of the cuticle. - 2Apply milky white base gel
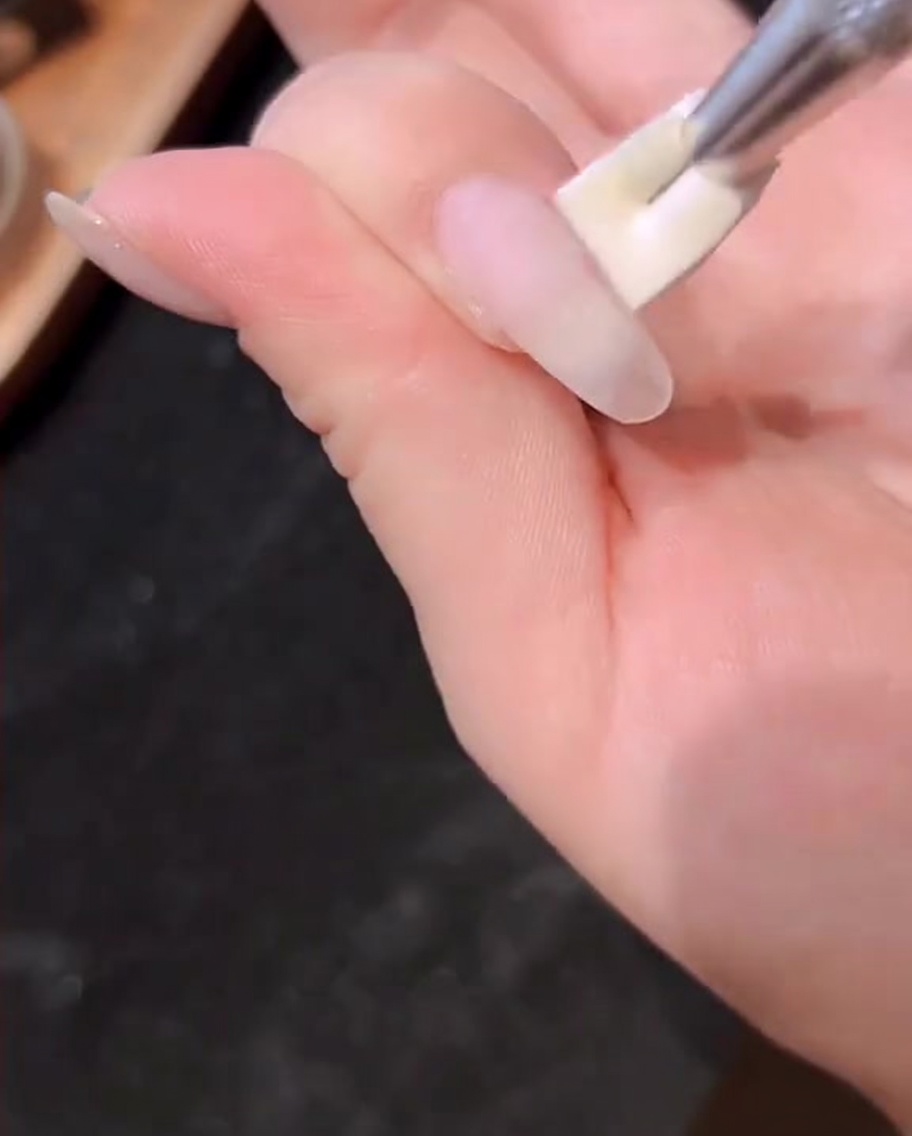
Apply a thin, uniform layer of milky white gel over the entire nail plate. Ensure the product is applied evenly to create a soft, semi-sheer base for the subsequent nail art layers.
Tip: Keep the layer thin to prevent pooling at the cuticles or sides. - 3Cure base coat
Place the hand under a UV/LED lamp to cure the milky white gel base. Ensure all fingers are positioned correctly to receive even light exposure for the full recommended curing time.
Tip: Do not move your hand during the curing process to avoid smudging the uncured gel. - 4Apply shattered-diamond gel
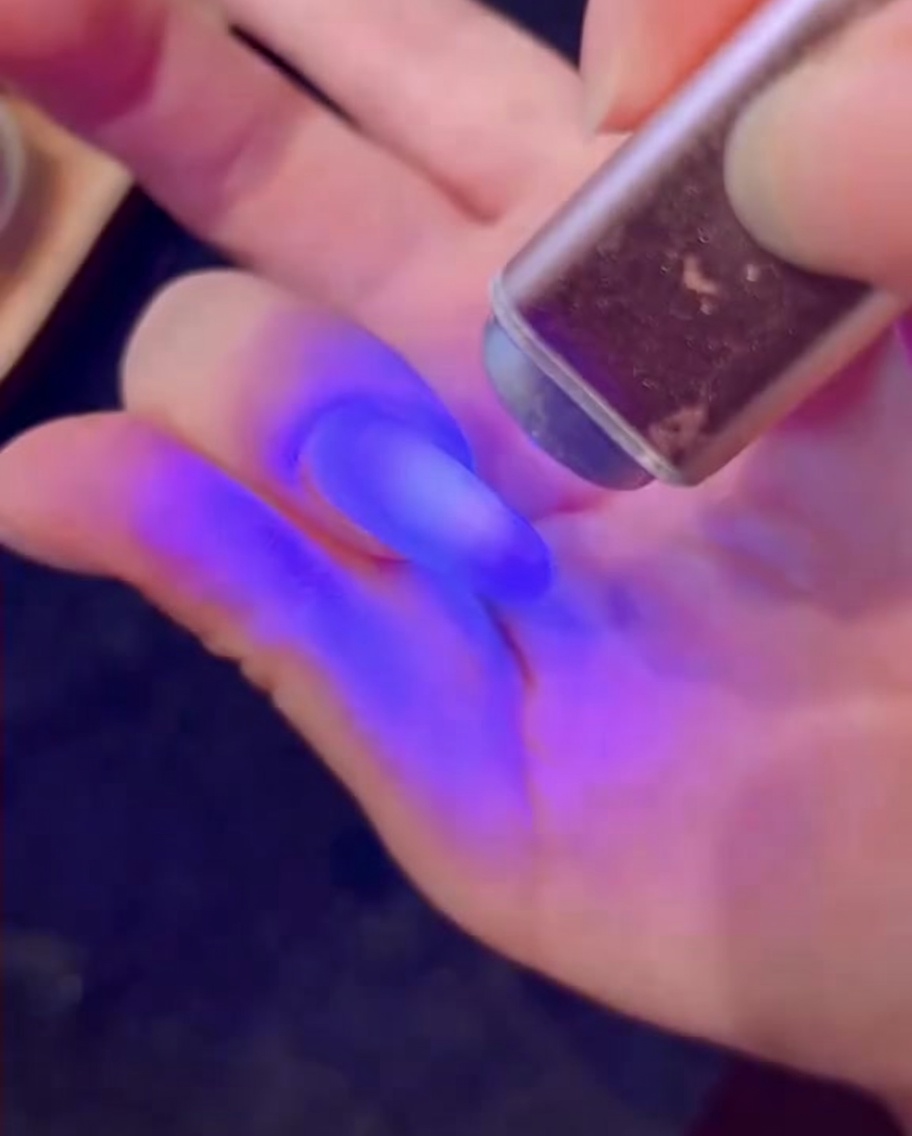
Apply a thin layer of white shattered-diamond gel over the cured base. This adds a subtle, high-sparkle dimension to the nail before applying the cat-eye effect.
Tip: Distribute the diamond glitter particles evenly for a balanced reflective look. - 5Apply white cat-eye gel
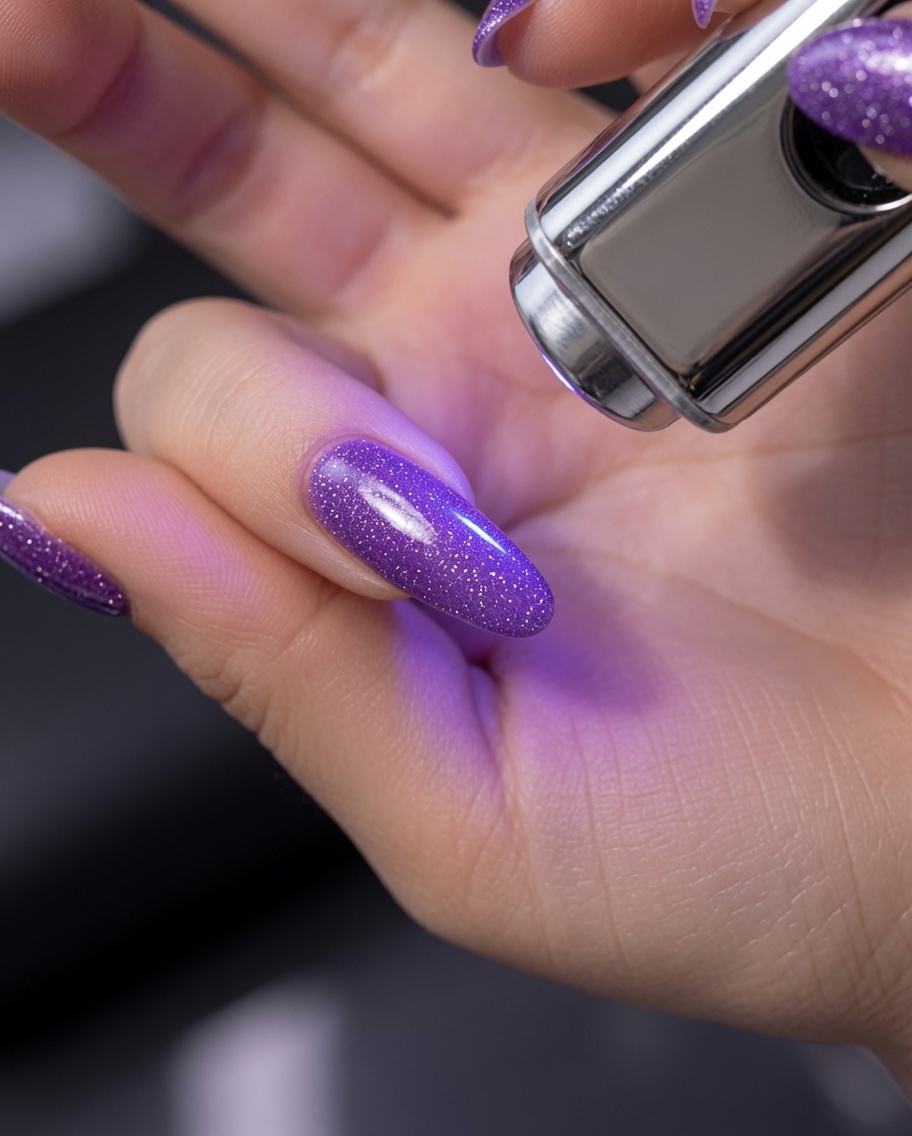
Apply a layer of white cat-eye gel over the diamond glitter layer. This specialized gel will allow you to create the cat-eye magnetic effect in the next step.
Tip: Work quickly to ensure the magnetic particles are still mobile when you apply the magnet. - 6Create cat-eye effect
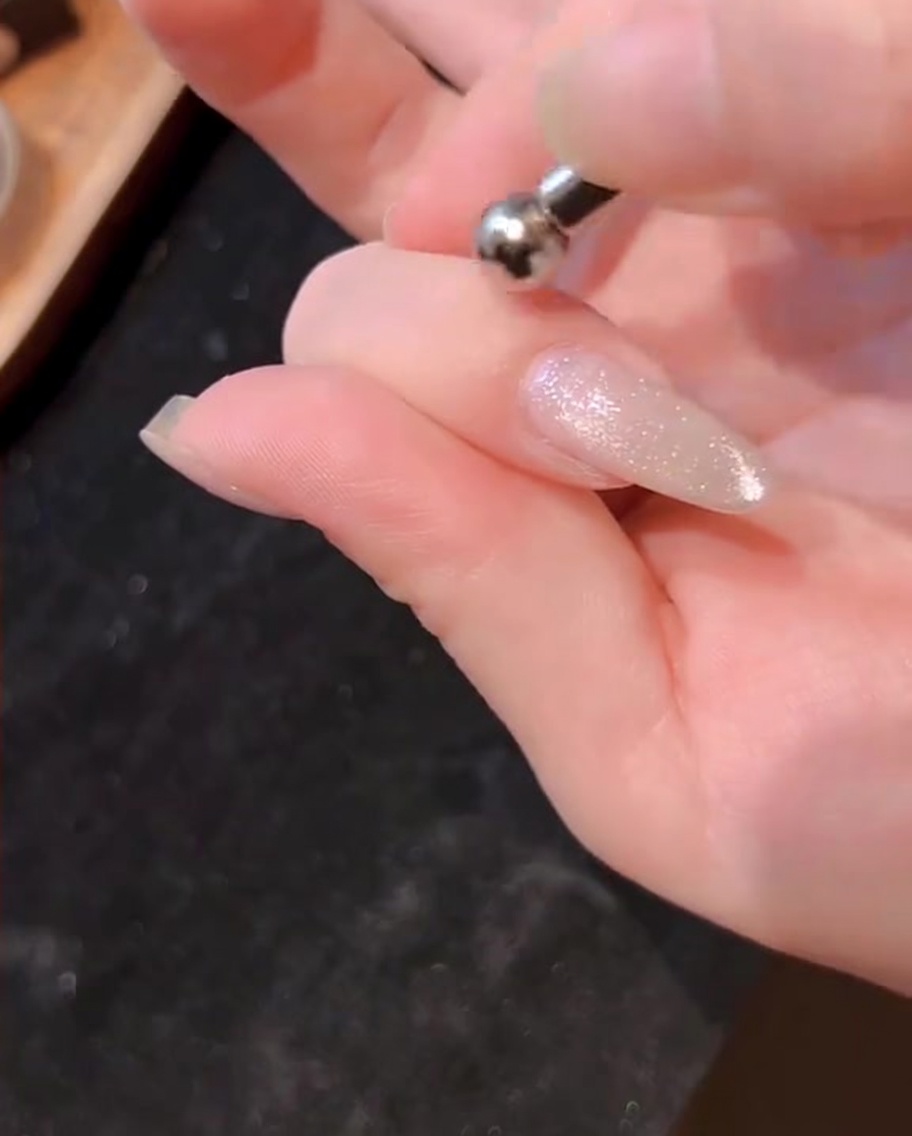
Hold your magnetic tool over the wet cat-eye gel without touching it. The magnet will pull the metallic particles in the polish to create a sharp, shimmering light beam effect.
Tip: Adjust the angle of the magnet to control the direction and shape of the shimmer line. - 7Cure the cat-eye gel
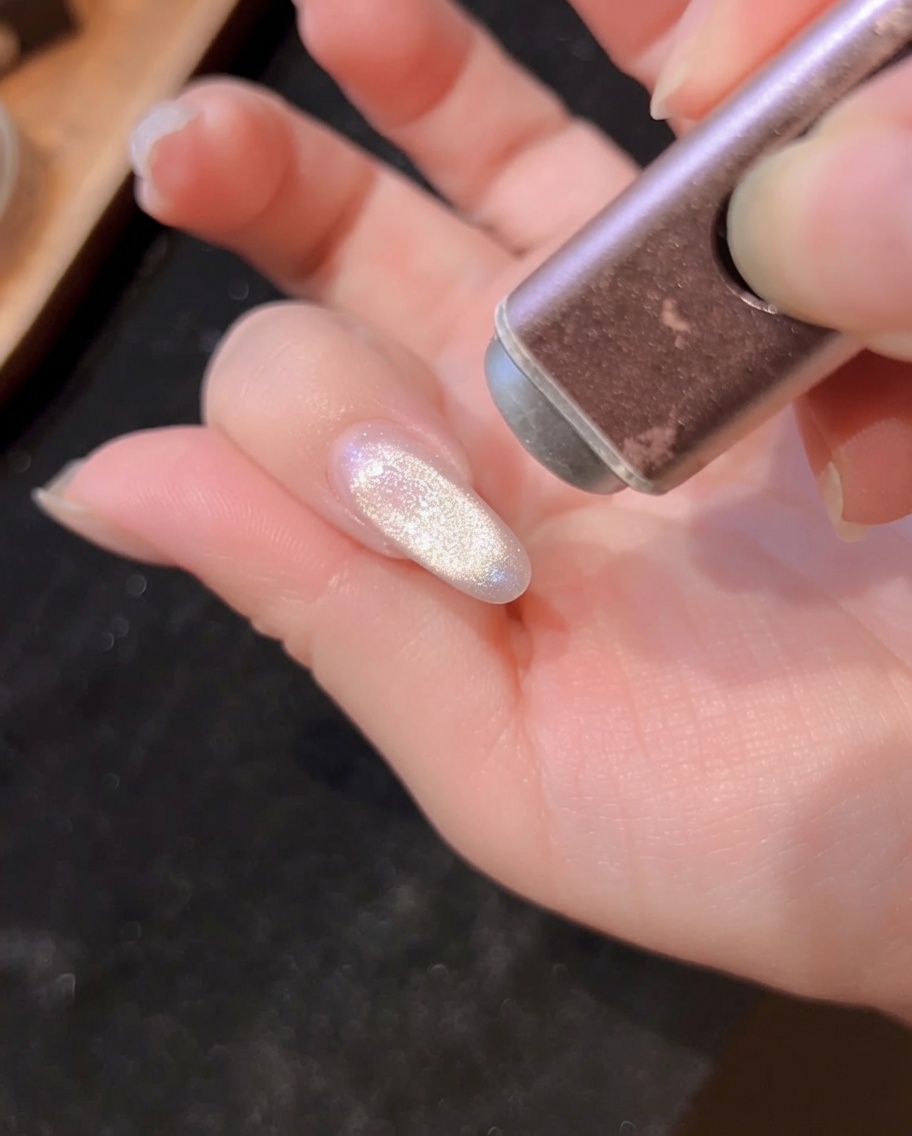
Place your hand under the UV/LED lamp to cure the cat-eye gel layer. Ensure your fingers are positioned directly under the light source for even curing. This sets the magnetic cat-eye effect in place.
Tip: Keep your hand steady while inside the lamp to avoid any smudging of the uncured gel. - 8Clean the nail surface
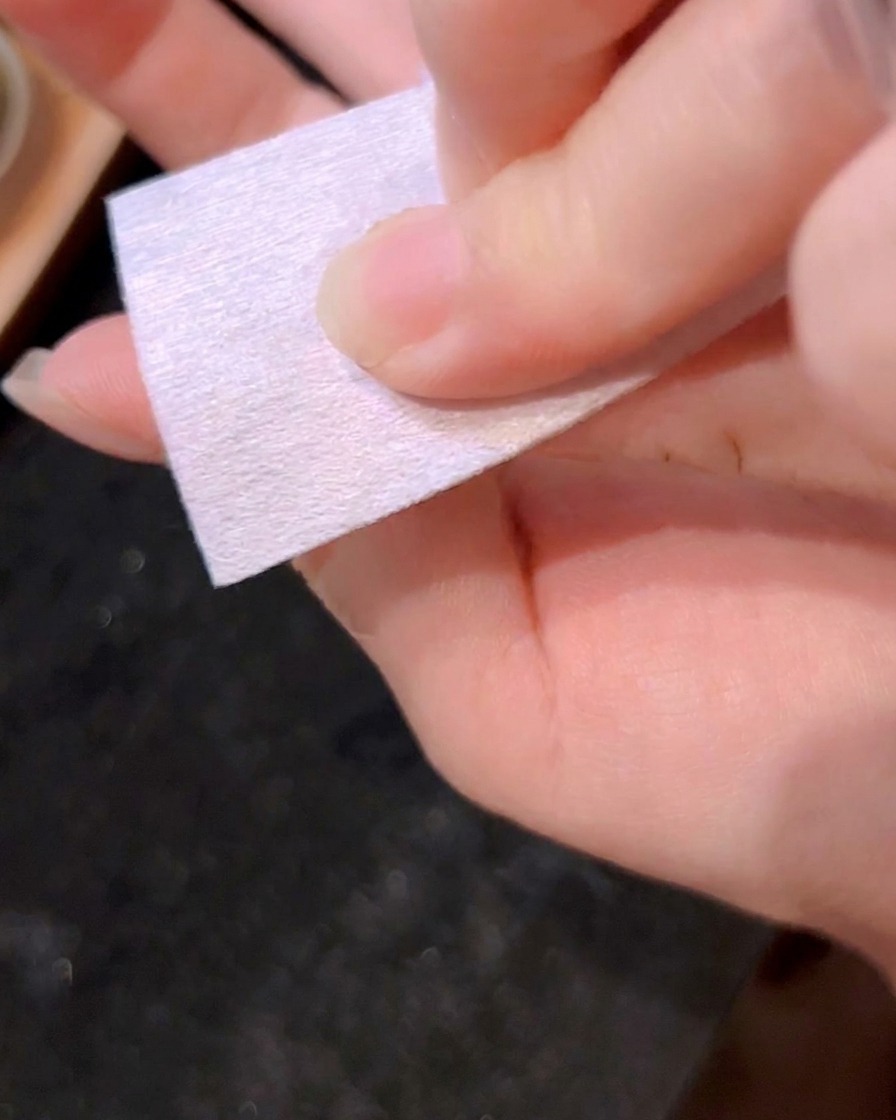
Using a lint-free wipe dampened with cleanser, gently wipe the surface of the cured nail. This removes the tacky inhibition layer, leaving the nail clean and ready for further art or top coat.
Tip: Always use a lint-free wipe to avoid leaving fibers stuck to the tacky layer of the gel. - 9Apply blue gel accent
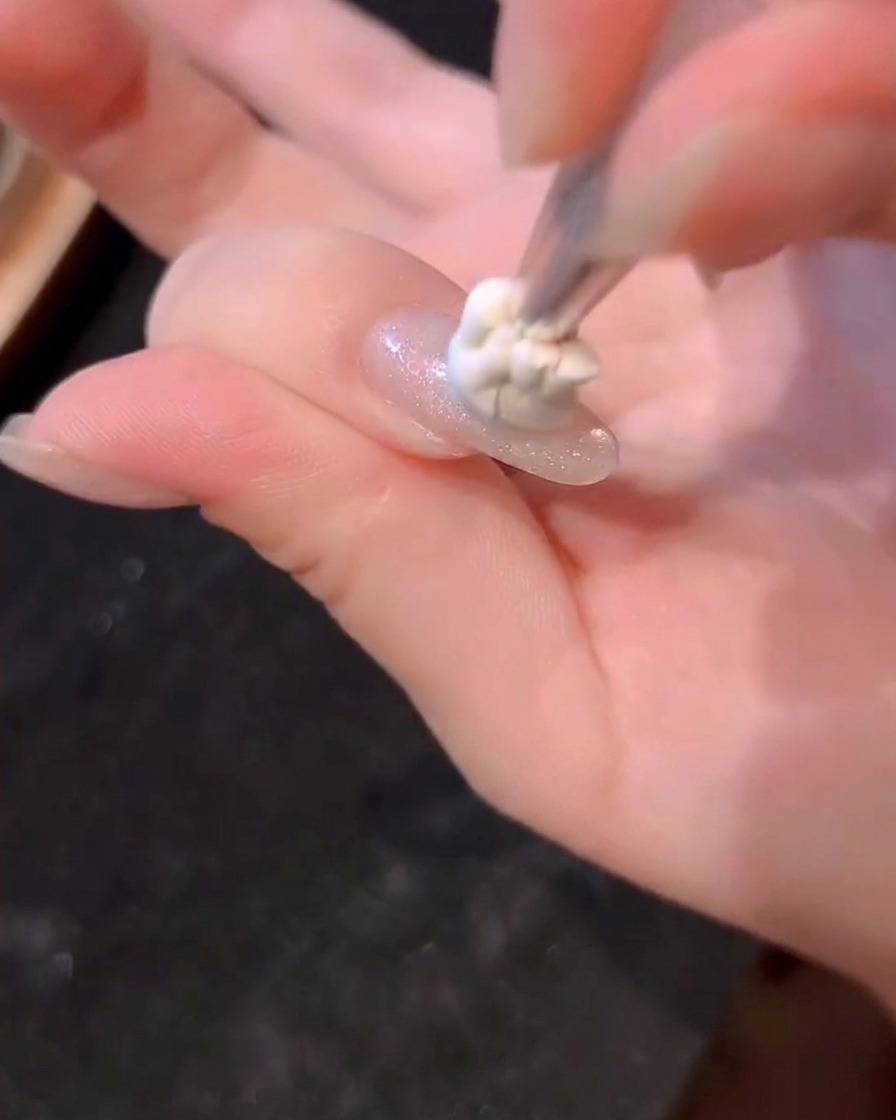
Dab a small amount of blue gel onto the center of the nail. Spread it slightly to cover a larger central area, creating a soft color focus for the nail art.
Tip: Use a light dabbing motion to build the color gradually, keeping the edges soft. - 10Cure the blue gel
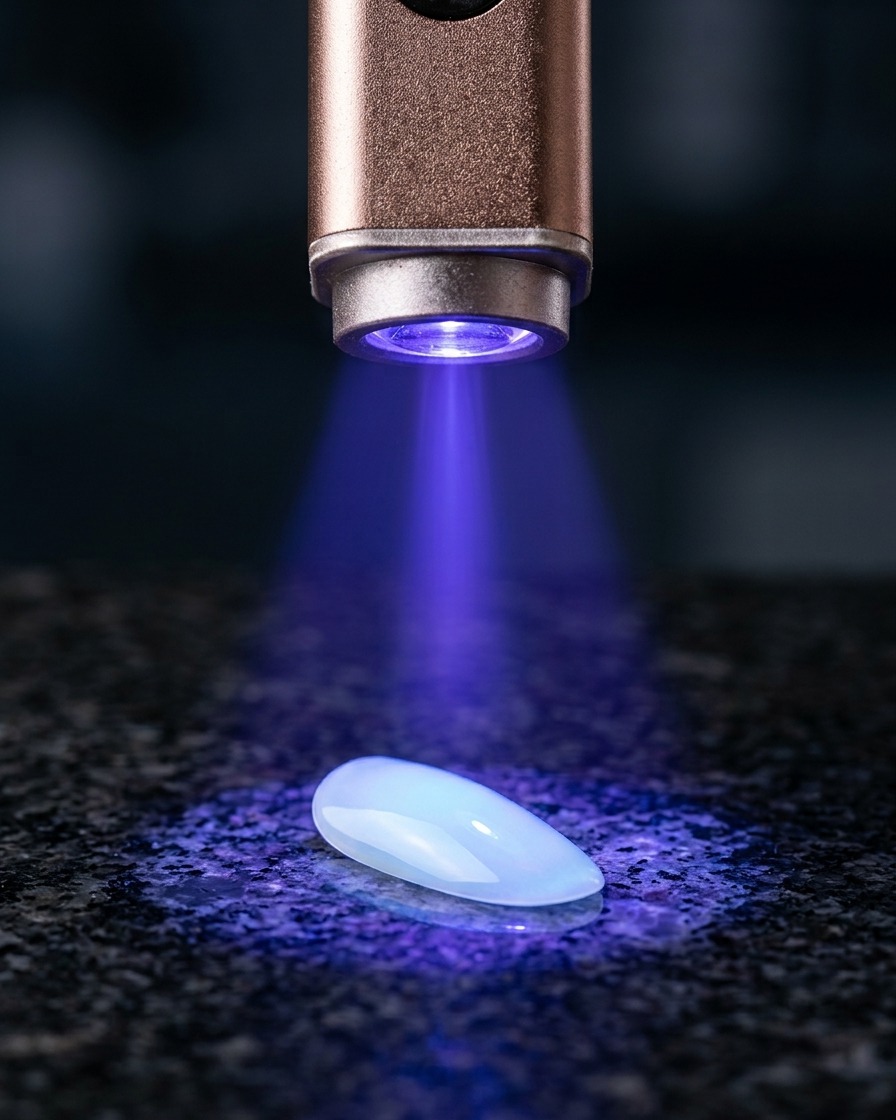
Place the nail under the UV/LED lamp to cure the first layer of blue gel. Ensure the gel is fully set before proceeding to the next step.
Tip: Check that the lamp is on and your hand is positioned correctly to ensure complete curing of the colored gel. - 11Apply focused blue accent
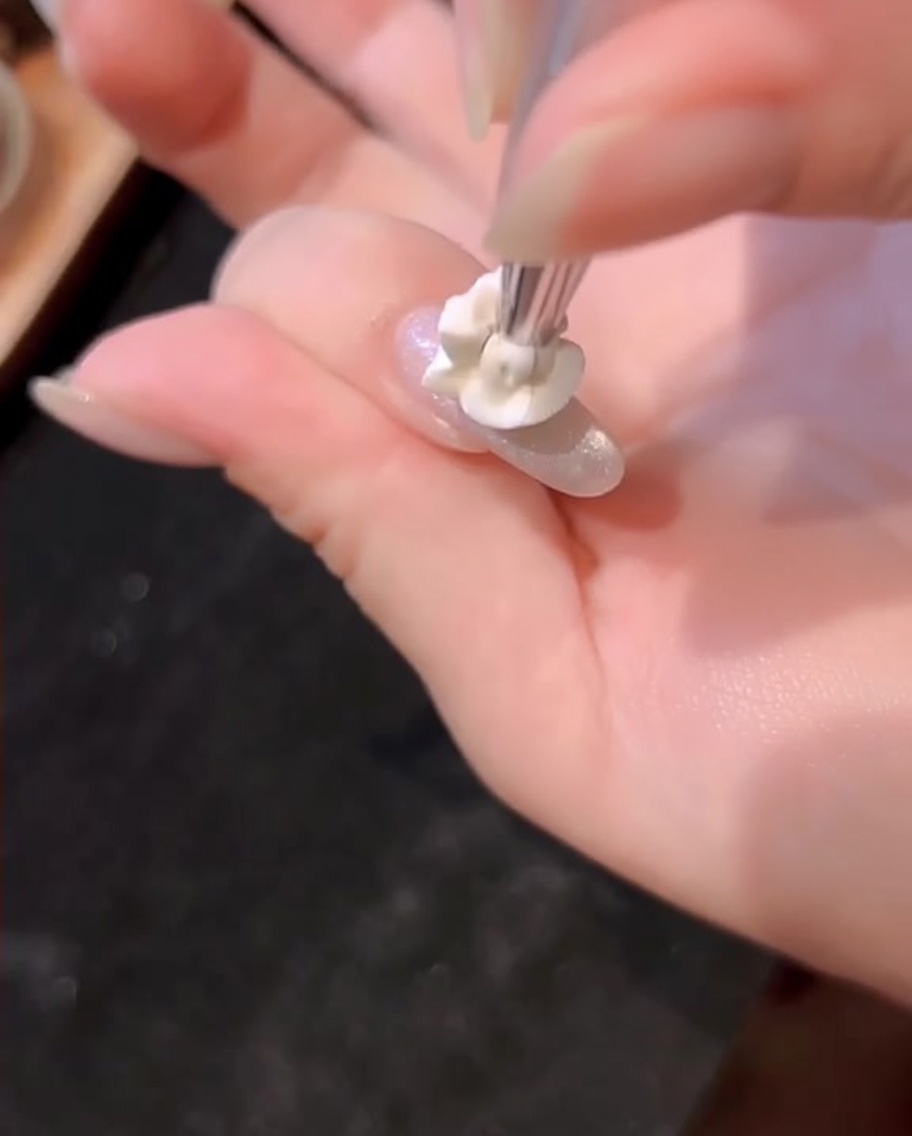
Dab a smaller amount of blue gel directly in the center of the previously applied blue area. This creates depth by intensifying the color in the very middle of the design.
Tip: A smaller brush or dotting tool can help with precision for this layer. - 12Cure the final blue layer
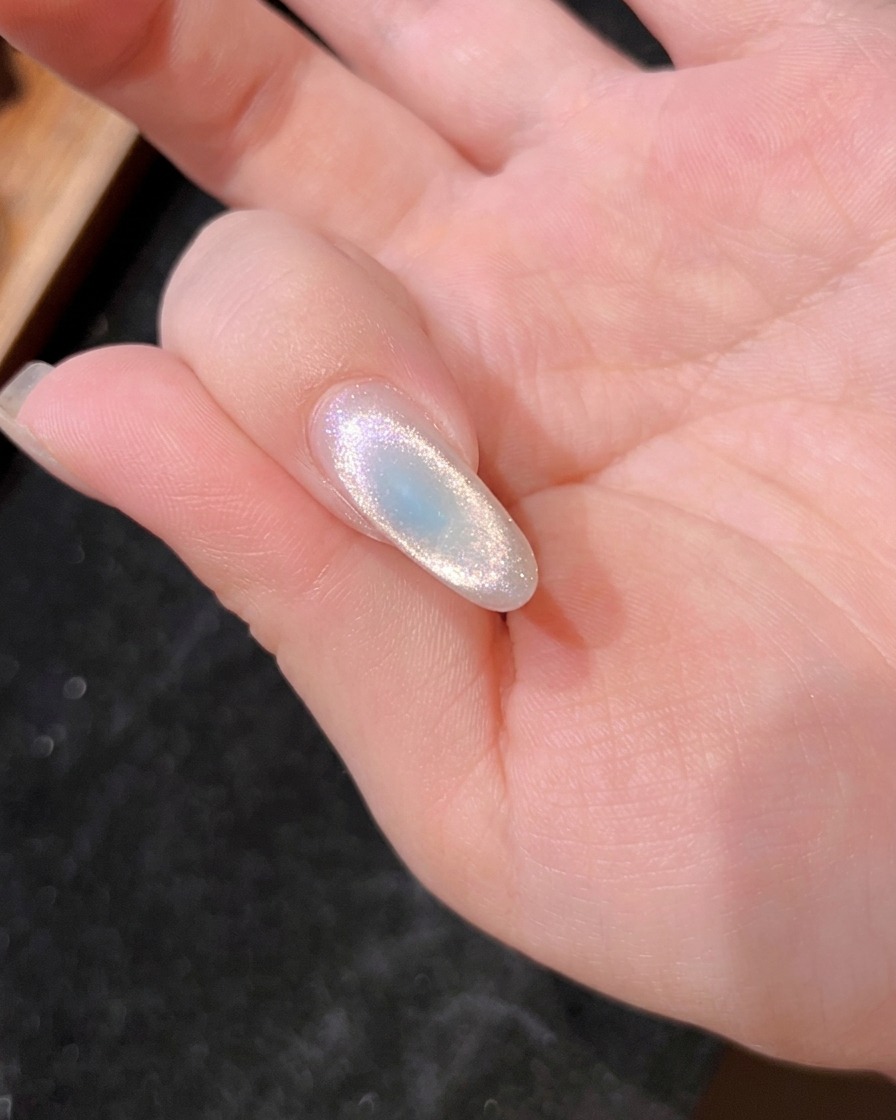
Place the nail under the lamp again to cure the second, smaller layer of blue gel. This ensures the full color design is secure.
Tip: Do not skip this cure, as the layered gel needs to be fully set for a durable finish. - 13Draw silver lines
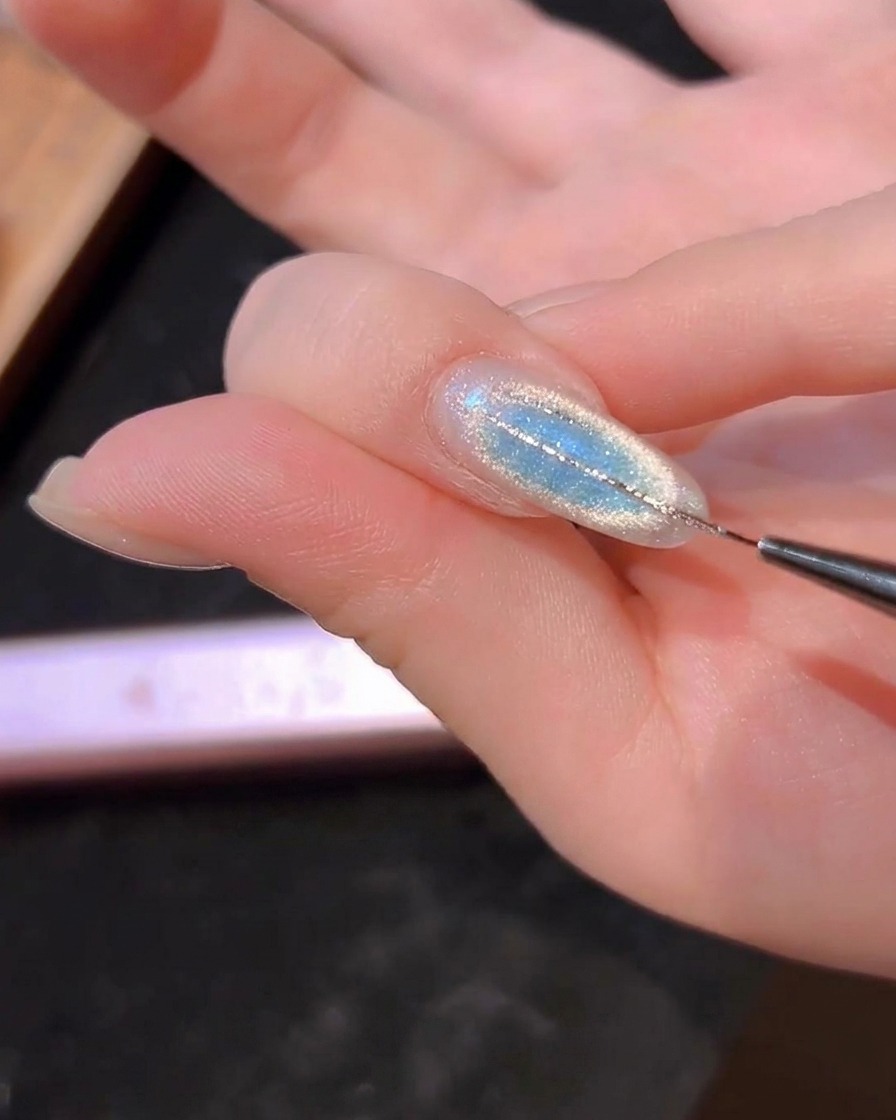
Use a fine liner brush and silver platinum gel to draw thin, delicate lines down the center of the nail. Take your time to ensure the lines are straight and perfectly aligned over the cat-eye base.
Tip: Rest your hand on a stable surface or use your pinky finger as a balance point to keep your brush steady while painting fine details. - 14Cure the silver lines
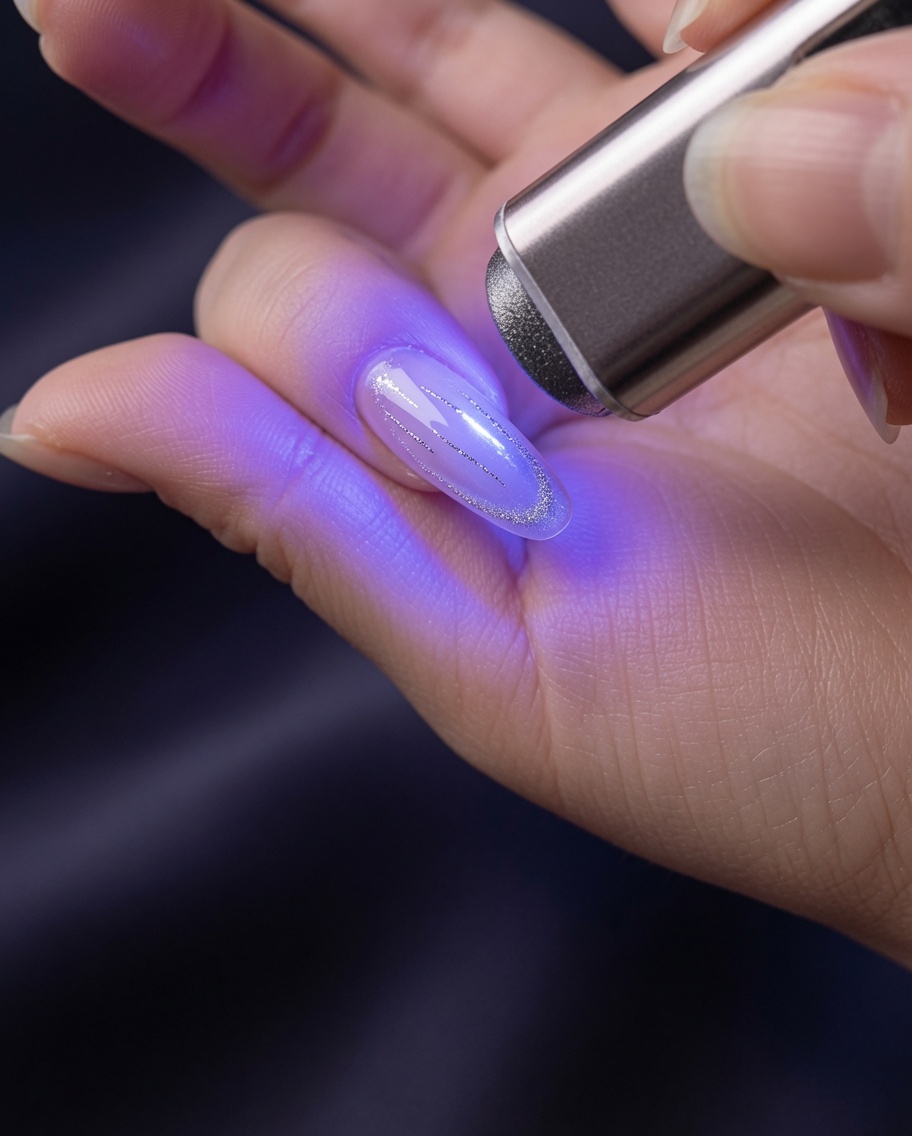
Cure the nail under your LED or UV lamp to set the silver platinum gel. This flash cure prevents the delicate lines from smudging, bleeding, or spreading during the next application steps.
Tip: A quick 15 to 30-second flash cure is typically enough to lock the design in place before moving on to the next layer. - 15Apply builder gel for adhesion
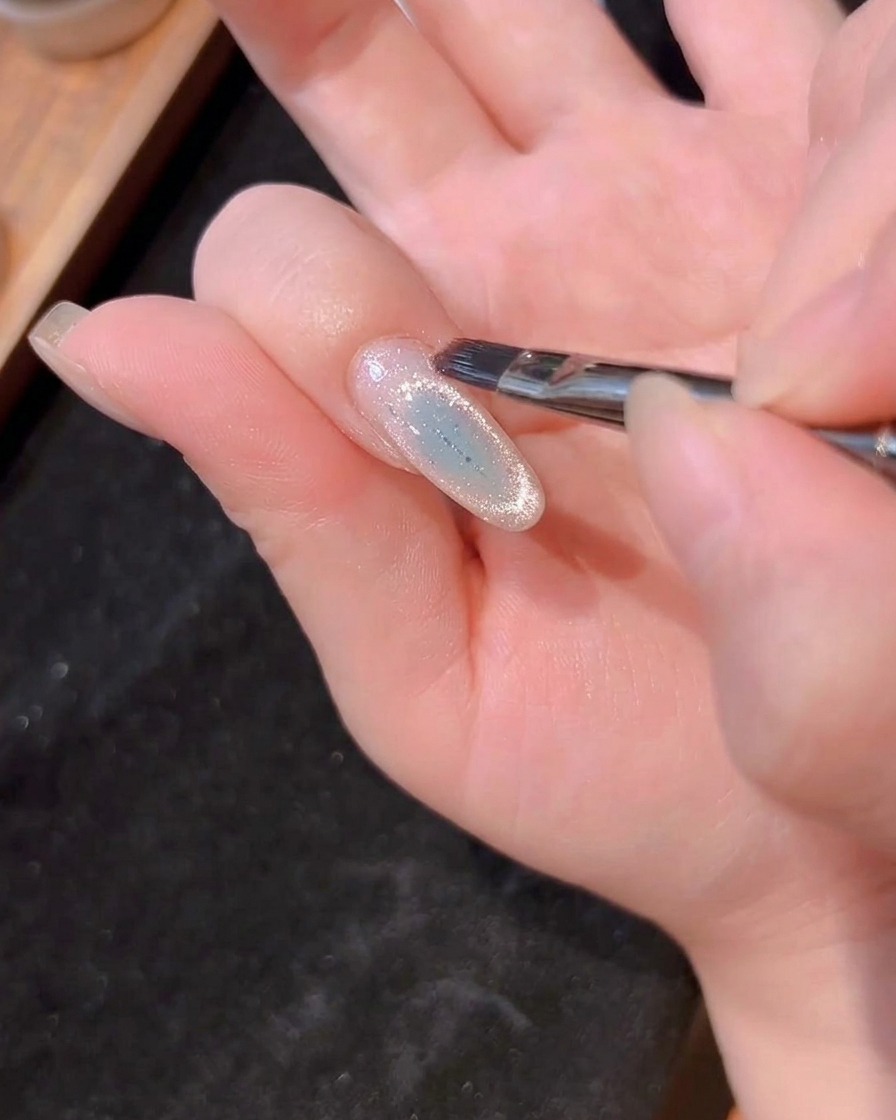
Apply a very thin layer of builder gel evenly over the entire nail. Do not cure this layer yet, as the wet gel will act as an adhesive base for placing your star glitters.
Tip: Keep this layer thin to prevent adding unnecessary bulk to the nail before the final encapsulation step. - 16Place star glitters
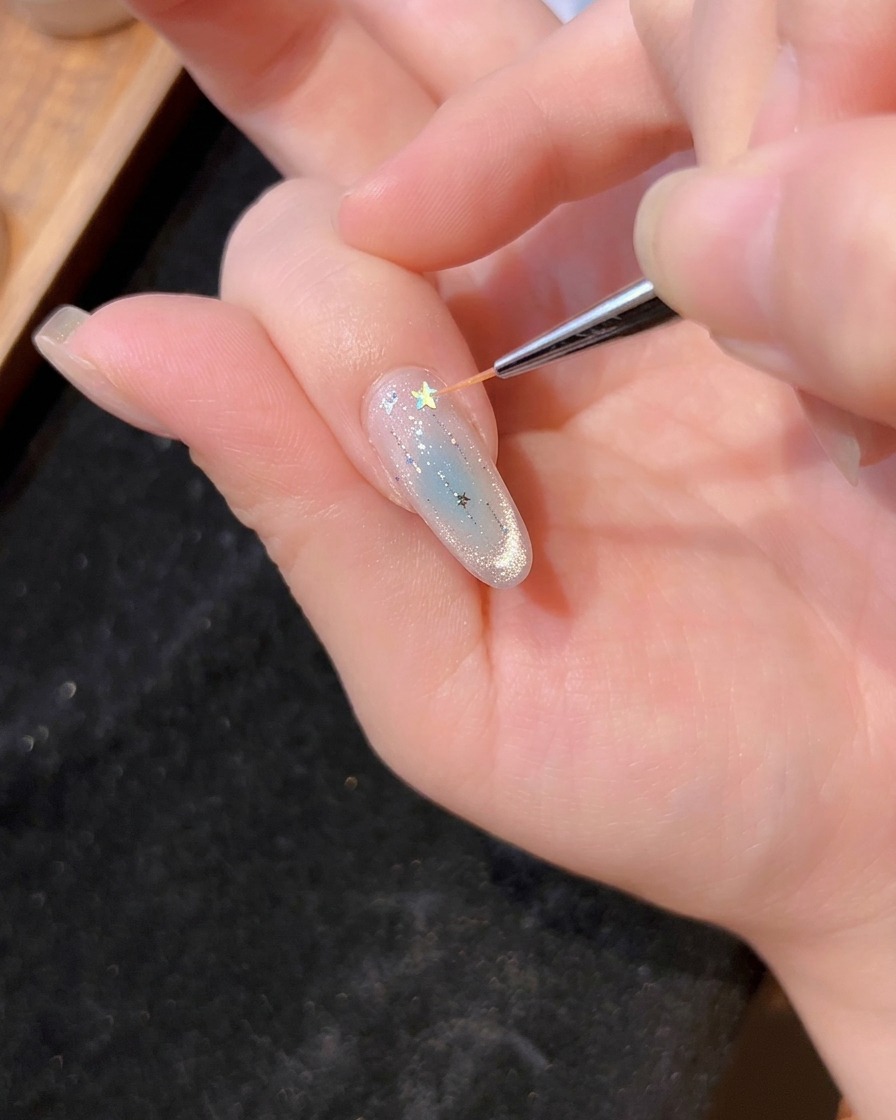
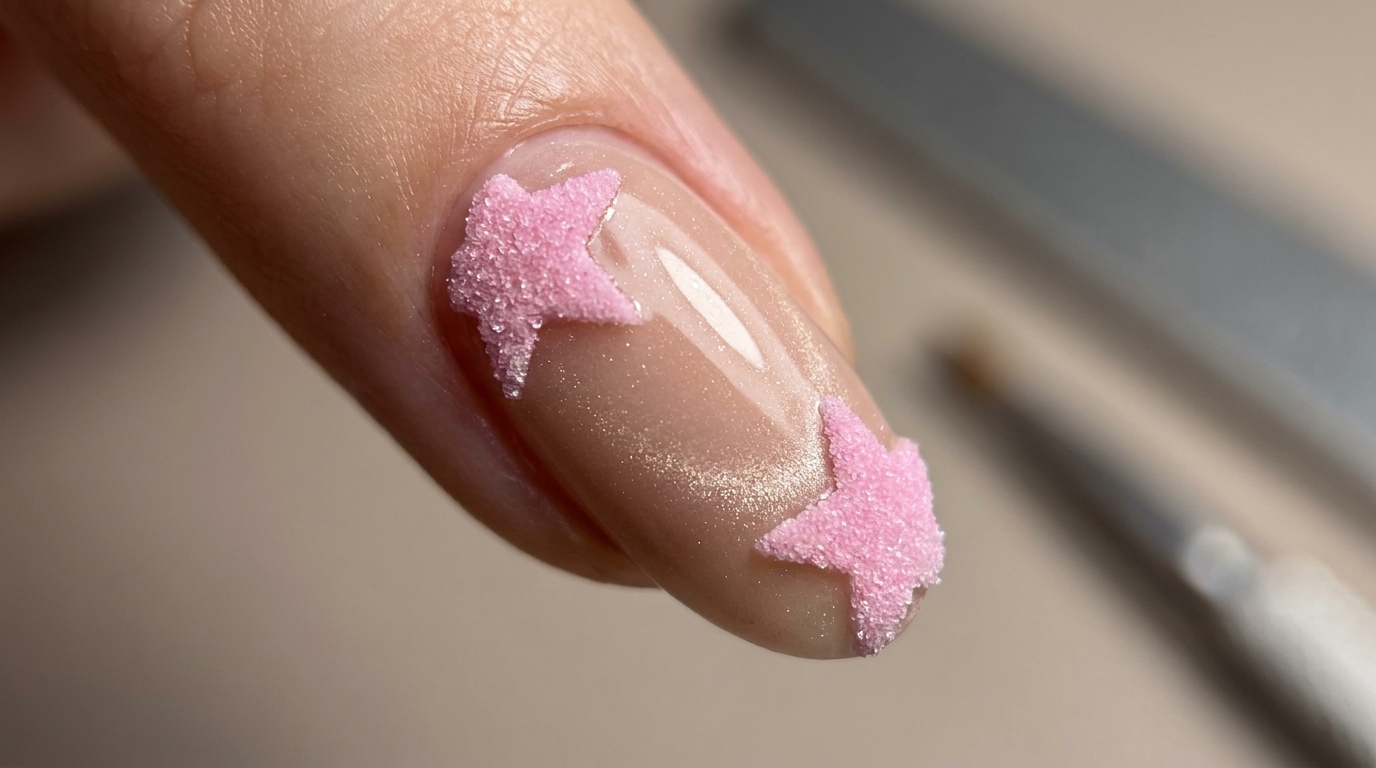
Using a fine brush or a dotting tool, carefully pick up your star-shaped glitters and place them onto the wet layer of builder gel. Arrange them along the silver lines or scatter them to create a magical accent.
Tip: Lightly press the stars into the wet gel to ensure the sharp edges lay completely flat against the natural curve of the nail. - 17Cure the star accents
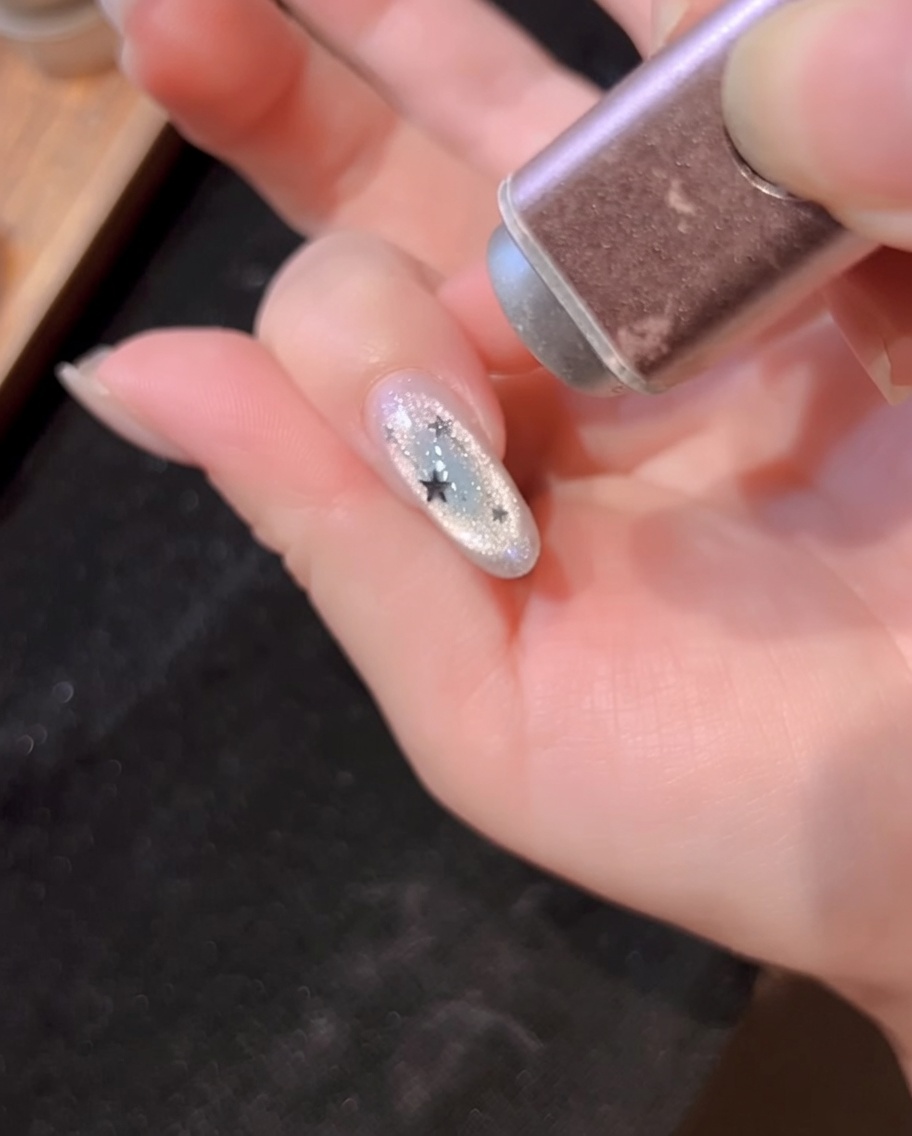
Once the star glitters are perfectly placed to your liking, cure the nail under your lamp. This locks the stars securely into the builder gel so they will not shift or float during the final encapsulation process.
Tip: Double-check the placement from different angles before curing, as the glitters cannot be easily moved once the gel has been set.