Champagne Rose Chrome Mirror Nails — Elegant Pearl Accents Tutorial
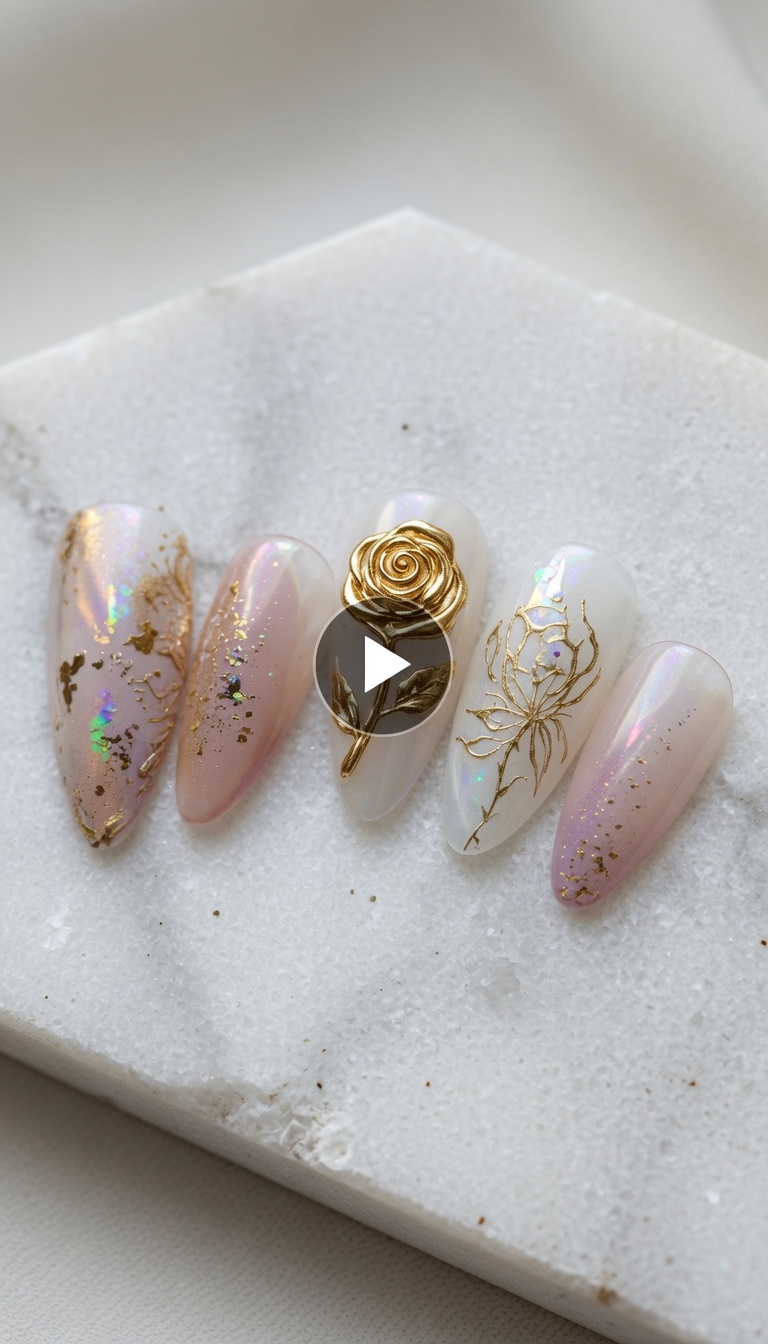
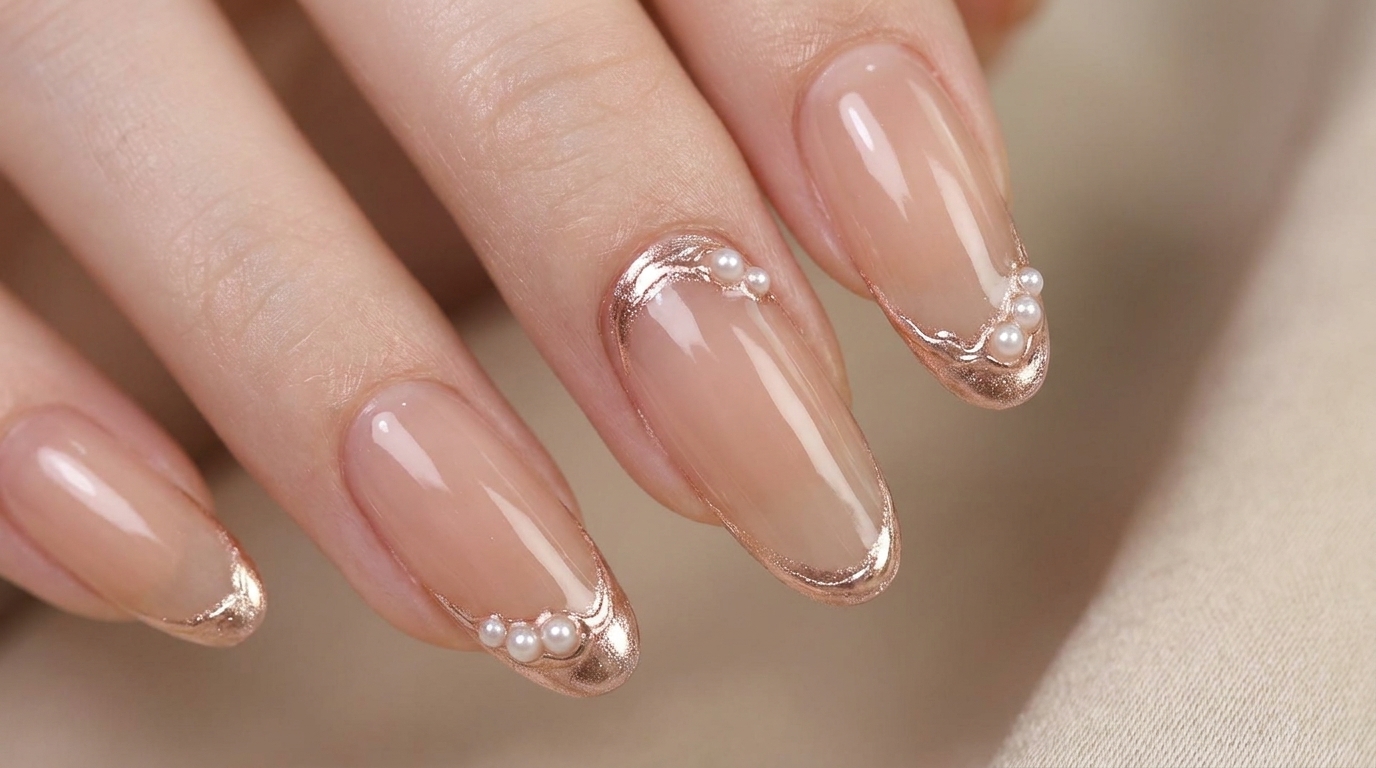
Enhance your nude manicure with elegant champagne rose chrome accents and dainty pearls. This sophisticated tutorial shows you how to achieve a luxurious multi-textured finish at home.
Warm tones are incredibly flattering on the skin and this champagne rose chrome design brings a touch of luxury to a classic nude base. By combining metallic chrome textures with dainty pearl embellishments this look strikes a beautiful balance between modern edge and timeless elegance. Follow these steps to achieve this luminous multi-textured manicure at home.
Steps
- 1Apply nude base coat
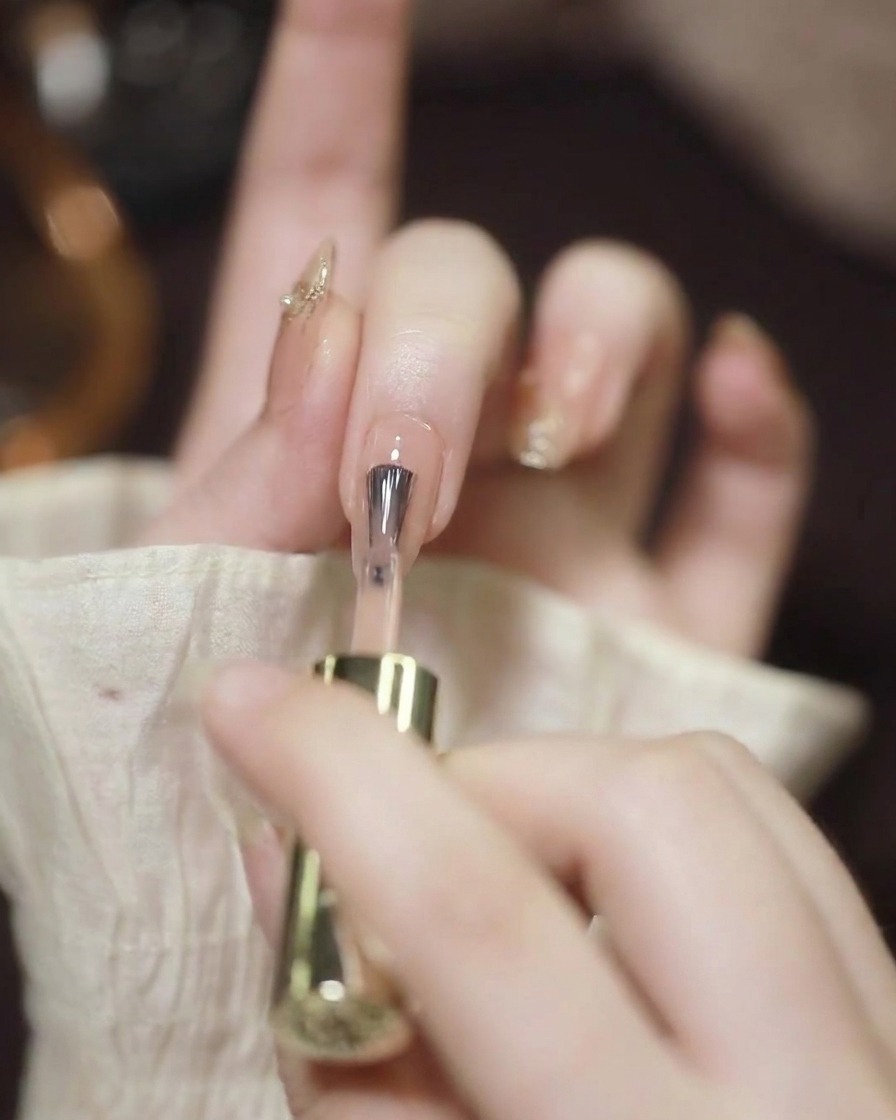
Apply an even layer of Vendeeni C16 Honey Tea Nude 09 base coat over the nail plate. Ensure smooth coverage while maintaining a thin layer near the cuticles and side walls to prevent flooding. Cure the layer under an LED lamp to set the foundation.
Tip: Check for even color distribution before curing to ensure a consistent, streak-free base. - 2Apply matte top coat
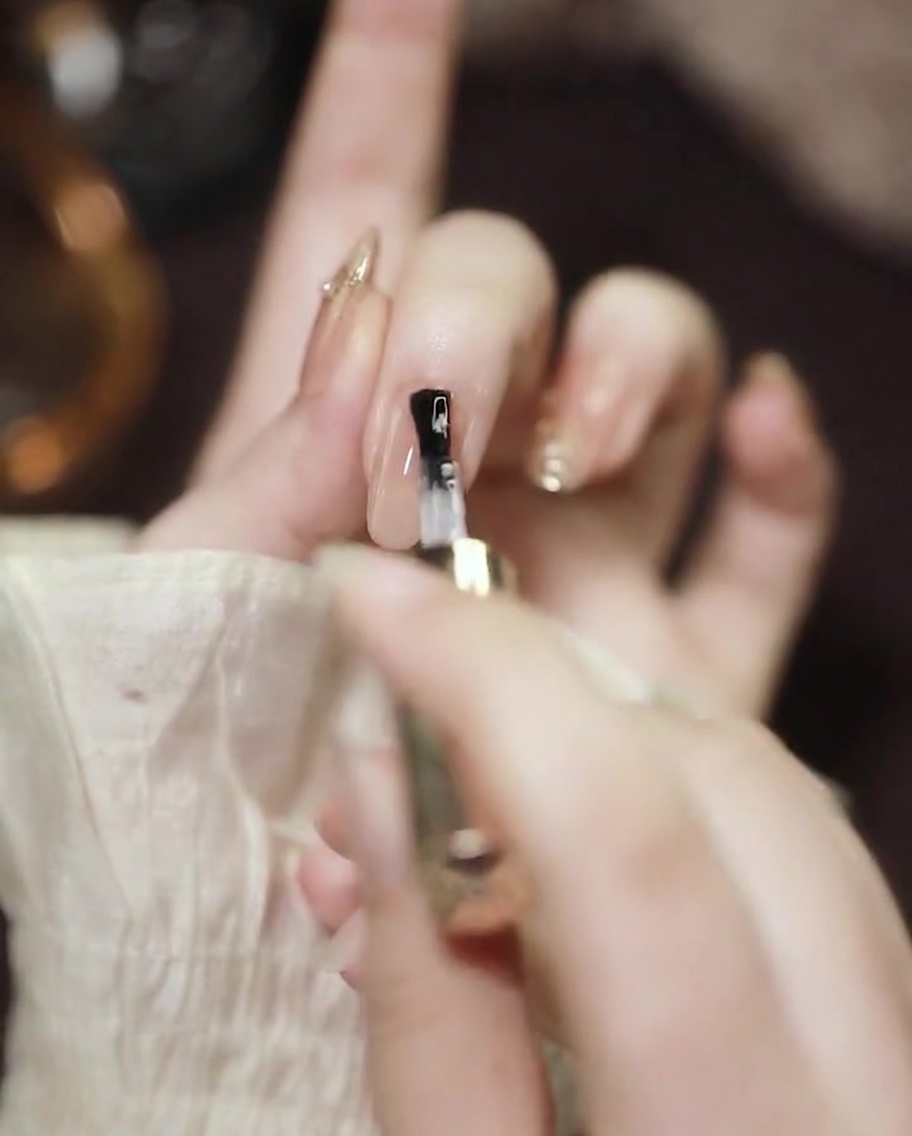
Apply a coat of matte top coat over the cured nude base layer. This matte finish provides the necessary texture and grip for the subsequent nail art steps. Ensure the entire surface is covered before curing in an LED lamp.
Tip: The matte surface acts as a primer for the textured mirror details, helping them sit better on the nail. - 3Paint texture at cuticle
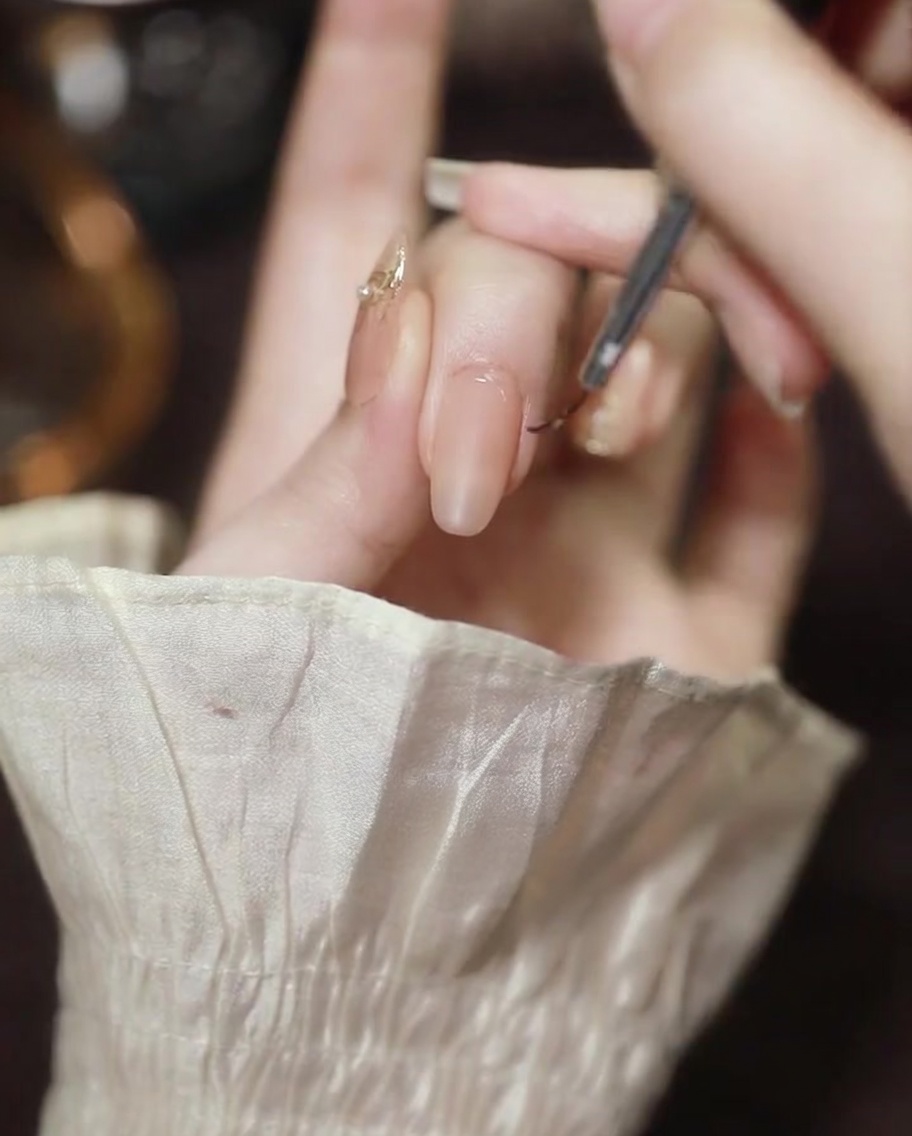
Using a thin liner brush, apply fine lines of non-wipe top coat along the cuticle edge. Keep the lines delicate to create a sophisticated, textured highlight. Once the pattern is complete, flash cure the nails under an LED lamp.
Tip: Use very little product on the brush to keep the lines sharp and prevent the gel from spreading. - 4Paint texture at nail tip
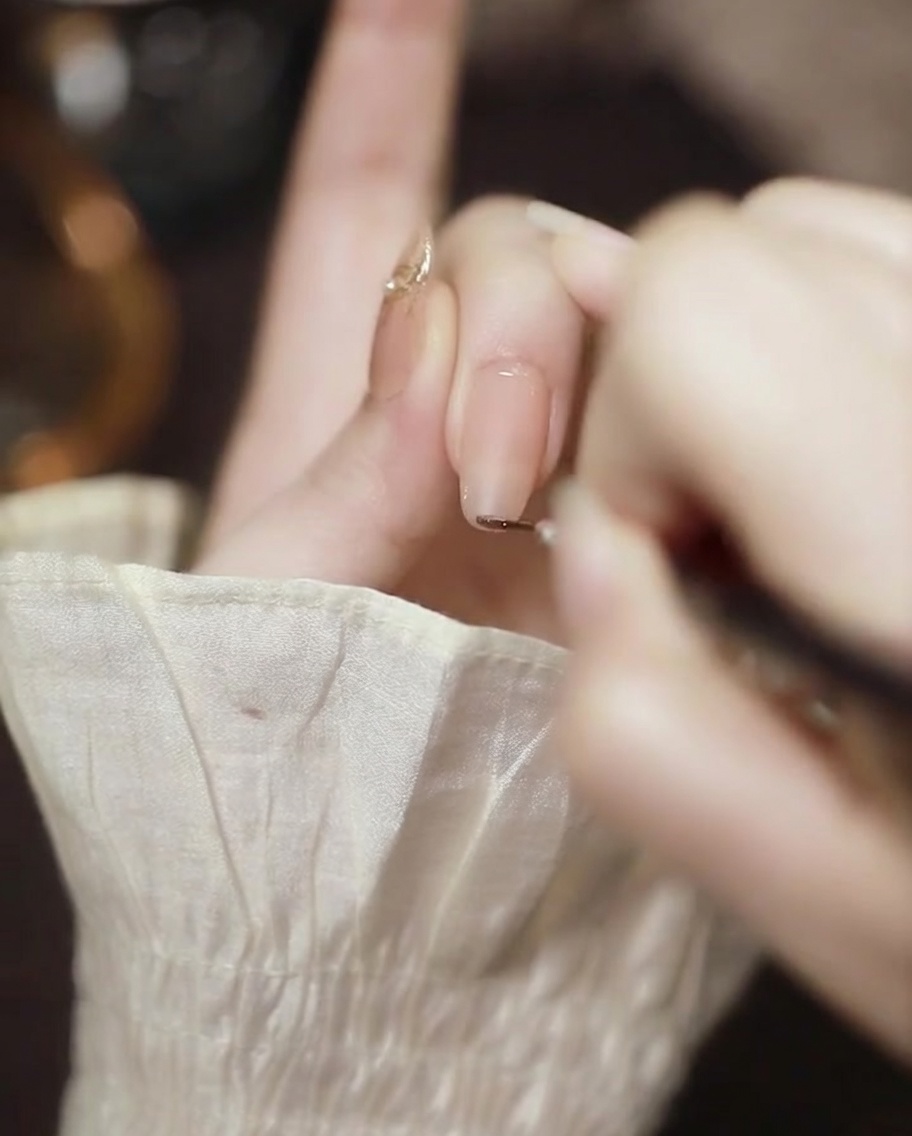
Continue using the liner brush to apply non-wipe top coat in delicate patterns or lines near the nail tip edge. These lines will serve as the base for the mirror powder finish. Cure these details under the LED lamp to harden the texture.
Tip: Consistency in line thickness between the cuticle and tip areas will create a balanced look. - 5Cure the nails
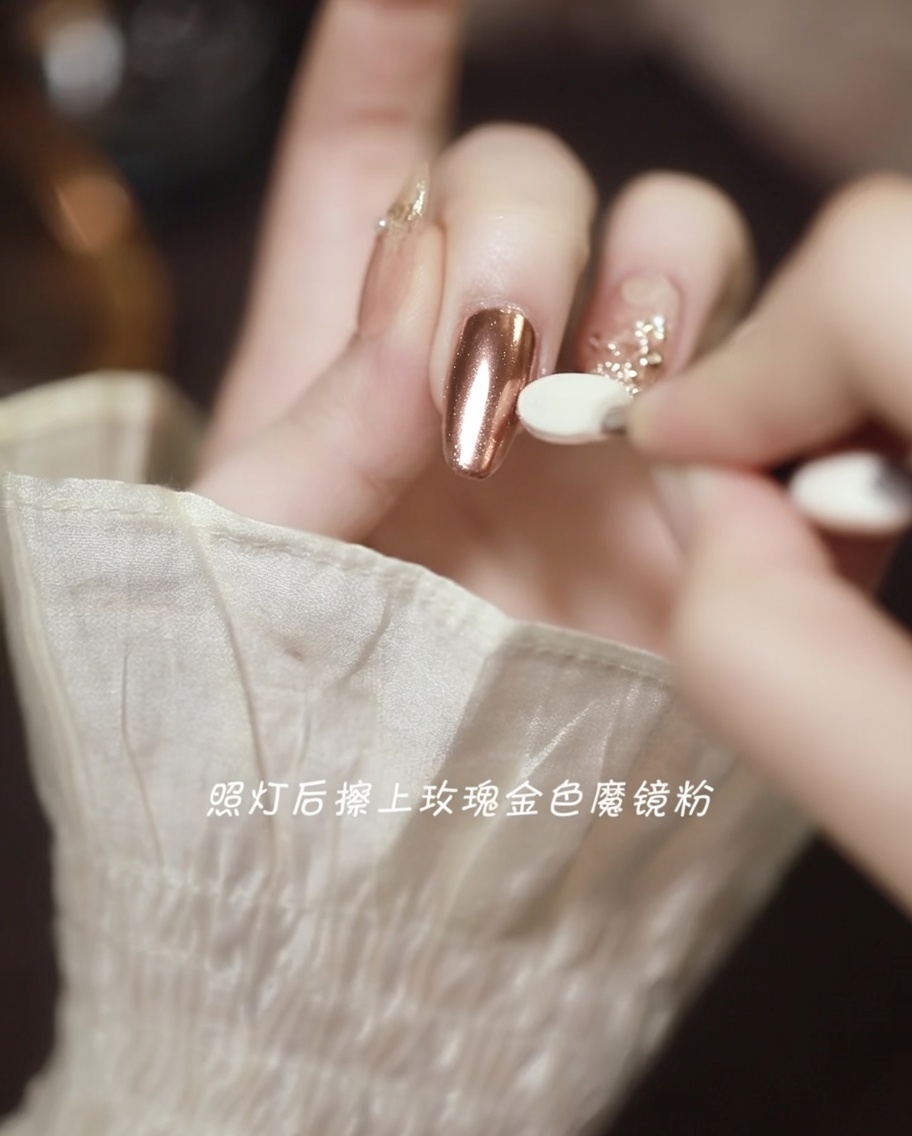
Place the nails under an LED lamp to fully cure the non-wipe top coat textures. This ensures the gel is hardened and ready to accept the mirror powder.
Tip: Follow the curing time recommended for your specific non-wipe top coat product for optimal results. - 6Apply mirror powder
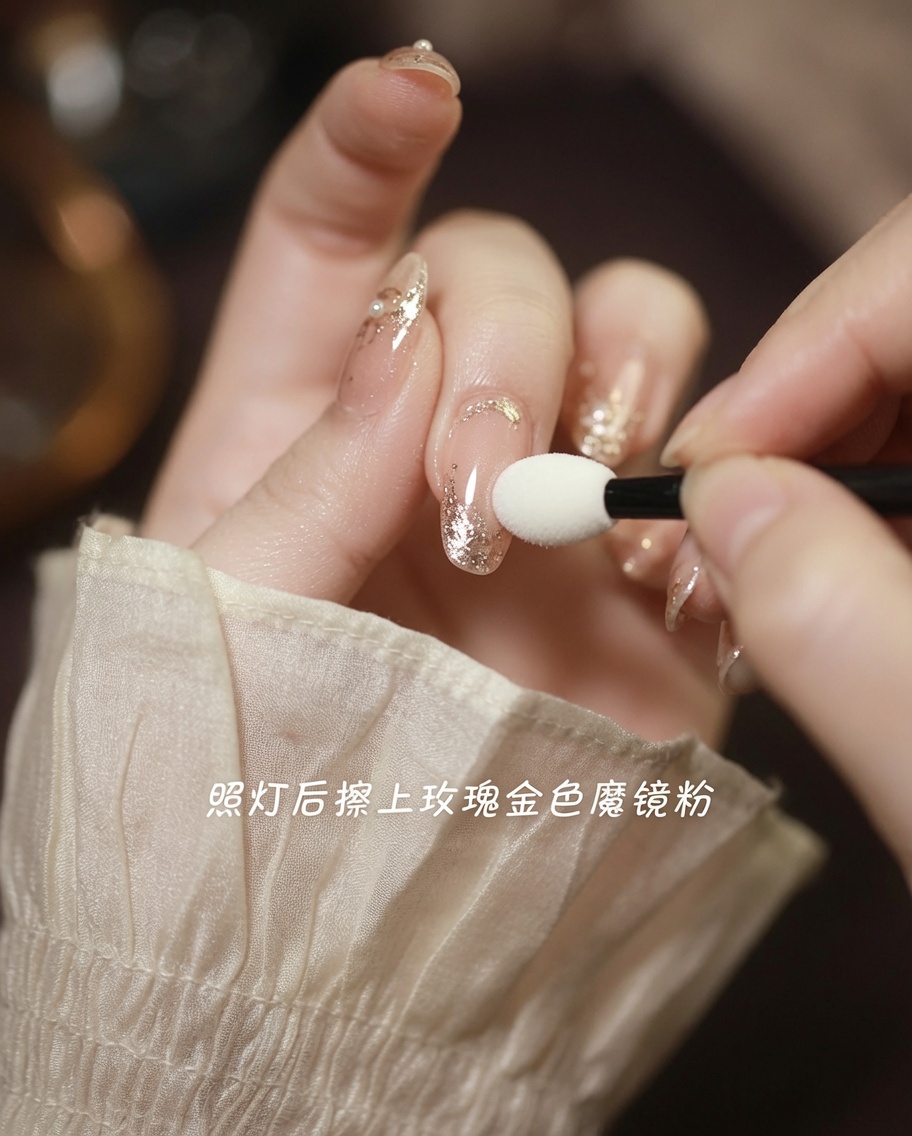
Using a sponge applicator, gently buff the rose gold mirror powder over the cured texture lines on the nail surface. Press and rub until the powder adheres to the sticky texture to create a metallic chrome effect.
Tip: Apply the powder while the nail surface is still warm from curing for better adhesion. - 7Remove excess powder
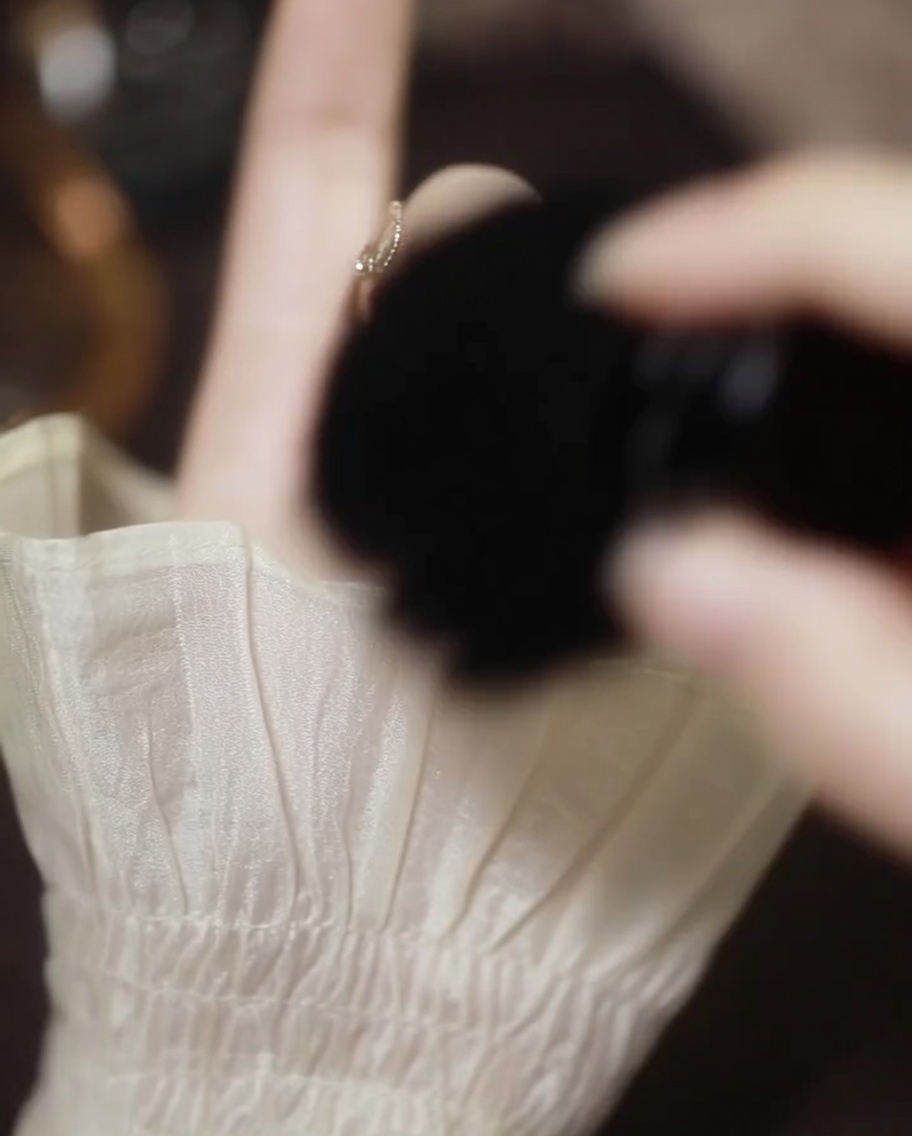
Once the mirror powder has been applied, use a soft, fluffy dust brush to gently sweep away any loose powder particles remaining on the nail surface and surrounding skin.
Tip: Use a light touch to avoid dulling the chrome finish you just applied. - 8Apply adhesive for embellishments
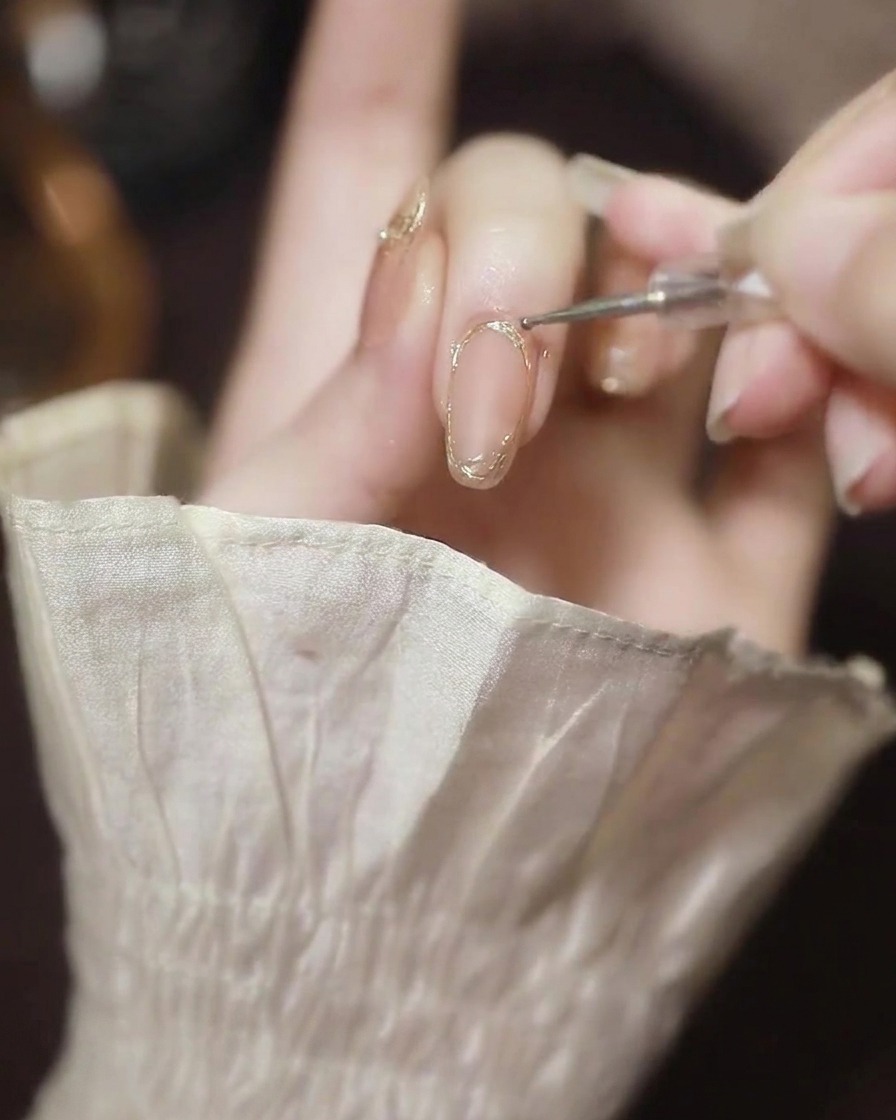
Using a precision tool, apply tiny, controlled dots of rhinestone glue to the areas where you intend to place your pearls. This ensures a strong hold without spreading glue where it isnt needed.
Tip: Less is more; too much glue can seep out from under the pearls and look messy. - 9Place pearls
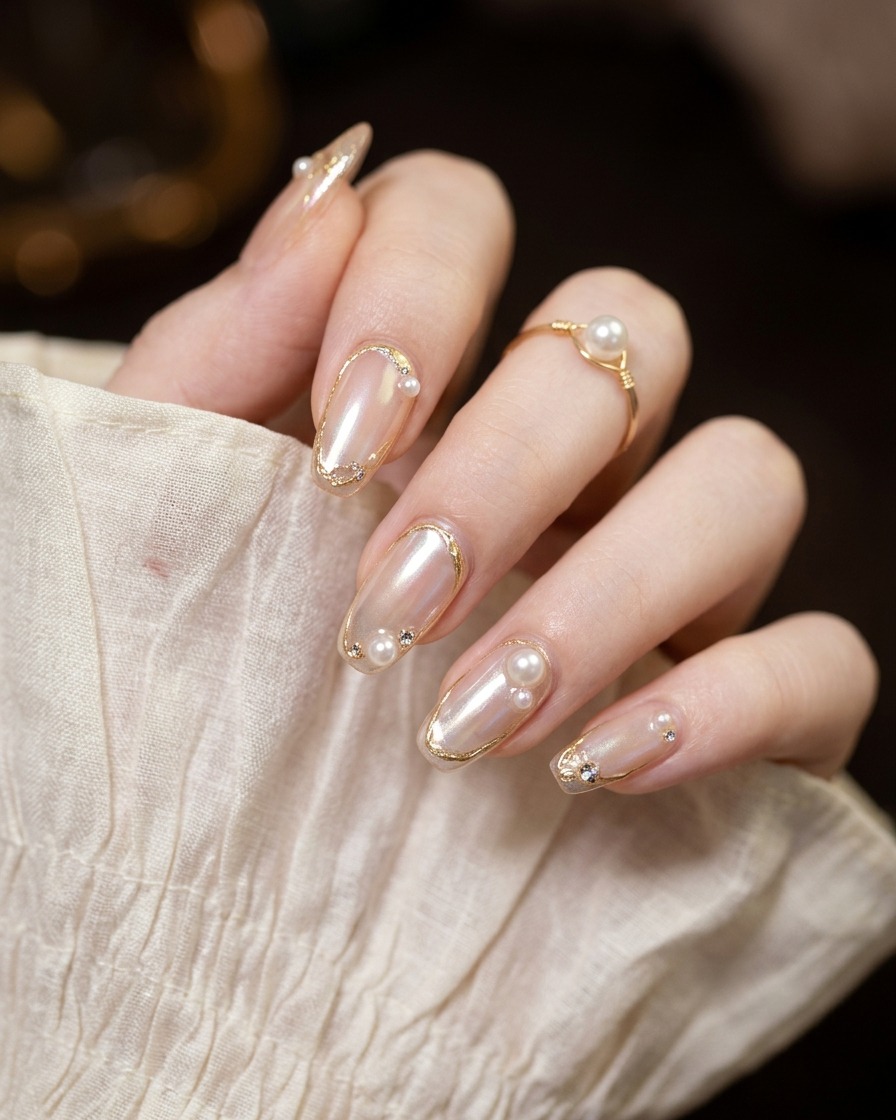
Using a wax-tipped picker tool, carefully pick up individual pearls and place them directly onto the prepared glue dots. Adjust their position slightly if needed before the glue begins to set.
Tip: Ensure the pearls are pressed firmly into the glue to secure them properly. - 10Apply strengthening gel
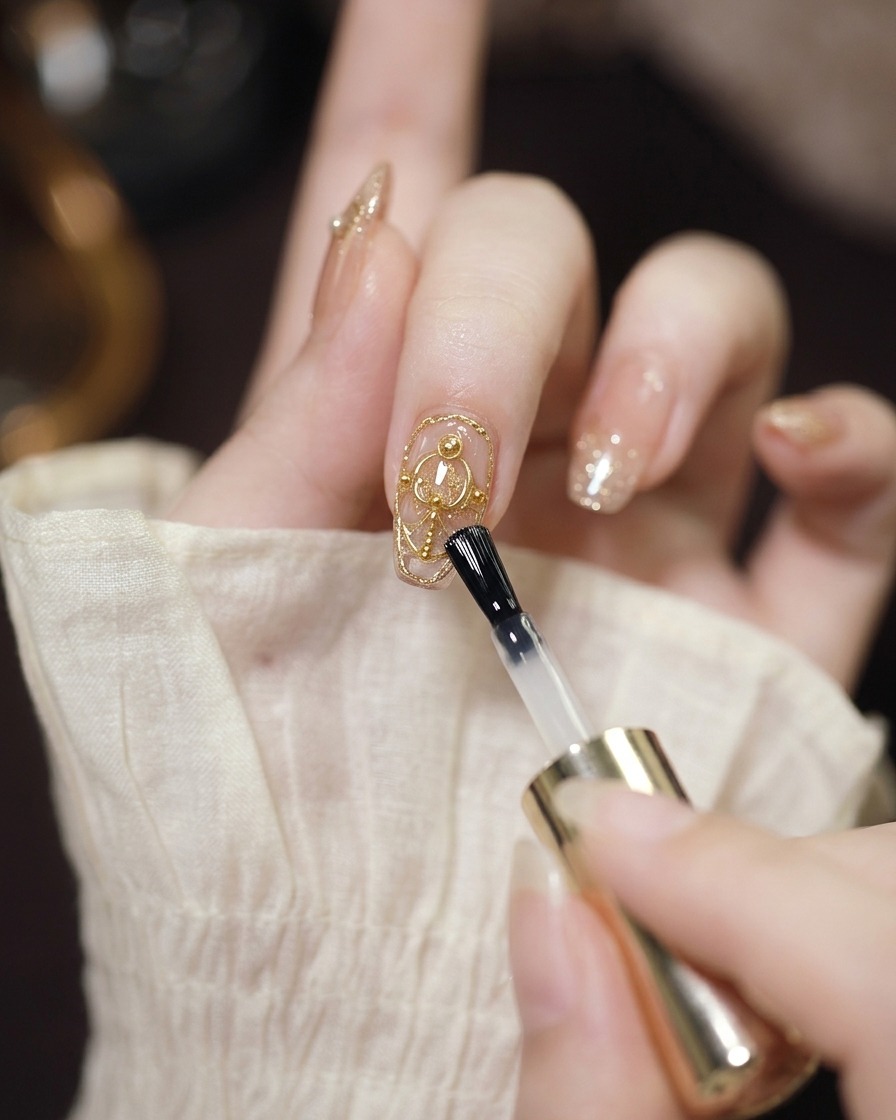
Apply a thin layer of clear strengthening gel over the entire surface of the nail, covering the pearls and chrome details. This seals the design and adds a protective layer to prevent the pearls from catching.
Tip: Be careful to cover the edges of the pearls without creating a bulky, uneven layer. - 11Apply final top coat
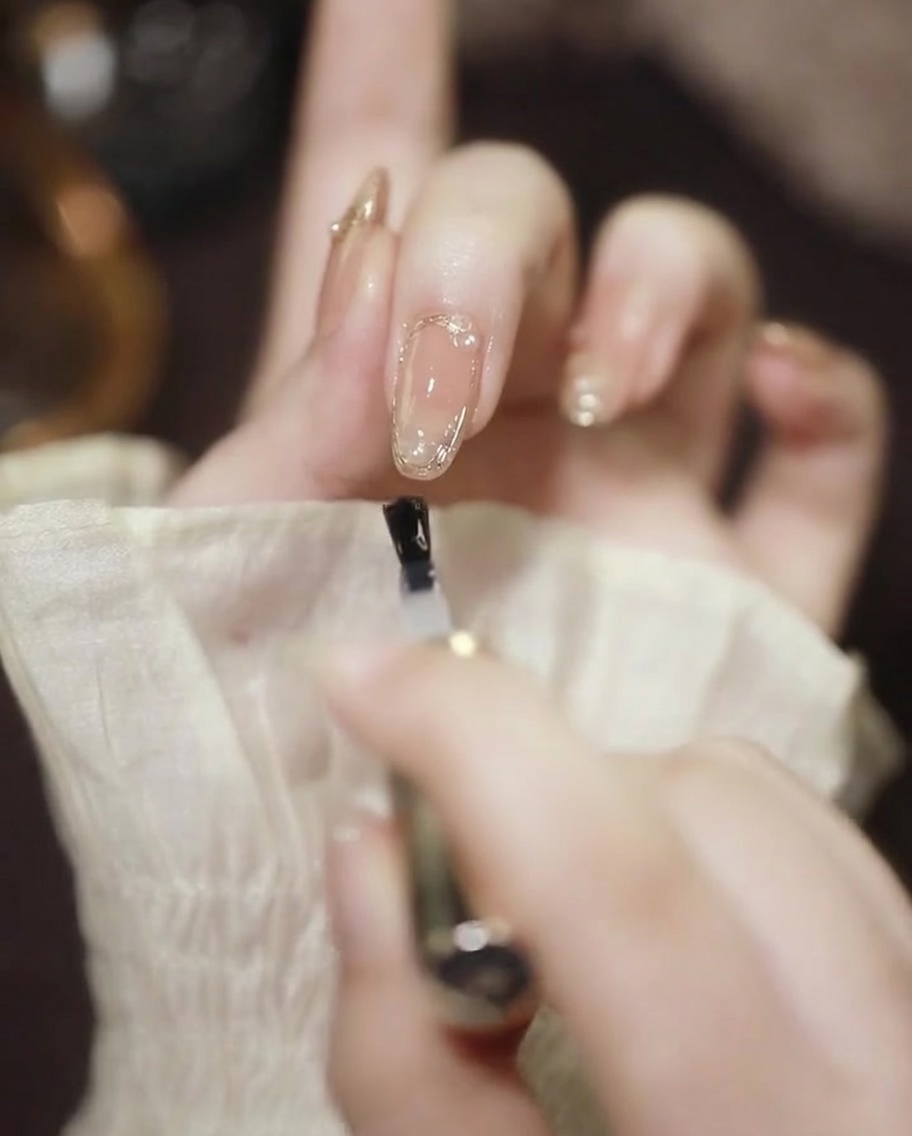
Apply a high-shine top coat over the entire nail to encapsulate the design and ensure a smooth, durable finish. Cure the nail under a UV/LED lamp according to the products recommended time.
Tip: Cap the free edge with the top coat to prevent premature chipping or lifting of the design.