Daisy Garden Nail Art — Soft Gradient
3D Water Droplets Tutorial
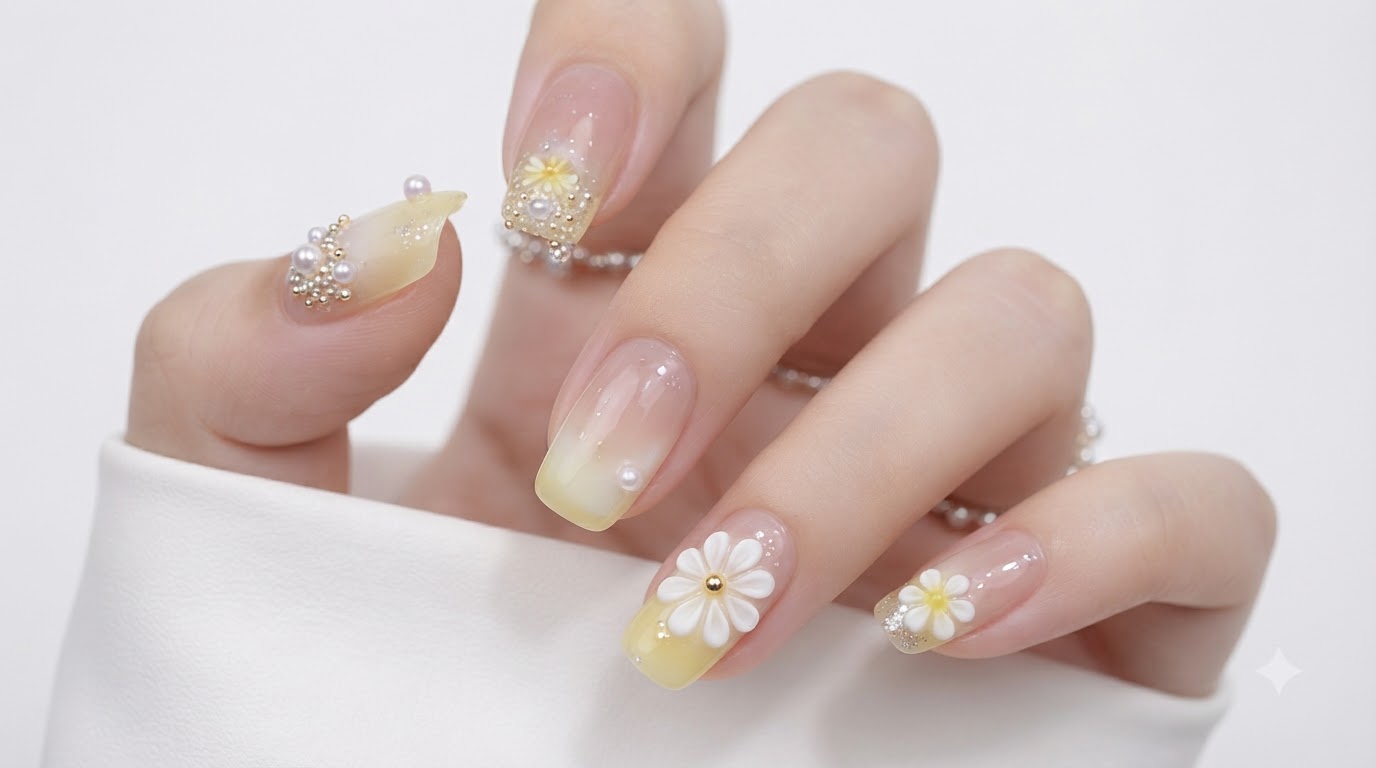
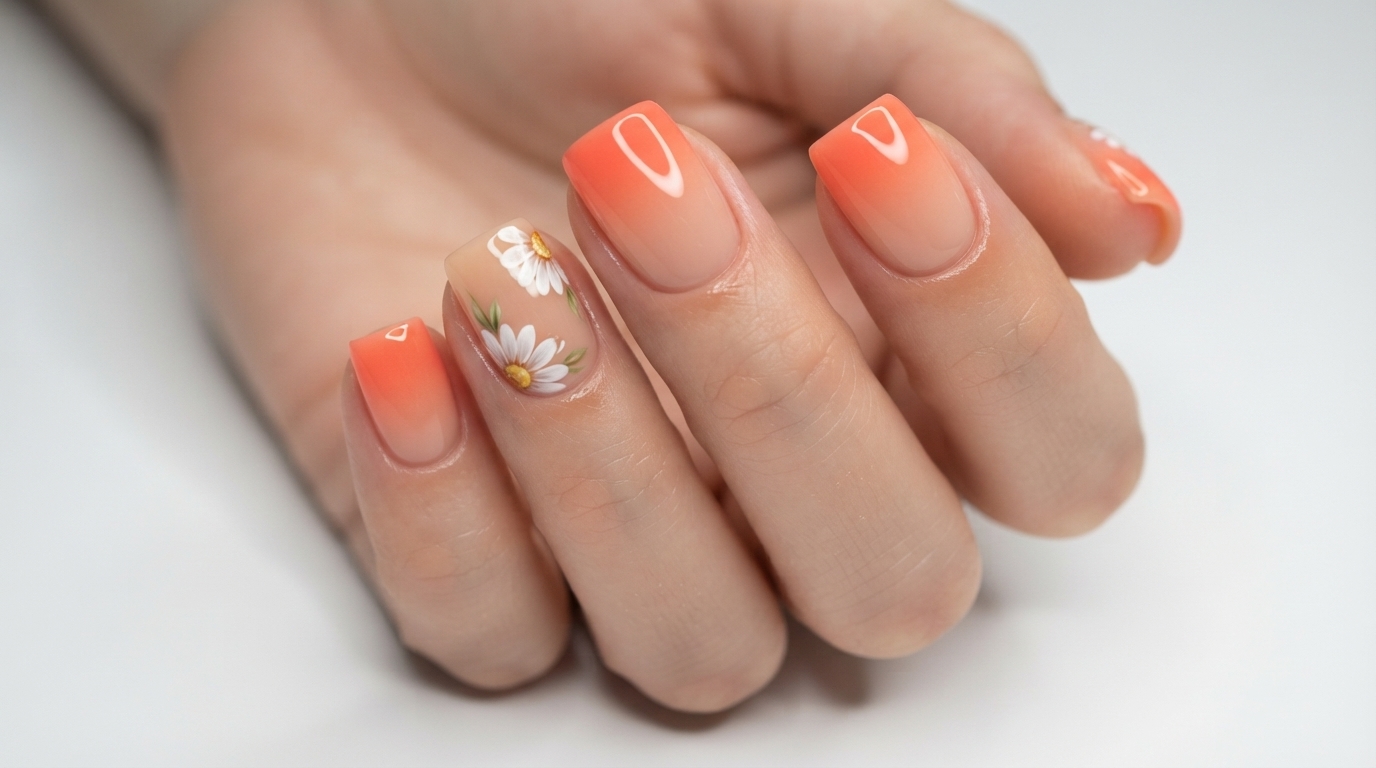
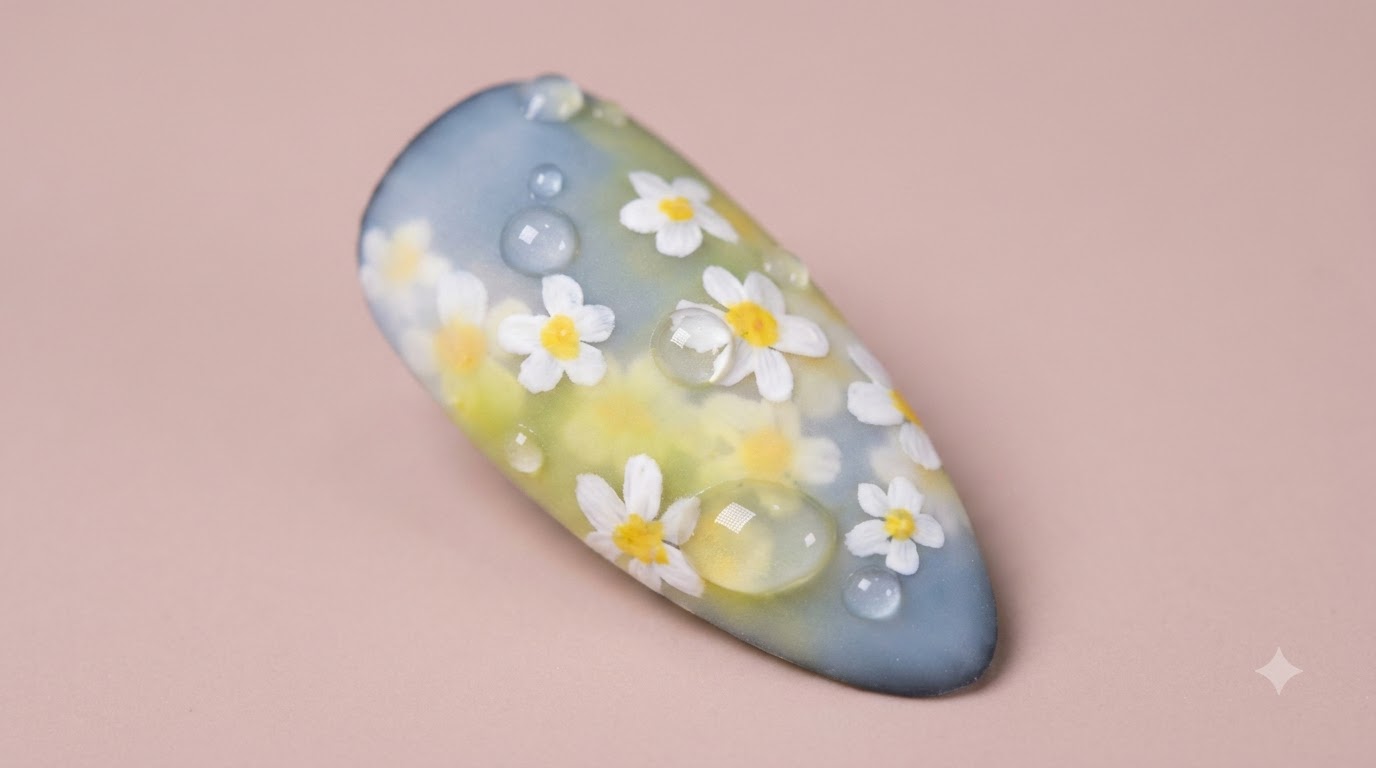
Create an enchanting garden look with sponge gradient blending, hand-painted white daisies, and realistic 3D water droplet embellishments.
Botanical nail designs featuring multi-layered dimensional art bring a whimsical, organic beauty straight to your fingertips. This technique combines soft sponge gradients with delicate hand-painted daisies and encapsulated depth effects under a modern matte velvet finish.
Steps
- 1Create irregular gradient texture
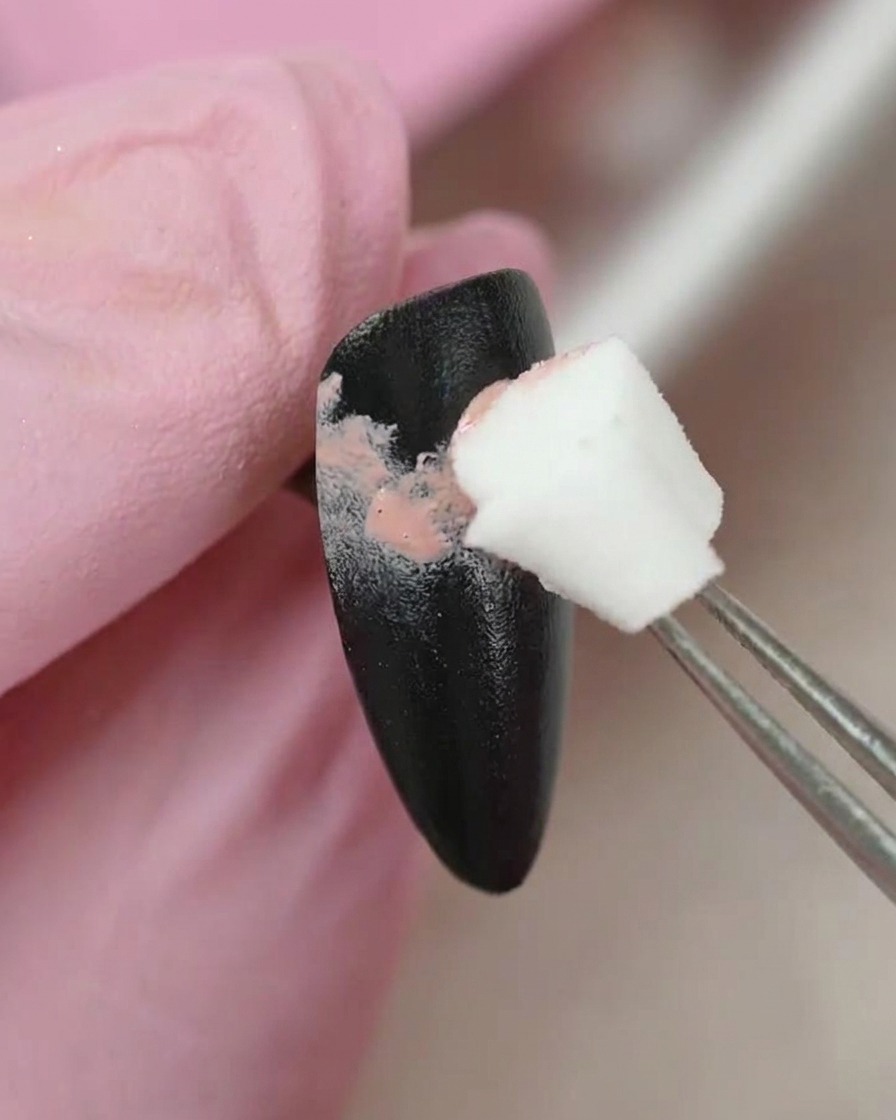
Using a sponge applicator held with tweezers, pick up BBM summer canvas gel colors 26 and 23. Gently pat the colors onto the black-painted nail surface to build an irregular gradient texture, blending the tones smoothly.
Tip: Pat lightly rather than pressing hard to keep the textured, sponge-stippled effect delicate and even. - 2Apply yellow gradient section and cure
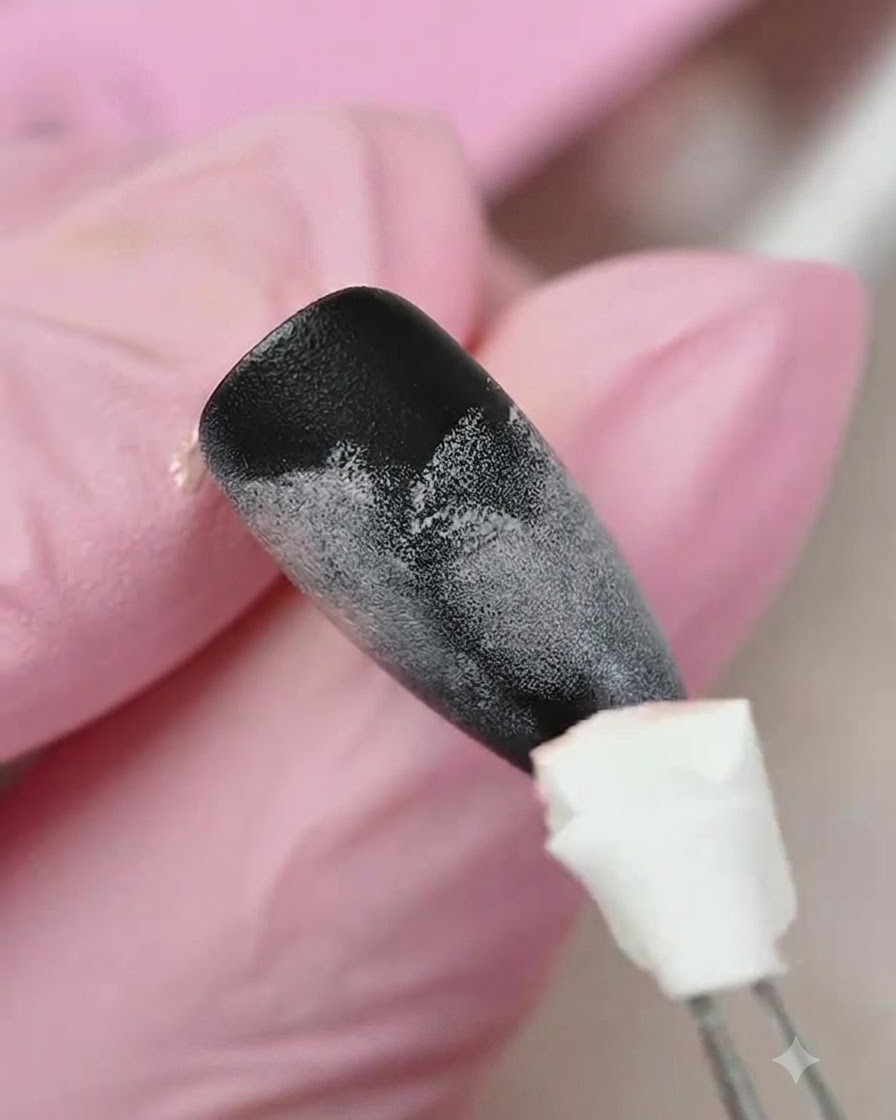
Continue the gradient effect by patting yellow gel color onto the designated section of the nail using the sponge applicator. Once the gradient texture is fully built across the surface, place the nail under the UV or LED lamp to cure.
Tip: Ensure the gradient colors are well-distributed before curing to maintain a seamless transition. - 3Paint the first daisy flower
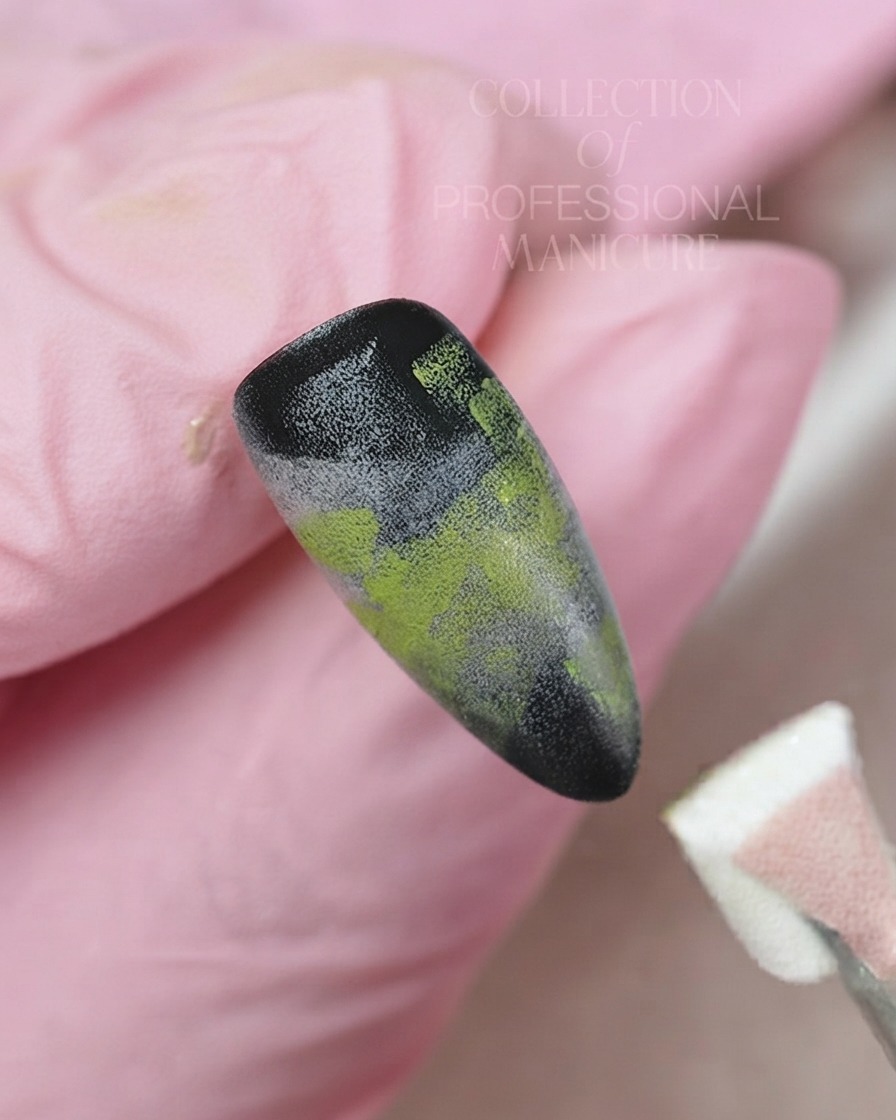
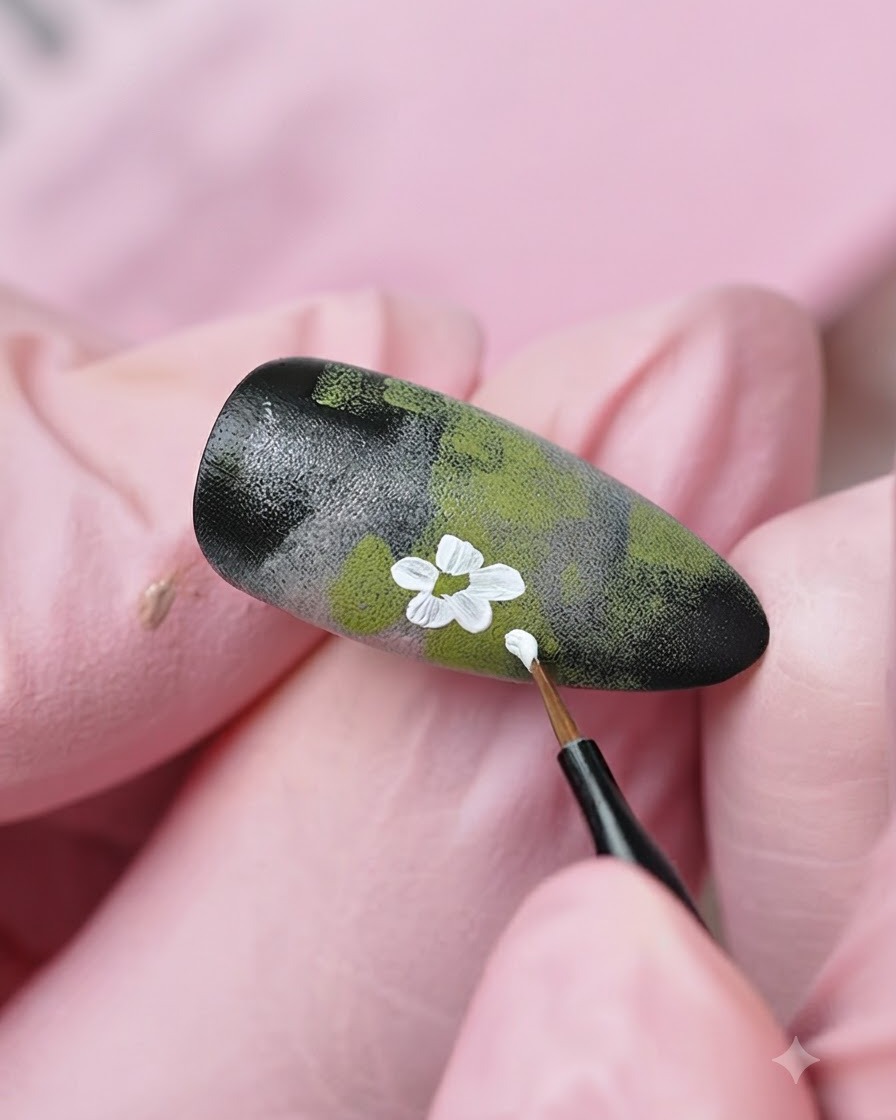
Dip a fine liner brush into white color-painting gel and carefully draw the first five-petal daisy flower pattern directly onto the gradient nail surface.
Tip: Keep a light hand when drawing petals to ensure the lines remain clean and well-defined. - 4Paint additional flowers and buds
Use the fine liner brush to paint more white daisy flower petals and small buds scattered across different areas of the nail surface to create a balanced composition.
Tip: Vary the placement and sizes of the flowers to give the nail art a natural, organic look. - 5Fill in flower centers
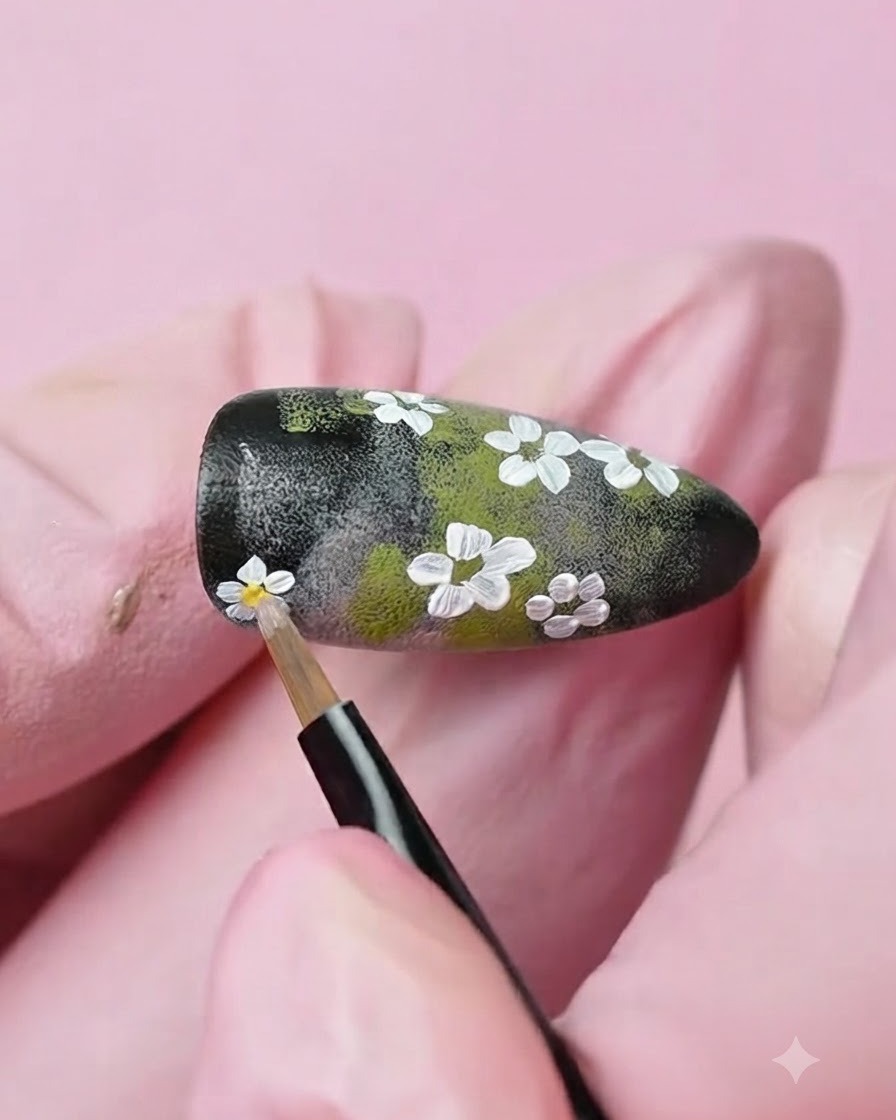
Using a fine detail brush with yellow gel, carefully dot and fill in the centers of each painted white flower to bring the daisies to life.
Tip: Use a tiny amount of yellow gel on the very tip of the brush to avoid making the flower centers too large. - 6Apply milky white layer and cure
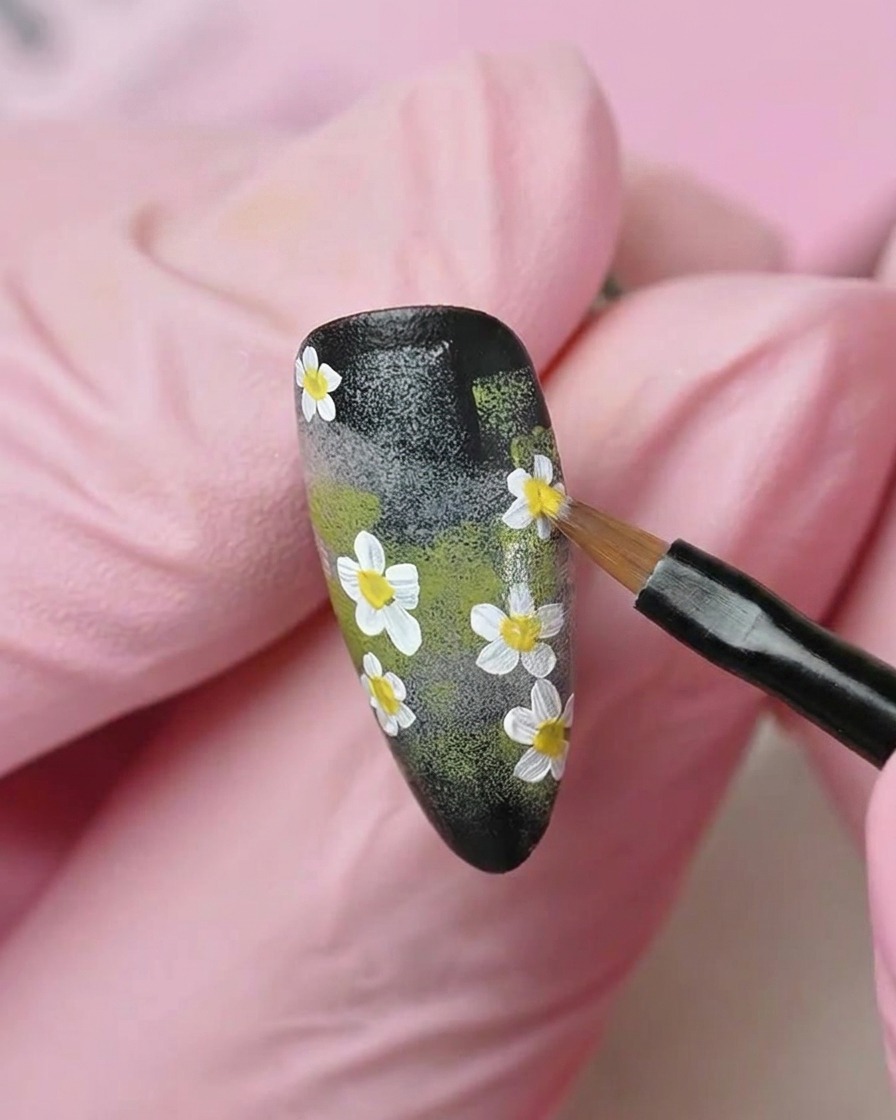
Apply a thin, translucent layer of milky white gel polish evenly across the entire nail surface using a flat brush to soften the background, then cure it under the lamp.
Tip: Keep this layer thin so the underlying flower art remains softly visible through the milky filter. - 7Draw additional white flower petals
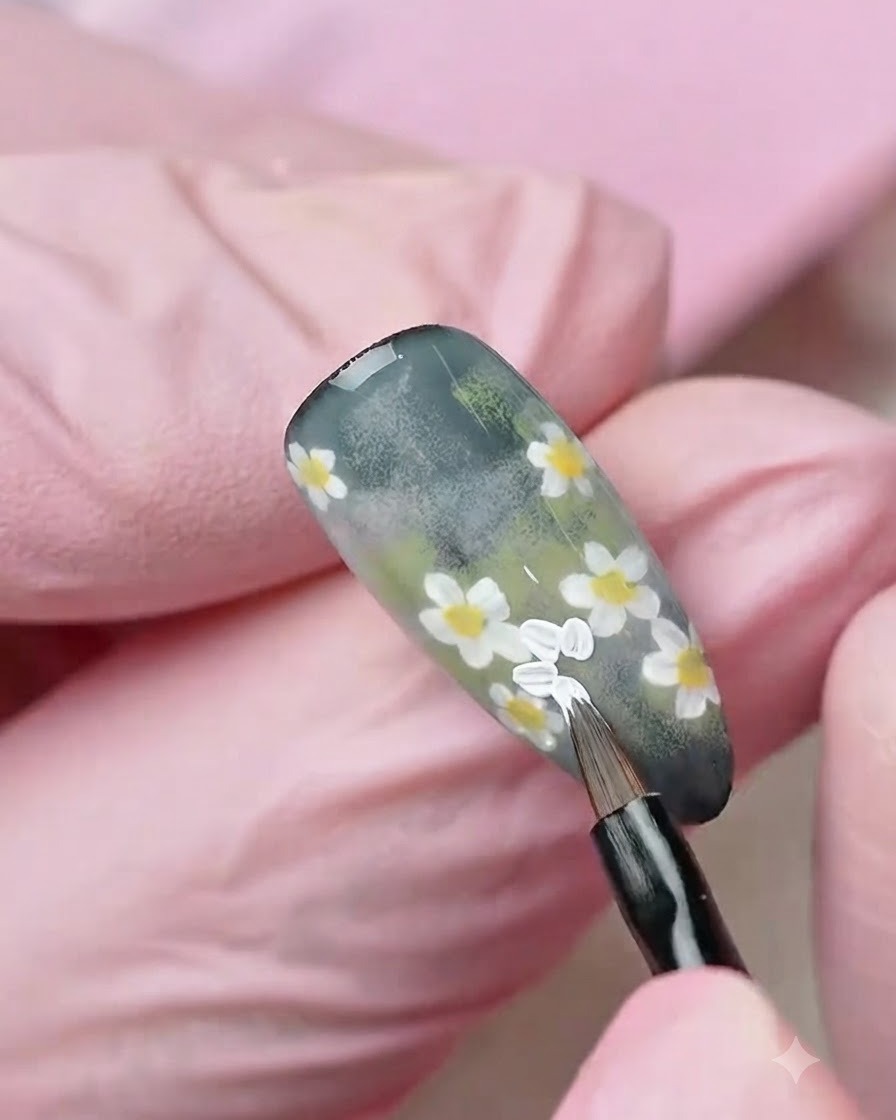
Using a fine liner brush loaded with white gel, carefully draw and overlay additional flower petals into the remaining empty spaces on the nail surface. Build up the dimension of the floral pattern to enhance the overall layered design.
Tip: Keep your brush strokes light and steady to ensure the new petals blend seamlessly with the existing flowers. - 8Add yellow centers to the daisies
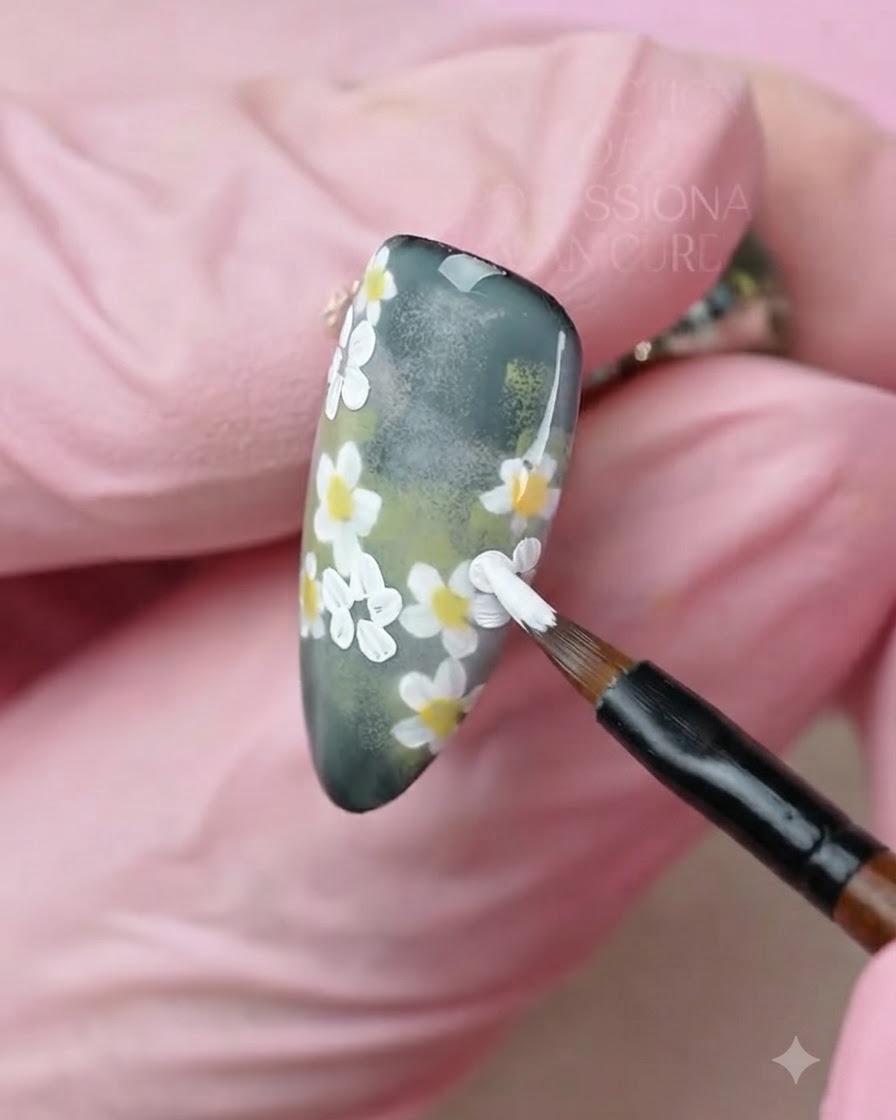
Using a detail brush, paint vibrant yellow centers onto each of the newly added daisy flowers. Ensure the placement is centered within the surrounding white petals for a realistic floral appearance.
Tip: Use a minimal amount of yellow gel on the tip of your brush to avoid making the center too thick or raised. - 9Apply milky white gel and matte top coat
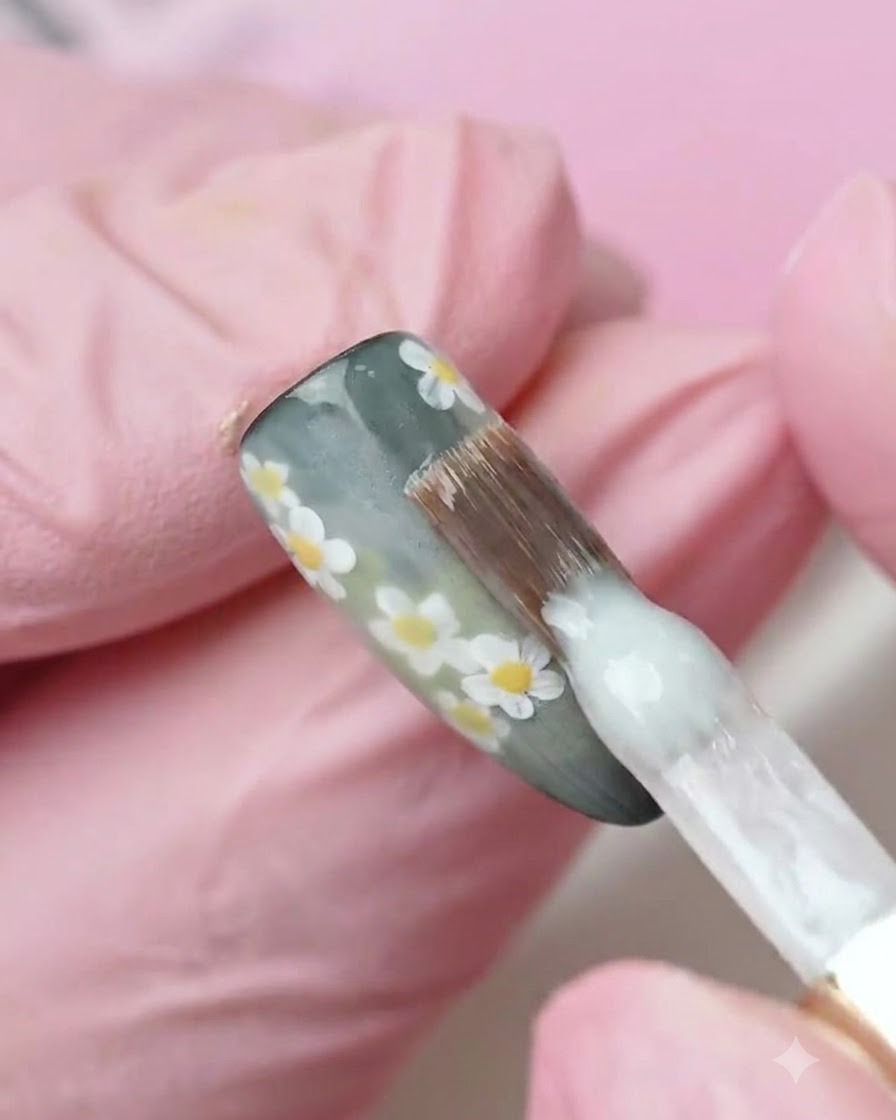
Apply a thin, even layer of milky white gel polish across the entire nail surface to diffuse the underlying art. Cure thoroughly under the UV or LED lamp, then apply a smooth layer of matte top coat and cure again.
Tip: Applying a translucent milky white layer over nail art creates a soft, dreamy, encapsulated depth effect. - 10Create a partial gradient with color 25
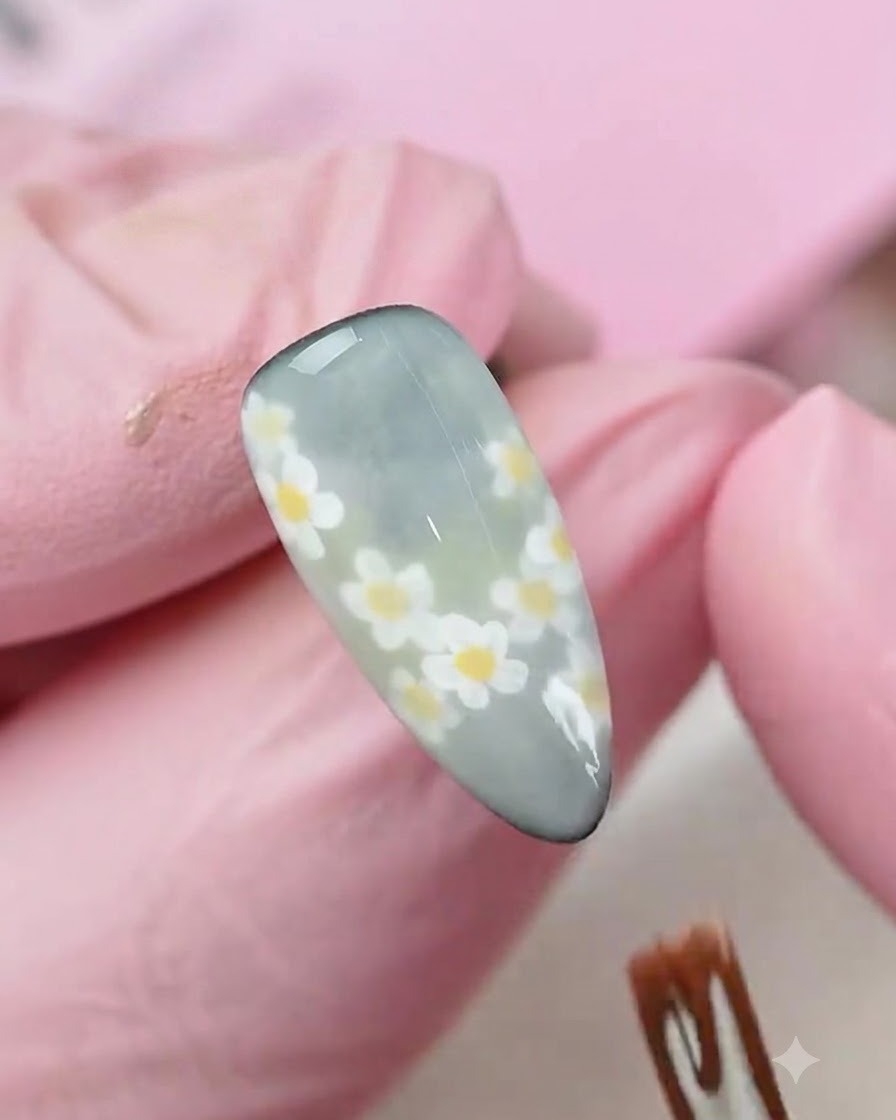
Take a sponge applicator with summer canvas color number 25 and gently dab it onto specific areas of the nail to introduce a partial gradient effect, adding rich tonal variations to the background.
Tip: Dab lightly and build up the color gradually with the sponge to avoid harsh lines or smudging the matte finish. - 11Paint flowers over the updated gradient
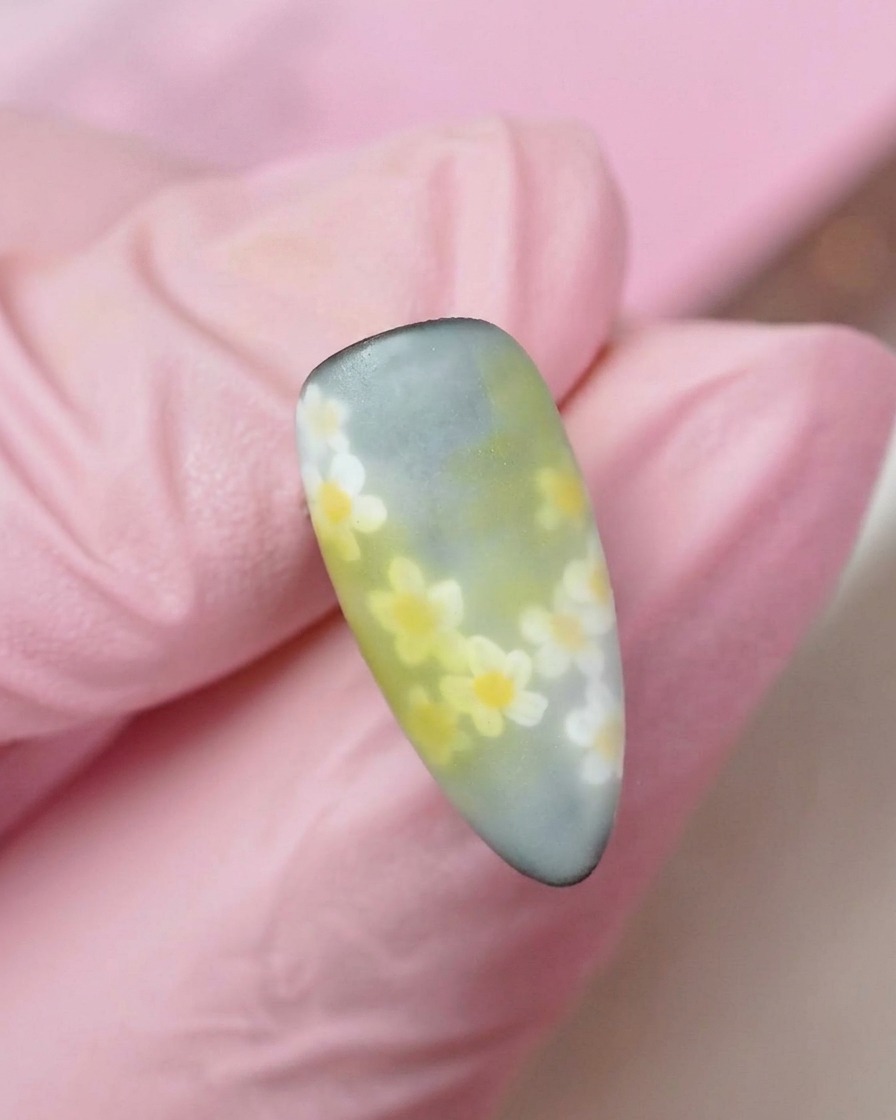
Using a fine liner brush, repeat the process of painting white daisy flowers and individual petals over the newly updated gradient background to integrate the design elements harmoniously.
Tip: Varying the placement and opacity of the flowers adds natural depth and realism to the multi-layered design. - 12Refine and add final daisy petals
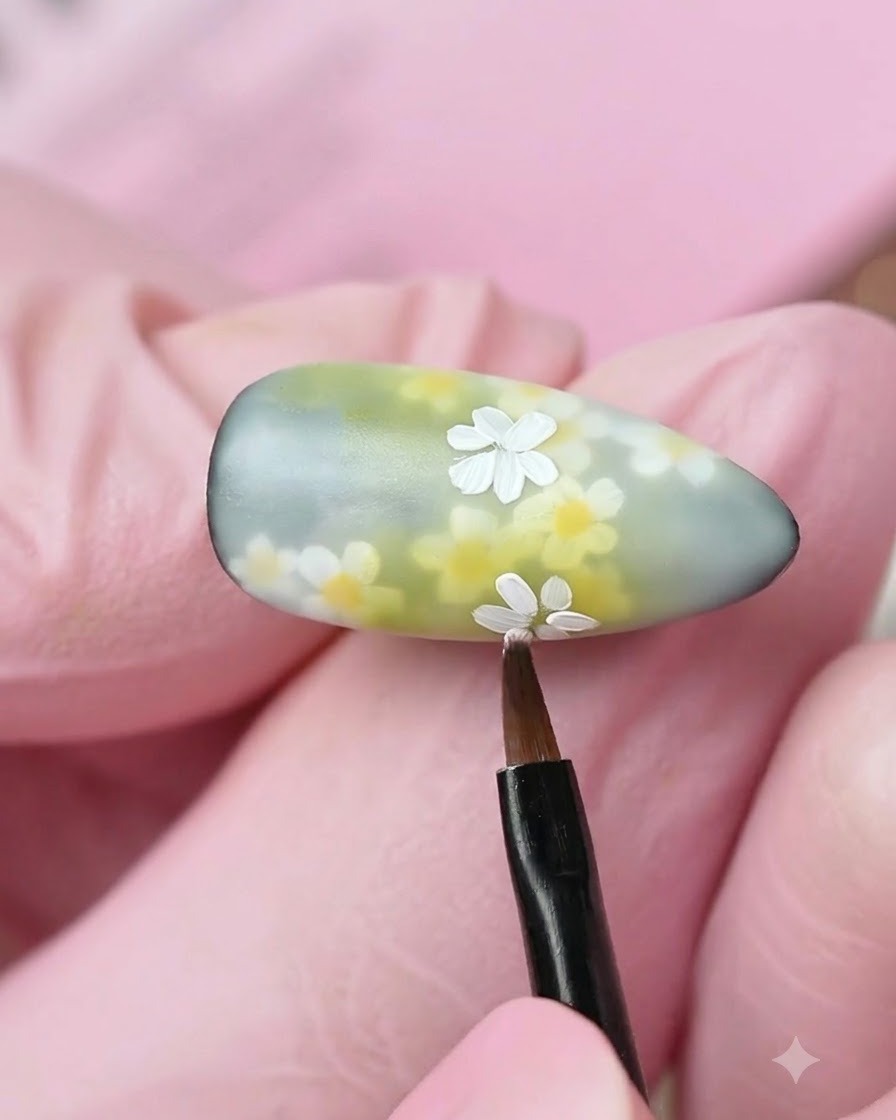
Continue refining the design by adding more white daisy petals across different zones of the nail surface. Balance the composition to ensure an even distribution of floral elements before the final curing and detailing steps.
Tip: Step back and look at the nail as a whole to ensure the floral placement looks organic and balanced across the entire surface.