Summer Vitality Yellow
White Nail Art — Step-by-Step Tutorial
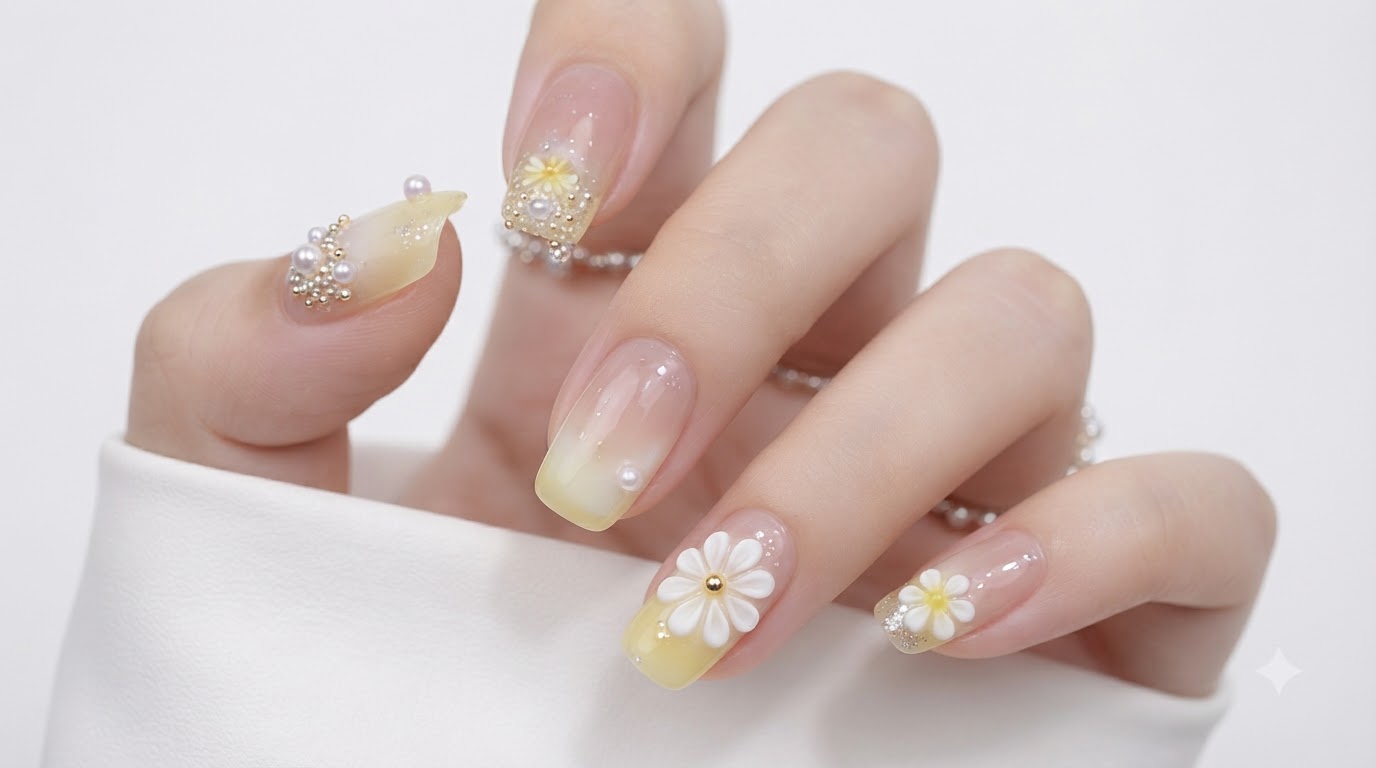
Brighten your summer style with creamy yellow and lemon gradient nails, featuring 3D white daisies, delicate pearls, and sparkling citrus charms.
Summer vitality yellow nail art is the ultimate seasonal trend, featuring low-saturation creamy yellow and lemon tones that flatter warm skin tones and instantly brighten your complexion. Paired with delicate 3D daisies, citrus accents, and fine rhinestones, this look brings a lively yet sophisticated touch to your manicure. Whether you are heading out for a sunny vacation or want a cheerful look for daily wear, these nine distinct styles offer endless inspiration.
Steps
- 1Overview of summer yellow nail art designs
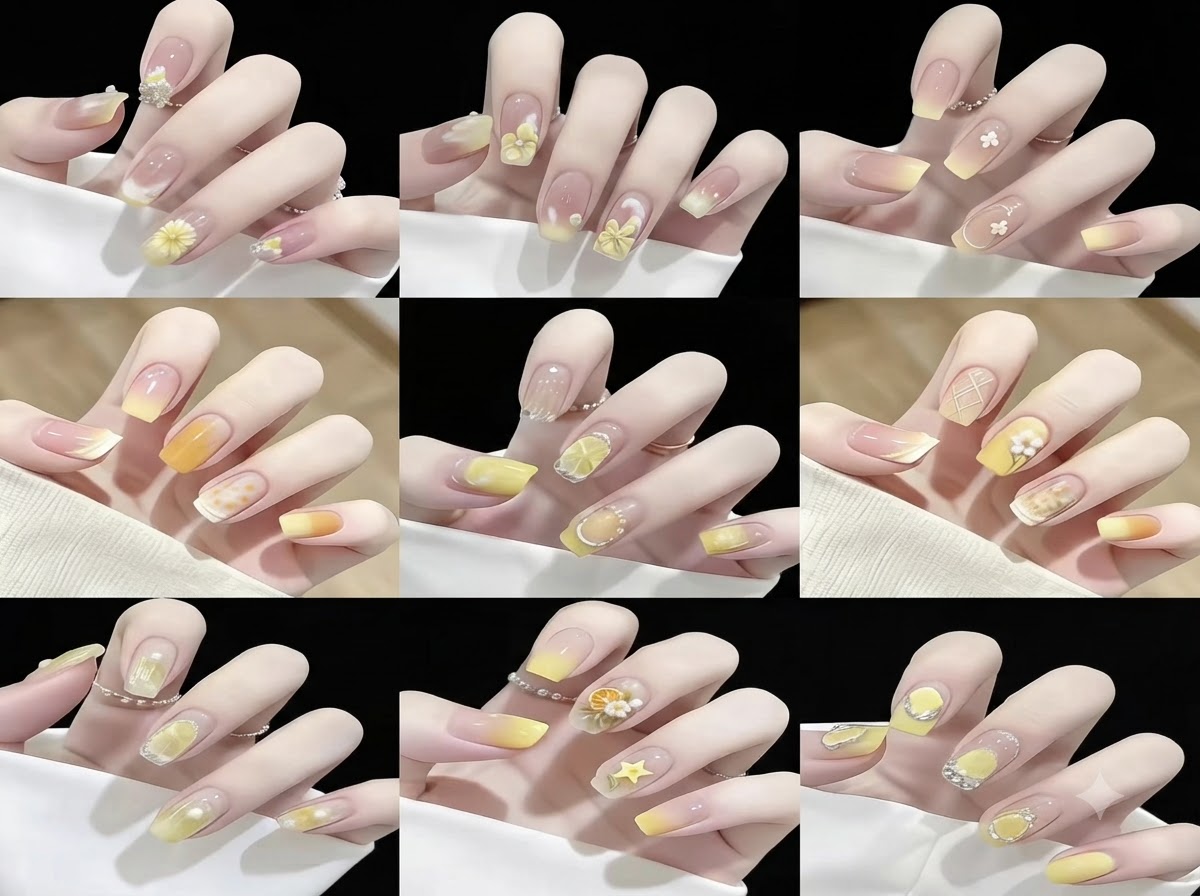
This overview grid displays a curated collection of summer-inspired yellow and white nail art designs. It highlights various styles combining low-saturation creamy yellow and lemon yellow tones with delicate 3D elements like small daisies, citrus slices, pearls, and fine rhinestones. Use this reference layout to guide your choice of design pattern, nail shape, and accent placement before beginning your application.
Tip: Review the full grid first to select matching accent fingers and coordinate color shades across both hands. - 2Apply clear jelly base with 3D daisy and pearl accents
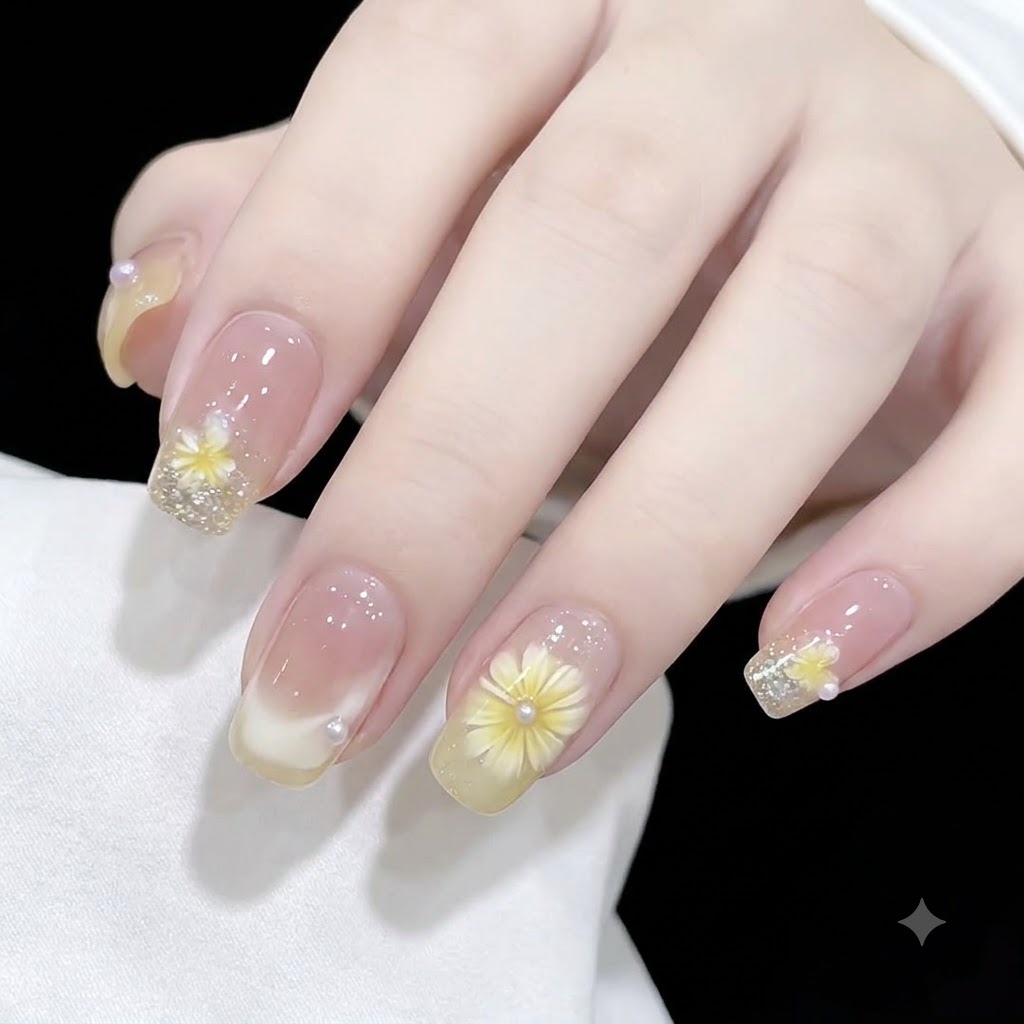
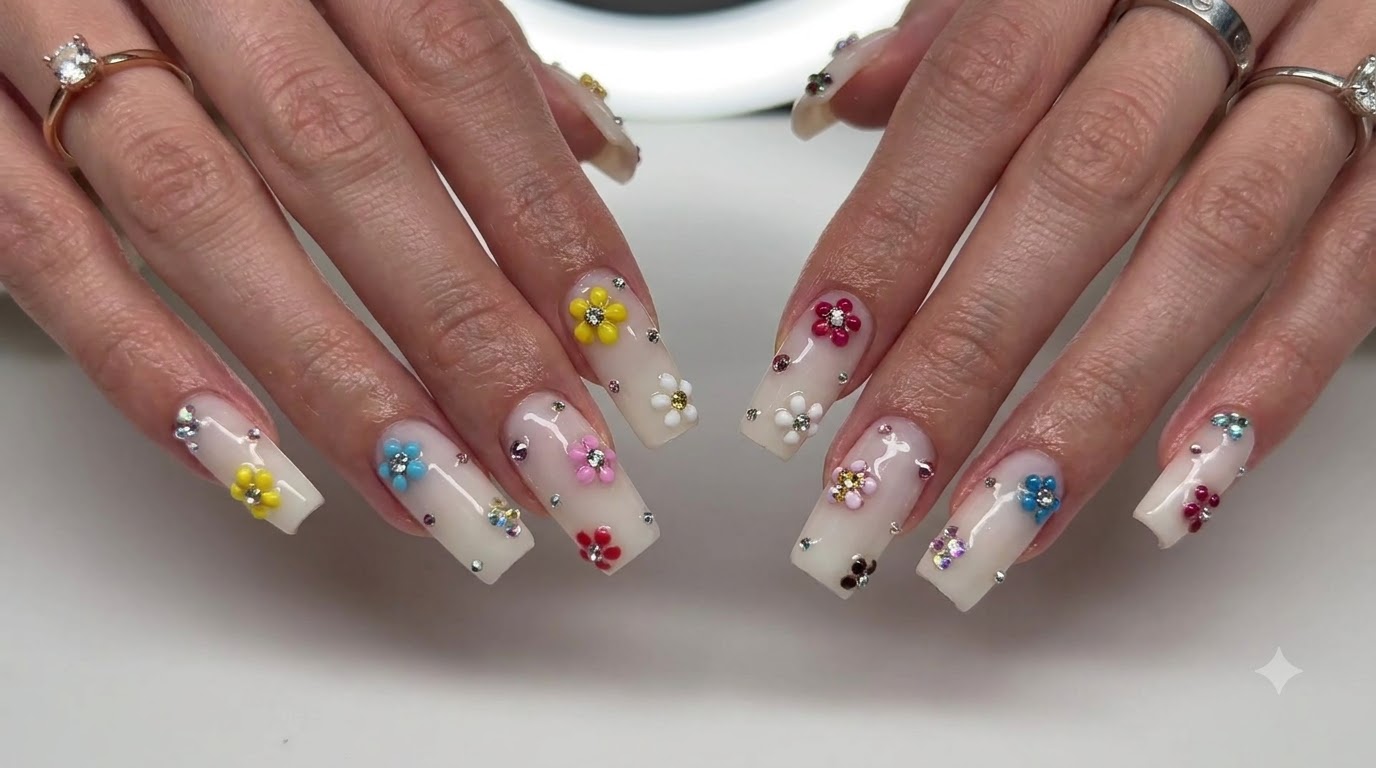
Start with a clear or sheer nude jelly base coat to achieve a lightweight, translucent look. On designated accent fingers, carefully place handcrafted 3D yellow daisy flowers near the cuticle or free edge, anchoring them with small dotting gel and placing a tiny white pearl at the flower center. Seal the surrounding areas with fine glitter dust for a sparkling finish before curing under an LED lamp.
Tip: Position the 3D flower slightly off-center to create a more balanced, natural-looking composition on the nail bed. - 3Create soft yellow gradient ombre with tiny white daisies
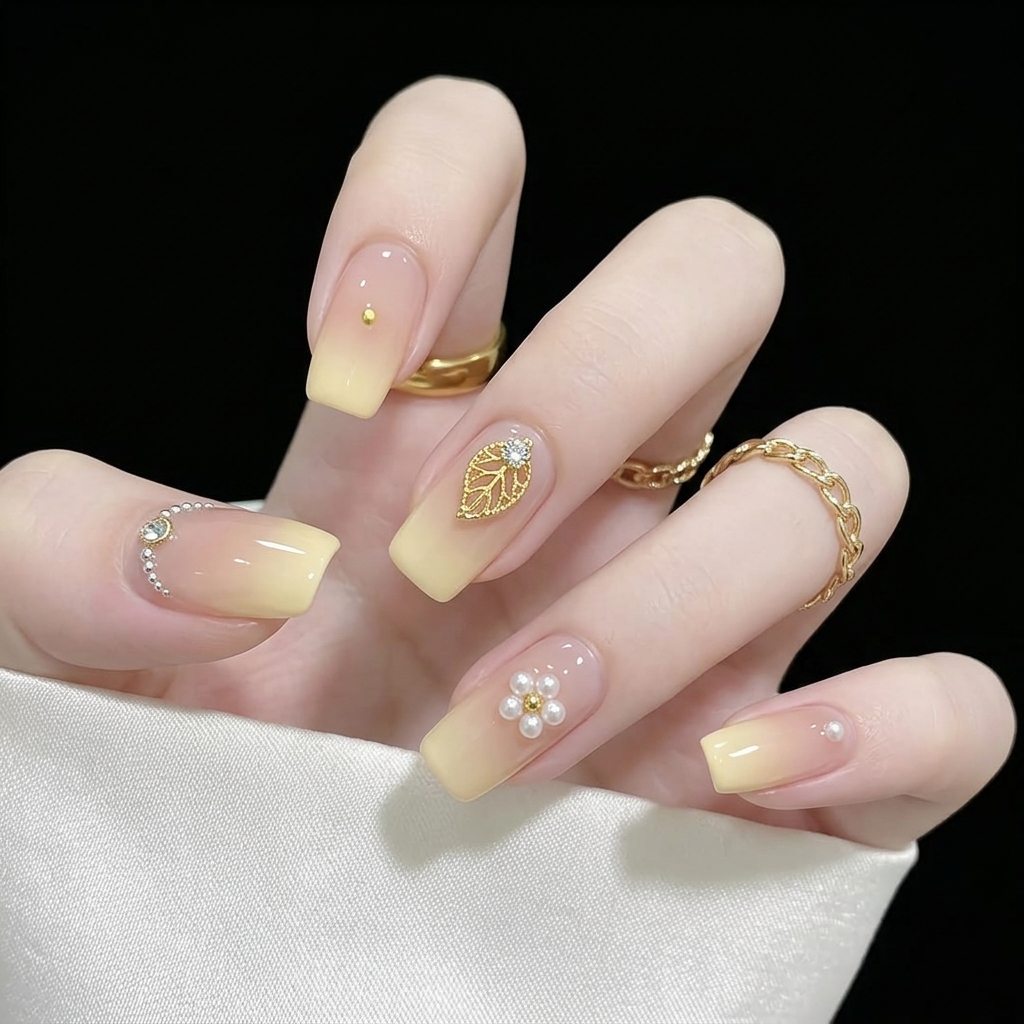
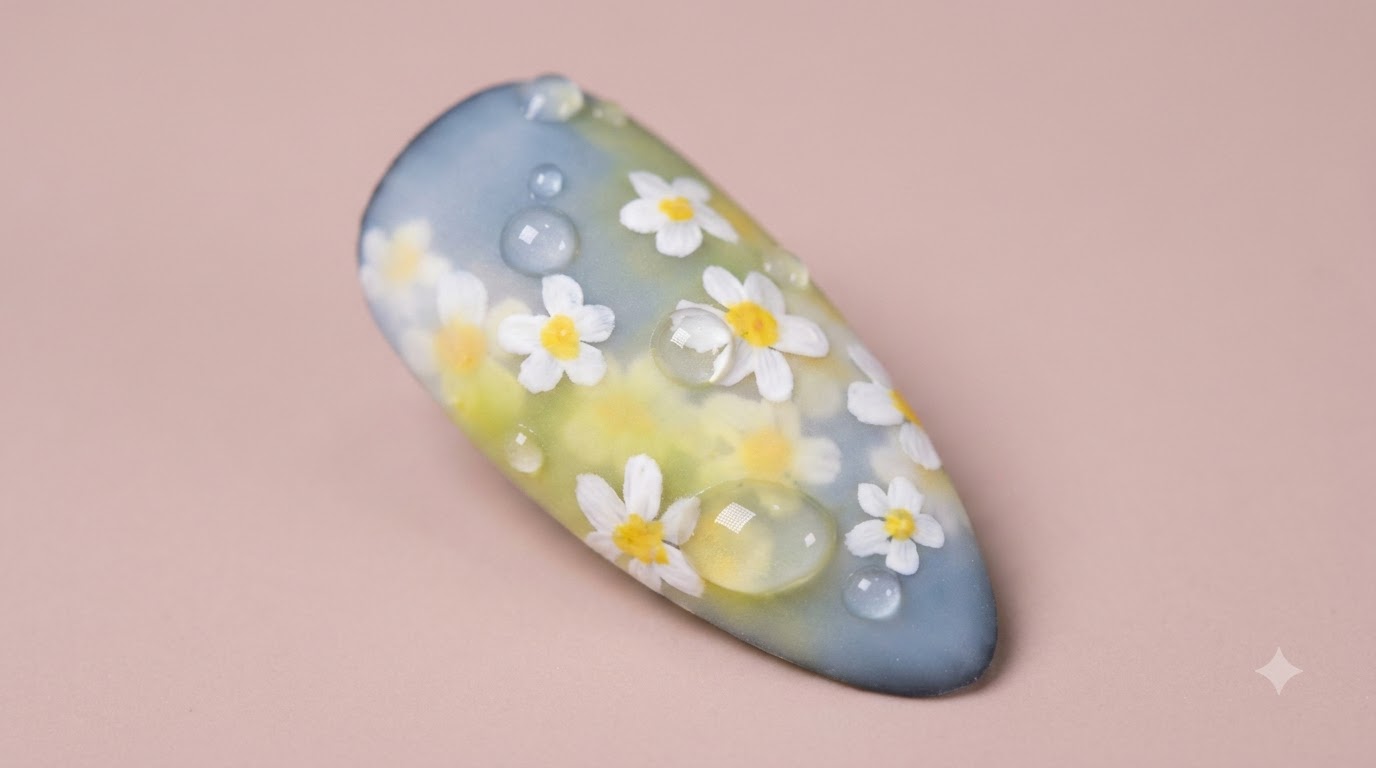
Apply a sheer nude base coat and cure briefly. Use a sponge or gradient brush to dab a soft, low-saturation yellow polish from the middle of the nail toward the free edge, fading upward to create a seamless ombre effect. Layer tiny white daisy decals or hand-painted floral details onto selected fingers, dusting subtle micro-glitter over the surface for extra dimension before sealing with a glossy top coat.
Tip: Dab lightly with the sponge to avoid heavy texture lines, keeping the gradient transition smooth and airy. - 4Paint yellow gradient tips with white French outlines
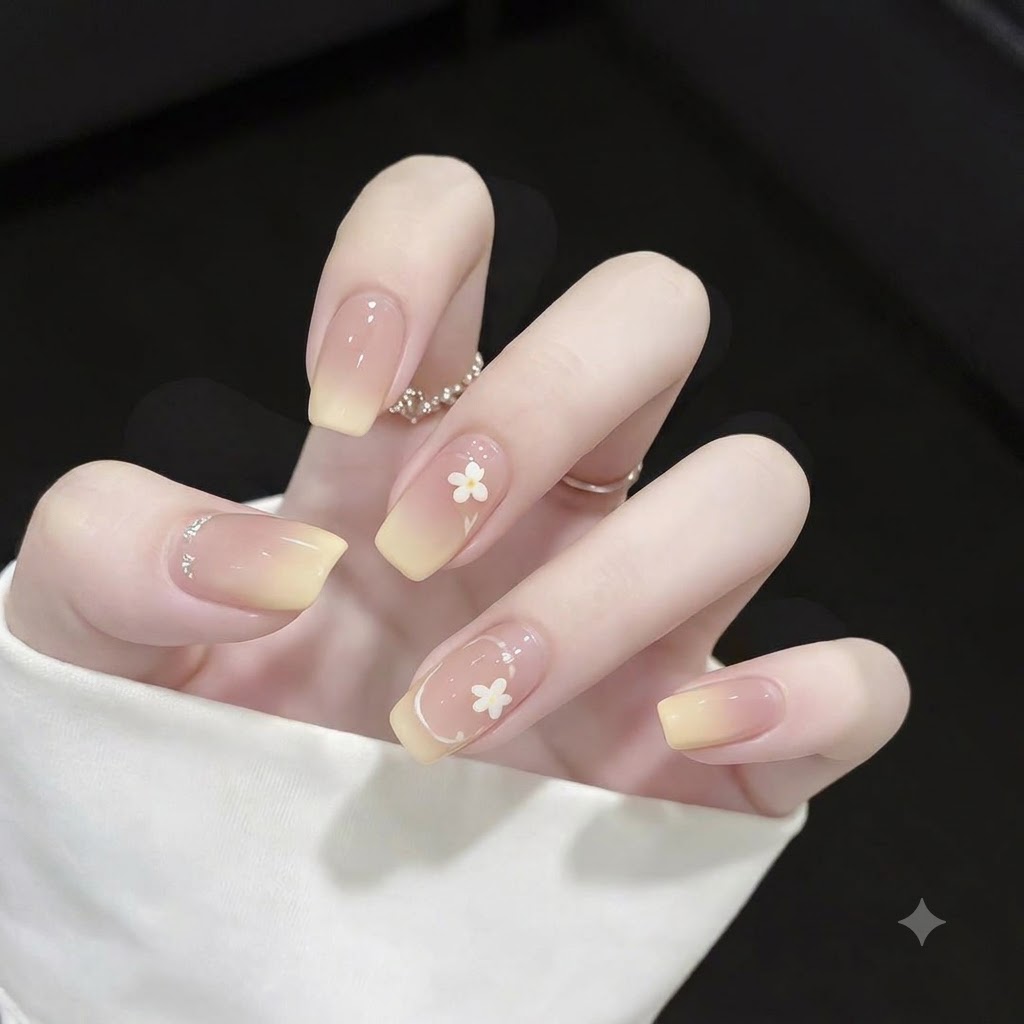
File and shape the nails into a clean square profile. Paint soft yellow gradient tips on the free edges, then use a fine liner brush dipped in white gel to draw delicate French outline borders or thin grid lines. Add tiny yellow polka dot accents to contrast fingers using a dotting tool, ensuring each layer is cured thoroughly to prevent smudging.
Tip: Keep the liner brush very clean and use minimal pressure to achieve crisp, ultra-thin French outline details. - 5Apply bright yellow solid color with silver rhinestone framing
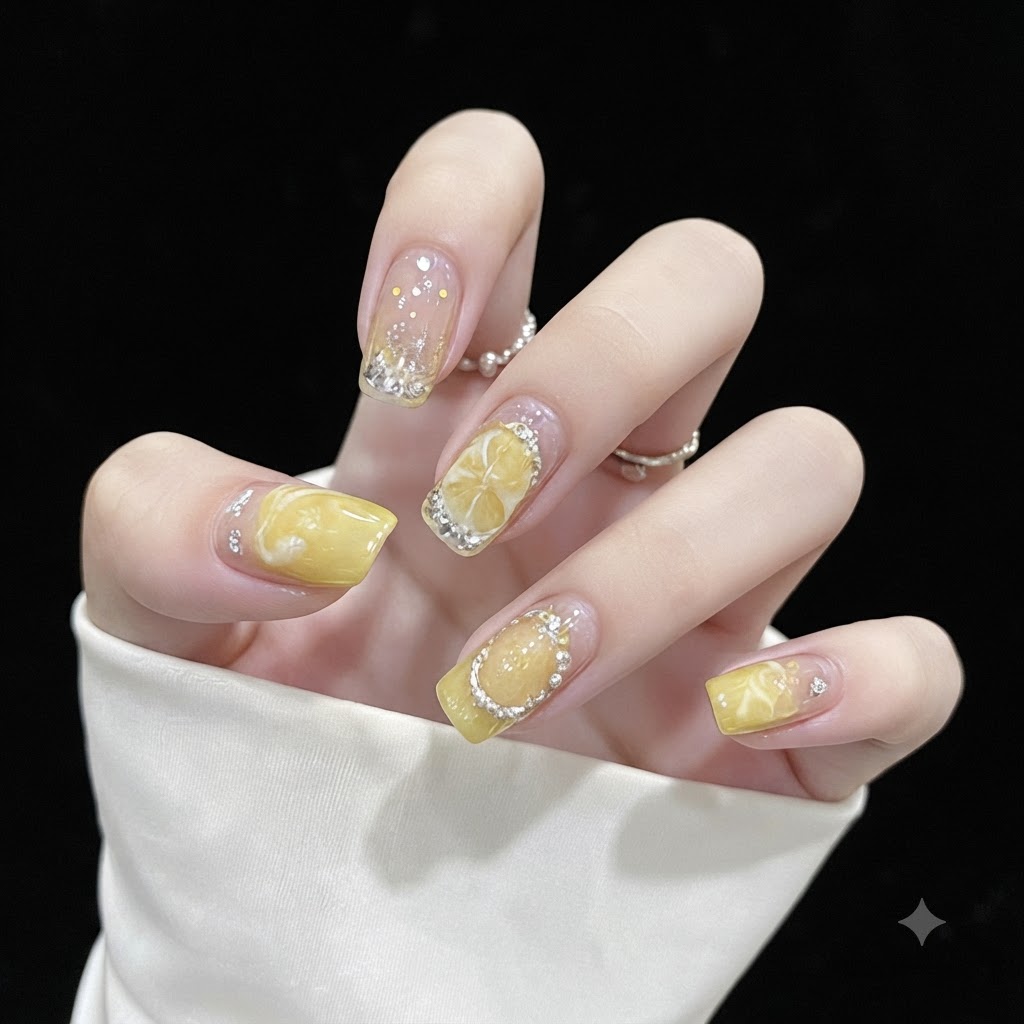
Apply two thin, even coats of bright yellow solid gel polish to the designated nails, curing after each layer for optimal opacity. Outline the nail edges or center feature stones with tiny silver rhinestones embedded in clear builder gel to create a luxurious framed effect. Finish with a layer of shimmering glitter gel on adjacent accent nails for a dazzling contrast.
Tip: Use a wax pencil or fine tweezers to accurately place individual silver rhinestones into the uncured builder gel base. - 6Add summer citrus and daisy nail art
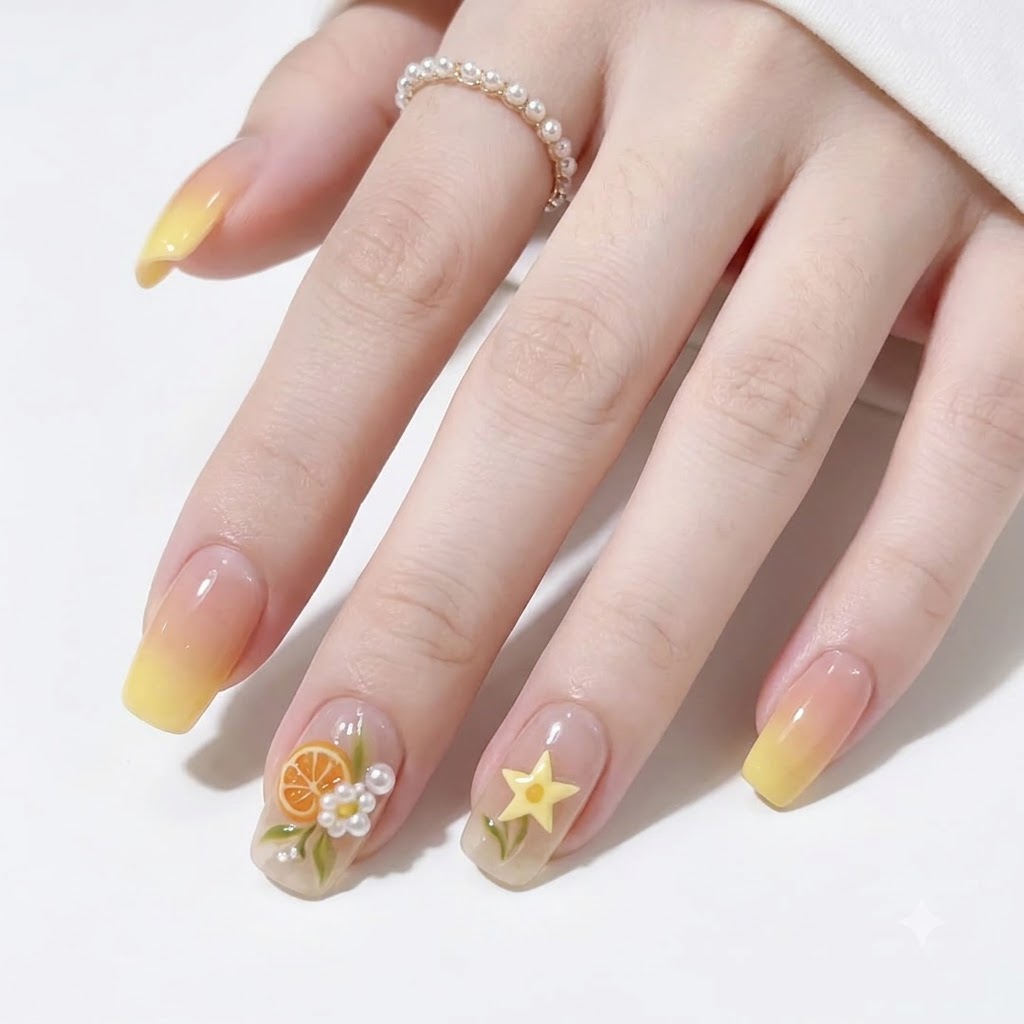
Apply translucent yellow jelly base coats and attach slice fruit charms along with 3D daisy decorations onto the designated nail surfaces. Secure each embellishment carefully with clear builder gel or rhinestone glue, ensuring the pieces sit flush against the nail bed. Cure under your UV or LED lamp to lock all decorative elements firmly in place before finishing.
Tip: Position bulky 3D charms closer to the center of the nail rather than the edges to prevent snagging on clothing or hair.