Winter Falling Leaves Gel Nail Art — Step-by-Step Tutorial
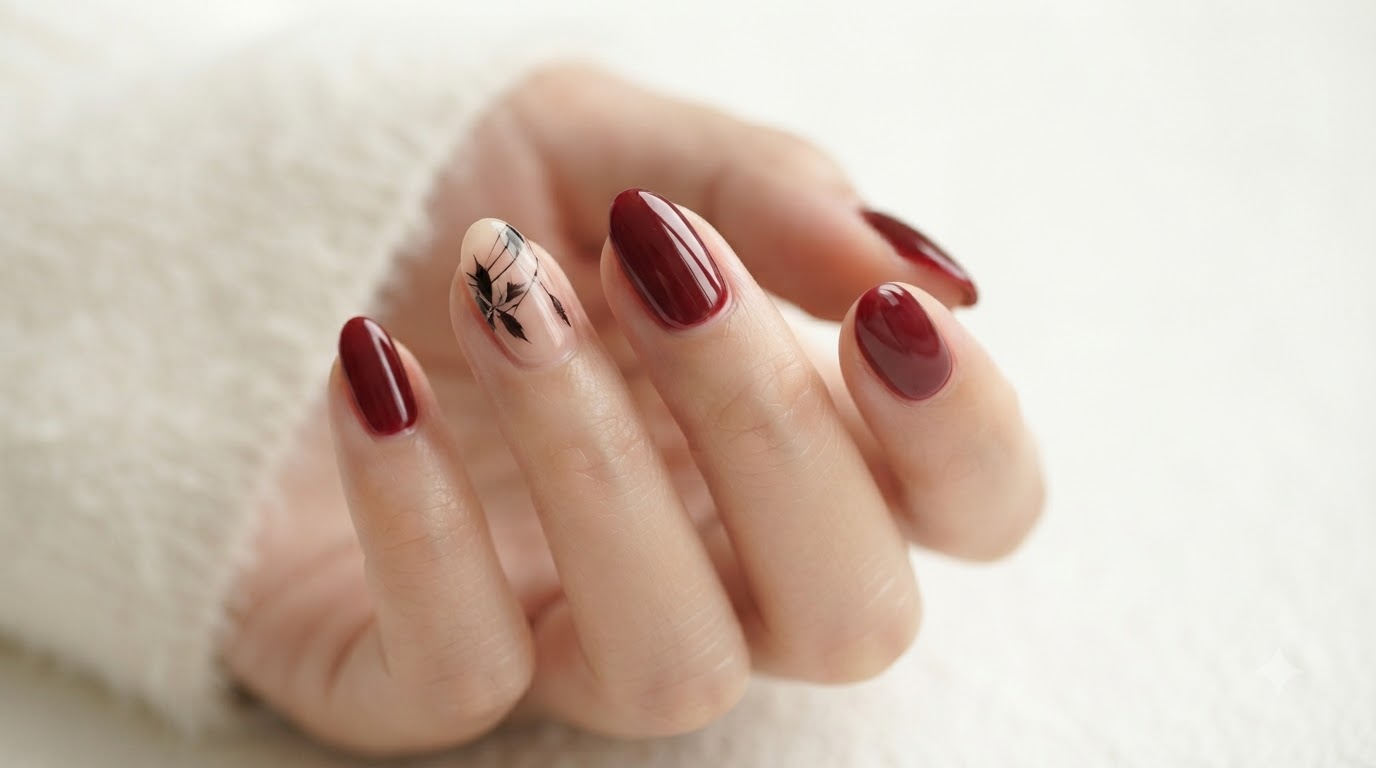
Create delicate winter falling leaves nail art using simple black dotting, liner brush pulling techniques, and a rich burgundy red accent background.
Winter nail art doesnt always have to feature snowflakes or holiday sparkle. This elegant falling leaves design brings a sophisticated, poetic touch to your manicure by pairing intricate hand-painted black leaf details with a gorgeous, skin-brightening burgundy red.
Steps
- 1Apply Nude Base Coat
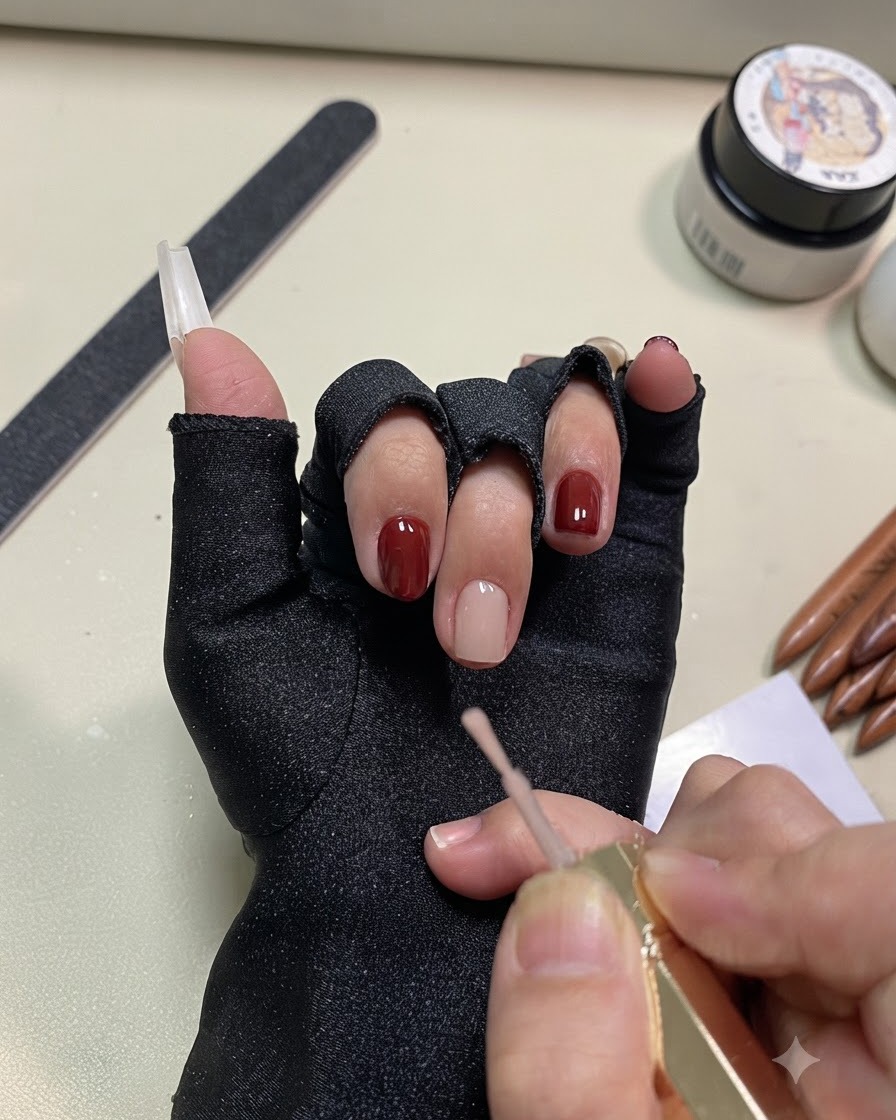
Apply a smooth layer of nude colored base coat onto the prepped nail plate using the brush applicator. Ensure an even coat is spread across the surface without flooding the cuticles. This will serve as the neutral background for your winter falling leaves nail art.
Tip: Keep the brush strokes light and steady to avoid streaks or uneven thickness in the nude base layer. - 2Cure Nude Base Coat
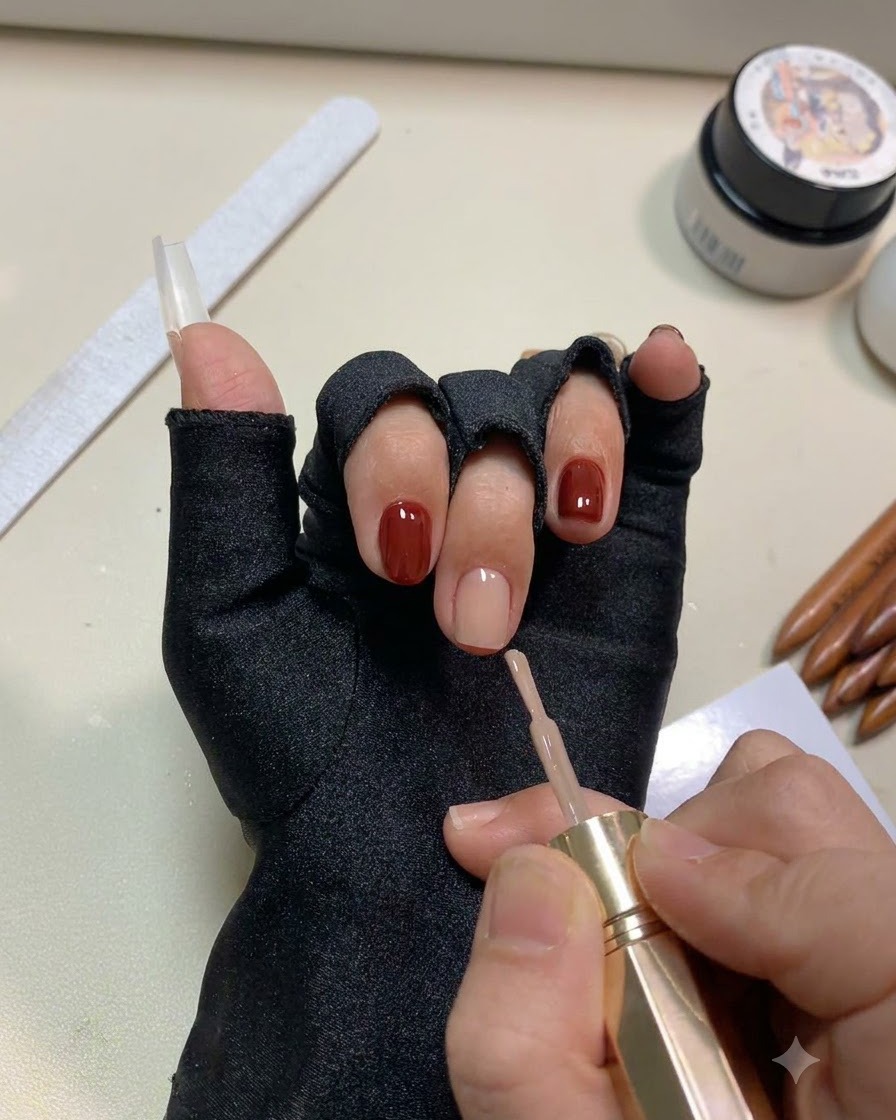
Place your hand inside the UV or LED nail lamp to cure the freshly applied nude base coat. Cure for the standard recommended duration depending on your gel polish brand to ensure proper hardening before moving on to nail art.
Tip: Ensure your hand is placed flat inside the lamp so all nails cure evenly under the UV or LED light. - 3Dot the Leaf Base
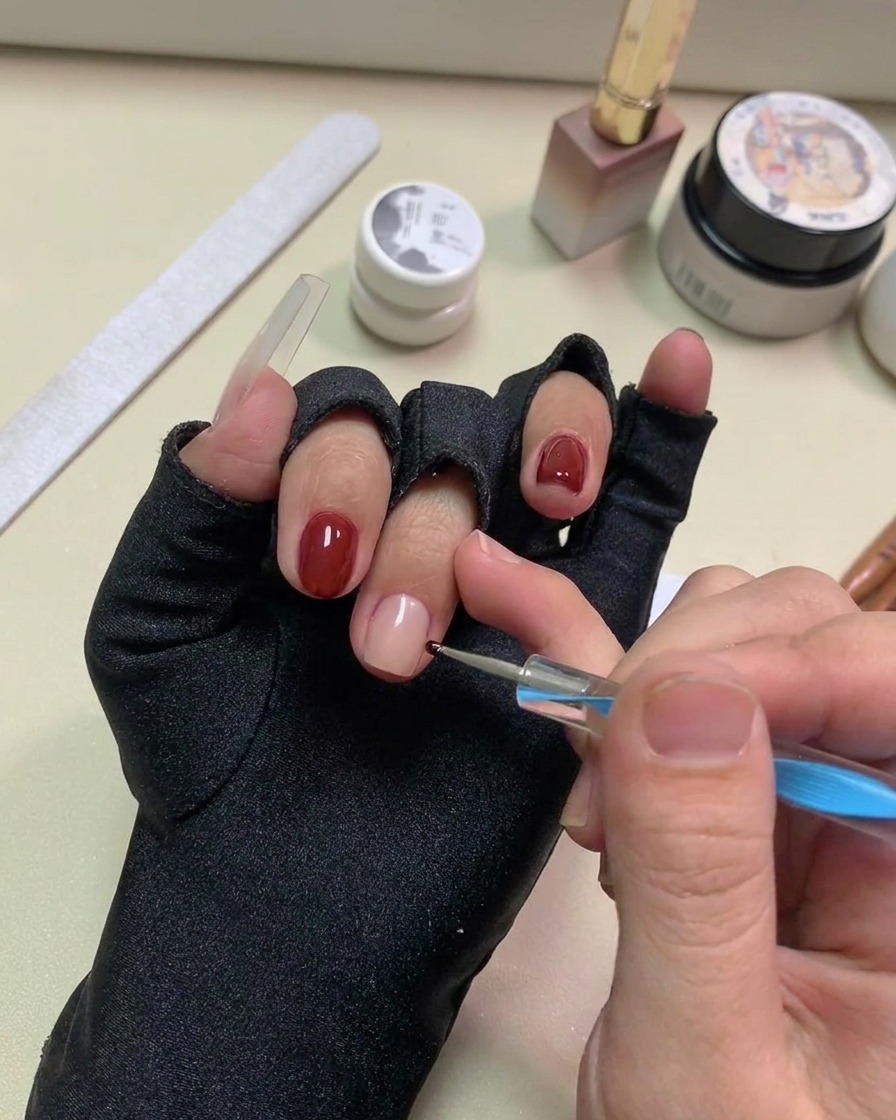
Dip the tip of a dotting pen into black colored gel, picking up a small amount of product. Carefully place five small dot points onto the cured nude nail surface to form the basic framework for the fallen leaf pattern.
Tip: Use a light touch with the dotting pen to keep the dots small, neat, and uniformly sized. - 4Add Extra Dot Details
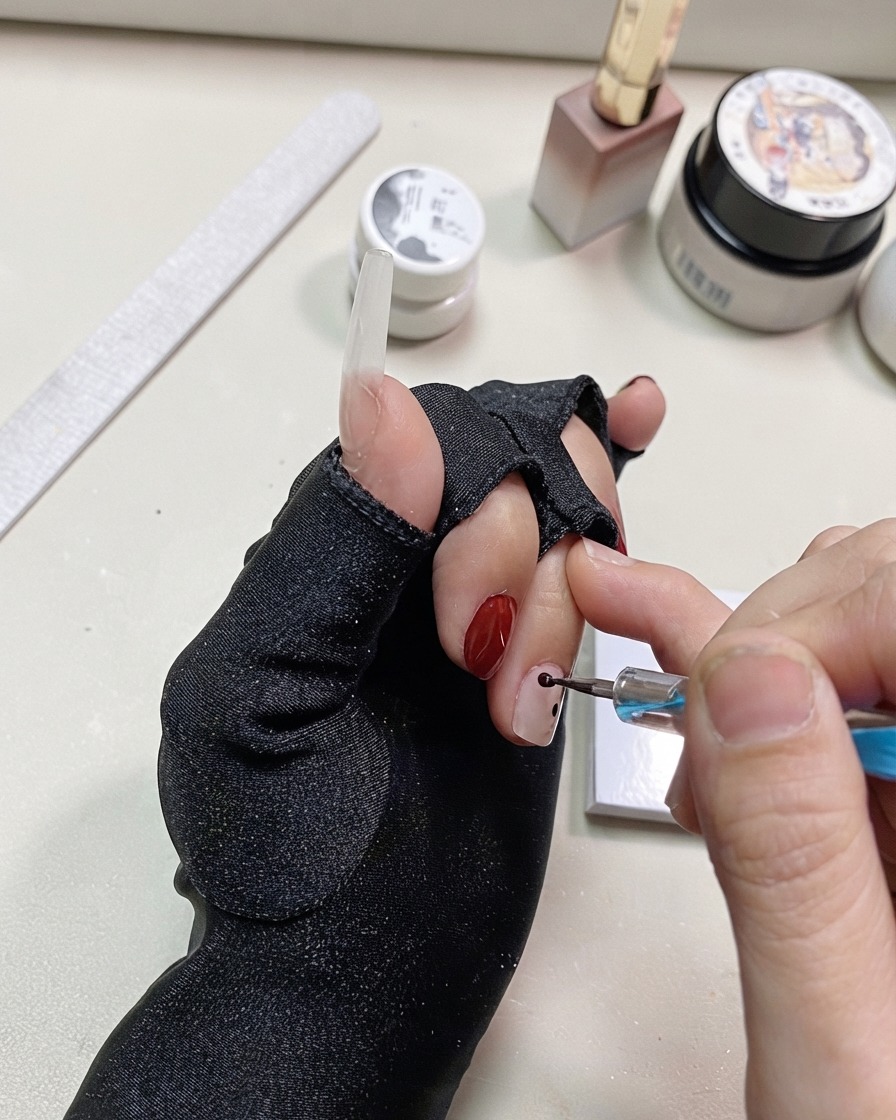
Add a few additional black dots nearby the initial points to complete the petal arrangement structure. This clustering creates the organic shape required for the falling leaves design.
Tip: Vary the placement slightly to give the leaf arrangement a natural and dynamic look. - 5Cure Black Dotted Pattern
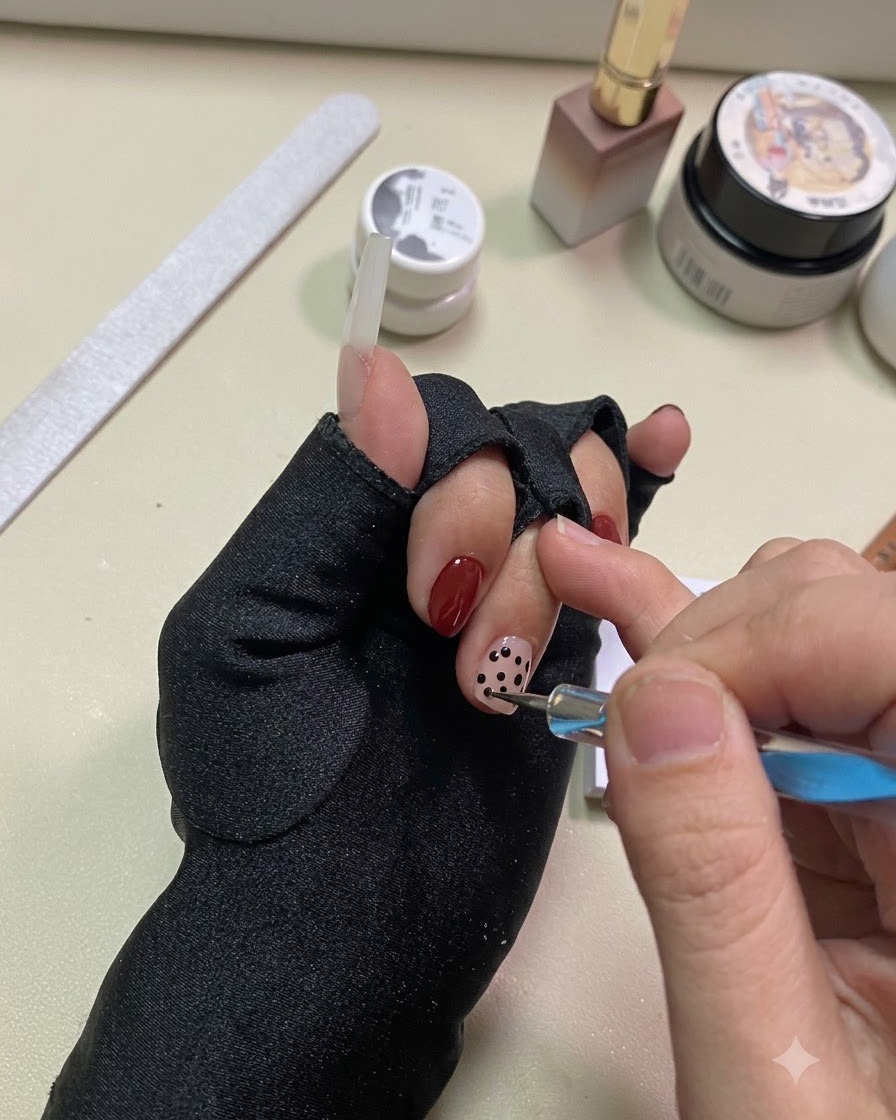
Place your hand back under the UV or LED lamp to cure the newly painted black dot pattern. Curing this layer prevents the dots from smudging when you pull and shape them with the liner brush in the next step.
Tip: Make sure the gel dots are fully cured so they maintain their structure during the pulling technique. - 6Pull Leaf Tips with Liner Brush
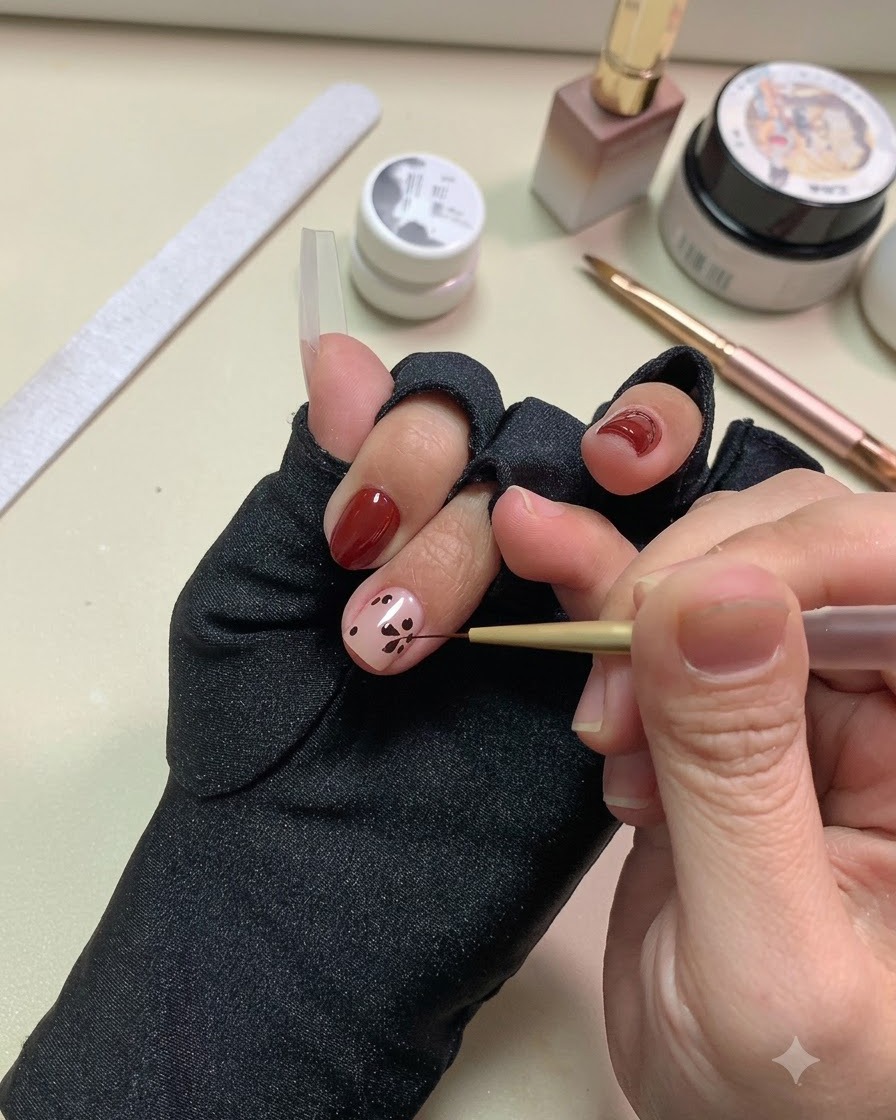
Take a fine liner brush and gently pull outward and inward from the black dots to shape them into pointed leaf tips. This transforms the simple dots into delicate painted falling leaves across the nail surface.
Tip: Keep your hand steady and use a very light trailing motion with the tip of the liner brush to create sharp, delicate leaf ends. - 7Complete the Leaf Shapes
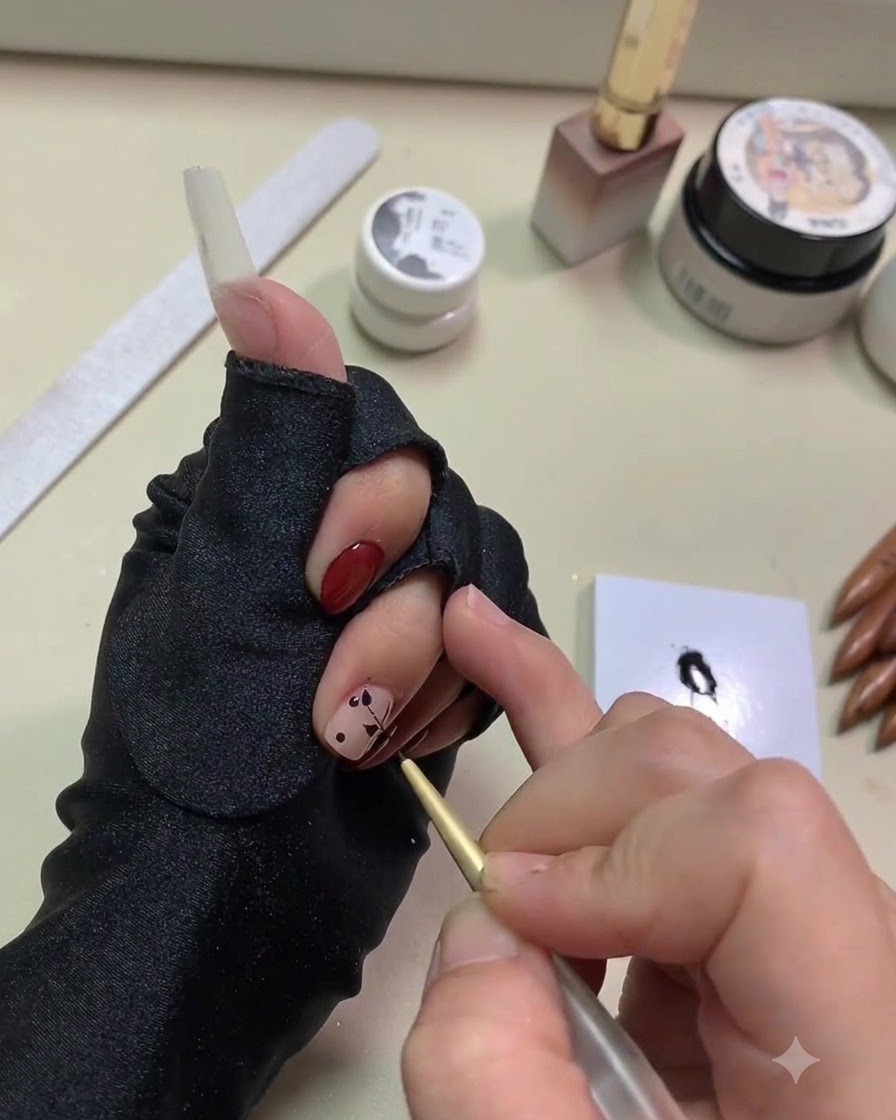
Continue using the fine liner brush to gently pull inward and outward from all remaining dots. Ensure each stroke connects smoothly to create a complete, delicate leaf structure across the nail plate before you cure.
Tip: Keep your hand steady and use light pressure on the liner brush to achieve crisp, delicate leaf points. - 8Cure the leaf nail art
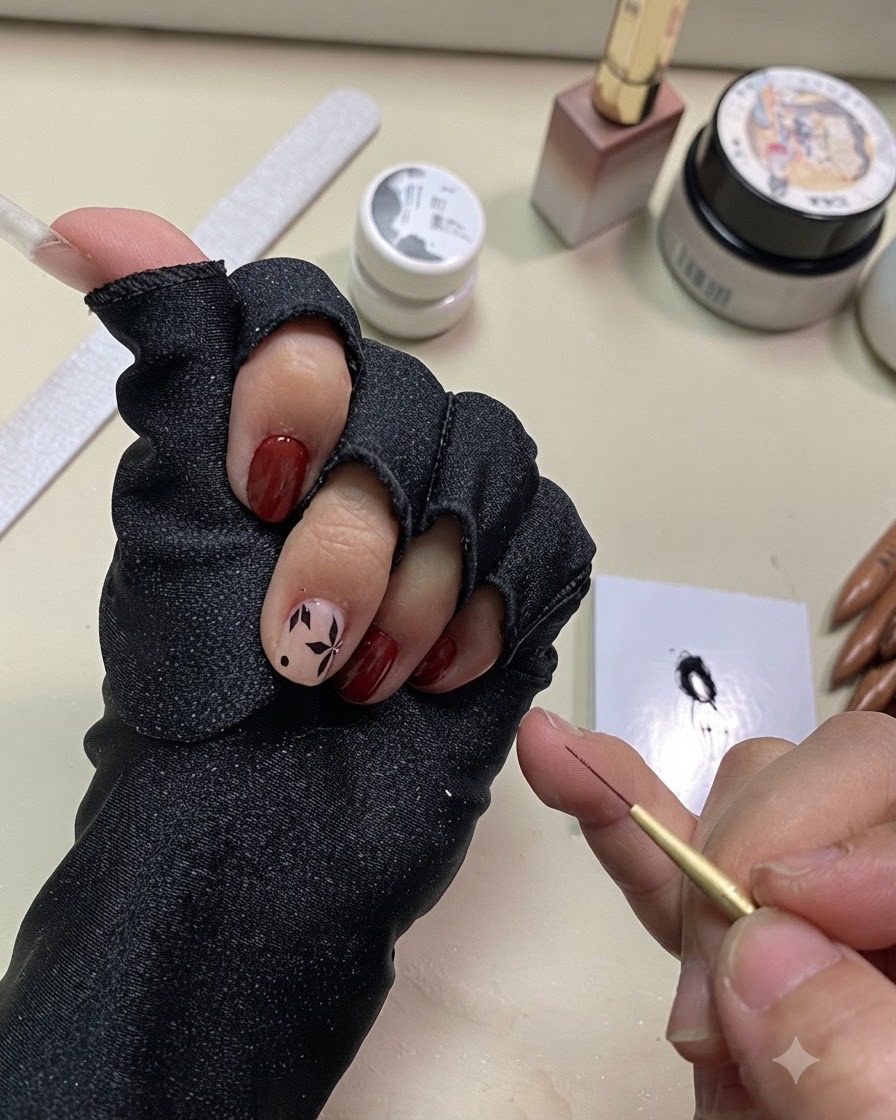
Place the hand under the UV or LED lamp to cure the newly painted leaf design. Ensure the gel sets completely so the lines do not smudge during the next phase of detailed line work.
Tip: Proper curing prevents the underlying art from shifting when you apply additional gel layers on top. - 9Draw atmospheric wisps and lines
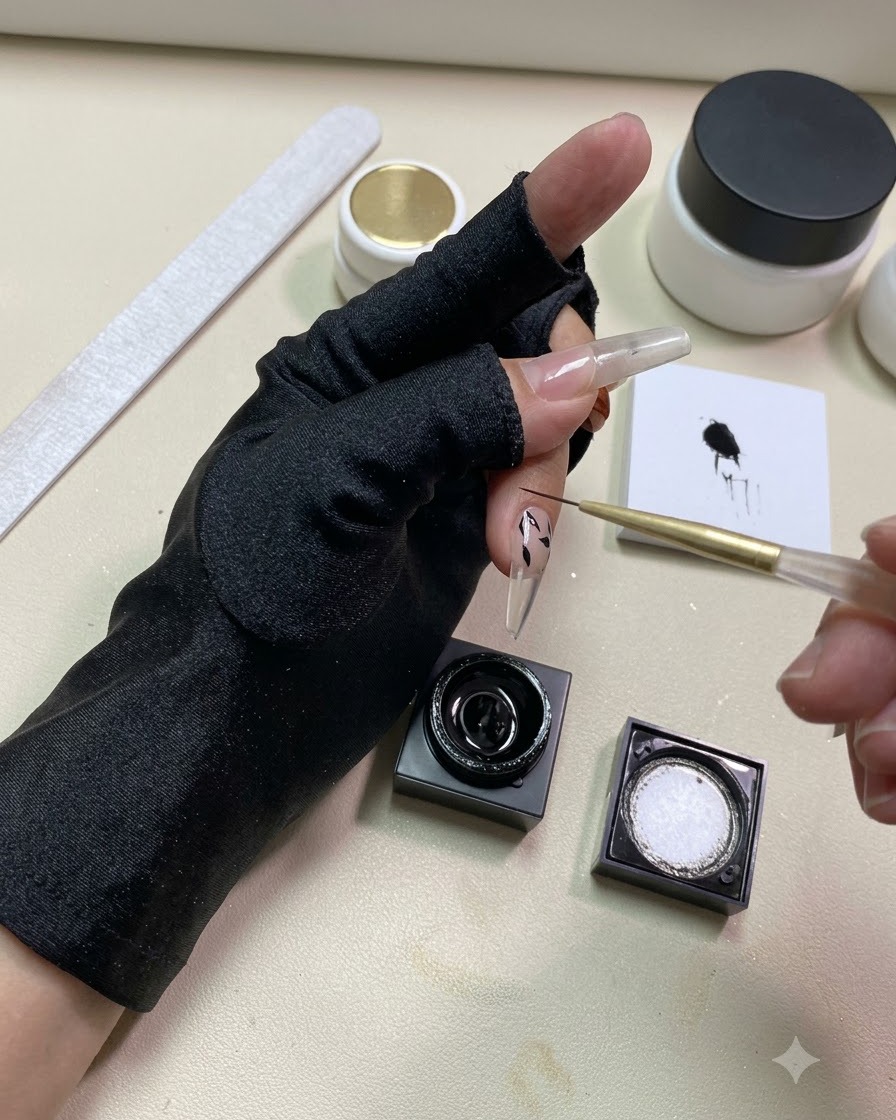
Dip your fine liner brush into black pulling gel and draw several flowing, silk-like atmospheric lines around the painted fallen leaves. These delicate wisps add depth and movement to the overall winter nail design.
Tip: Pull the gel quickly and lightly to create smooth, unbroken wisps that mimic drifting lines in the wind. - 10Wipe away excess gel residue
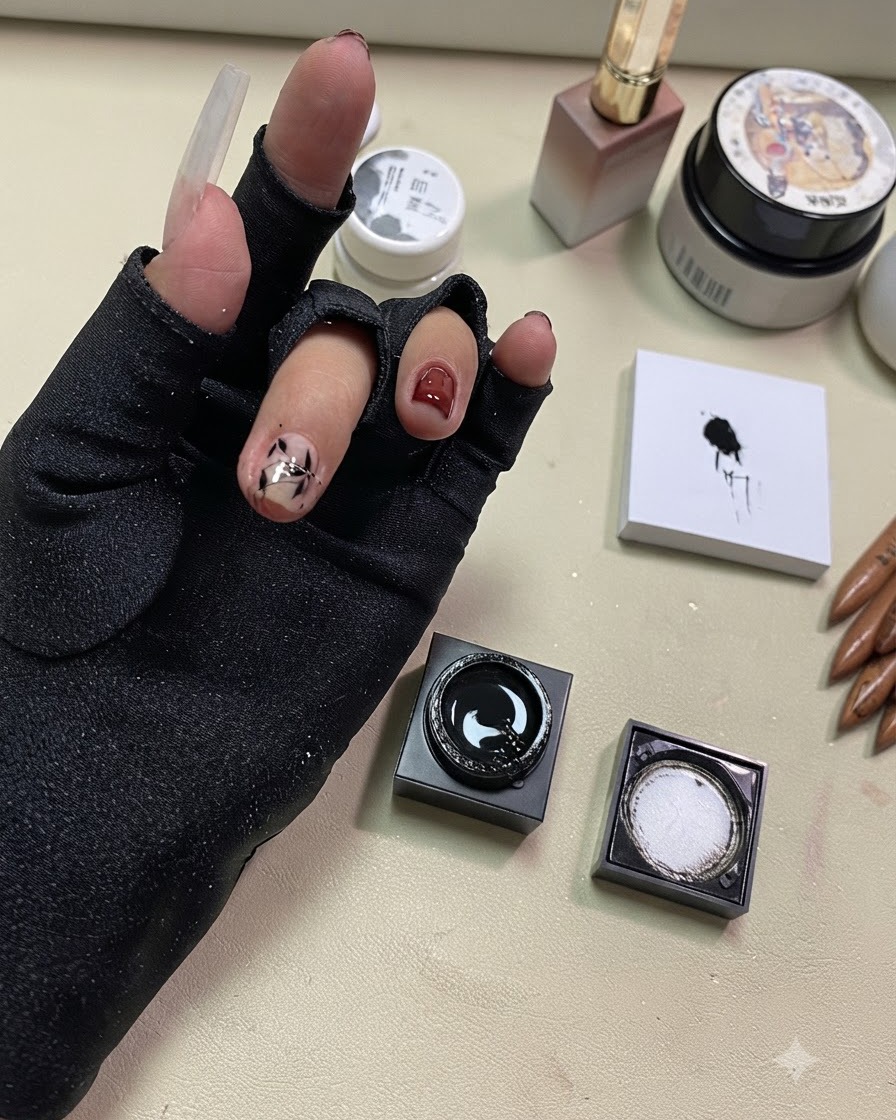
Take a cleaning cotton pad soaked in cleanser to carefully wipe away any excess or stray gel around the nail plate and edges. This cleans up the surrounding skin and ensures a neat, professional look before the final curing step.
Tip: Make sure the cleansing pad is damp rather than soaking wet to avoid accidentally smudging your nail art details. - 11Final cure under the lamp
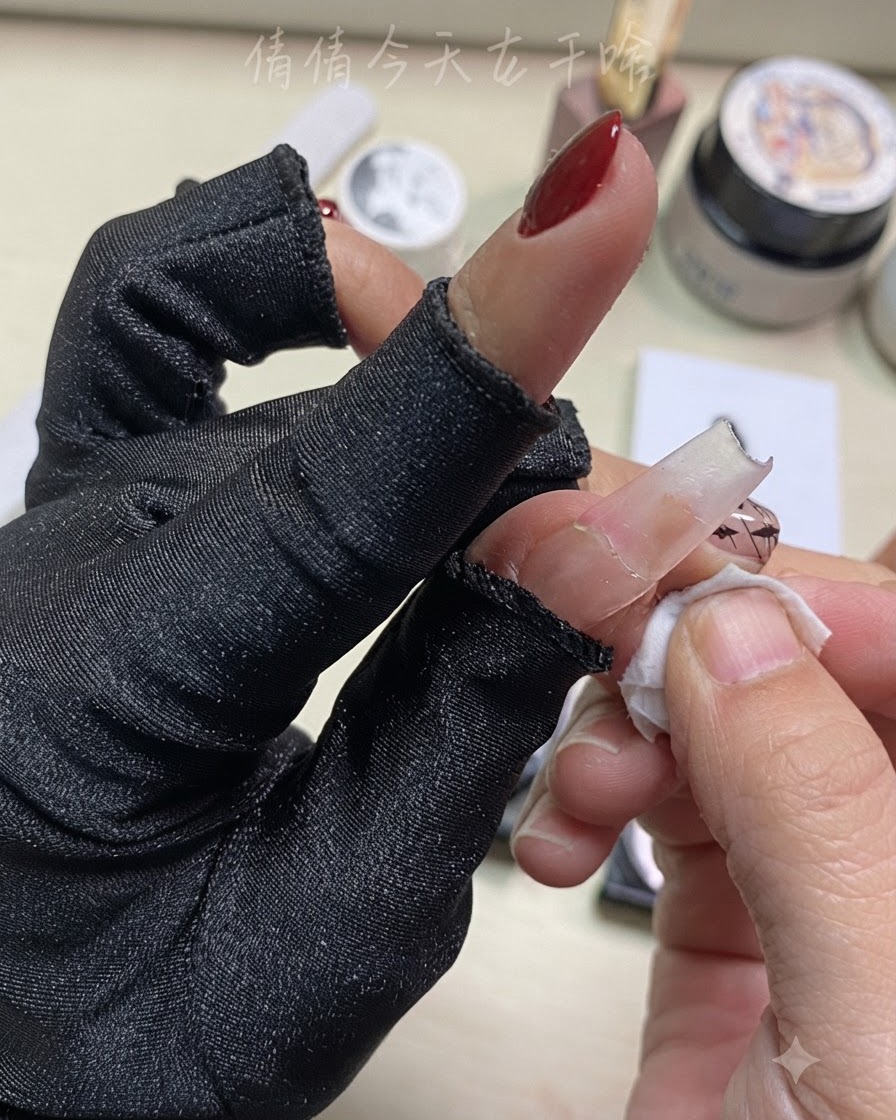
Place your hand back under the UV or LED lamp for a final cure to lock in all the intricate line work and ensure the entire surface is completely dry and set.
Tip: Do not skip the final cure, as it seals the cleaned design and hardens the top layers. - 12Apply burgundy red to remaining nails
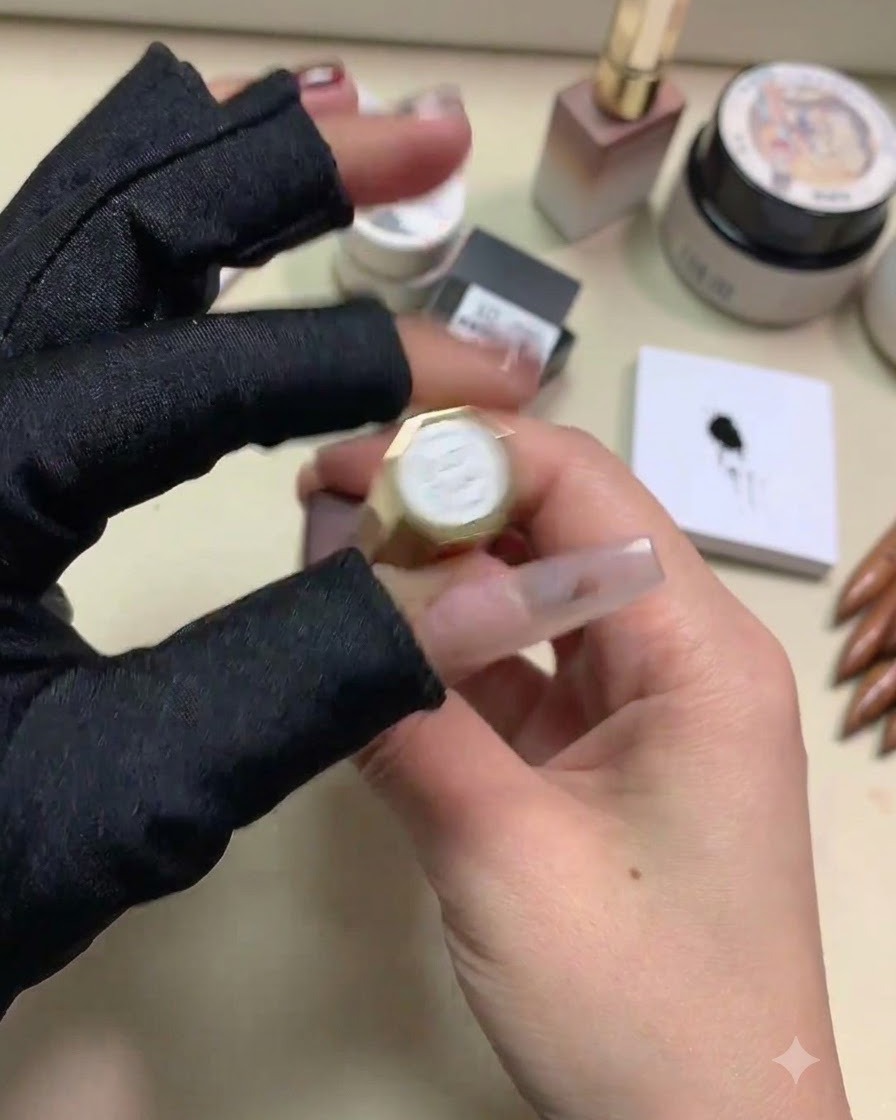
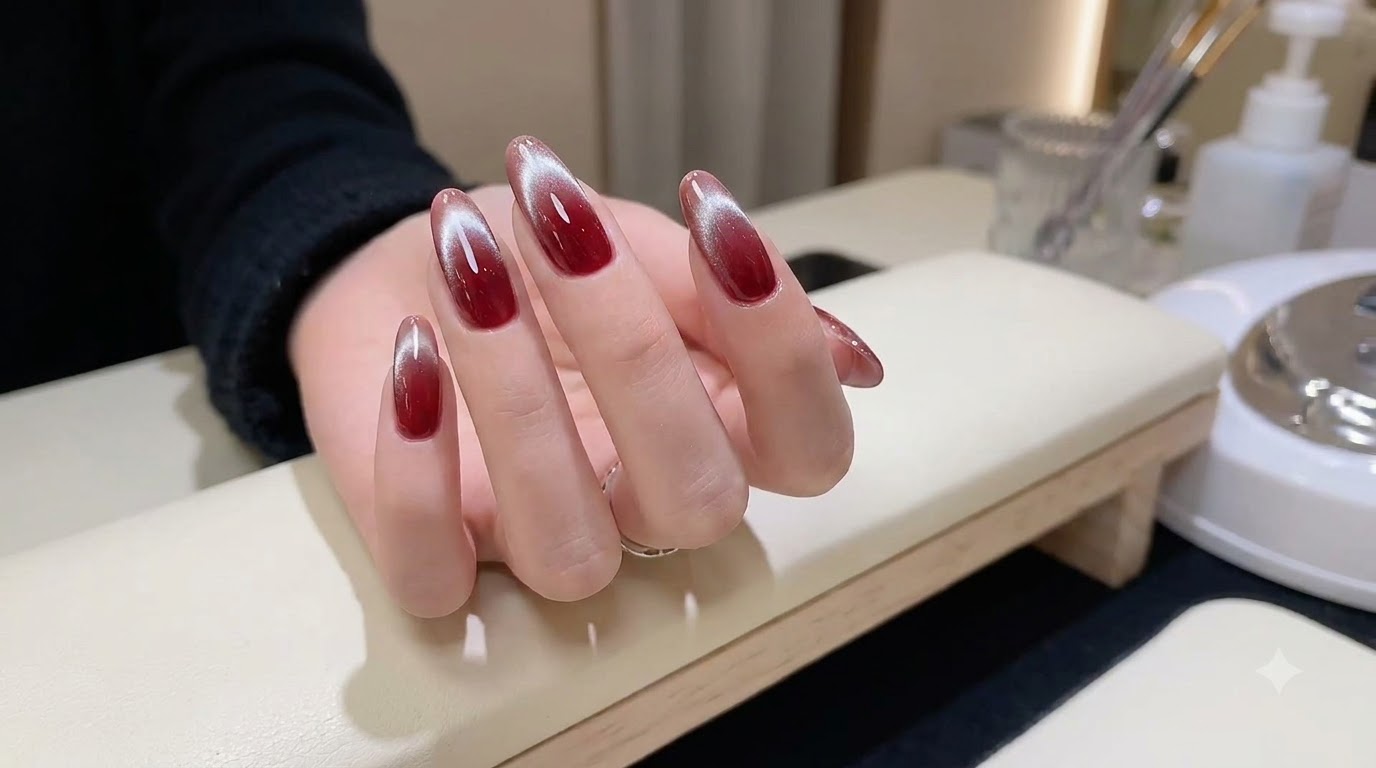
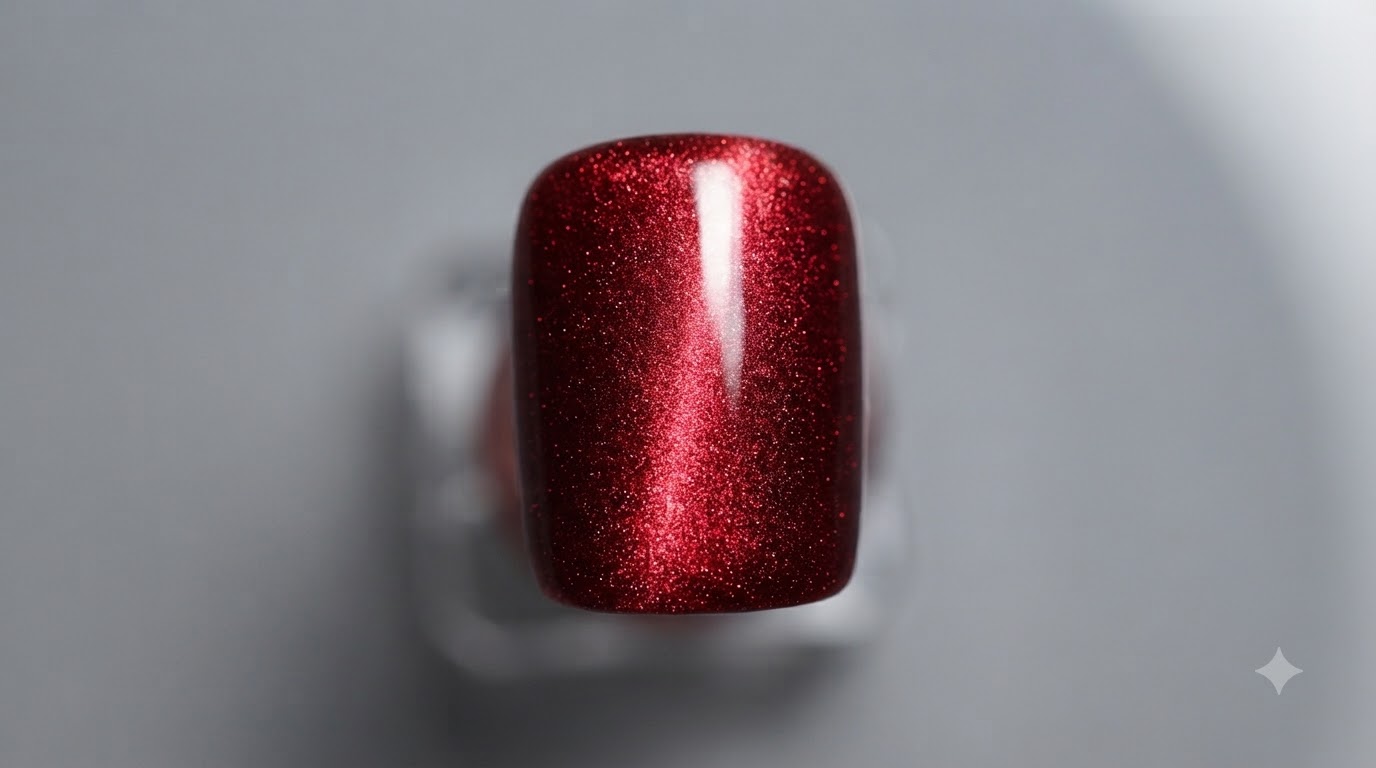
Apply a coat of Nail Love 60-color set shade 53 burgundy red gel onto all the remaining nails. This rich, deep shade provides a stunning contrast to the leaf nail art and creates a super skin-brightening effect.
Tip: Apply the burgundy gel in thin, even coats to achieve a smooth finish and prevent pooling around the cuticles.