Red Gradient French Cat Eye Nails — New Year Step-by-Step Tutorial
Create stunning New Year-ready nails featuring a deep red French gradient paired with a luminous silver cat-eye magnetic shimmer effect.
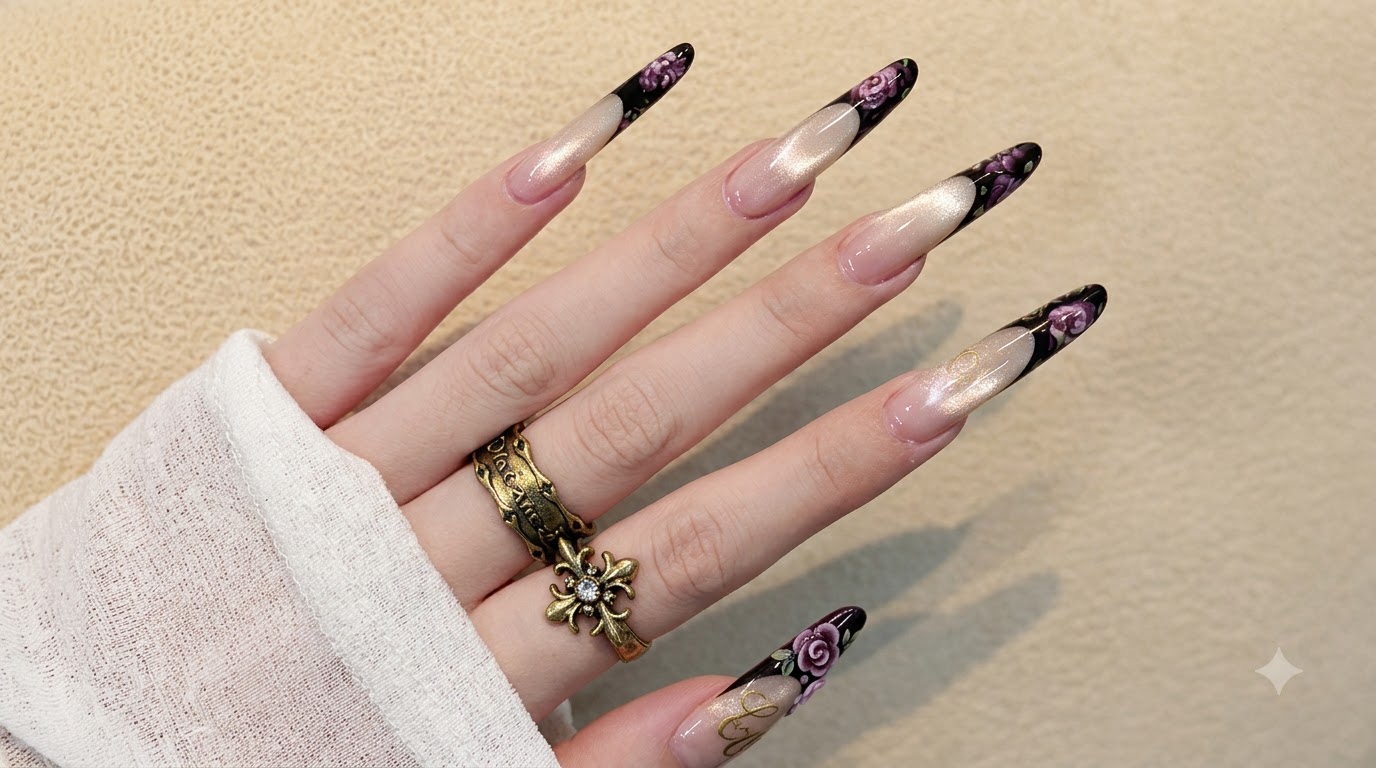
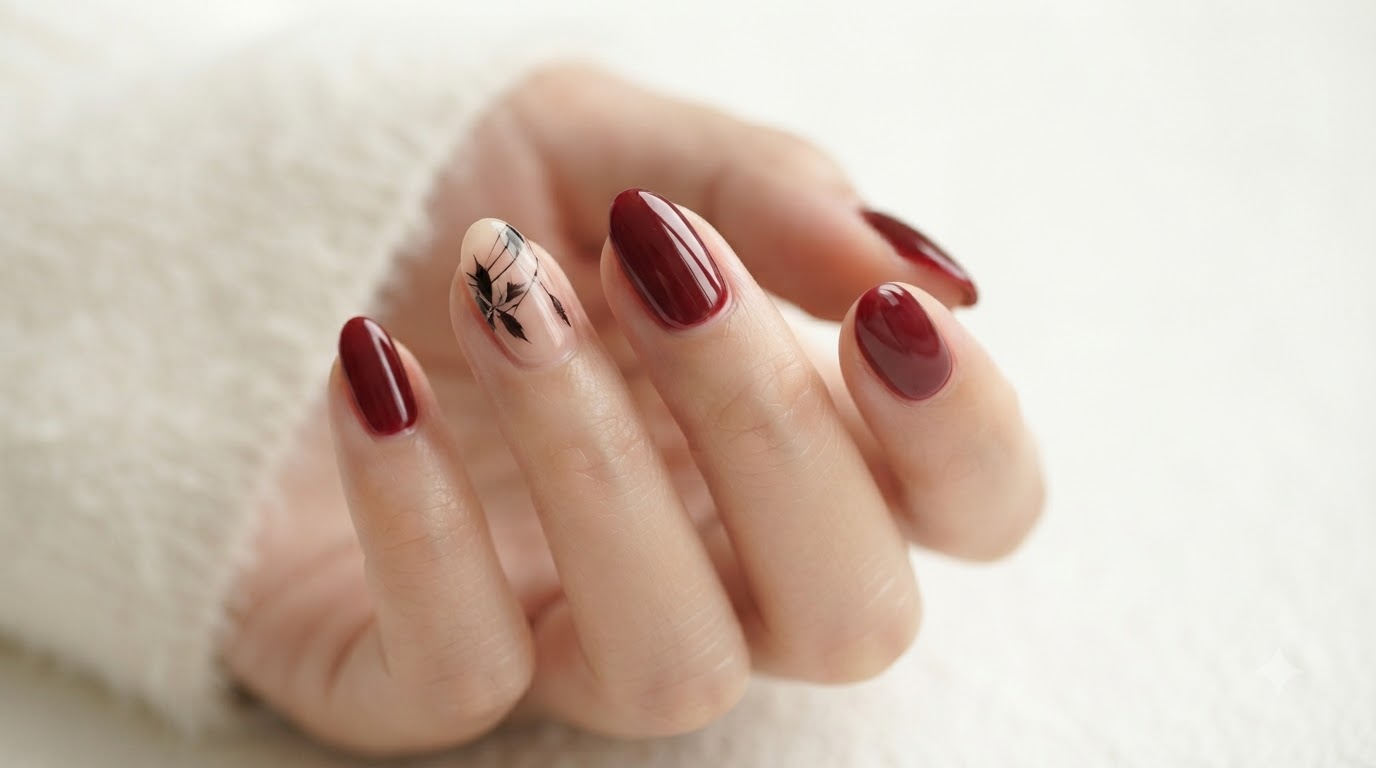
French cat eye is truly a timeless classic, and paired with a red gradient, it is absolutely the perfect match for the New Year. This sophisticated design combines a rich deep red shade with dimensional metallic magnetic shimmer that catches the light from every angle, delivering a professional salon finish right at home.
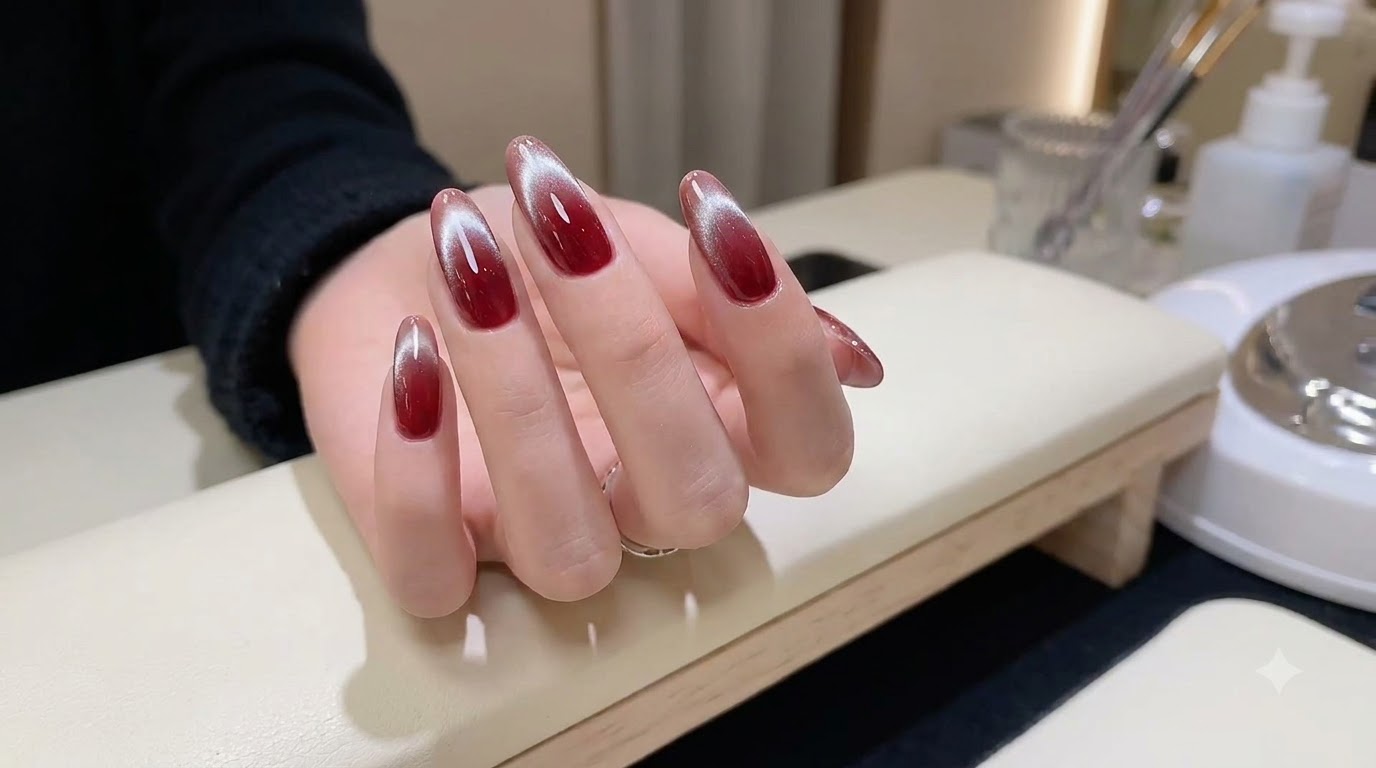
Steps
- 1Start the red French tip
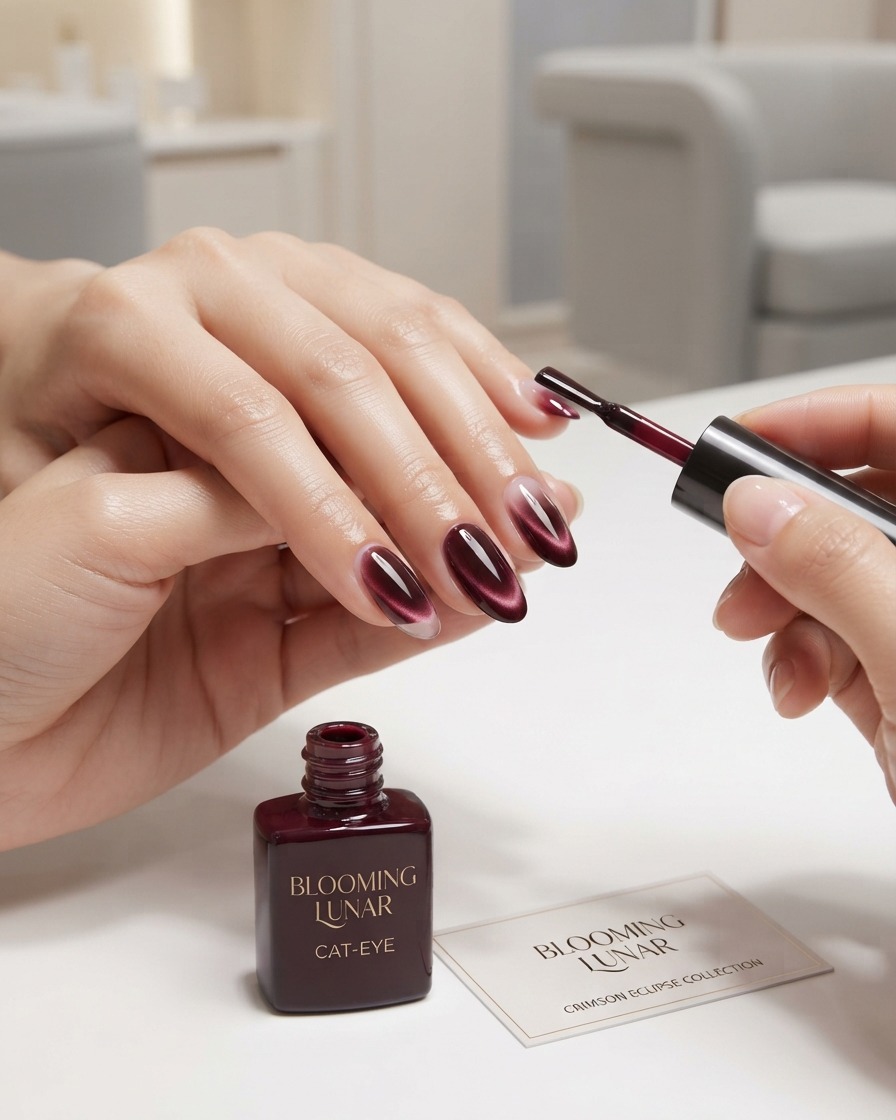
Using the standard polish bottle brush, apply a deep red gel polish directly onto the free edge of your almond-shaped nail. This creates the foundational color block for your gradient French tip design.
Tip: Focus on getting enough product onto the tip; you dont need the smile line to be perfectly crisp at this stage since you will refine it next. - 2Carve and perfect the smile line
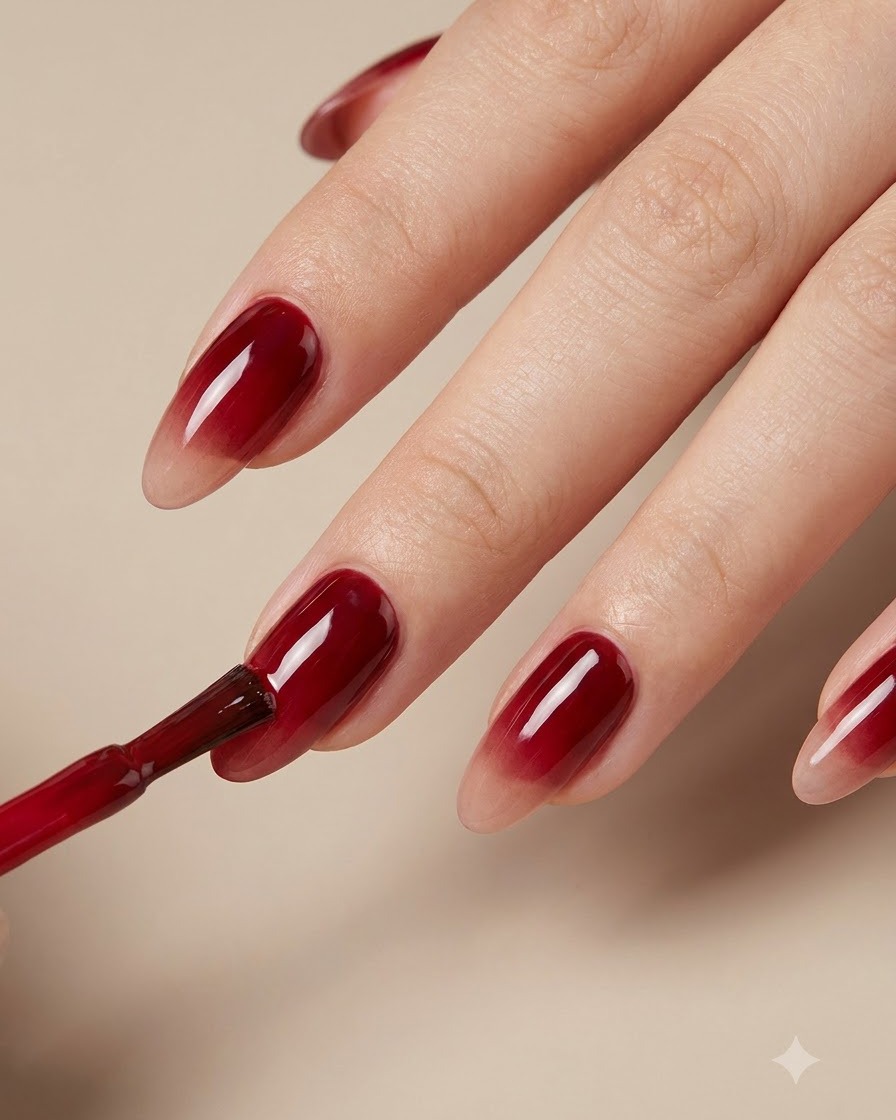
Using a fine liner nail art brush, carefully carve and refine the curved smile line of the red gel to ensure crisp and clean edges. Take your time to shape the gradient boundary precisely before moving on to blending, as a well-defined line sets the foundation for a professional-looking French gradient manicure.
Tip: Wipe your liner brush clean with an alcohol-soaked pad frequently while carving to keep the bristles sharp and prevent smudging. - 3Diffuse and blend the gradient
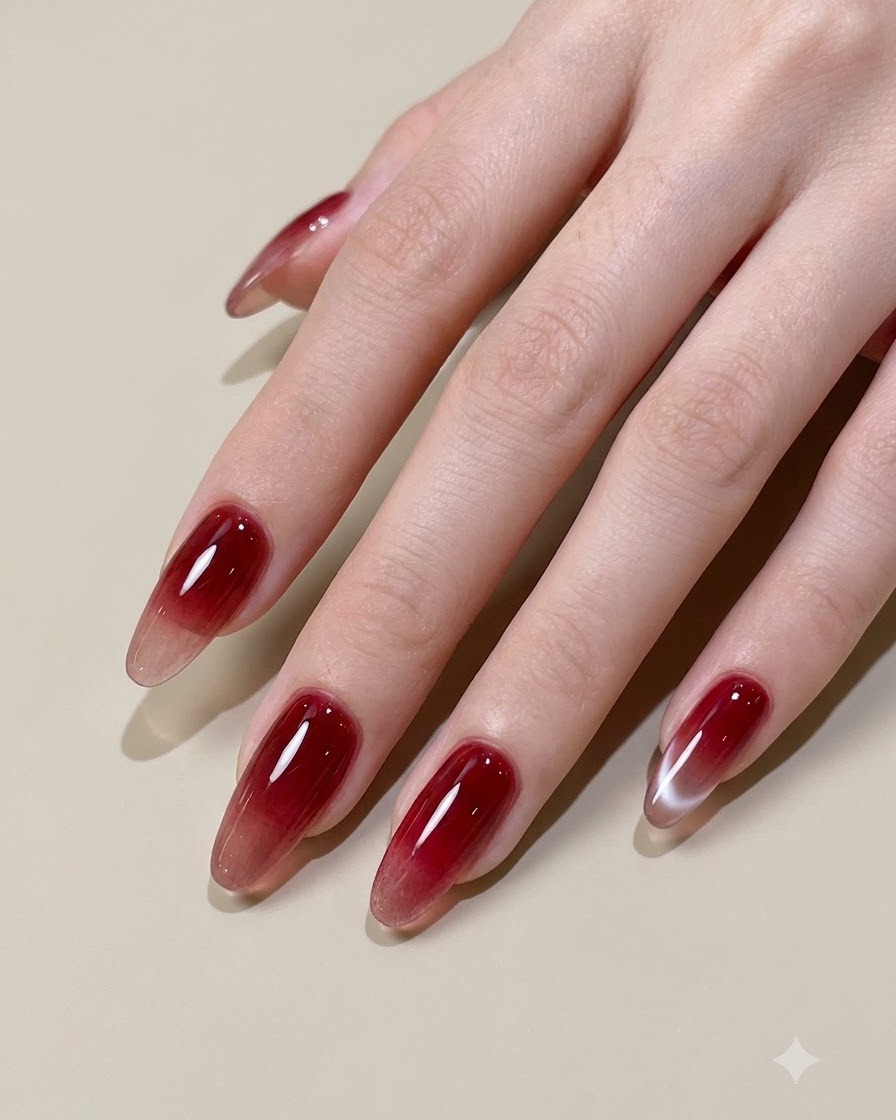
Take a flat ombre blending brush and gently pull and diffuse the inner edge of the red gel downwards toward the cuticle area. Use light, feathery strokes to soften any harsh lines, creating a smooth and seamless gradient fade that transitions gracefully from deep red to the natural nail bed.
Tip: Keep your brush strokes very light and avoid applying heavy pressure, which can create streaks or patchiness in the translucent gel layer. - 4Introduce S01 magnetic cat-eye gel
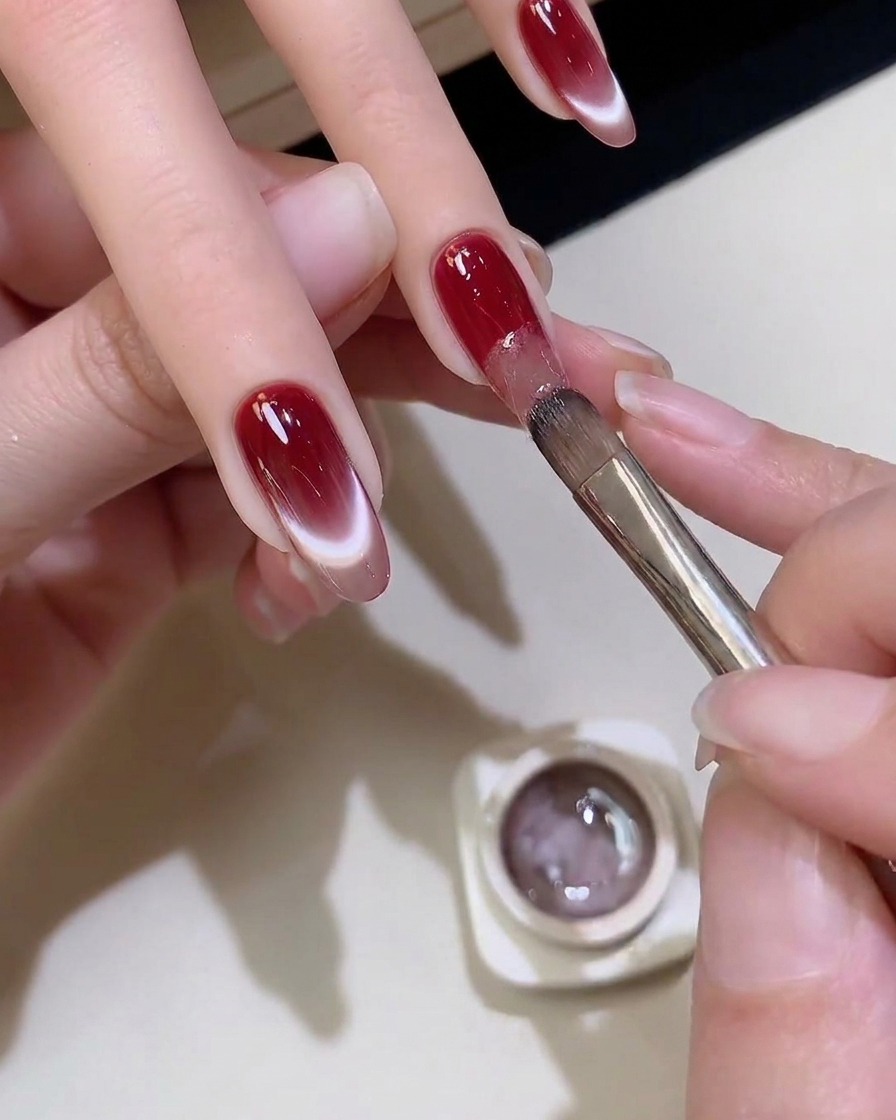
Showcase a small open pot of S01 silver and champagne magnetic cat-eye gel, highlighting its shimmering reflective formula before starting the application. This specialized gel contains metallic particles that respond to a magnet, adding a brilliant dimensional glow over the red gradient base.
Tip: Stir the magnetic gel gently if needed to ensure the reflective metallic particles are evenly distributed throughout the jar. - 5Apply magnetic cat-eye gel over gradient
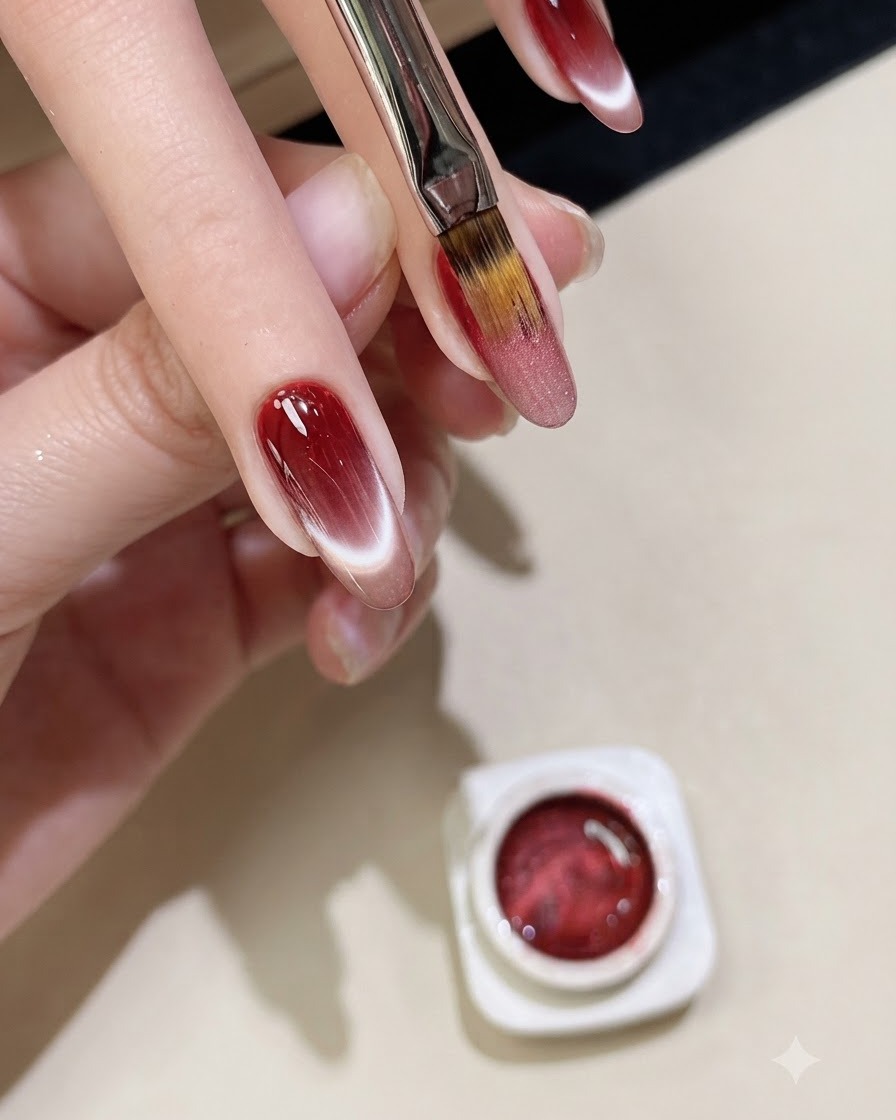
Pick up a small amount of the S01 magnetic cat-eye gel from the pot using a flat gel brush and apply it directly over the pre-existing red gradient area. Ensure the gel is distributed evenly across the nail surface to provide enough movable metallic particles for the upcoming magnetic effect.
Tip: Apply an even, moderate layer of cat-eye gel — if it is too thick, the magnetic effect will look muddy, and if it is too thin, the shimmer will lack depth. - 6Distribute and smooth the magnetic gel
Using the tip of your flat brush, gently tap and glide the product to blend and distribute the magnetic gel evenly across the red tip. This ensures a uniform coating of metallic shimmer before activating the magnetic line or arch pattern.
Tip: Work quickly to smooth the surface before the gel self-levels, keeping the coverage even and free of brush streaks. - 7Activate shimmer particles with a magnet
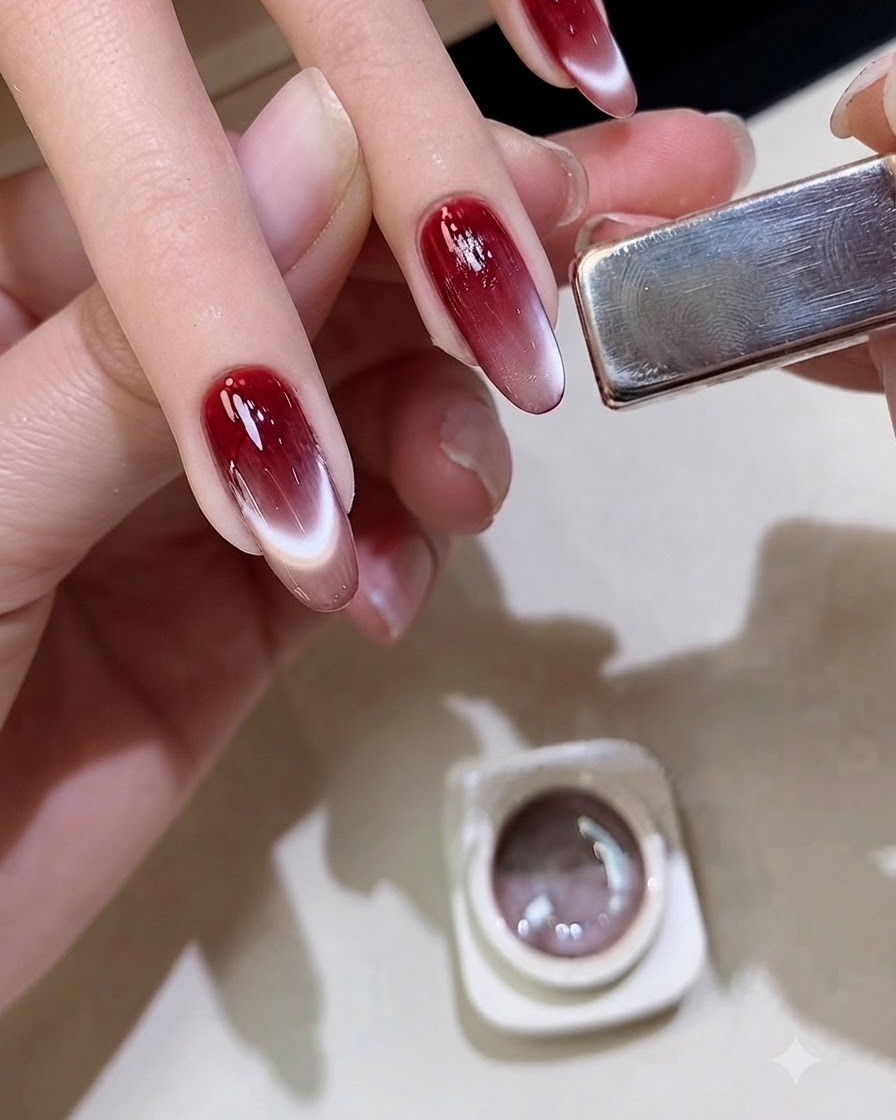
Hold a rectangular metallic magnet diagonally close to the side of the nail to push and concentrate the magnetic shimmer particles into a sharp cat-eye line. Hold the magnet steady for a few seconds until the desired reflection curve forms, then immediately cure under a UV or LED lamp to lock the design in place.
Tip: Do not let the magnet touch the wet gel surface. Keep it steady and close without bumping the finger to prevent ruining the sharp light line. - 8Magnetize the French cat eye line
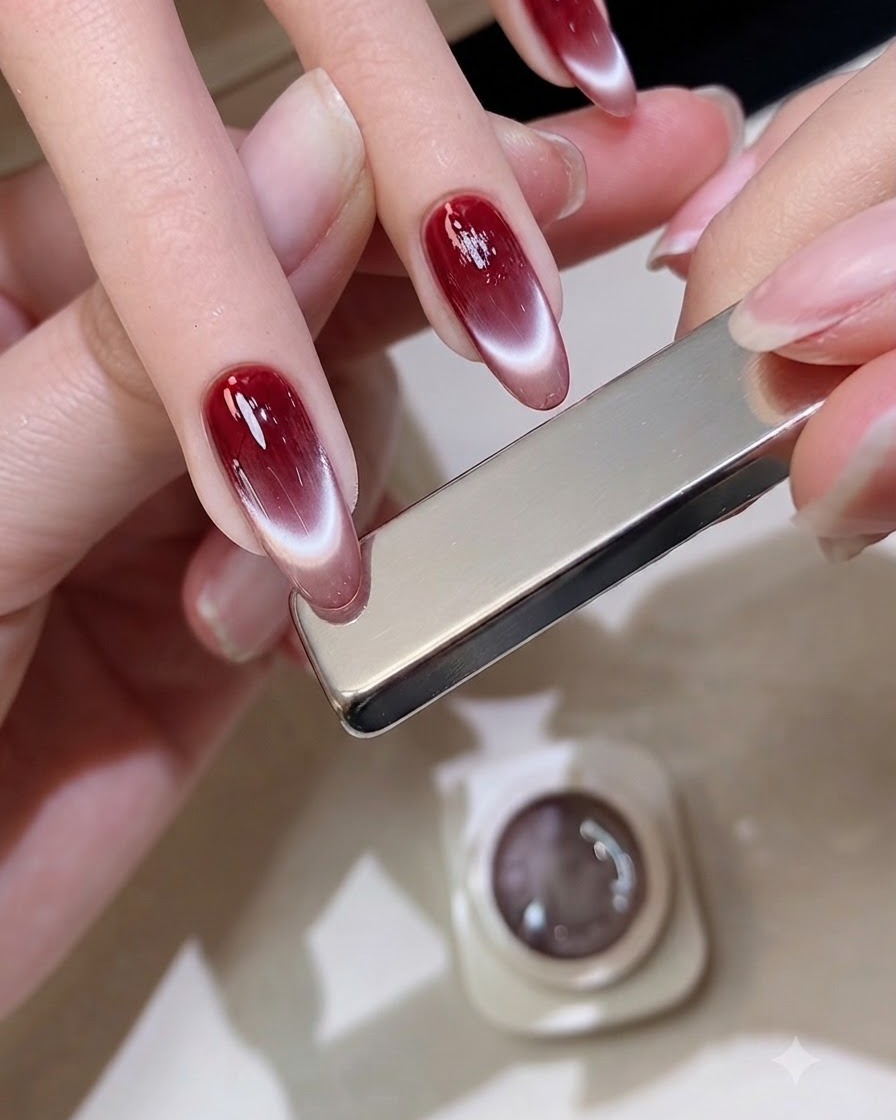
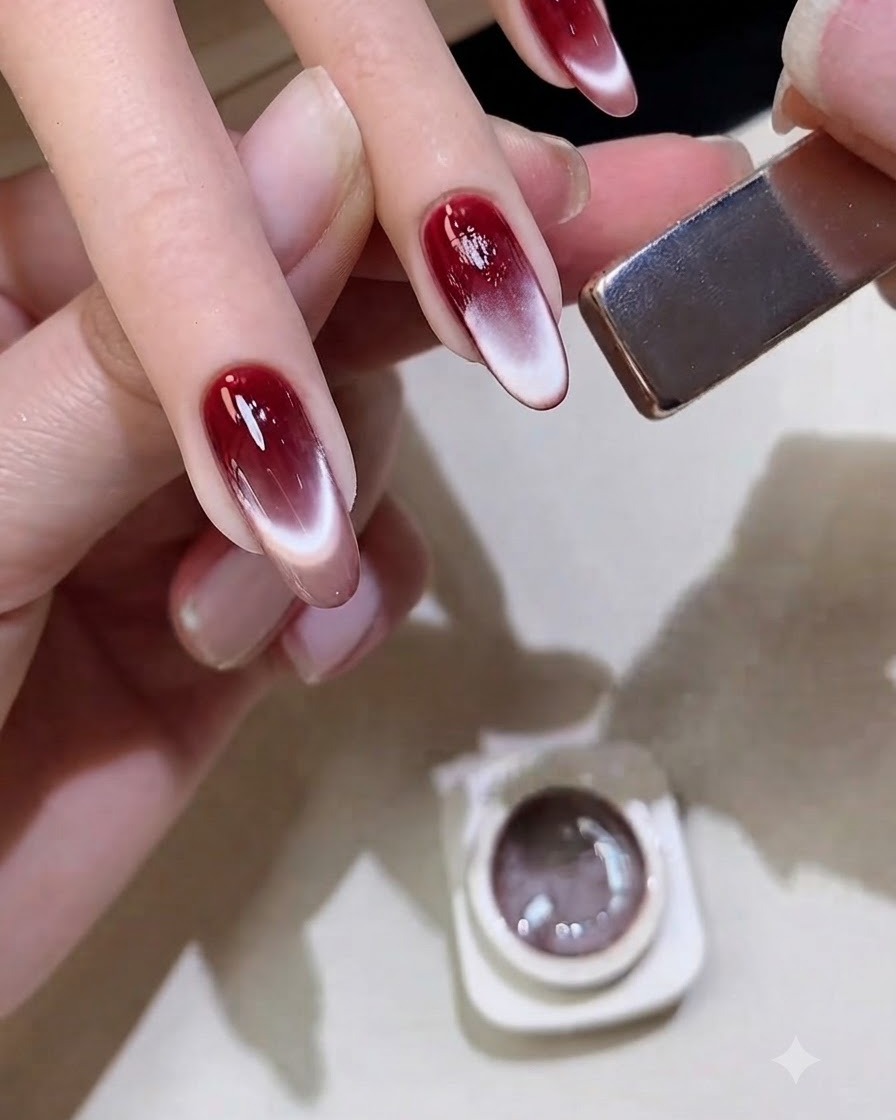
Hold the rectangular magnet horizontally just above the tip of the nail to draw the magnetic shimmer particles into a crisp, curved French tip line. Once the desired cat eye effect is achieved, cure it immediately under your UV or LED lamp to lock the shimmer in place before it shifts.
Tip: Keep your hand steady while holding the magnet to prevent the particles from blurring or dispersing unevenly. - 9Apply glossy top coat
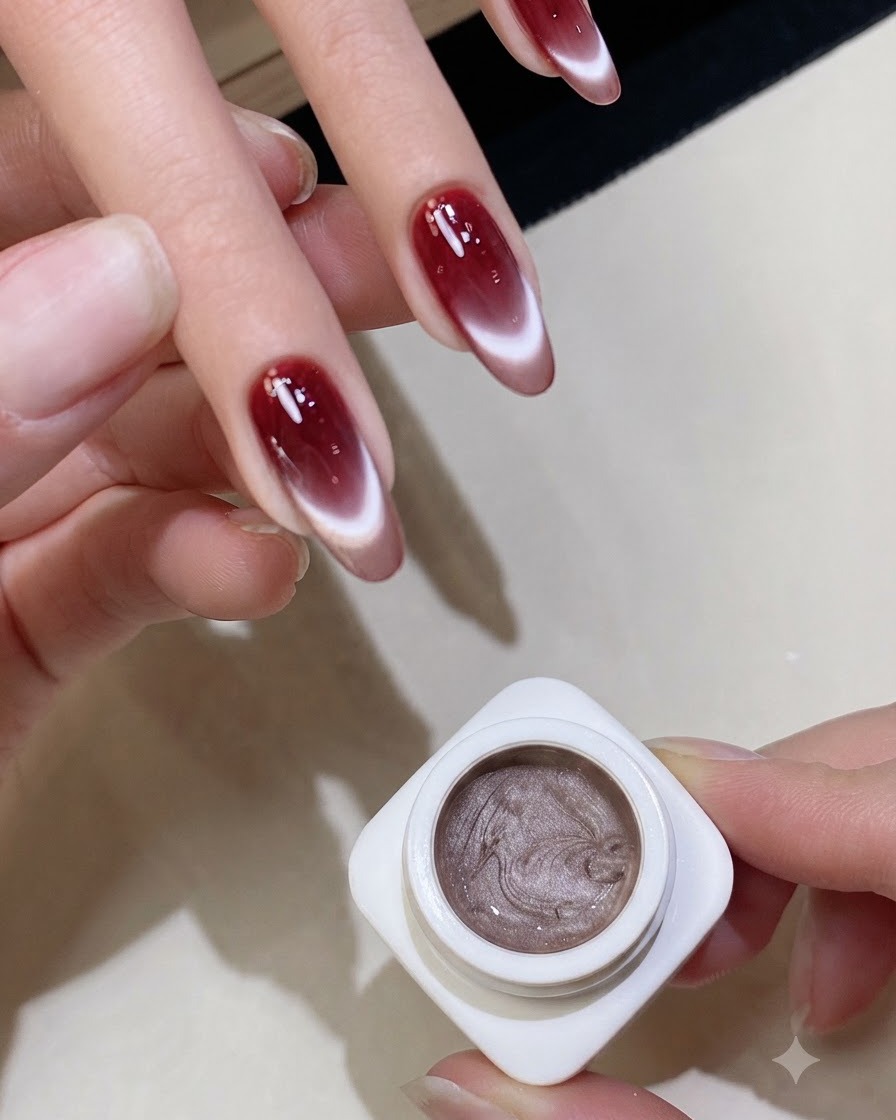
Apply a final layer of clear glossy top coat over the entire nail plate to seal the gradient and magnetic cat-eye design. Cure thoroughly under a UV or LED lamp to lock in the shine and protect the nail art from chipping.
Tip: Make sure to cap the free edge with top coat to prevent premature lifting and peeling.