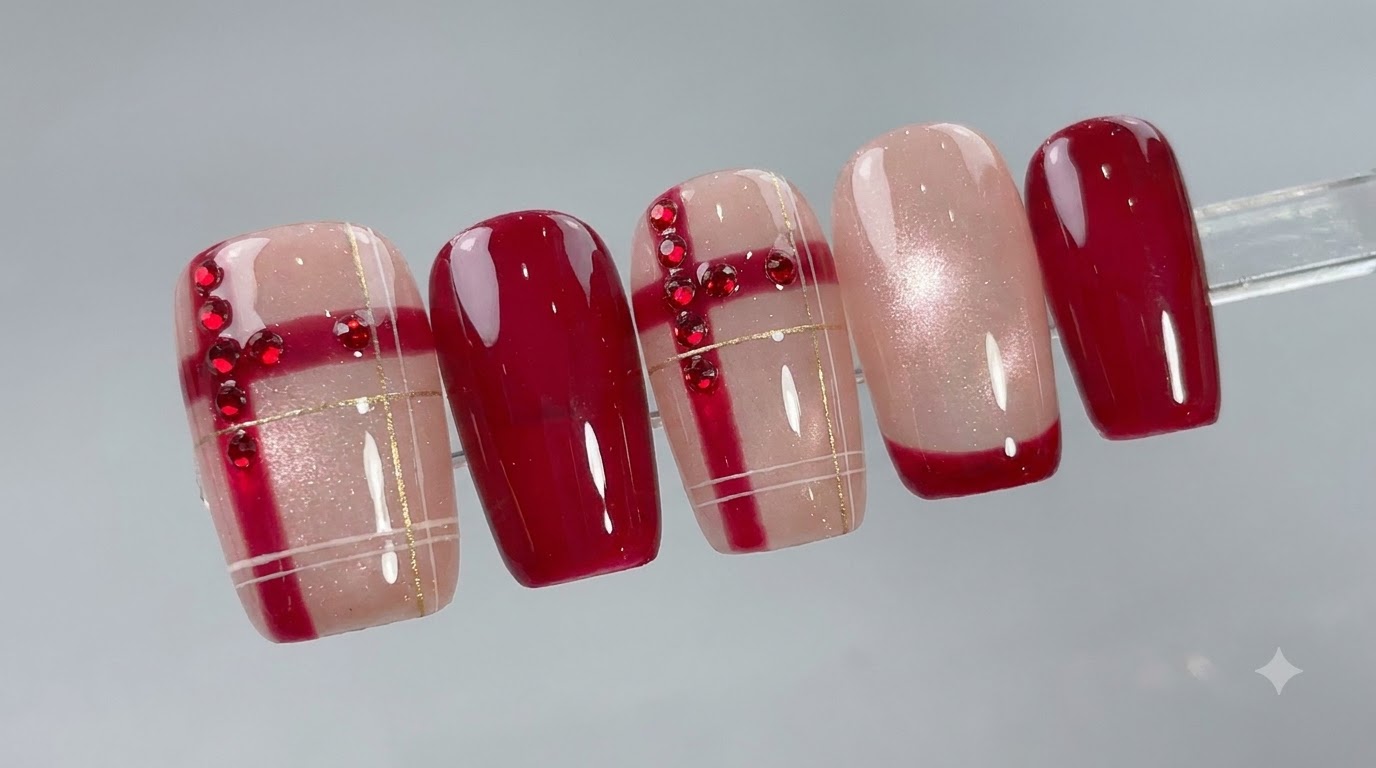
Red Crystal Lattice Cat-Eye Gel Nails — Step-by-Step Tutorial
Create stunning red crystal lattice and magnetic cat-eye gel nails with rich ox blood red accents and elegant French tips.
Red crystal lattice nails combine sophisticated geometric lines with the mesmerizing depth of glass bead cat-eye effects. This step-by-step tutorial guides you through creating custom press-on nails featuring rich ox blood red details, delicate silk white grid patterns, and shimmering gold accents for a luxurious salon-quality finish.
Steps
- 1Apply resin base coat
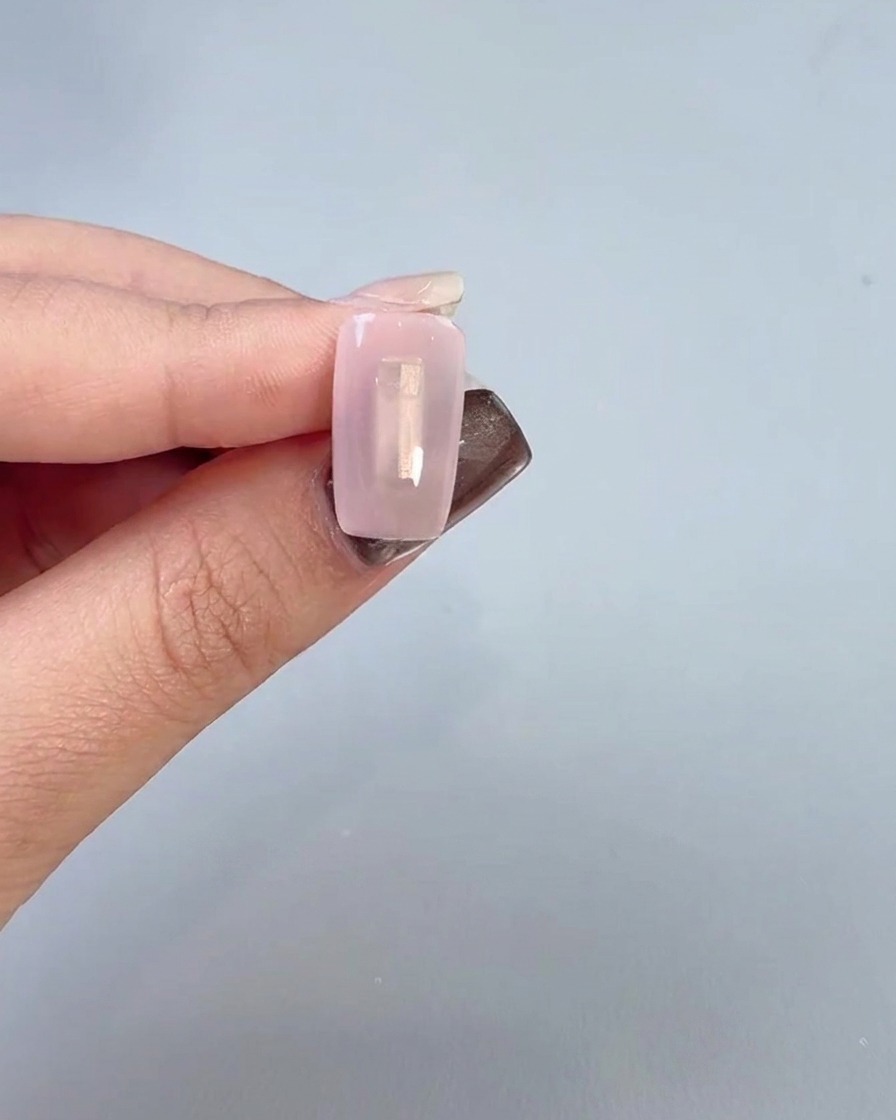
Apply resin No. 3 gel evenly onto the nail surface to serve as the base coat. Ensure the product covers the nail smoothly to prepare a stable foundation for subsequent layers.
Tip: Make sure to apply a thin and even layer to prevent bubbling or uneven curing. - 2Apply translucent gel layer
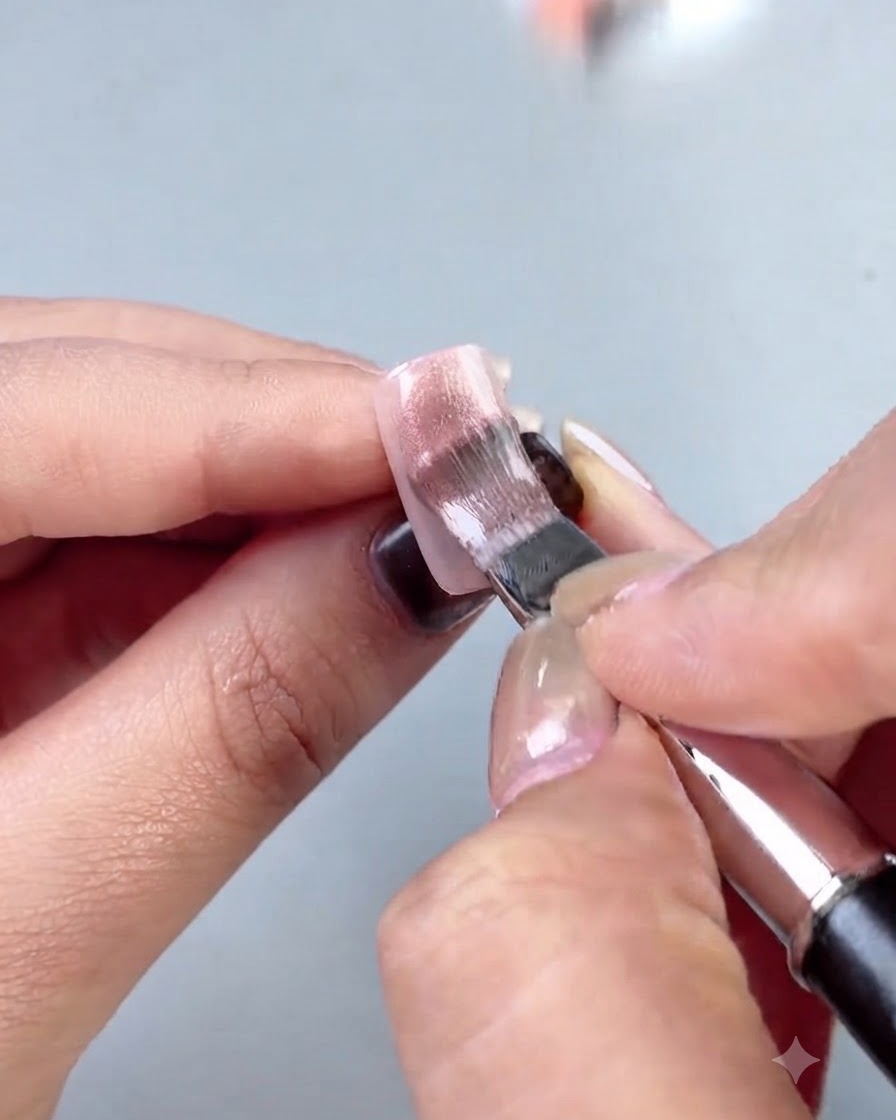
Brush a layer of water-clear translucent No. 5 gel over the previously applied base layer. This adds depth and prepares the nail surface for the magnetic cat-eye effect.
Tip: Apply smoothly from the cuticle down to the free edge without pooling. - 3Create cat-eye effect with magnetic wand
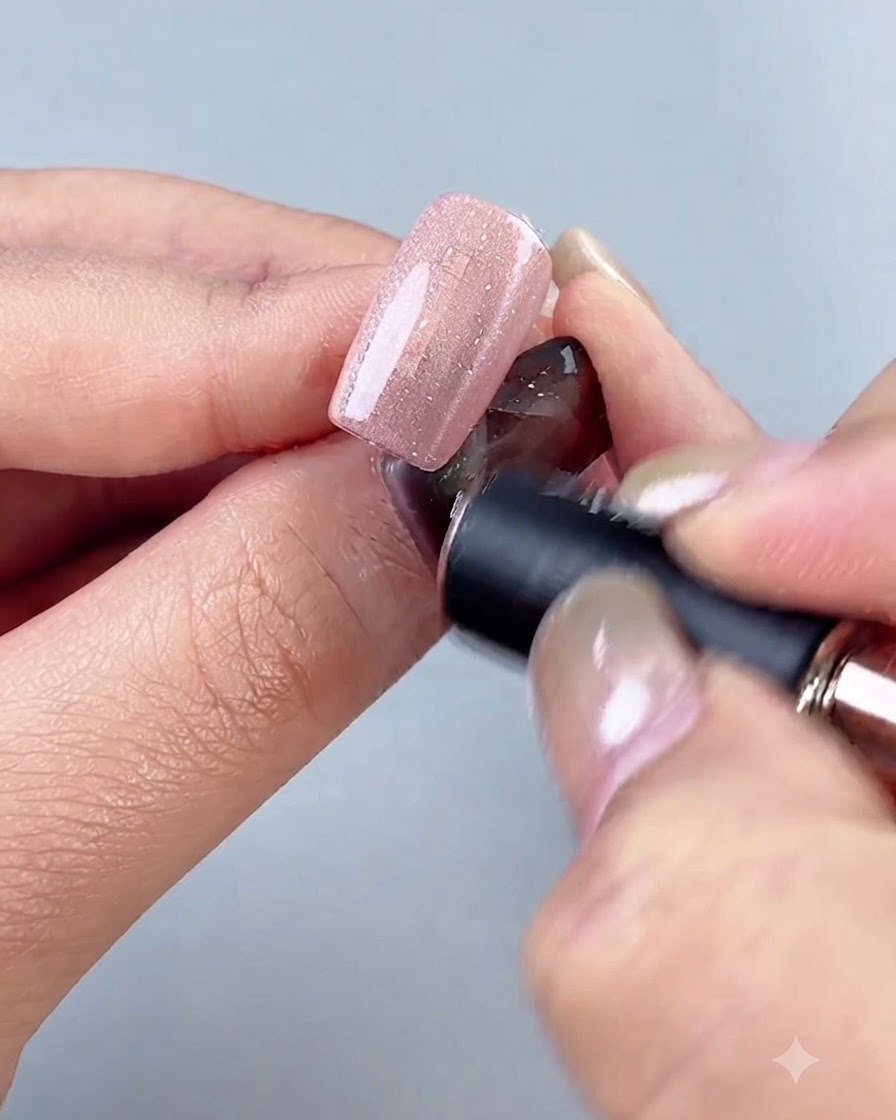
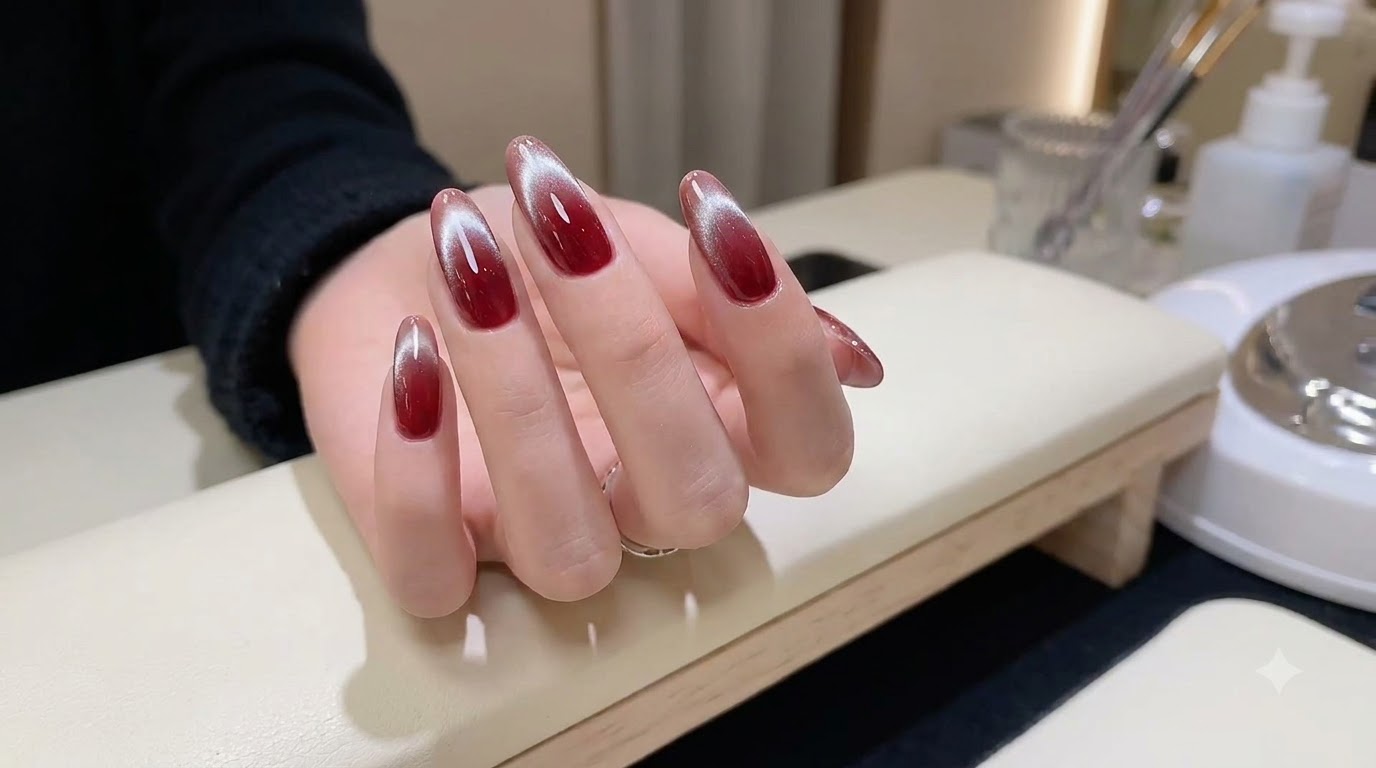
Hold the magnetic wand and gently wrap or move it around the nail surface. This magnetic action draws the metallic particles in the gel to form the desired glass bead cat-eye effect.
Tip: Keep the wand steady and close to the nail without touching the wet gel surface. - 4Inspect the glass bead cat-eye look
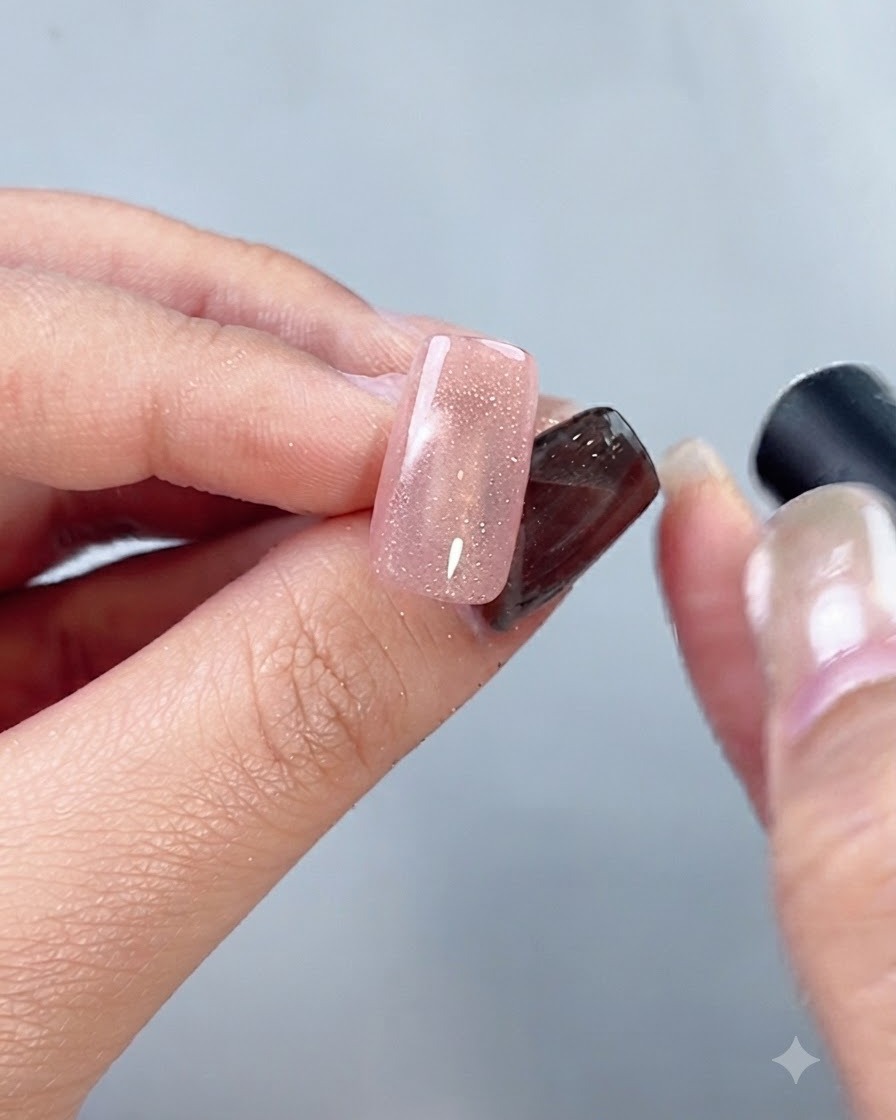
Observe the finished glass bead effect cat-eye created on the nail surface under lighting. Check that the bright reflective line or bead effect is centered and well-defined before curing.
Tip: Check the reflection from different angles to ensure the cat-eye dimension looks even. - 5Draw intersecting lattice lines with ox blood red
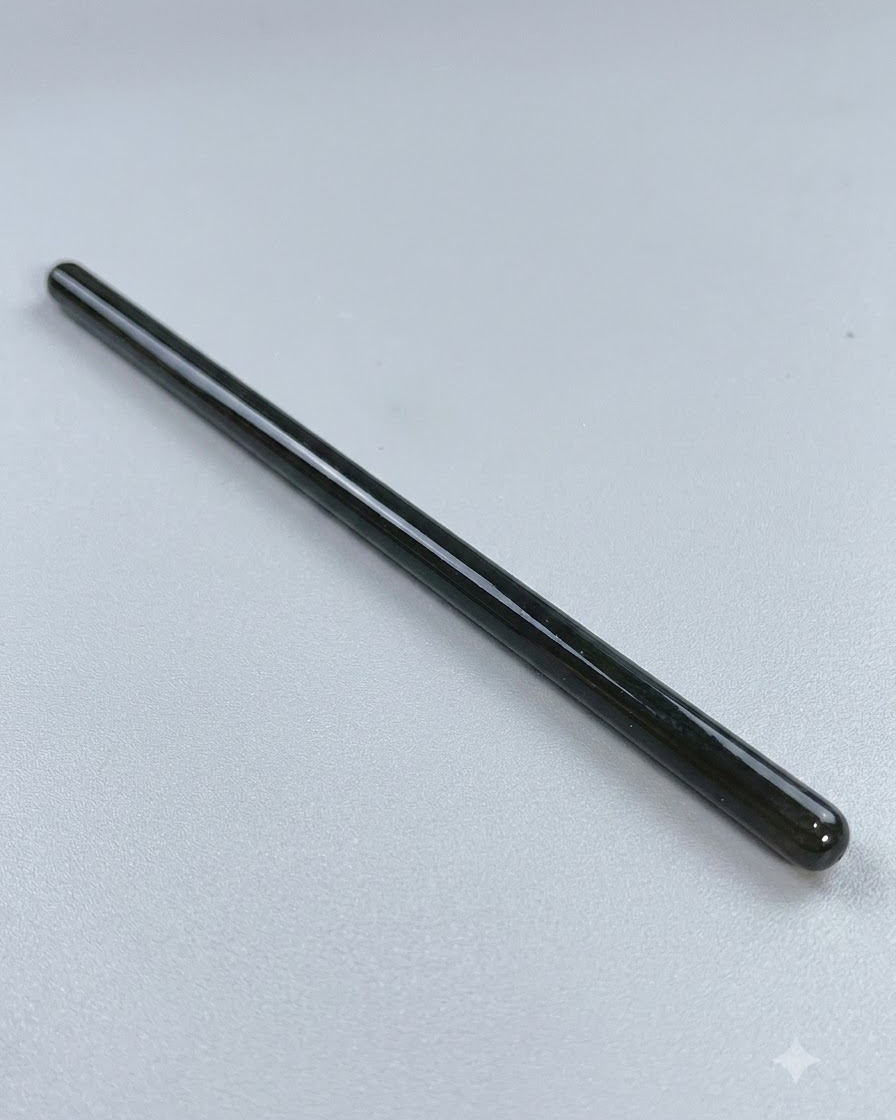
Use the long lattice brush to pick up ox blood red No. 2 gel, then cross draw two intersecting lines on the nail. The specialized brush allows you to draw straight, clean lines in one stroke.
Tip: Maintain a steady hand to keep the lattice line thickness consistent. - 6Add white silk gel detailing lines
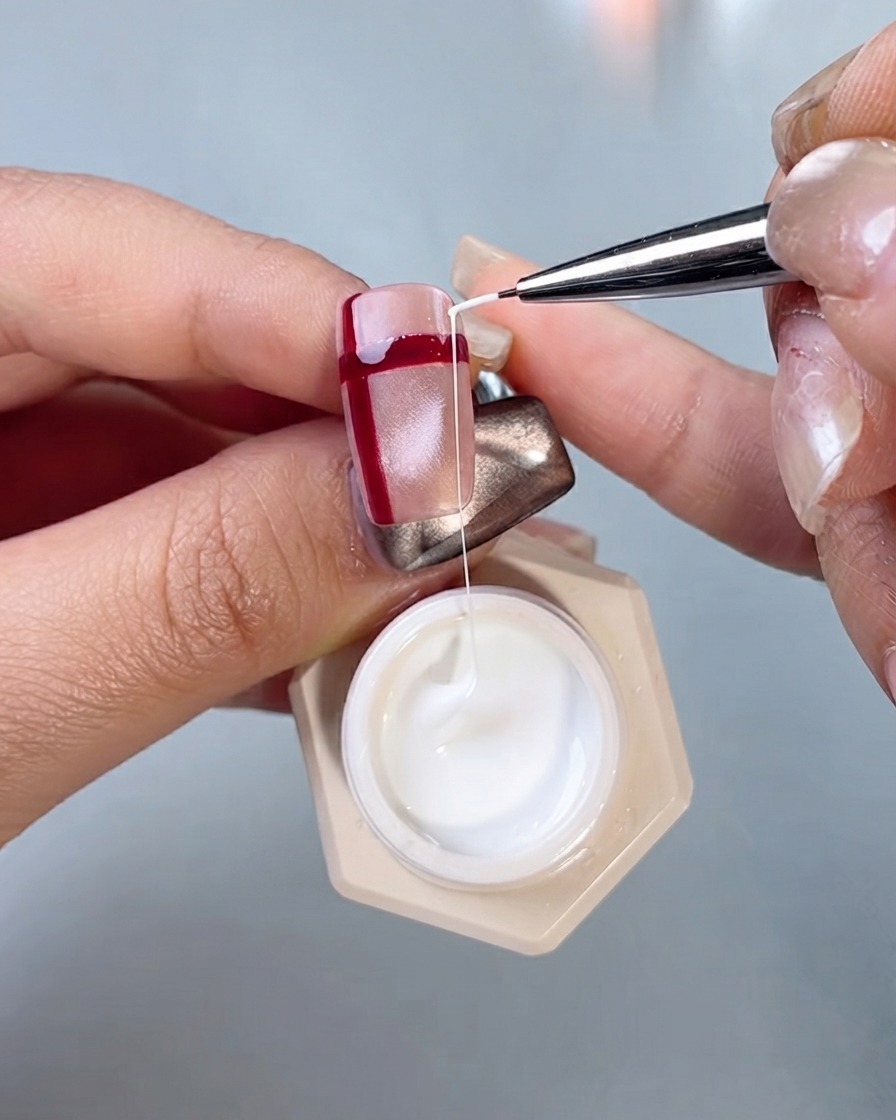
Using silk gel white on a detailing brush, cross draw three additional lines on the opposite side of the nail to build the complex crystal lattice pattern.
Tip: Work carefully over the existing red lines to maintain a clean geometric grid. - 7Apply powder-isolation top layer
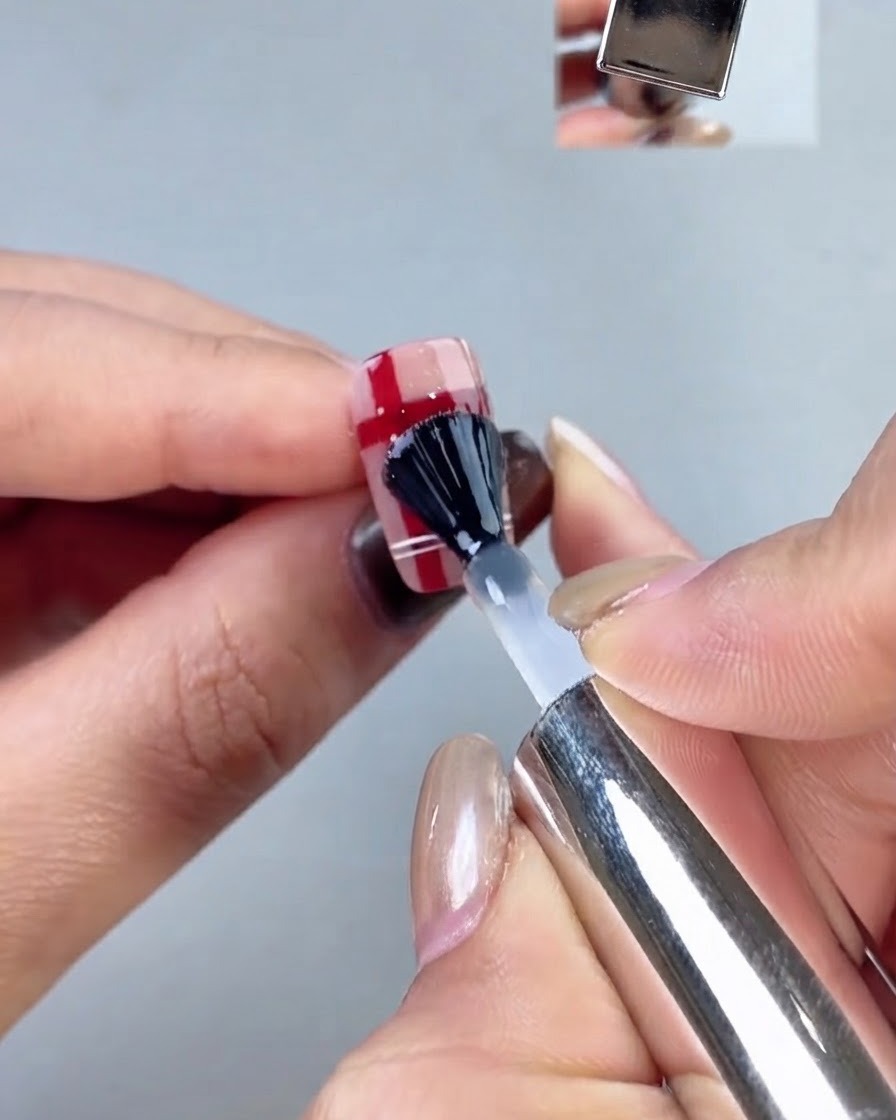
Brush a layer of powder-isolation top layer gel evenly over the entire nail pattern to protect the underlying design elements. Ensure smooth coverage from the cuticle down to the free edge before curing under the lamp.
Tip: The powder-isolation top layer prevents subsequent powders or pigments from sticking where they are not wanted, keeping your design crisp. - 8Draw additional white lines with silk gel
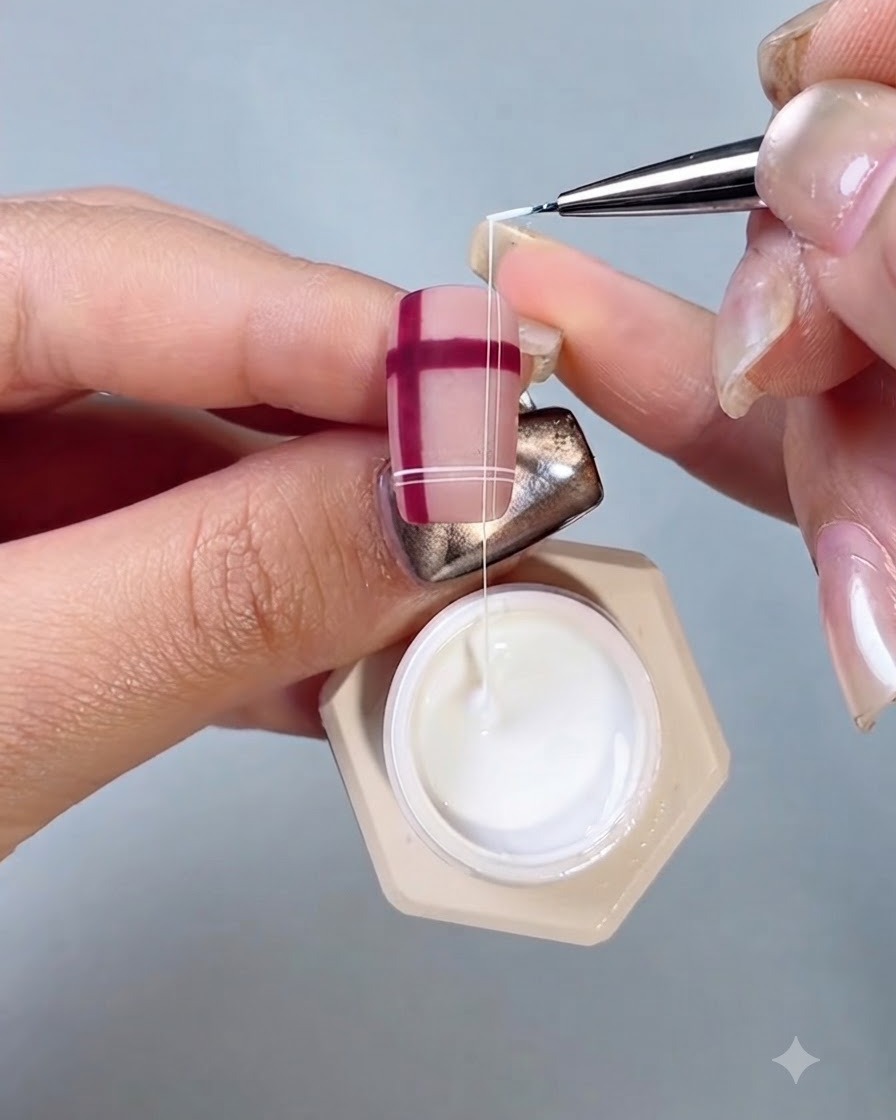
Using silk gel white and a fine detailing brush, carefully draw two additional lines across the existing lattice pattern to enhance the plaid design. Maintain a steady hand to keep the lines thin, straight, and evenly spaced.
Tip: Keep the brush lightly loaded with silk gel to prevent clumping and ensure crisp, clean lines. - 9Dab light gold powder
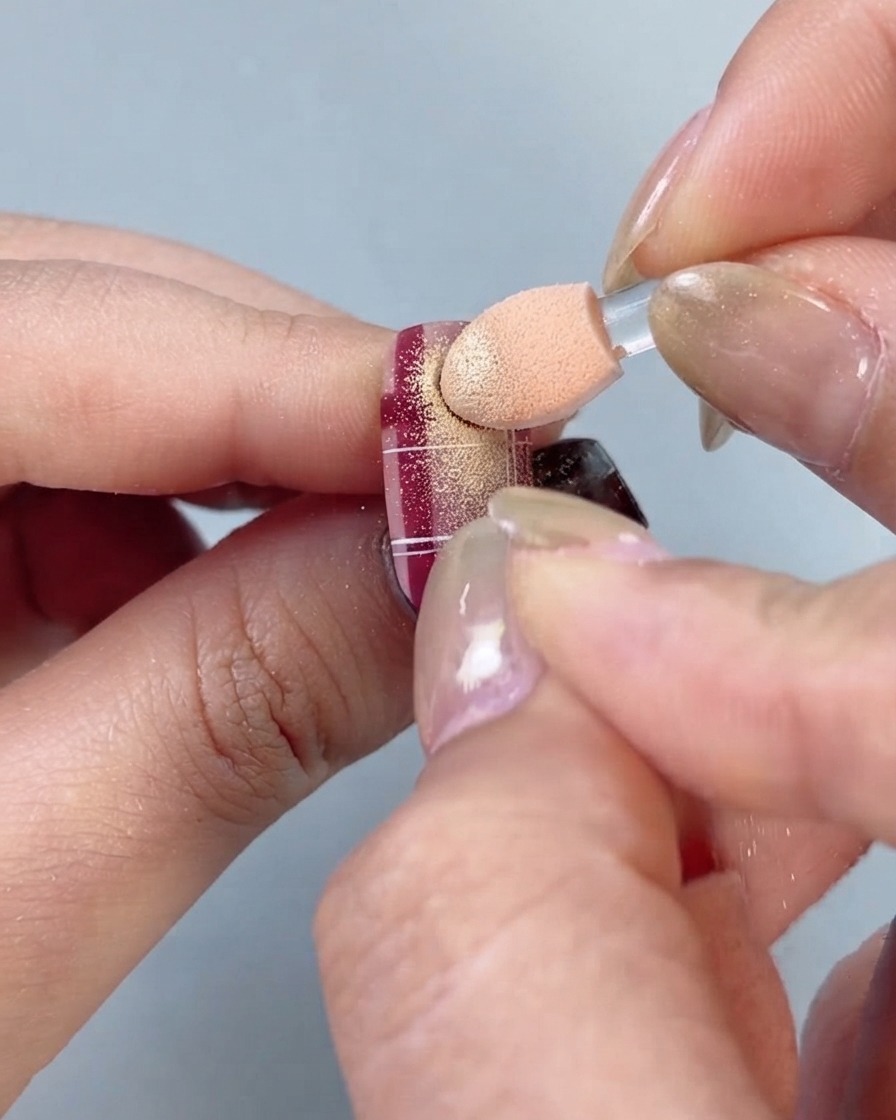
Using a small sponge applicator, gently dab light gold powder onto the designated wet or tacky areas of the nail design. Press the powder lightly to ensure it adheres smoothly and creates a subtle, shimmering metallic accent effect.
Tip: Tap off any excess powder from the applicator before pressing it onto the nail to avoid clumping. - 10Brush off excess powder
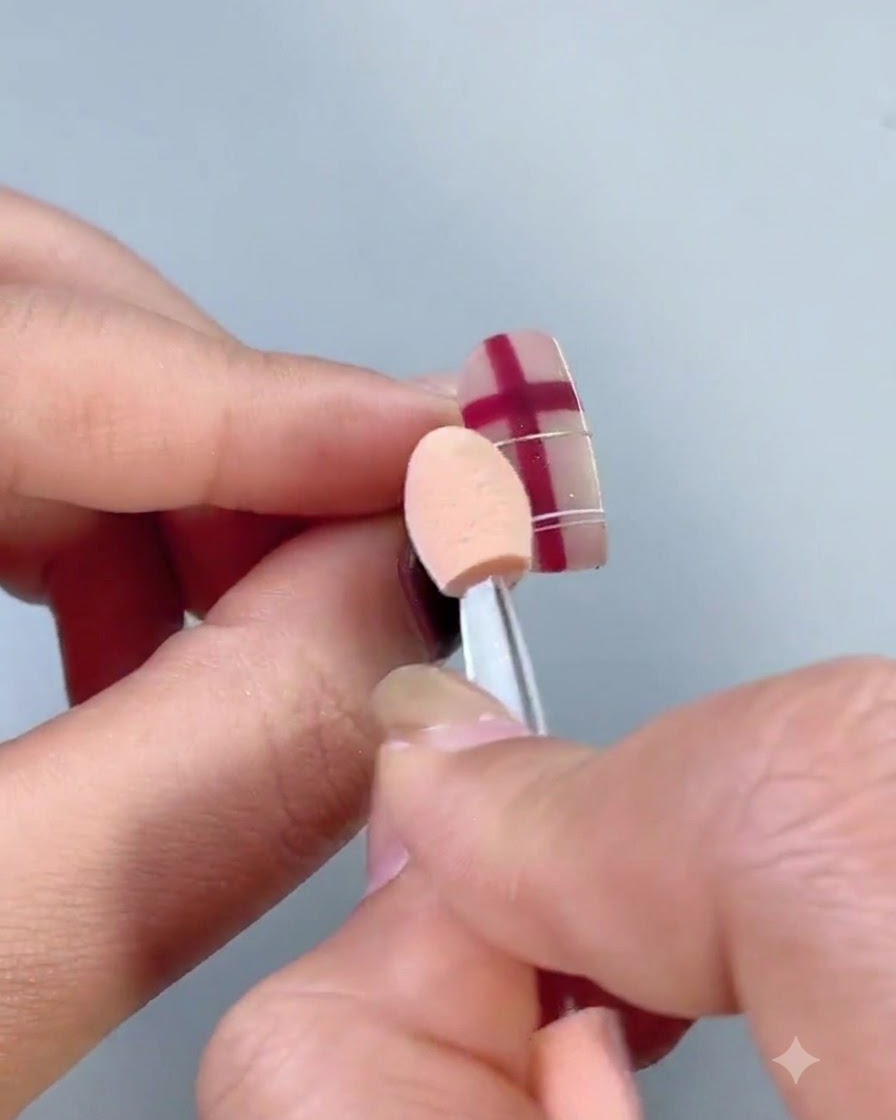
Using a soft dusting brush, gently sweep away any loose or excess powder particles resting on the nail surface or surrounding skin. This reveals a clean, sharp metallic accent line without messy residue interfering with the top coat.
Tip: Use a very soft-bristled brush to avoid disturbing or smudging the fine powder details you just applied. - 11Apply dab-powder top layer gel
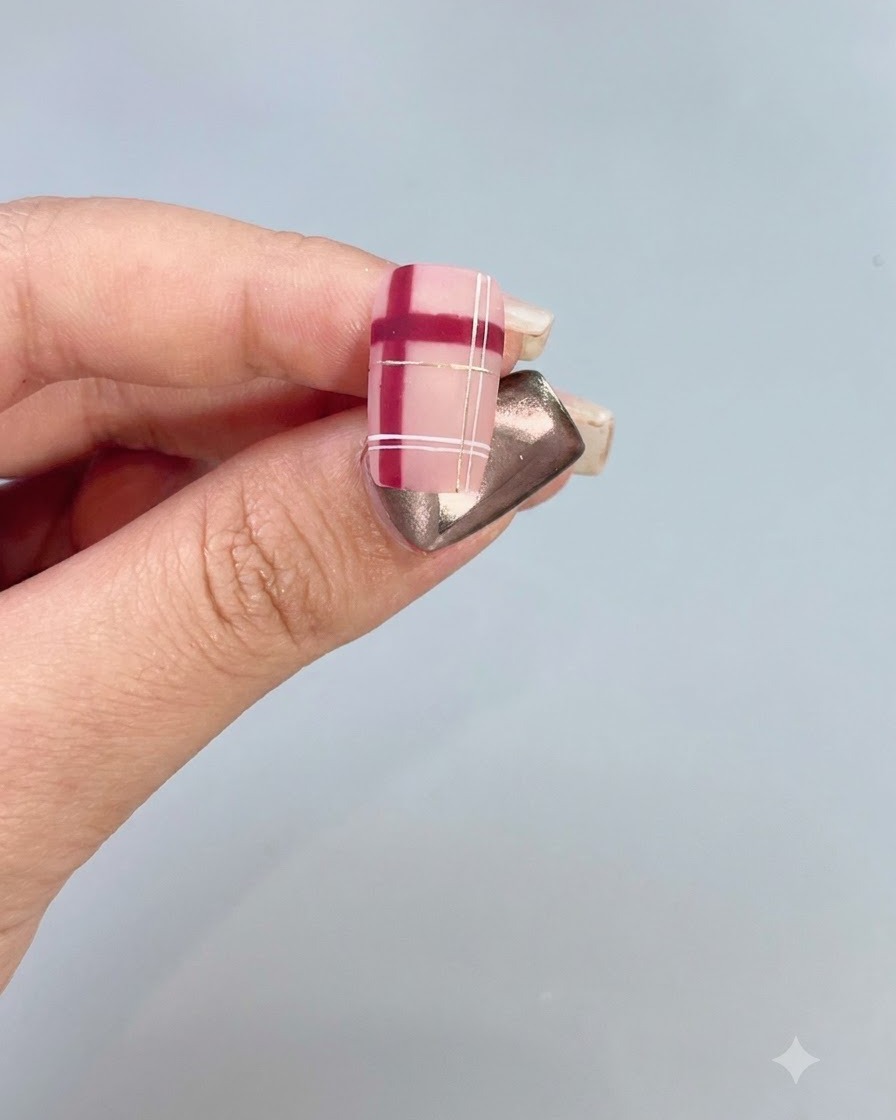
Apply a layer of dab-powder top layer gel to securely seal the newly added powder details and lines. This locks the design elements in place and provides a stable surface for the next steps.
Tip: Be gentle when applying this layer to avoid disturbing any loose powder or delicate line work. - 12Apply final smoothing top layer
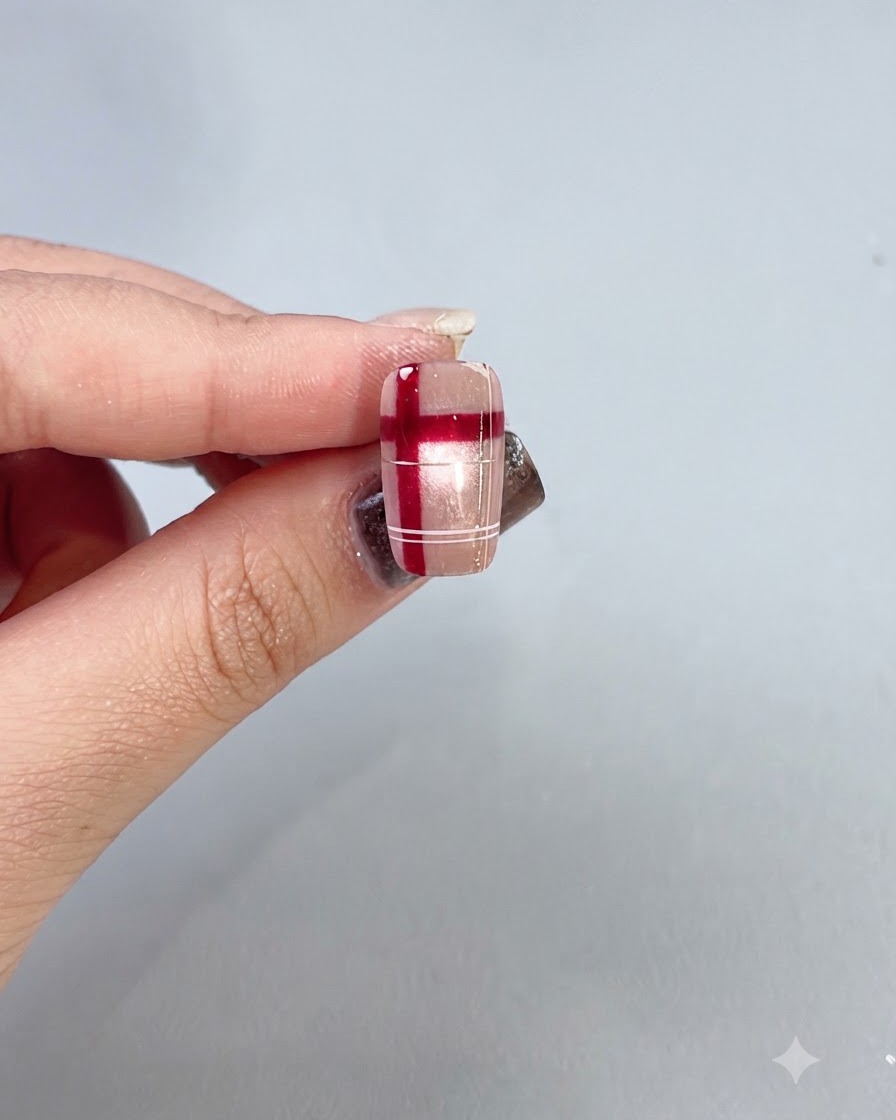
Apply a smooth, high-gloss final top layer over the entire nail surface, making sure to cap the free edge completely. This gives the crystal lattice design a brilliant, professional shine and long-lasting protection.
Tip: Always cap the free edge of the nail with top layer to prevent chipping and lifting over time. - 13Apply ox blood red gel on second nail
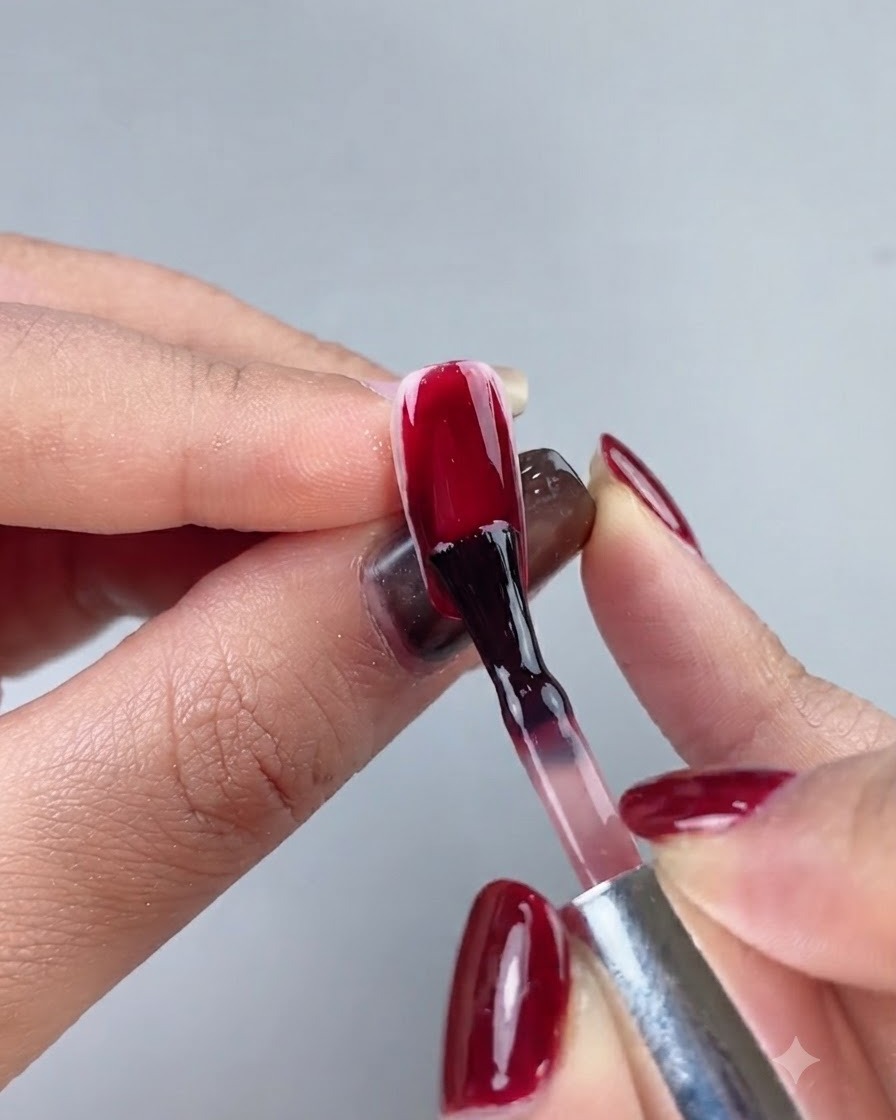
On the second full nail, take ox blood red No. 2 gel and brush a smooth, even full layer from the cuticle to the free edge. Ensure the color distribution is rich and uniform.
Tip: Apply thin coats of rich colored gels to ensure even curing and prevent wrinkling. - 14Seal the second nail with top layer
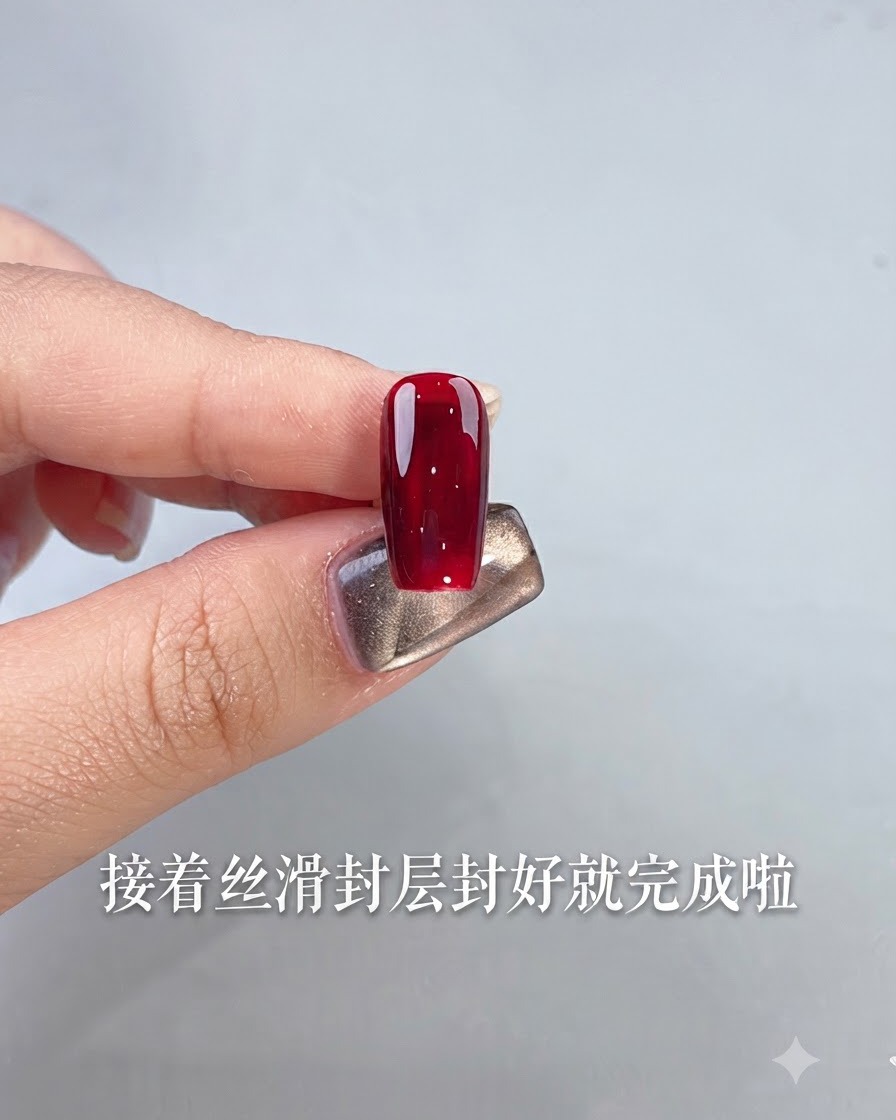
Apply a smooth top layer on the second nail to seal in the deep ox blood red color and provide a glossy finish. Cure under the lamp to complete this nail.
Tip: A smooth top coat seals the vibrant color and enhances its glossy depth. - 15Display the third nail lattice design
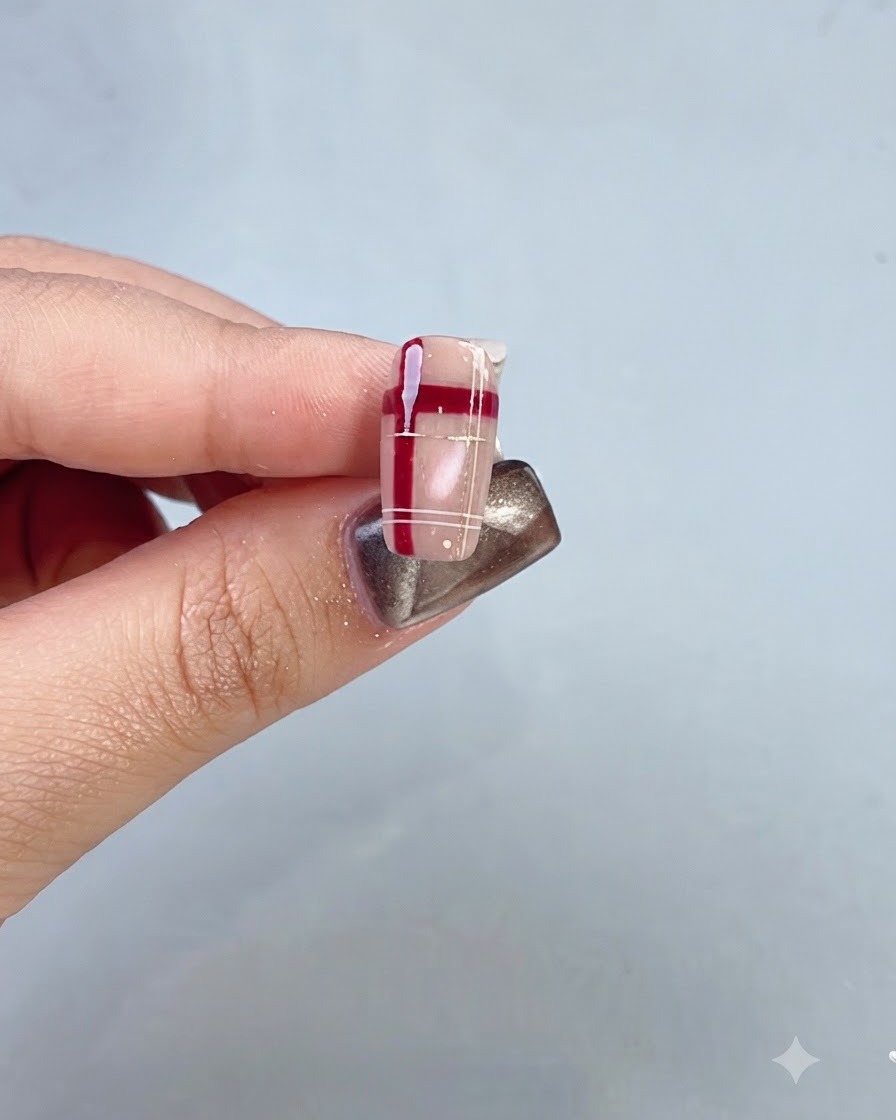
Present the completed third nail, showcasing the finished red crystal lattice pattern which matches the design created on the thumb. Ensure the lines, gold accents, and overall structure are uniform and polished.
Tip: Consistency across matching nails gives the final manicure a professional and cohesive look. - 16Apply base coat to the fourth nail
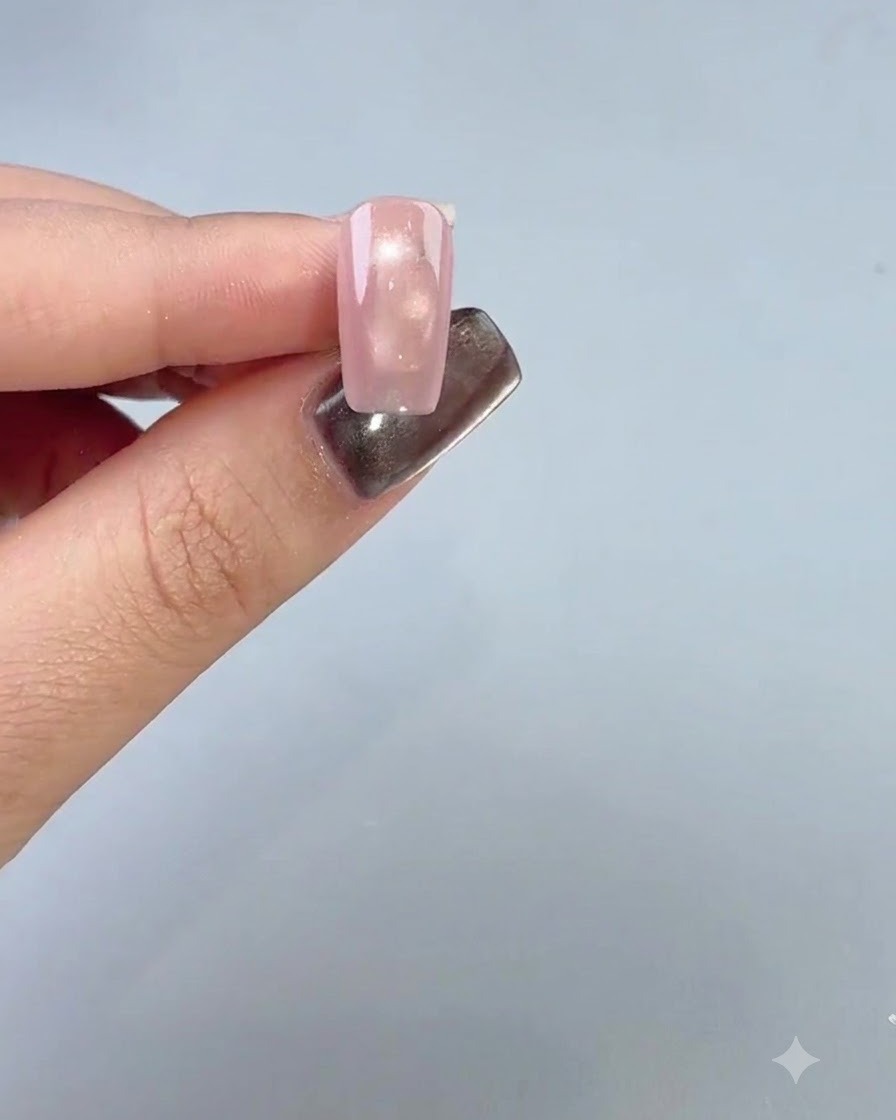
Apply a smooth base coat layer onto the fourth nail following the exact procedure used in earlier steps. Ensure the application is even and covers the entire nail plate in preparation for the upcoming French tip design.
Tip: A smooth, properly applied base coat ensures the subsequent French tip color adheres neatly without bleeding. - 17Paint French tip with ox blood red
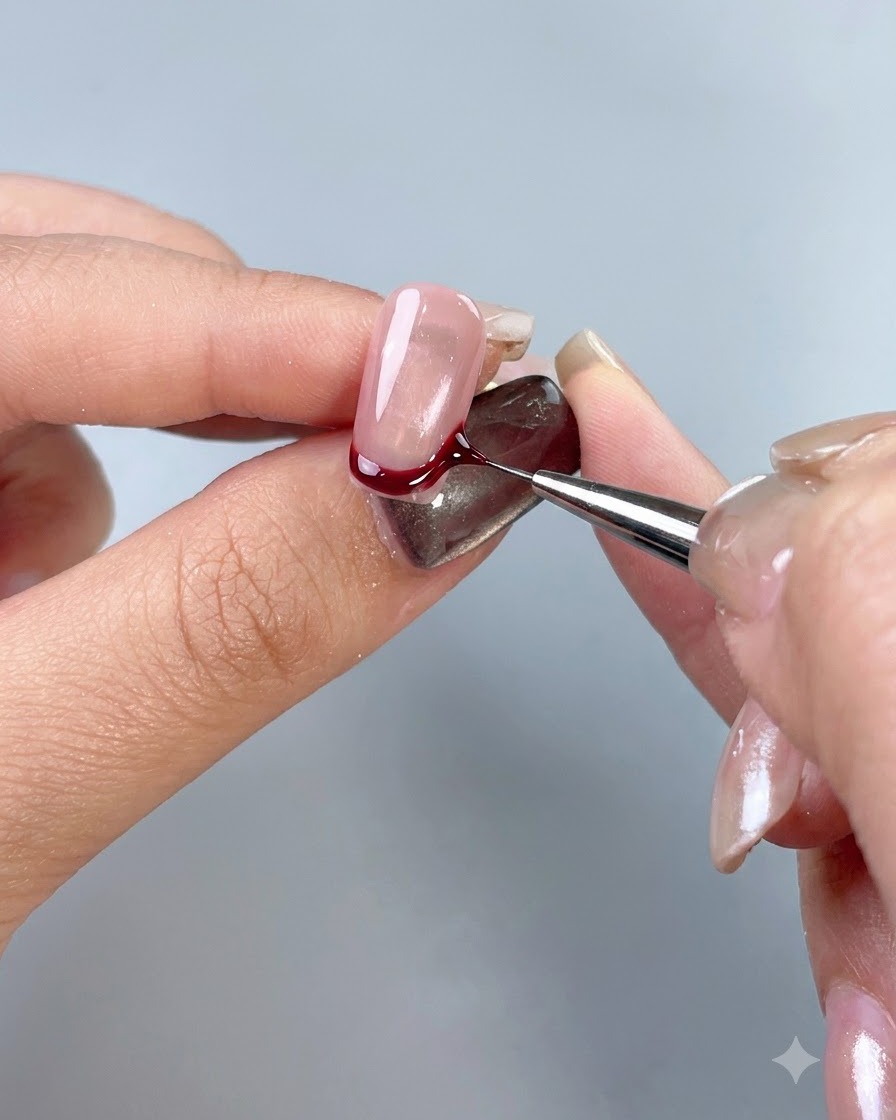
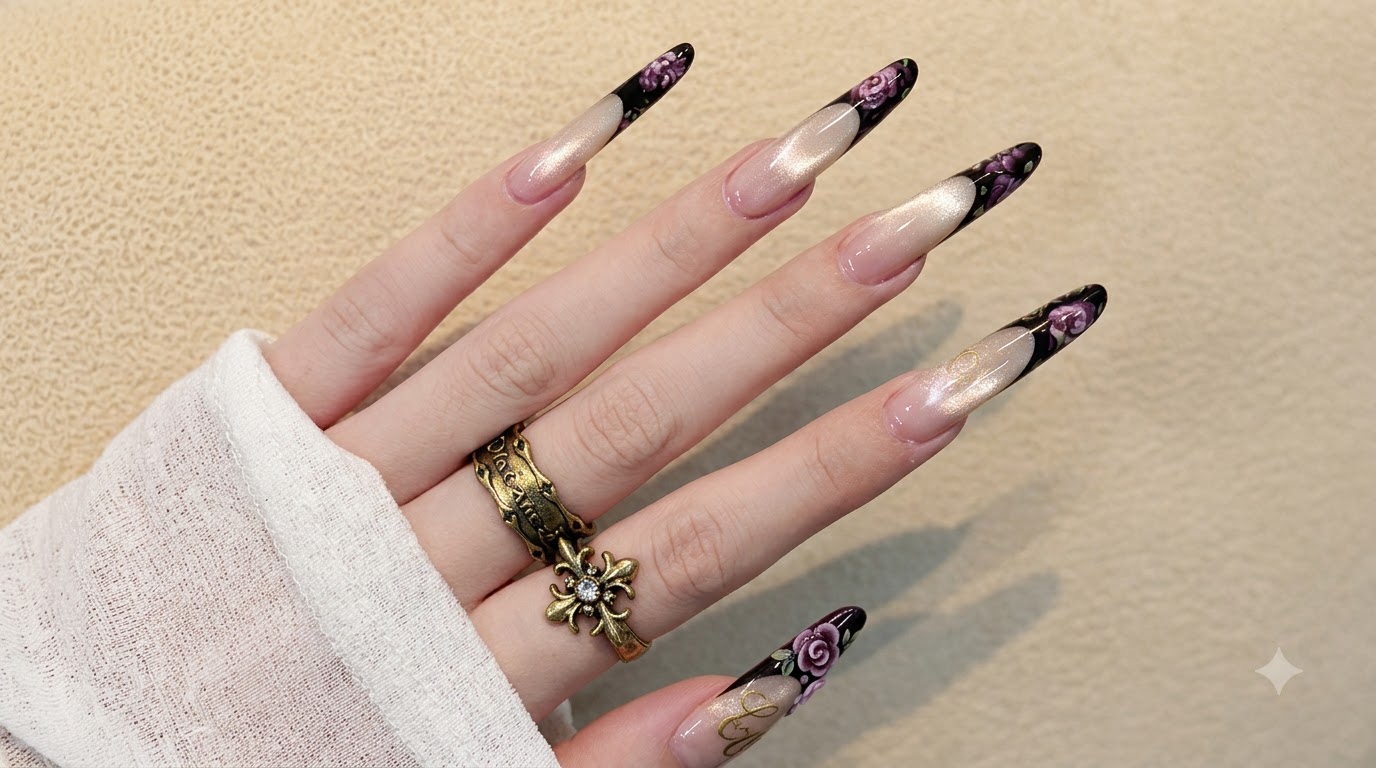
Dip a fine detailing brush into ox blood red No. 2 gel and carefully paint a clean, curved French tip design across the fingertip of the fourth nail. Keep the smile line neat and well-defined.
Tip: Anchor your pinky finger for stability while drawing the French tip curve to achieve a smooth, steady line. - 18Seal with a smooth top layer
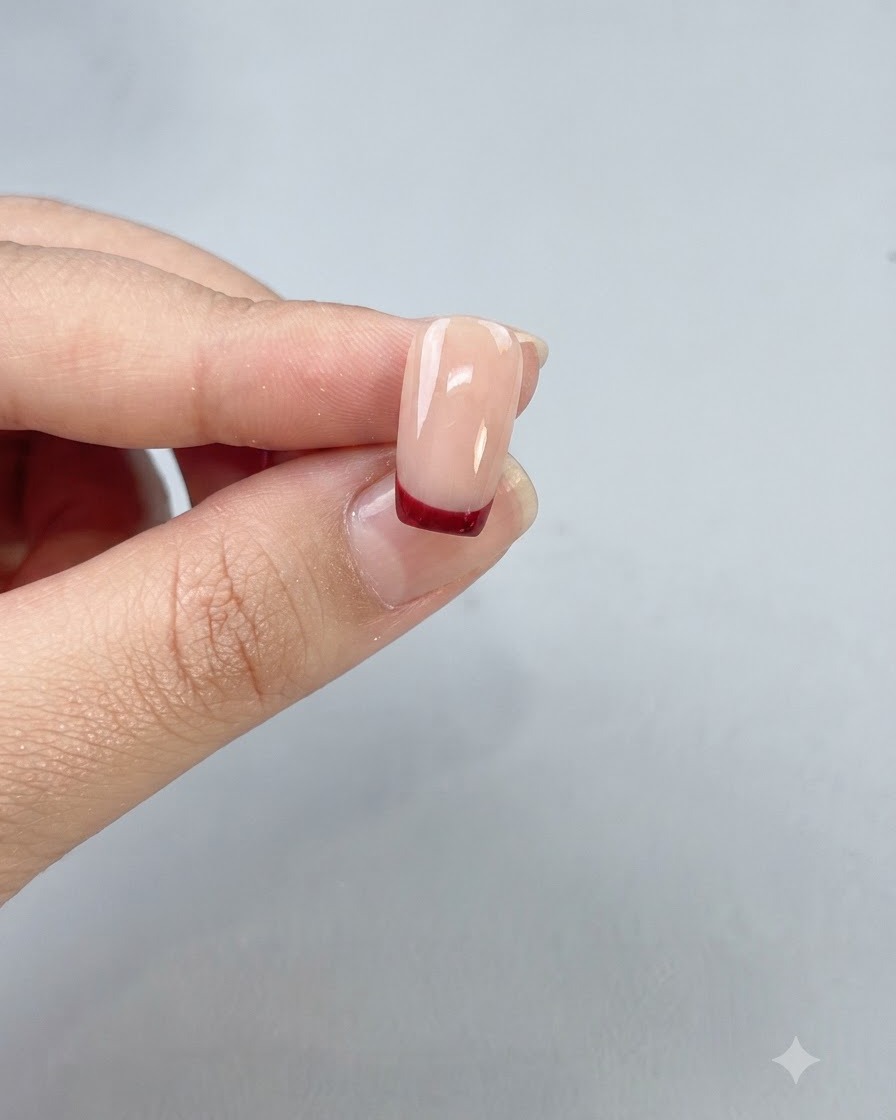
Apply a final layer of smooth top coat over the entire nail to seal the French tip design, protect the color, and impart a brilliant glossy finish. Cap the free edge and cure under the lamp.
Tip: Capping the free edge with top coat prevents chipping and prolongs the life of your French manicure.