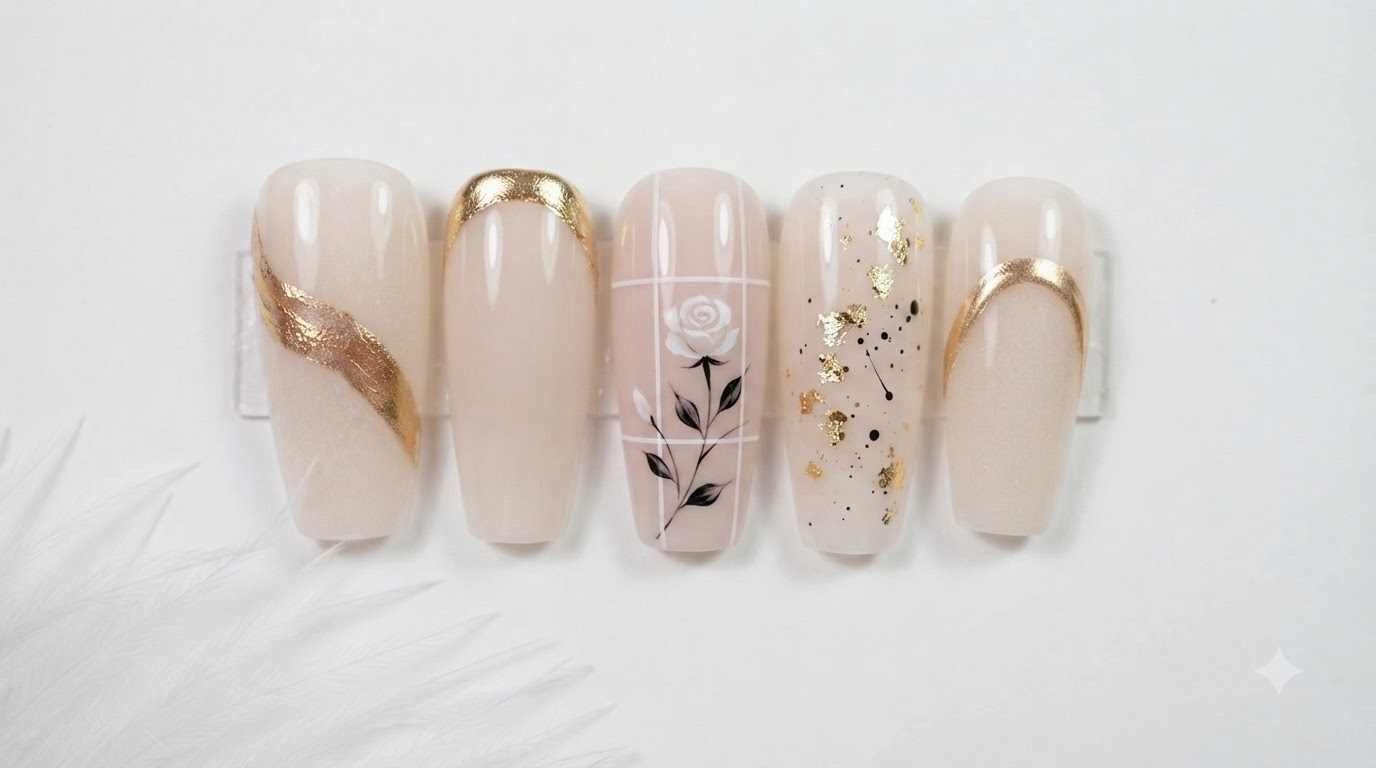
3D Sculpted Rose
Diamond Accents Nail Art — Step-by-Step Tutorial
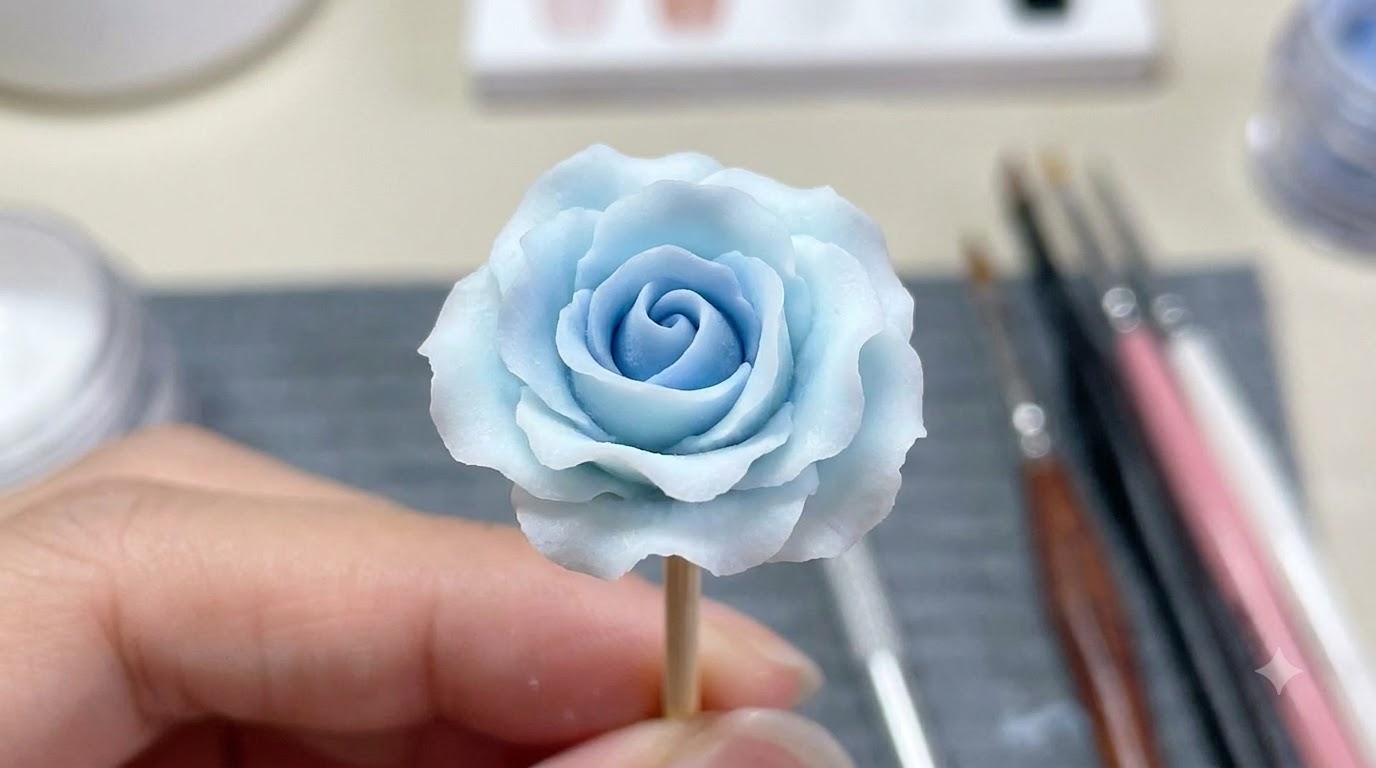
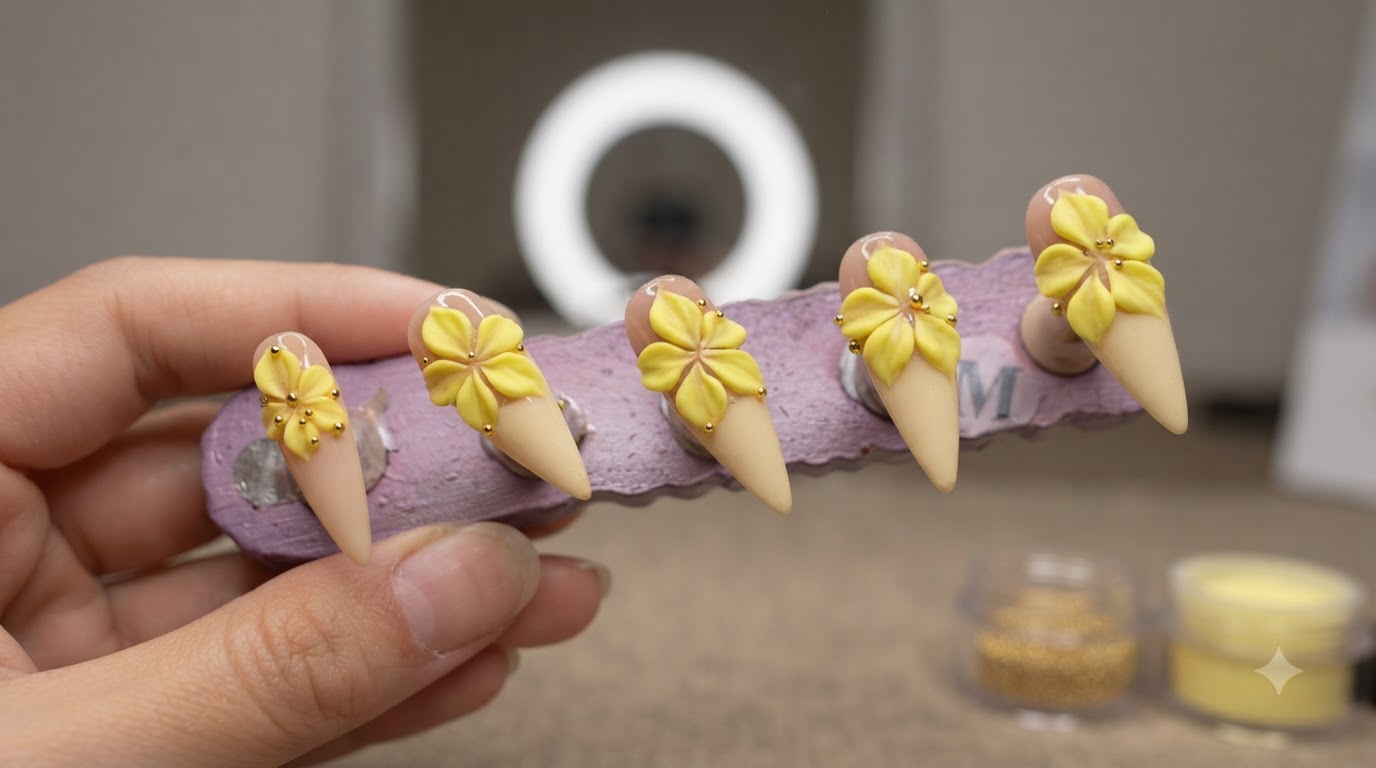
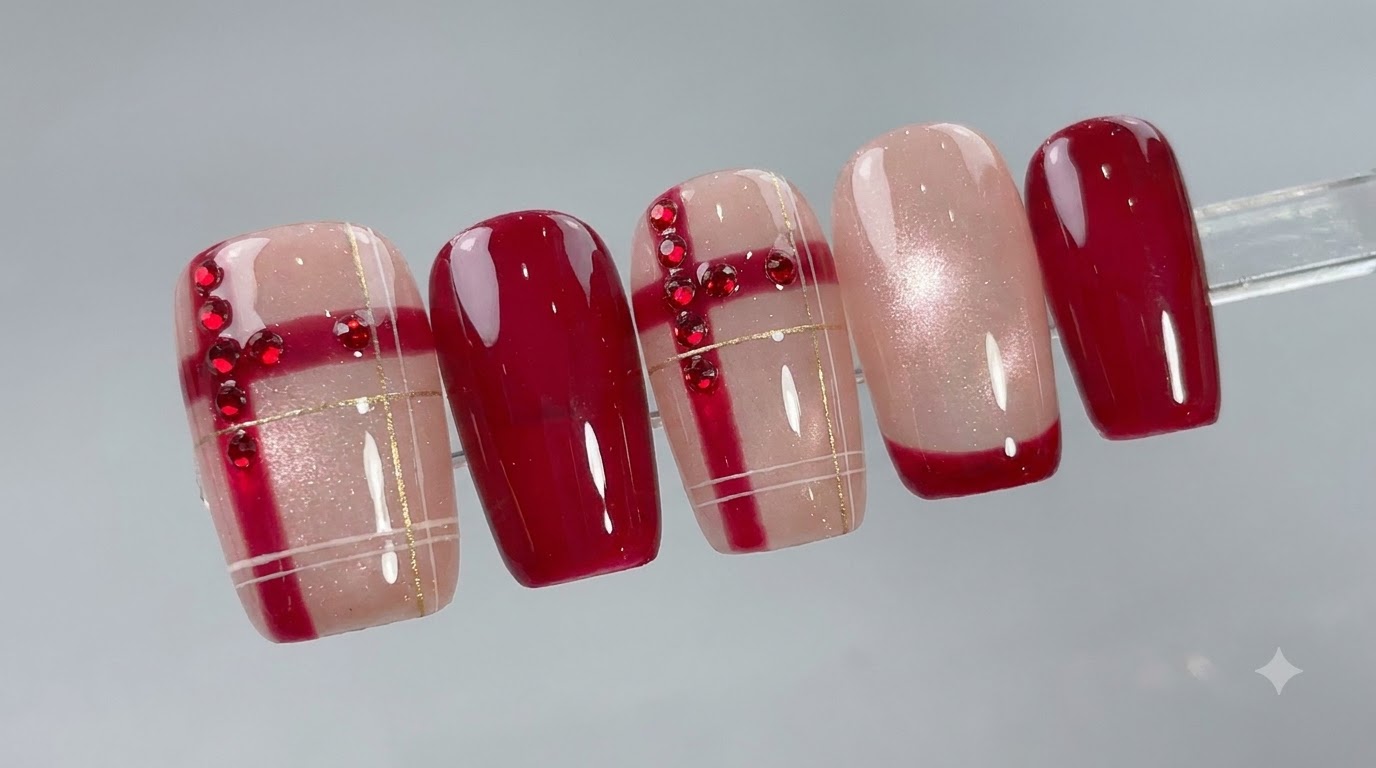
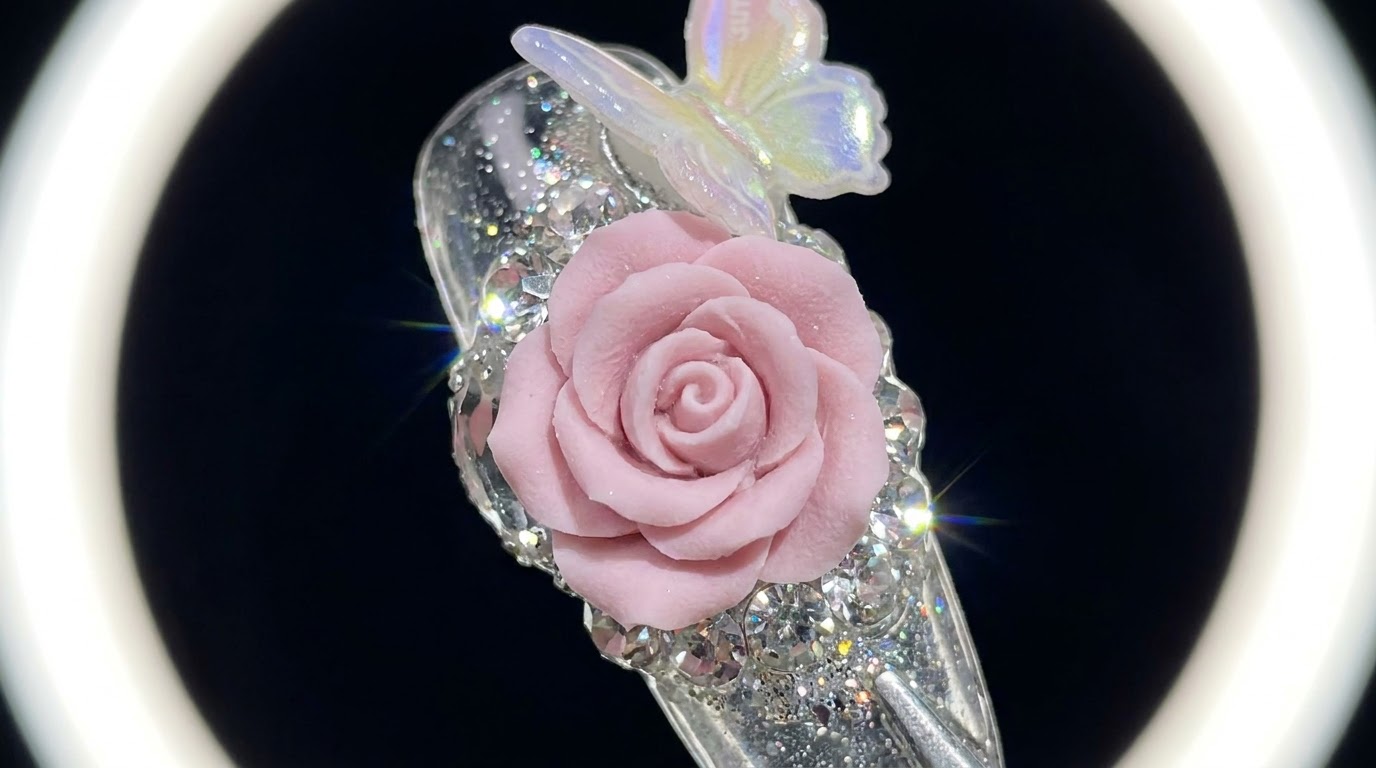
Learn how to create stunning 3D sculpted pink rose nails accented with sparkling rhinestones, delicate silver details, and an iridescent butterfly finish.
Three-dimensional floral nail art elevates any manicure into a true work of wearable art. This detailed tutorial guides you through crafting a custom sculpted pink rose petal by petal, complete with brilliant crystal placement, elegant metal beads, and a charming butterfly accent for a luxurious finish.
Steps
- 1Apply Rhinestone Glue for Rose Placement
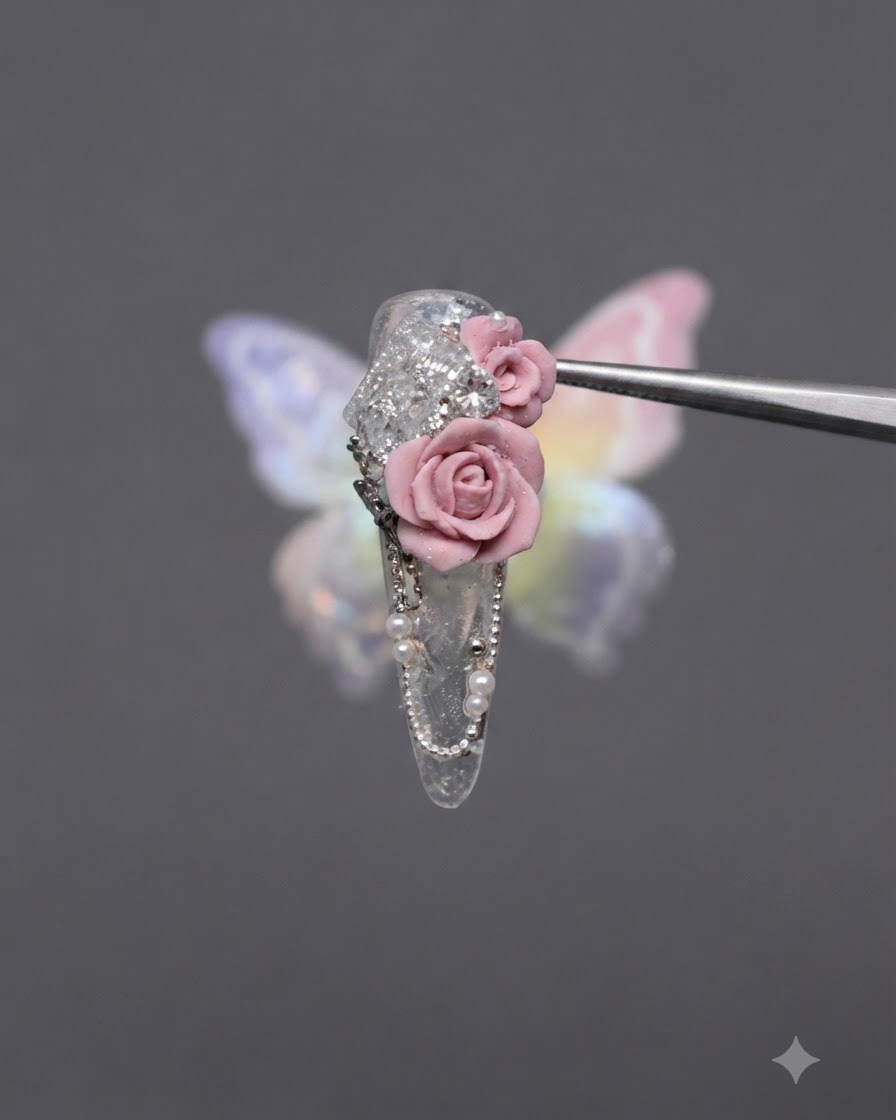
Apply a small amount of rhinestone glue next to the rhinestone base on the clear practice nail. This adhesive provides a strong base to securely attach a small rose embellishment.
Tip: Place the glue precisely where the rose will sit to avoid messy overflow. - 2Cure the Adhesive Position
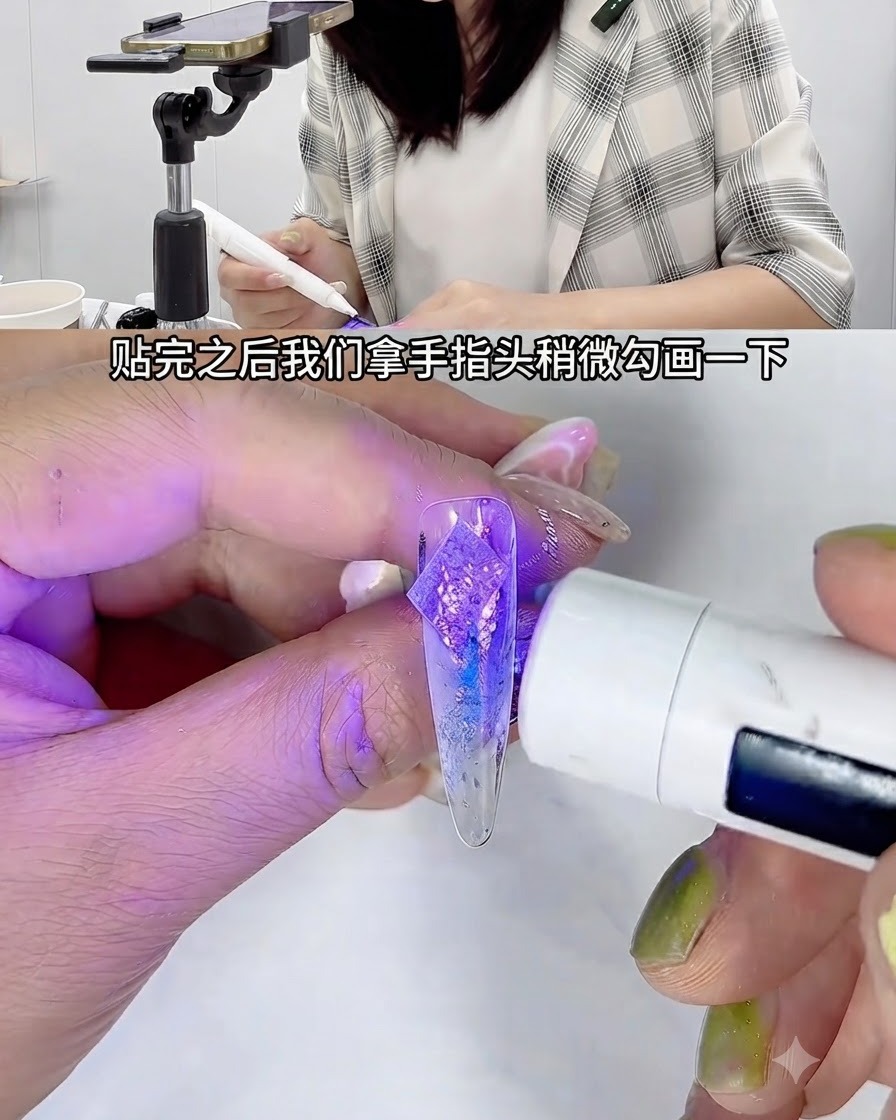
Hold a mini handheld UV nail lamp over the freshly placed glue, rhinestone, and rose position to partially cure and lock the elements in place before proceeding with further sculpting.
Tip: Flash cure for 10 to 15 seconds to prevent components from shifting during the next steps. - 3Prepare Pink Sculpting Gel Disc
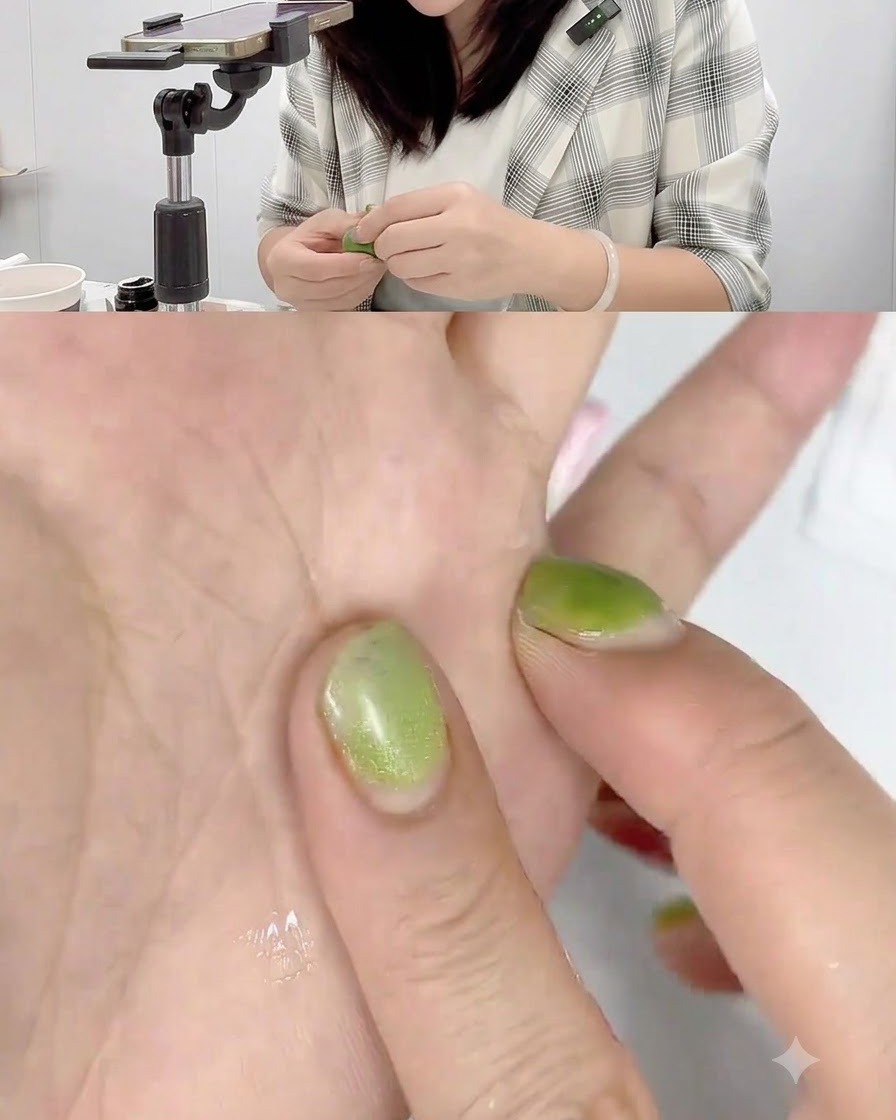
Scoop a small ball of pink sculpting gel onto the palm of your hand and press it flat into a small disc shape, preparing it to be shaped into a flower petal.
Tip: Ensure your hands are slightly wet or prepped to prevent the sculpting gel from sticking to your skin. - 4Shape the Petal Corner
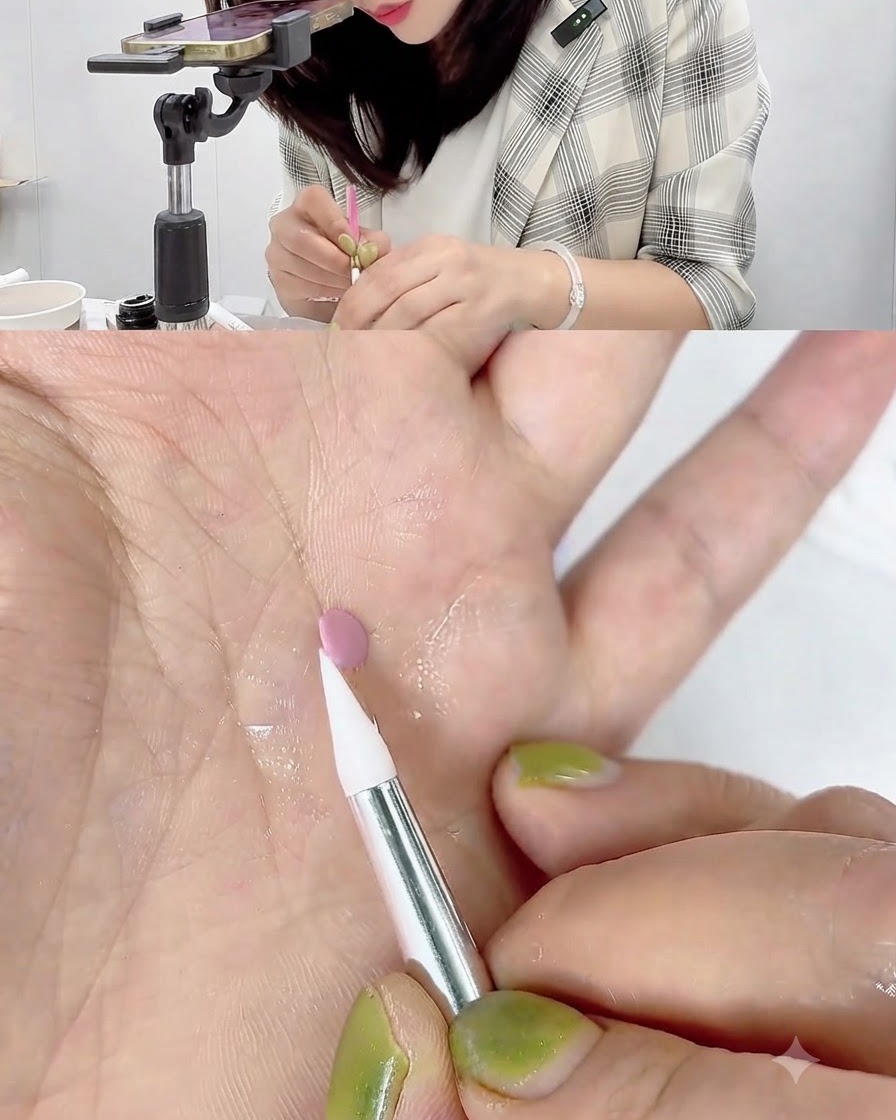
Use a silicone carving pen to gently roll and curl one corner of the flattened pink gel disc. This creates the natural curved edge characteristic of a blooming rose petal.
Tip: Roll gently to avoid tearing or thinning the gel too much at the edge. - 5Transfer and Wrap the Petal
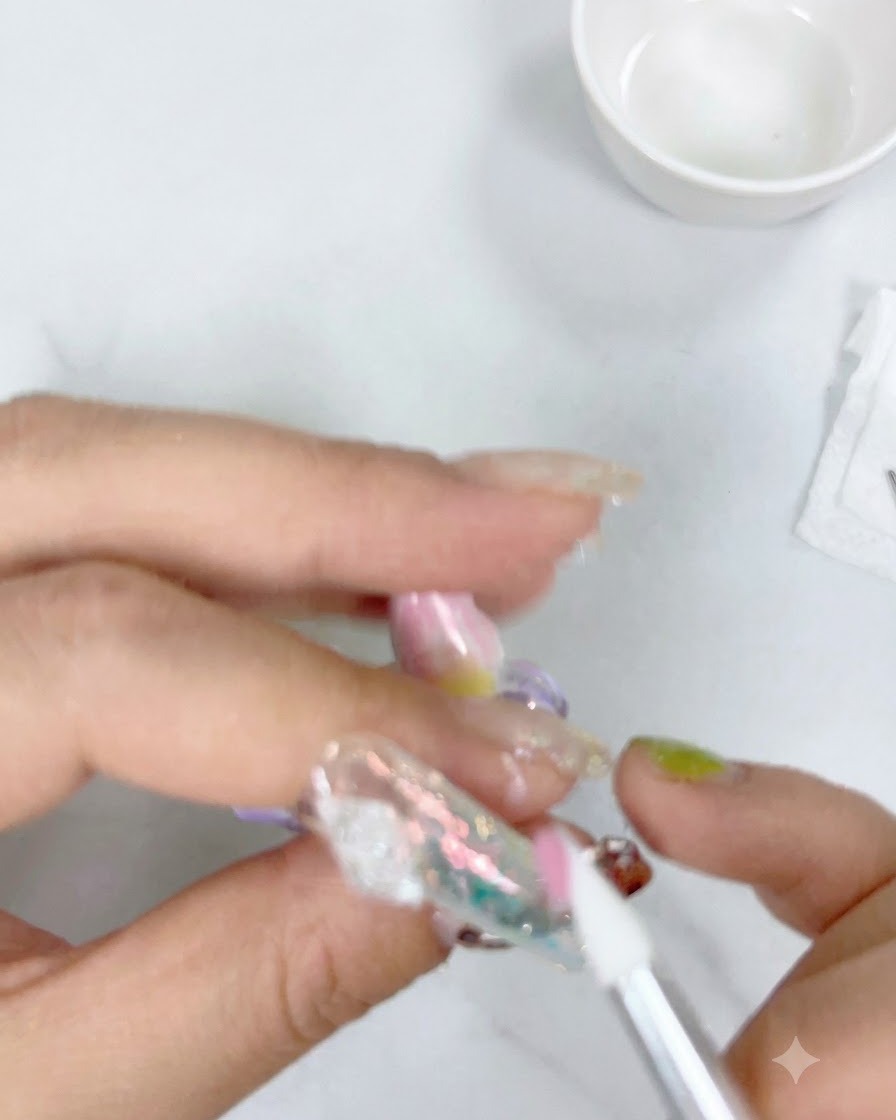
Carefully pick up the curled pink gel petal and transfer it onto the nail surface, shaping and wrapping it around the existing base elements.
Tip: Position the petal snugly against the previous structure to create a seamless floral arrangement. - 6Cure the Attached Petal
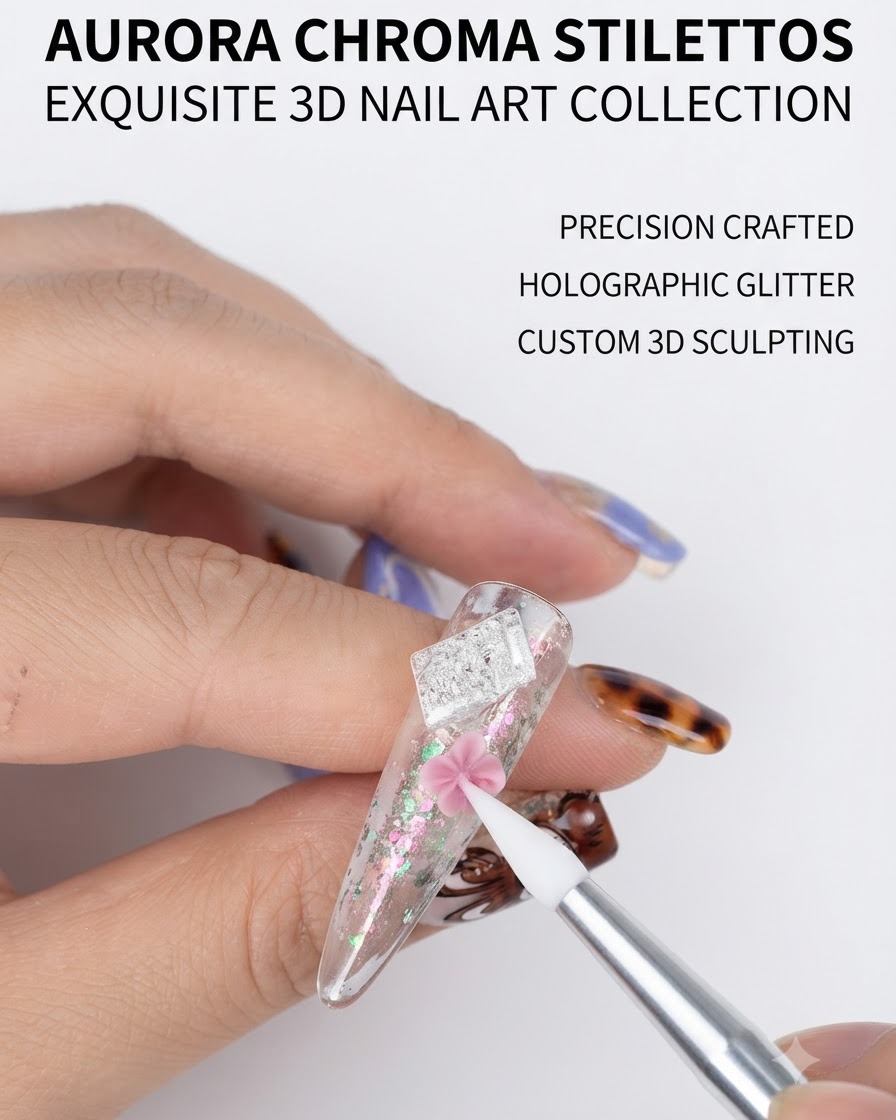
Use the mini handheld UV lamp to cure the newly attached petal so it retains its shape and dimension before adding subsequent layers.
Tip: Brief flash curing helps maintain the 3D structure without letting the gel slump. - 7Flatten pink sculpting gel on wetted hand
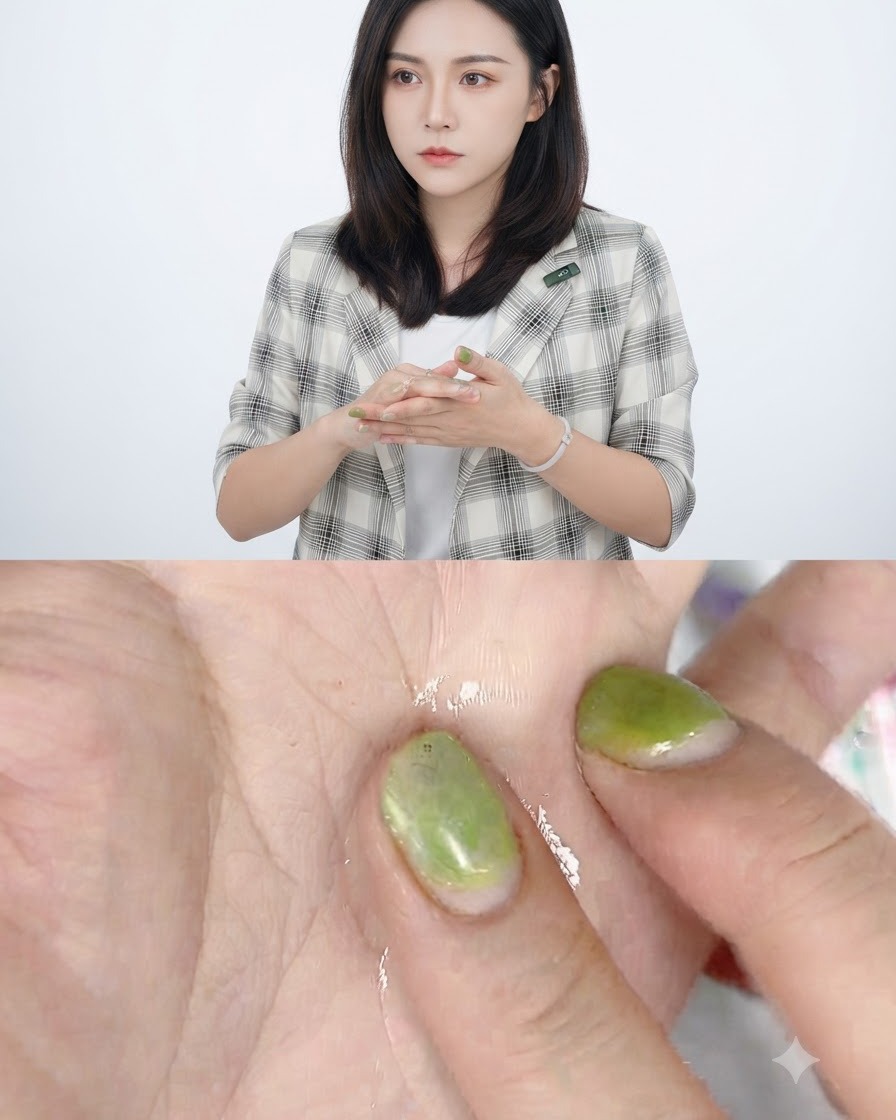
Take another ball of pink sculpting gel and flatten it onto your hand, which has been wetted with cleaning water to prevent the gel from sticking to your skin. Press and shape the gel into a smooth, thin layer ready to be formed into a petal.
Tip: Make sure your hand is sufficiently dampened with cleaning water so the sculpting gel lifts off easily without tearing. - 8Absorb excess moisture from the gel
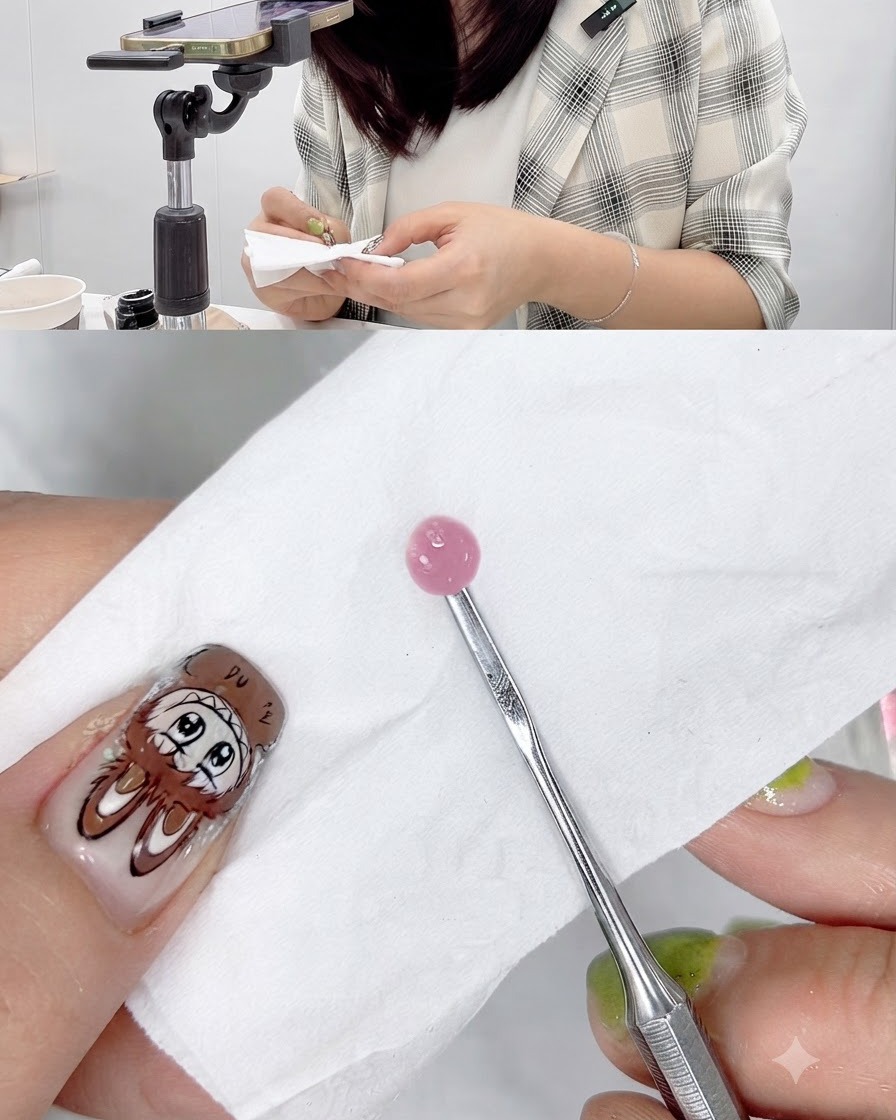
Take a paper tissue and gently blot the surface of the flattened pink sculpting gel ball to absorb excess moisture. Removing extra liquid ensures the gel maintains its structural integrity and handles properly when sculpting petals.
Tip: Blot gently so you remove surface wetness without distorting the shape of the gel ball. - 9Position and wrap the flower core petal
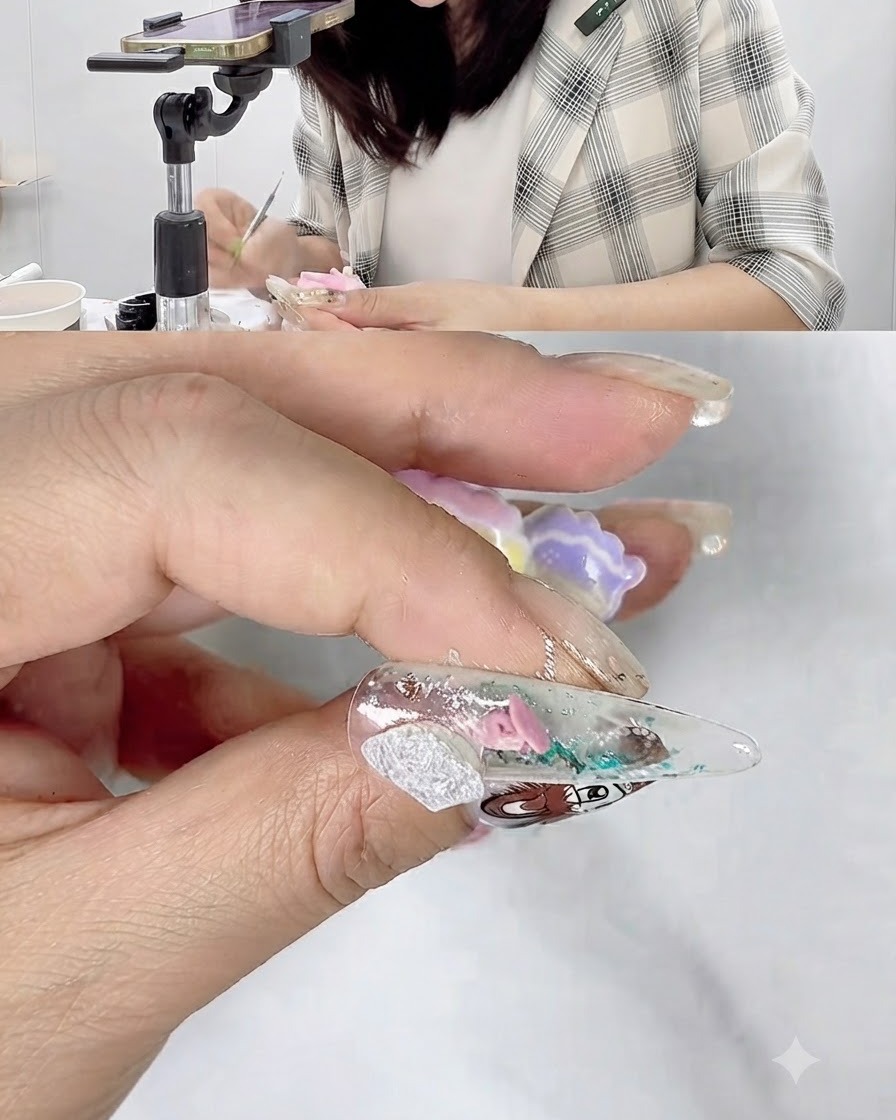
Take the prepared petal and place it right next to the previously sculpted petal on the nail surface. Wrap and hug it closely around the root to build out the layered structure of the rose design.
Tip: Tuck the base securely against the root to ensure a seamless connection between petals. - 10Cure the first half of the rose
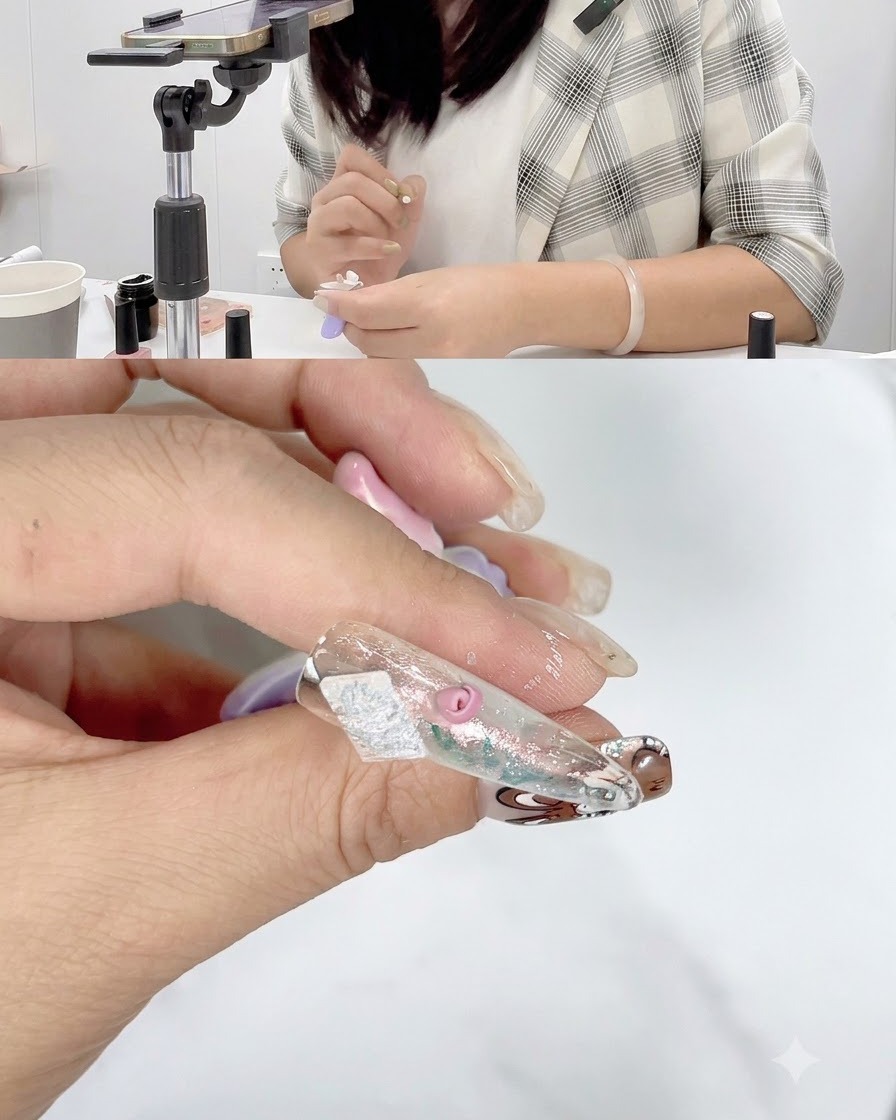
Place the nail under the UV or LED lamp to flash-cure the first half of the wrapped rose construction. Curing at this stage locks the petals in place and prevents them from shifting while you work on the rest of the flower.
Tip: A brief flash-cure is enough to stabilize the gel before adding subsequent layers. - 11Apply a new pink gel ball for the next layer
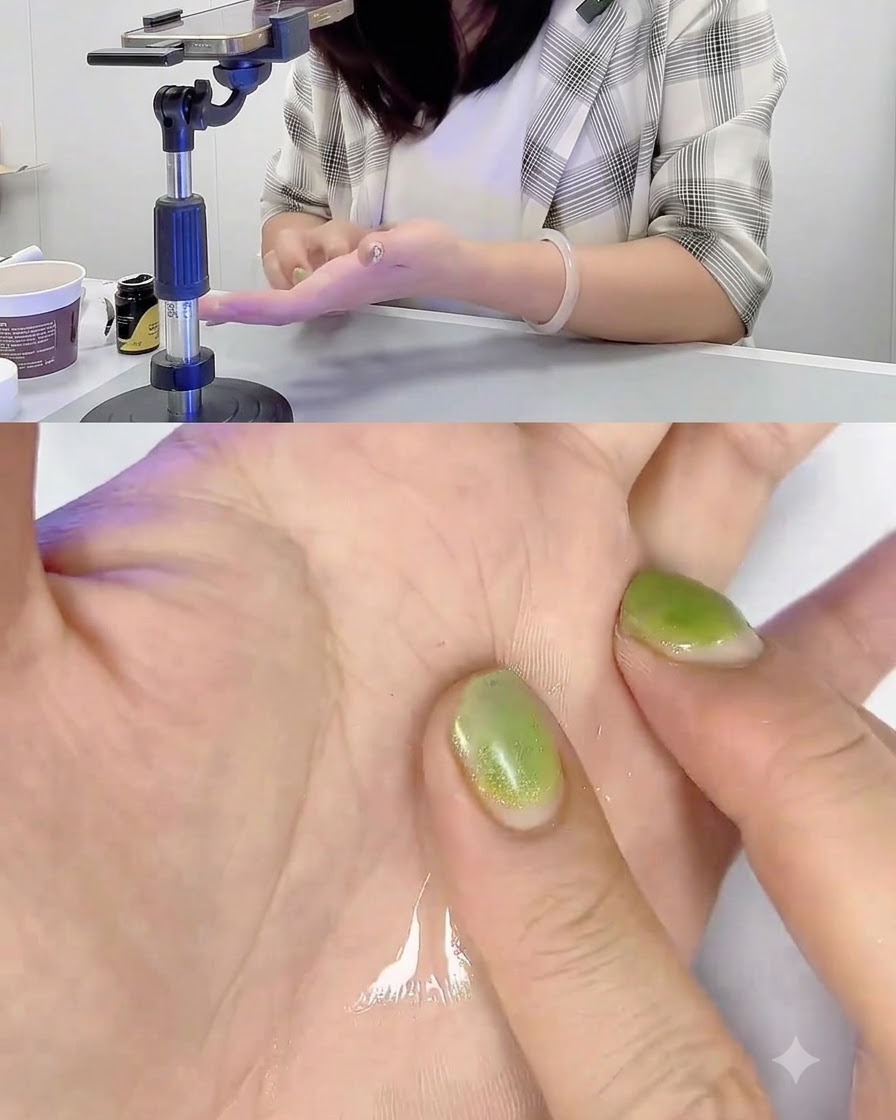
Take a new ball of pink sculpting gel and press it so that it overlaps onto about one-third of the previously cured petal. This overlapping placement creates a natural, layered progression for the expanding rose flower.
Tip: Overlap the gel slightly onto the previous section to maintain structural continuity. - 12Pull and shape petal edges with a carving pen
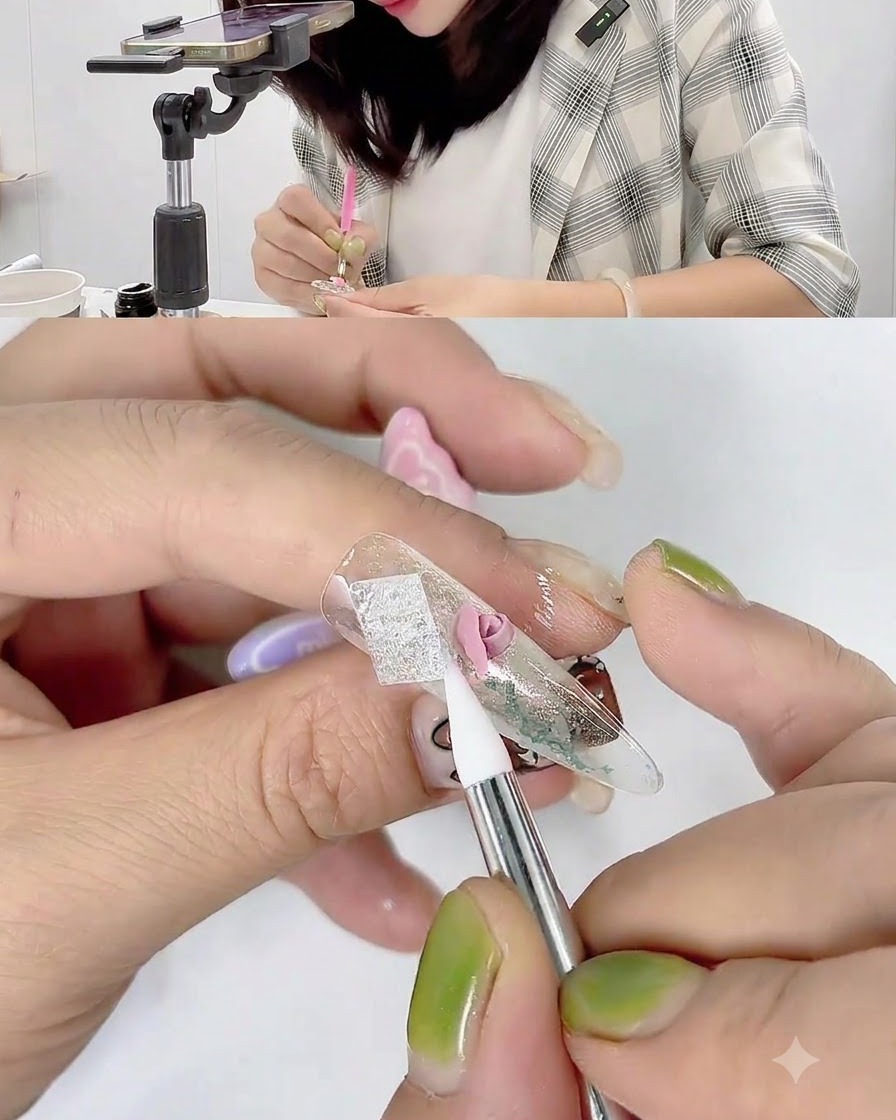
Using a silicone carving pen, press down to attach the new gel section and gently pull or flare the edges backward. This creates the characteristic organic curves and flared look of open rose petals.
Tip: Keep your carving pen clean and slightly damp if necessary to prevent it from dragging or sticking to the gel. - 13Cure the second rose petal layer
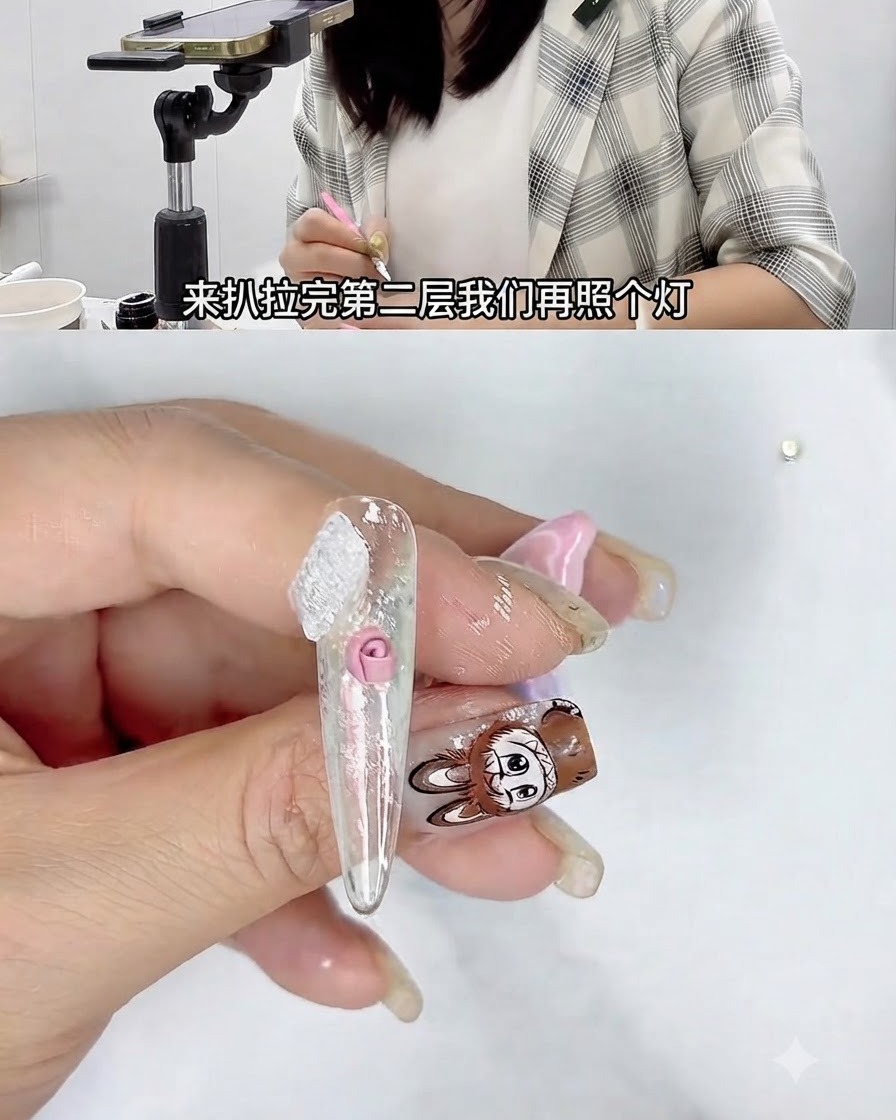
Place the nail under the UV or LED lamp to flash cure the newly formed second layer of rose petals. Curing at this stage ensures the petals maintain their elevated shape and structure before you proceed to add more details or additional flowers.
Tip: A brief flash cure is enough for sculpting gel between layers to prevent shifting while keeping the surface tacky for subsequent additions. - 14Apply and flare outer rose petals
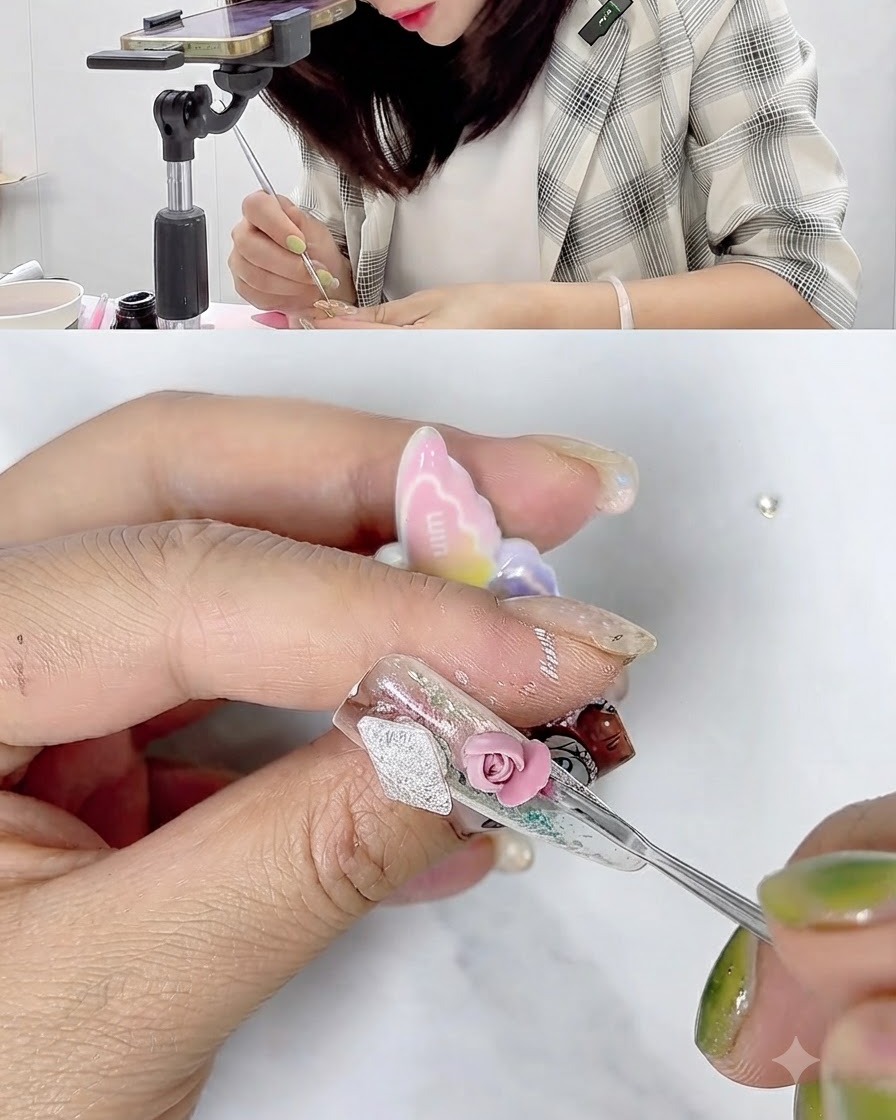
Take another small amount of pink sculpting gel and press it onto the nail, positioning it to build out the next layer of the rose. Gently pull and flare the edges outward slightly more than the inner layers to give the flower a blooming, open appearance.
Tip: Keeping the outer petals slightly more flared adds realistic depth and dimension to your 3D sculpted flowers. - 15Continue shaping the main rose
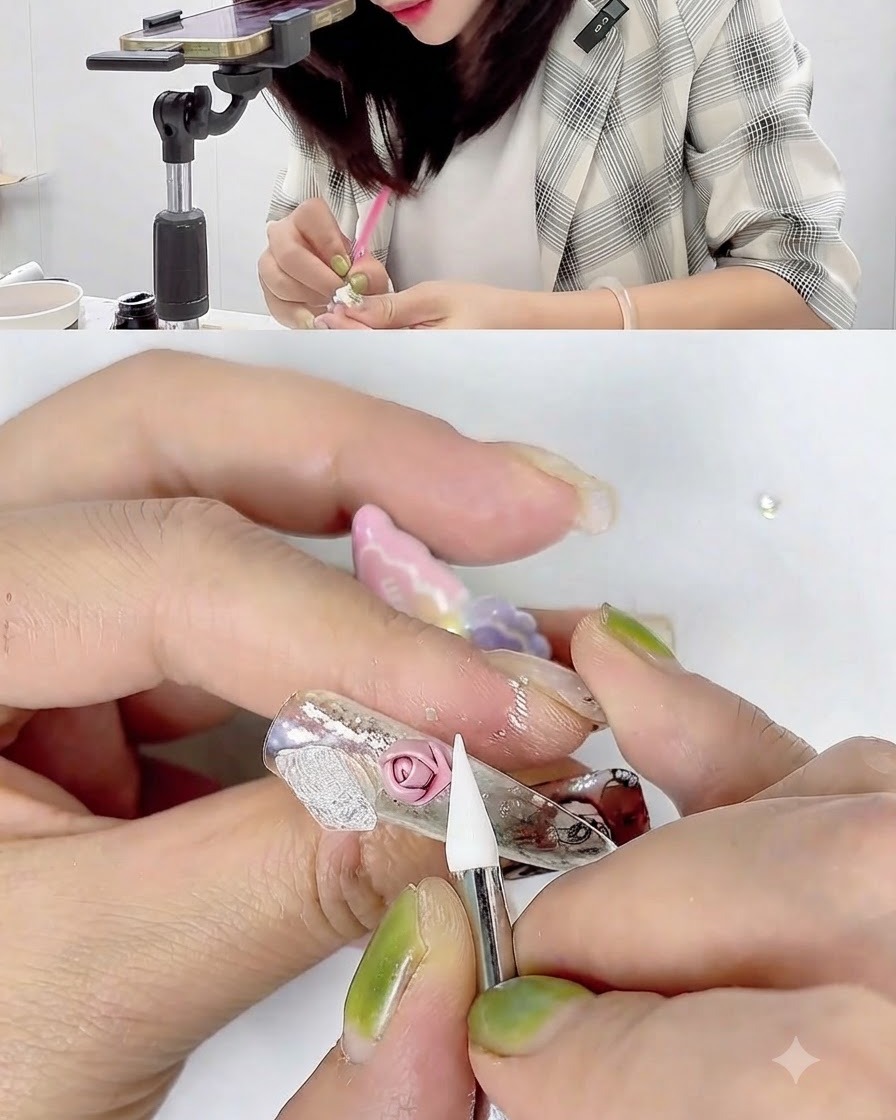
Work around the center of the rose, continuing to shape and wrap the outer petal layer to create a full and balanced floral structure. Use your tool to refine the curves and ensure each petal hugs the previous layer seamlessly.
Tip: Lightly moisten your tool with cleaning water if the gel begins to stick during the wrapping process. - 16Create a second smaller rose
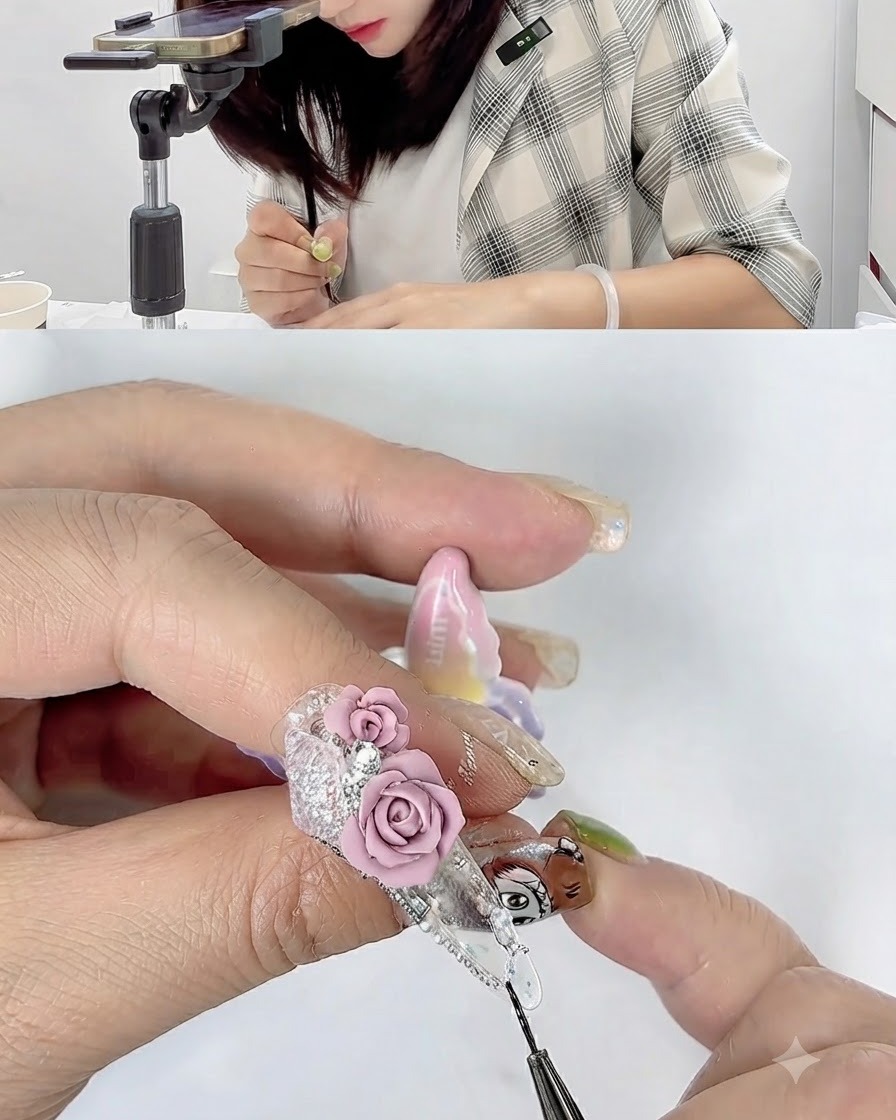
Begin crafting a second, smaller rose right next to the first main flower using the exact same wrapping and pressing technique. Build it step-by-step with small balls of pink sculpting gel to create a harmonious clustered floral design.
Tip: Position the second rose slightly offset from the first to create a natural, organic floral arrangement on the nail.