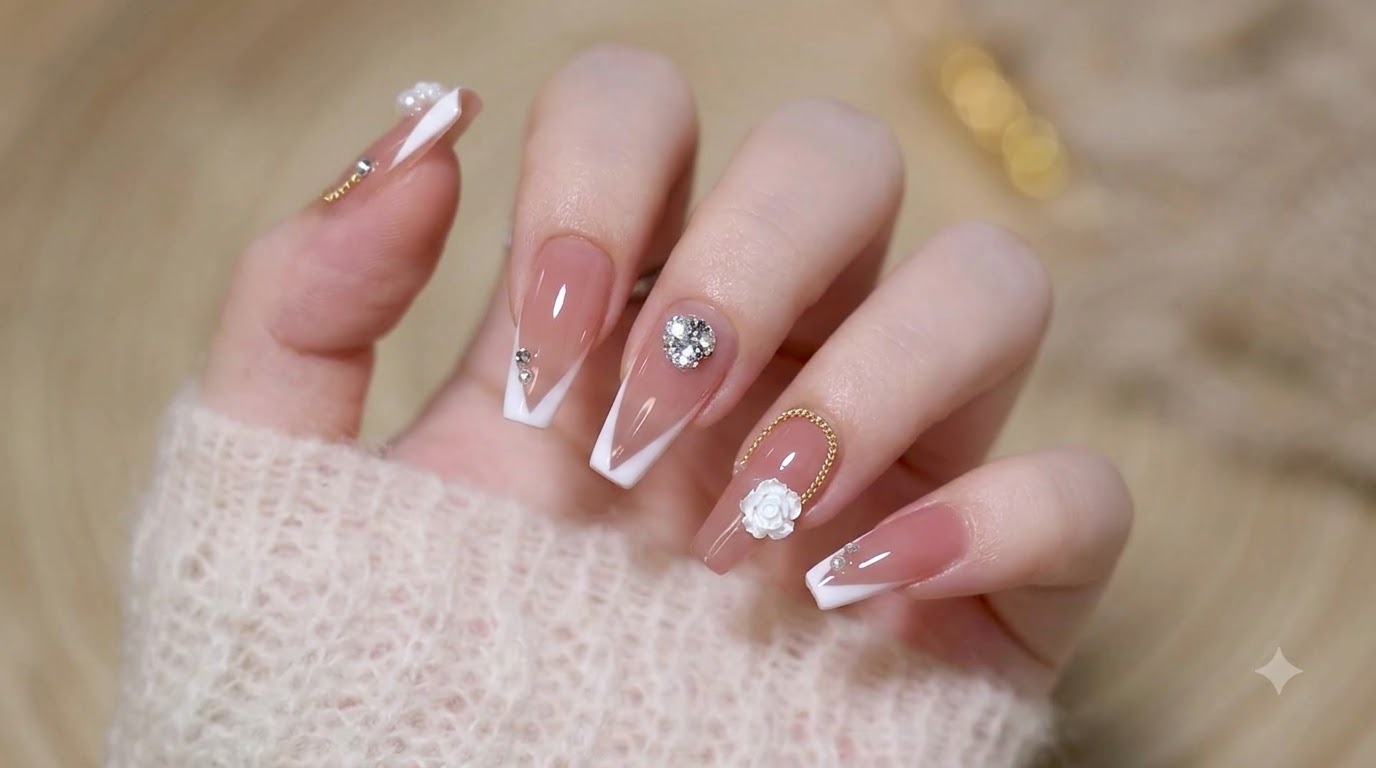
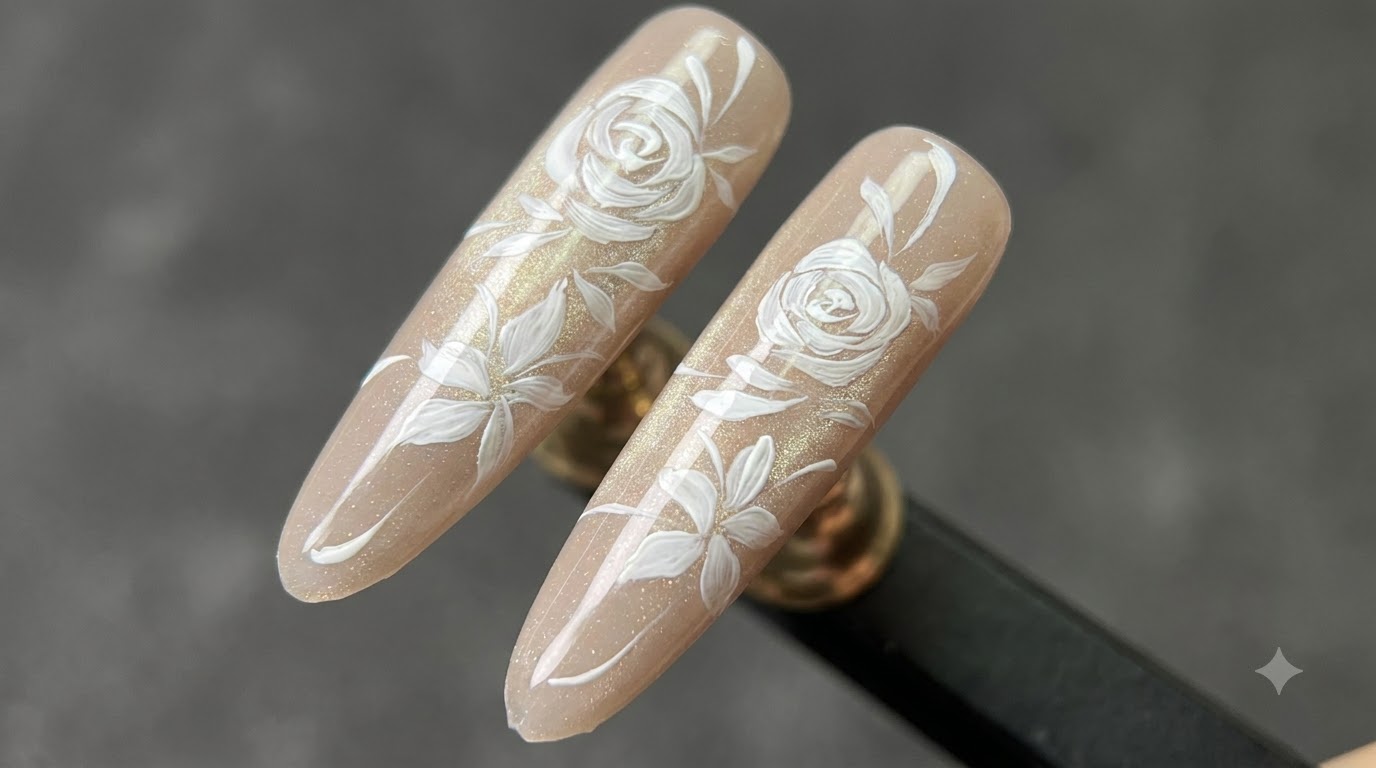
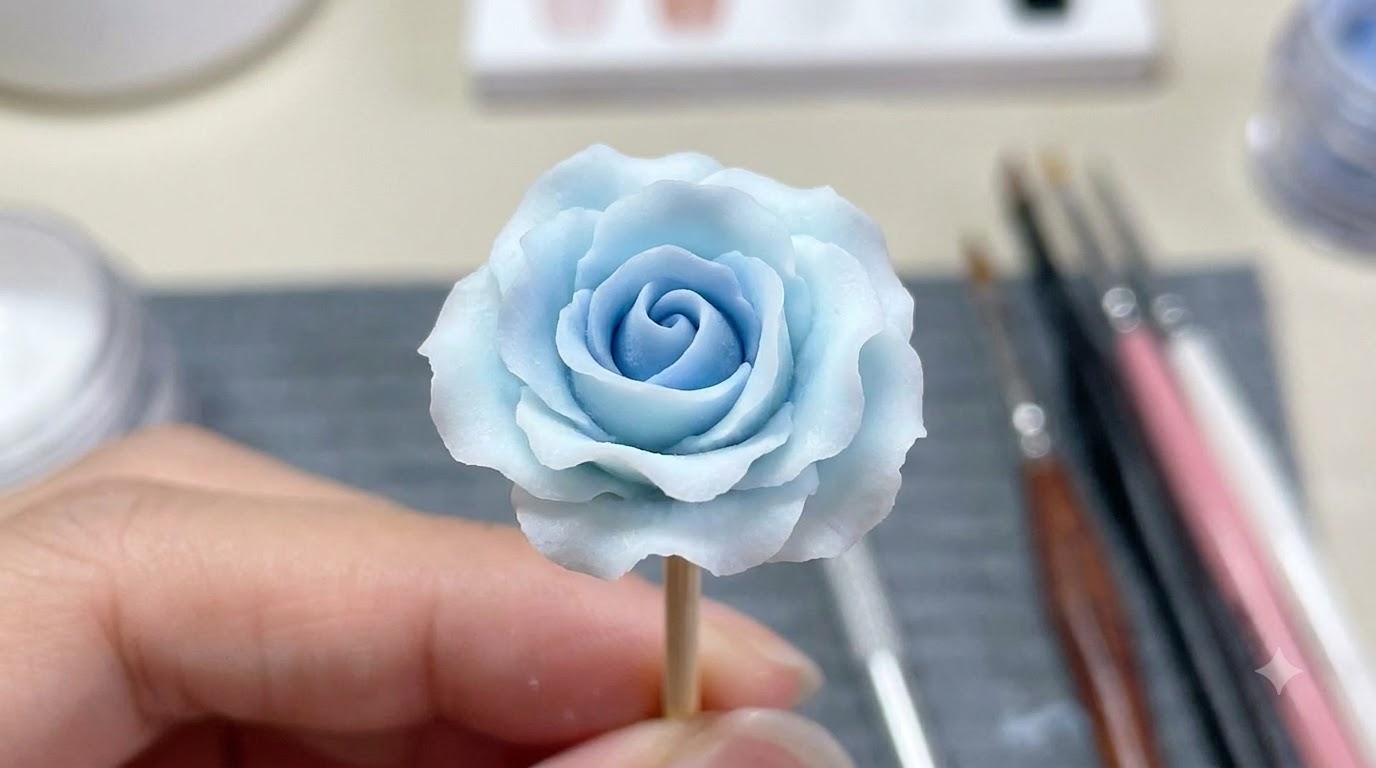
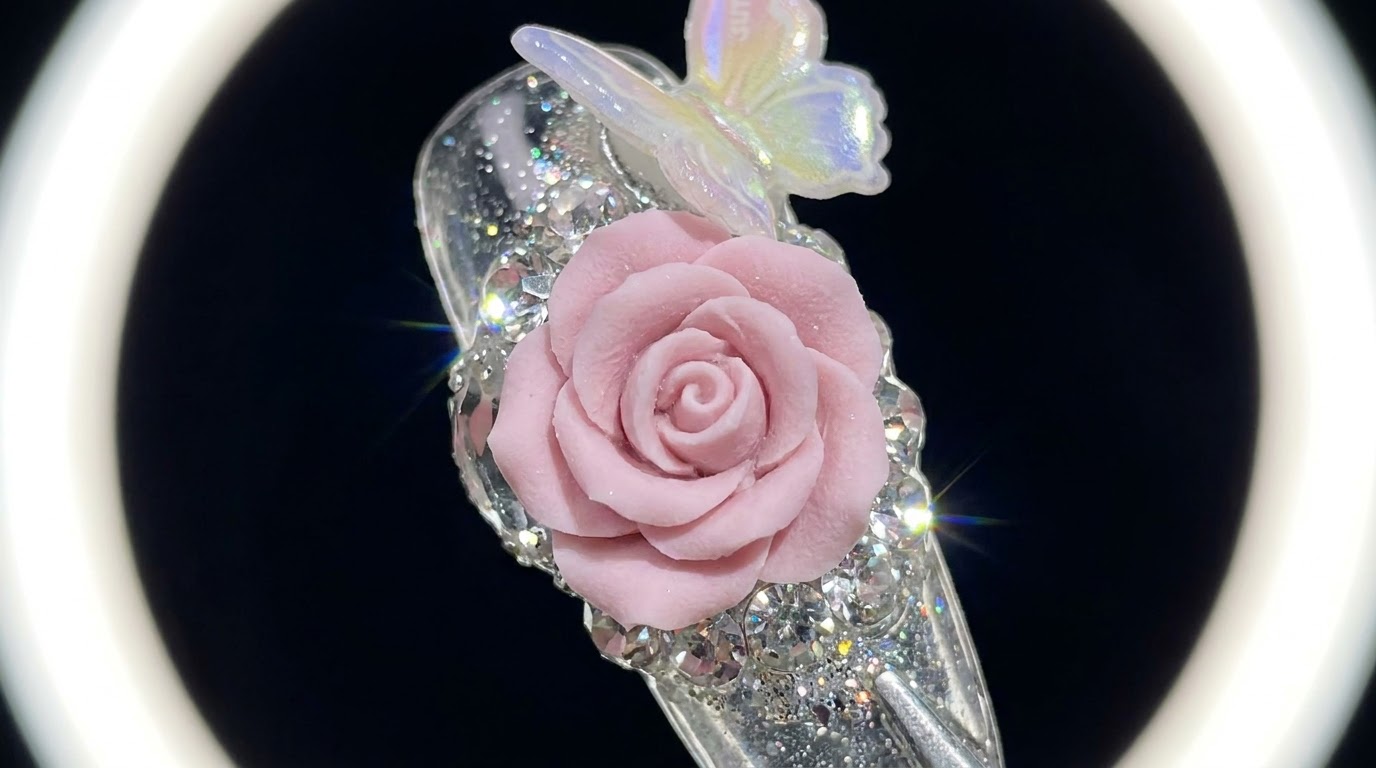
White Rose Nail Art
Spider Gel Accents — Step-by-Step Tutorial
Create an elegant white rose and spider gel nail design featuring delicate hand-painted florals, fine lines, and stylish botanical accents.
Mastering hand-painted florals like a classic white rose adds an instant touch of sophistication to any manicure. Combined with trendy black stems and elastic spider gel lines, this tutorial guides you through creating a stunning salon-quality press-on nail design right at home.
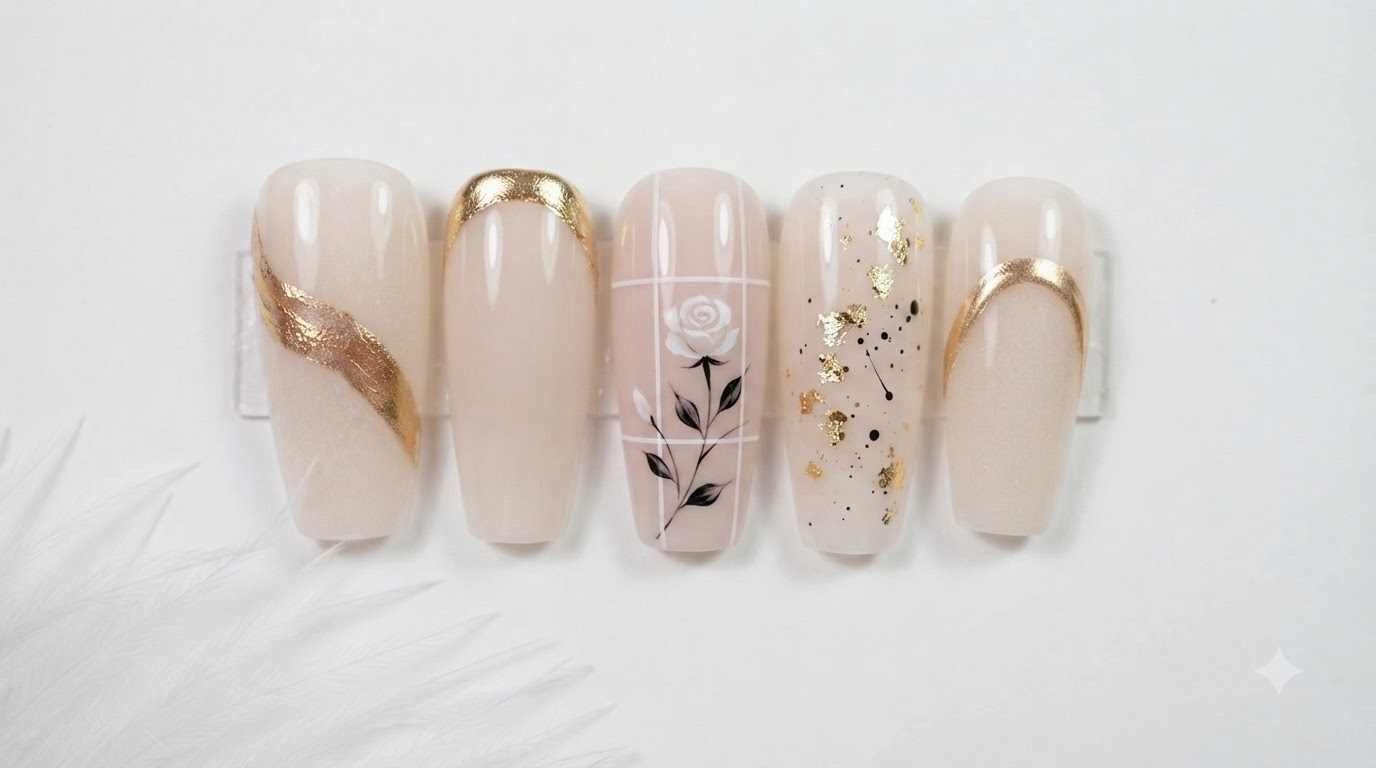
Steps
- 1Start the Rose Center
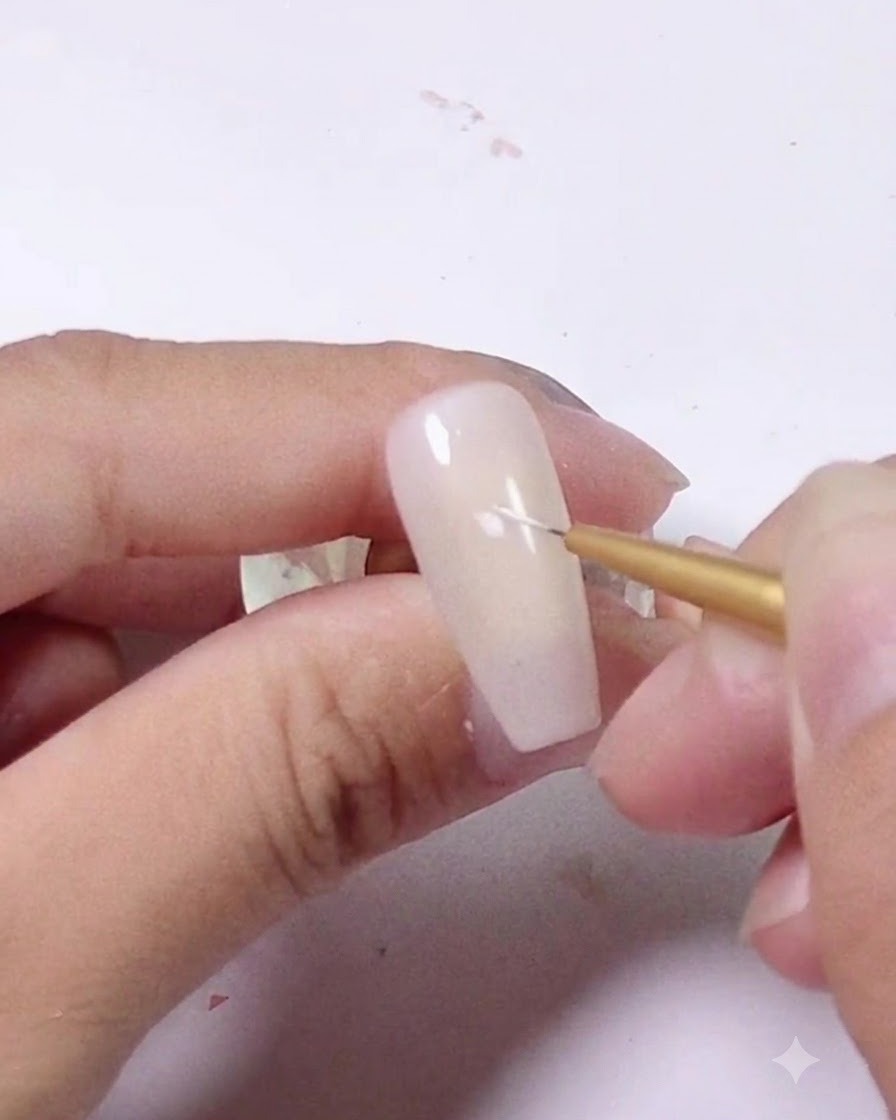
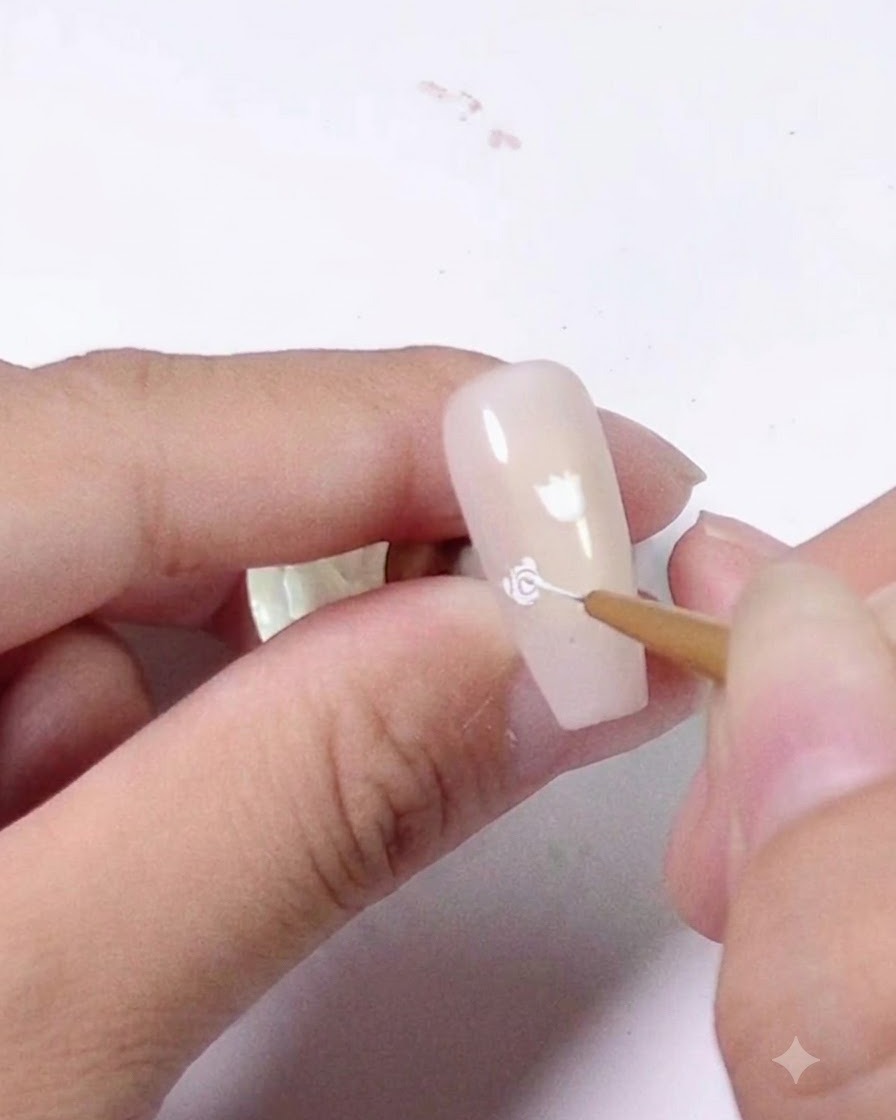
Dip your fine liner brush into white painting gel and place the first small stroke on the prepped nude-pink base nail to form the center of the rose flower, keeping the initial stroke delicate and centered.
Tip: Keep the initial stroke delicate and centered to maintain proper proportions for the rest of the petals. - 2Build Rose Petals
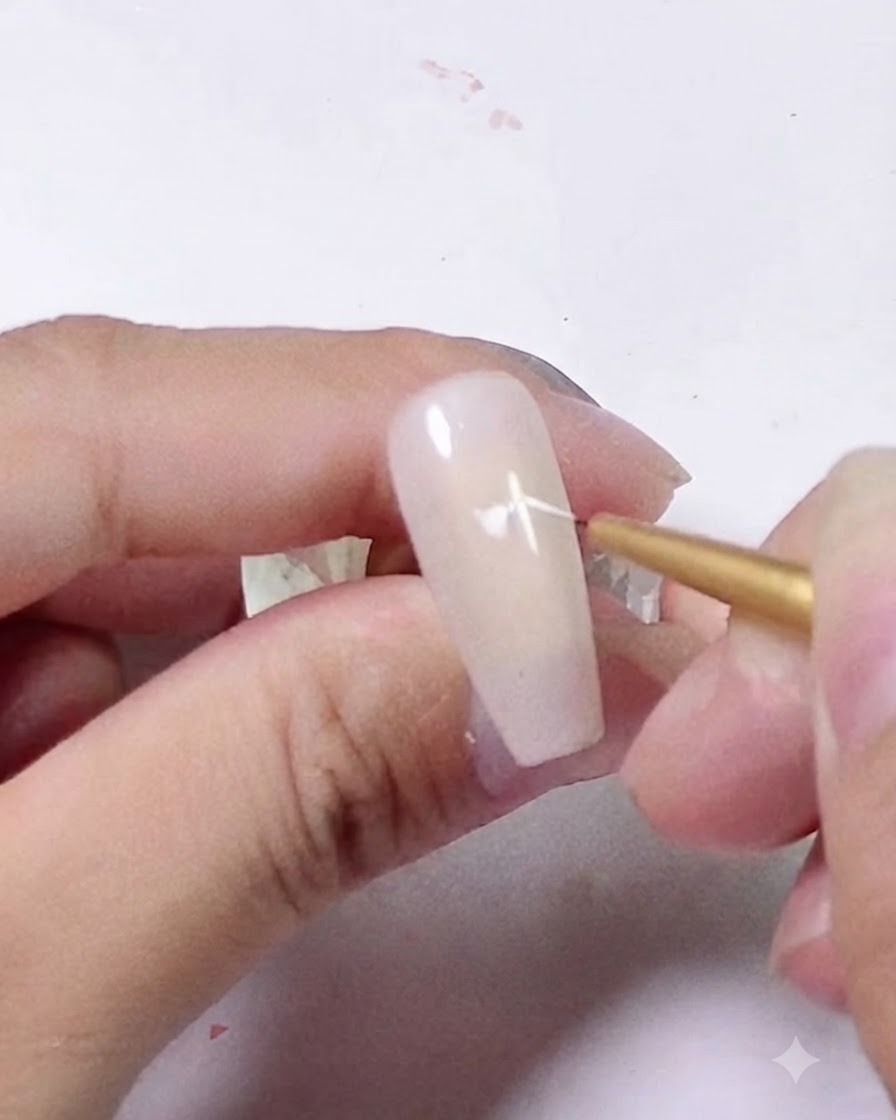
Using the fine liner brush with white painting gel, paint small, curved strokes around the center mark to build up the overlapping petals of the rose flower.
Tip: Use light, gentle pressure to ensure the curves look natural and fluid. - 3Complete the Rose Flower
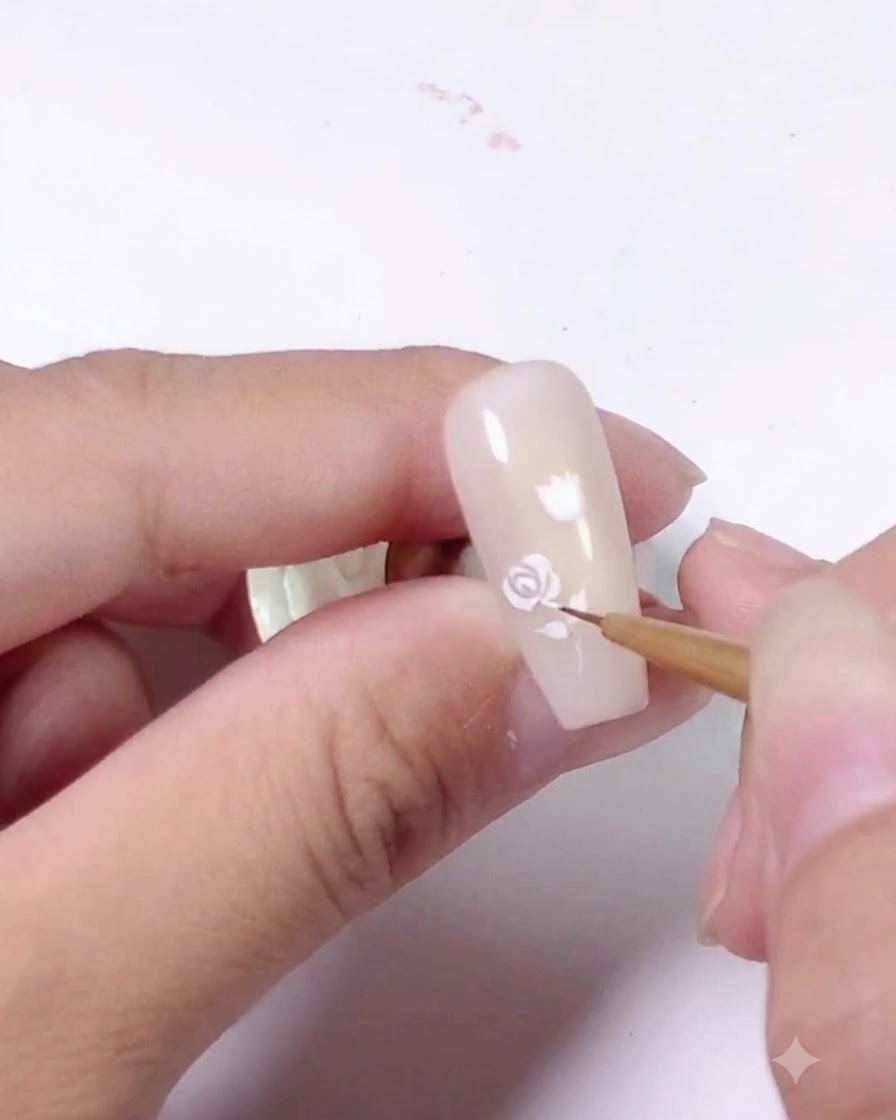
Finish the white rose flower shape on the upper half of the nail plate by adding final delicate petal outlines.
Tip: Cure briefly under a UV or LED lamp if needed to prevent the gel from running before painting the stem. - 4Draw the Main Stem
Load your fine liner brush with black painting gel and draw a thin main stem extending downwards from the base of the white rose with a steady, smooth hand motion.
Tip: Keep your hand steady and pull the brush smoothly downward for a clean, straight stem line. - 5Add Leaves and Branches
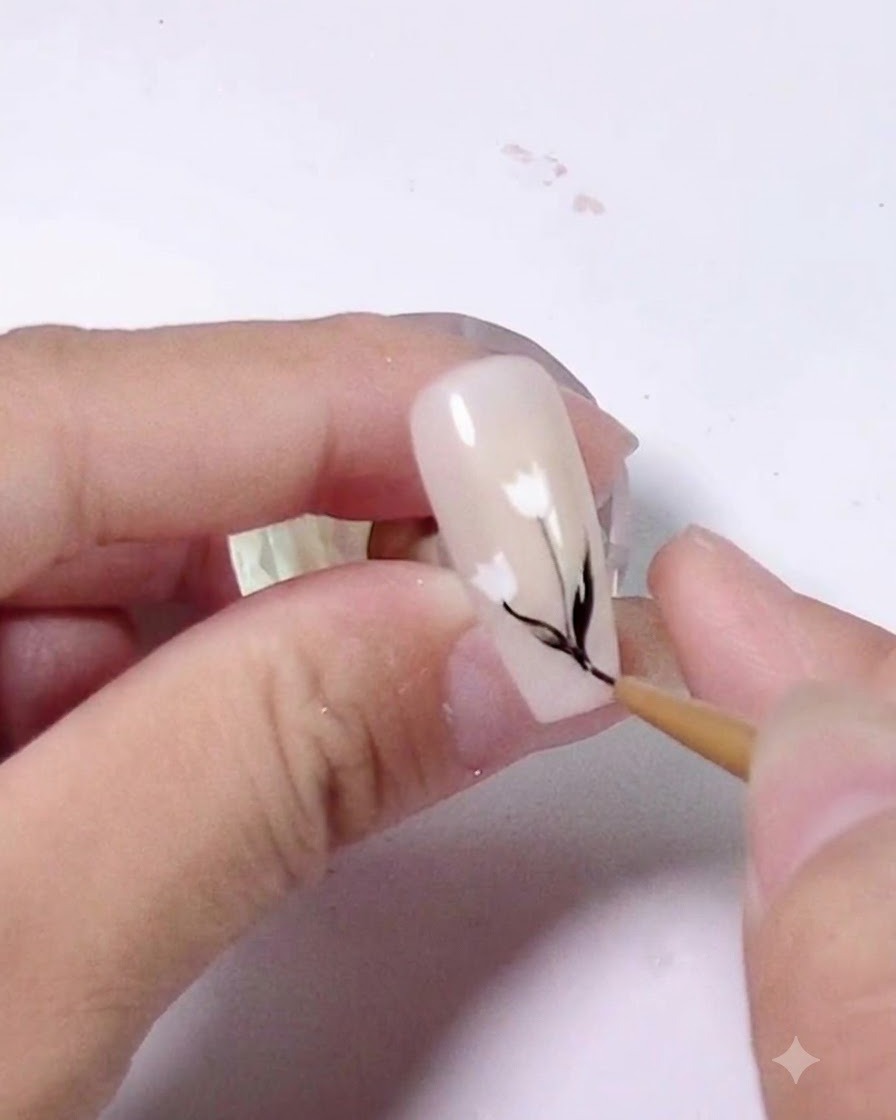
Use the tip of your liner brush with black painting gel to add small leaf silhouettes along both sides of the main black stem.
Tip: Vary the size of the leaves slightly to create a more organic and realistic botanical look. - 6Load White Spider Gel
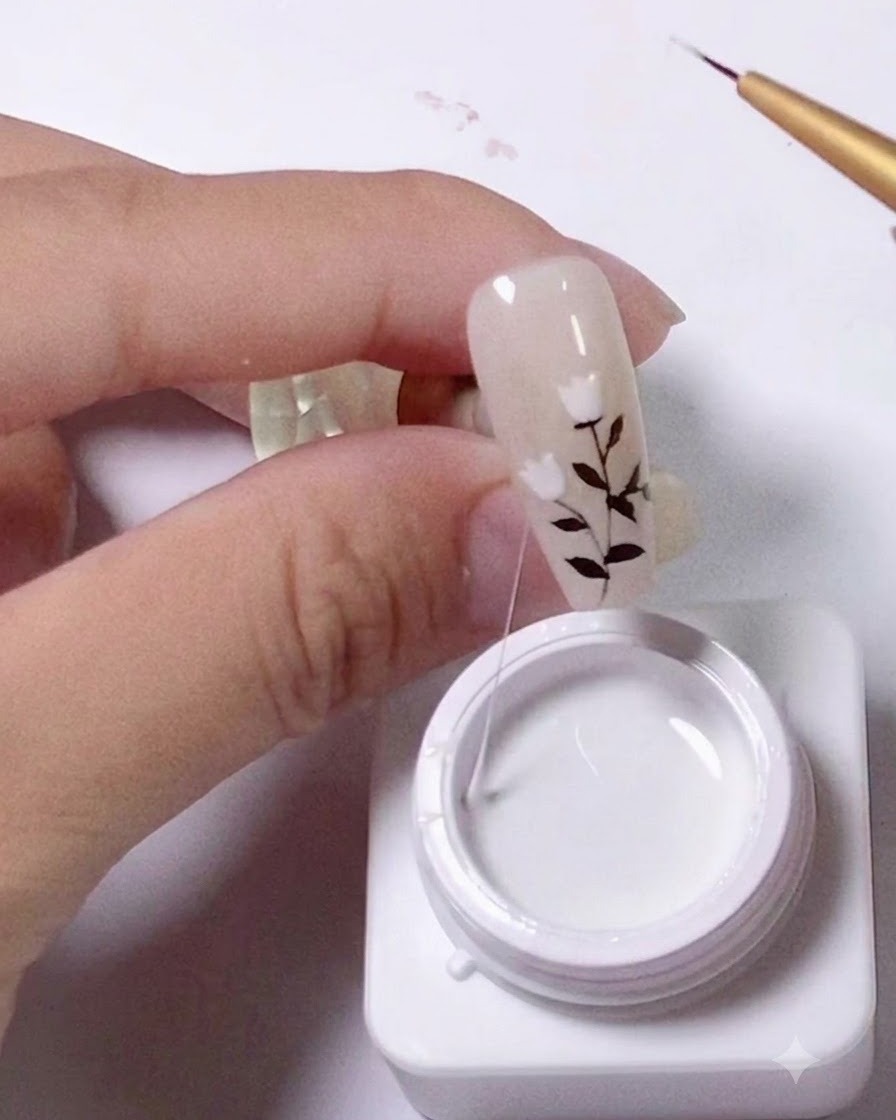
Dip your fine liner brush directly into the pot of white spider gel, then gently lift it up to pull and create a continuous, elastic string of gel, pulling slowly to keep the string thin and controllable.
Tip: Spider gel is extremely elastic, so pull slowly to keep the string thin and controllable. - 7Drape spider gel across the nail
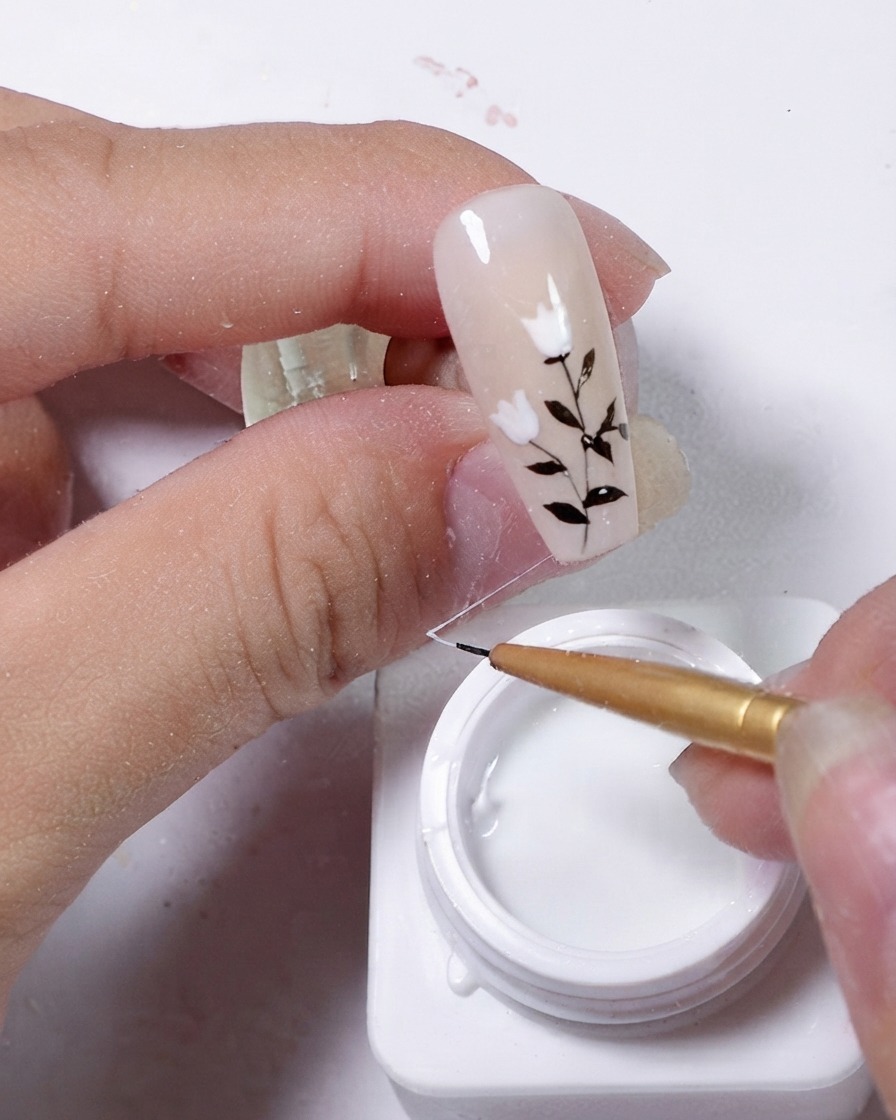
Carefully guide the elastic string of white spider gel diagonally across the nail surface, letting it drape naturally over the painted floral design before curing.
Tip: Keep your hand light and steady to ensure the string lands smoothly across the desired area without sticking awkwardly.