French White Rose Fairy Nail Art — Elegant Bridal Gel Tutorial
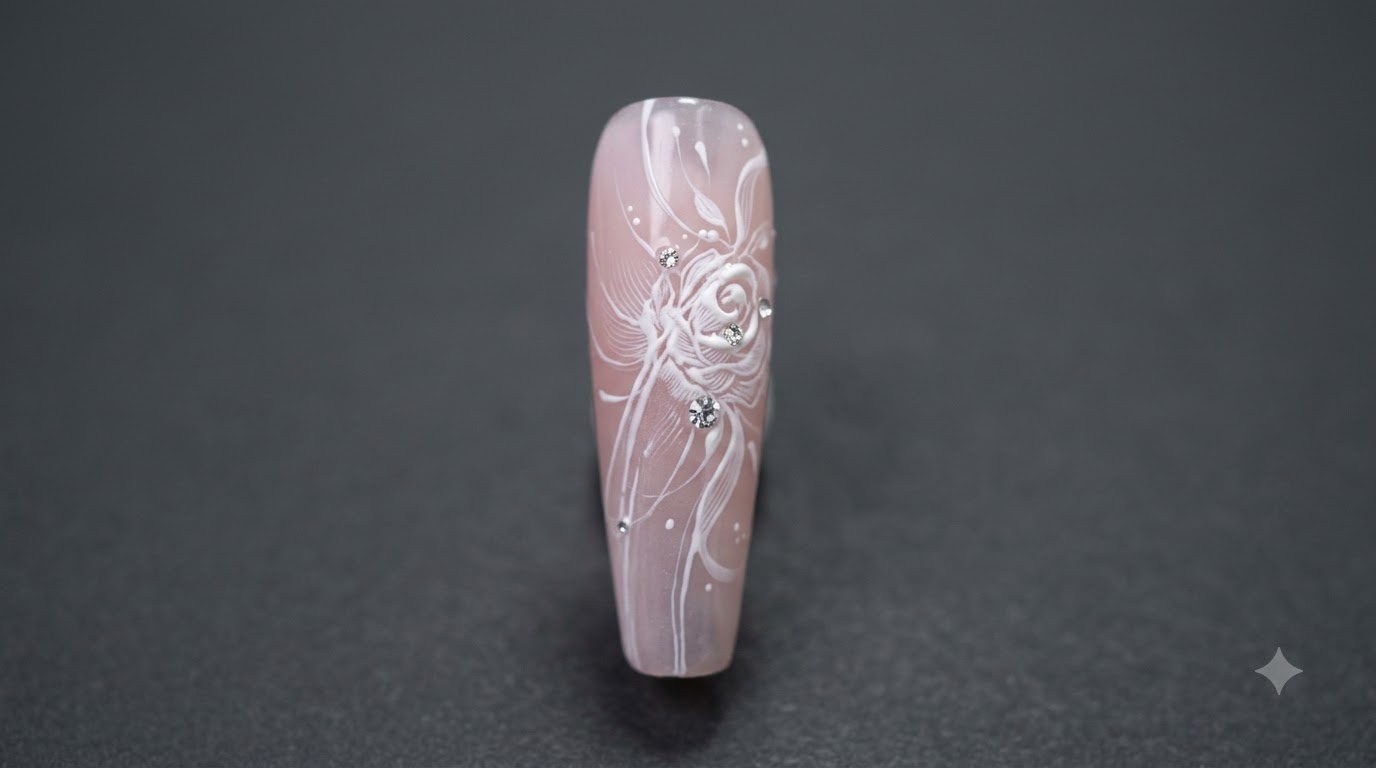
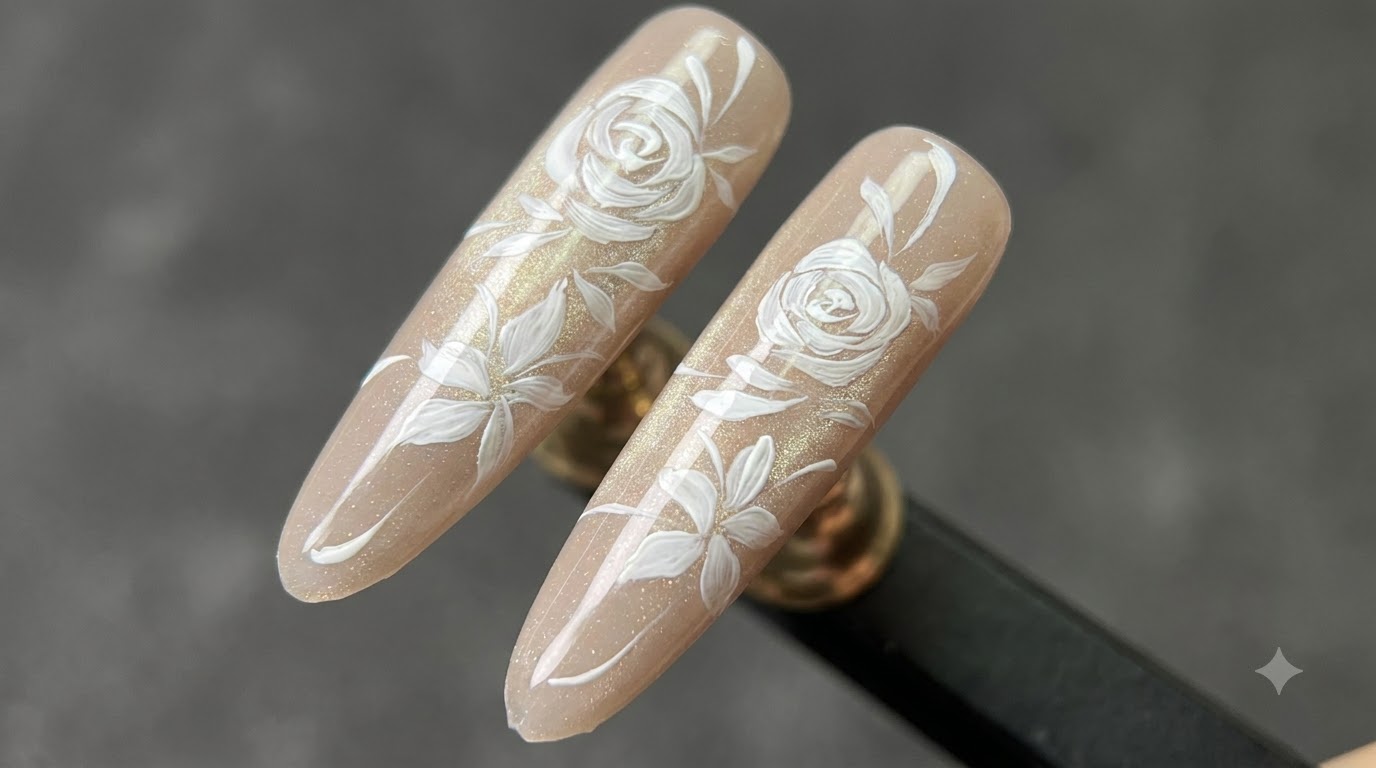
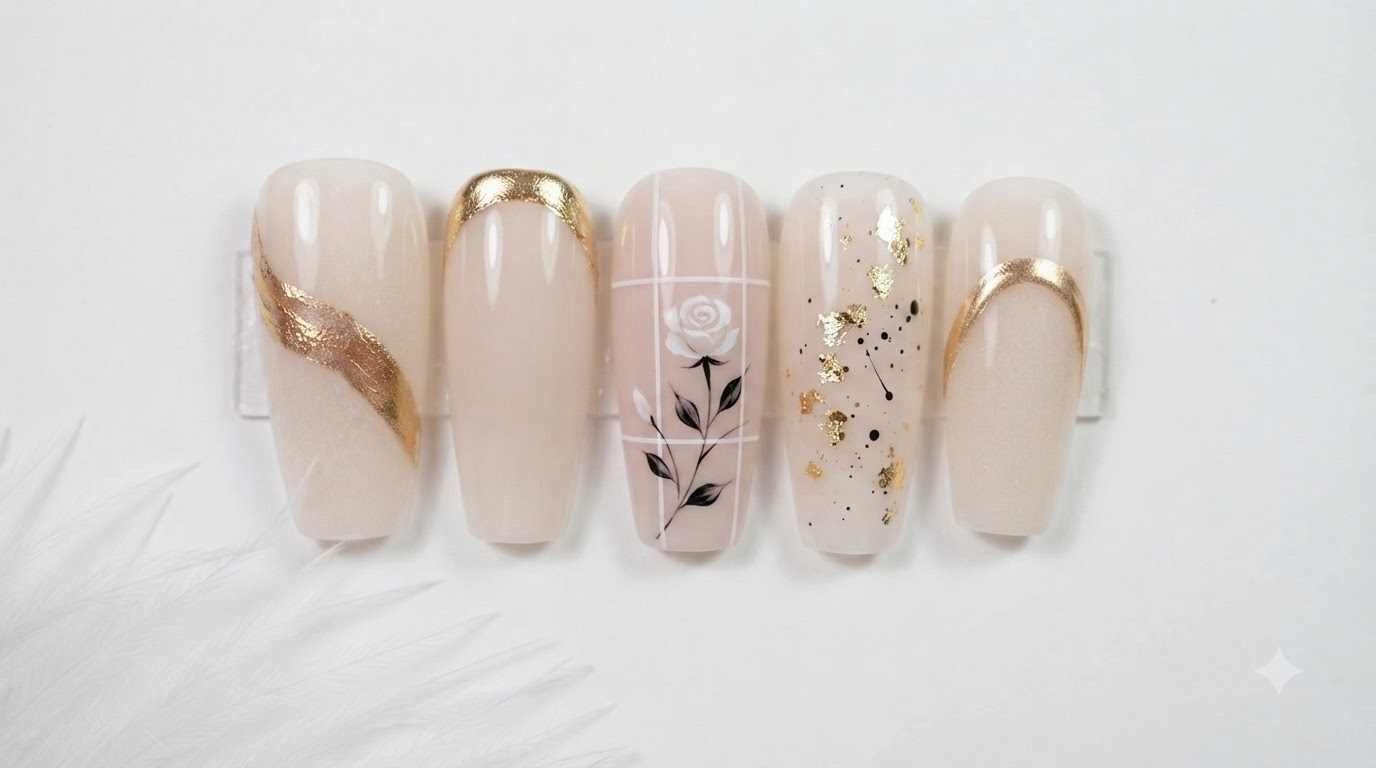
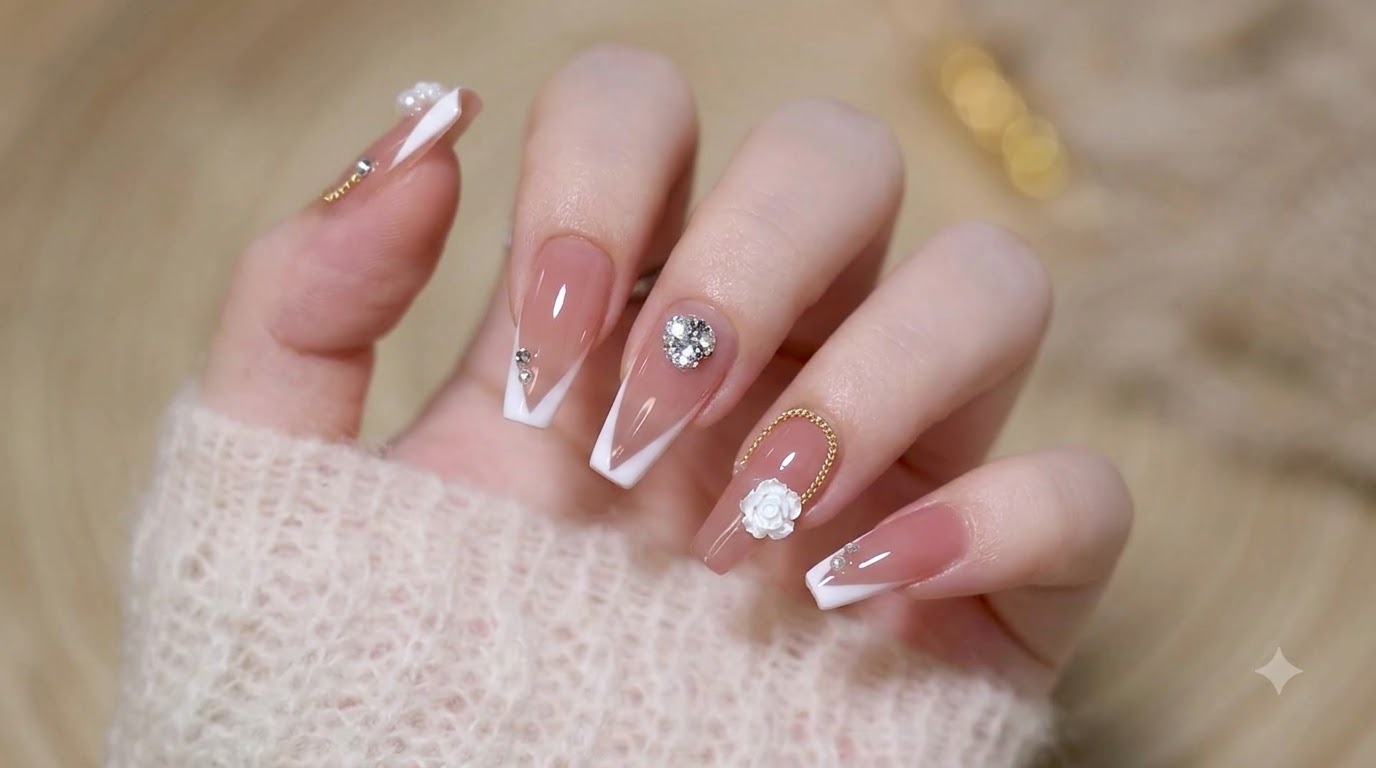
Create an enchanting fairy-style manicure featuring milky white French tips, delicate gold chains, and 3D white roses.
This French white rose fairy manicure combines ethereal translucent pink jelly bases with crisp diagonal French tips, dainty gold chains, and 3D floral accents. It is a stunning, sophisticated look that brings a magical touch to bridal nails or special occasions.
Steps
- 1Apply Translucent Base Gel
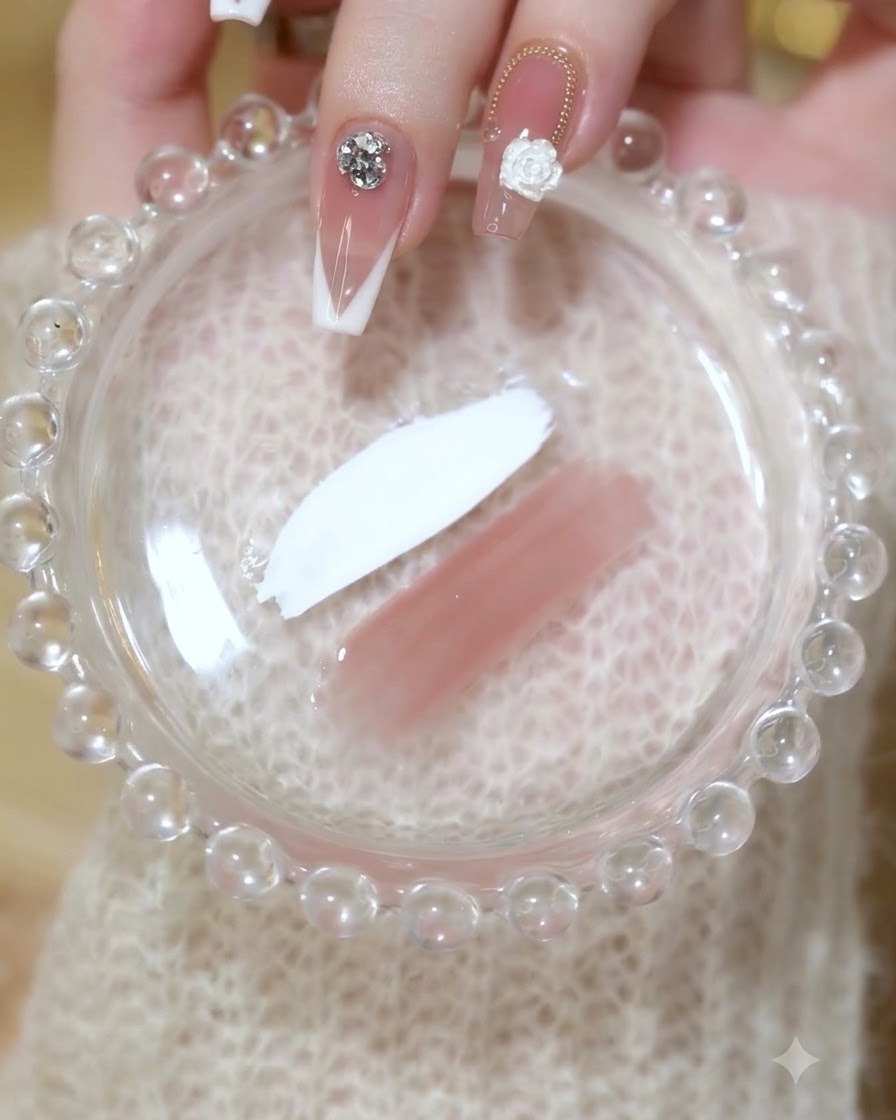
Apply the first thin coat of watery translucent 07 gel evenly across the nail plate to create a smooth, sheer base for your fairy-style design.
Tip: Keep your coats very thin to prevent pooling around the cuticles and ensure even curing. - 2Build Base Opacity
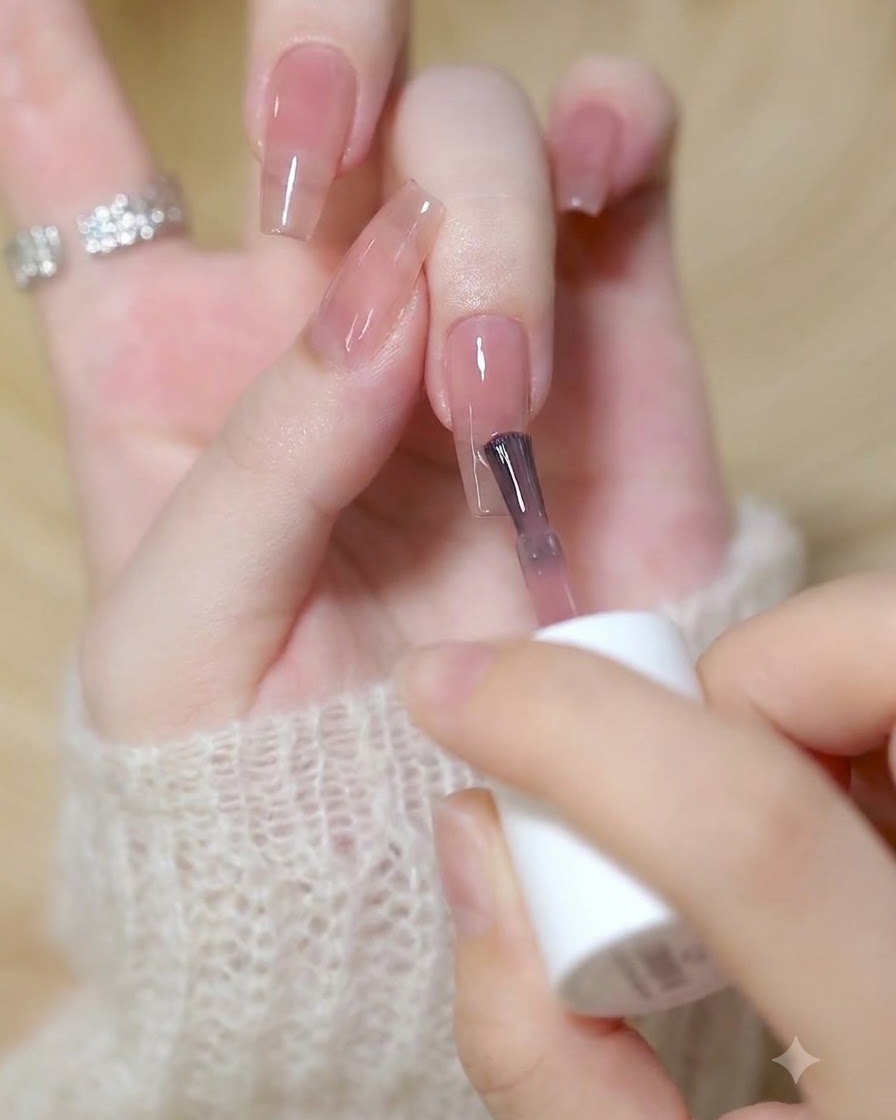
Apply a second thin coat of the watery translucent 07 gel over the entire nail plate. This builds up the color opacity while maintaining a delicate, jelly-like finish for the base.
Tip: Keep each layer very thin to prevent the gel from pooling at the cuticles and to ensure a full, even cure in the lamp. - 3Place Gold Chain Accent
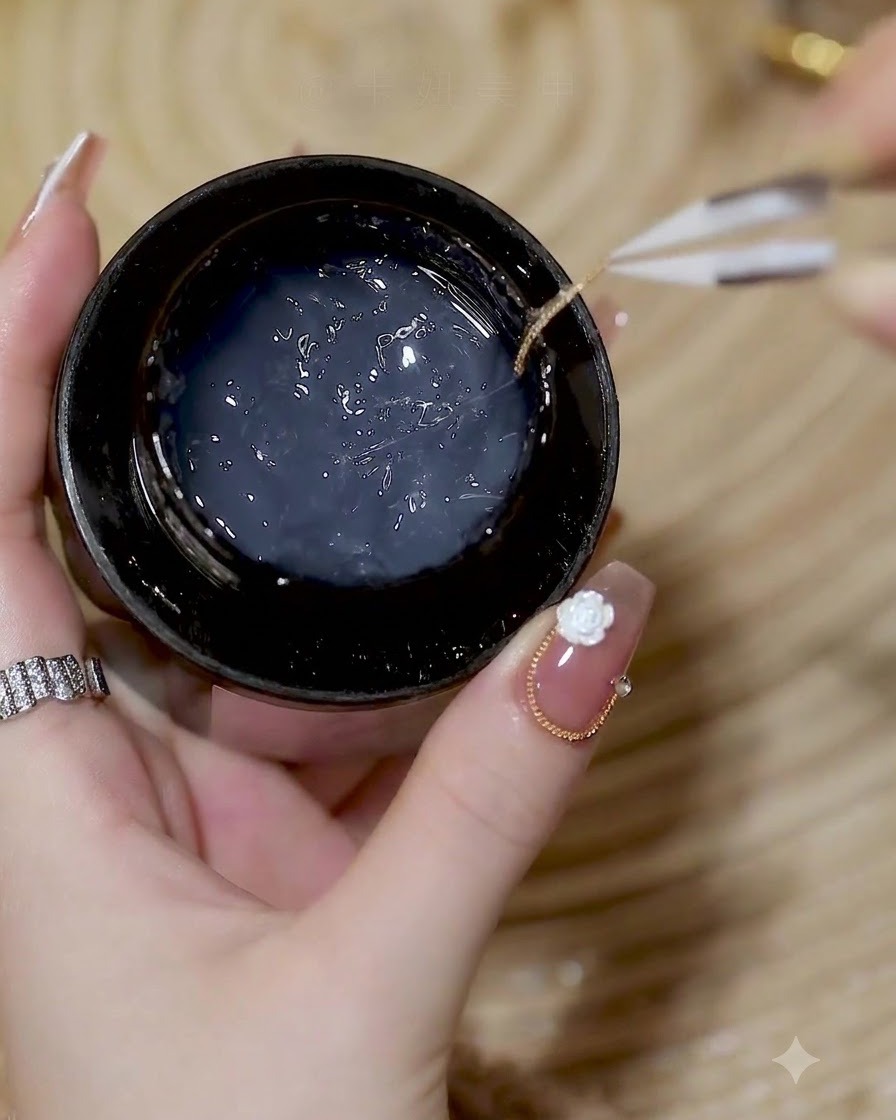
Using precision tweezers, pick up the fine gold chain after dipping it lightly in builder gel, and carefully position it in a U-shape along the base of the ring finger nail.
Tip: Builder gel gives you a moment to adjust the chain placement before curing. - 4Shape the Gold Chain
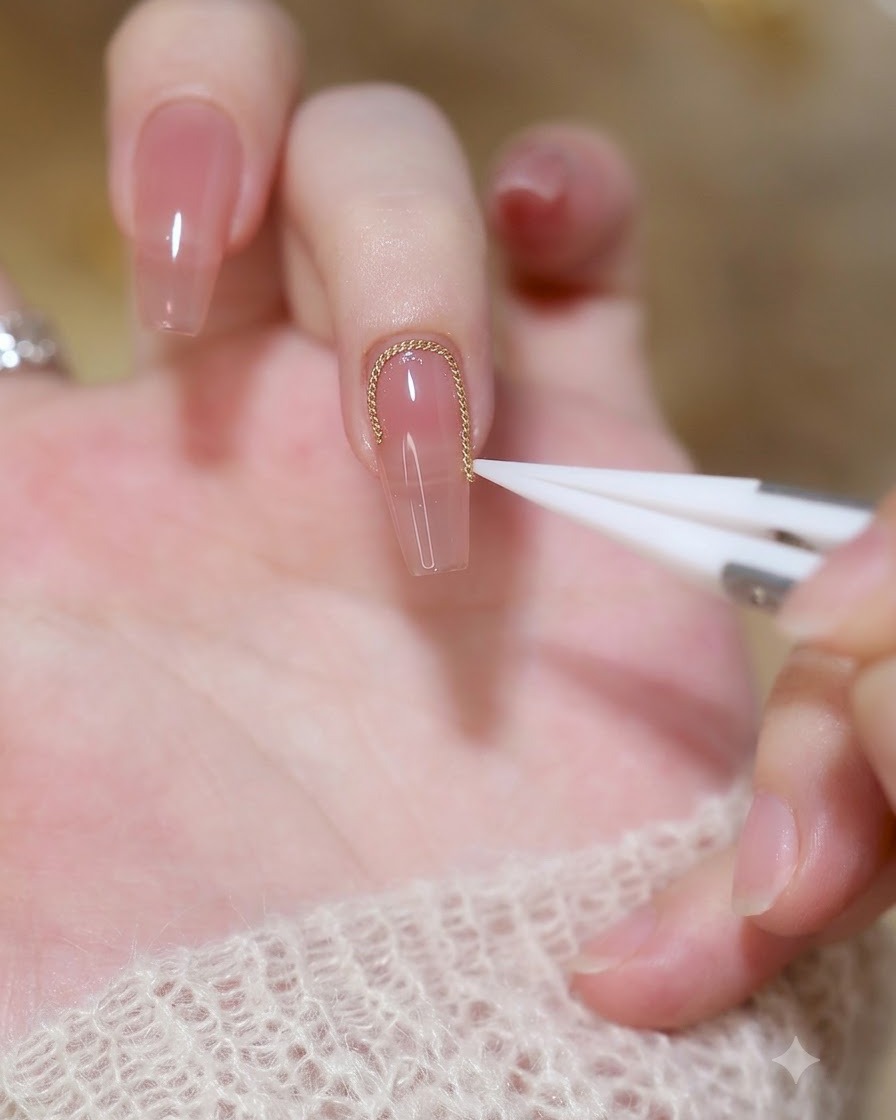
Using precision tweezers, carefully adjust the gold chain on the nail base, forming it into a neat U-shape that mimics the curve of the cuticle area.
Tip: Work gently with the tweezers to avoid scratching the base color or breaking the delicate links of the chain. - 5Place the 3D Nail Art
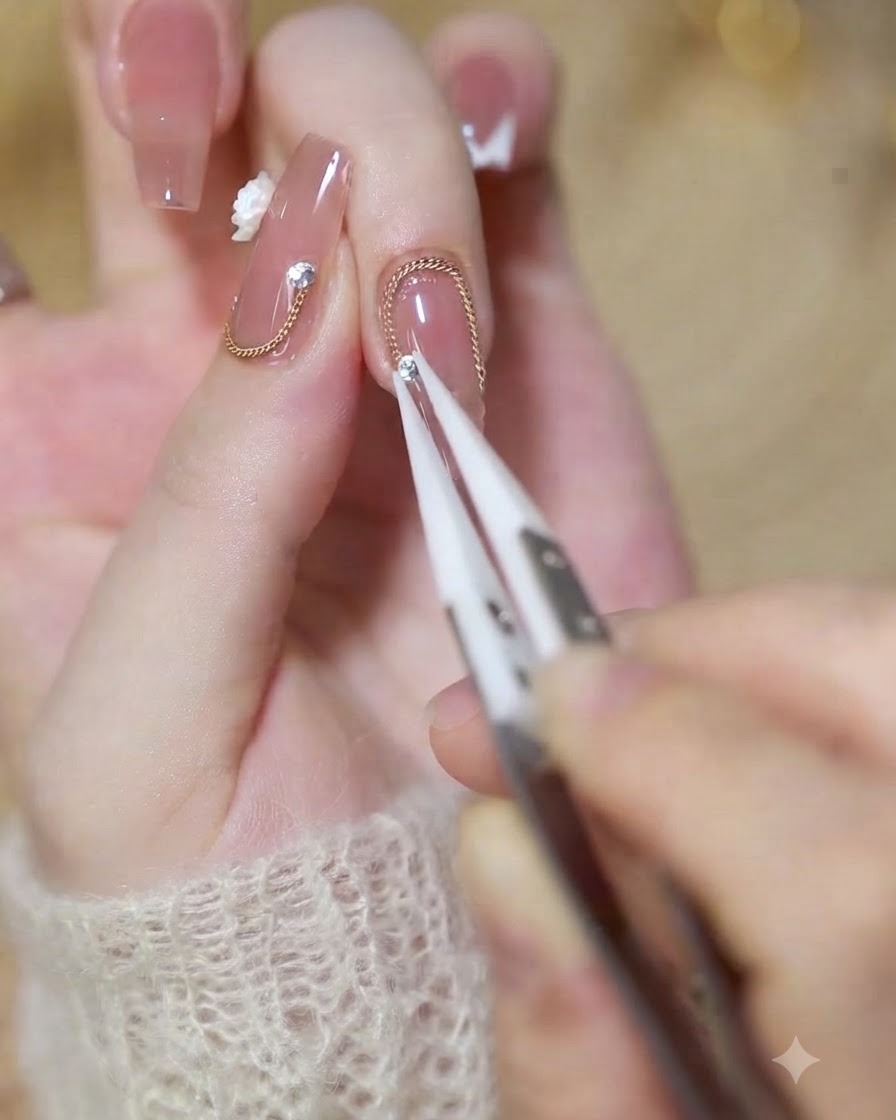
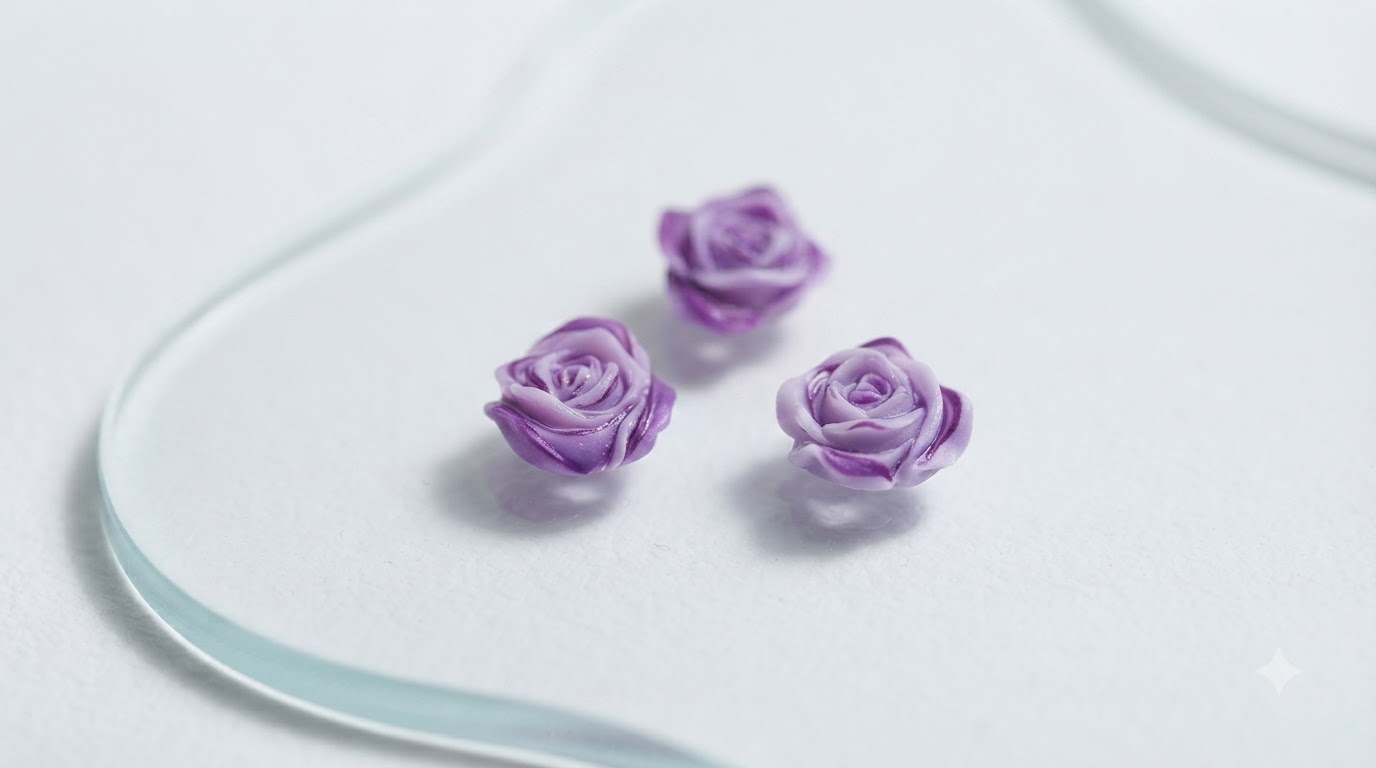
Carefully position a small rhinestone and a white 3D rose ornament inside the gold chains U-shape while the builder gel is still wet using tweezers. Adjust the pieces until they sit comfortably flush against the nail surface, then cure fully in the lamp to lock them in place.
Tip: Embed the base of the charms slightly into the builder gel so they adhere securely, but keep the top surface completely clean to preserve their facets. - 6Seal the 3D Decorations
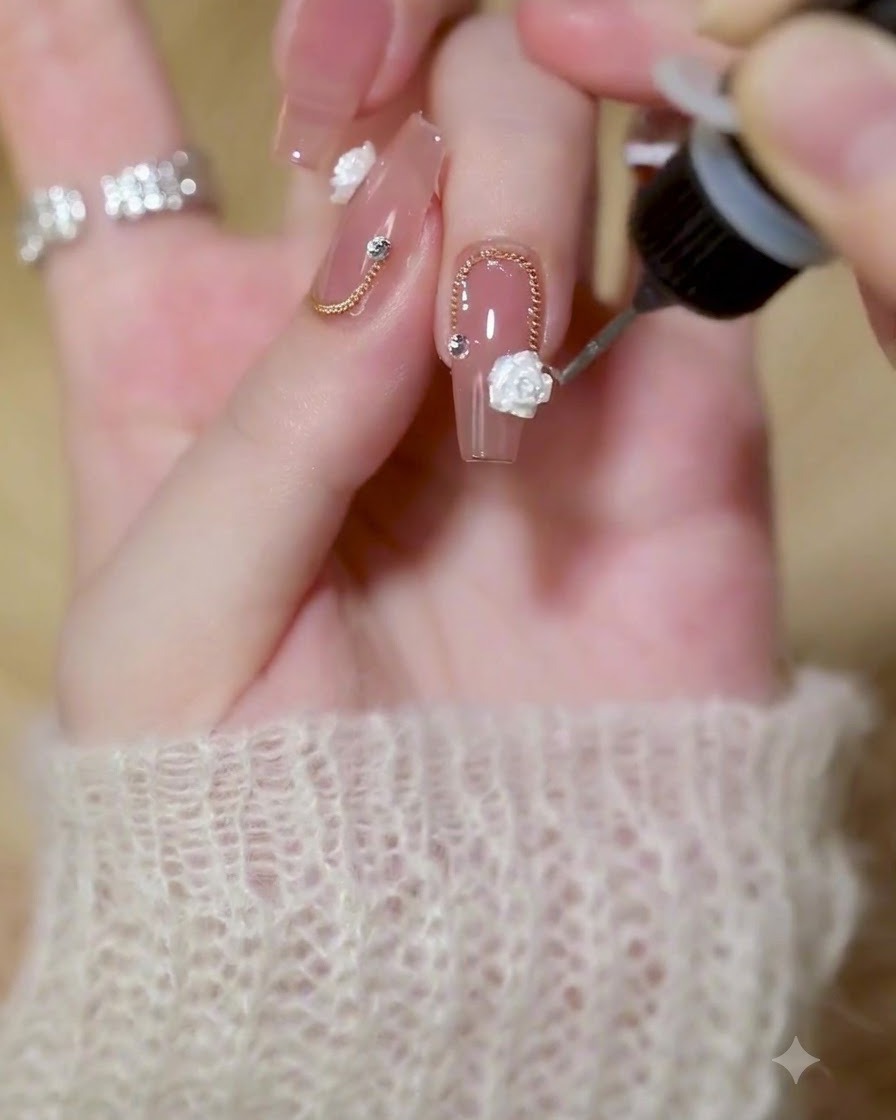
Take a fine detail brush loaded with builder gel and carefully trace around the outer edges of the 3D white rose, rhinestone, and gold chain. This encapsulates the base of the embellishments, preventing them from catching on hair or clothing. Cure the nail once the edges are fully sealed.
Tip: Avoid brushing the gel over the top of the 3D rose or the facets of the rhinestone, as this will dull their delicate texture and sparkle. - 7Apply Glossy Top Coat
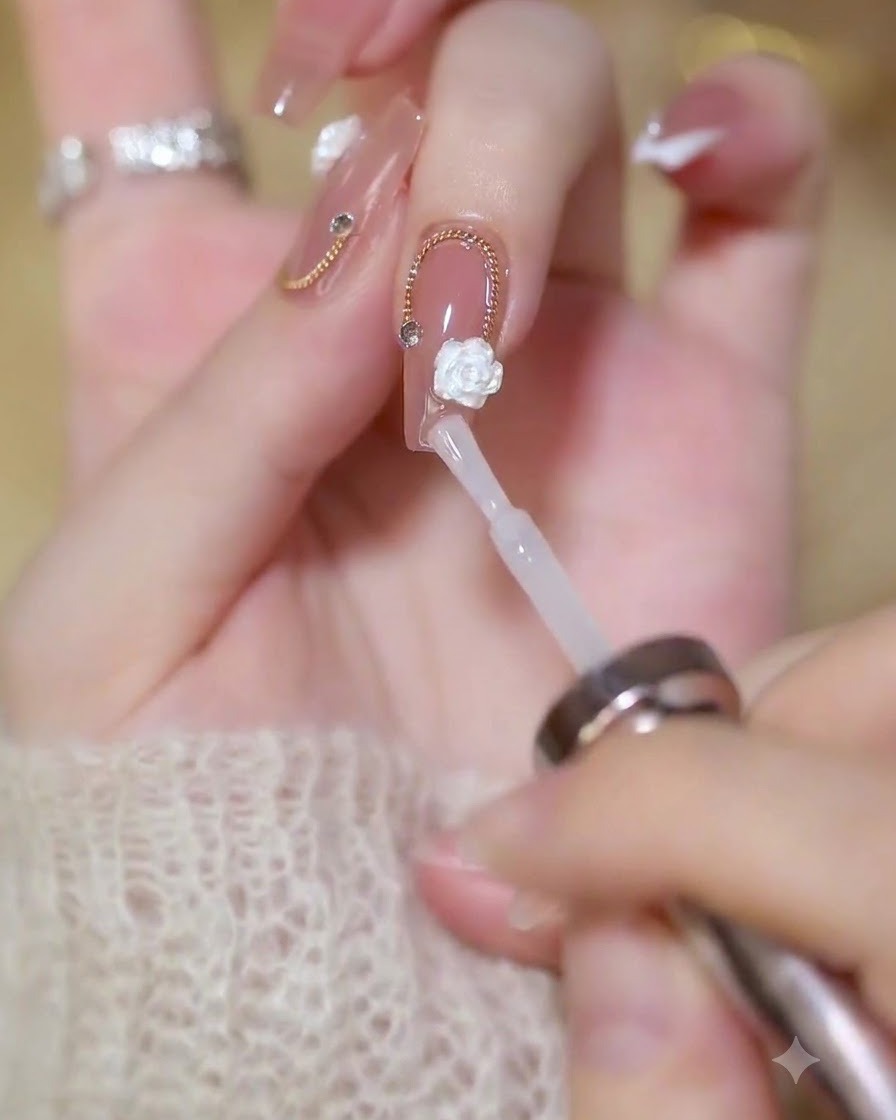
Apply a glossy top coat over the entire nail surface, taking care to carefully navigate around the 3D white rose and rhinestone embellishments without covering them.
Tip: Avoiding the top of 3D decorations keeps their textured finish and sparkle intact. - 8Paint Diagonal French Tip
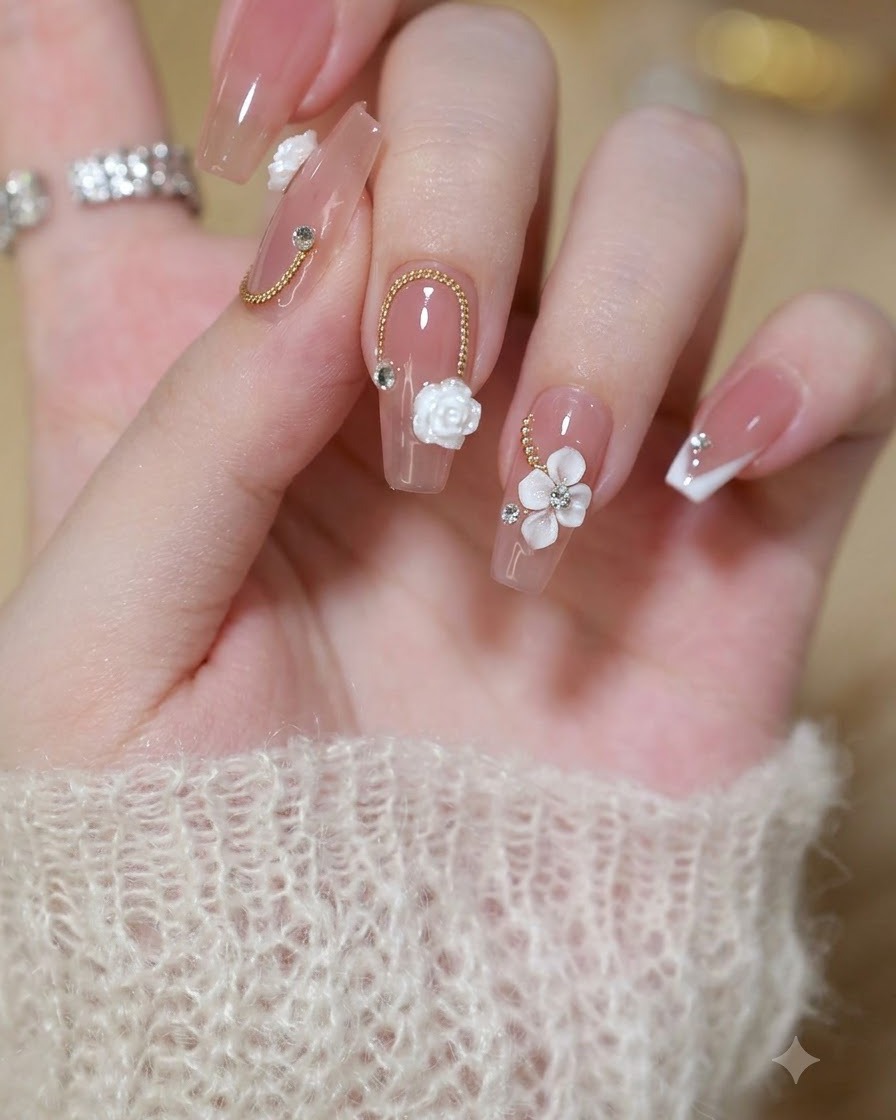
Use a fine liner brush and milky white 01 gel to carefully paint a clean, neat diagonal French tip across the index finger nail.
Tip: Anchor your pinky finger for stability to draw a smooth, straight diagonal line. - 9Apply Builder Gel for Rhinestones
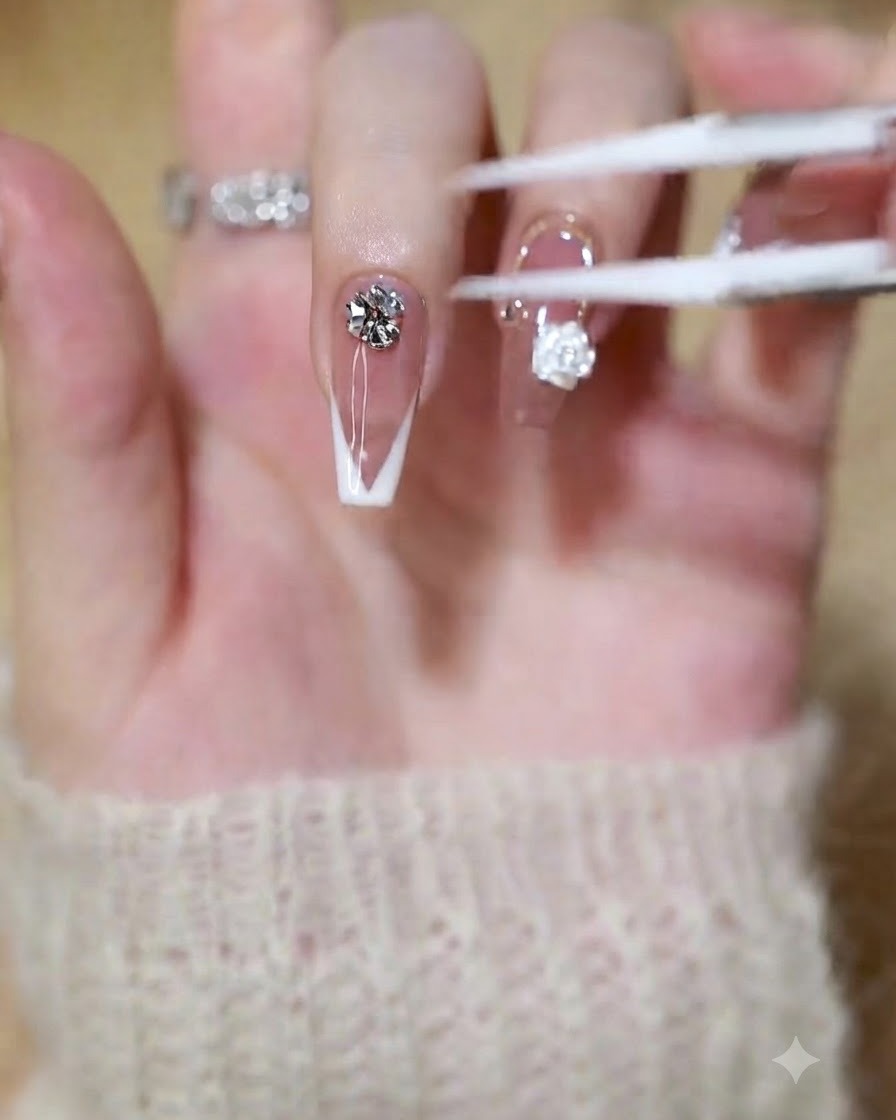
Apply a small amount of builder gel directly to the nail tip area where you plan to arrange the rhinestone cluster to act as a strong adhesive base.
Tip: Use just enough builder gel to anchor the stones securely without overflowing. - 10Create Rhinestone Cluster
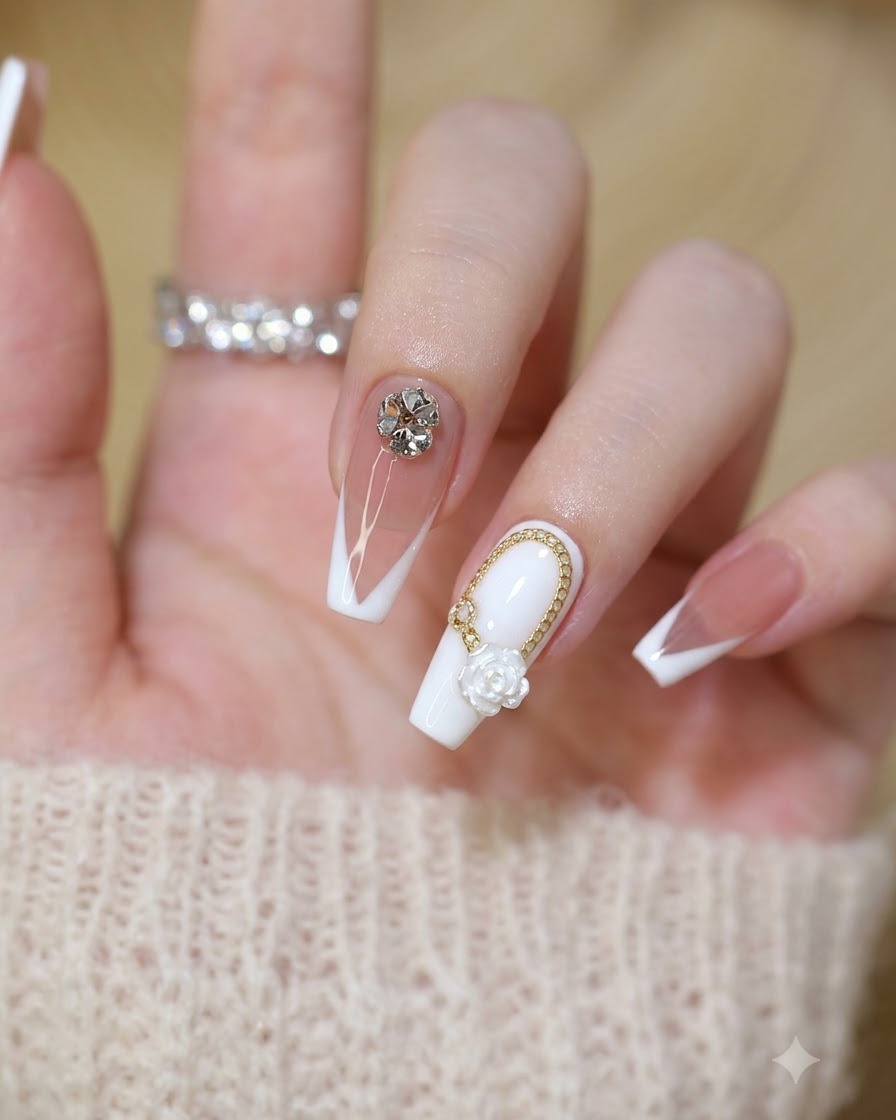
Place three medium transparent crystal rhinestones tightly together on the nail tip to form a neat half-sphere shape, then cure under the UV or LED lamp.
Tip: Press the stones gently into the builder gel so they lock tightly into position before curing. - 11Secure Rhinestone Gaps
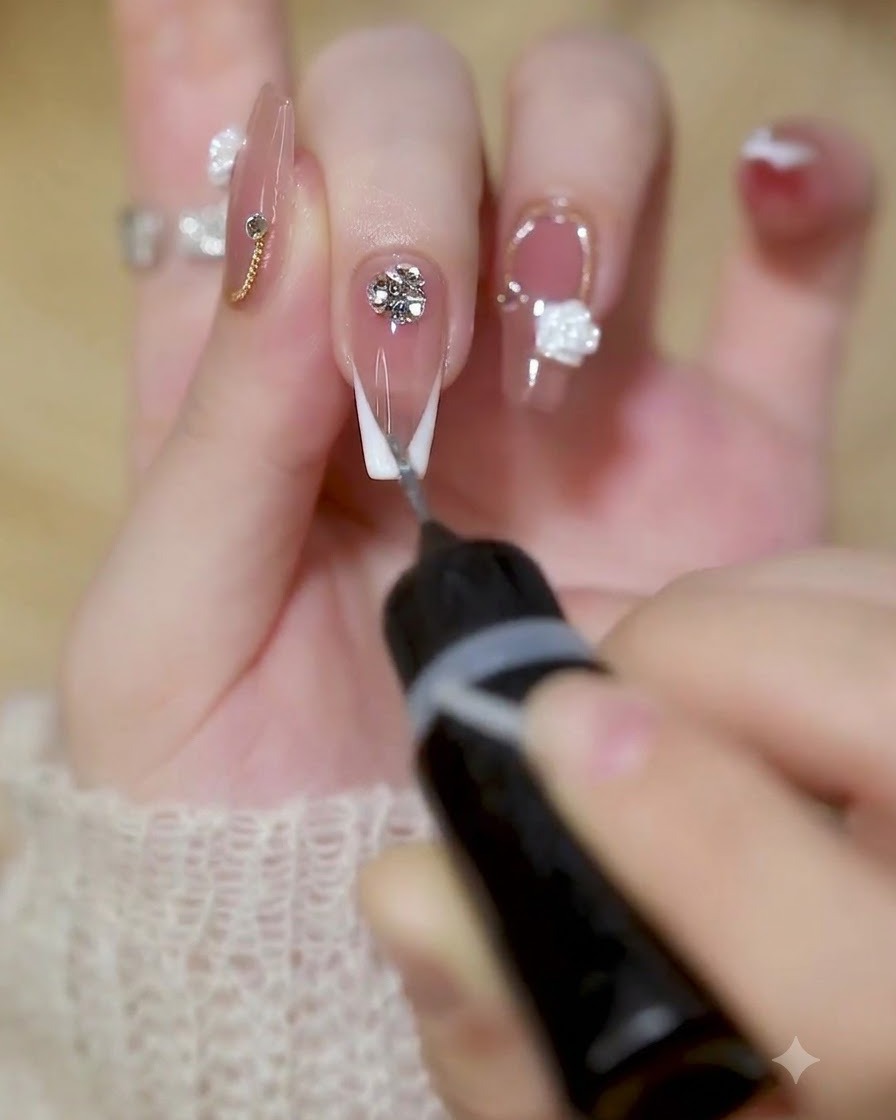
Take a precision brush loaded with builder gel and carefully fill in the gaps underneath and around the rhinestone arrangement on the French tip nail. This extra reinforcement prevents the crystals from snagging or popping off. Cure under the lamp to set the builder gel completely.
Tip: Work in small amounts of builder gel so it doesnt flood over the sparkling facets of the crystals. - 12Apply Final Glossy Top Coat
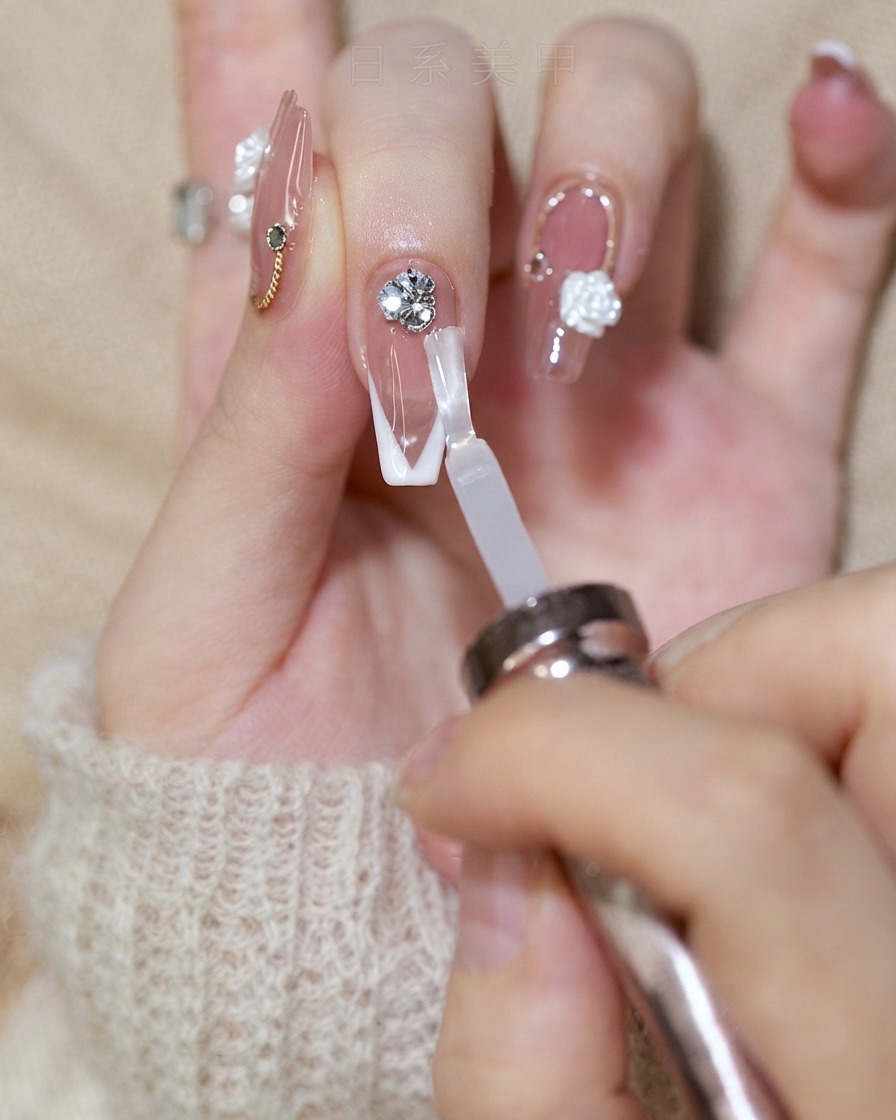
Finish the nail design by applying a glossy top coat over the entire index finger nail. Take care to carefully paint around the crystal embellishments rather than over them, which preserves their brilliant facets and sparkle. Cure the top coat to lock in the entire design.
Tip: Coating over rhinestones dulls their sparkle; always paint right up to their base instead.