Fresh Rose Nail Art — Elegant Hand-Painted Gel Design Tutorial
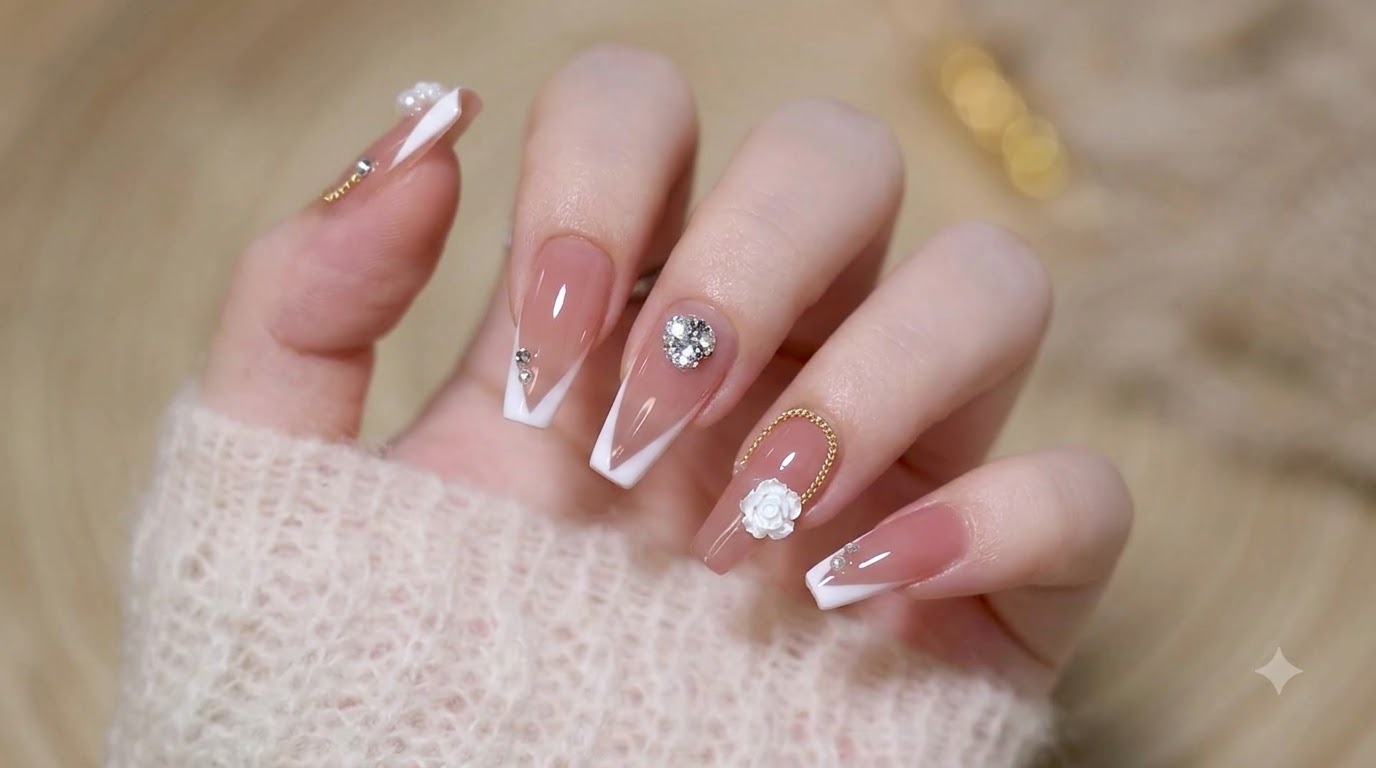
Learn how to create a stunning fresh rose nail design with flowing white ribbons, 3D center details, and sparkling crystals over a sheer pink base.
Elevate your nail art skills with this sophisticated fresh rose design. Combining delicate fine-line florals, watercolor-style blooming gel ribbons, and subtle crystal embellishments, this look offers a perfect balance of elegance and modern romantic charm.
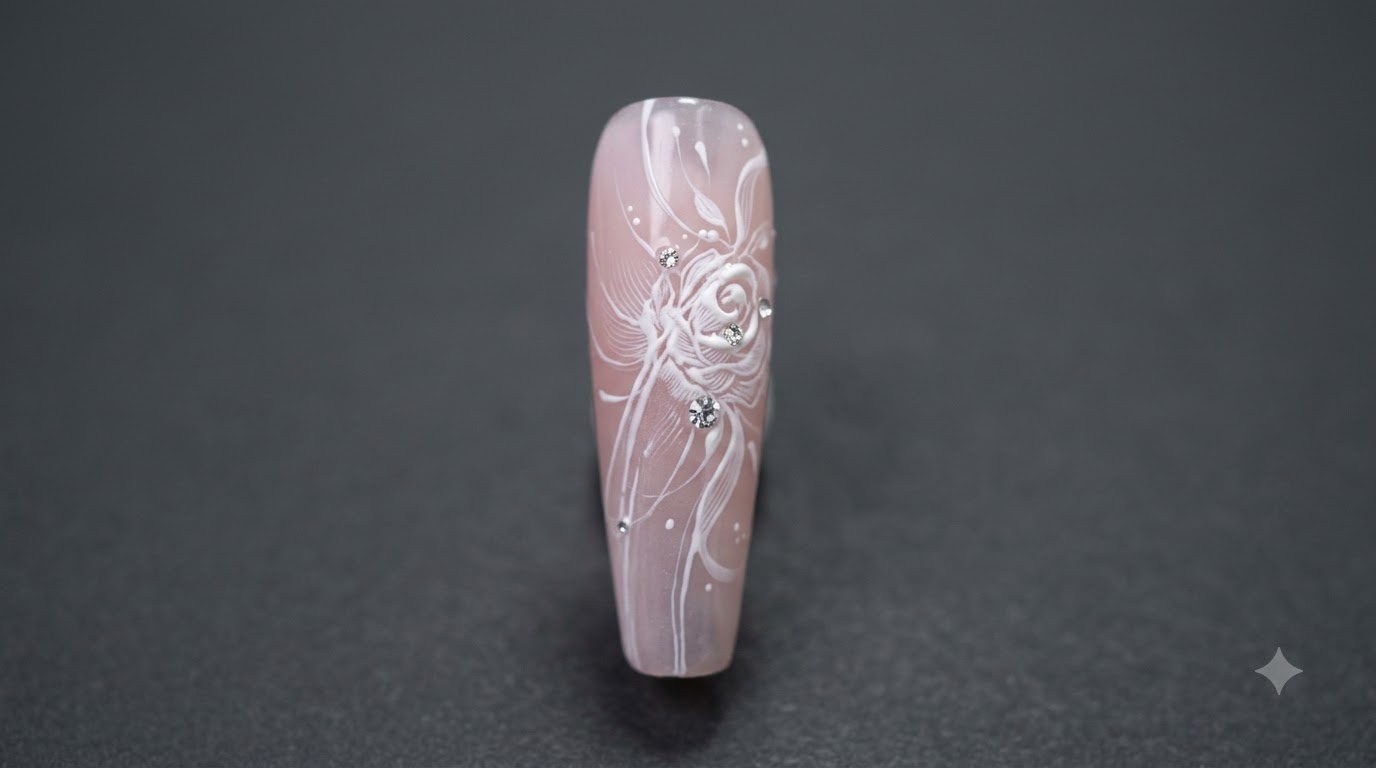
Steps
- 1Apply Sheer Pink Gel Base
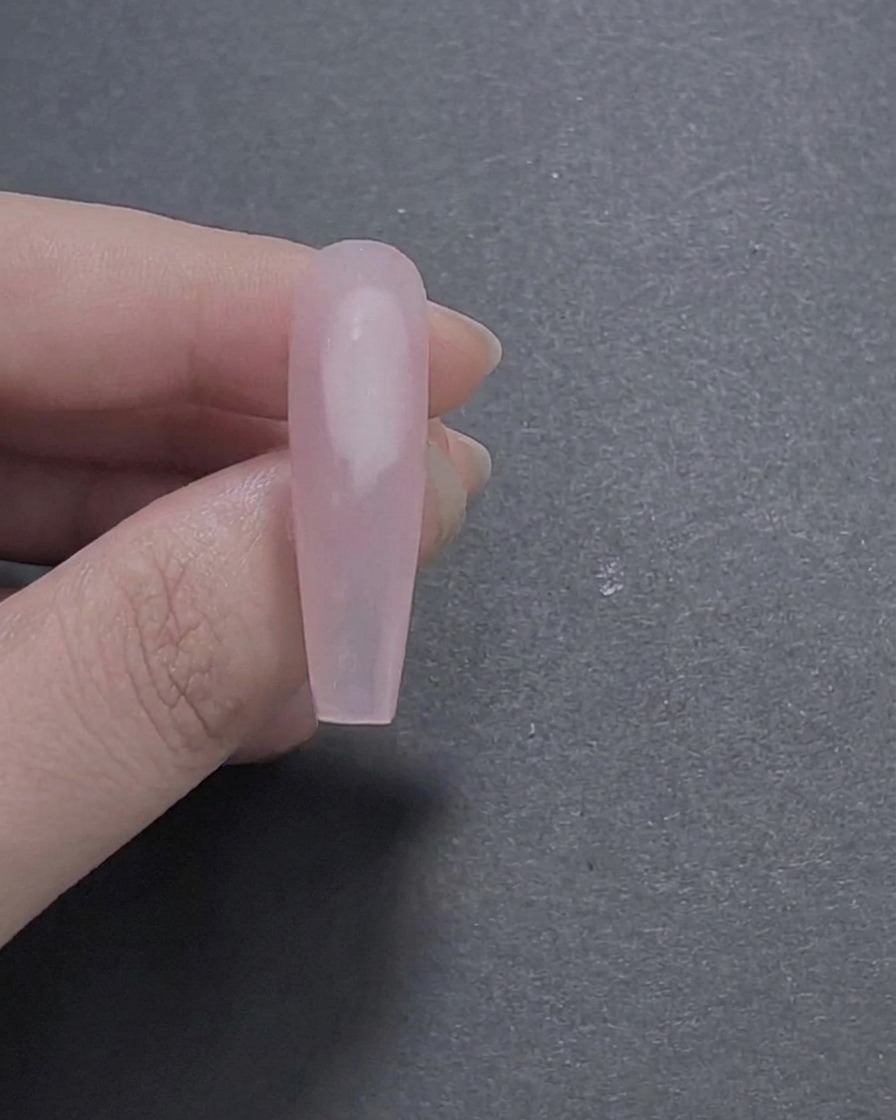
Apply a base coat of sheer pink gel polish evenly across the entire nail surface to create a clean, translucent foundation for your design. Ensure smooth coverage from the cuticle down to the free edge before curing it under your UV or LED lamp.
Tip: Keep the layer thin and even to prevent pooling near the cuticles and ensure proper curing. - 2Apply White Blooming Gel Ribbons
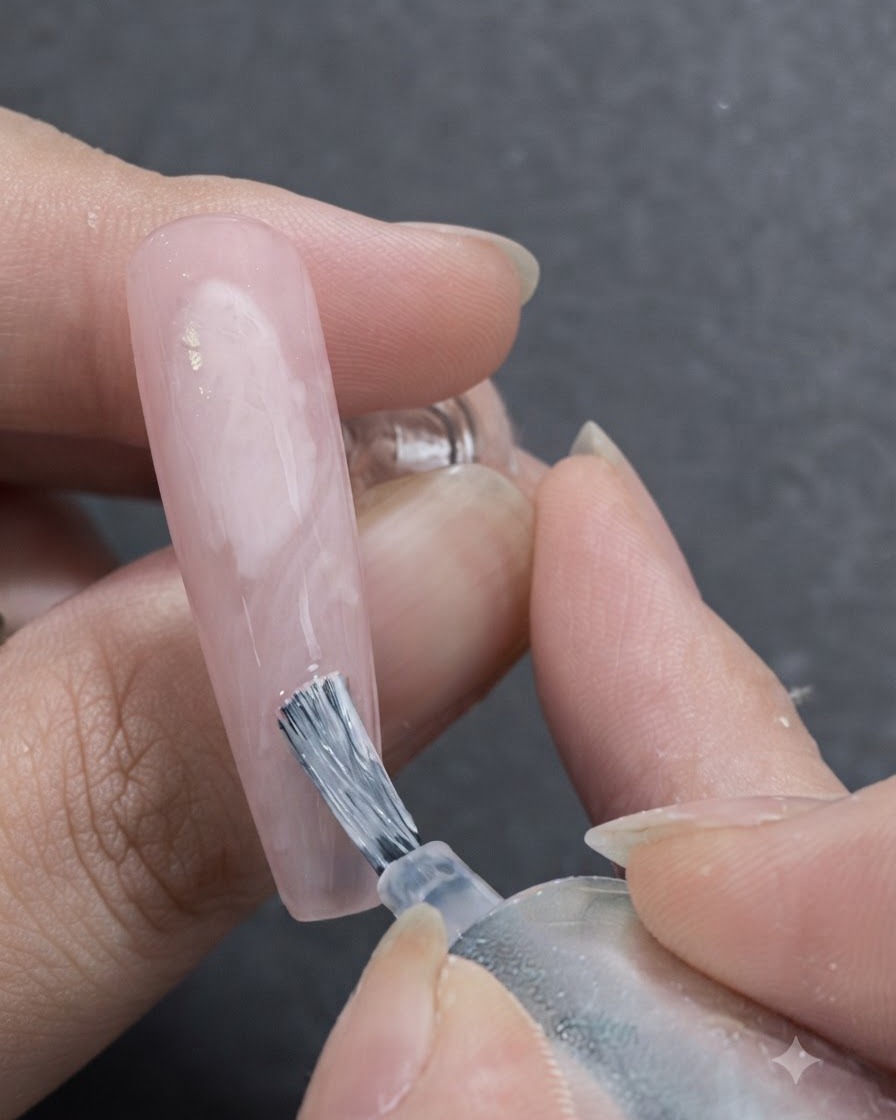
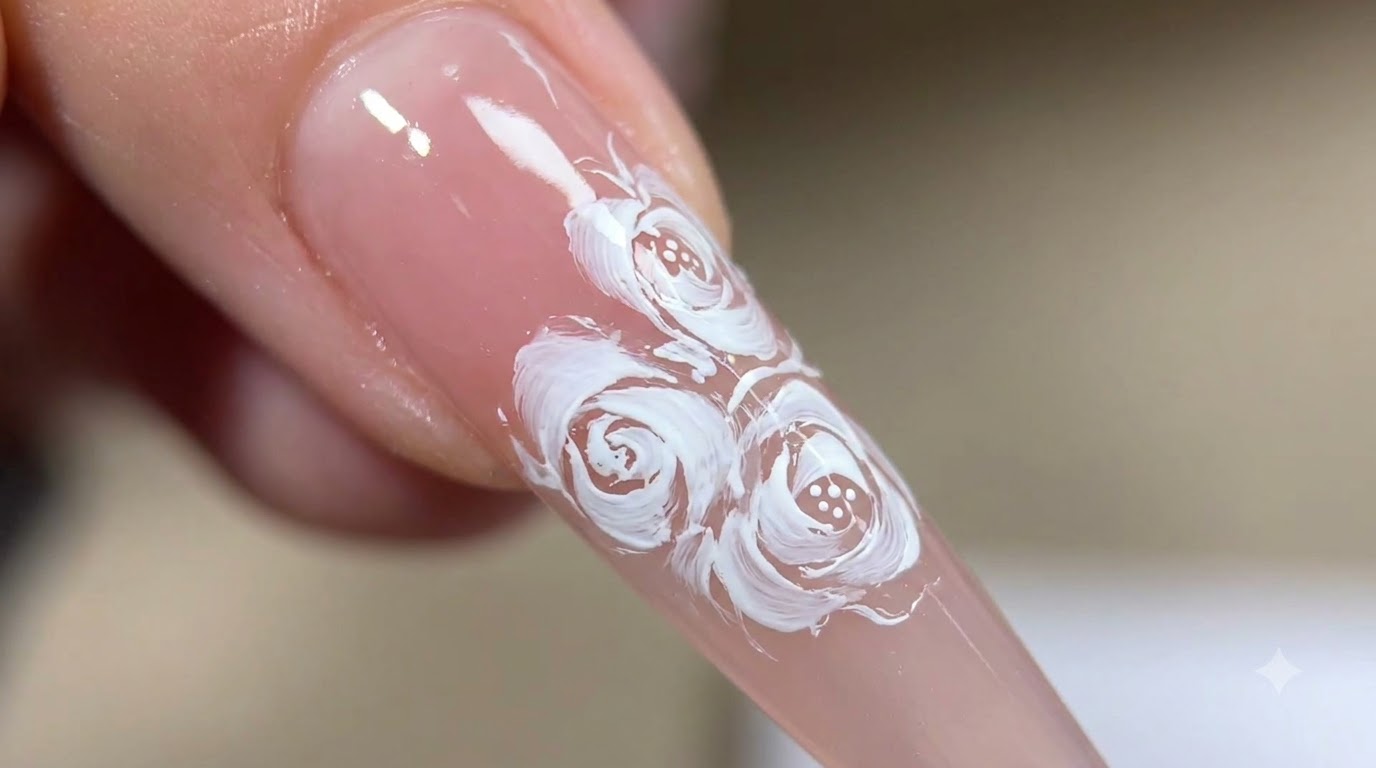
Using a nail brush loaded with white blooming gel, draw organic, flowing ribbon-like shapes across the sheer pink base. The blooming gel will naturally spread and soften, creating a fluid, watercolor-like backdrop for your nail art elements.
Tip: Do not cure the blooming gel immediately; let it disperse slightly to achieve that soft, blended ribbon effect. - 3Enhance Ribbon Texture with Fine Lines
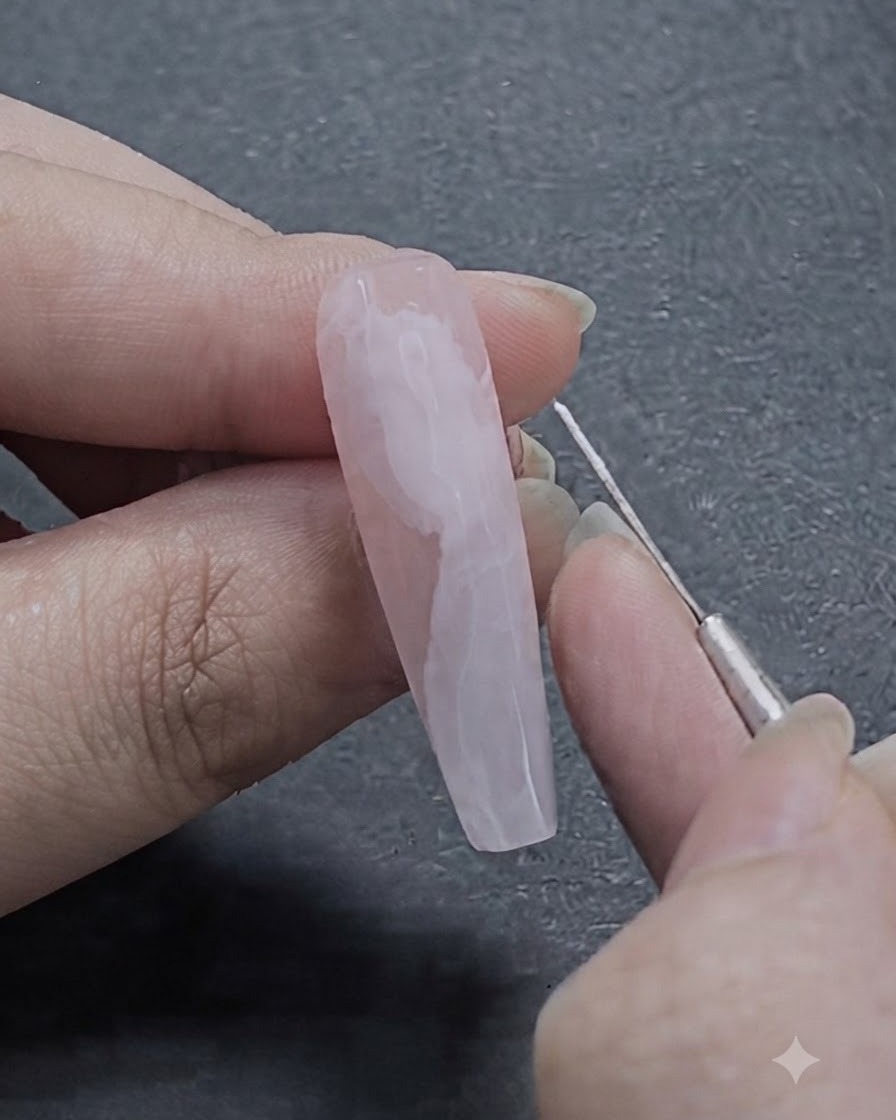
Take a fine liner brush with white gel polish to draw precise, delicate lines along the blooming gel shapes. This step adds depth, structure, and a distinct texture to define the flowing ribbon details.
Tip: Hold the liner brush lightly and use the very tip to keep your lines crisp and consistent. - 4Begin Rose Petal Details
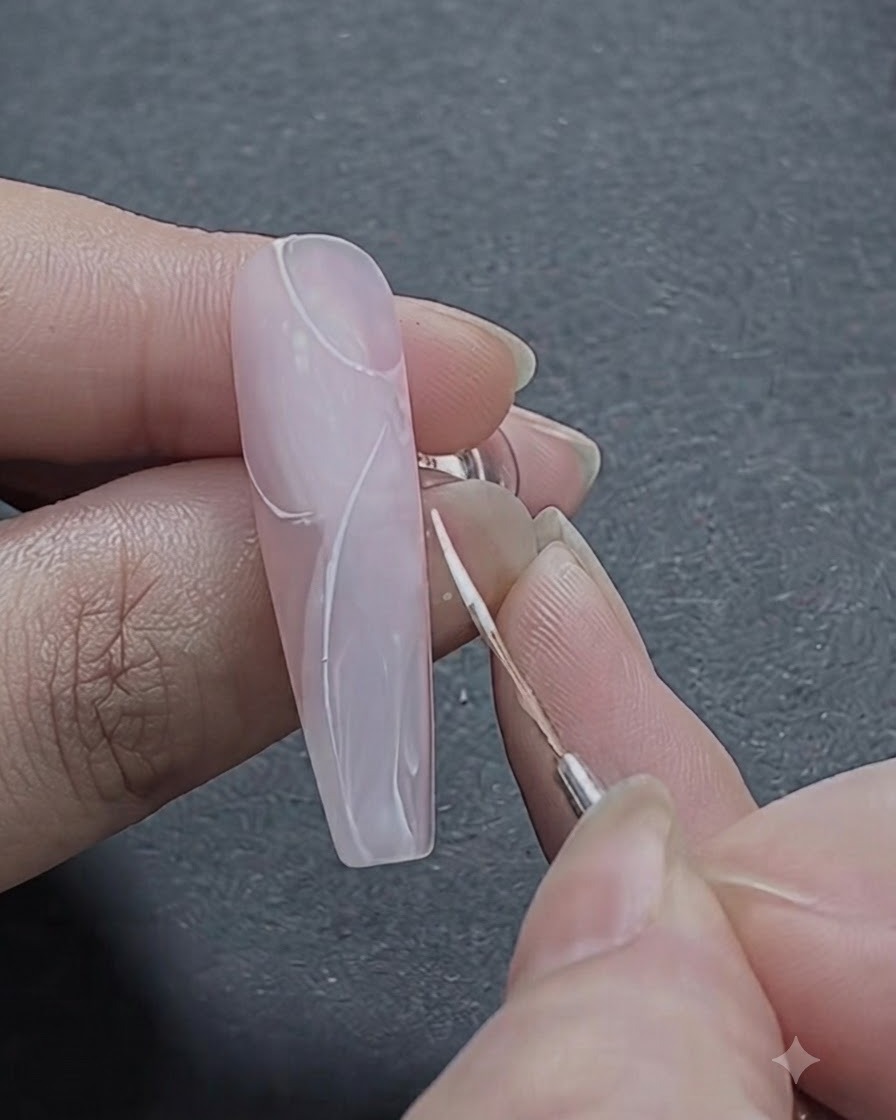
Using thin white strokes with a fine nail art brush, begin sketching the foundation of the rose pattern. Focus on creating curved, sweeping lines that will form the outer contour and initial layers of the floral center.
Tip: Keep your hand steady and build the petals with light pressure for a delicate, realistic look. - 5Layer Additional Rose Petals
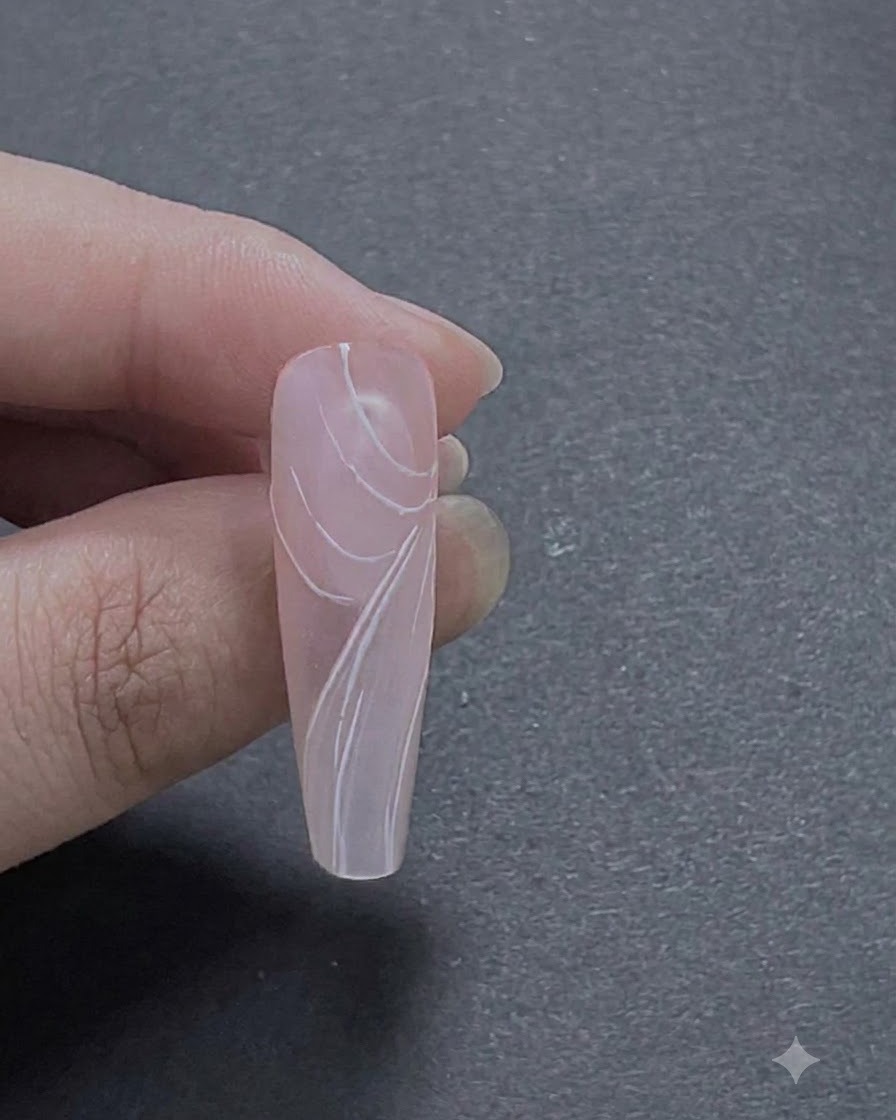
Continue building the rose motif by adding more white petal details, carefully layering strokes to give the flower dimension. Interlock the new petals with the existing lines to form a cohesive, blossoming floral shape.
Tip: Vary the length and curve of each stroke to make the layered petals look natural and organic. - 6Add Small Petal Accents
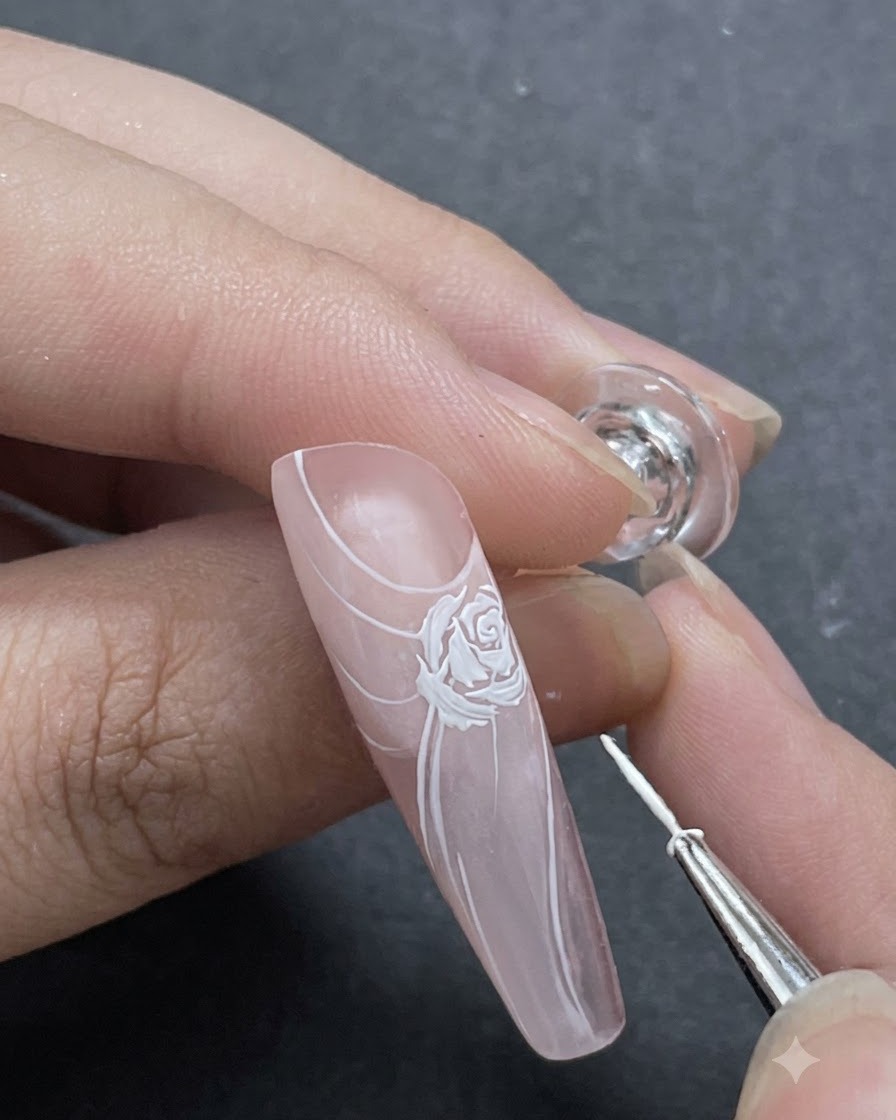
Add small, thin petal accents around the perimeter of the main rose design to fill in any empty gaps and balance the composition. These minor details tie the floral cluster seamlessly into the surrounding ribbon structure.
Tip: Use quick, minimal strokes for these accent petals so they complement rather than overpower the main rose. - 7Connect Ribbons to Floral Design
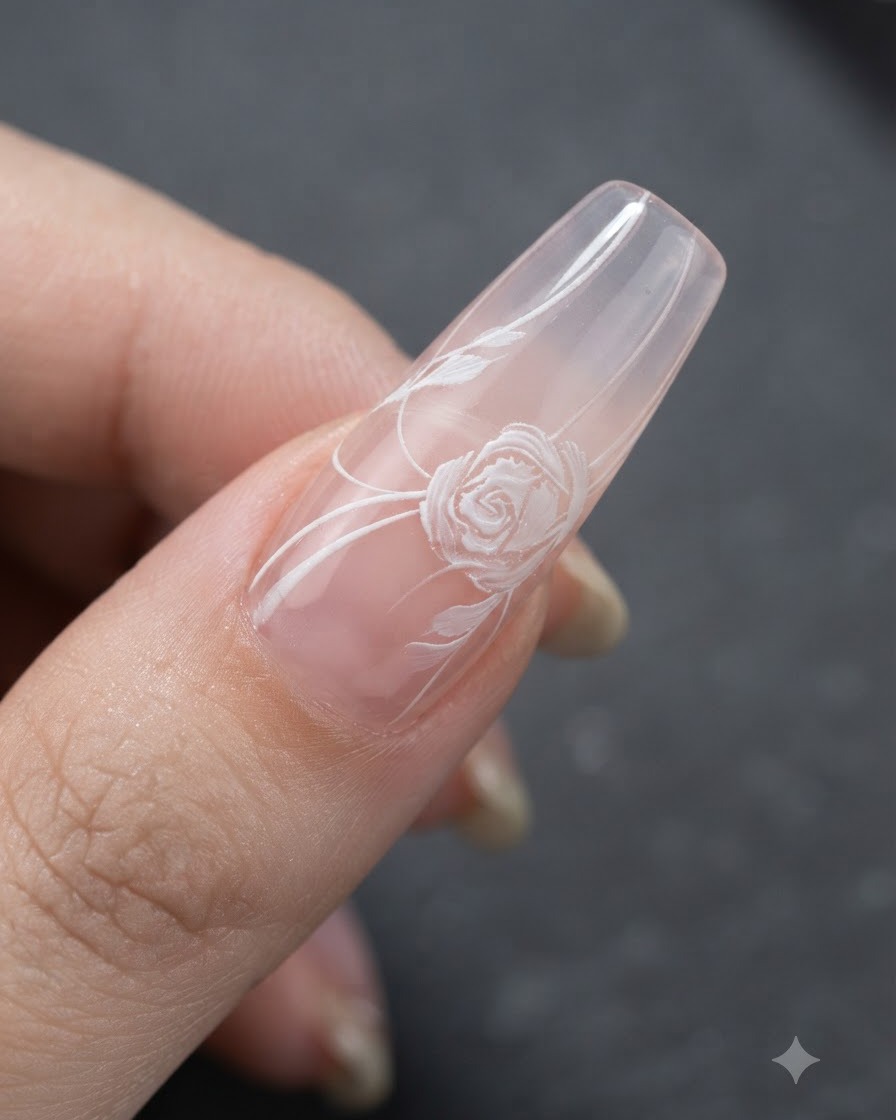
Using a thin nail art brush and white gel, carefully draw delicate lines to bridge the previously painted ribbon shapes with the central floral motif. This unifies the composition, making the ribbons wrap gracefully around and through the rose design for a cohesive and flowing look.
Tip: Keep your hand steady and use only the very tip of the fine liner brush to ensure the connecting lines remain thin and elegant. - 8Refine Rose Petal Edges
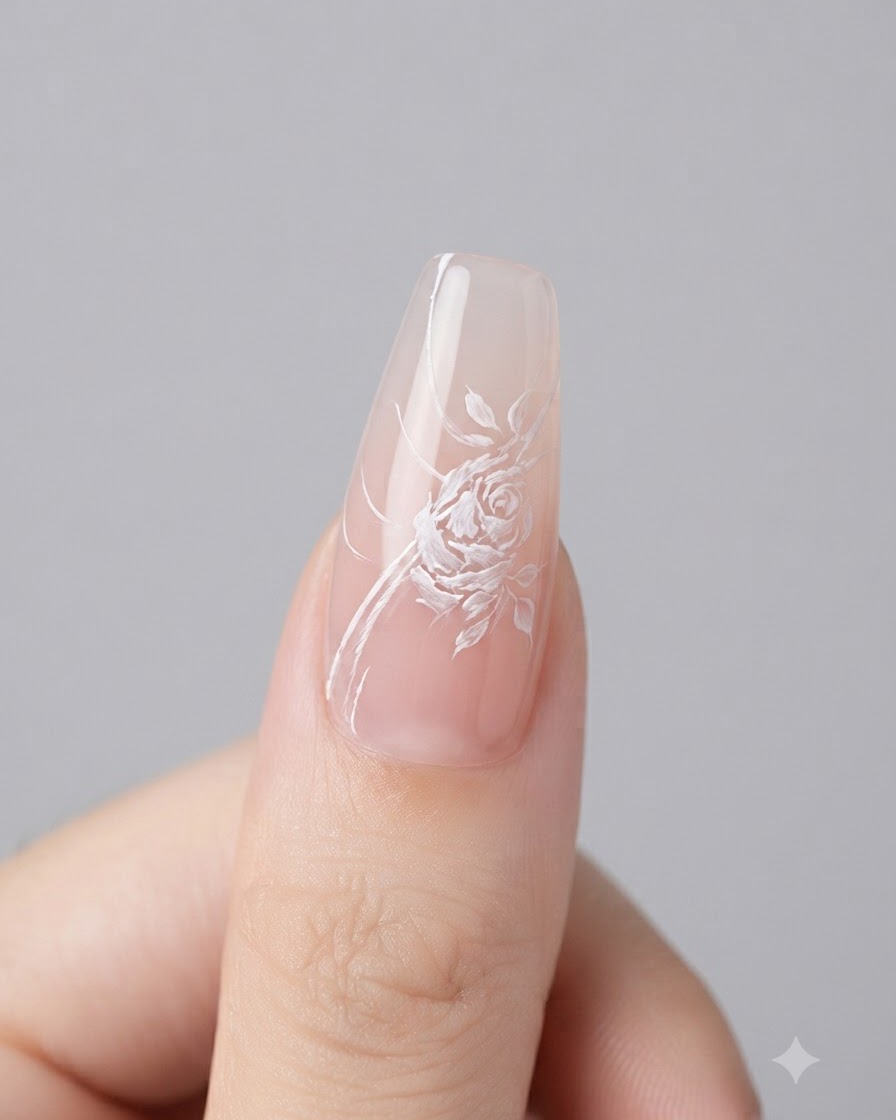
Take pure white gel polish and trace along the outer curves and edges of the rose petals to sharpen their appearance. This extra layer of definition makes the flower pop against the translucent background, enhancing the depth and overall clarity of the nail art.
Tip: A highly pigmented white gel works best here so you can achieve sharp definition with a single light stroke. - 9Apply 3D Sculpting Gel to Flower Center
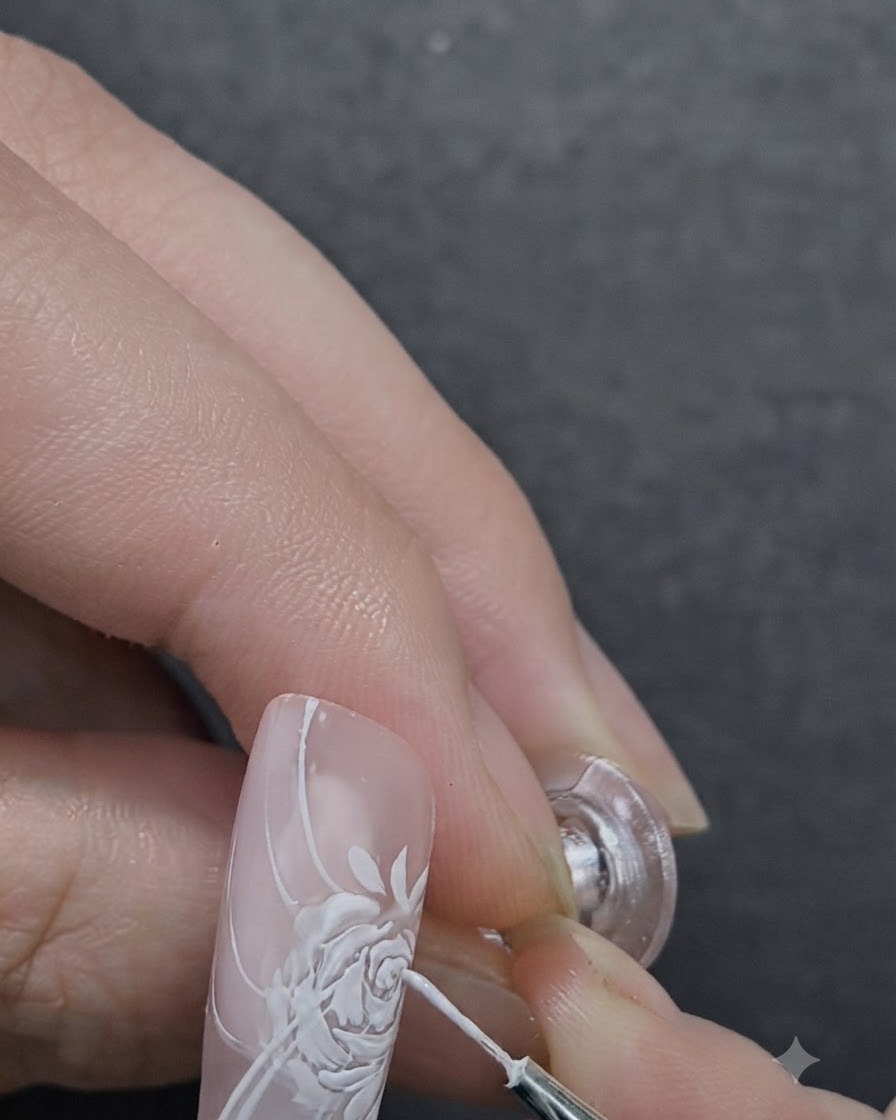
Dab a small amount of 3D sculpting gel or thick blooming gel right into the core of the rose. This builds physical height and tactile dimension, giving the flower a realistic, raised texture that stands out on the nail surface.
Tip: Flash cure for a few seconds immediately after applying if necessary to keep the 3D gel from spreading before you cure it fully. - 10Tint Flower Center with Light Pink
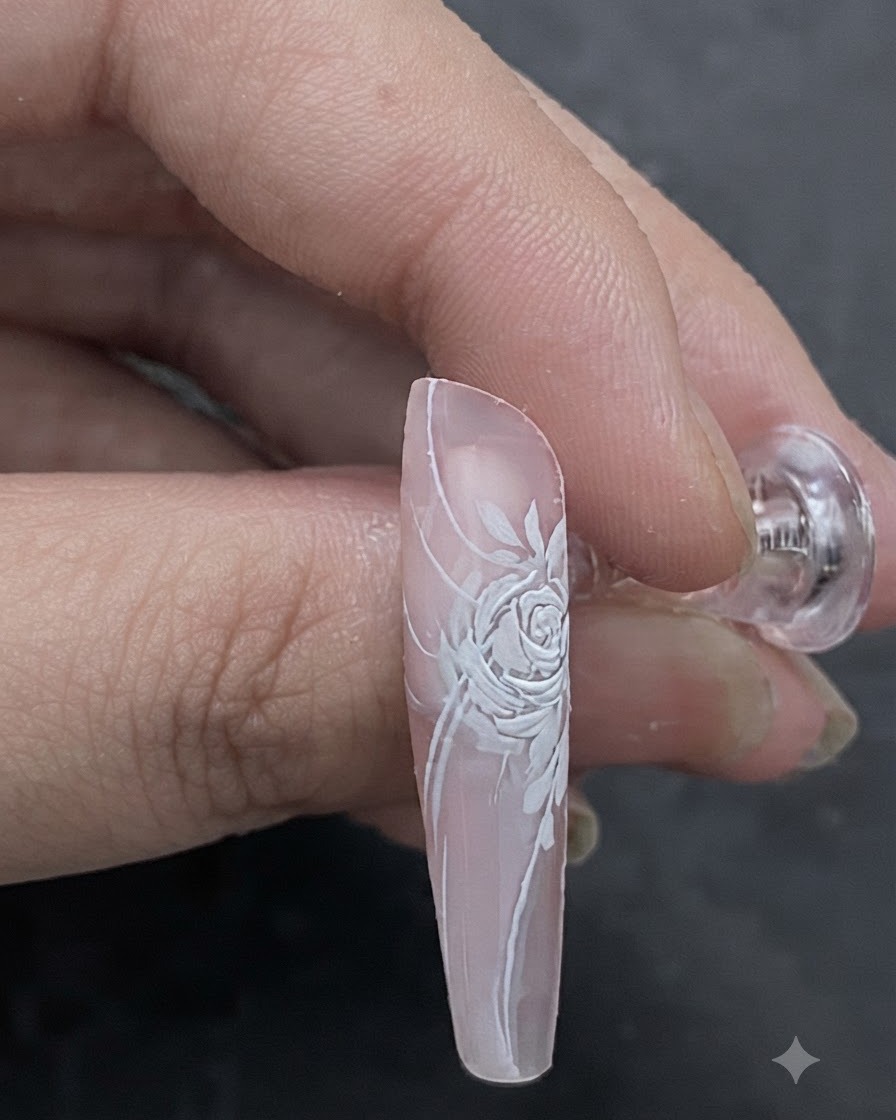
Lightly brush a tiny amount of light pink watercolor paint or sheer pink gel onto the center of the rose. This subtle tint adds warmth and natural color variation to the heart of the flower, completing the fresh and dimensional floral artwork.
Tip: Use a minimal amount of product so it stains or tints the center softly without overwhelming the white details underneath.