Black Butterfly
Rose Gel Nail Art Tutorial
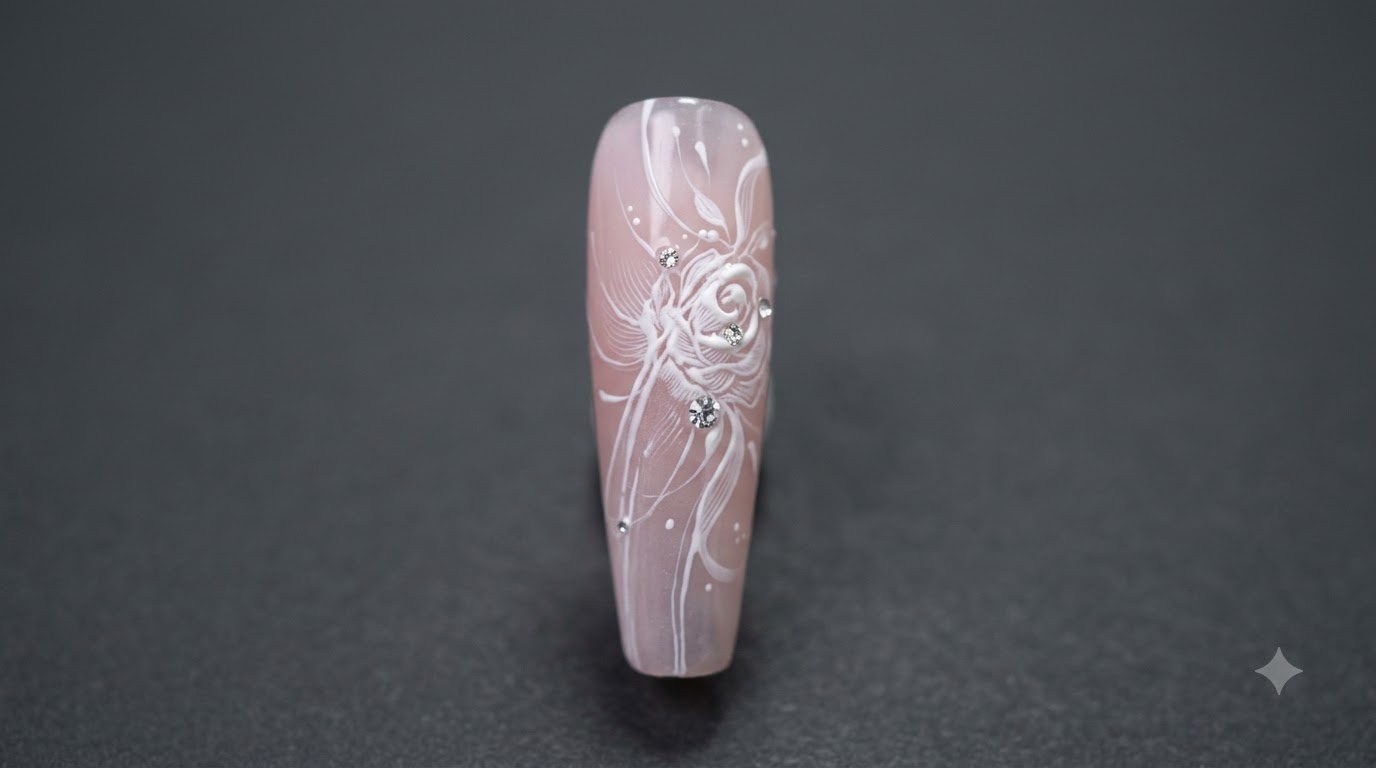
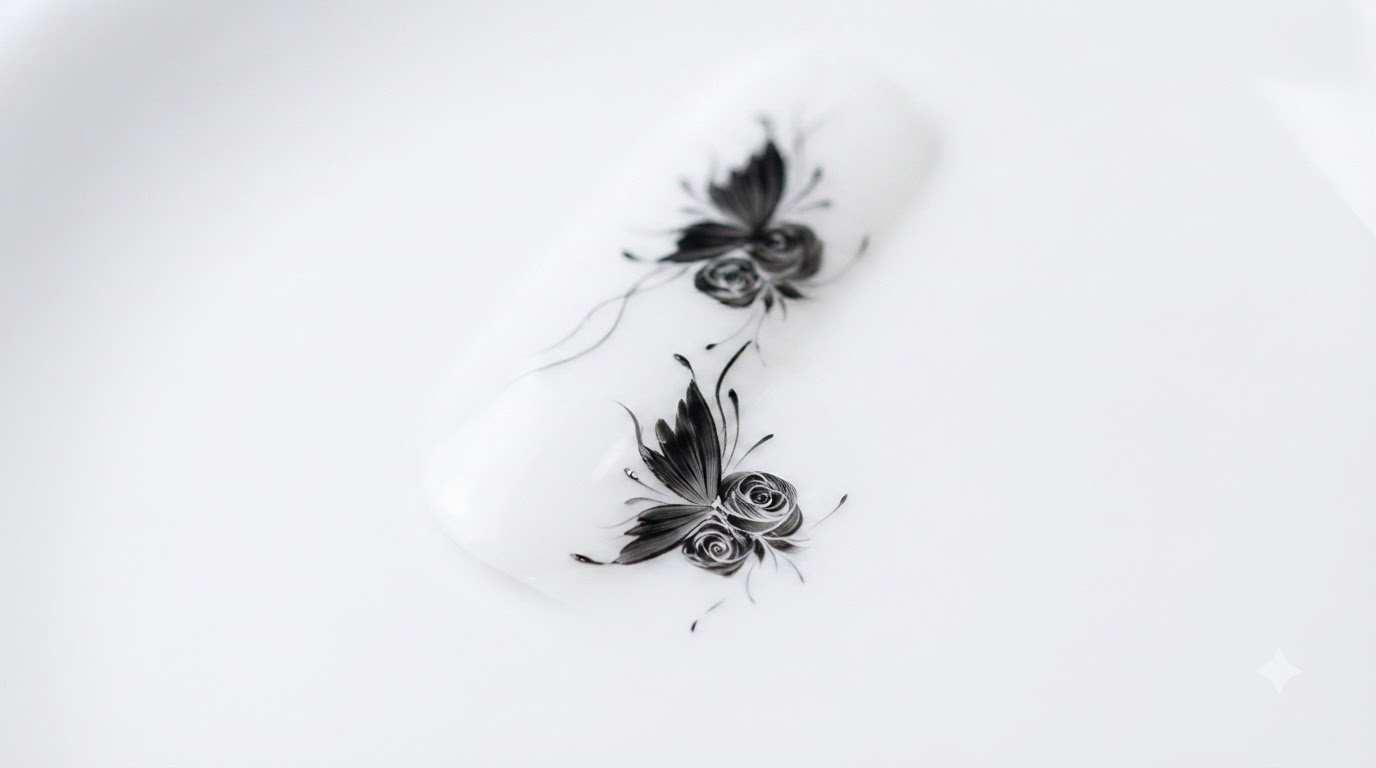
Master delicate hand-painted black butterfly and rose gel nail art with precise line work, C-shaped petals, and flowing accent details.
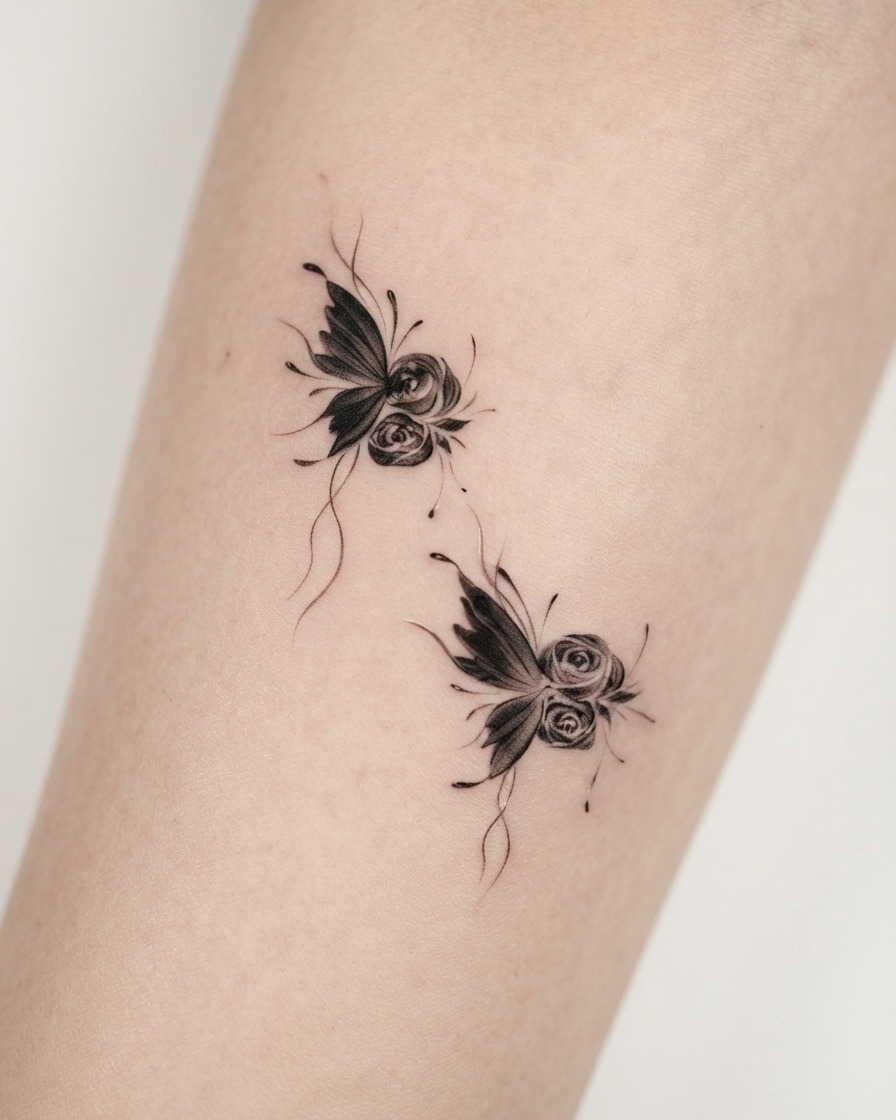
Elevate your nail artistry with this sophisticated hand-painted design featuring a detailed butterfly wing structure paired with classic blooming roses. Using a universal gel pen and precise brush techniques, this tutorial breaks down structural guideline mapping, elegant petal formation, and fine accent dotting for a professional finish.
Steps
- 1Draw Guideline Lines
Begin by sketching structural guide lines on your practice sheet. Draw one long line, two medium short lines, three shortest lines, four downward-sloping lines, and five lines with wave effects to establish the precise positioning framework for the butterfly rose nail art design.
Tip: Keep your hand steady and light to ensure the guidelines remain thin and clean. - 2Load the Universal Pen Gel
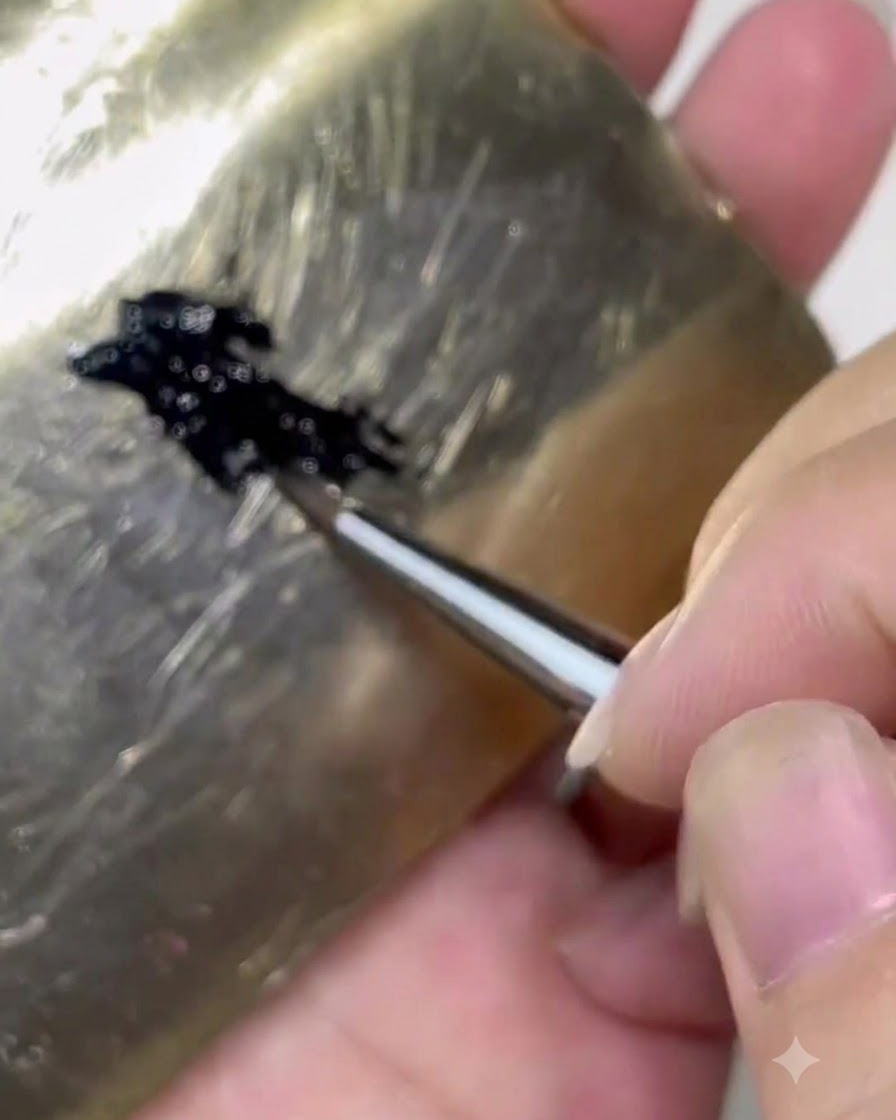
Take the universal pen with gel and pick up product onto about one-third plus a bit more of the brush body from your palette. Ensuring the correct amount of gel is loaded onto the brush body is essential for achieving smooth control and clean line work.
Tip: Do not overload the entire brush; focusing the product on the lower portion of the brush body gives you better flexibility. - 3Pull Out a Sharp Corner
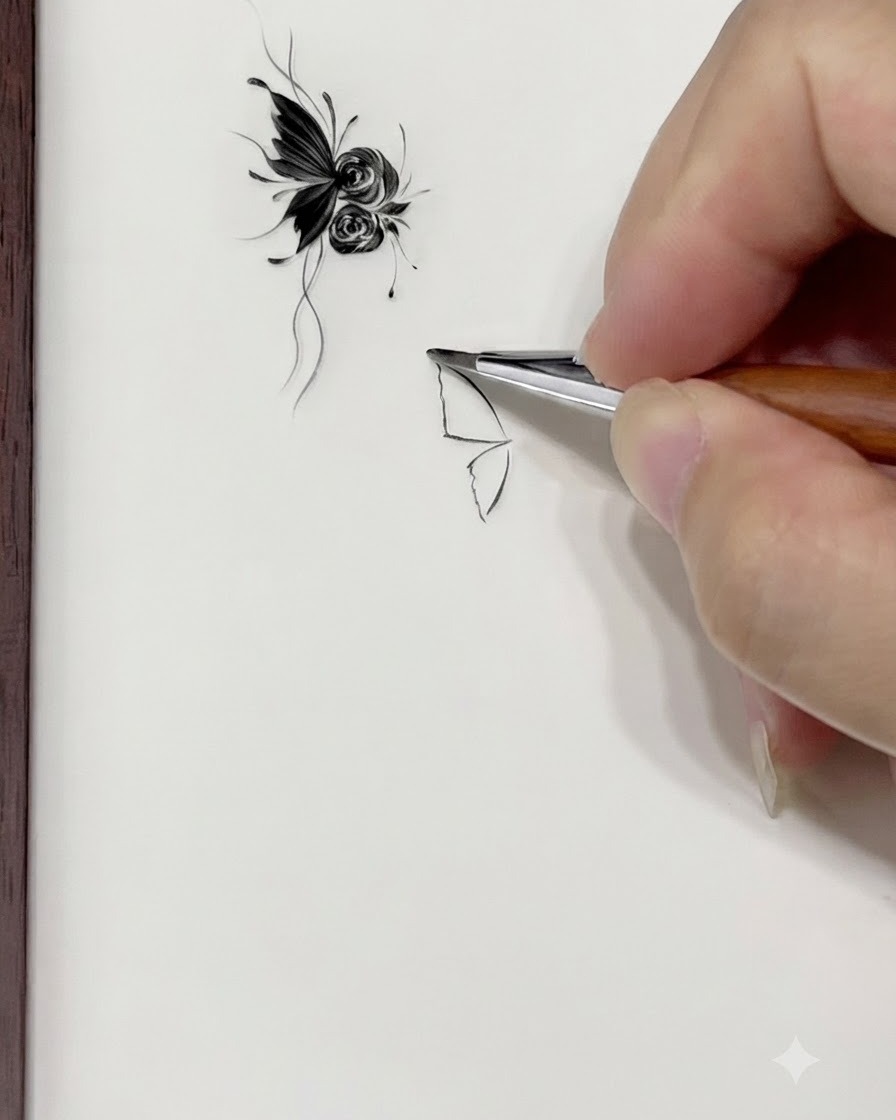
Lightly point the brush tip onto the practice surface to pull out a sharp corner. This motion establishes the initial crisp point needed for the outer edge of the butterfly wing structure.
Tip: Use a very gentle touch with just the absolute tip of the brush to prevent thick or blunt edges. - 4Slide Down Along the Guide Line
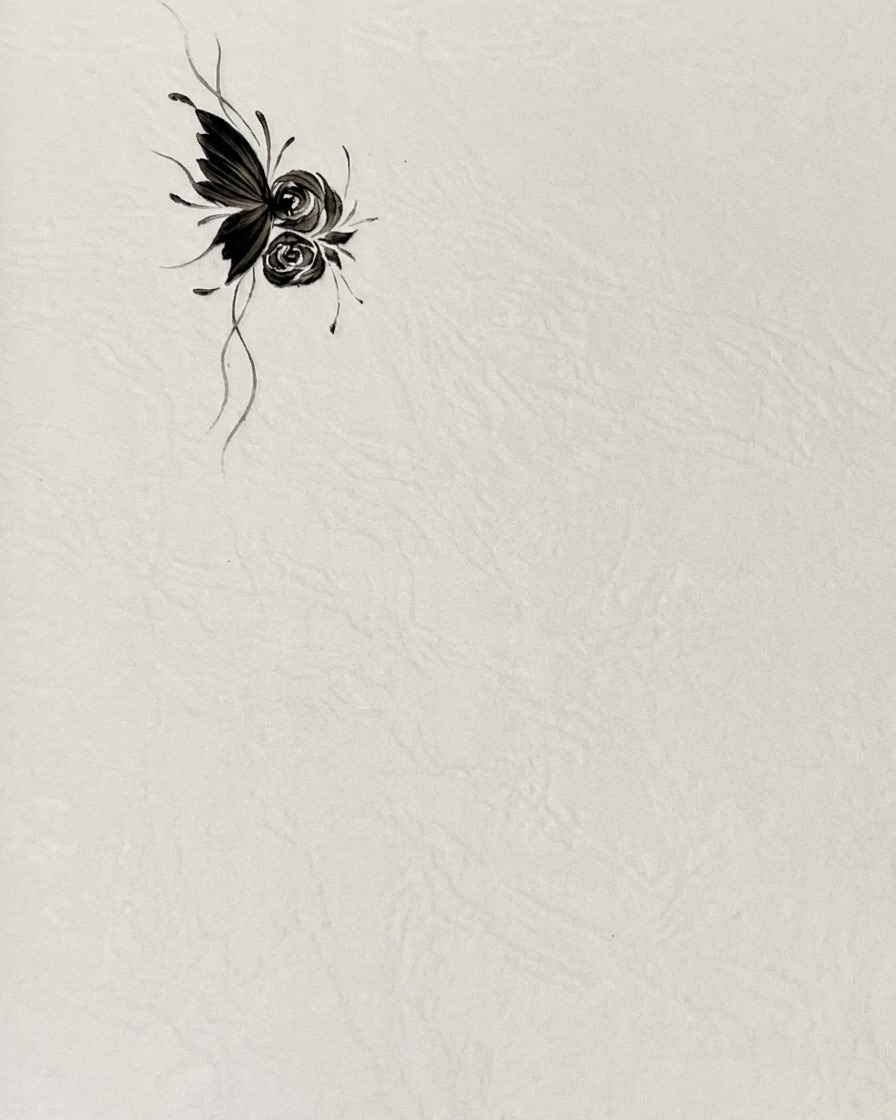
Using about one-third of the brush head from the top, press down firmly on one side while sliding downwards along your previously drawn positioning line. This action creates the smooth body curve and thickness of the butterfly wing.
Tip: Maintain an even, continuous motion as you slide down the line to keep the curve uniform. - 5Finish the Tail of the Stroke
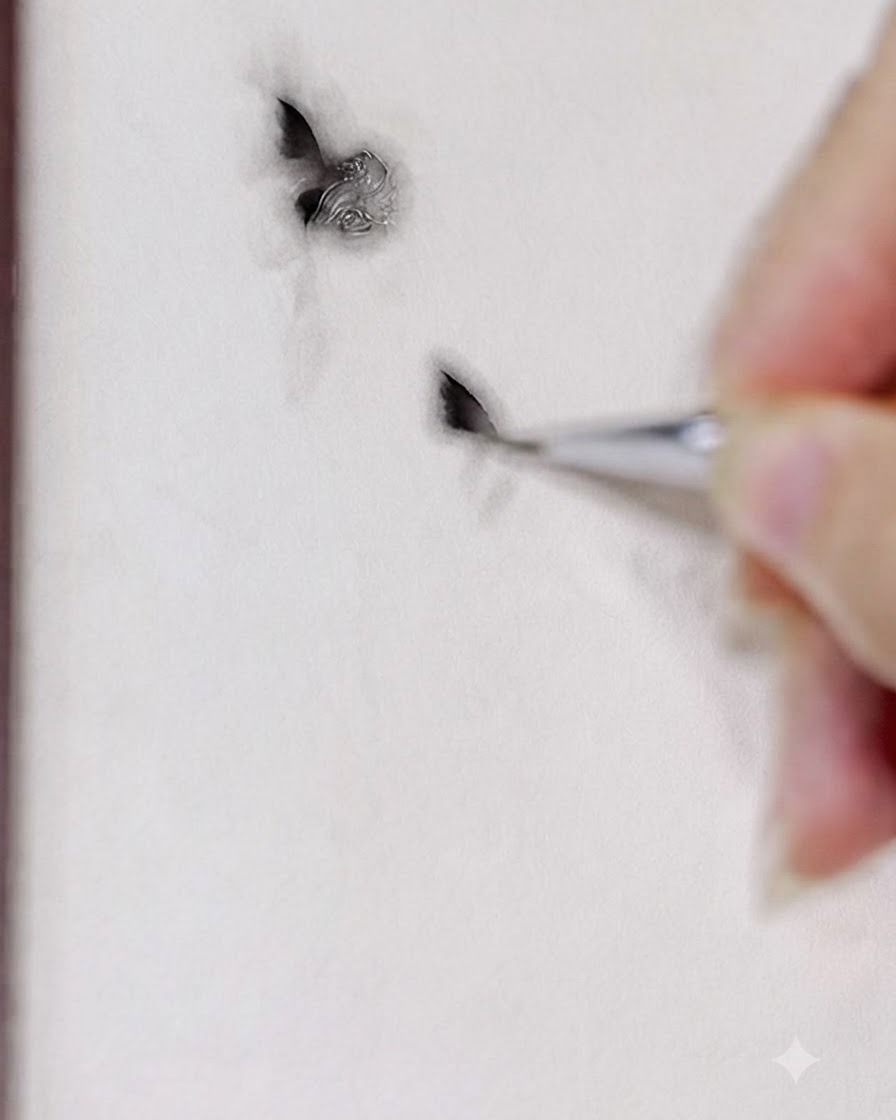
Gradually lighten the pressure on the brush as you quickly finish the tail end of the stroke. Tapering the pressure ensures the line transitions smoothly into a fine, delicate point.
Tip: Lift the brush off the surface quickly at the very end to prevent pooling or a blunt cutoff. - 6Converge Strokes with Brush Tip
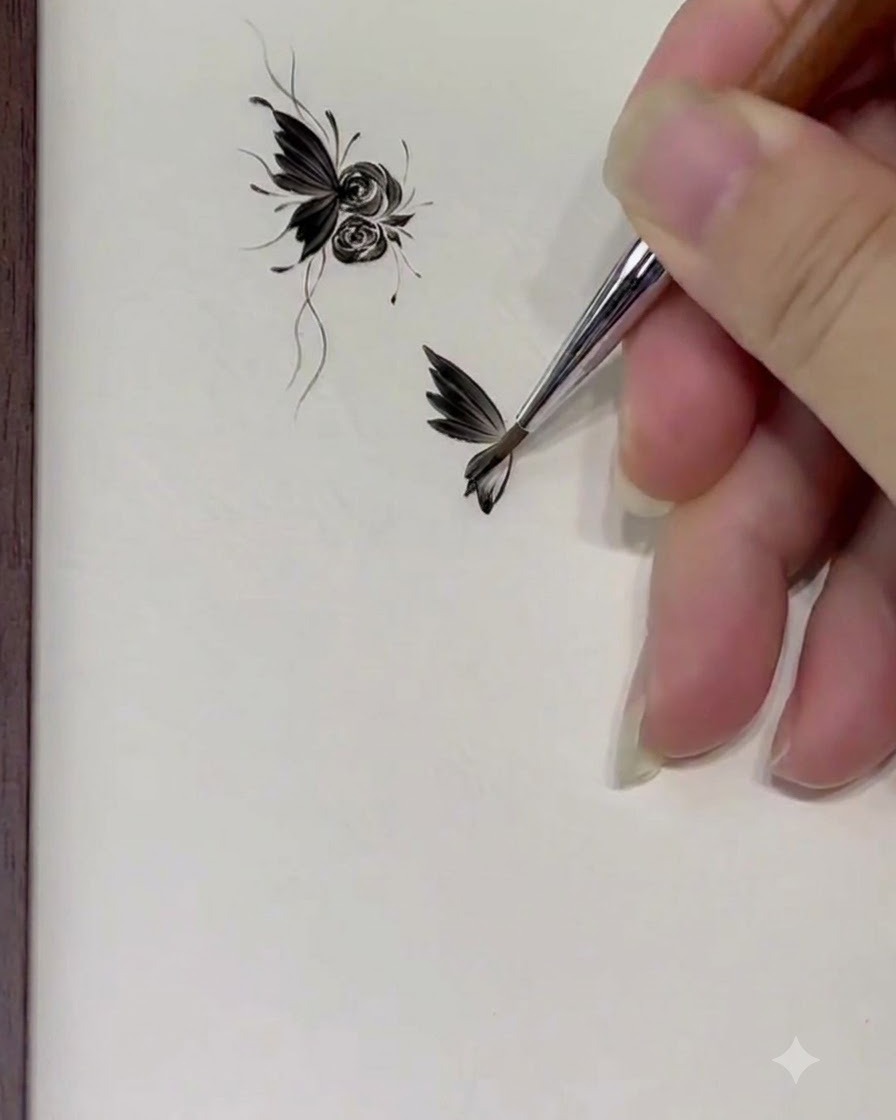
Slowly stand the brush up into an upright position and switch entirely to brush-tip operation. Guide all the strokes so that they converge neatly to the exact same focal point.
Tip: Keep your hand upright and use only the very tip of the bristles for precision alignment. - 7Set Rose Positioning Points
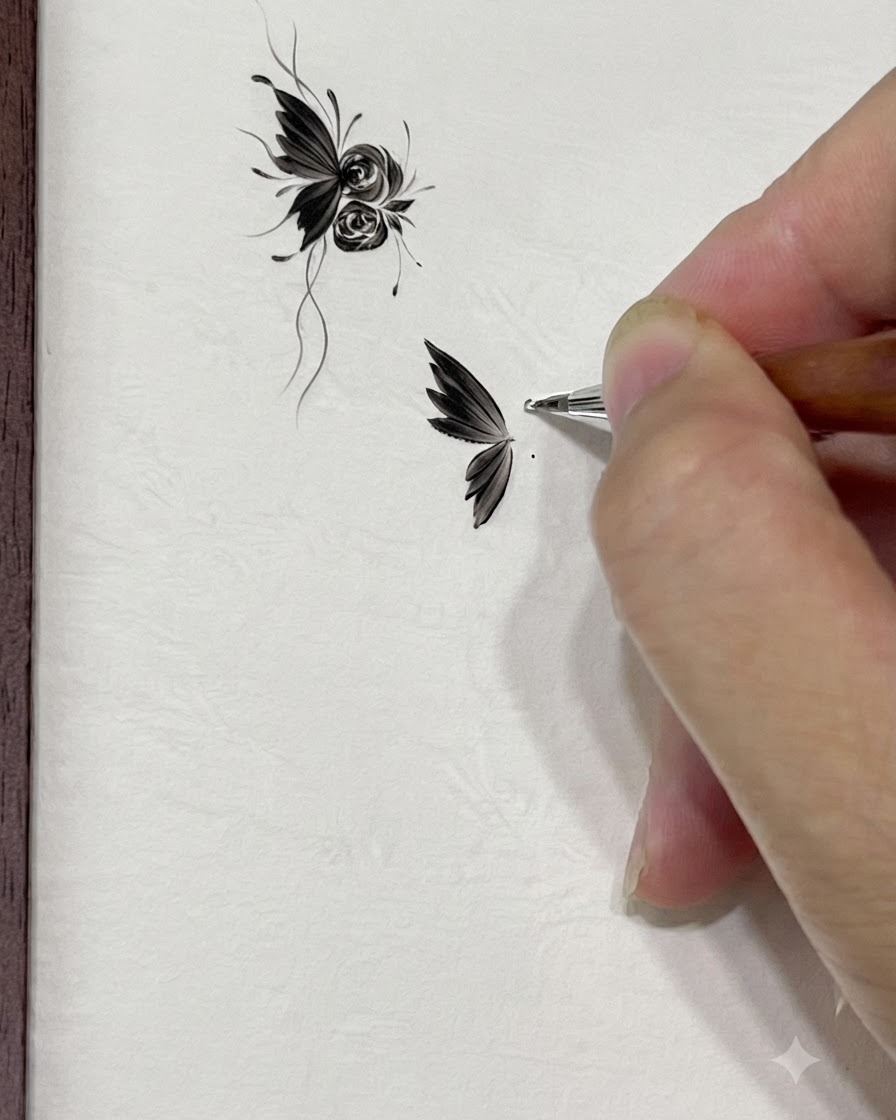
Set two positioning points on the opposite side to determine the range and placement for the upcoming rose flower art.
Tip: Keep the positioning points subtle to act as a clear guide without cluttering the canvas. - 8Draw Rose Center Outline
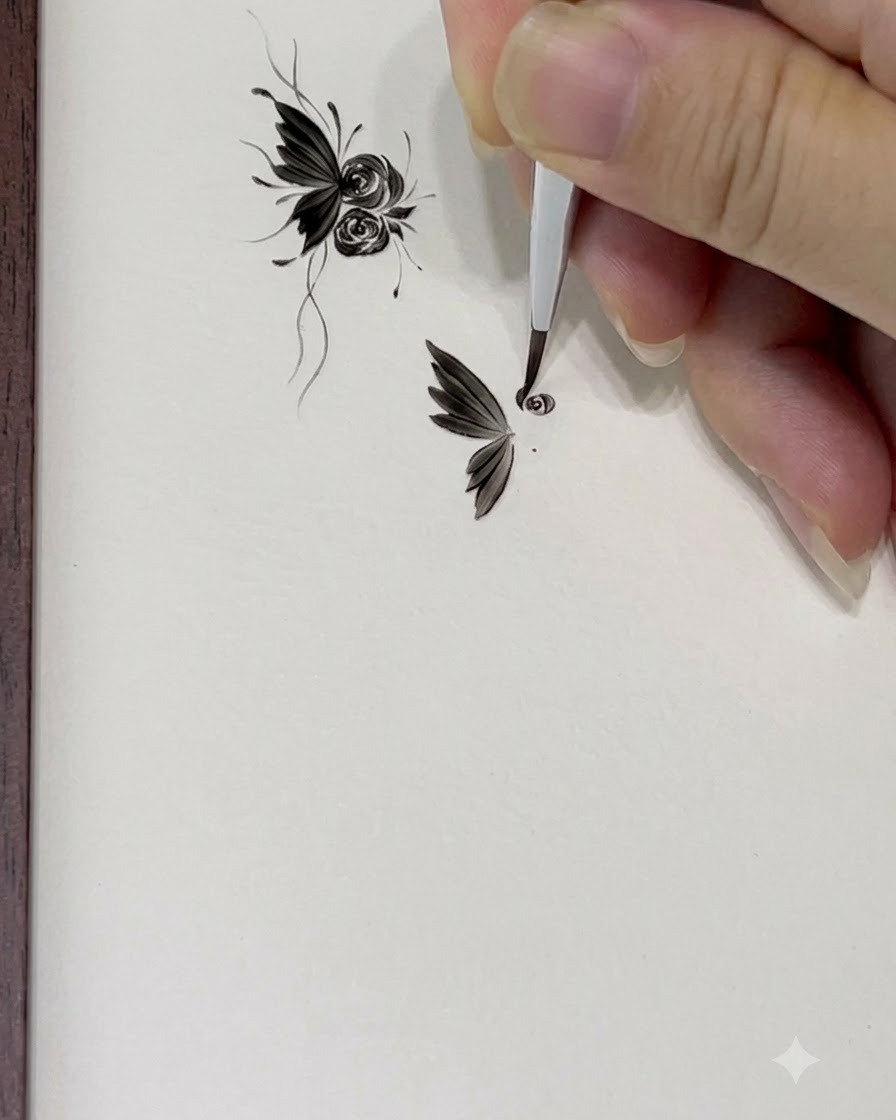
Draw an initial 6 shaped outline to form the distinct center swirling bud of the rose.
Tip: Use a light hand and ensure the 6 shape is compact to mimic a realistic center bud. - 9Surround with Small Petals
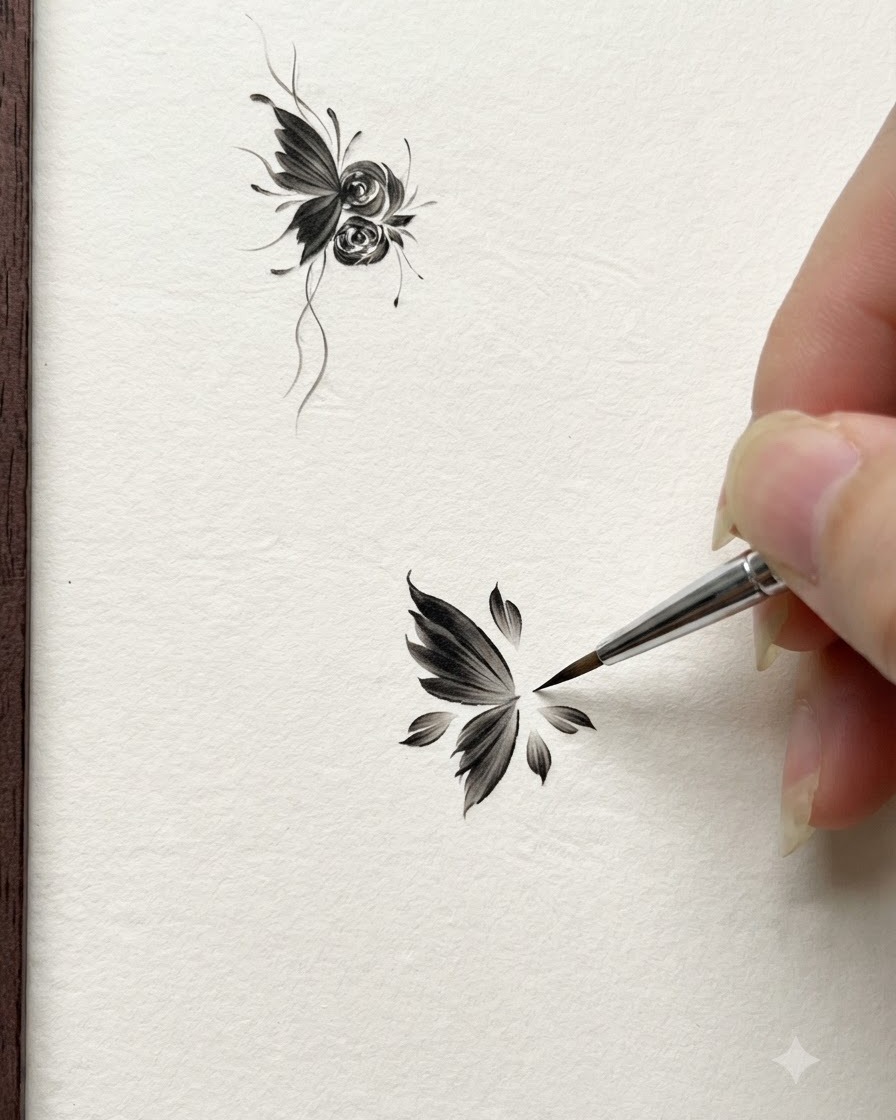
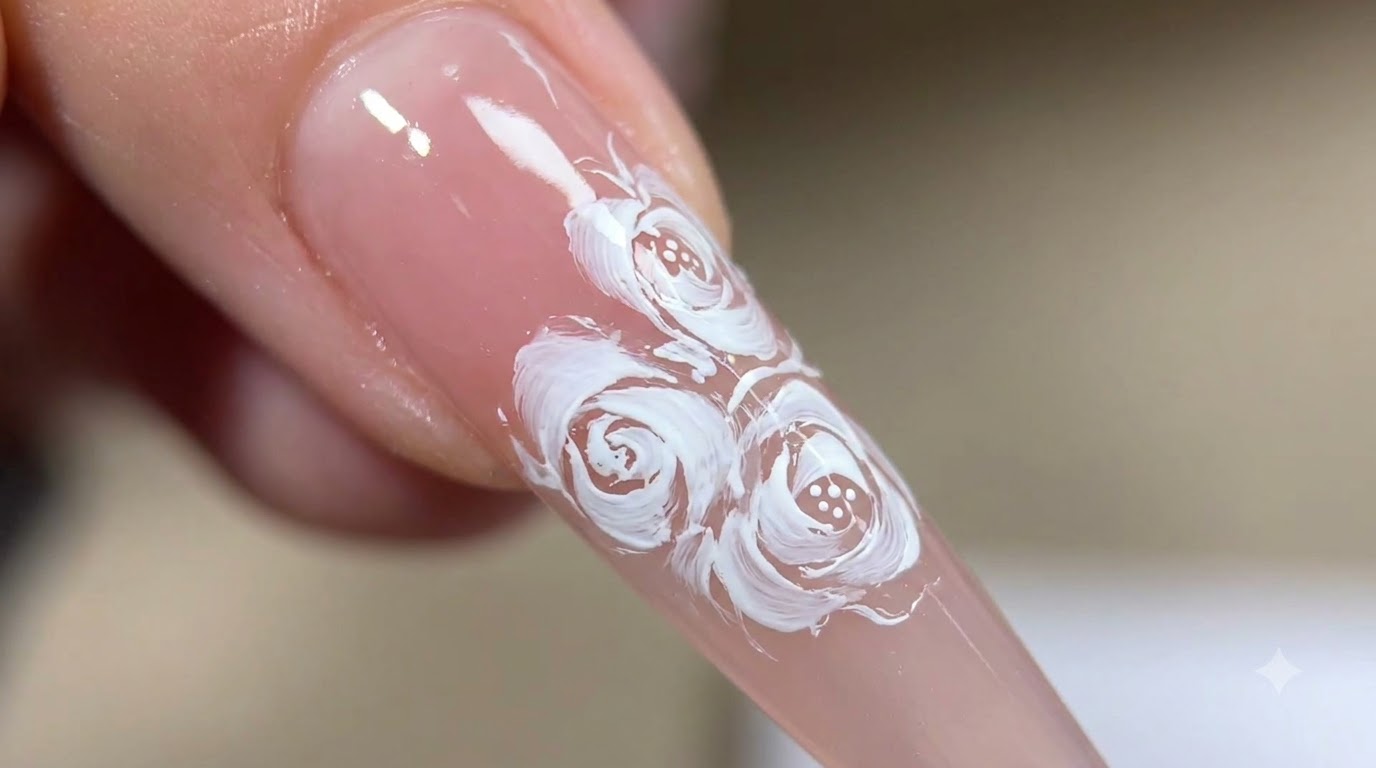
Surround the central rose outline using three small petals, ensuring they nestle closely around the core.
Tip: Leave slight gaps between the petals to maintain dimension and structure. - 10Paint C-Shaped Rose Petals
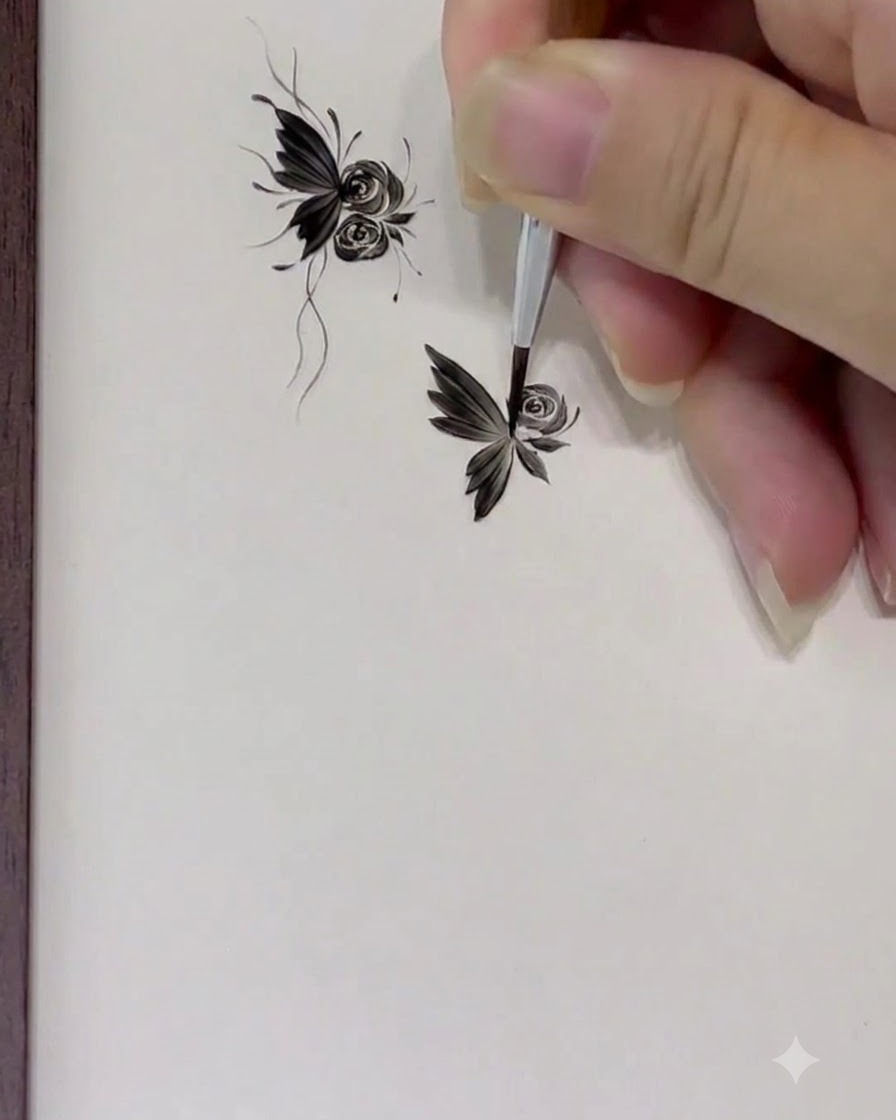
Paint C-shaped rose petals around the flower, ensuring they are pointed at both ends and plump in the middle. Avoid straight or thin petals to keep the flower looking full and structured rather than loose or oversized.
Tip: Keep petals plump in the middle and pointed at the tips to prevent a loose, oversized appearance. - 11Add Gaps and Leaves
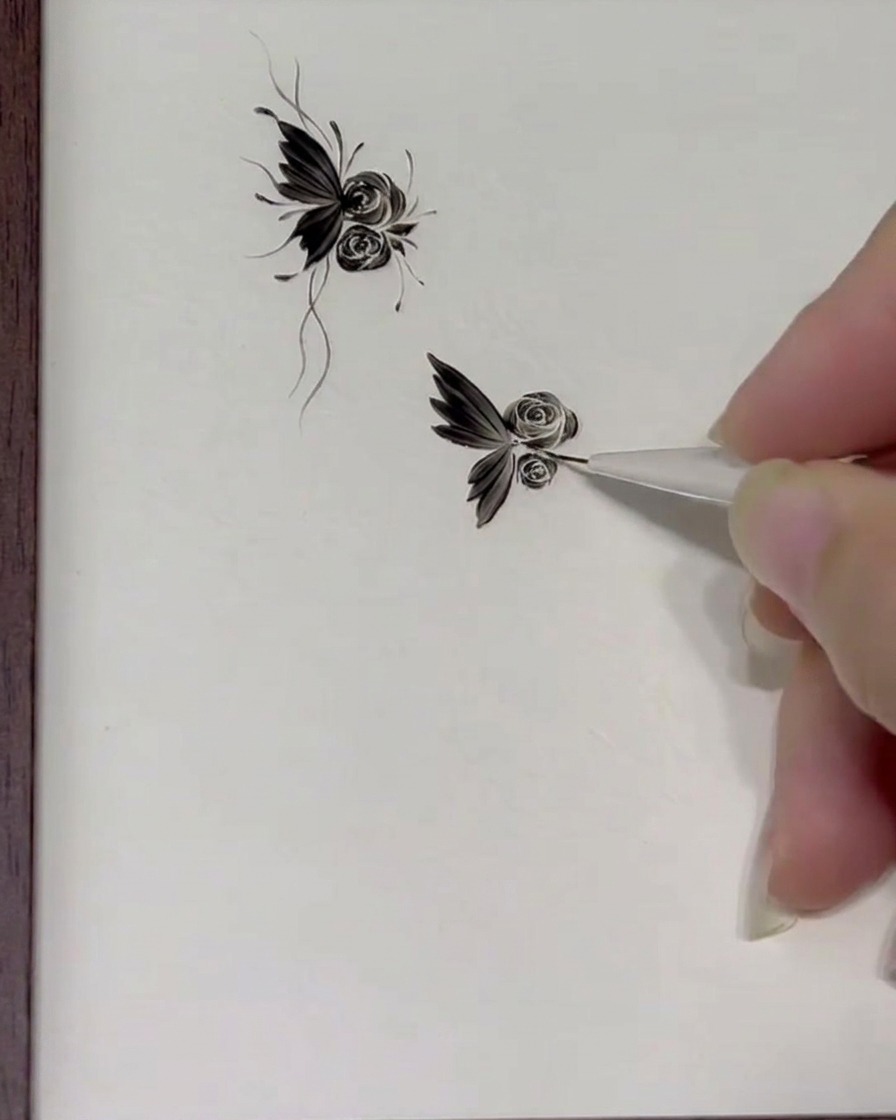
Add leaves directly into the gaps between the two flower petal sections, avoiding bunching the elements together.
Tip: Distribute leaves evenly in the negative spaces to frame the rose naturally. - 12Add Flowing Accent Details
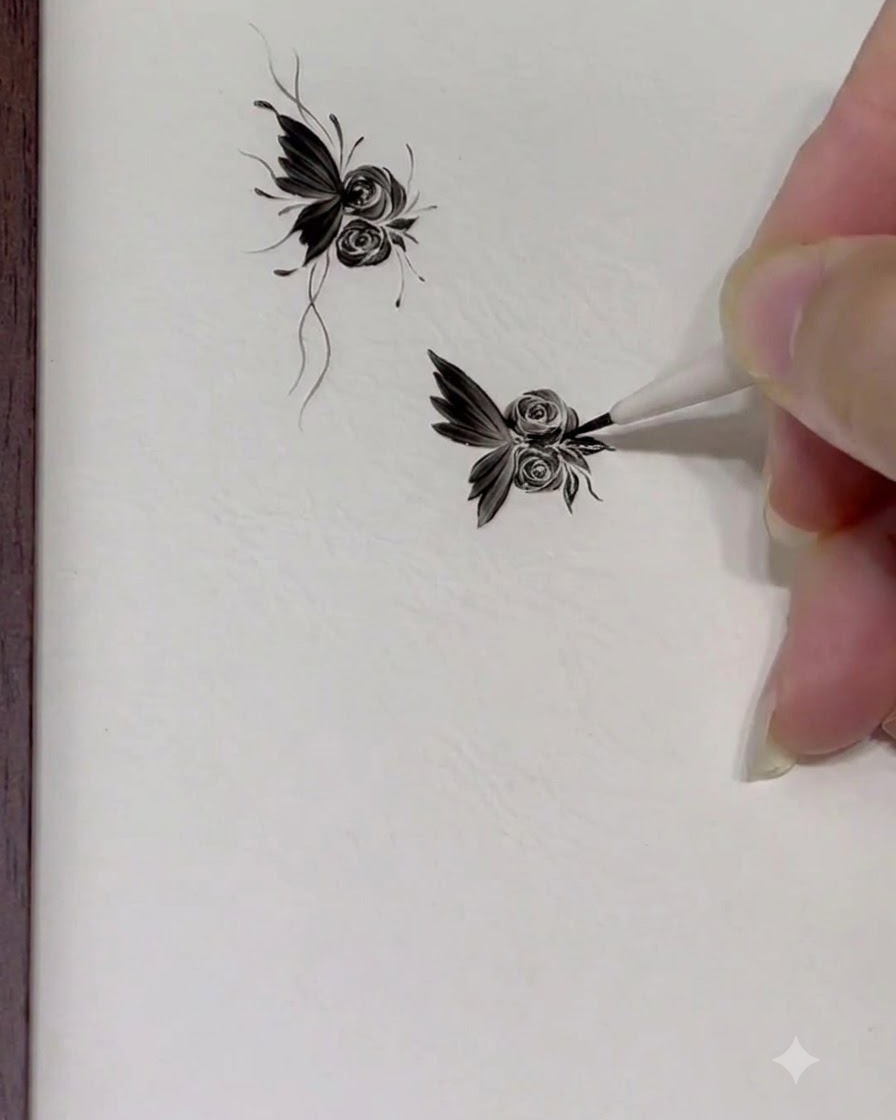
Point and dot fine flowing details around the composition. Note that blunt dots require a gel bead, while fine lines without blunt dots need a clean brush tip.
Tip: Wipe the gel completely off the brush tip when painting fine lines that do not require blunt dots. - 13Apply gel beads and finish details
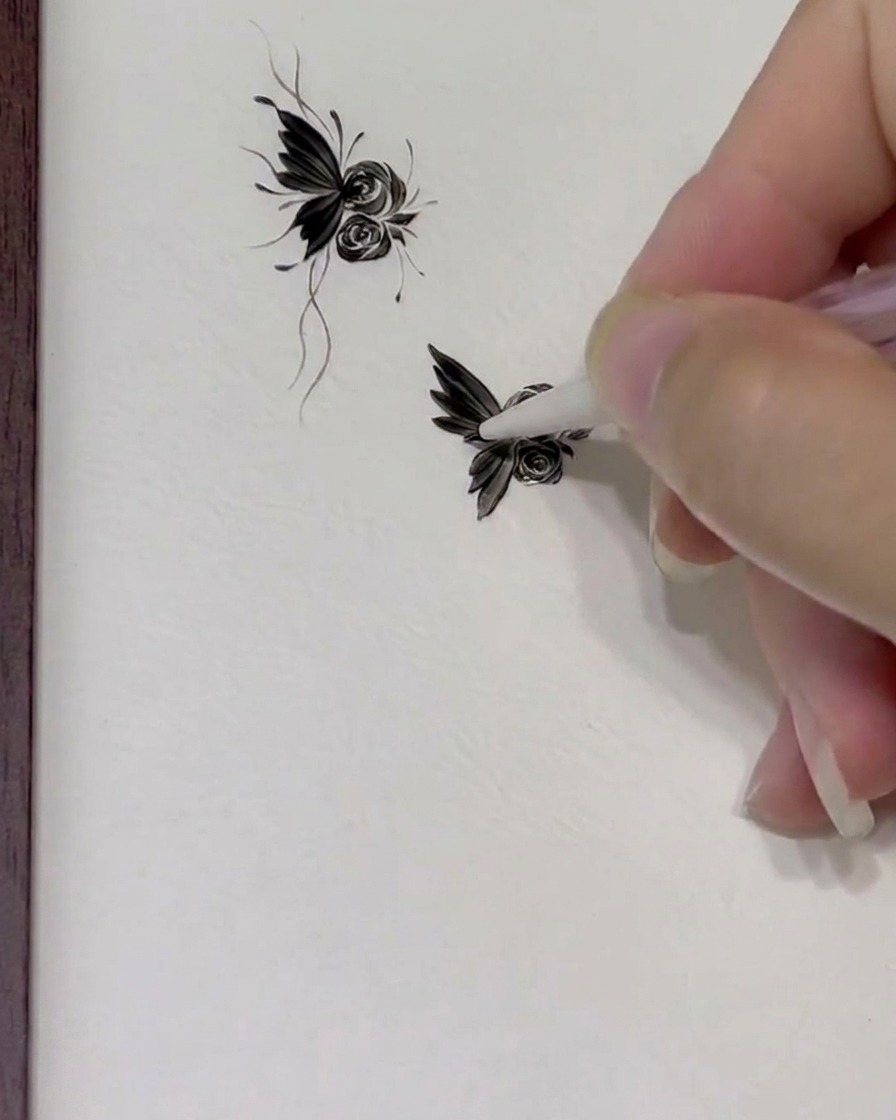
Carefully place gel beads at the designated blunt dot locations to add dimension and accent the nail art design. Ensure that fine lines without blunt dots remain clean and sharp by wiping the gel completely clean from the brush tip beforehand. This final detailing brings the butterfly rose design together with a polished, professional finish.
Tip: Keep a clean lint-free wipe nearby to constantly refresh your brush tip for precise line work and controlled gel bead placement.