Blue Watercolor Floral Lace Nail Art — Beginner Tutorial
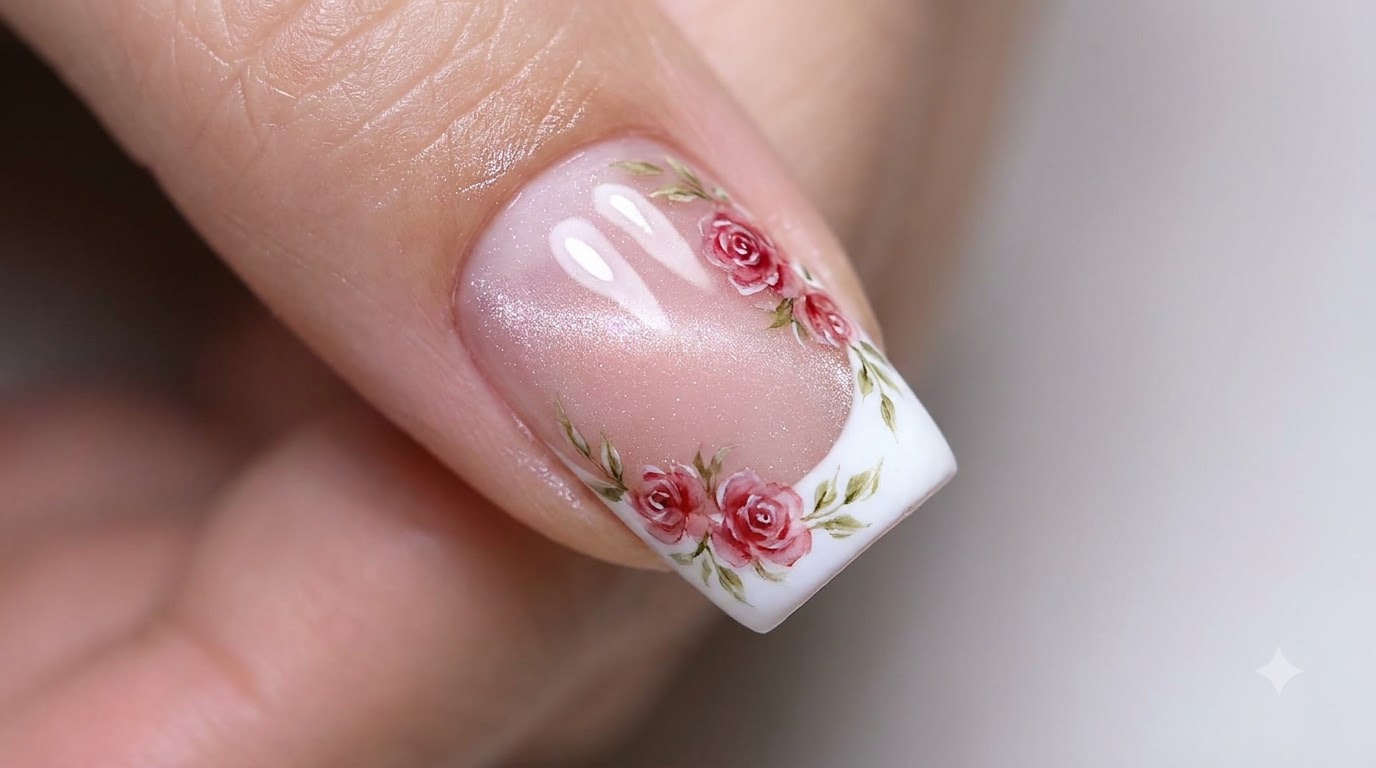
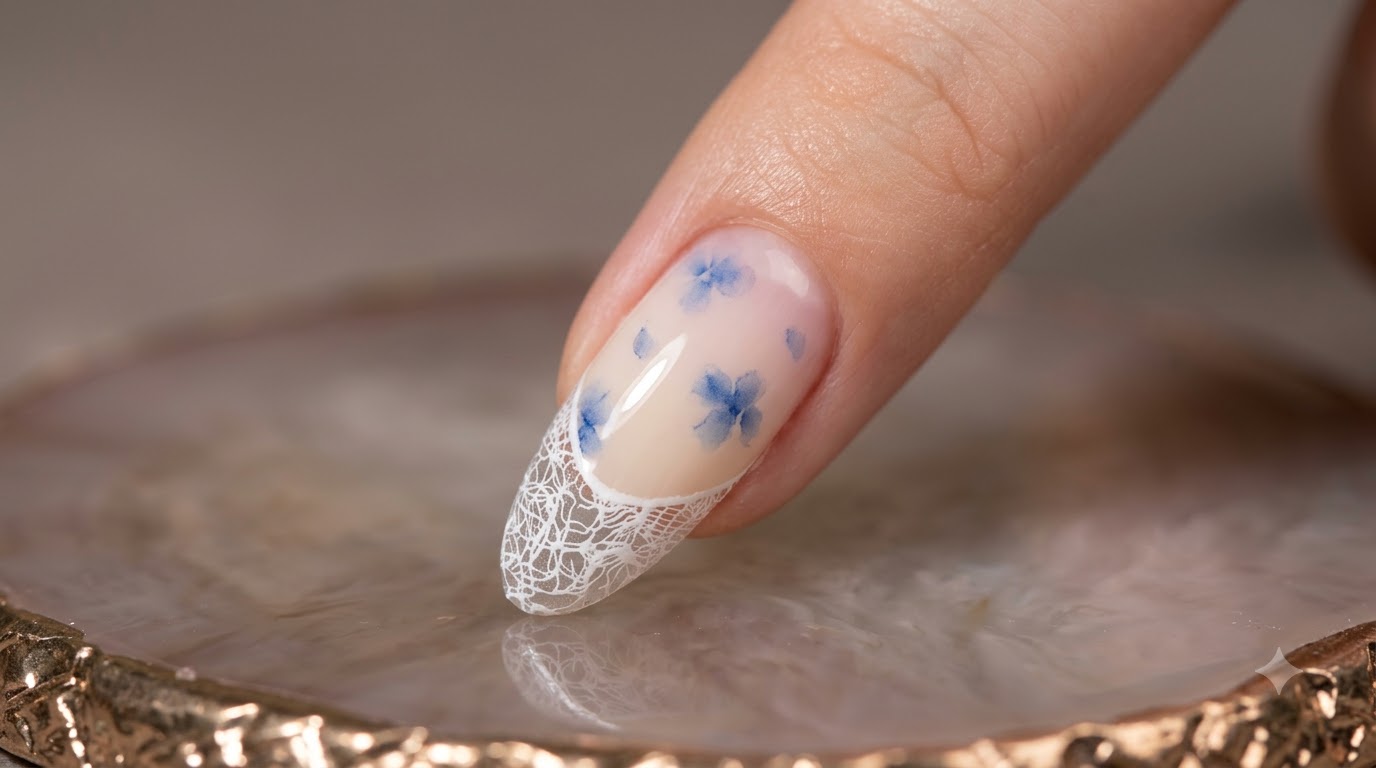
Learn how to create delicate blue watercolor flowers using marker pens and alcohol blending. Paired with a stamped white lace French tip, this elegant gel nail look is surprisingly easy for beginners.
Marker pens arent just for paper—theyre a fantastic tool for creating effortless watercolor nail art. By blending simple marker strokes with alcohol, you can achieve a soft, smoky floral effect without needing advanced hand-painting skills. Combined with a crisp stamped lace French tip, this design perfectly balances intricate detailing with airy, ethereal florals.
Steps
- 1Stamp the white lace pattern
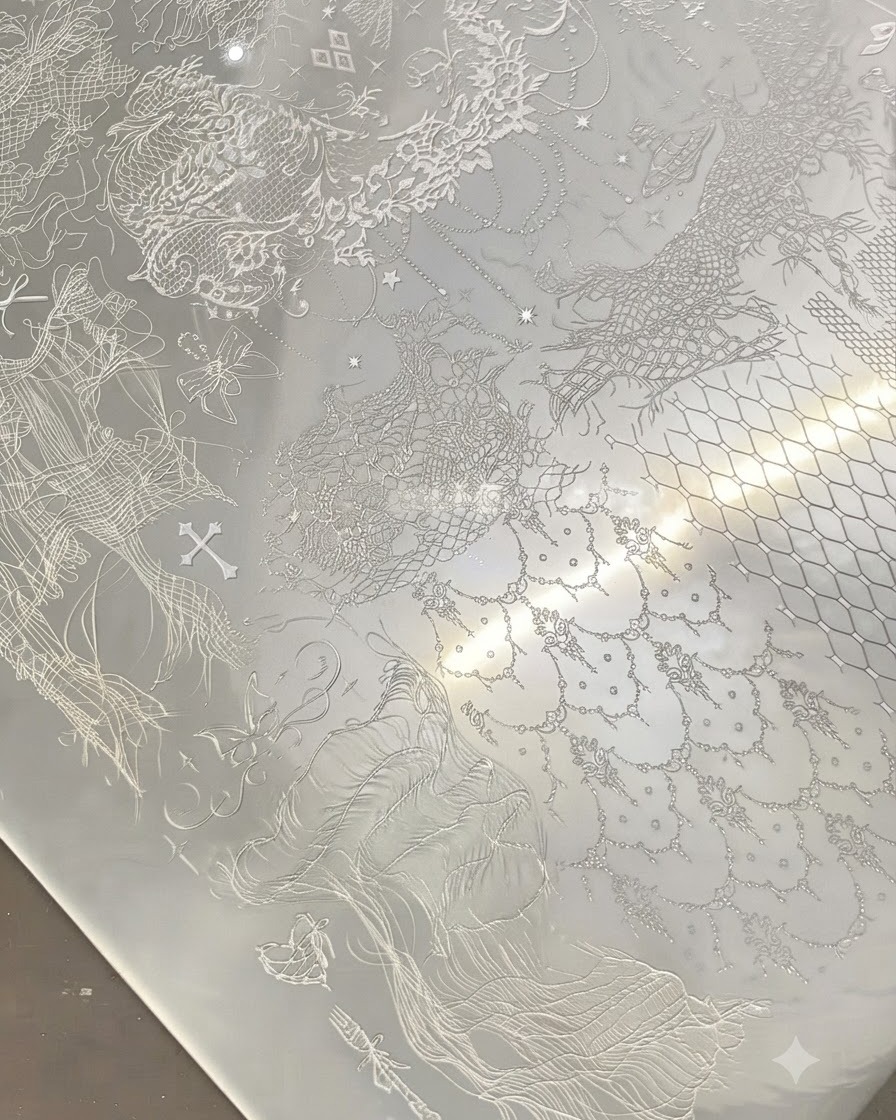
Take a clear stamper and press it firmly onto the engraved metal plate to pick up the detailed white lace pattern. Ensure the entire design transfers evenly onto the silicone head before applying it to the nail.
Tip: Make sure your stamping polish or gel is applied quickly and scraped cleanly across the plate for a crisp transfer. - 2Transfer design to the nail tip
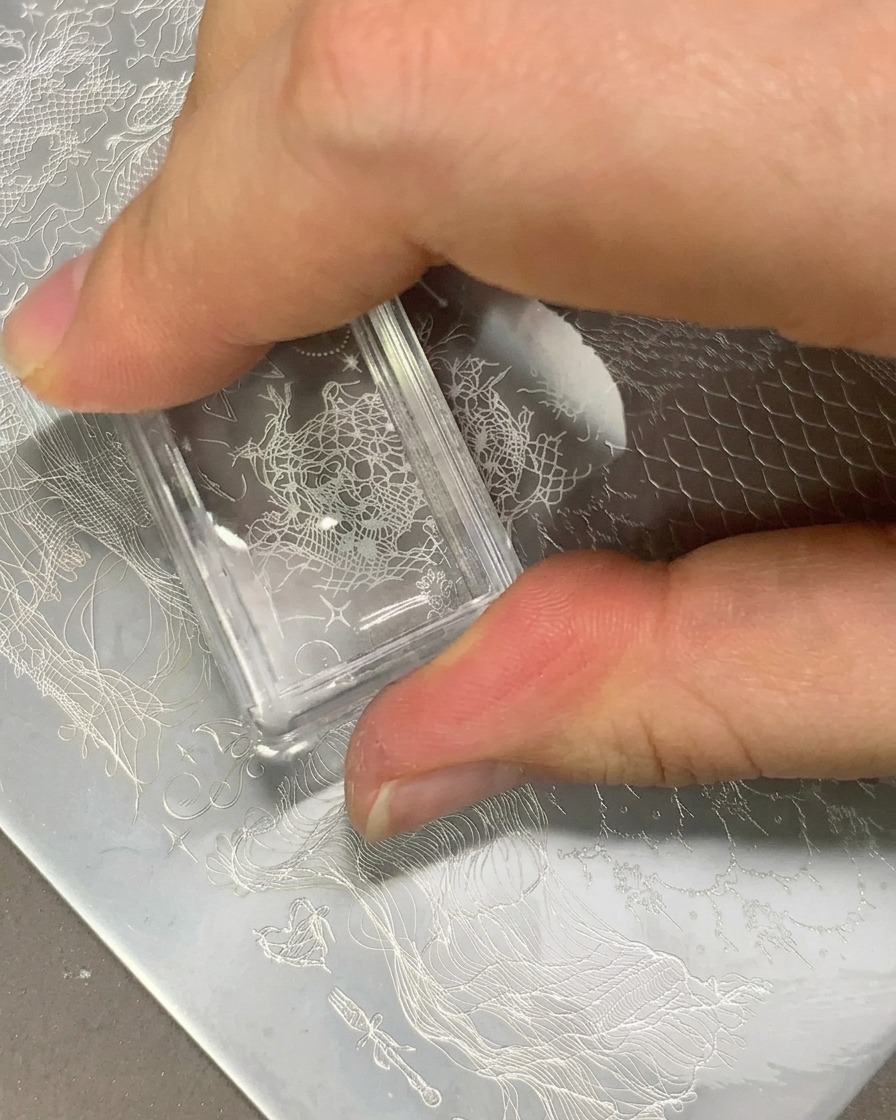
Carefully align the clear stamper over the nail tip and gently roll or press the white lace pattern onto the surface. Press down evenly to ensure the full pattern adheres to the nail without air bubbles.
Tip: Roll the stamper smoothly from one side to the other to avoid distortion or smudging of the delicate lace lines. - 3Apply beige gel base for French tip
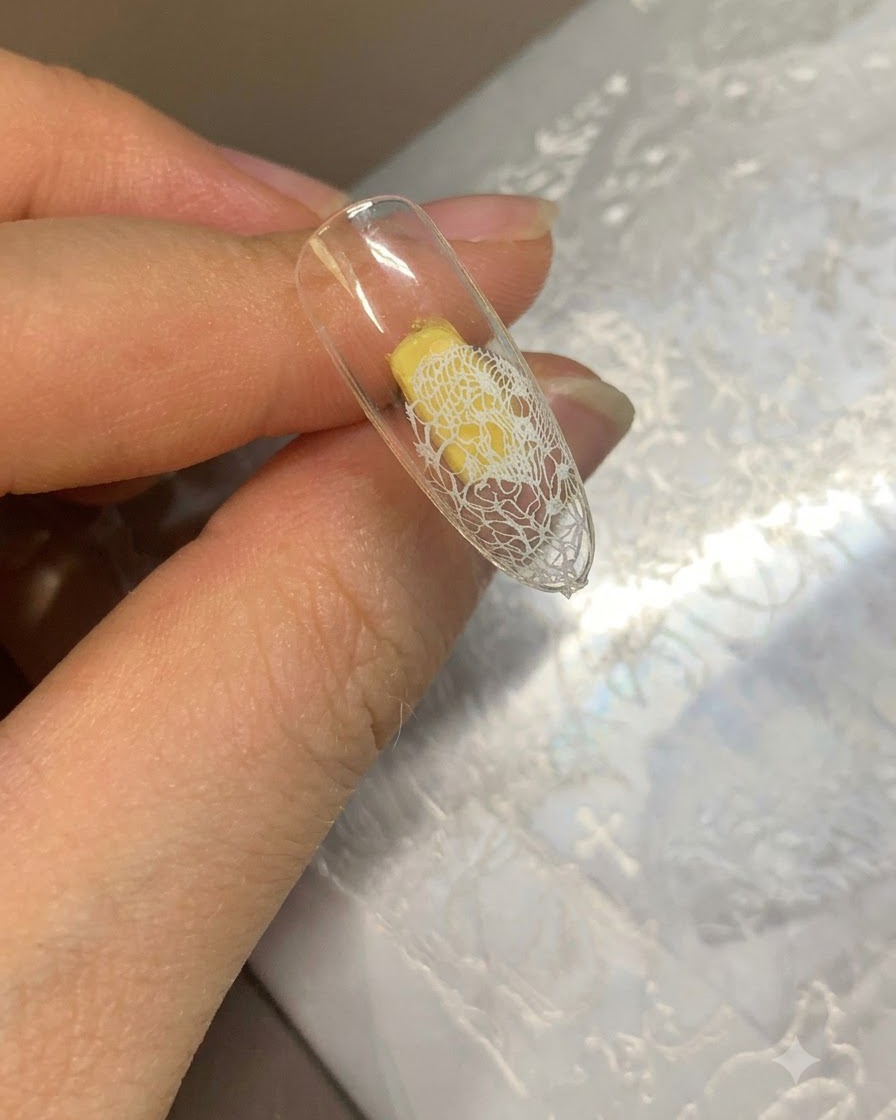
Apply a coat of beige gel color to the remaining exposed area of the nail, filling in the base to establish a classic French tip style look alongside the stamped lace.
Tip: Keep the boundary between the lace design and the beige gel clean for a neat transition. - 4Smooth out the beige gel coverage
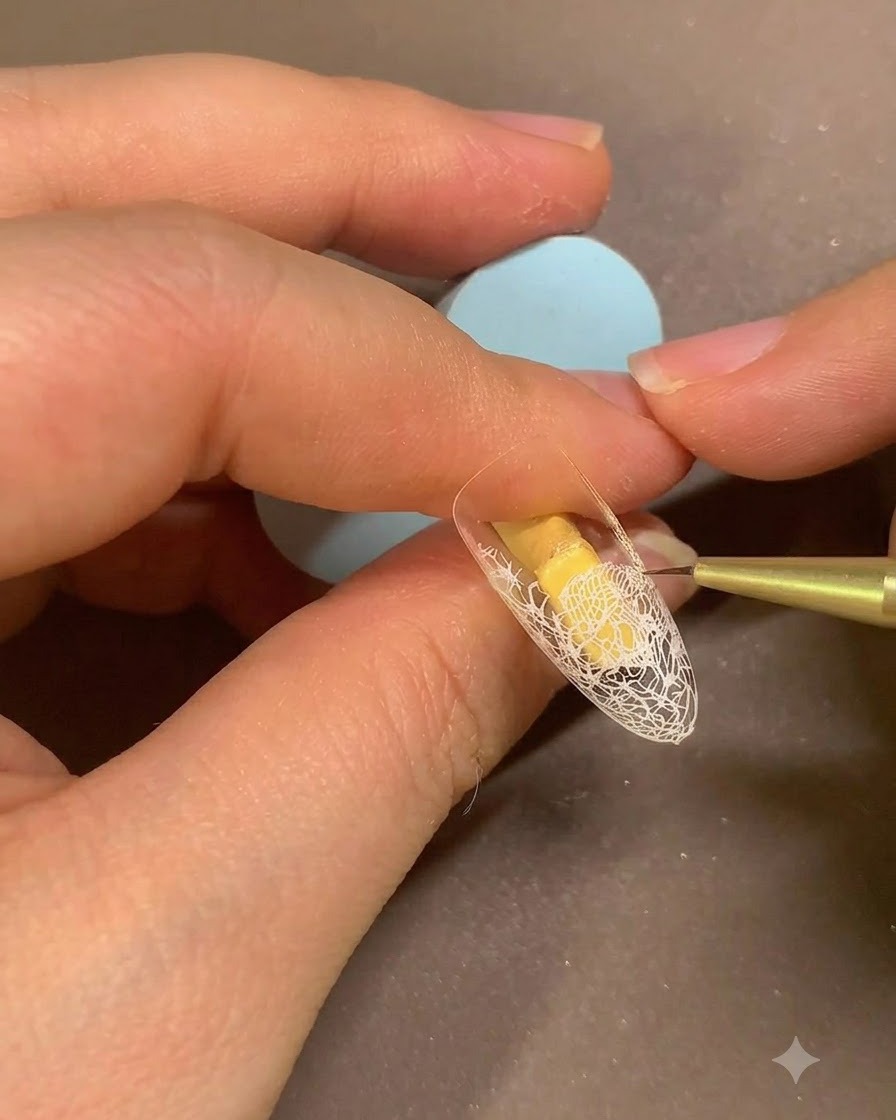
Using a fine detail brush, carefully smooth and brush out the beige gel across the nail plate to guarantee an even, streak-free layer over the surface.
Tip: Work with light strokes so you do not disturb or scratch the underlying stamped lace design. - 5Draw blue flower petal shapes
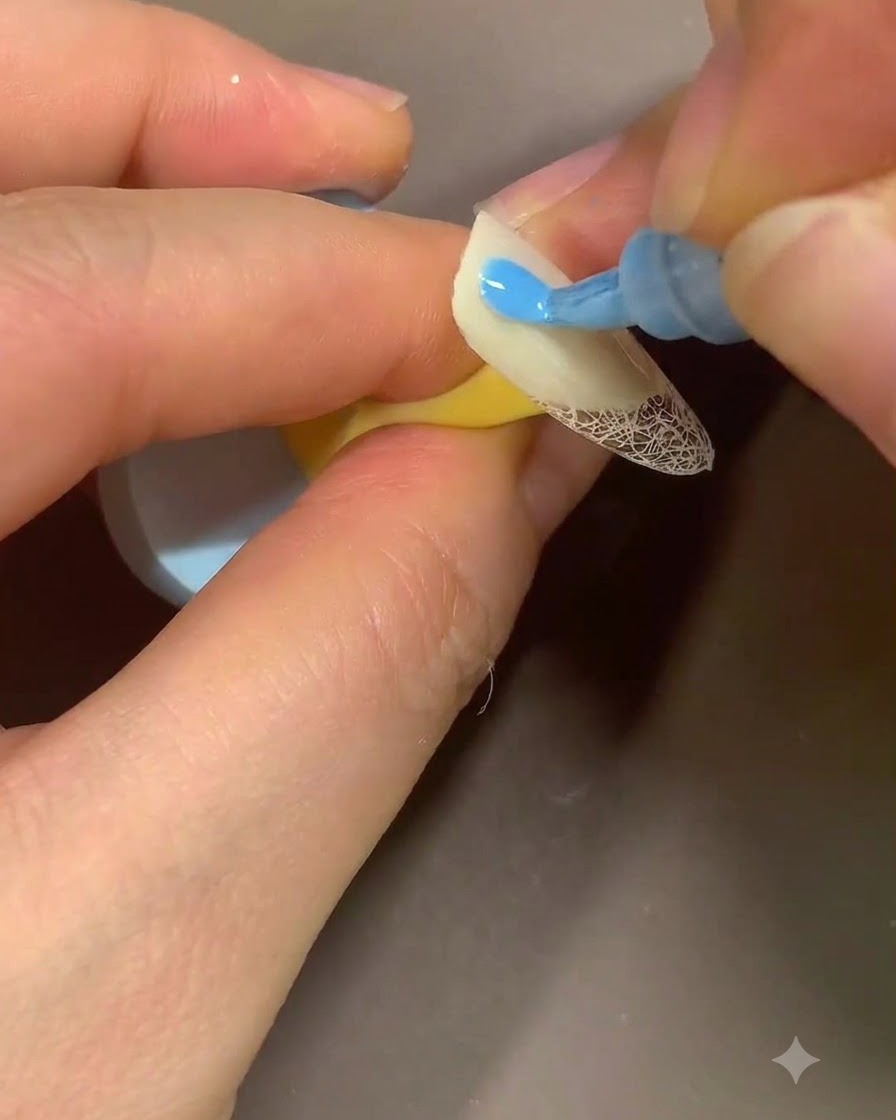
Take a blue marker pen and draw small, simple flower petal shapes directly onto the beige gel surface of the nail.
Tip: Draw lightly so the marker ink can be easily manipulated during the upcoming blending step. - 6Blend flower petals with alcohol
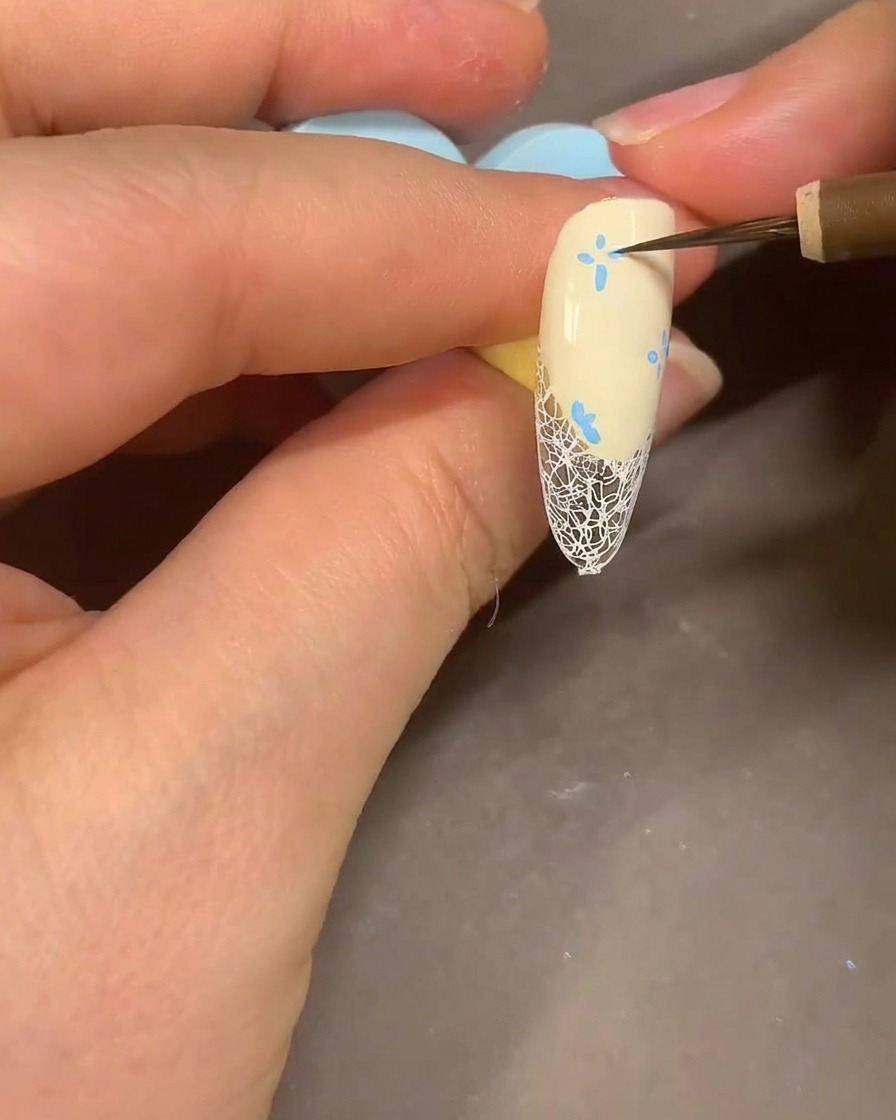
Take a watercolor brush, dip it slightly in alcohol, and gently blend the blue marker ink petals to create a soft, smoky watercolor effect.
Tip: Do not use too much alcohol on the brush, or the ink will bleed too much and lose its petal shape. - 7Add details to floral centers
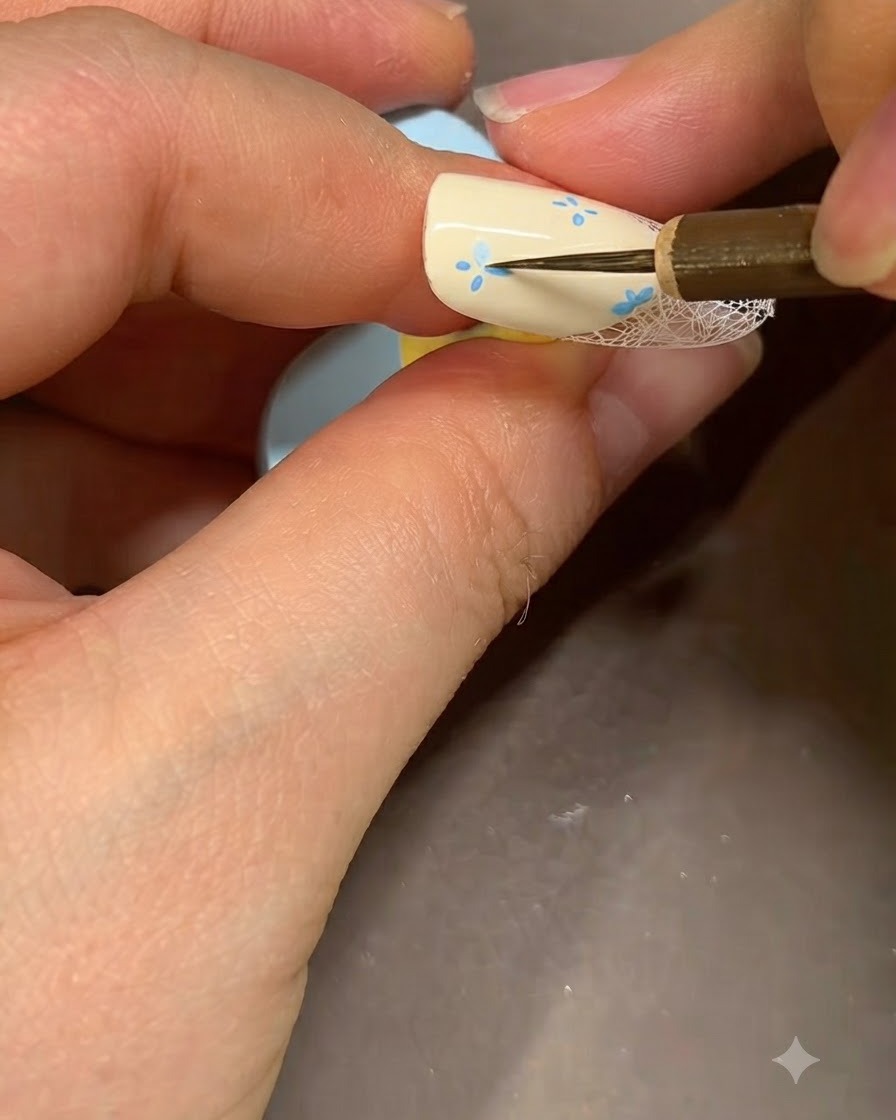
Use a fine nail brush to add precise blue ink details and deeper shading right into the centers of your floral designs, giving the petals more definition and depth. This simple enhancement makes the hand-painted flowers stand out vividly against the beige base.
Tip: Keep your hand steady and use very little product on the tip of the brush to maintain crisp control over tiny details. - 8Refine floral shapes
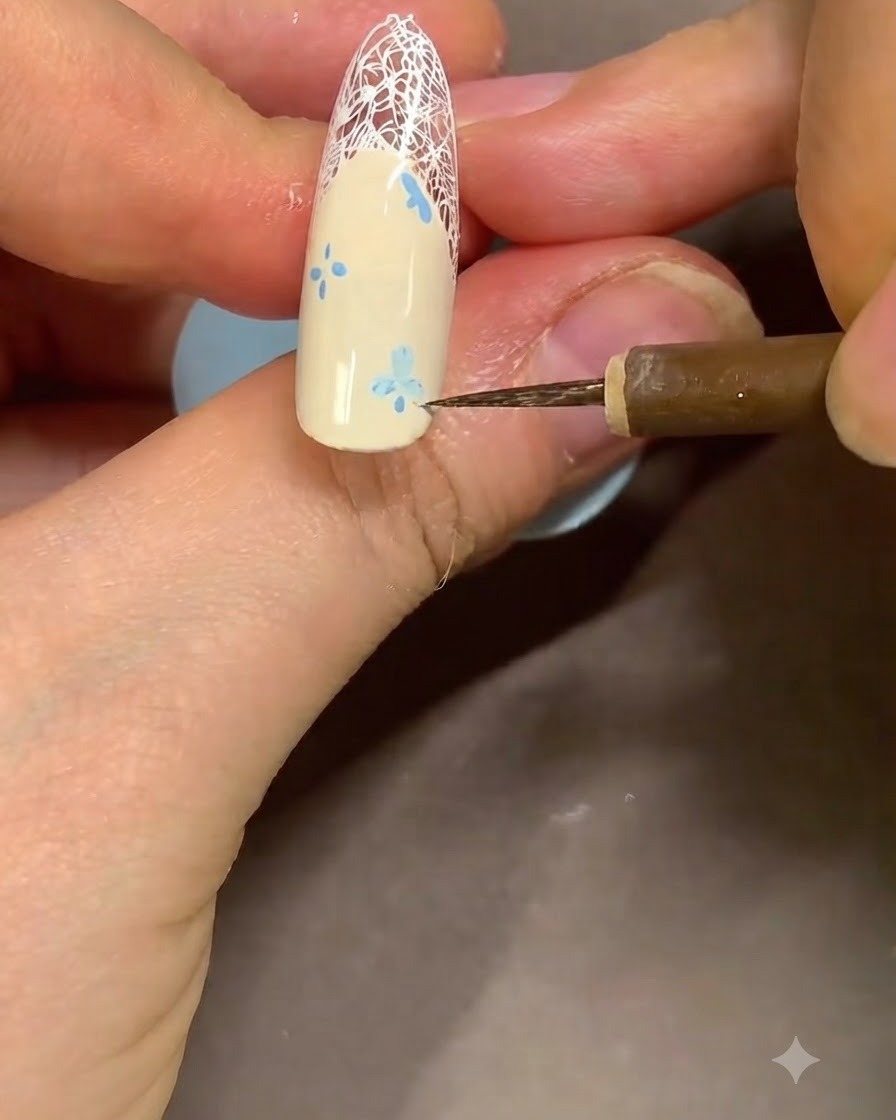
Carefully go over the blue floral shapes with a fine brush to clean up any uneven edges and adjust the proportions of the petals. Taking your time here ensures each flower looks balanced and professionally shaped.
Tip: If a line or petal looks too thick, lightly wipe your brush clean and use it to absorb excess product. - 9Add final marker details
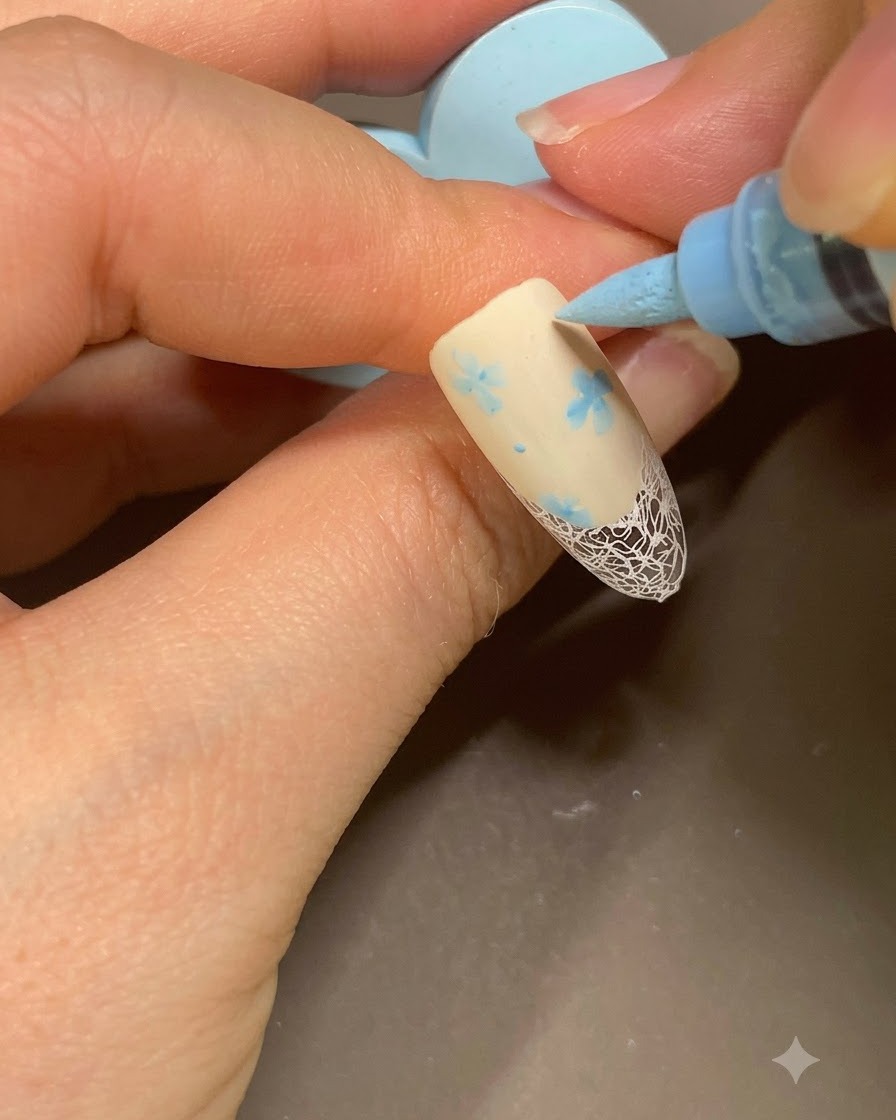
Use the blue marker pen to add any final touches, dots, or highlights to complete the floral arrangement. The marker allows for quick, controlled placement of tiny accents that tie the whole design together.
Tip: Make sure previous layers are completely dry or set before applying marker details to prevent smudging. - 10Apply clear builder gel
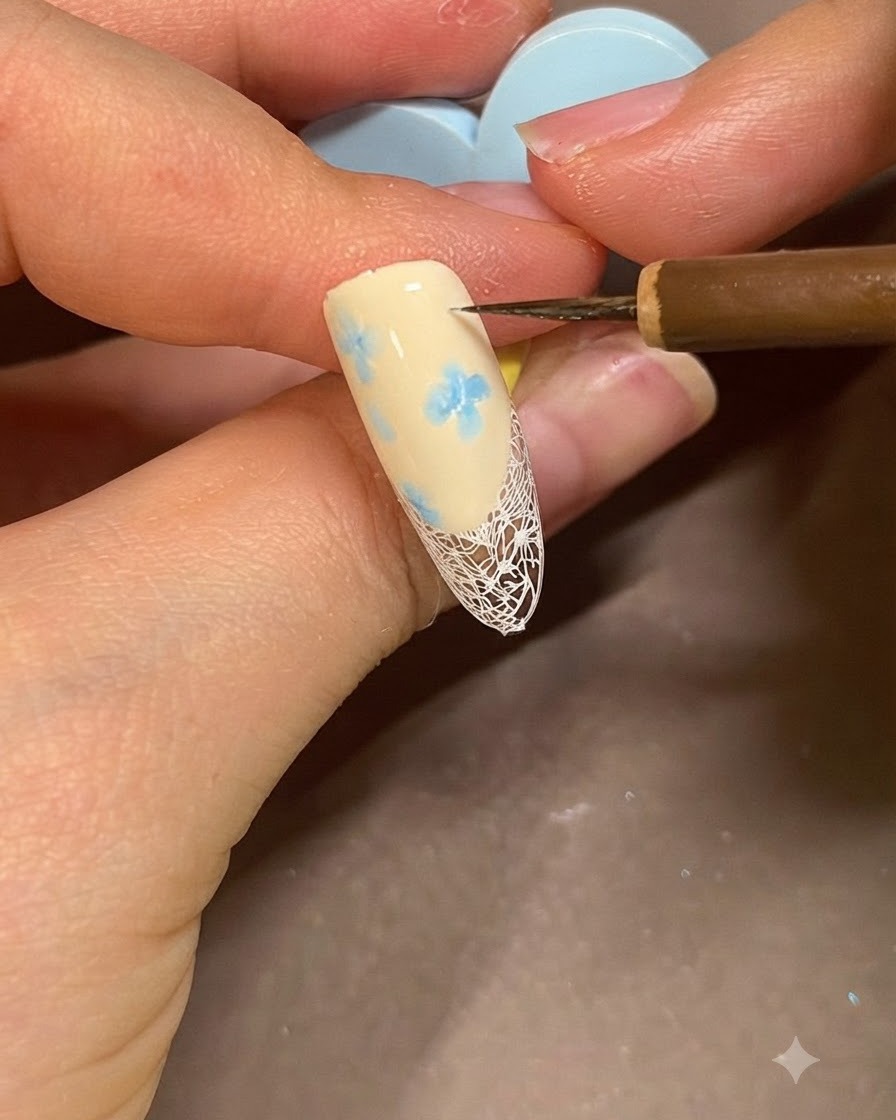
Apply a layer of clear builder gel over the entire nail surface to encapsulate the nail art and smooth out any bumps or uneven texture. This creates a strong structural layer and a flawless, glossy foundation for the final steps.
Tip: Float the builder gel gently across the nail rather than pressing hard, allowing the gel to self-level smoothly. - 11Outline French tip line
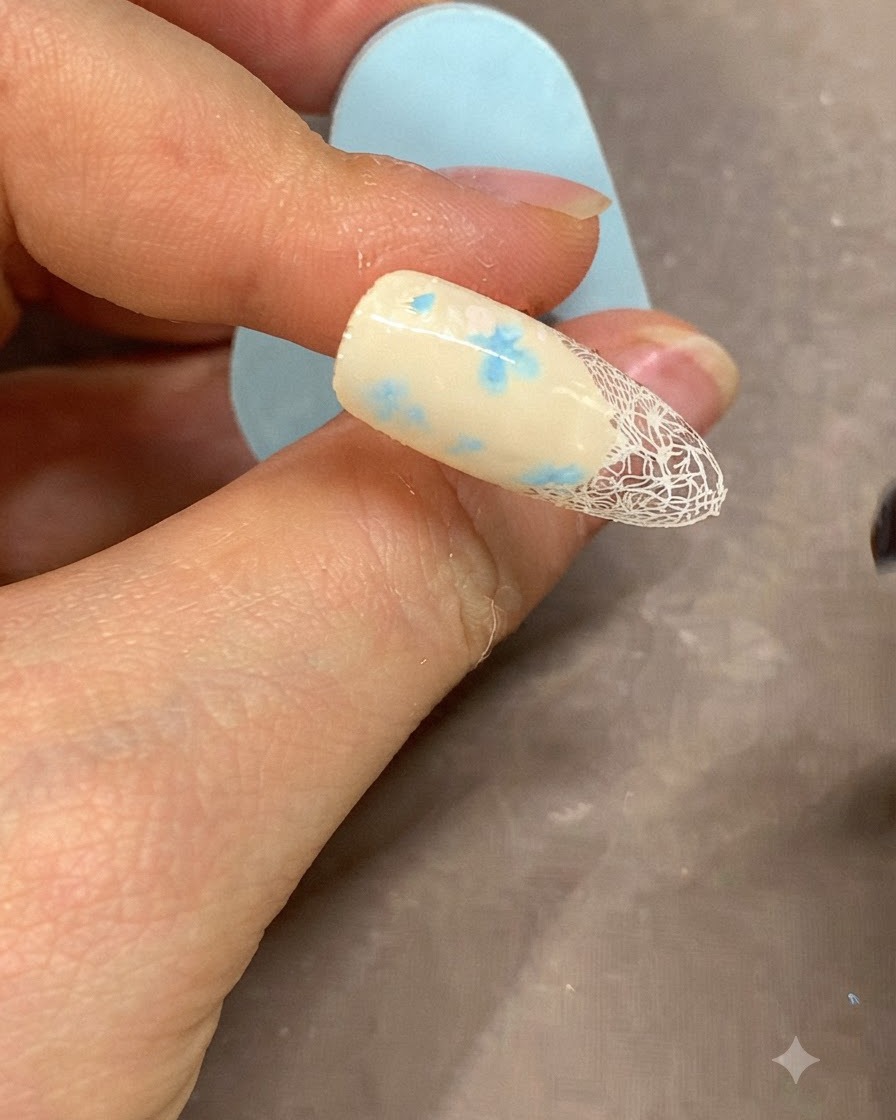
Take a fine brush and white gel to carefully outline the French tip boundary or reinforce the transition line, ensuring a sharp and clean contrast. Cure under the lamp once you are happy with the line.
Tip: Draw the line in one smooth, fluid motion from side to side for the cleanest curve. - 12Apply final top coat
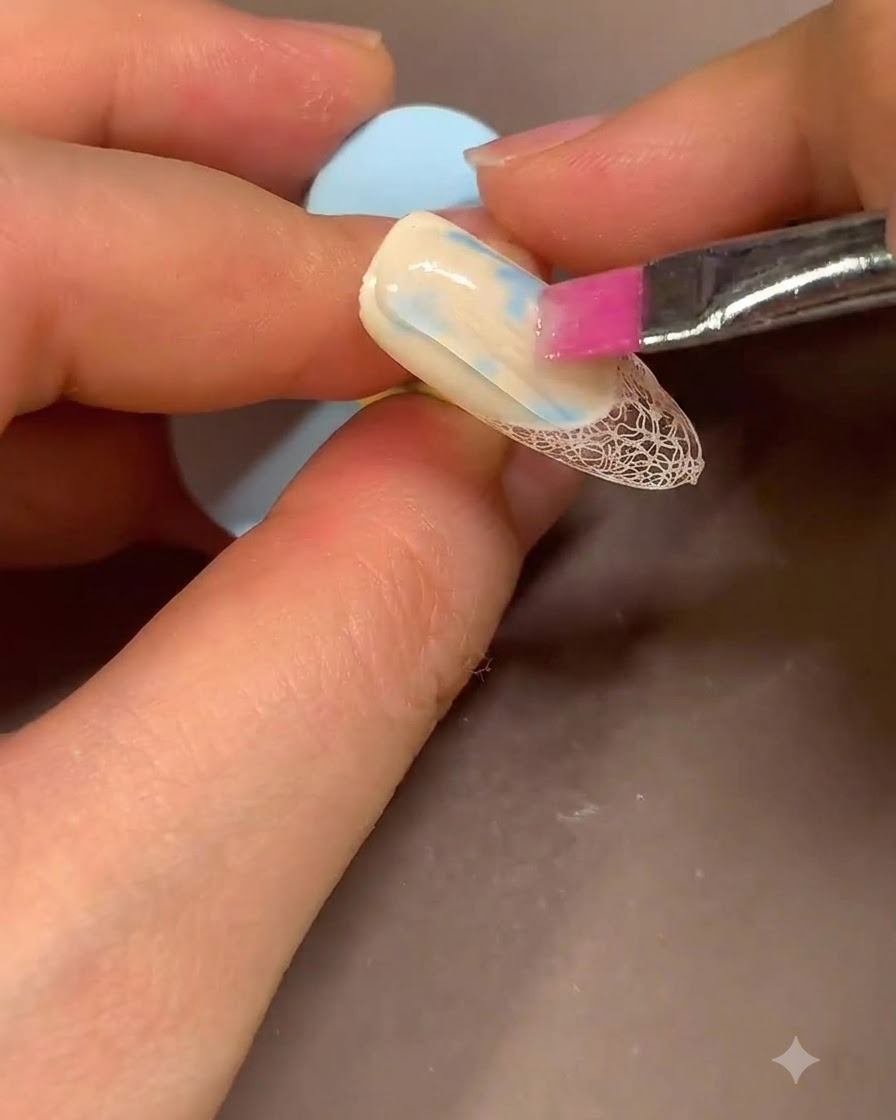
Seal the entire nail design with a glossy top coat, capping the free edge securely to prevent chipping and ensure long-lasting wear. Cure fully under your UV or LED lamp to finish the manicure.
Tip: Always cap the free edge of the nail with top coat to lock in all layers and prevent premature lifting.