Painted Rose Nail Art Tutorial — Master Delicate Gel Florals
Learn two easy brush techniques to paint stunning white rose nail art with delicate layered petals and fine leaf details.
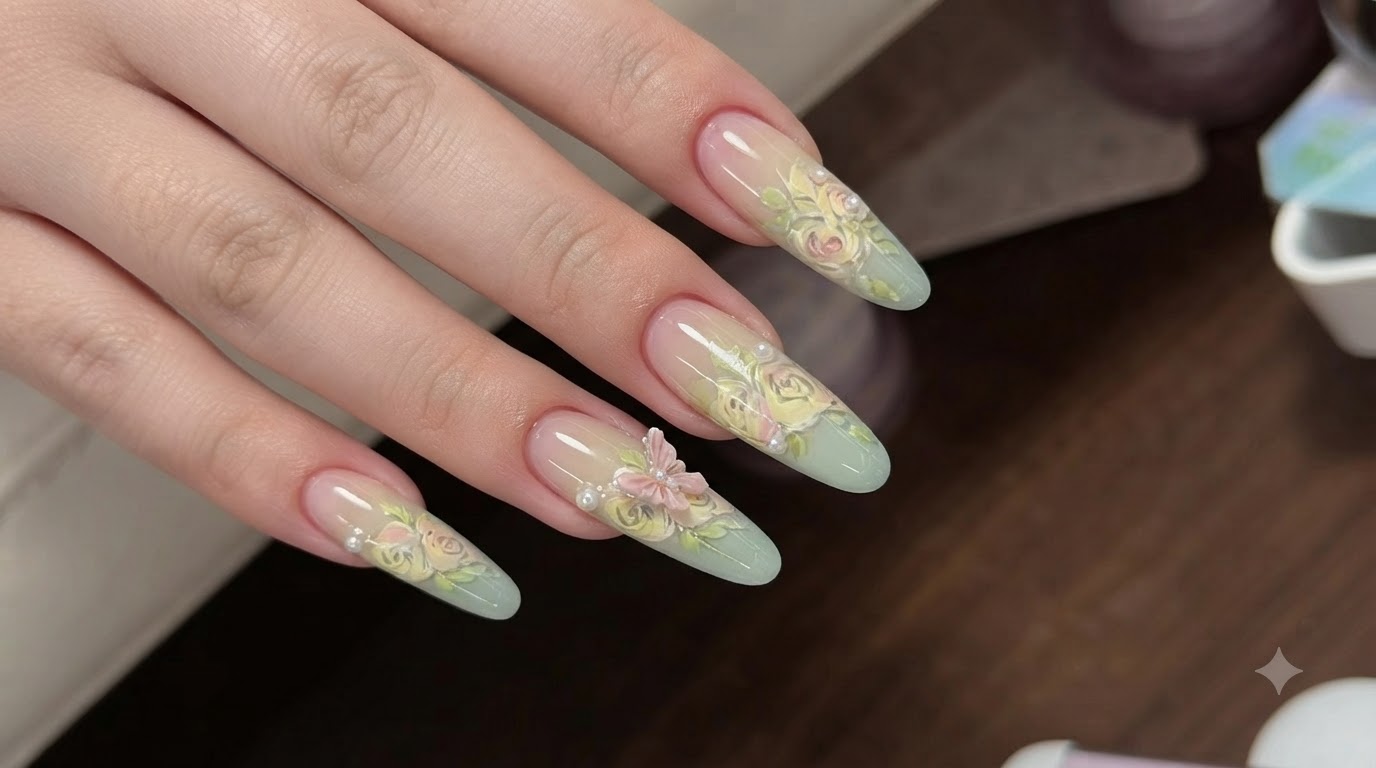
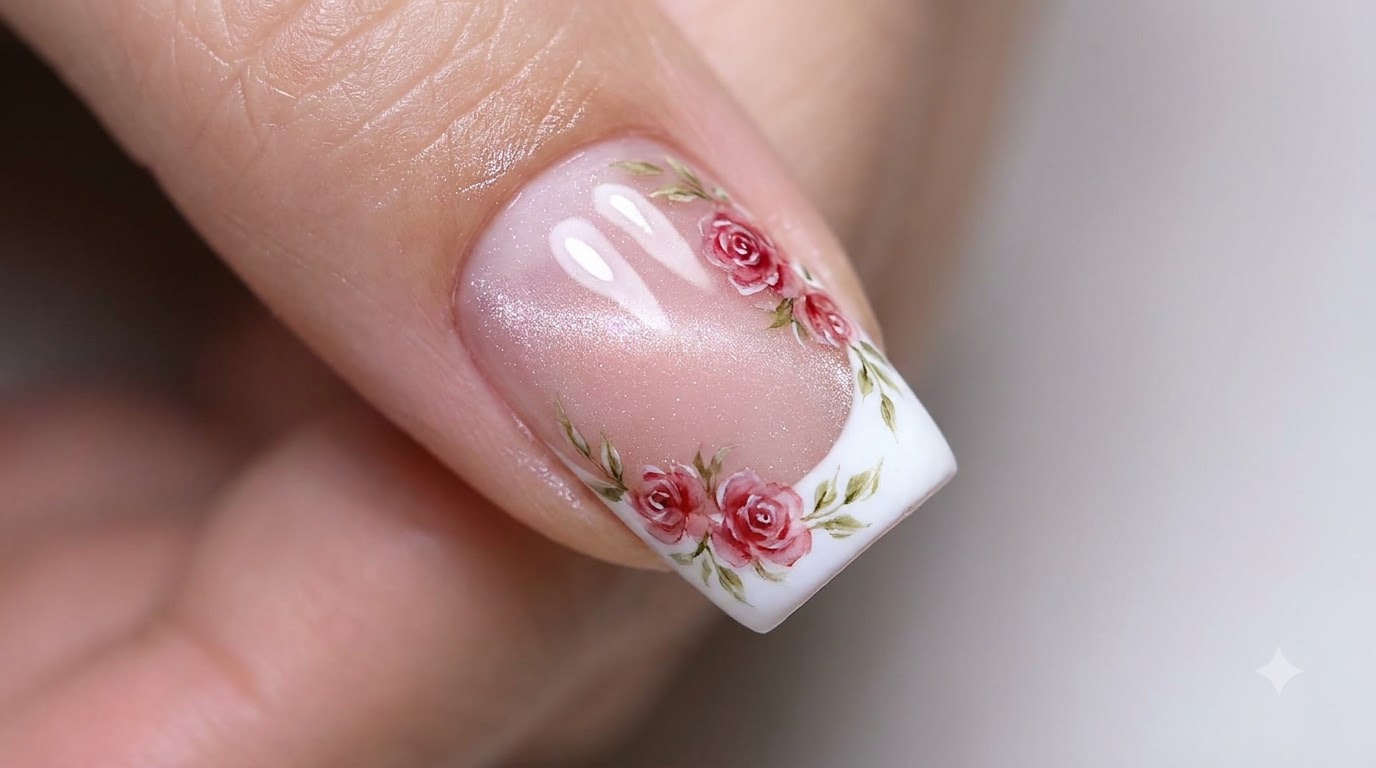
Floral nail art never goes out of style, and mastering the hand-painted rose elevates any manicure to a professional level. This tutorial breaks down two distinct brush techniques using white gel, allowing you to create organic, beautiful petals and intricate leaves with ease. Whether you prefer a figure-six core or a crossed parenthesis approach, these step-by-step methods help you achieve a realistic, dimensional look.
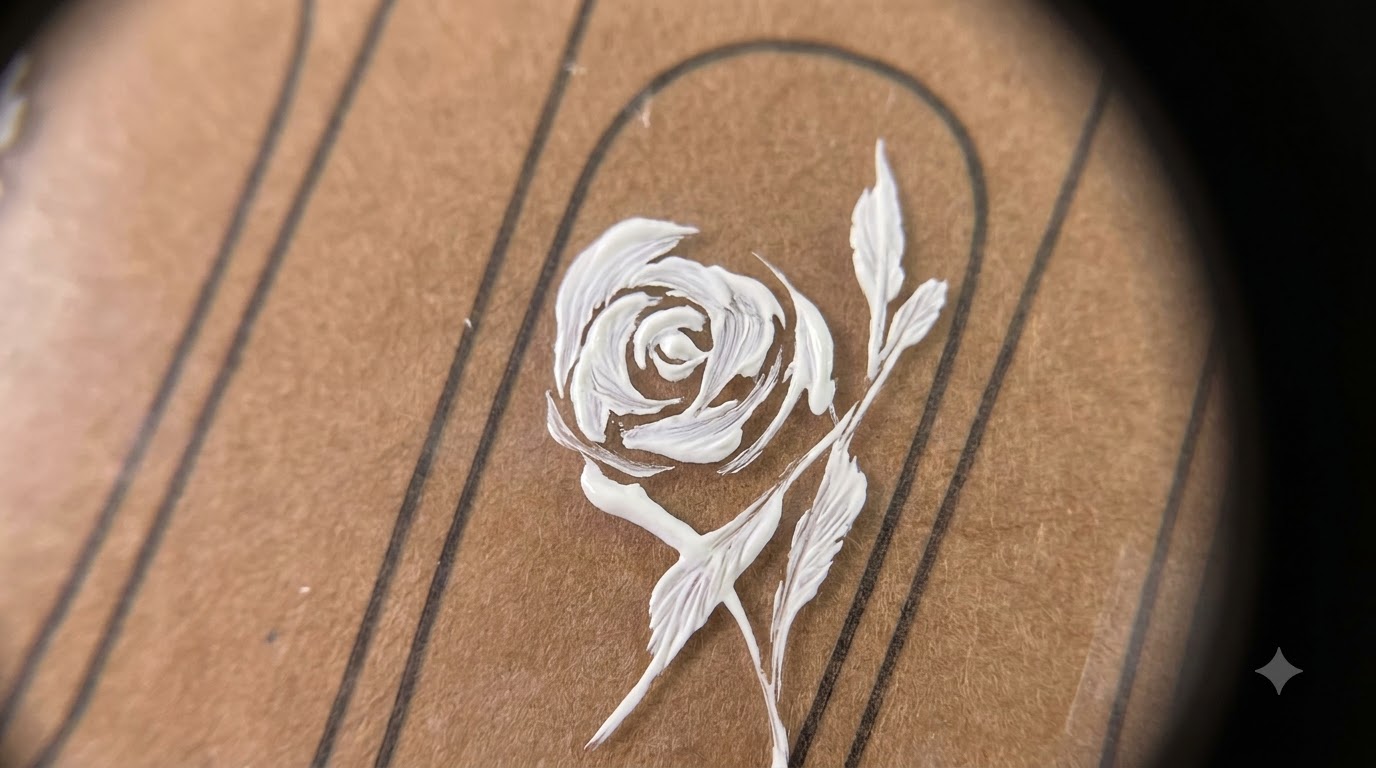
Steps
- 1First Rose Painting Method: Figure-Six Shape
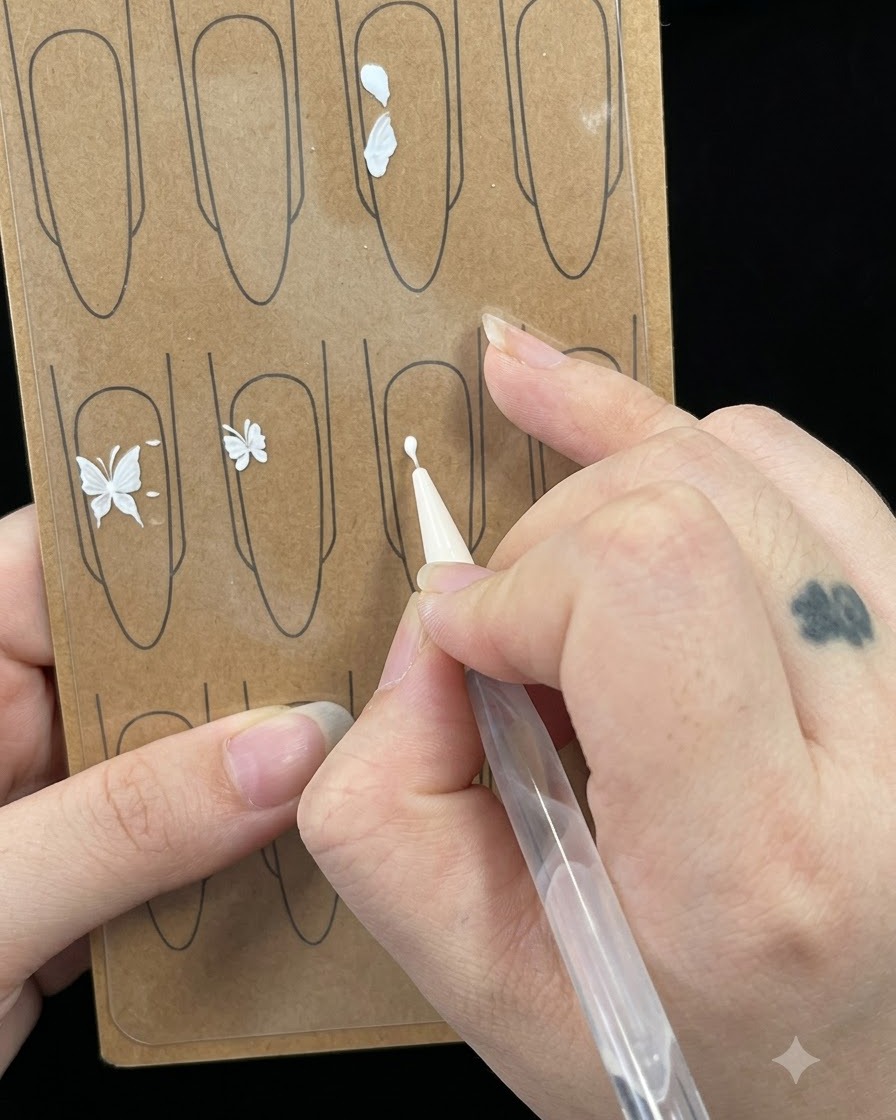
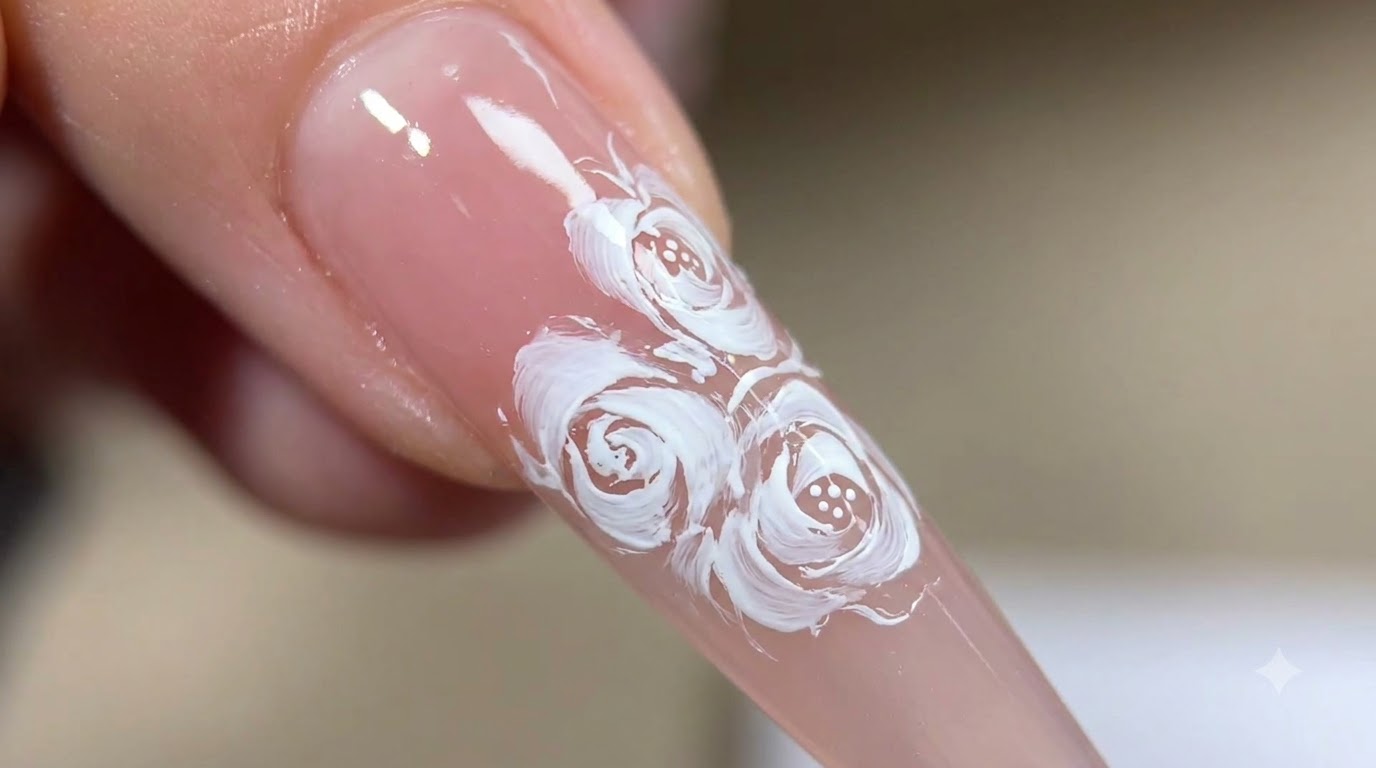
Begin by using a liner brush with white gel to draw a small, flattened figure-six shape. This serves as the starting core for the first rose painting technique. Ensure your brush stroke remains light and fluid to establish the initial petal placement.
Tip: Keep the initial figure-six shape relatively small so you have plenty of room to build out the surrounding petal layers. - 2Second Rose Painting Method: Crossed Parenthesis
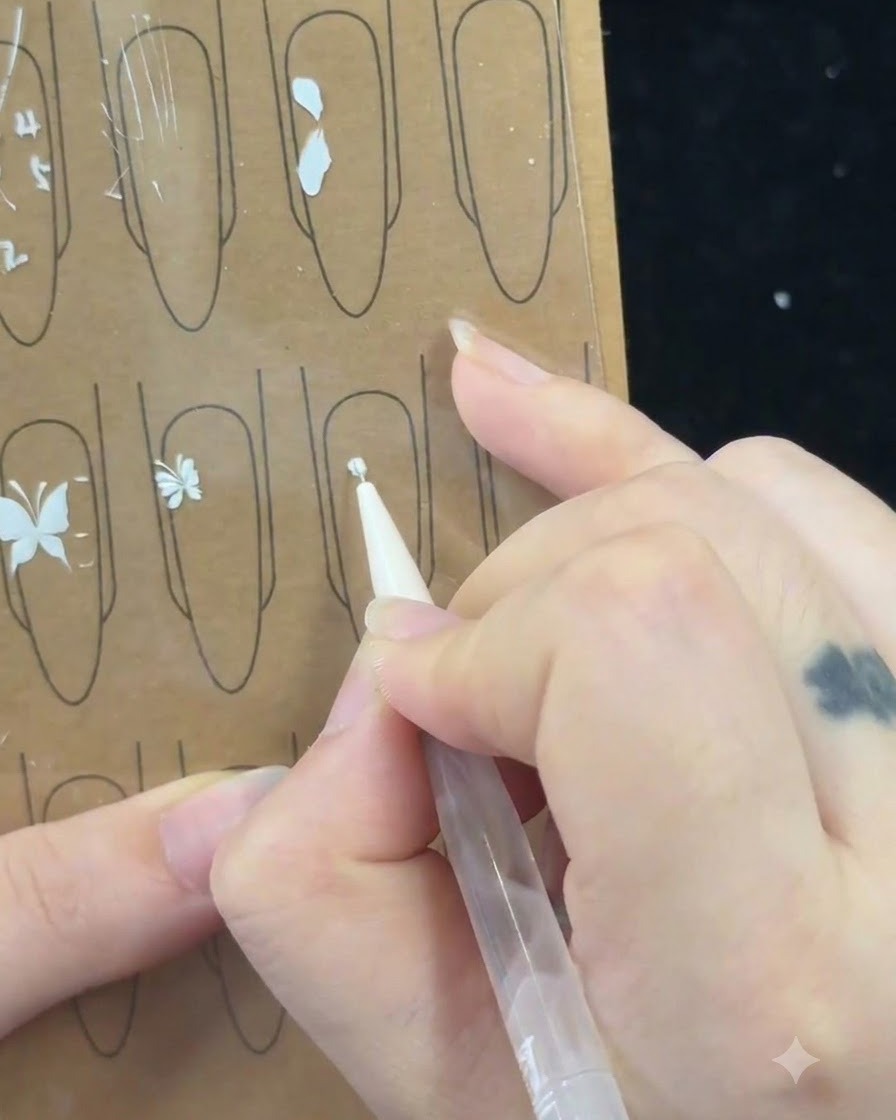
Start the second rose painting method by drawing a crossed parenthesis bracket shape. Each layer of petals created with this technique will consist of three distinct strokes, giving the rose a more structural and open appearance.
Tip: Do not worry about making the bracket shape overly neat; a slightly irregular look adds to the natural appearance of the rose. - 3Paint the First Layer of Petals
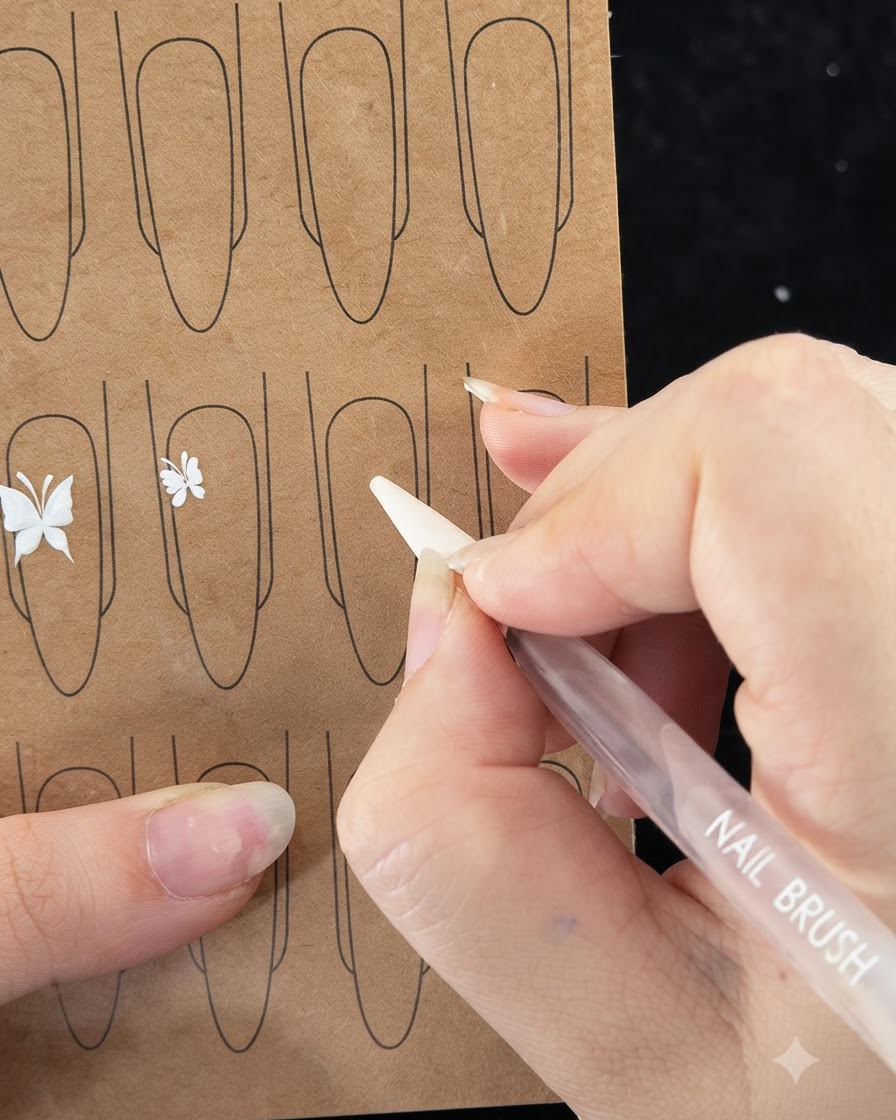
Paint the first layer of flower petals using three strokes. Begin by wrapping around and gently pulling out a thin line with the brush to establish the direction and curve of the petal.
Tip: Pull the thin line smoothly to create a delicate transition into the wider body of the petal. - 4Shape the First Petal Layer
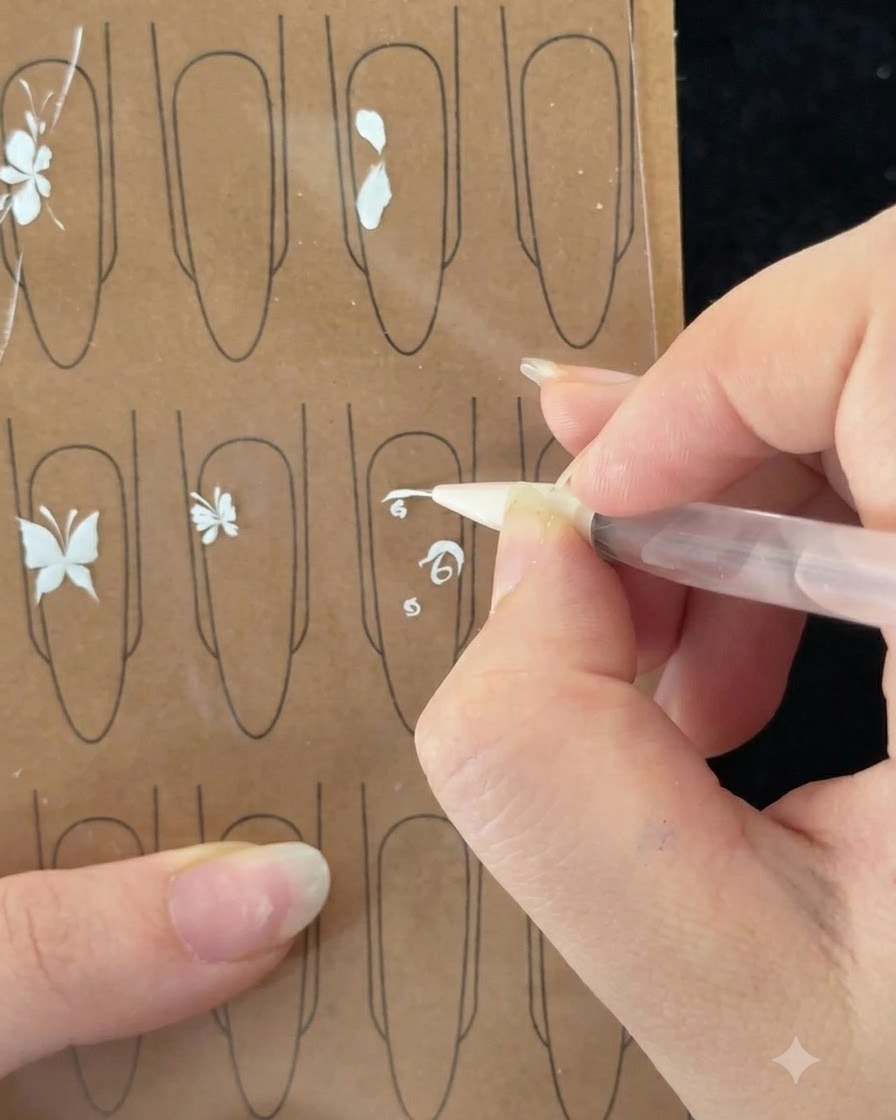
Press the brush downwards after pulling the initial thin line, then turn the brush to draw a smooth arc. Slowly collect the tip of the brush at the end of the stroke to taper the edge.
Tip: Embrace slight irregularities, as the more irregular the petals are painted, the more organic and realistic the rose looks. - 5Paint the Second Stroke
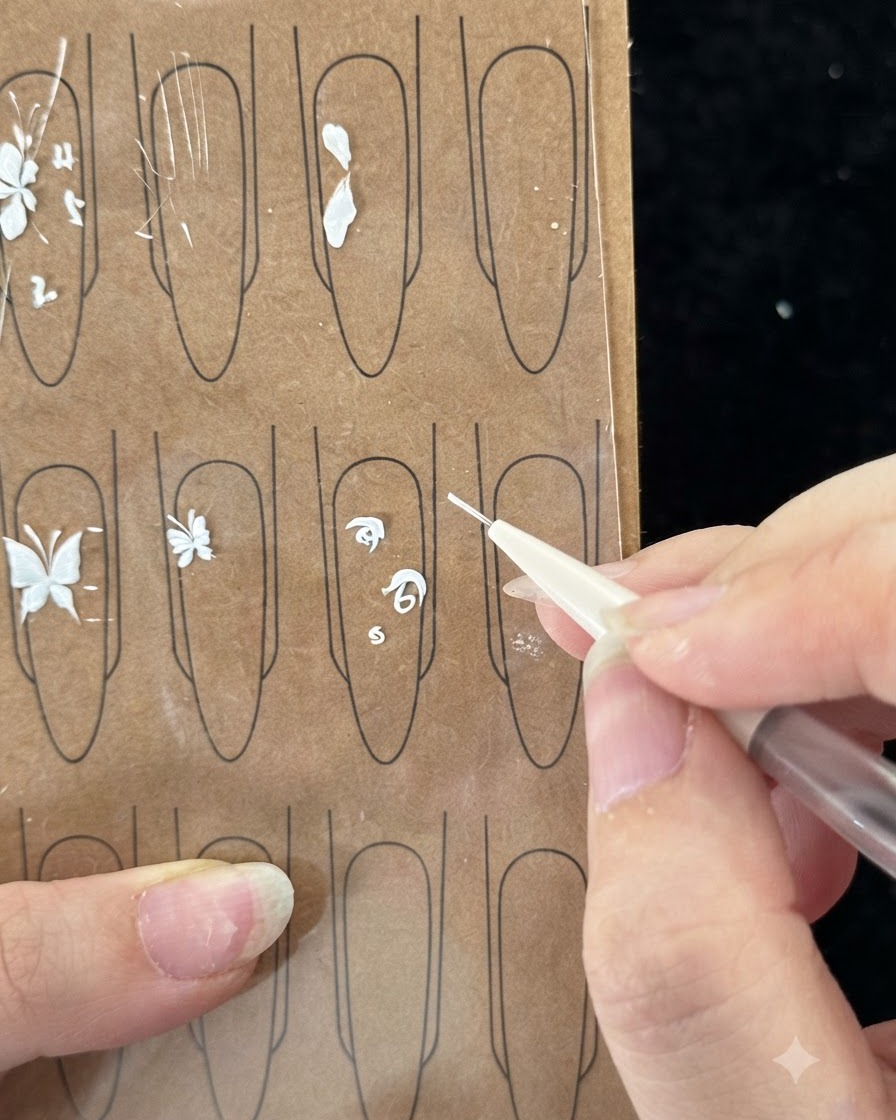
Paint the second stroke of the petal layer by starting from the inside to wrap around, or alternatively starting from the edge to wrap around. Collect the tip while pressing the brush down to maintain consistency.
Tip: Observe the natural shape of a rose petal: the middle is wide, and both ends are sharply pointed. - 6Paint the Second Layer of Petals
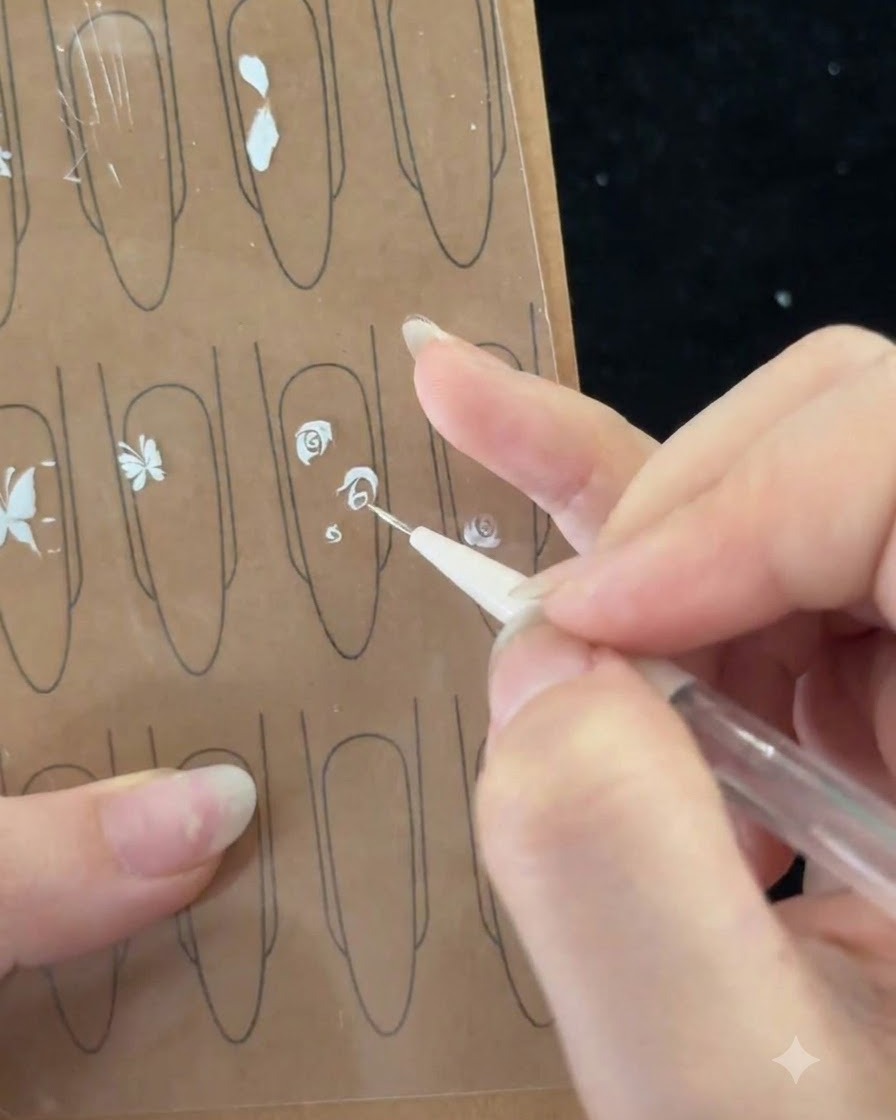
Paint the second layer of flower petals, keeping in mind that the middle should be wide with both ends pointed. The third stroke can be slightly smaller, pulling out a brief atmospheric line to transition before overlaying another inner layer.
Tip: Inner petal layers can be stacked smaller using only two half-petals to build dimension and depth. - 7Draw the Third Petal Layer Stroke
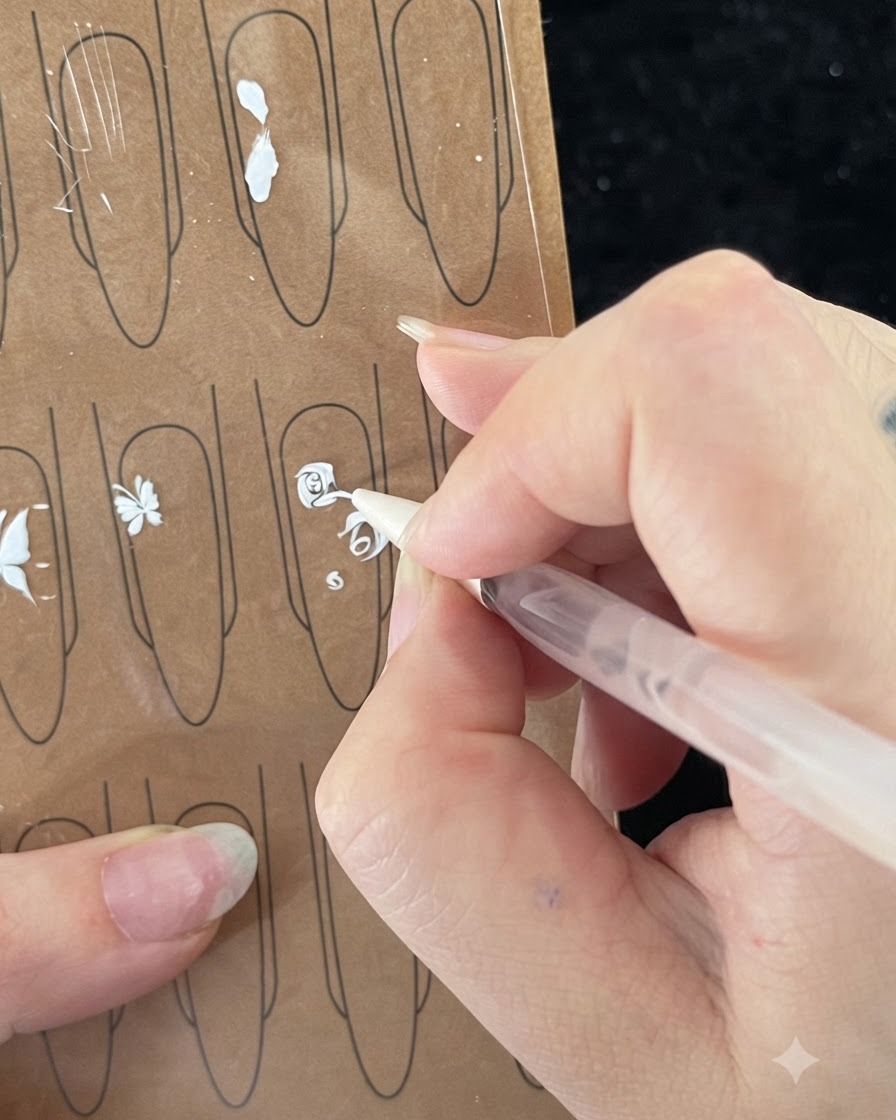
Draw the third smaller stroke of the petal layer to create an atmospheric transition line that helps blend the structure naturallycite: 1.
Tip: Keep the stroke light and consistent with the flowers direction. - 8Overlay Smaller Half-Petals
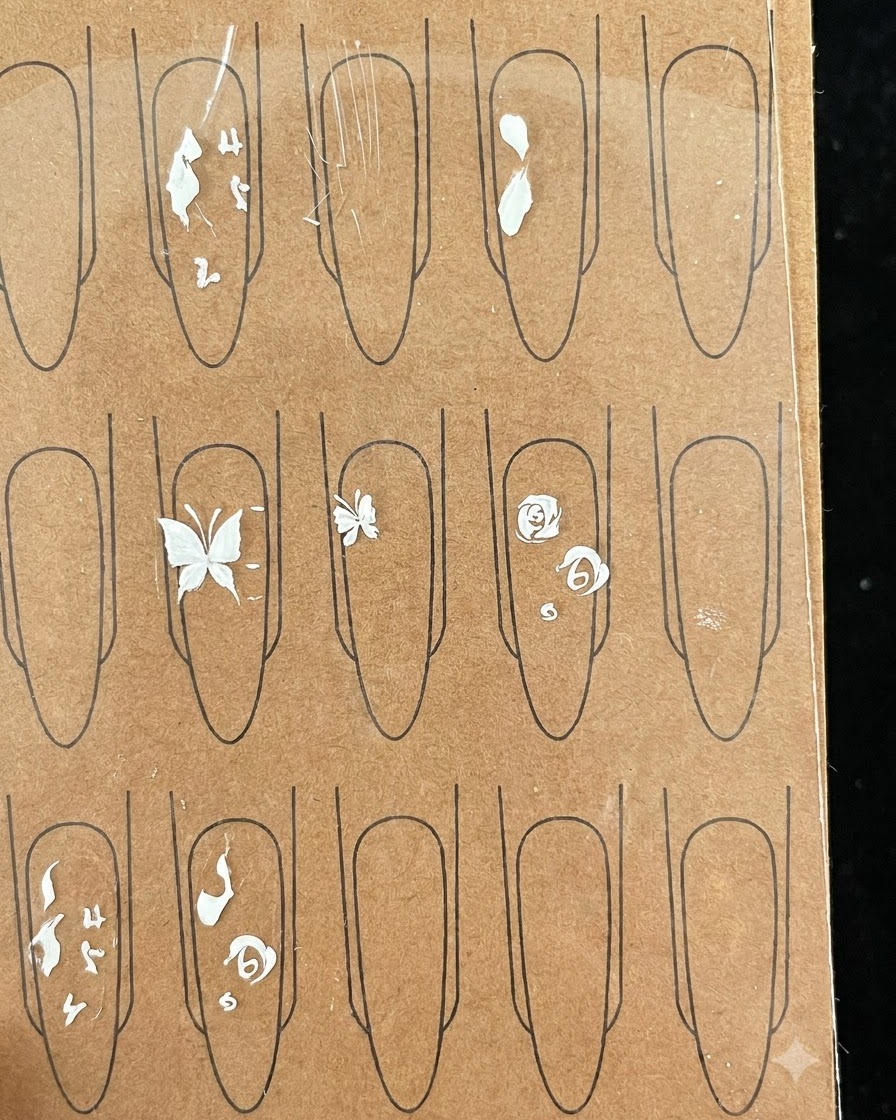
Overlay another layer of petals requiring only two half-petals, which can be stacked smaller to complete the core structure of the rosecite: 1.
Tip: Stacking the inner petals smaller enhances the depth and realism of the flower. - 9Begin Painting Rose Leaves
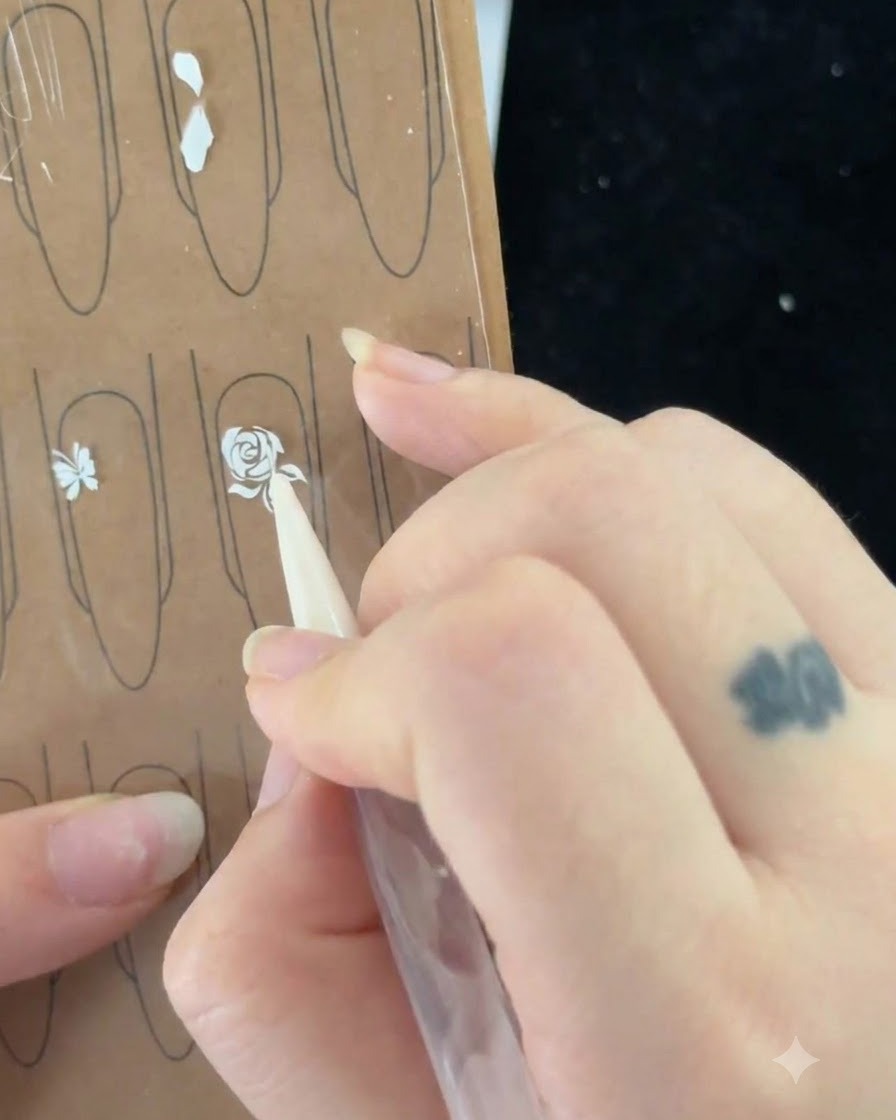
Begin painting the rose leaves by pulling a thin line, pressing the brush to expand outwards slightly, and then returning to the center pointcite: 1.
Tip: Ensure the initial line is thin to maintain a delicate look before expanding the brush. - 10Form the Leaf Shape
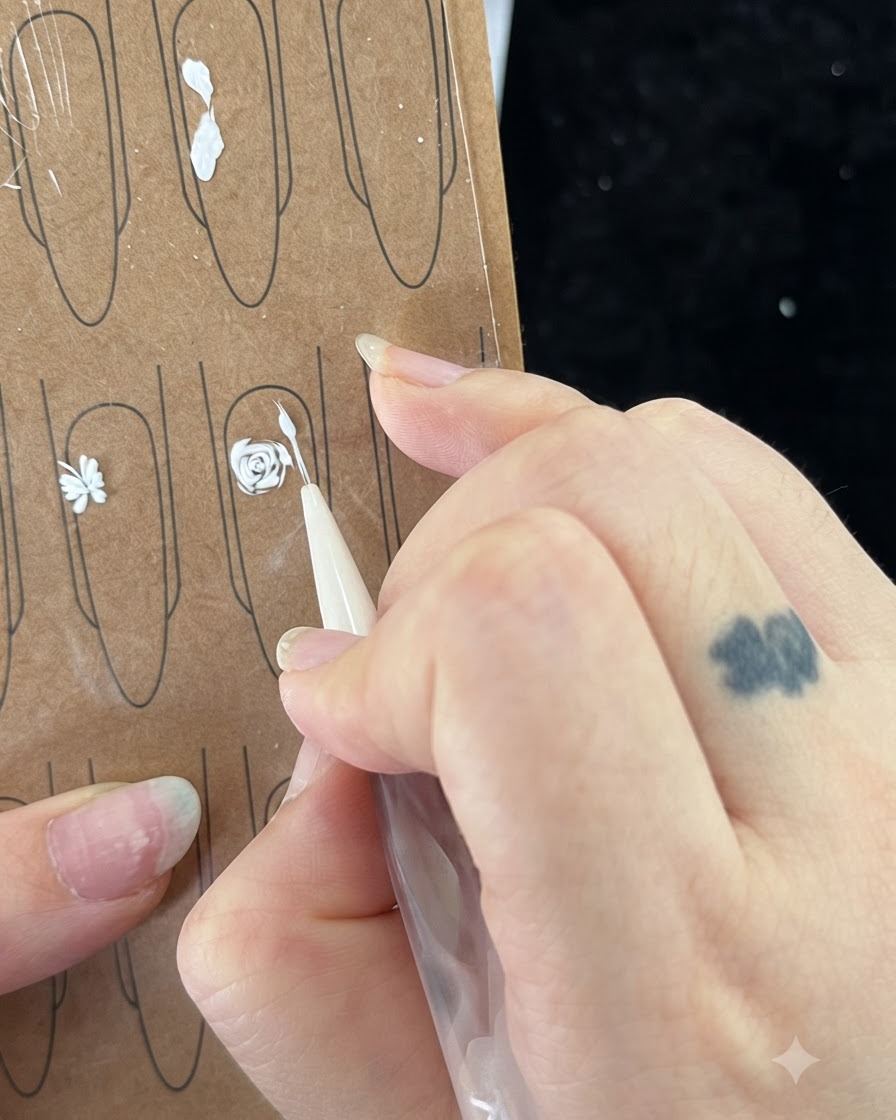
Form the leaf shape so that both ends are pointed with a wider middle, typically creating a long and short pairing by pressing the brush and collecting the tip on the other sidecite: 1.
Tip: Varying the lengths of the paired sides gives the leaf a natural, dynamic appearance. - 11Add Lower Leaf and Details
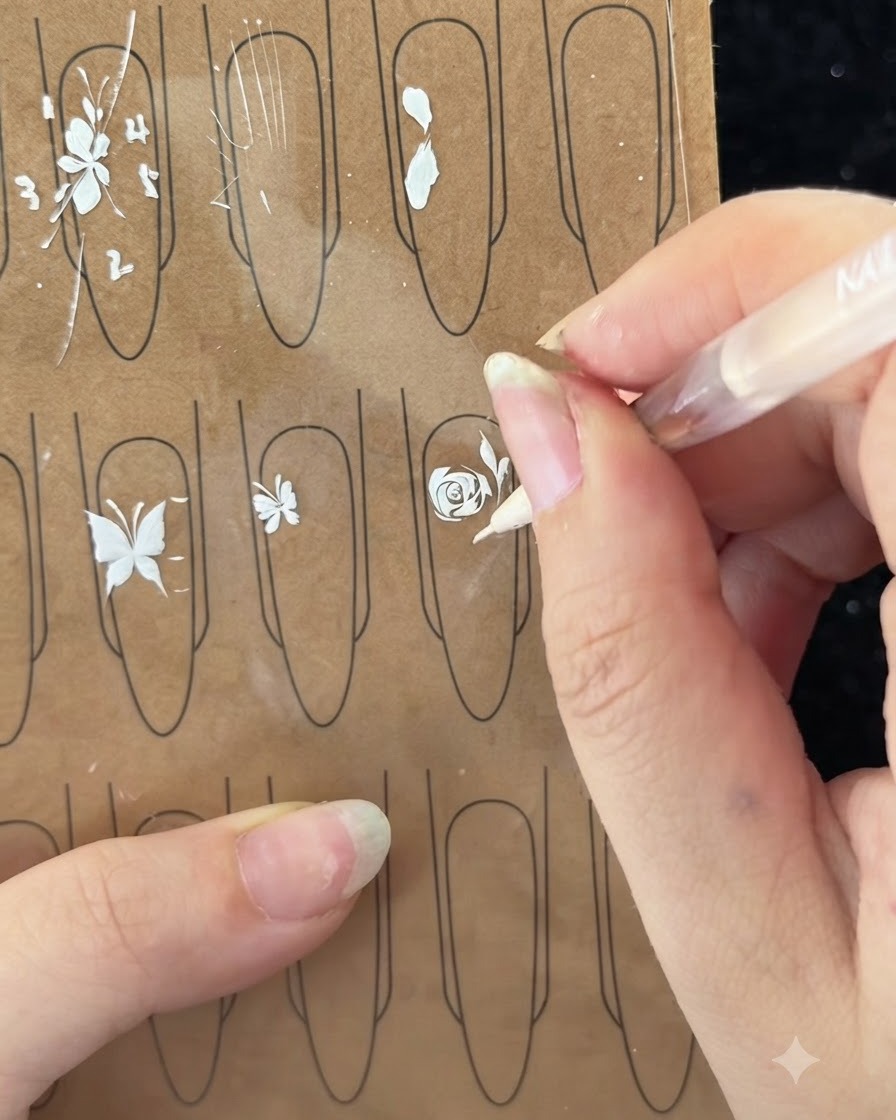
Add another leaf below by pulling a thin line, transitioning, pressing the brush outwards, and collecting the fine line, with a shorter one next to itcite: 1.
Tip: Match the atmospheric lines to the direction of the flower to tie the entire design together.