Summer Colorful Flower Nail Art — Step-by-Step Gel Tutorial
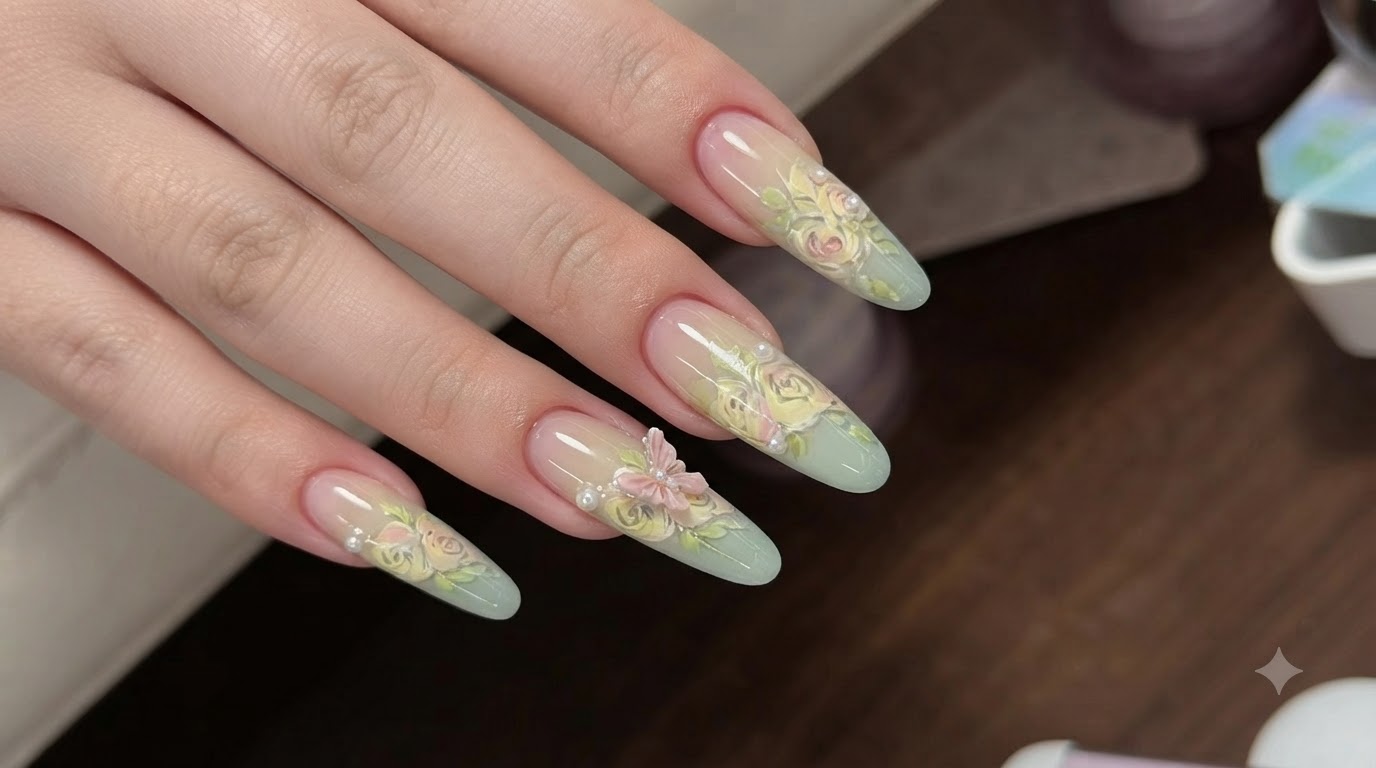
Create a dreamy summer aesthetic with long oval nails featuring a light green and nude ombre base, hand-painted floral art, and delicate 3D butterfly charms.
Summer nail art is all about vibrant gradients, fresh pastel shades, and playful dimensional details. This tutorial combines a soft nude-to-green ombre with intricate hand-painted flowers, pearls, and butterfly charms for an eye-catching seasonal look.
Steps
- 1Open the sanitized nail tool pouch
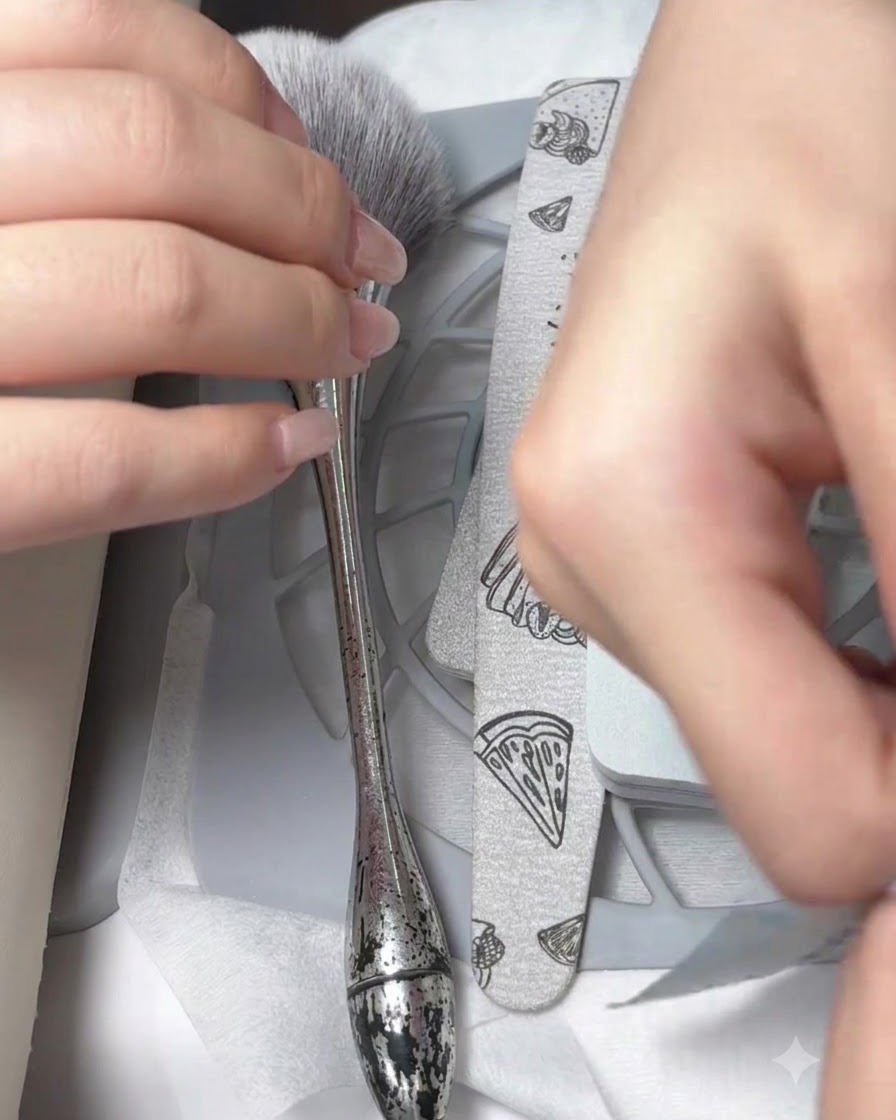
Carefully tear open the sanitized pouch containing your sterilized nail tools before beginning the service. Maintaining proper hygiene and using sanitized implements ensures a safe and professional environment for every client.
Tip: Always open sterilized pouches right in front of the client to build trust and confirm sanitary standards. - 2Remove old product with an e-file
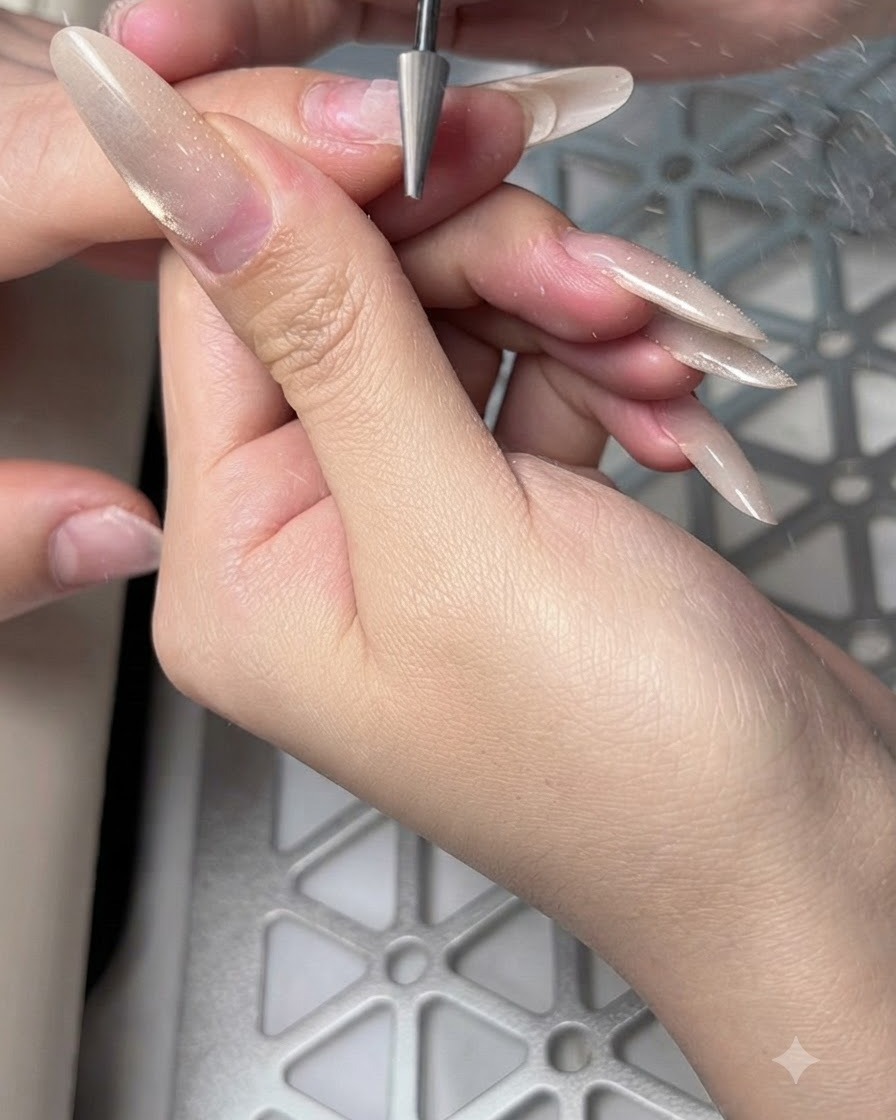
Using an electric file equipped with a high-quality carbide bit, carefully debulk and remove the previous gel product from the nail surface. Keep the e-file moving smoothly to avoid thinning or damaging the natural nail underneath.
Tip: Hold the e-file handpiece like a pencil and keep the bit parallel to the nail surface to prevent accidental gouging. - 3Trim excess cuticle skin
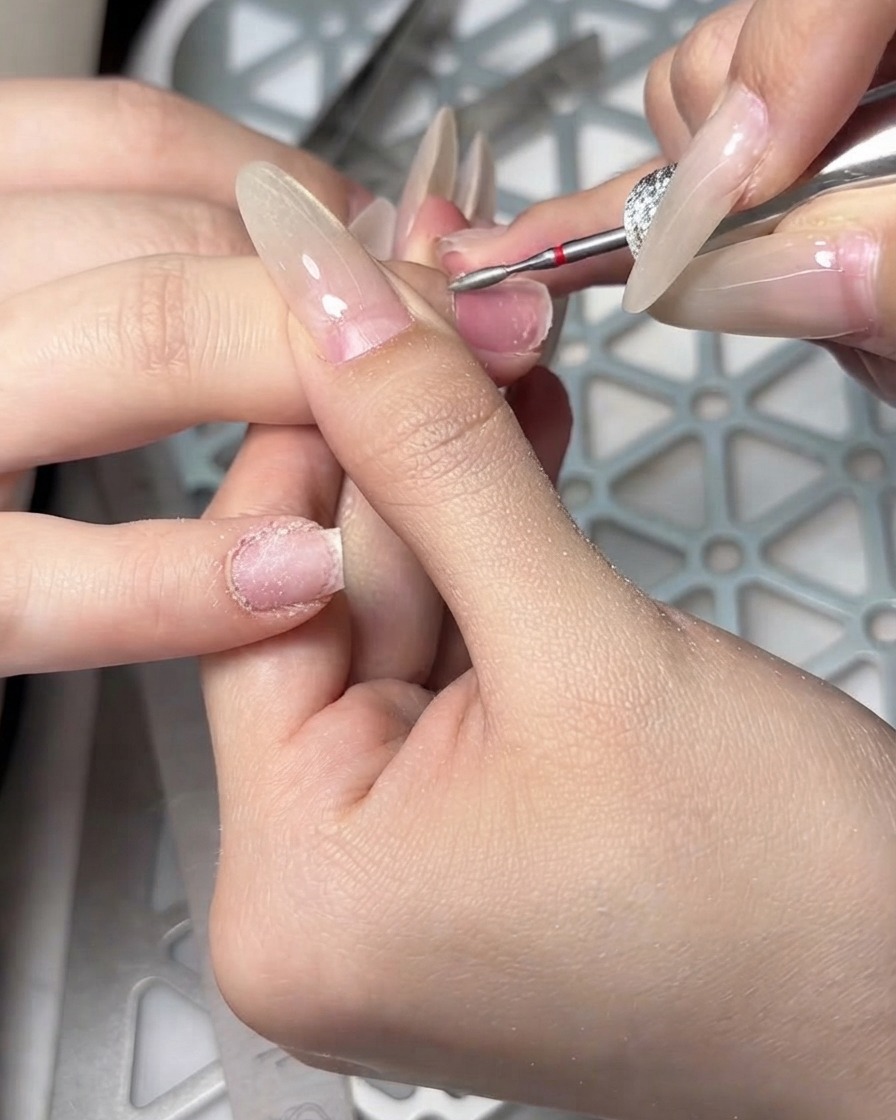
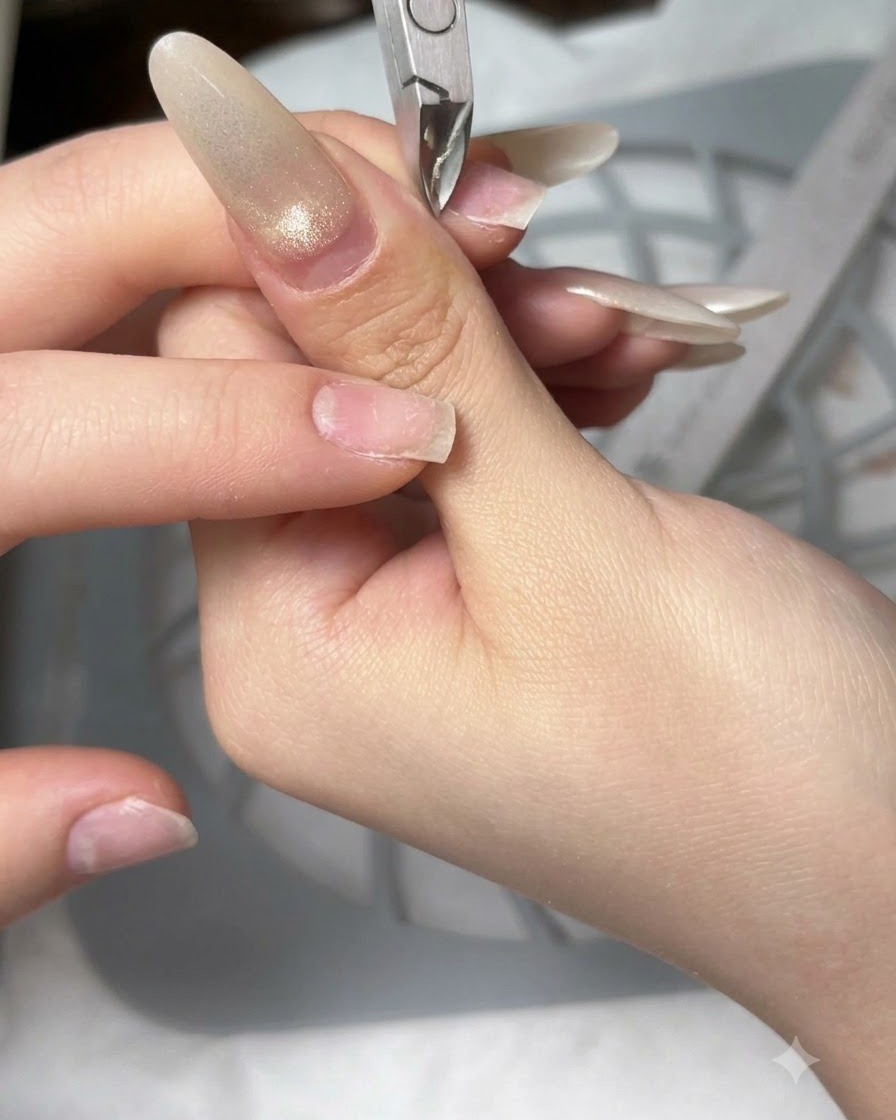
Carefully remove the lifted and excess cuticle skin around the nail bed using sterilized metal cuticle nippers. Work slowly to avoid cutting the live skin, ensuring a clean and tidy surface for gel application.
Tip: Keep the nippers at a slight angle and cut continuously rather than pulling to prevent jagged edges. - 4Etch the natural nail surface
Using a fine-grit sanding band bit on an e-file, lightly etch the surface of the natural nail plate to remove shine and oils. This mechanical preparation ensures maximum adhesion for the base gel and prevents premature lifting.
Tip: Use a low RPM setting and light pressure to avoid thinning or damaging the natural nail plate. - 5Apply and cure clear gel base
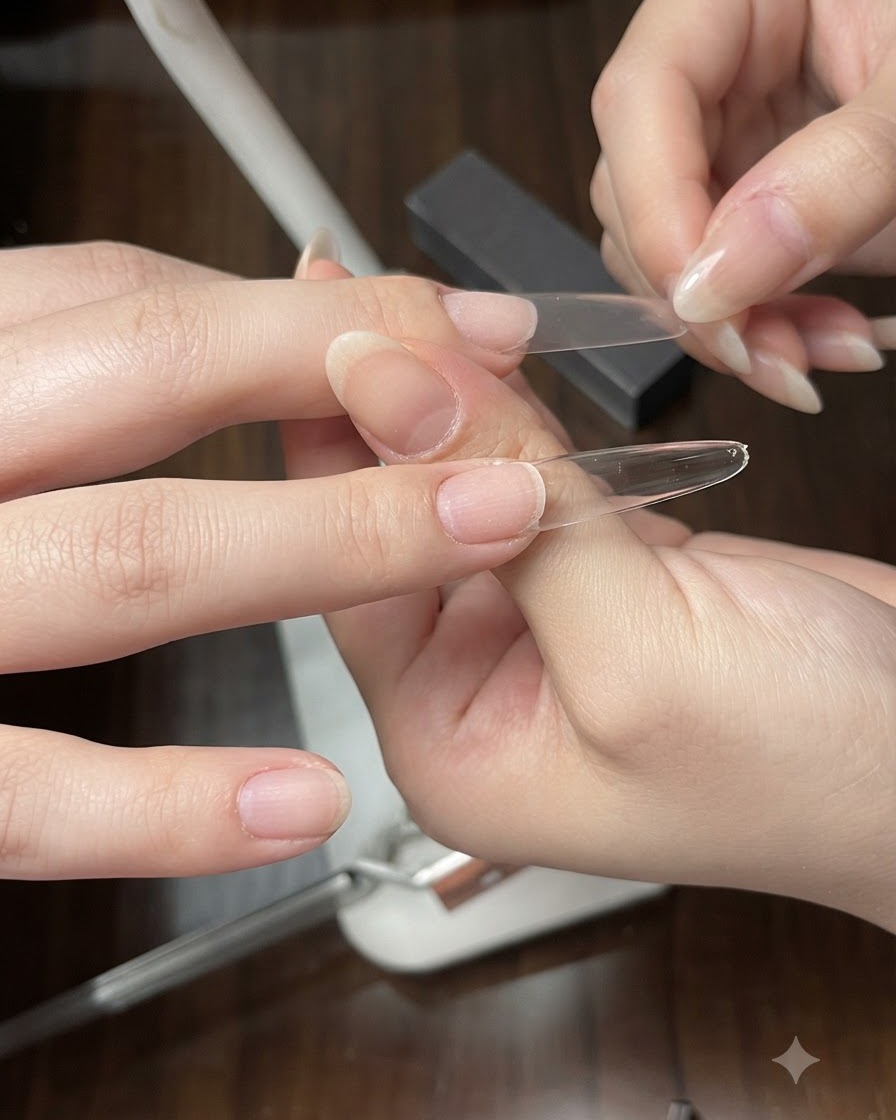
Apply a thin layer of clear gel base coat to the prepped natural nail plate, ensuring proper coverage without touching the surrounding skin. Place the hand under a UV or LED lamp to cure the product fully before moving on to the next step.
Tip: Cap the free edge with base gel to seal the product and significantly reduce the likelihood of premature lifting. - 6Trim artificial nail tips
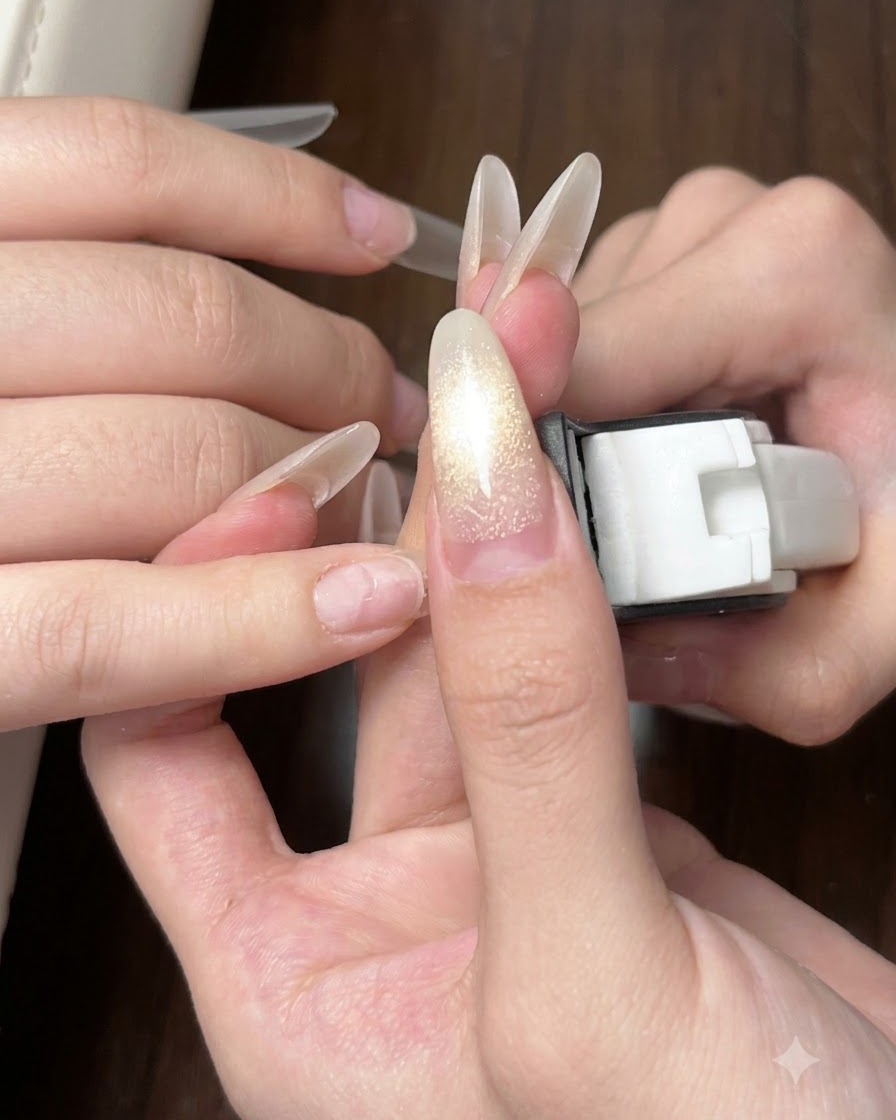
Using a specialized tip cutter, trim the long artificial nail tips down to your desired shorter length. Make clean, straight cuts to prepare the nails for final shaping and smoothing.
Tip: Hold your finger over the top of the clipper when cutting to prevent the plastic tip piece from flying across the room. - 7Smooth the tip transition
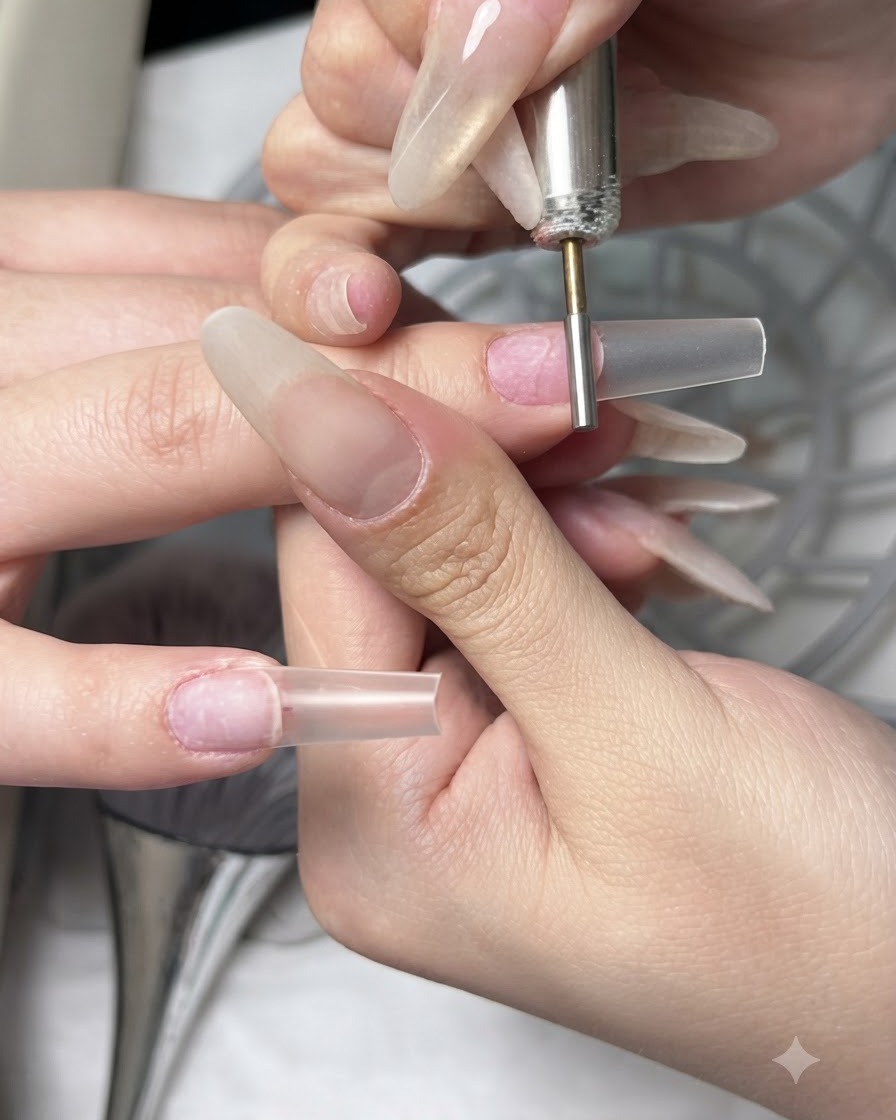
Using a fine needle drill bit or file, gently smooth out the transition area where the artificial nail tip meets the natural nail plate. This creates a seamless, flat surface and prevents any bumps or ridges from showing under subsequent gel layers.
Tip: Keep your e-file moving gently and avoid lingering in one spot to prevent thinning the natural nail underneath. - 8Shape the nails into an oval
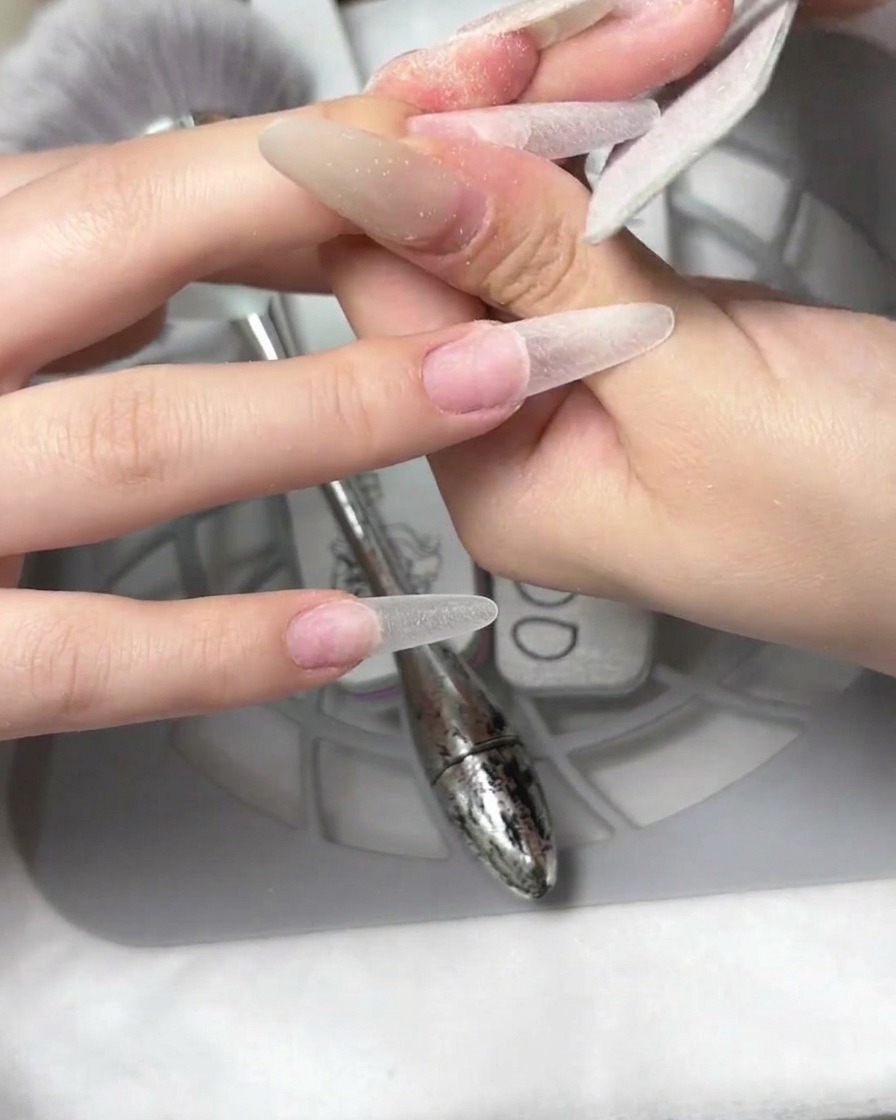
Using a hand file, carefully shape and refine the free edge of each nail into a smooth, even oval shape. Check symmetry from all angles to ensure a consistent look across the entire hand.
Tip: Maintain an even pressure while filing to keep the side walls straight and prevent accidental gouging of the nail extension. - 9Apply structure gel
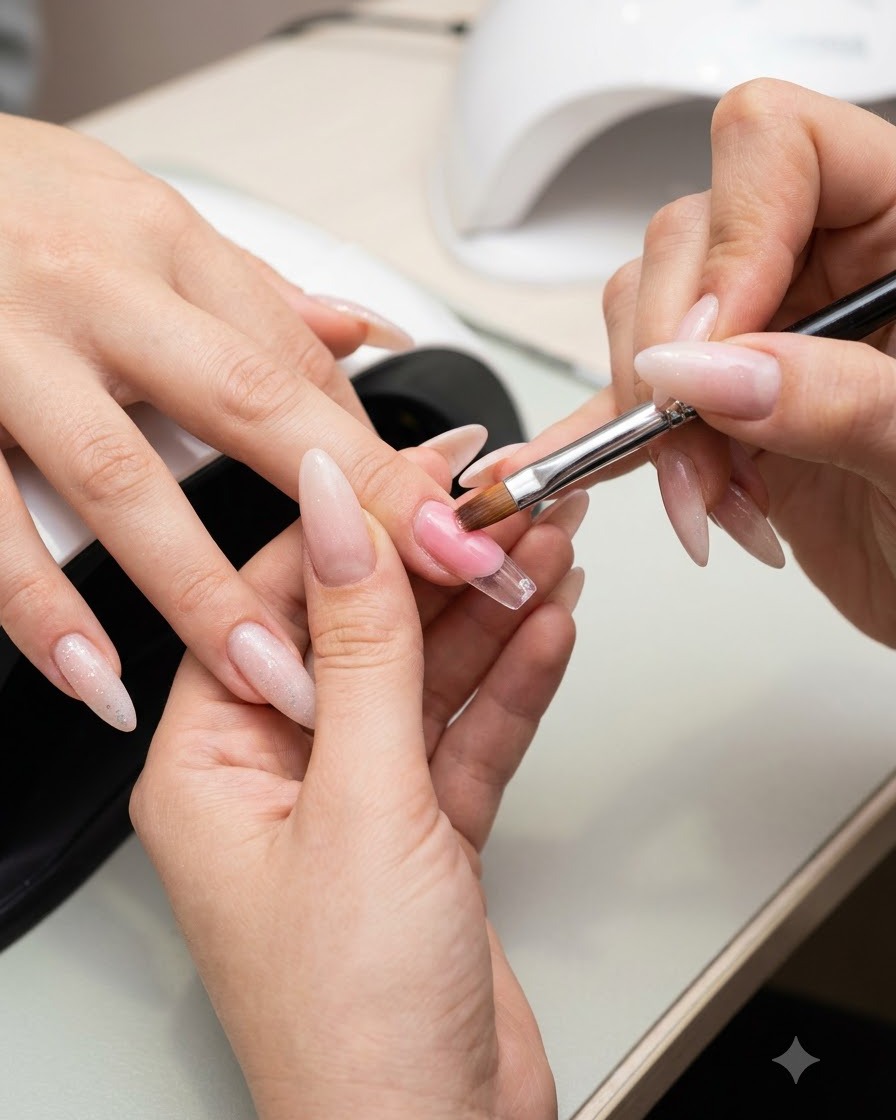
Apply a controlled layer of structure gel over the nail surface to build strength and create a proper apex. This prevents the long nails from bending or breaking under daily wear, ensuring long-lasting durability.
Tip: Float the gel gently over the center of the nail to let it self-level naturally before curing. - 10Cure the structure gel layer
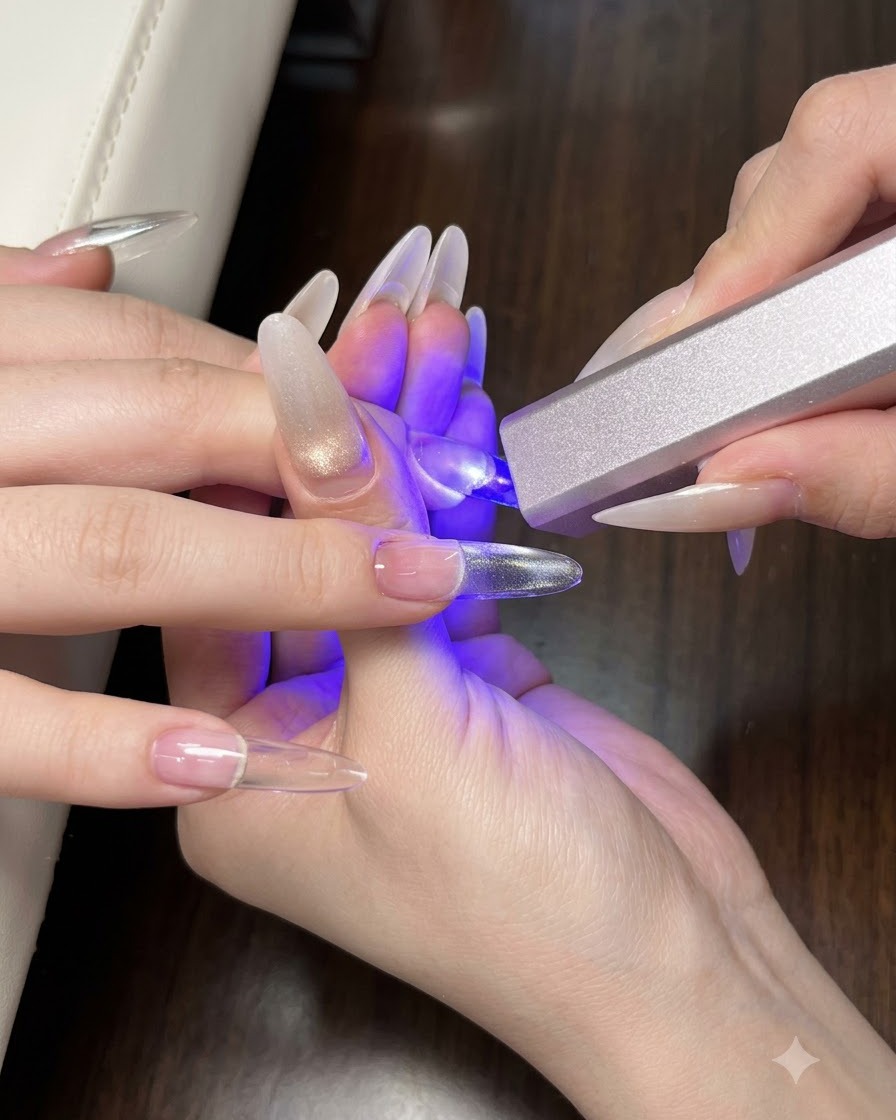
Place the hand under a UV or LED lamp to fully cure the structure gel layer. Ensure the gel is completely hardened before moving on to the next step of the design process.
Tip: Ensure the light reaches every part of the nail evenly, especially near the stress points and apex. - 11Refine nail shape and surface
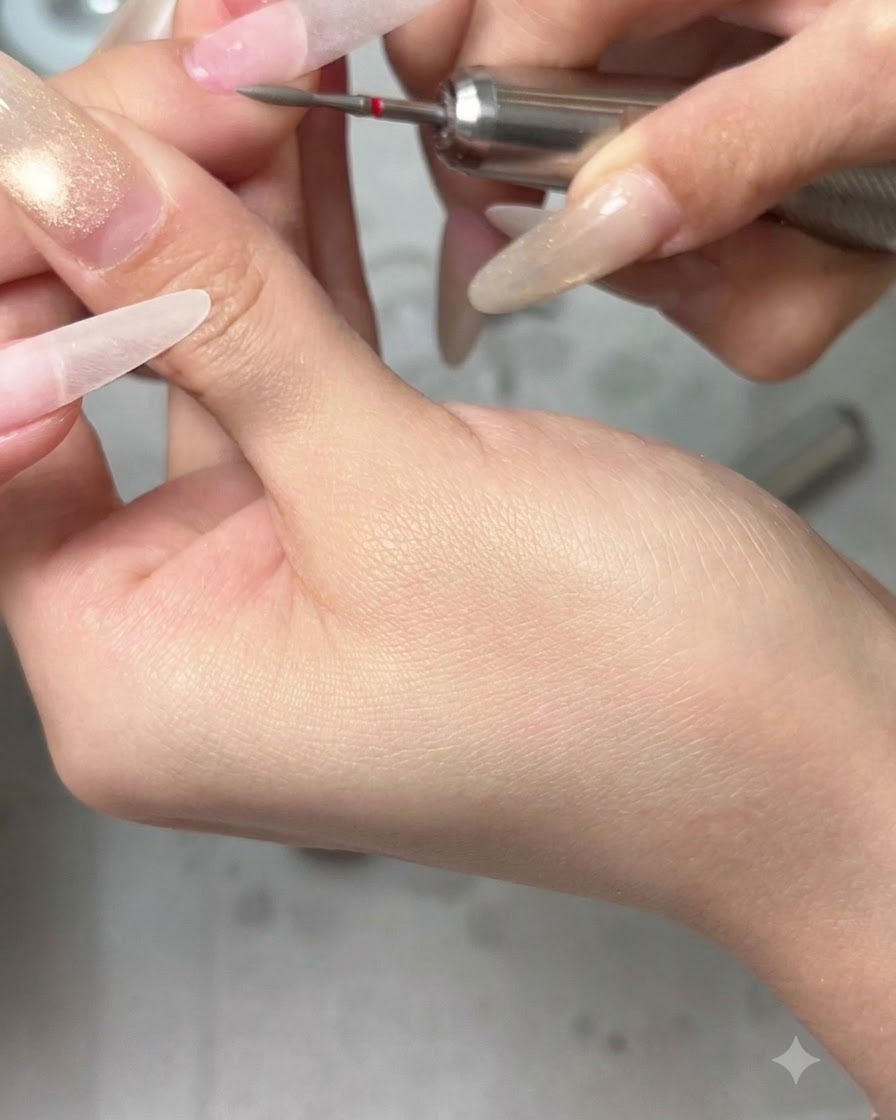
Use an electronic file with a fine-grit bit to carefully refine the shape of the nail and smooth out any uneven areas on the surface. Keep the handpiece at a low speed and move gently across the nail plate to avoid thinning the natural nail or causing friction burns.
Tip: Keep the e-file moving continuously in light, sweeping motions to prevent heat buildup and accidental over-filing. - 12Apply nude base gel with sponge
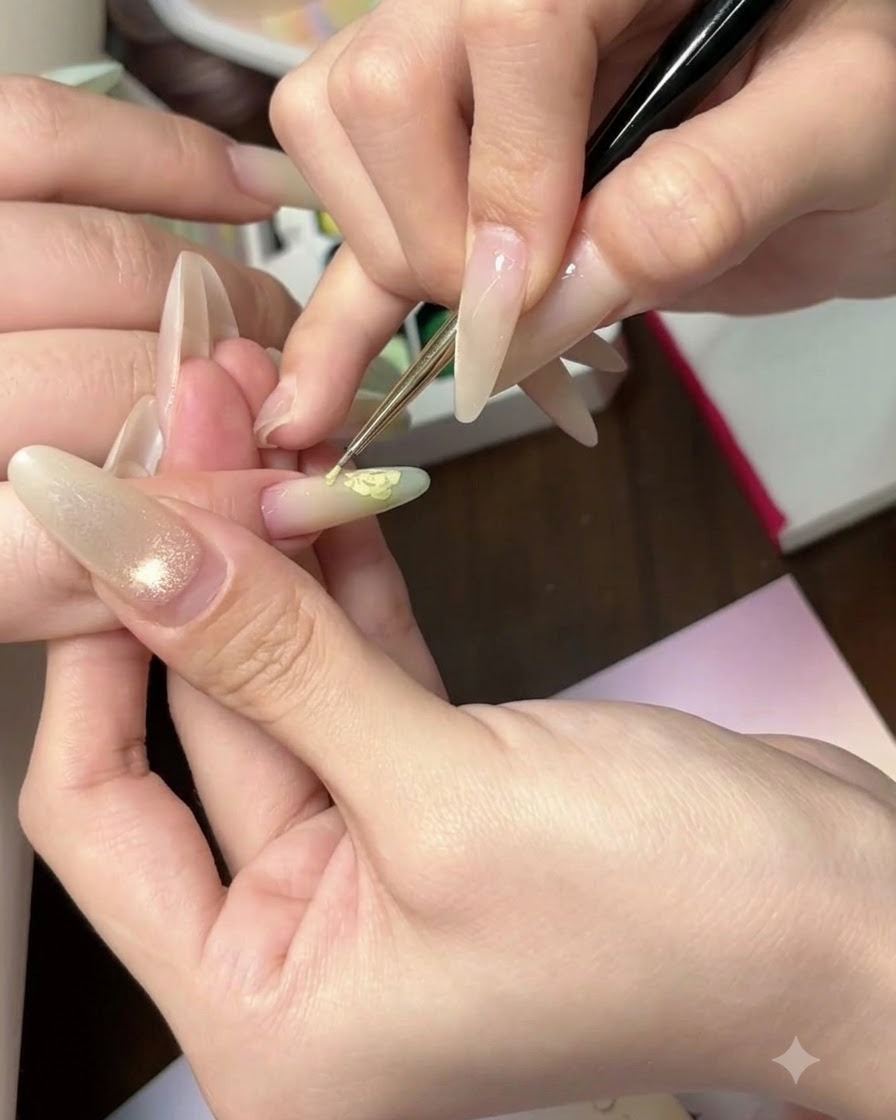
Using a soft makeup sponge, dab a nude-colored gel gently onto the nail base to establish the start of the gradient ombre effect. Build up the color lightly with a dabbing motion to ensure a smooth transition without harsh lines before curing.
Tip: Use a gentle dabbing motion rather than dragging to avoid creating streaks in the ombre gradient. - 13Apply light green tip gradient
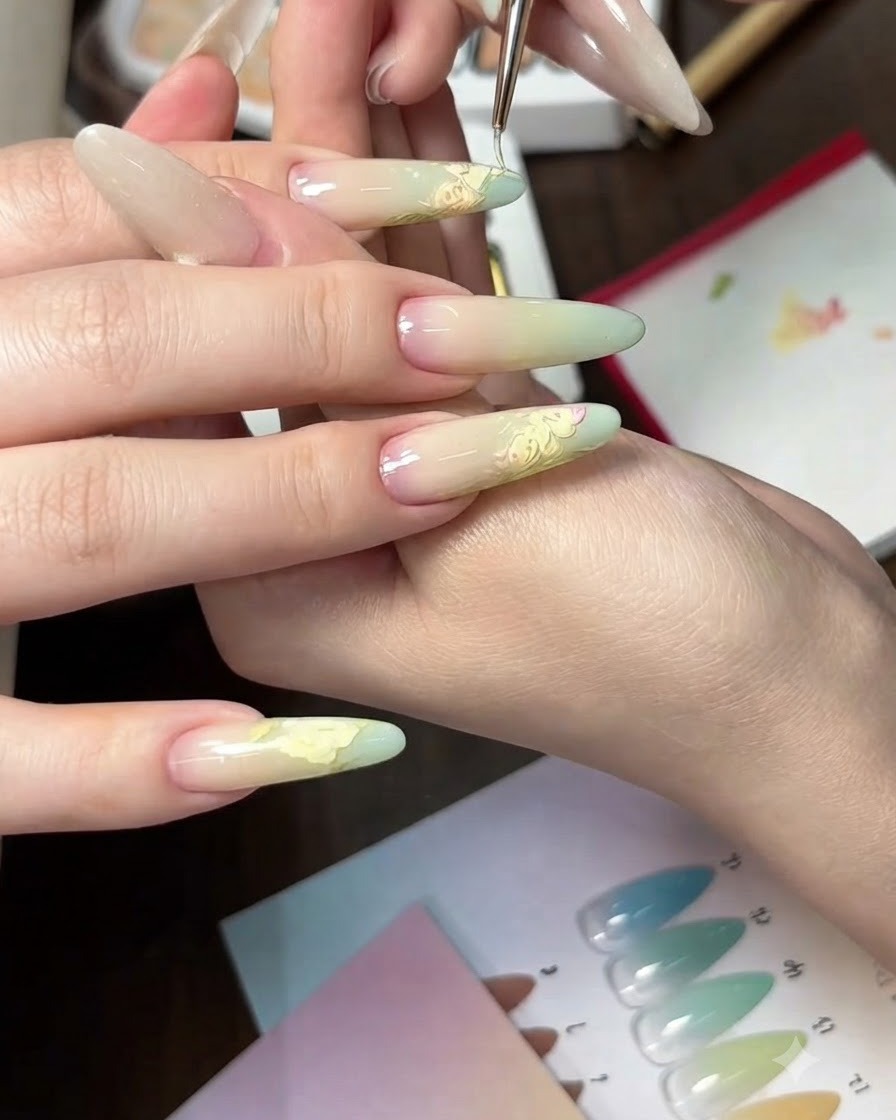
Dispense a light green gel color onto a palette, pick it up with a clean sponge, and dab it onto the nail tips. Blend upward toward the nude base to create a seamless green ombre transition, then cure under the UV lamp.
Tip: Keep the sponge relatively dry of excess product to achieve a soft, airbrushed gradient look. - 14Blend yellow color onto gradient
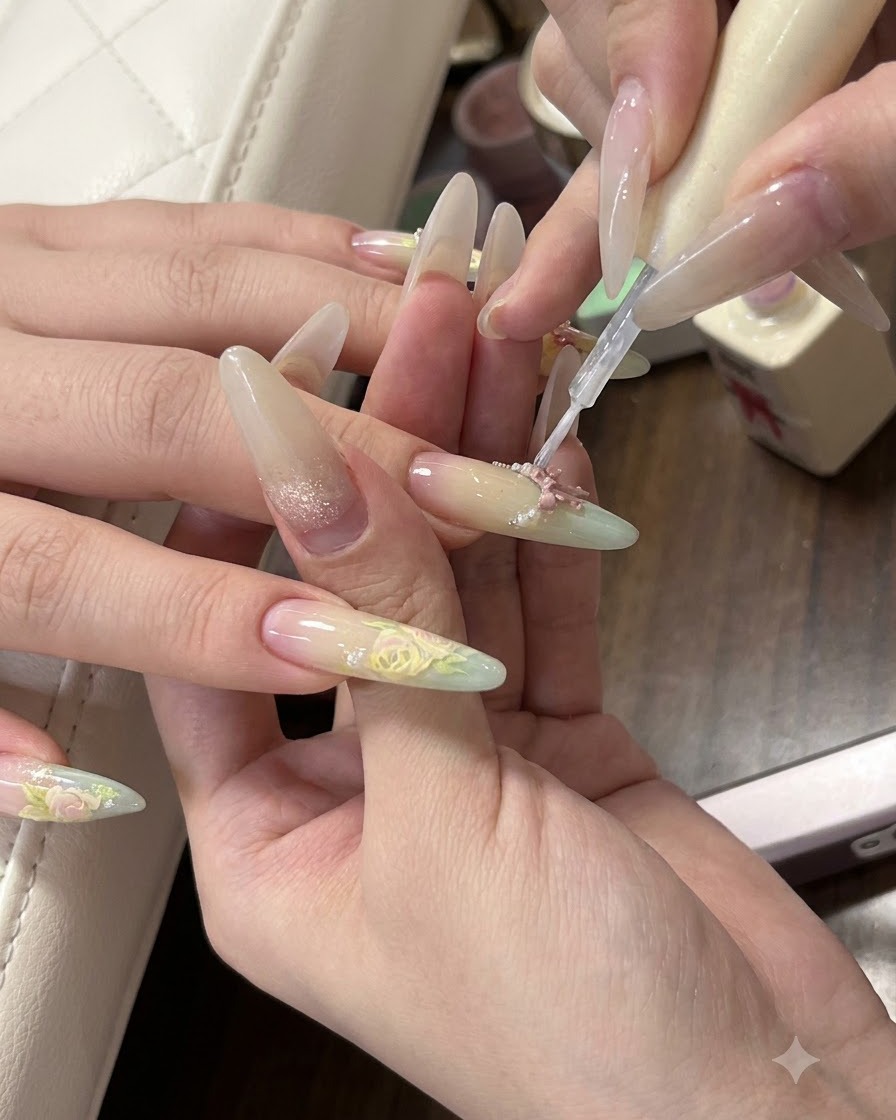
Take a small amount of yellow gel color and dab it using a sponge where the nude and green meet to add a vibrant summer dimension. Blend the colors softly together for a multi-tonal sunset or floral gradient look before curing.
Tip: Layer colors gradually, curing between layers if needed to prevent muddying the shades.