Sunset Rose Cat-Eye Ombre Nails — Step-by-Step Tutorial
Create breathtaking sunset rose cat-eye ombre nails featuring a rich berry pink gradient and a mesmerizing dimensional gold magnetic finish.
The fusion of a classic soft gradient and a dynamic magnetic finish creates a captivating look that shifts brilliantly with the light. This tutorial guides you through layering berry pink gel with a shimmering gold cat-eye effect to achieve a professional salon-quality manicure at home.
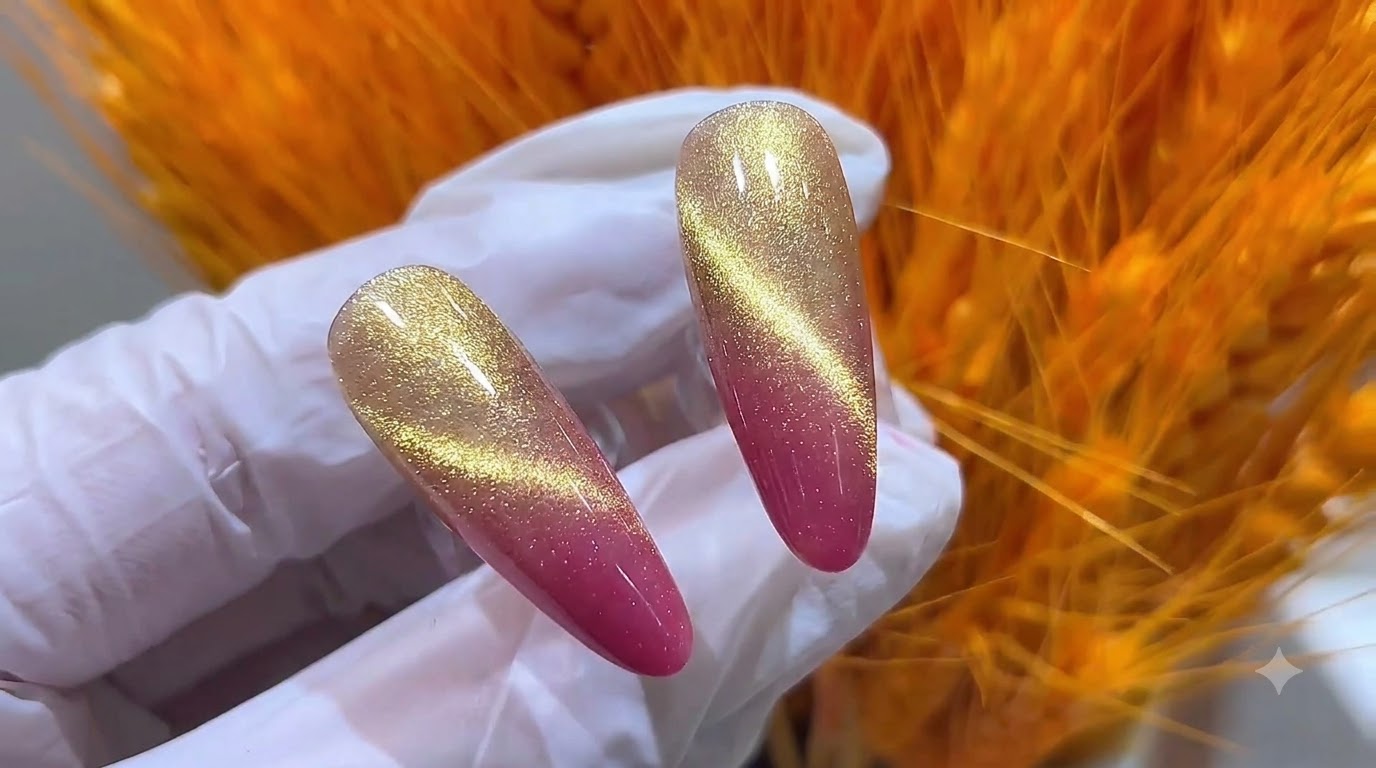
Steps
- 1Apply berry pink gel to nail tips
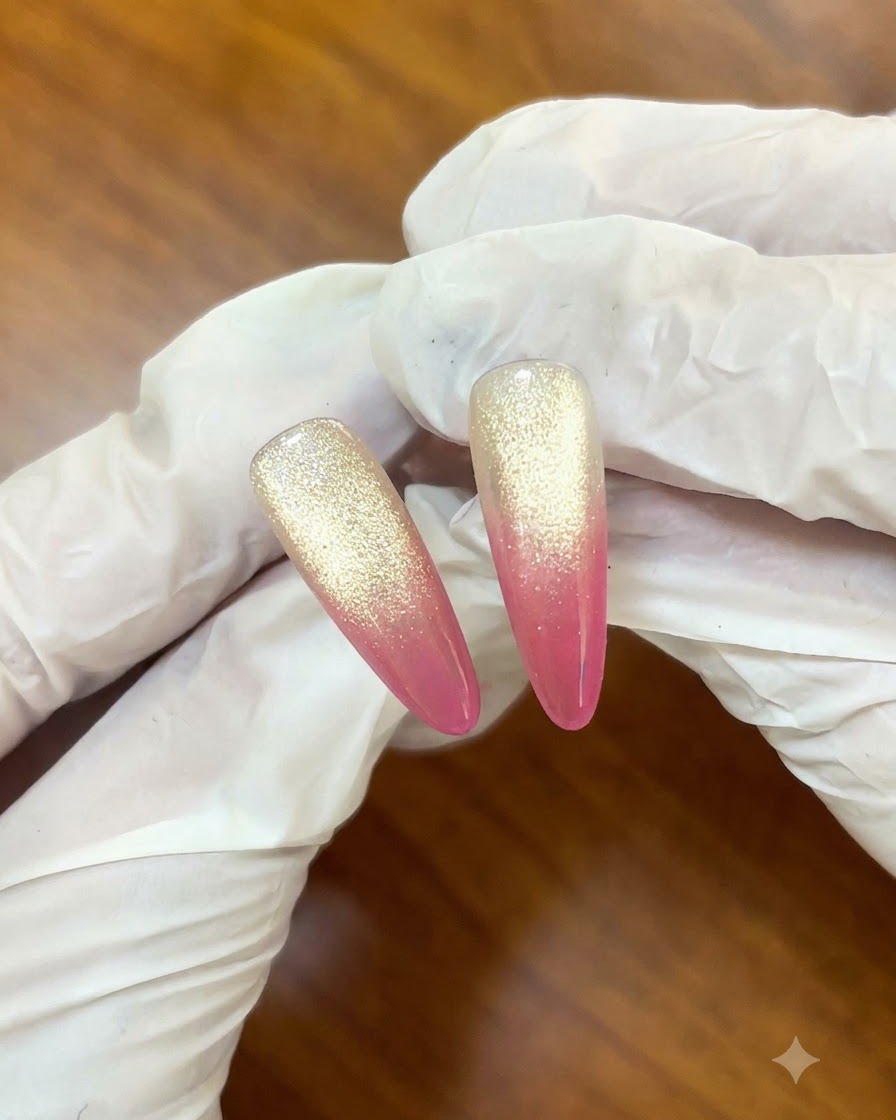
Using a fine nail brush, carefully apply the berry pink gel color specifically to the tip portion of each prepped nail, establishing the base for the gradient look.
Tip: Keep the application layer thin and controlled to prevent the gel from pooling or bleeding down the nail bed. - 2Blend gradient with a sponge
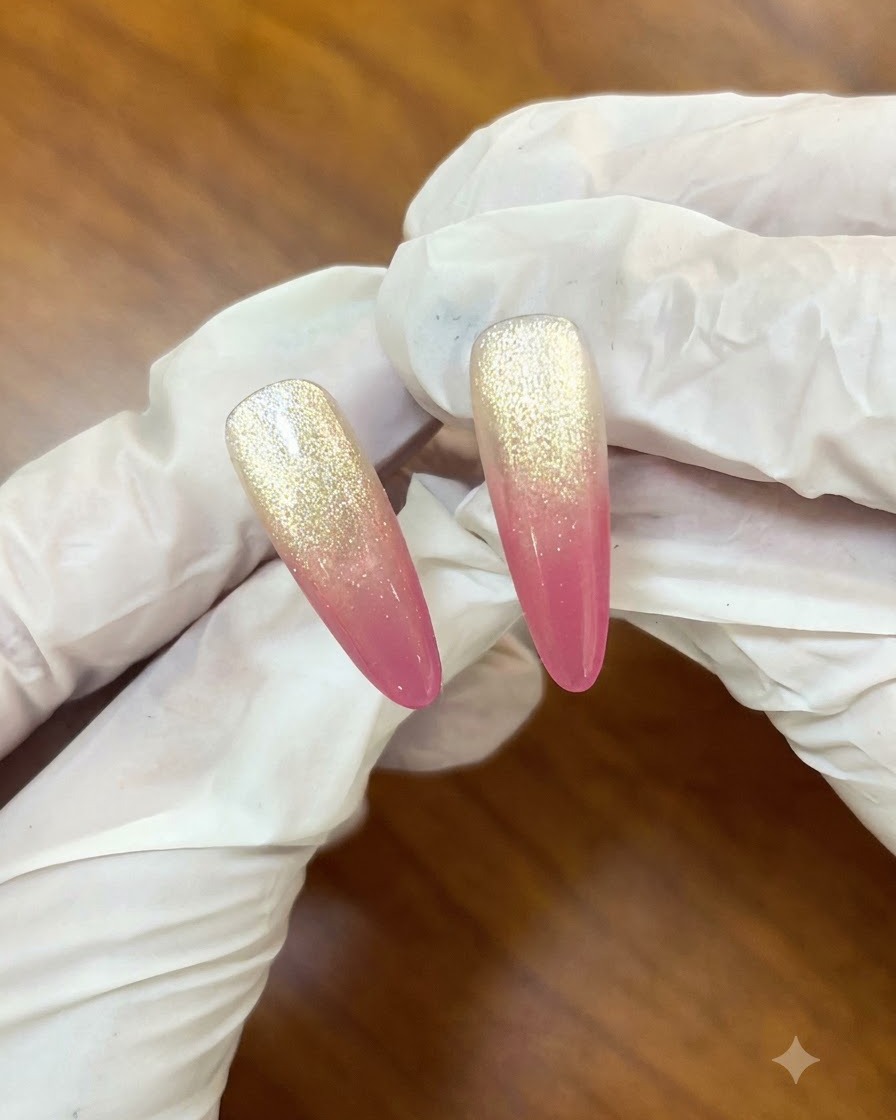
Take a small makeup sponge and gently pat the edge of the berry pink gel, blending it upwards toward the cuticle area to achieve a smooth and seamless gradient effect.
Tip: Use a light tapping motion rather than dragging to ensure an even distribution of color without harsh lines. - 3Cure the first gradient layer
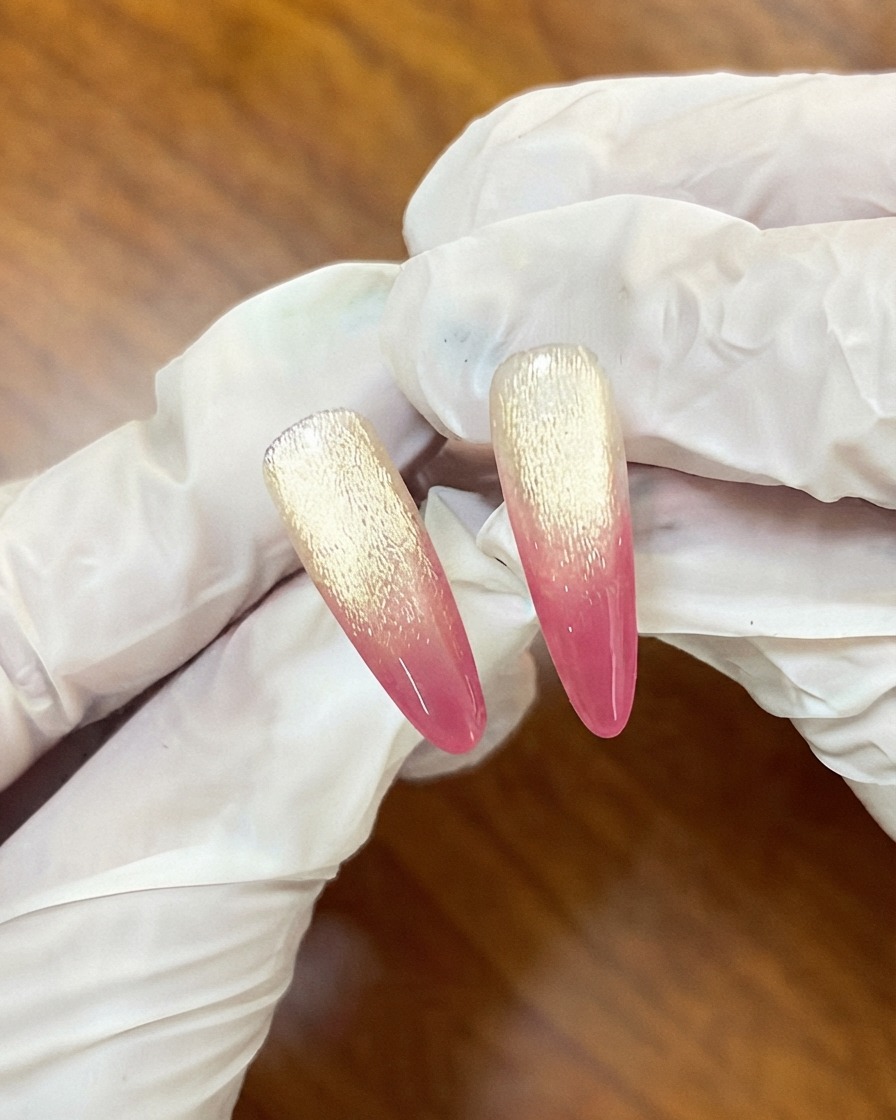
Place the nails under a UV or LED lamp to cure the first gradient layer, locking the blended berry pink color in place before adding subsequent layers.
Tip: Ensure your hand is positioned correctly inside the lamp so all fingers cure evenly. - 4Apply second gradient layer
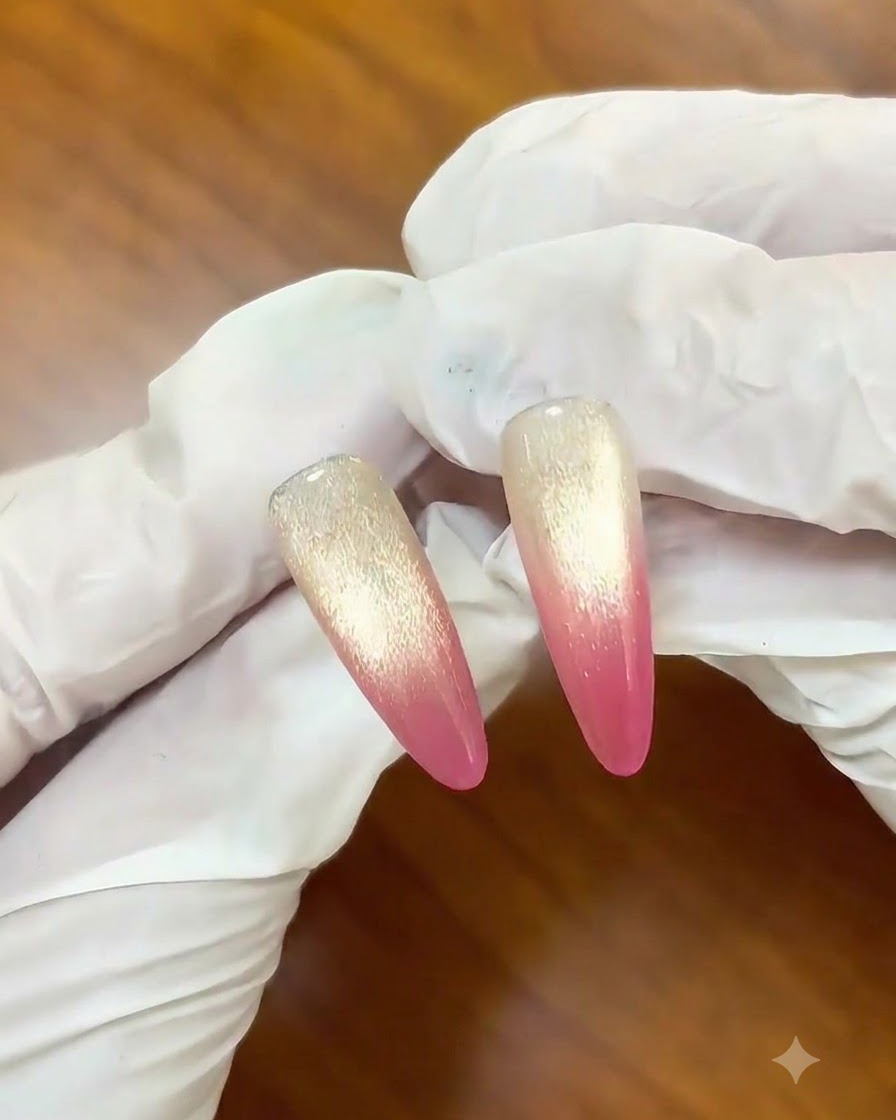
Reapply a second layer of berry pink gel focused primarily on the very tip of the nail to deepen and intensify the saturation of the color.
Tip: Concentrate the product heavily on the edge of the tip and lightly dab upwards to maintain the gradient transition. - 5Cure the second gradient layer
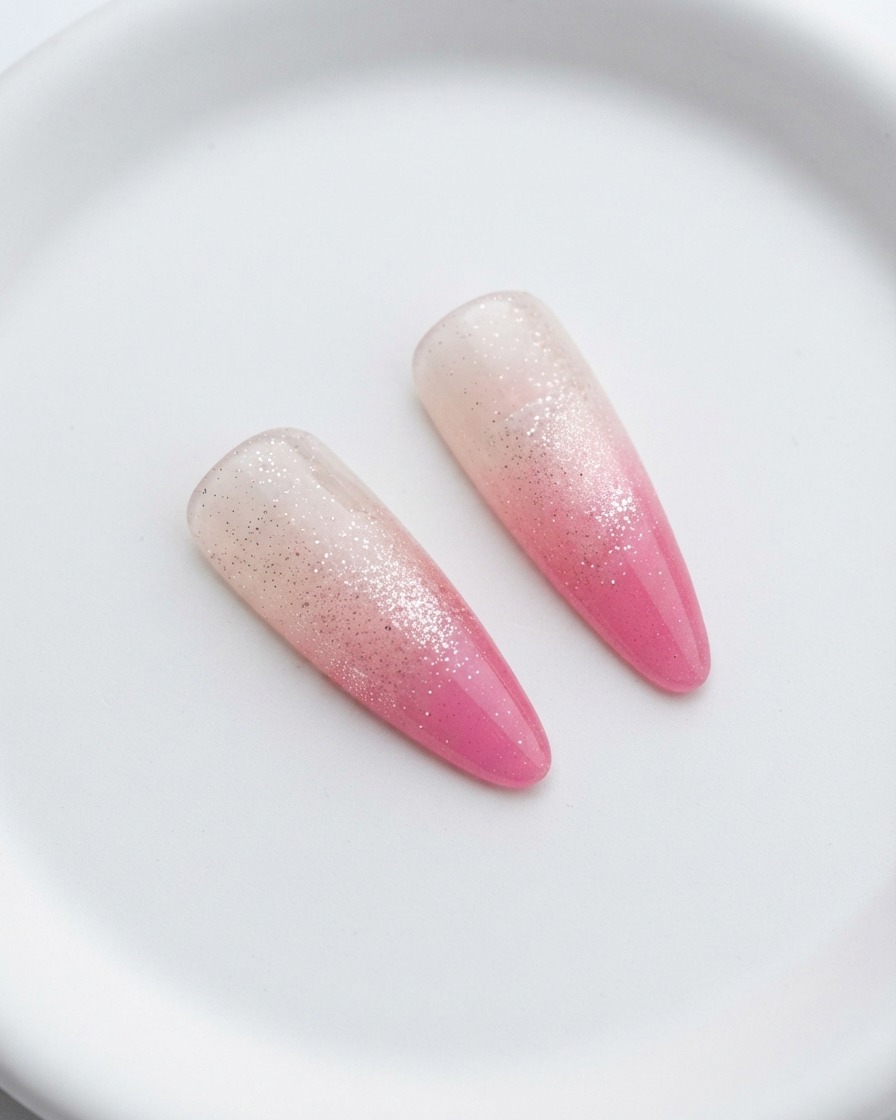
Cure the newly intensified second layer under the UV or LED lamp to fully set the pigment and prepare the surface for the next phase of the design.
Tip: Fully curing each layer prevents shifting when applying subsequent magnetic polishes. - 6Apply gold cat-eye polish
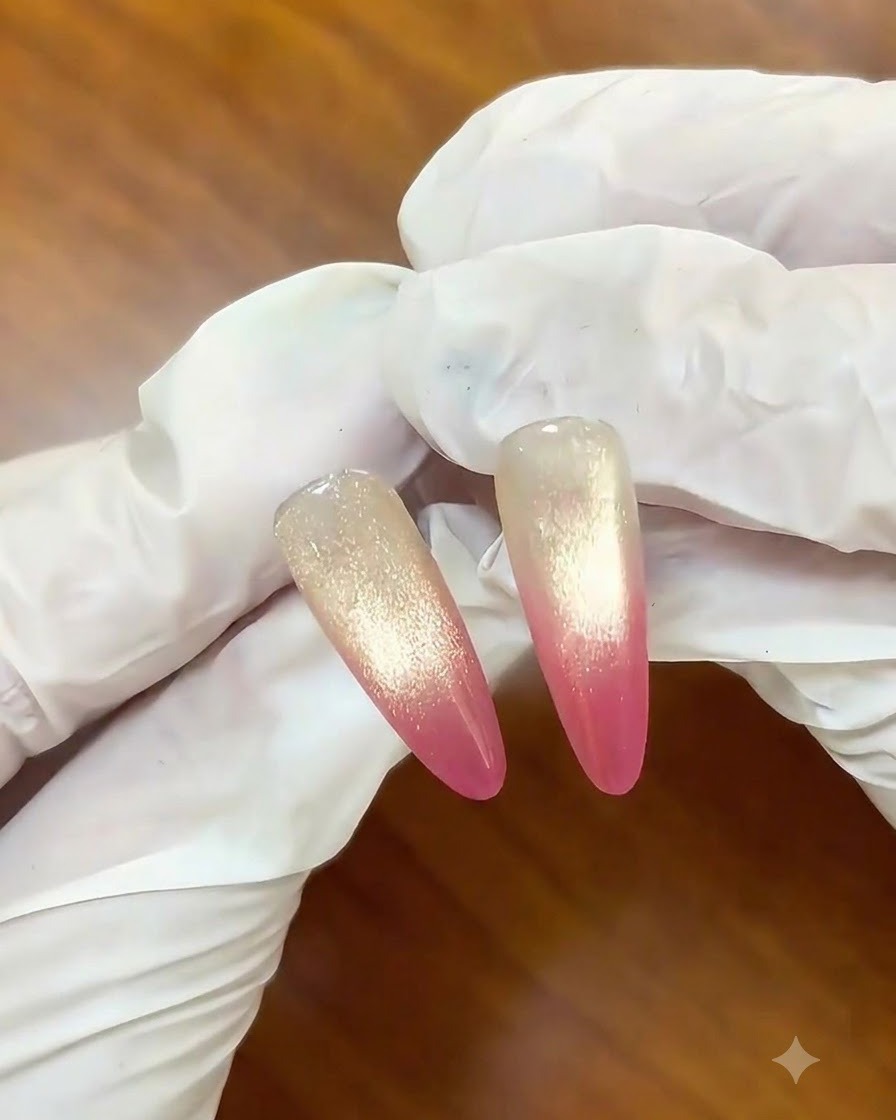
Brush a layer of gold cat-eye magnetic polish evenly over the entire surface of both nails, ensuring complete coverage over the pink gradient base.
Tip: Apply a generous, even coat so the magnetic particles have enough fluid medium to move around when shaped. - 7Hold magnet to the right side
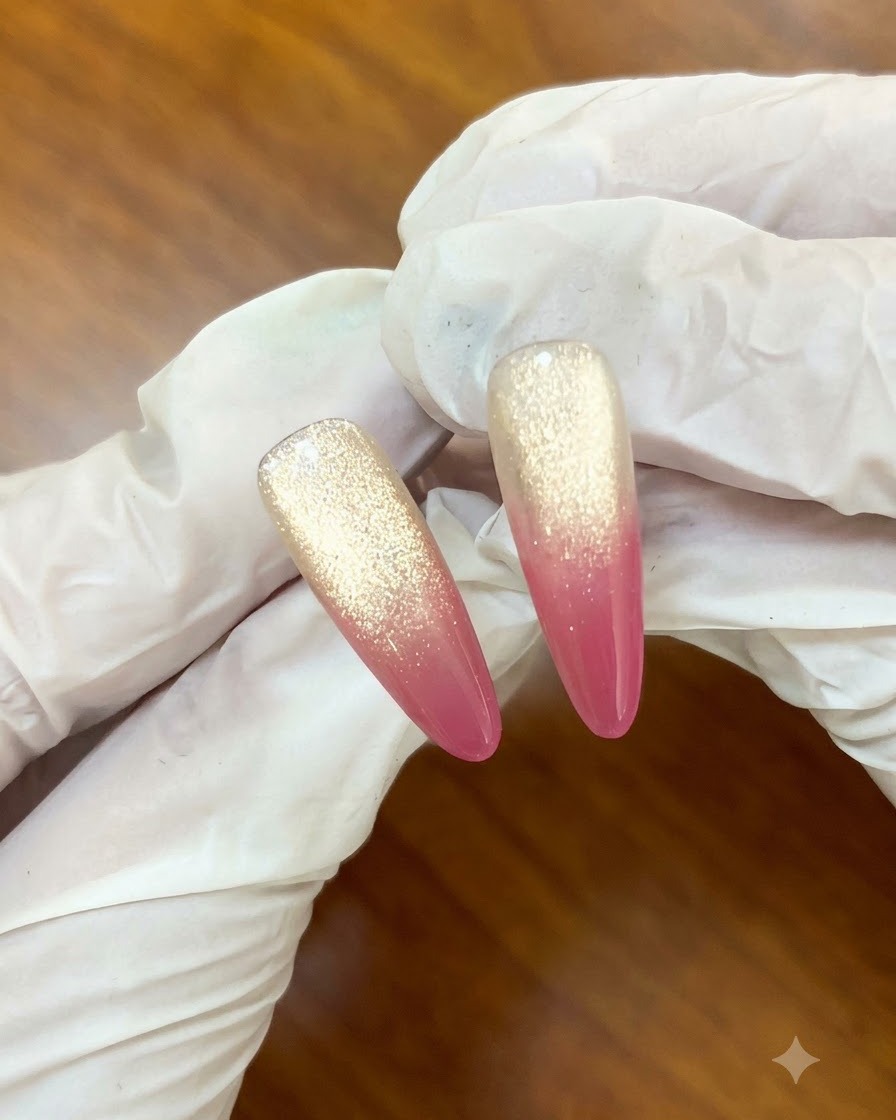
Position the magnet close to the right side of the nail to draw the magnetic particles across the surface, creating a dimensional cat-eye effect. Hold it steady for a few seconds to let the particles shift into place before curing.
Tip: Keep the magnet steady and close to the nail without touching the wet gel surface to get a sharp, well-defined cat-eye line. - 8Swipe magnet on the left side
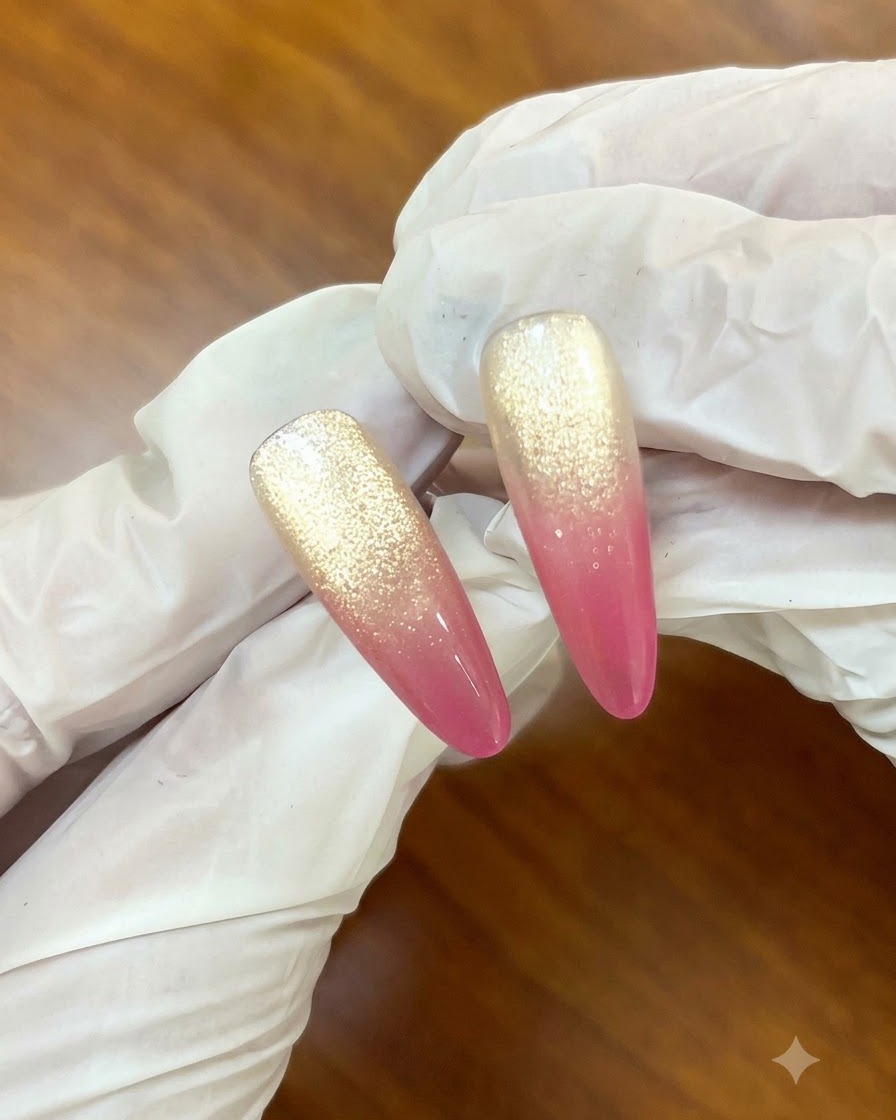
Gently swipe or position the magnet along the left side of the nail to further shift the magnetic glitter particles. This action shapes the highlight and enhances the depth of the sunset rose cat-eye finish.
Tip: Precise magnet placement controls the width and brilliance of the cat-eye reflection line. - 9Pull magnet from tip to cuticle
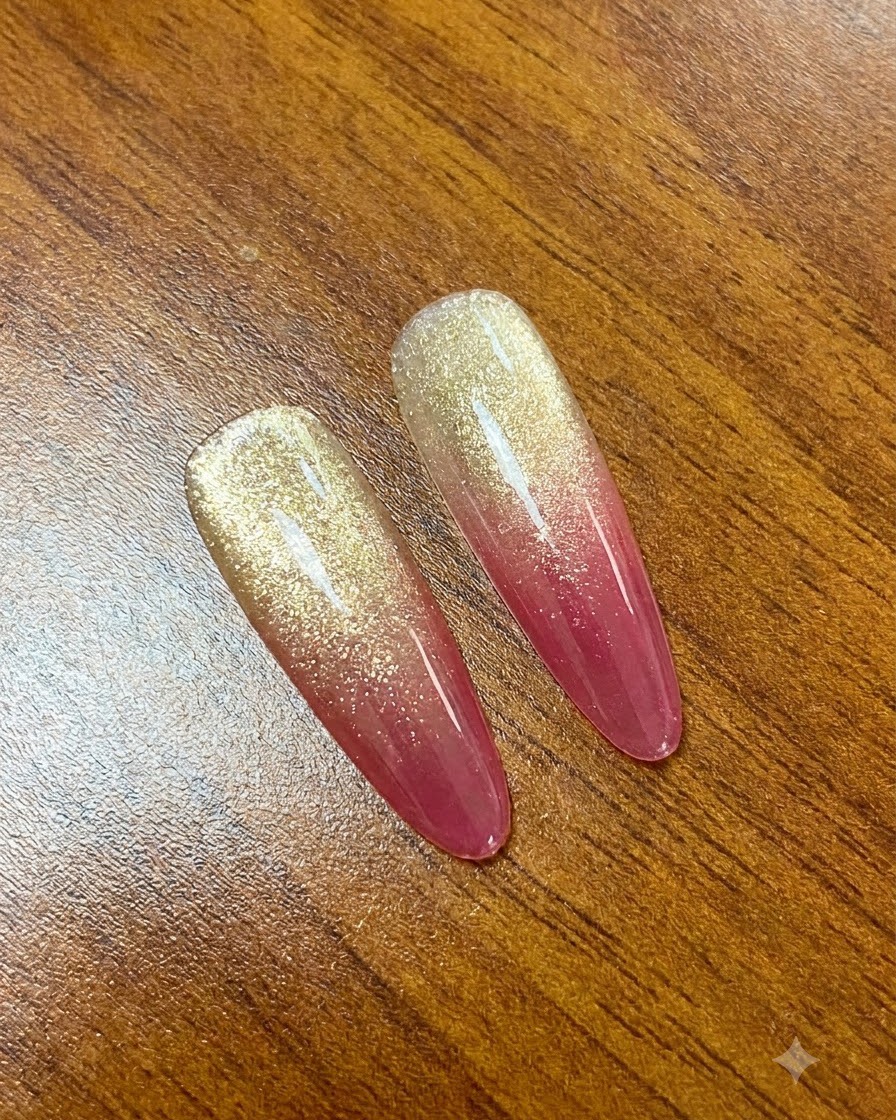
Glide the magnet downward from the free edge tip toward the cuticle area. This technique helps distribute the magnetic particles correctly, softens the gradient transition, and reveals the beautiful pink base color underneath.
Tip: A smooth, continuous motion from tip to cuticle ensures even distribution of the cat-eye shimmer. - 10Apply and cure the final top coat
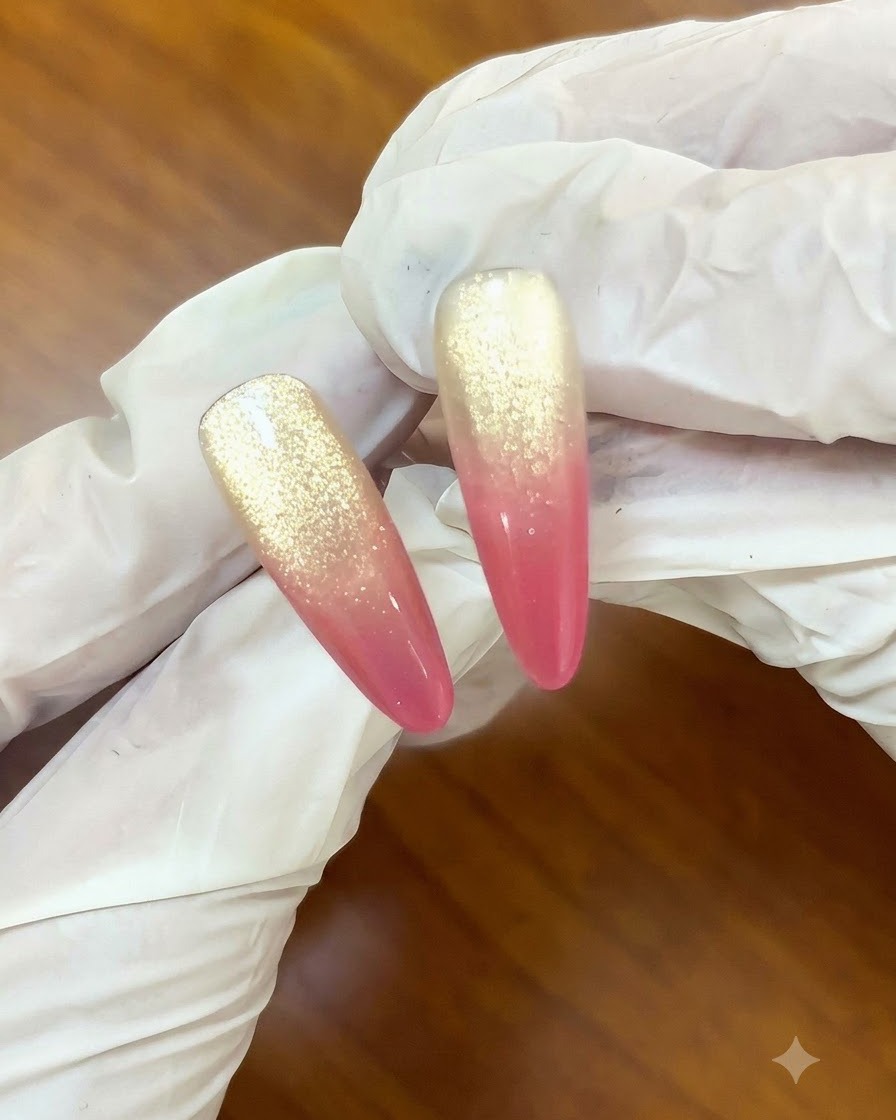
Apply a final clear top coat over the entire nail design to seal the colors and provide a high-gloss finish. Make sure to cap the free edge to prevent chipping. Cure under a UV or LED lamp for the recommended time to ensure a fully set, long-lasting manicure.
Tip: Capping the free edge with top coat is essential for preventing premature peeling and chipping.