Watercolor Rose Nail Art — Delicate Floral Masterclass
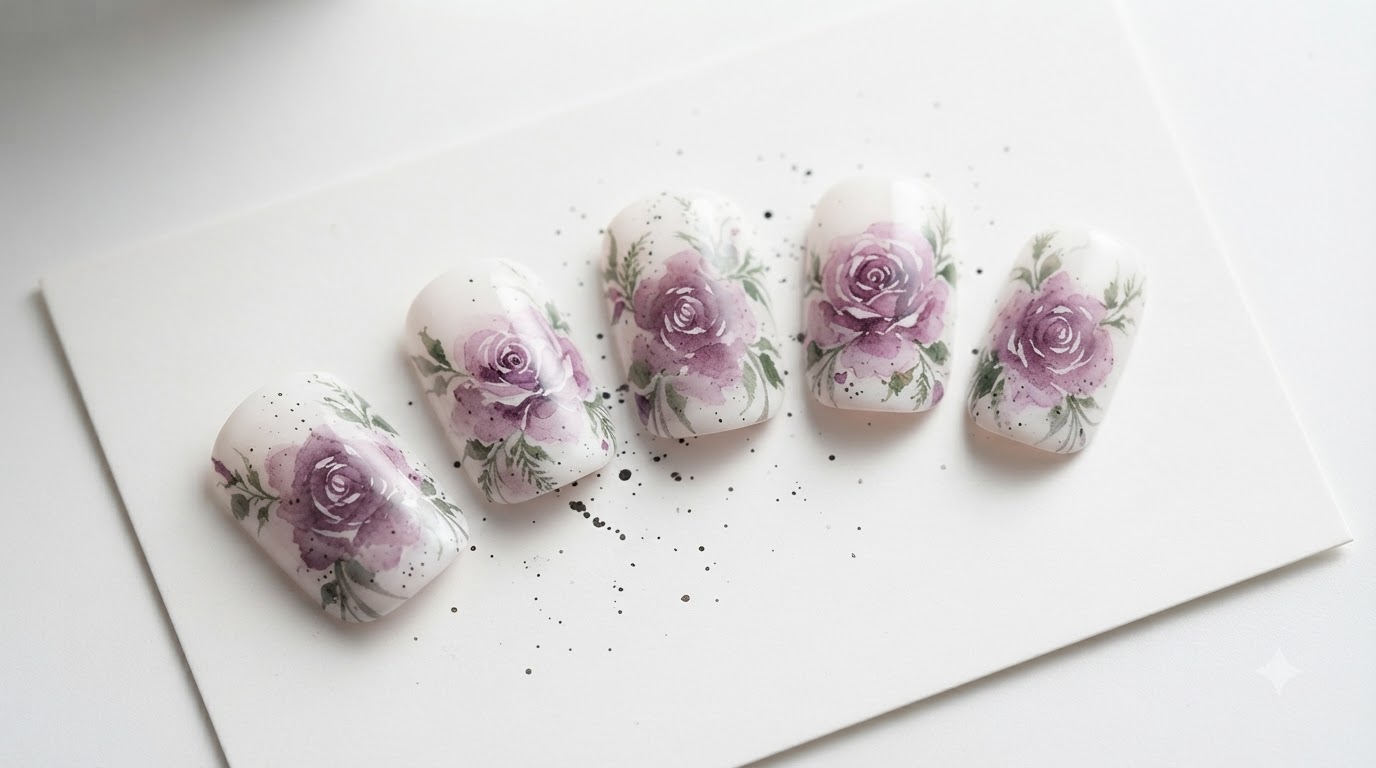
Create stunning watercolor rose nail art with delicate purple petals, fine green foliage, and artistic ink splashes on a pristine white background.
Watercolor nail art brings an exquisite, ethereal beauty to your fingertips, combining soft layered pigments with effortless botanical charm. This step-by-step masterclass guides you through painting delicate purple roses and fine foliage, adding a professional artistic finish to your nail designs.
Steps
- 1Mix dark purple watercolor
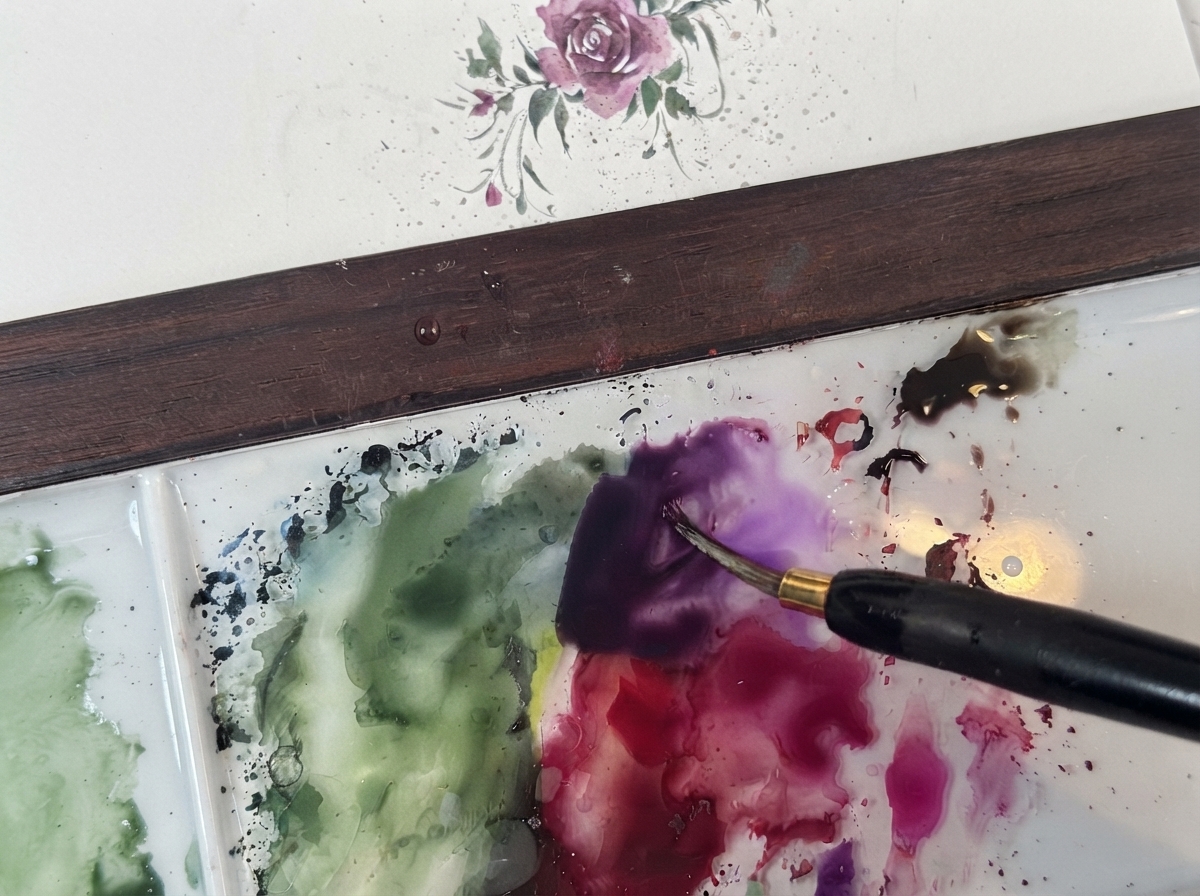
Using a fine brush, thoroughly mix dark purple watercolor paint on your palette until you achieve a rich, consistent pigment. This dark shade will form the striking center and foundation of your watercolor rose.
Tip: Keep the consistency smooth and controlled so the fine details of the rose center remain sharp and defined. - 2Paint the flower center
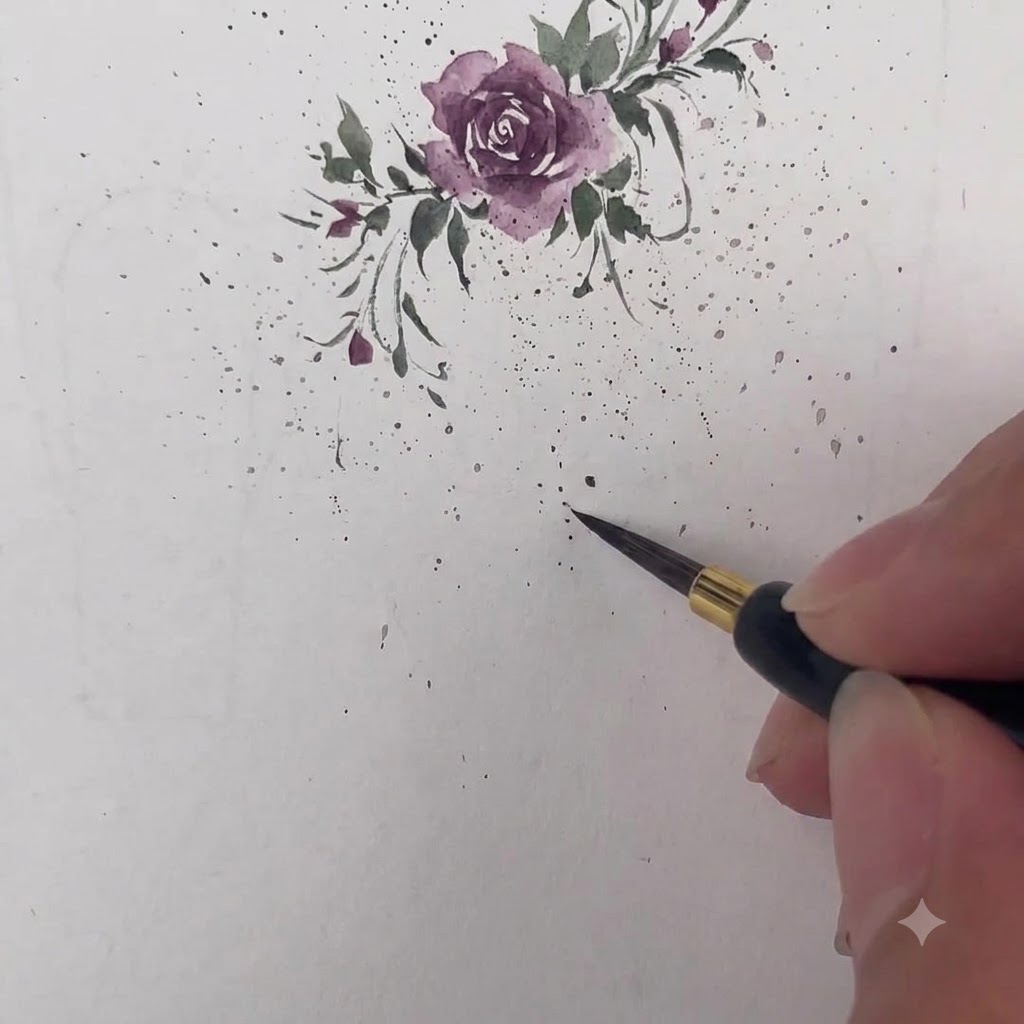
Using the dark purple mixture, carefully paint the flower center on the paper surface with a distinct figure-nine shape. This iconic shape creates the realistic folded appearance of the roses core.
Tip: Maintain a light, steady hand to keep the lines crisp and fluid as you form the loop. - 3Paint the first petal
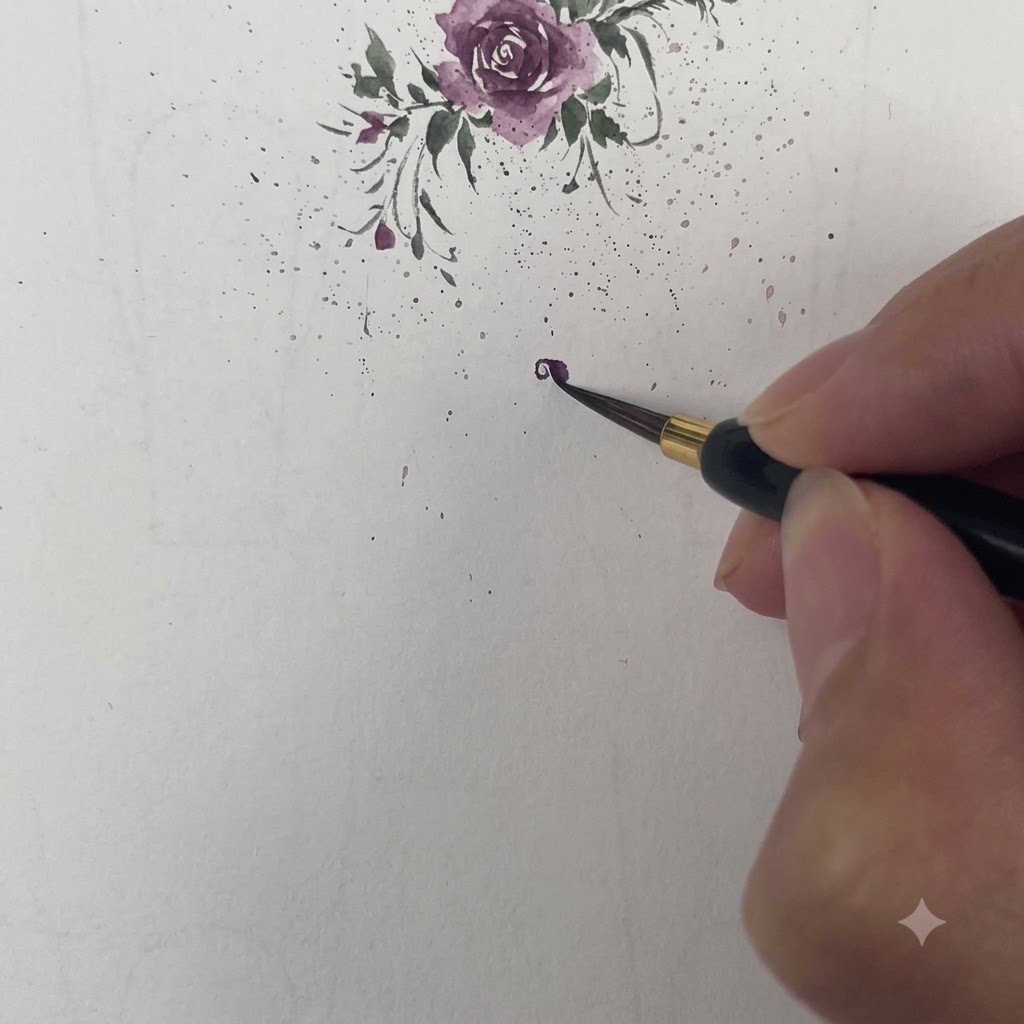
Paint the first petal on the left side, carefully wrapping it around the opening of the previously painted purple flower center.
Tip: Ensure the paint is well-controlled to achieve a sharp, clean petal edge. - 4Paint the second petal
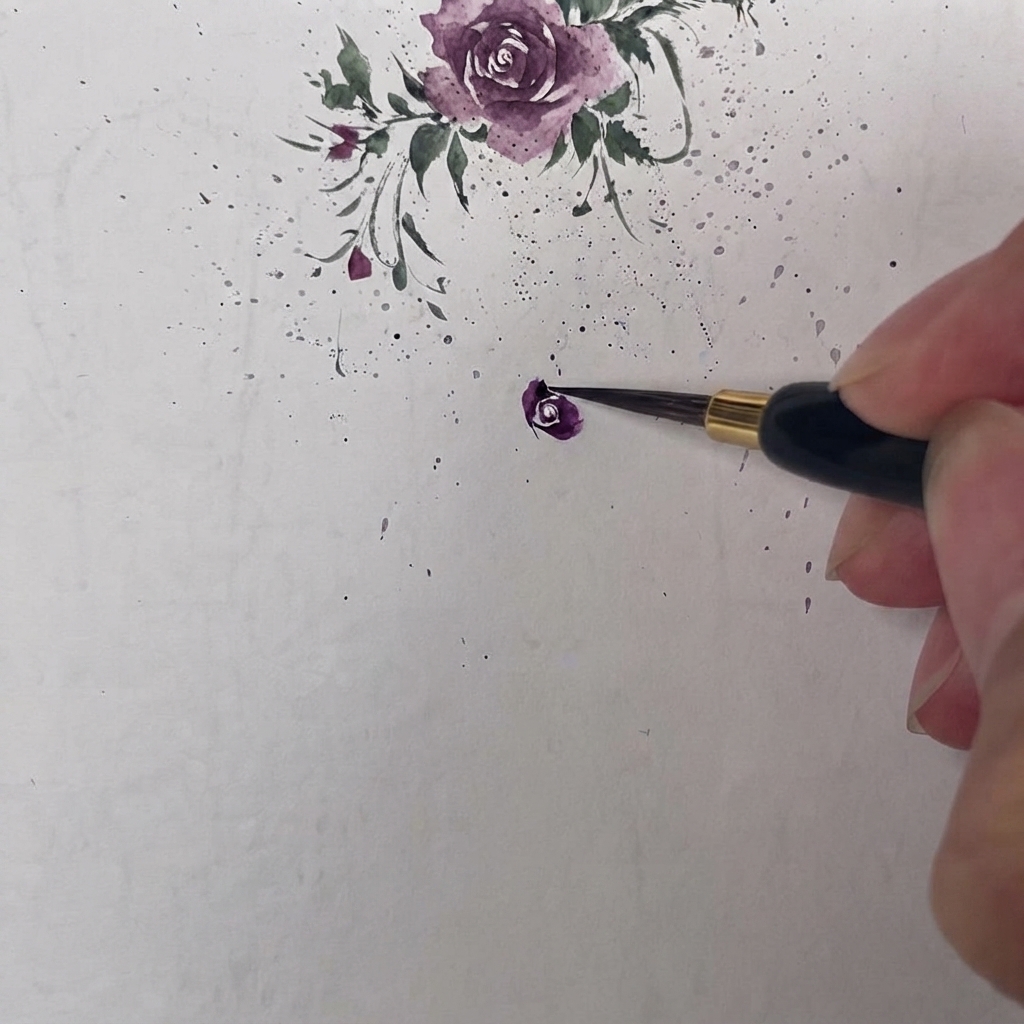
Paint the second petal directly above the first, maintaining a clear wrapping relationship while keeping their bottom two sharp points separated.
Tip: Pay close attention to the spacing at the bottom points to preserve structural definition. - 5Complete the first circle of petals
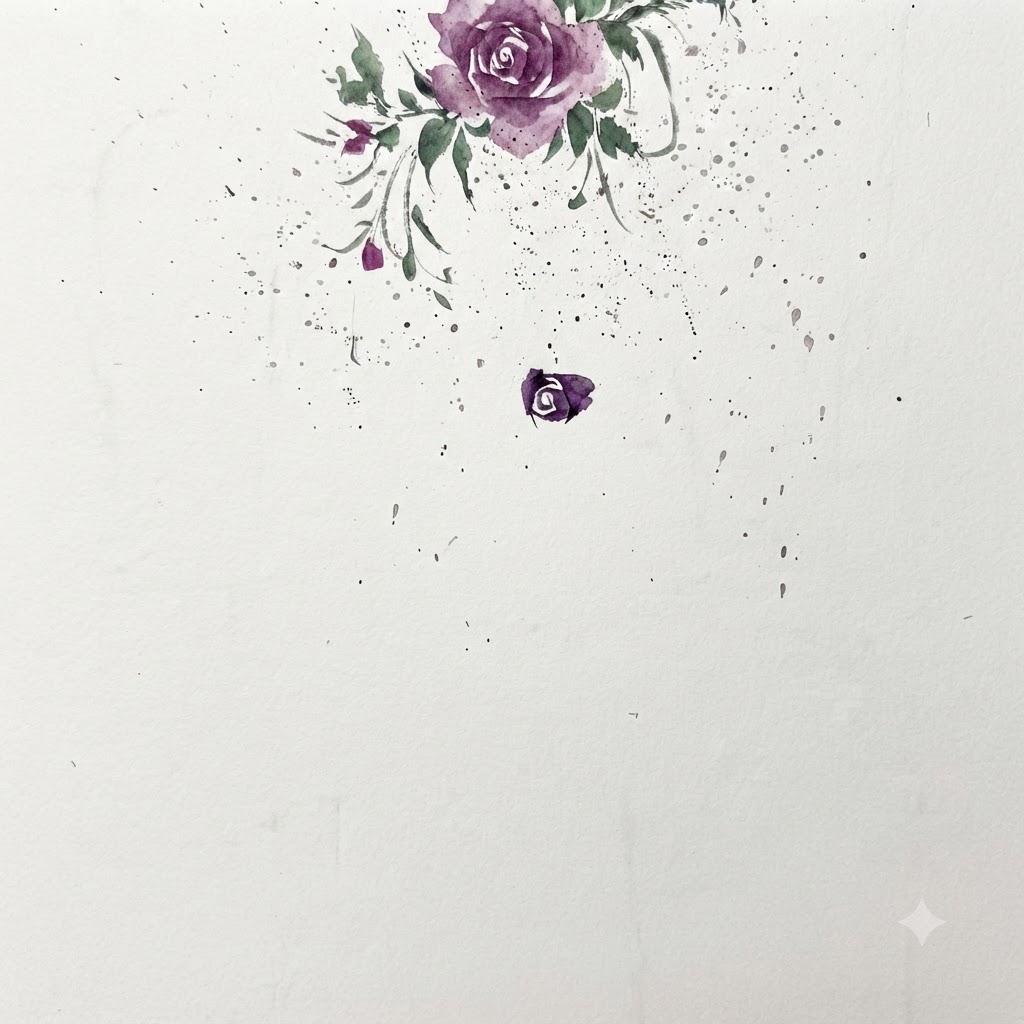
Leave space for the third petal and enclose the openings of the first two petals to complete the initial circle of the flower.
Tip: Keep the proportions balanced to form a solid foundation for the subsequent layers. - 6Prepare lighter purple for second petal layer
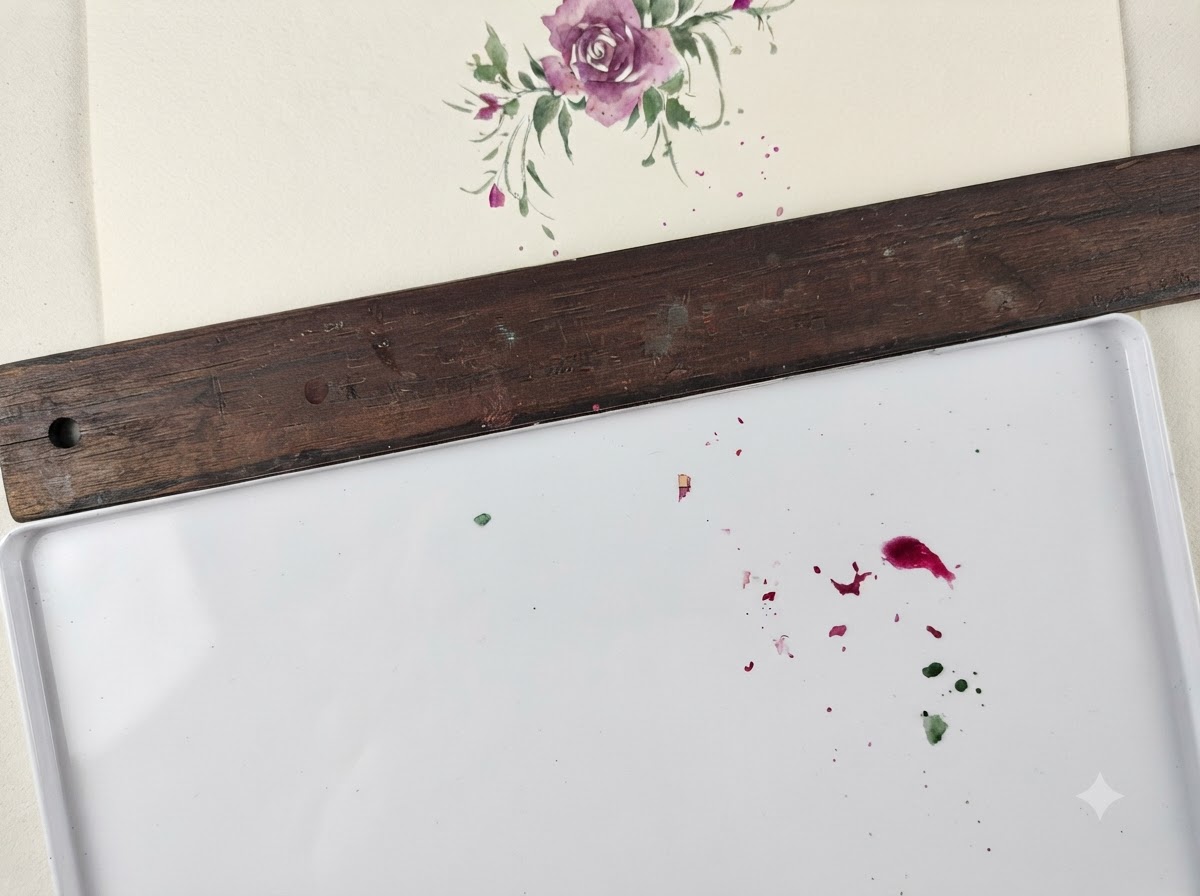
Take a slightly lighter purple color from your palette to prepare for painting the second circle of petals. This lighter tone adds depth, dimension, and contrast against the darker flower center.
Tip: Test your lighter shade on a scrap piece of paper first to ensure the value contrast is clearly visible. - 7Paint the second circle of petals
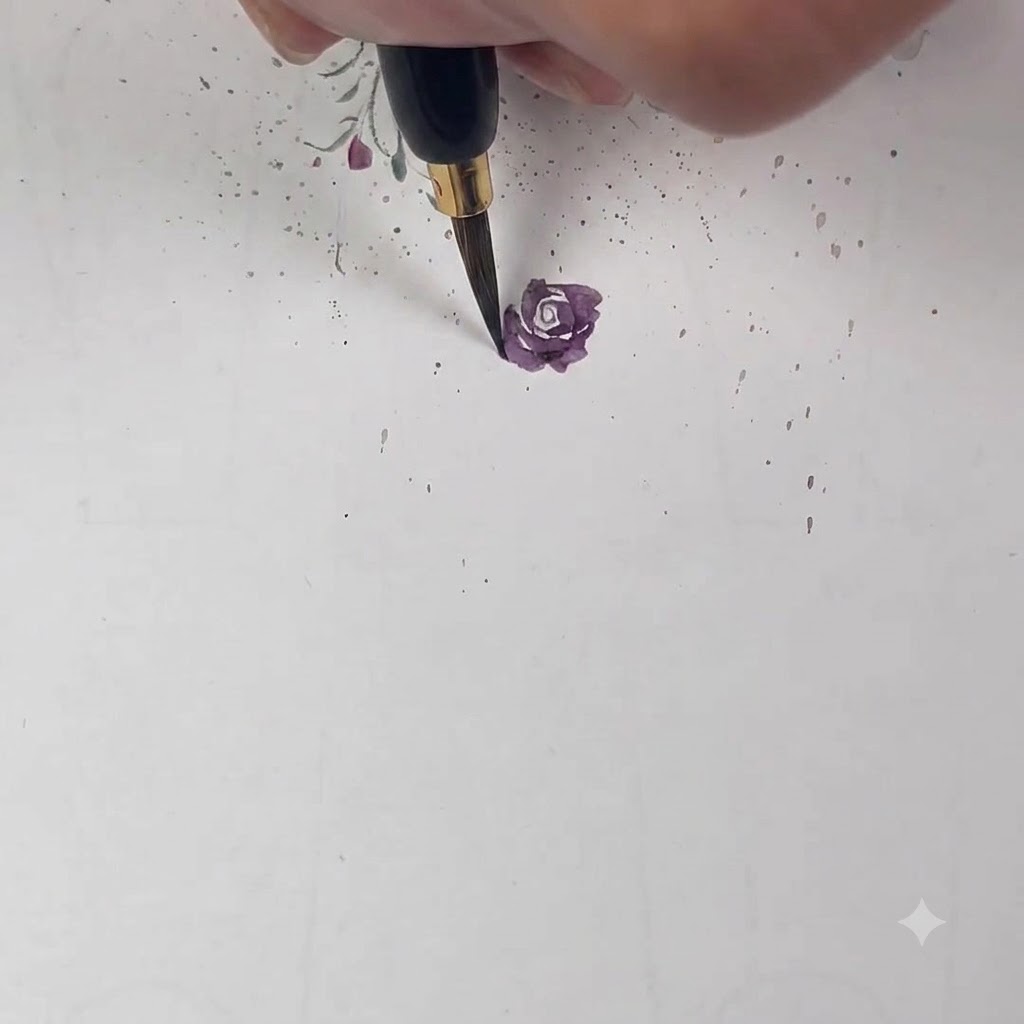
Take a slightly lighter purple color to paint the second circle of petals, positioning the first petal so it presses down on half of the third petal from the previous layer.
Tip: Vary the color saturation slightly to add depth and dimension between the petal layers. - 8Outline petal borders
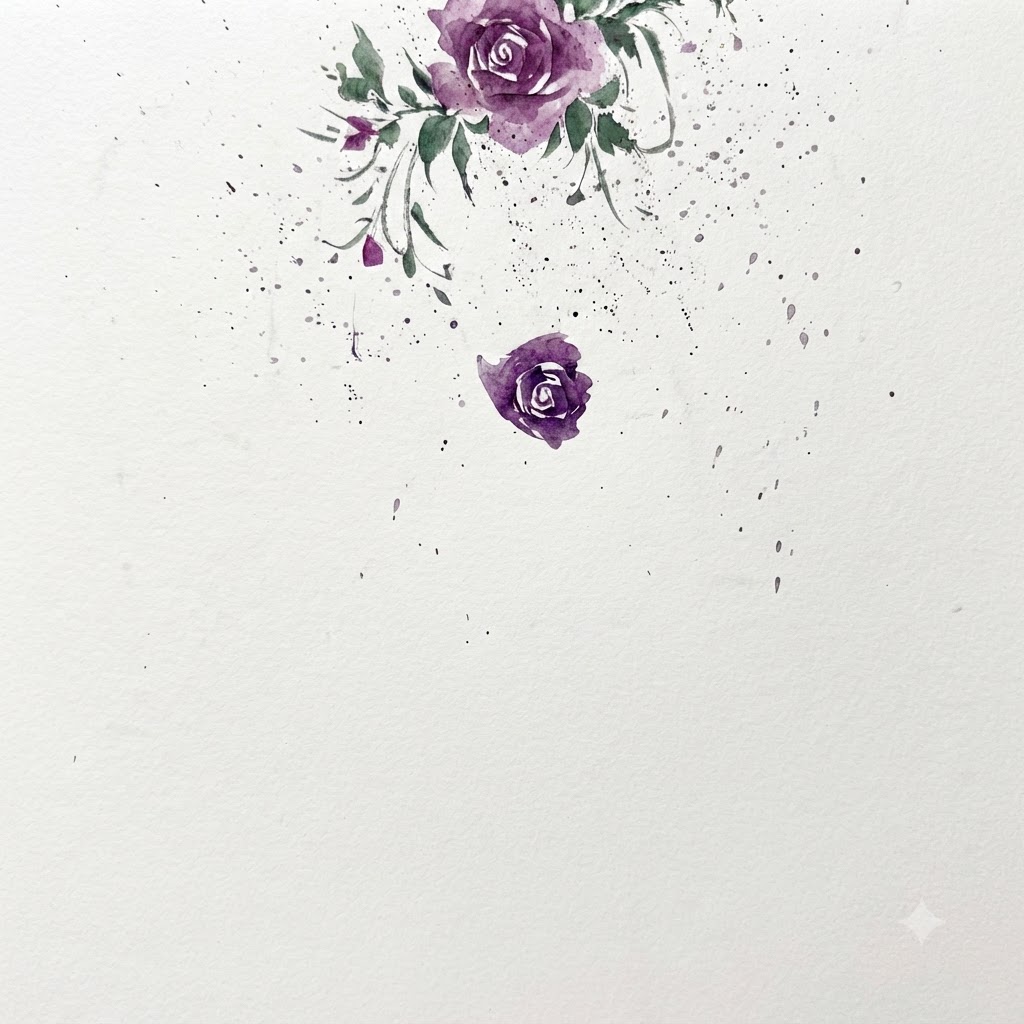
If any petals appear stuck together, wait for them to dry slightly, then use the brush to cleanly outline their borders.
Tip: Always let the wash dry before outlining to prevent unwanted bleeding between layers. - 9Take an even lighter purple color
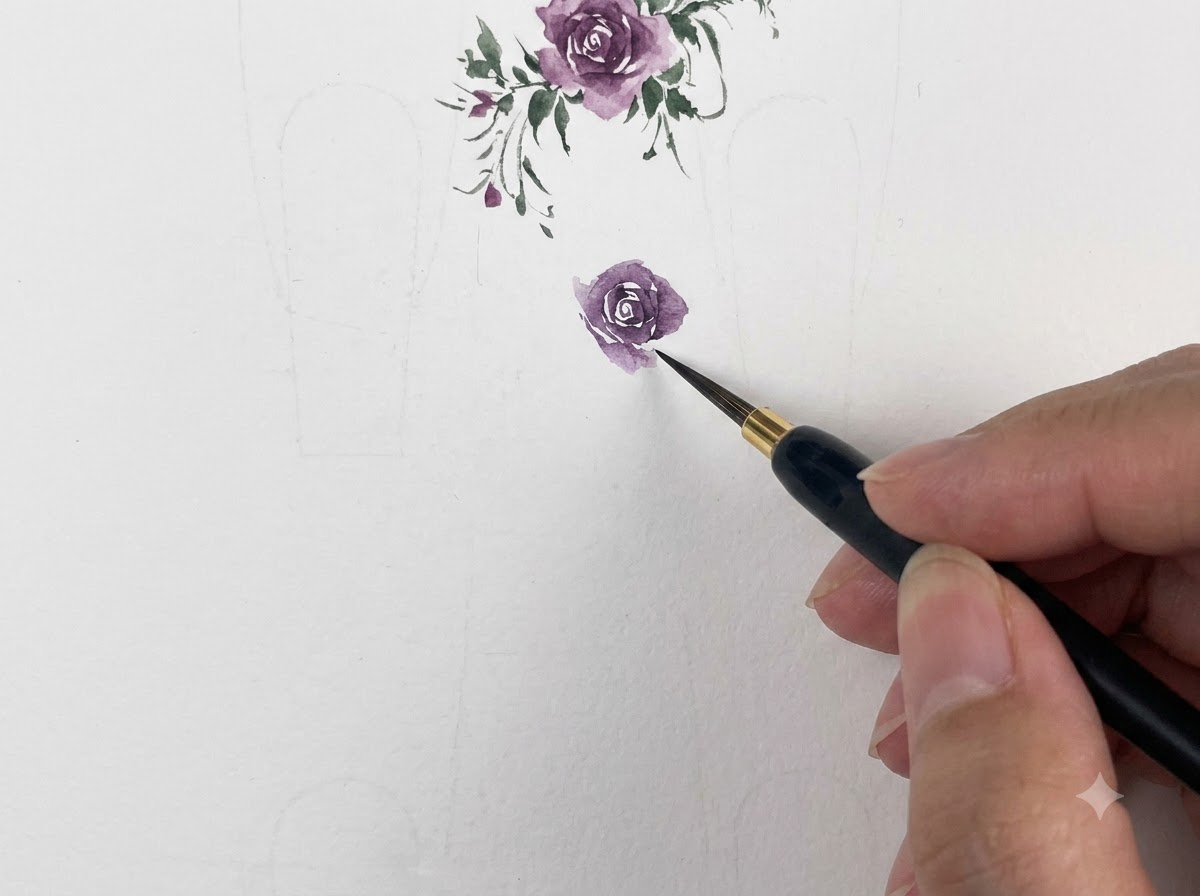
Dip your fine detailing brush into an even lighter shade of purple from your palette. This lighter value will be used to paint the third and outermost circle of petals, building up the dimensional, blooming effect of the watercolor rose.
Tip: Make sure the previous layers are completely dry before applying lighter or overlapping washes to keep your watercolor edges clean and distinct. - 10Paint outward-blooming petals with irregular shapes
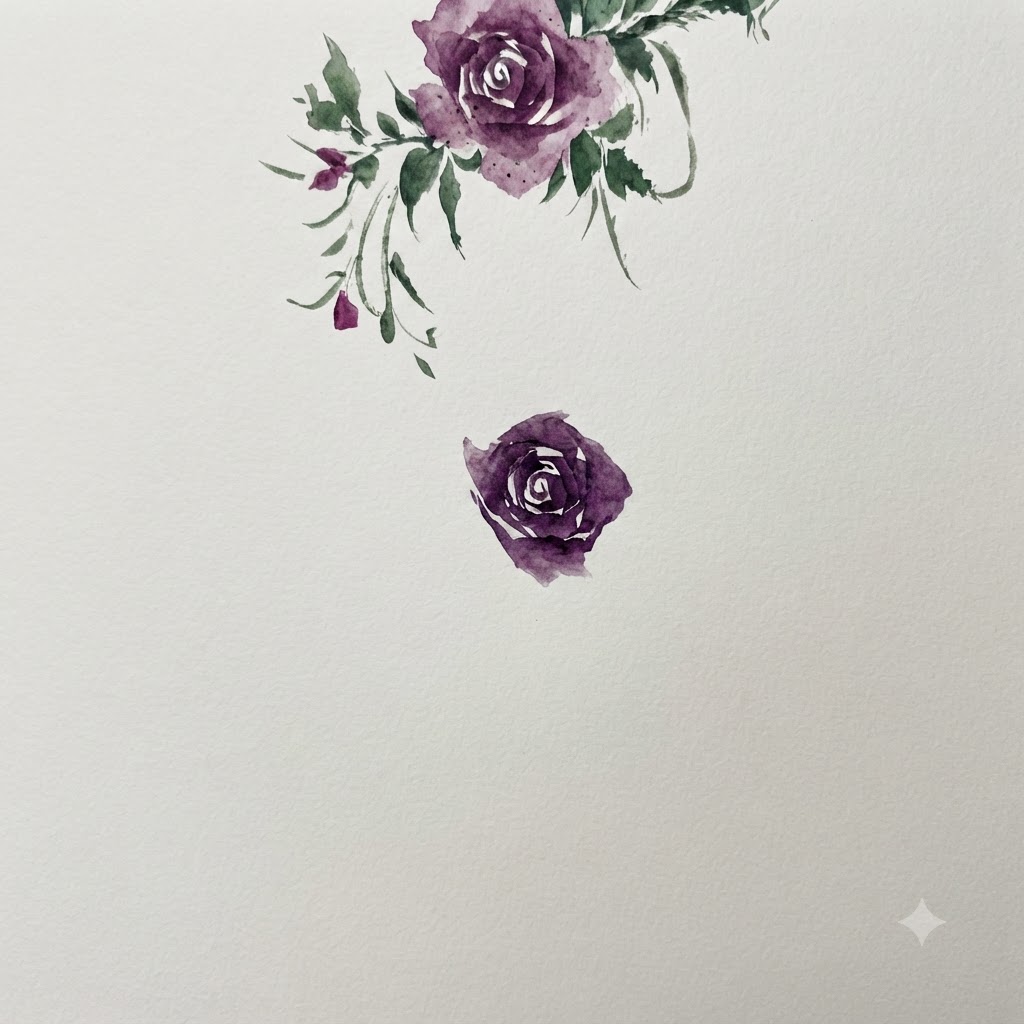
Take an even lighter color, grab this color, and paint the outward-blooming petals with a blooming effect where the brush tip points outward, dabbing out irregular shapes to give us a blooming petal layer.
Tip: Keep your brush tip pointing outward and dab lightly to create natural, irregular petal edges. - 11Mix desaturated green for leaves
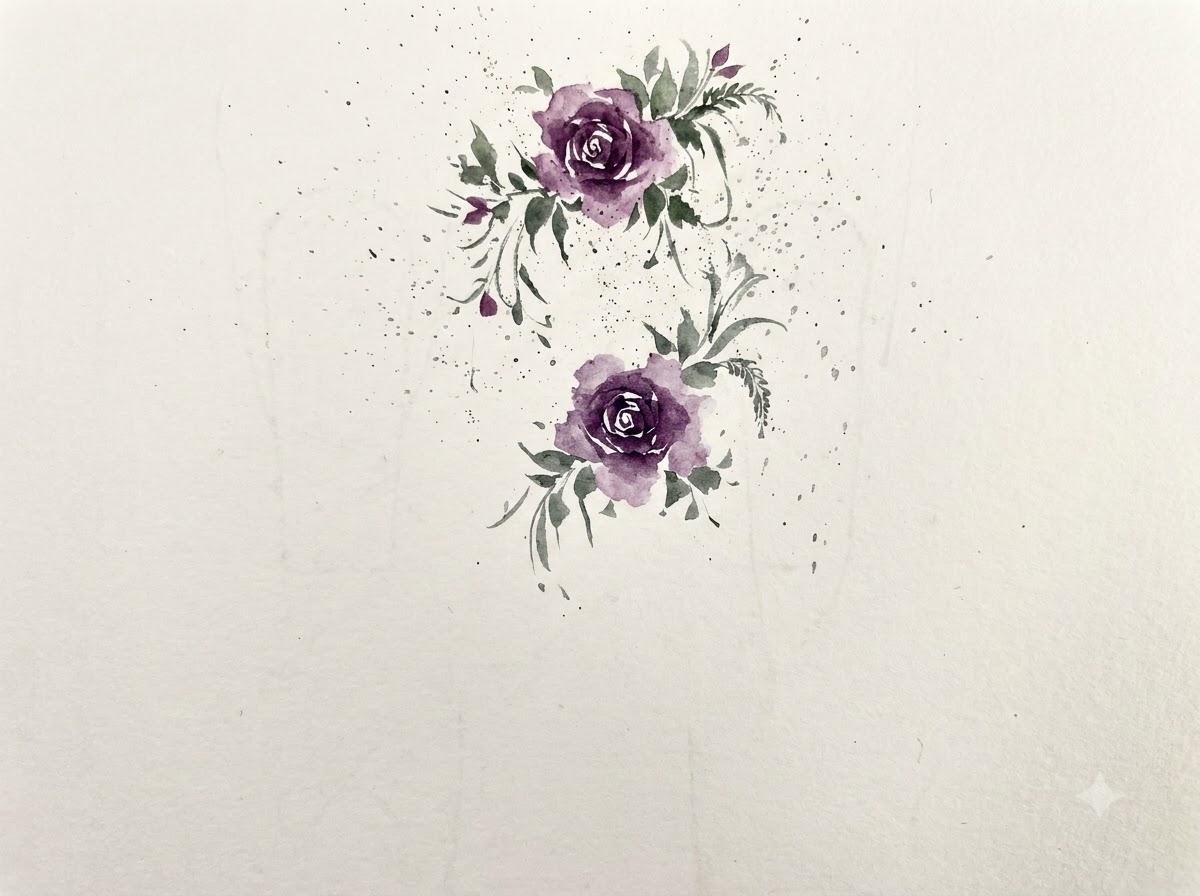
Take a blue-green watercolor pigment and mix a small touch of purple directly into it on your palette. This neutralizes and lowers the saturation of the green, creating an organic, muted foliage tone that complements the purple roses.
Tip: Muted greens look much more natural and sophisticated in floral watercolor compositions than bright, saturated greens. - 12Paint open figure-eight leaves
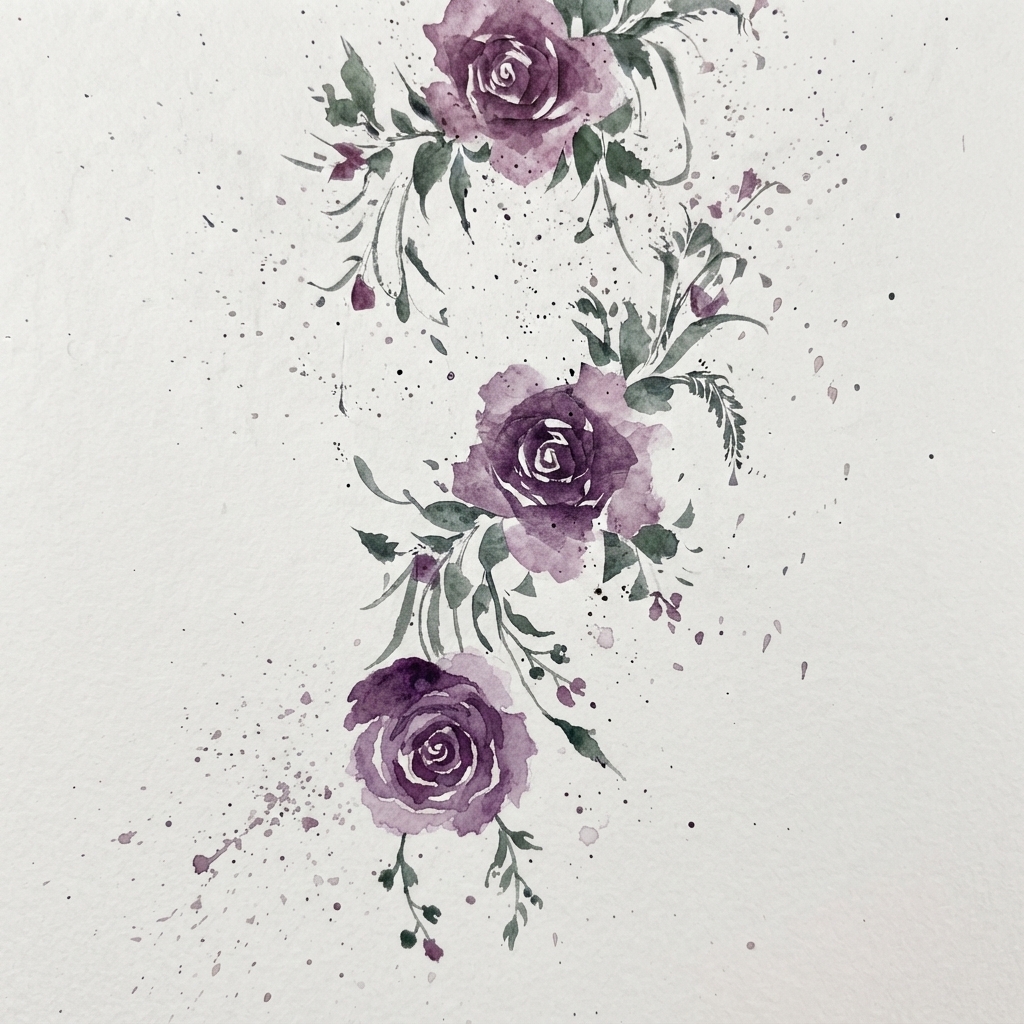
Using your desaturated green mixture, paint open figure-eight leaf shapes along the outer edges of the blooming rose petals. These graceful foliage accents anchor the flower and frame the composition.
Tip: Vary the pressure on your brush to create tapered leaf tips and gentle curves. - 13Add filler leaves and slender accents
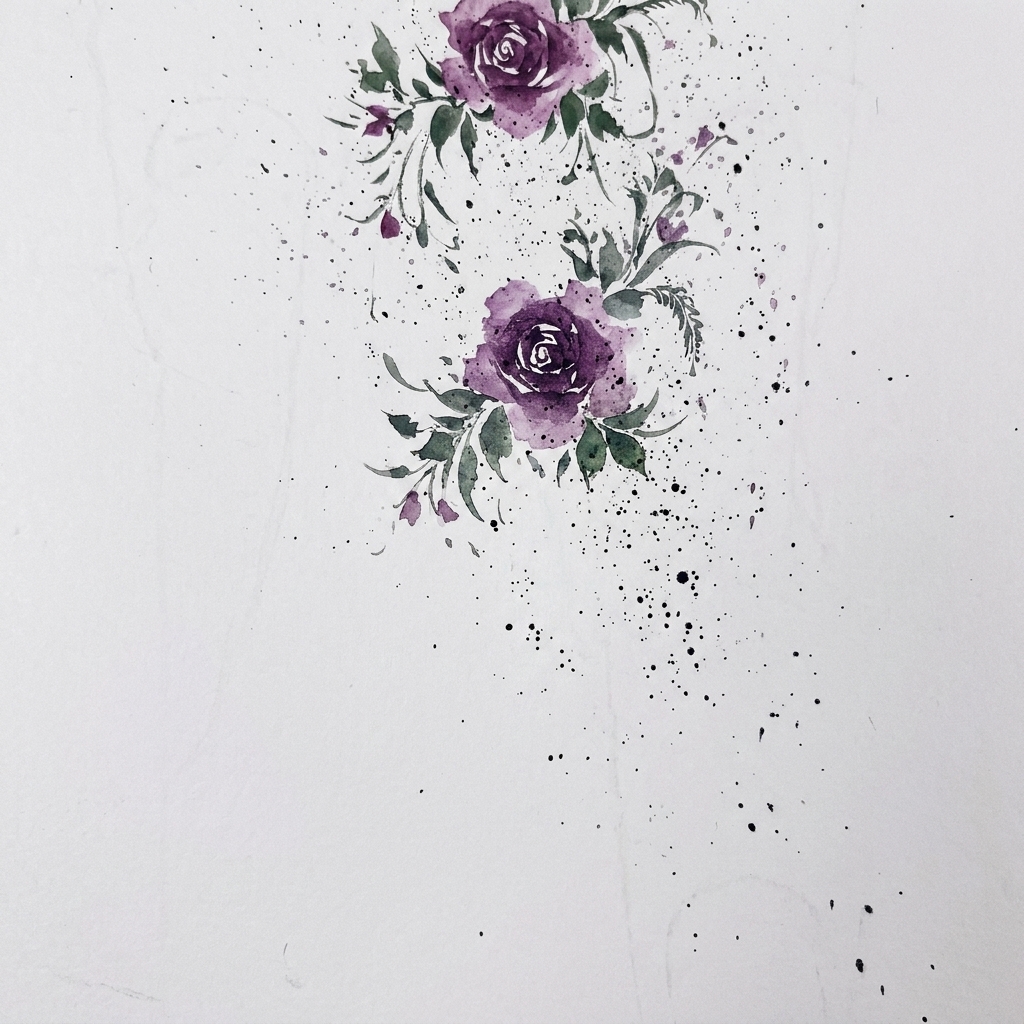
Scan the floral arrangement for wider gaps and fill them in with smaller, delicate leaves. Draw a long, slender leaf between existing leaves to enhance the flowing, elegant atmosphere of the botanical design.
Tip: Varying leaf sizes and introducing slender linear elements adds depth and professional balance to floral nail art.