Jade-Plate Lace Camellia Nail Art — Step-by-Step Tutorial
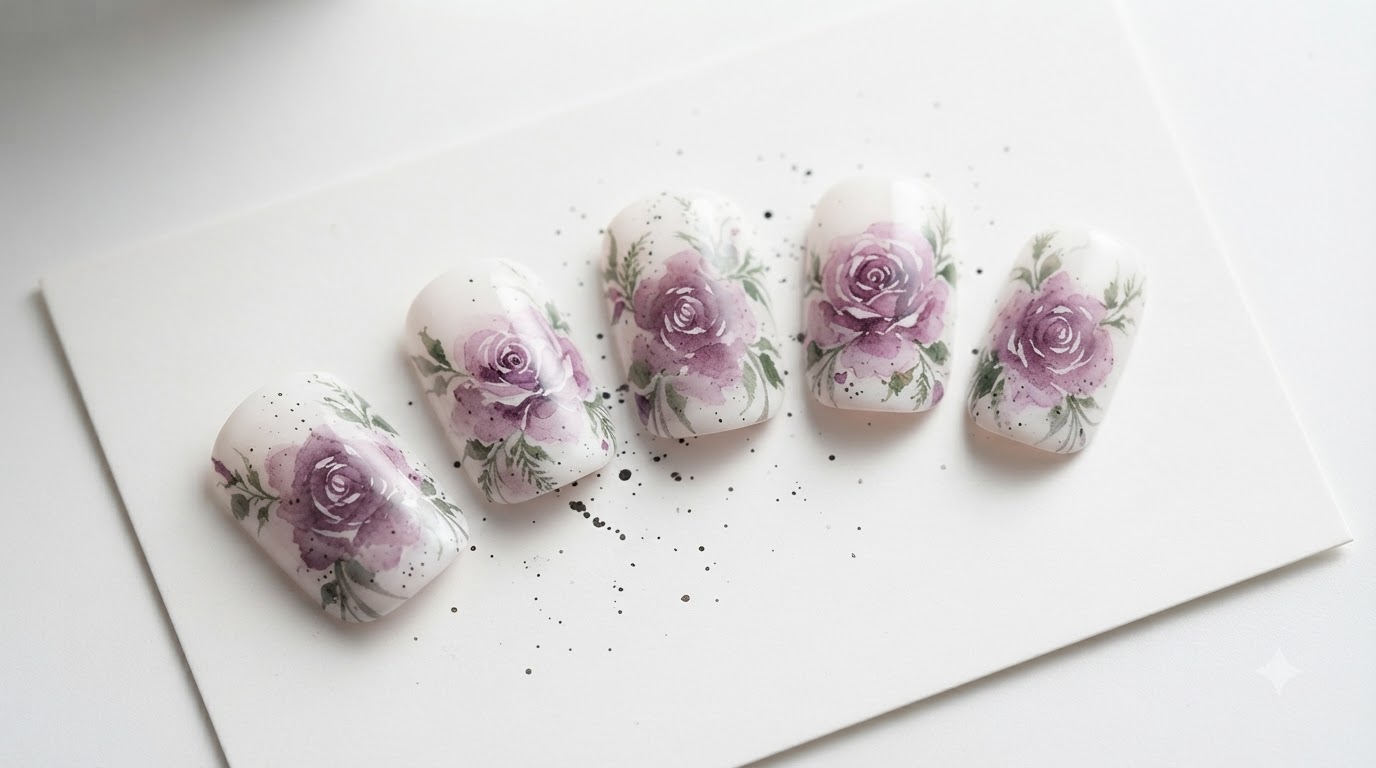
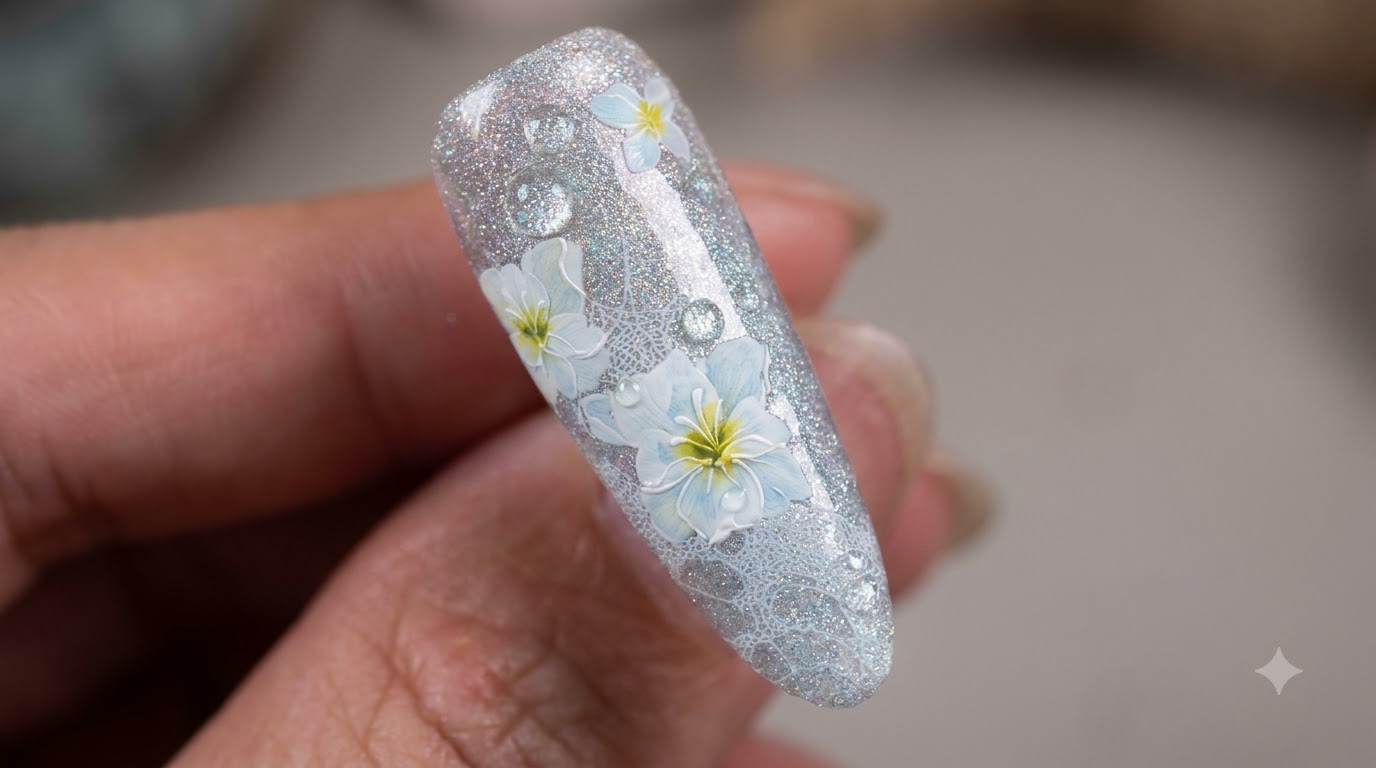
Create stunning jade-plate lace camellia nails with shimmering grey-blue fairy powder, intricate stamping, and layered 3D hand-painted floral details.
Discover the exquisite art of combining shimmering textures with delicate, hand-painted camellias and vintage lace patterns. This advanced design brings a touch of elegant botanical artistry to your fingertips, featuring dimensional multi-layered petals and subtle watercolor accents.
Steps
- 1Layer light blue shade
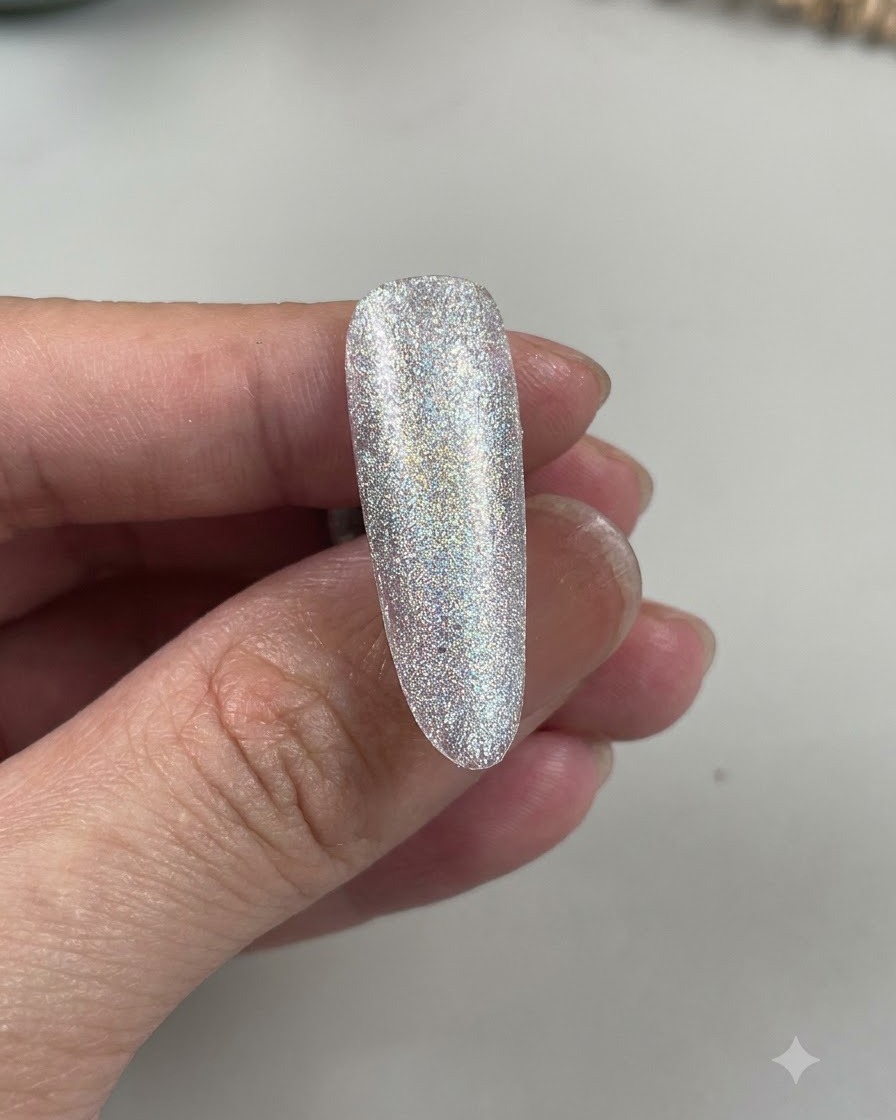
Apply a light blue shade over the pre-existing grey-blue fairy powder base to add depth and tone to the background. Ensure an even distribution across the entire nail surface before proceeding to leveling.
Tip: Keep the layer thin to prevent bulkiness before applying leveling gel. - 2Apply leveling gel
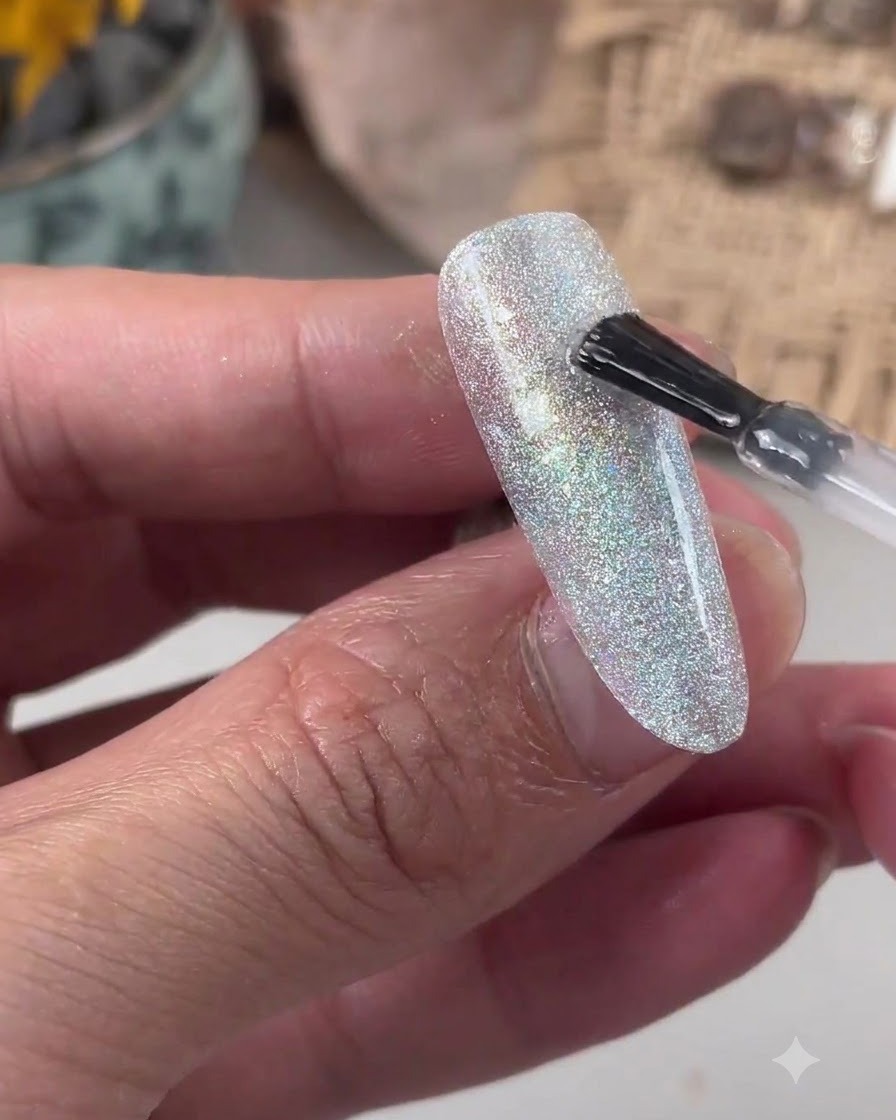
Using a brush, apply a clear leveling gel across the nail surface to smooth out any texture from the underlying layers and create an even foundation for stamping and nail art.
Tip: Float the gel gently across the surface to let it self-level naturally without leaving brush marks. - 3Wipe sticky layer
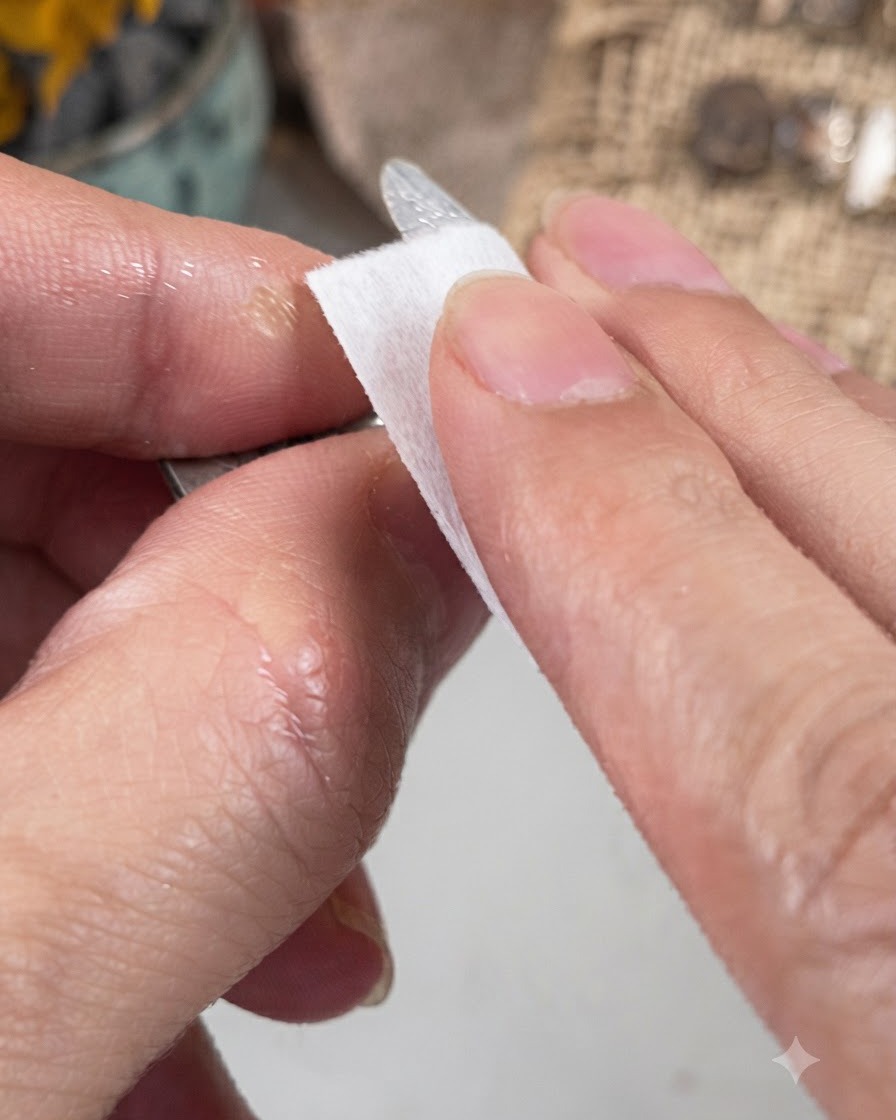
Take a lint-free wipe saturated with cleanser and firmly wipe the nail surface to remove the inhibition or sticky layer left behind after curing the gel.
Tip: Ensure the sticky layer is completely removed so the stamping foil or polish adheres properly. - 4Stamp the lace pattern
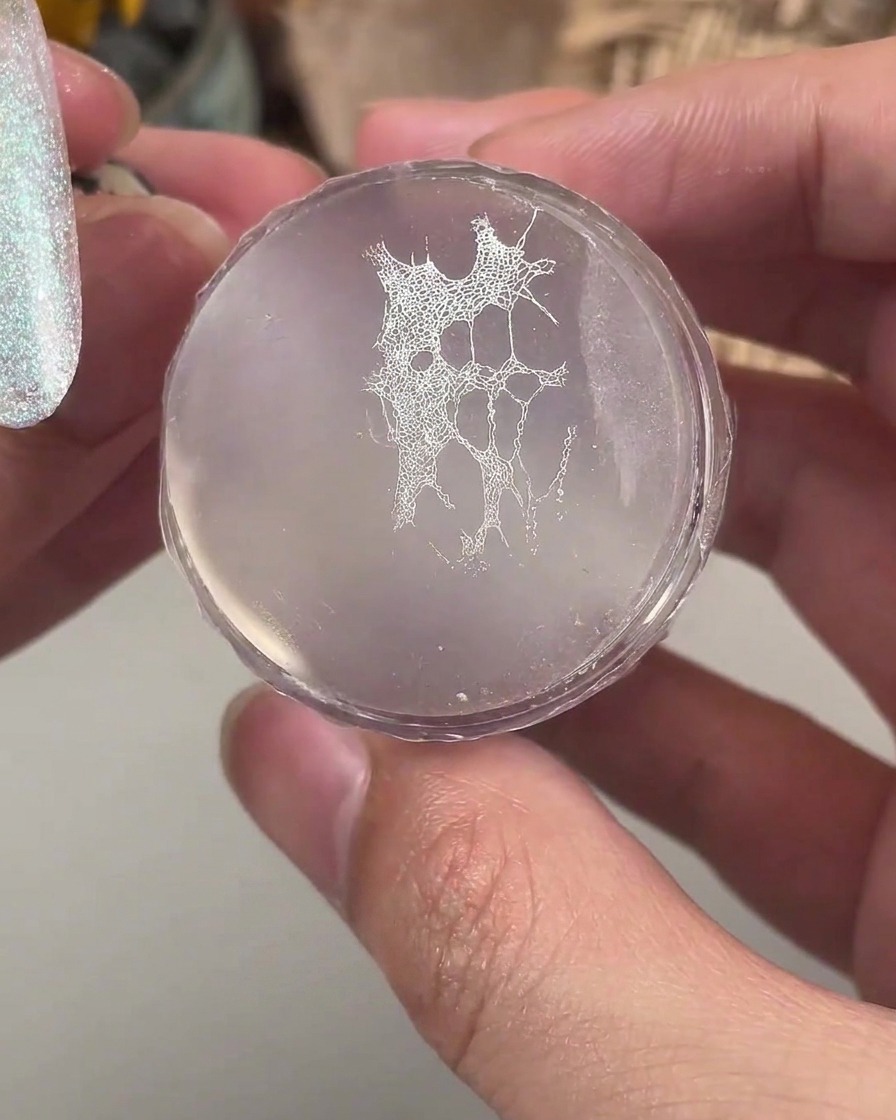
Take a silicone stamper with a transferred lace pattern and align it carefully over the prepped nail. Gently press the pattern onto the nail surface to transfer the delicate design evenly. Ensure the design is centered and adheres smoothly across the curved nail plate.
Tip: Make sure the stamping polish or gel has the right tackiness so the pattern lifts cleanly and transfers completely without smudging. - 5Mark flower positioning
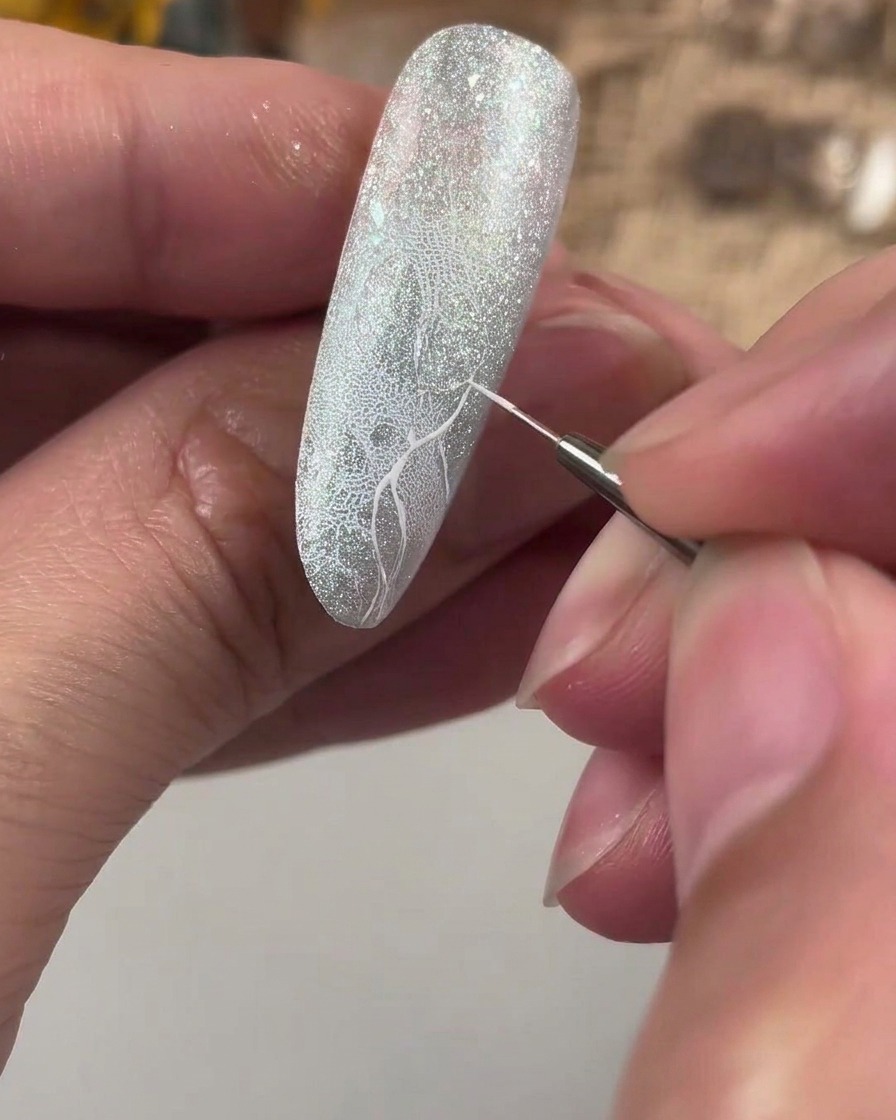
Using a fine detail brush and white pigment, carefully draw a guiding mark or cross on the nail surface to establish the exact center and positioning for the upcoming flower design.
Tip: Keep your hand steady and use very light pressure to make thin, manageable guide lines. - 6Press out the flower petals
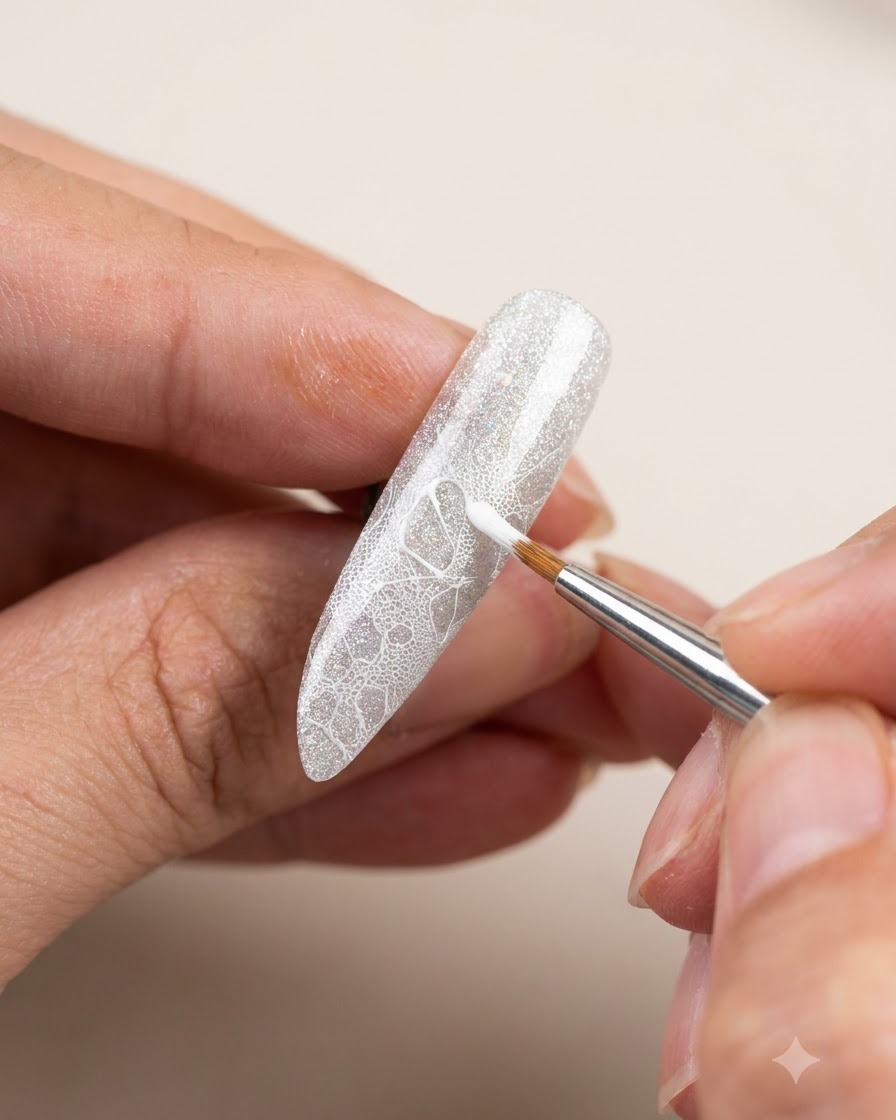
Using a fine liner brush loaded with white gel, carefully draw and press out the petals of the flower following your positioning guides. Take a bit more gel on the brush to make the petals appear fuller and stand out distinctly from the underlying lace pattern.
Tip: Using slightly more gel when pressing out the petals adds dimension, making the flowers look more prominent and textured. - 7Apply matte top coat to the flowers
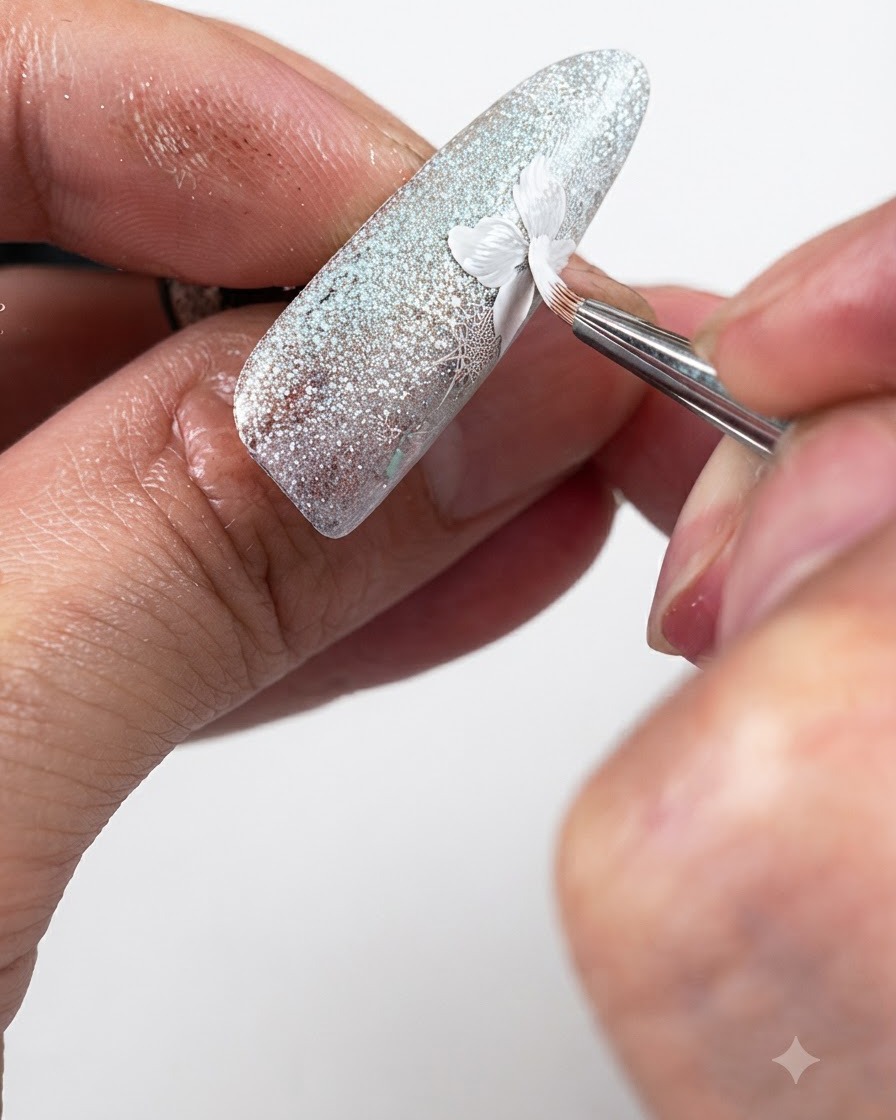
Carefully apply a matte top coat only over the newly painted flower areas using a fine brush. This creates a contrasting texture against the glossy background and prepares the surface for subsequent shading and detailing steps.
Tip: Be precise when applying the matte top coat to ensure it stays strictly on the flower petals without spilling onto the surrounding shiny areas. - 8Shade the flower petals
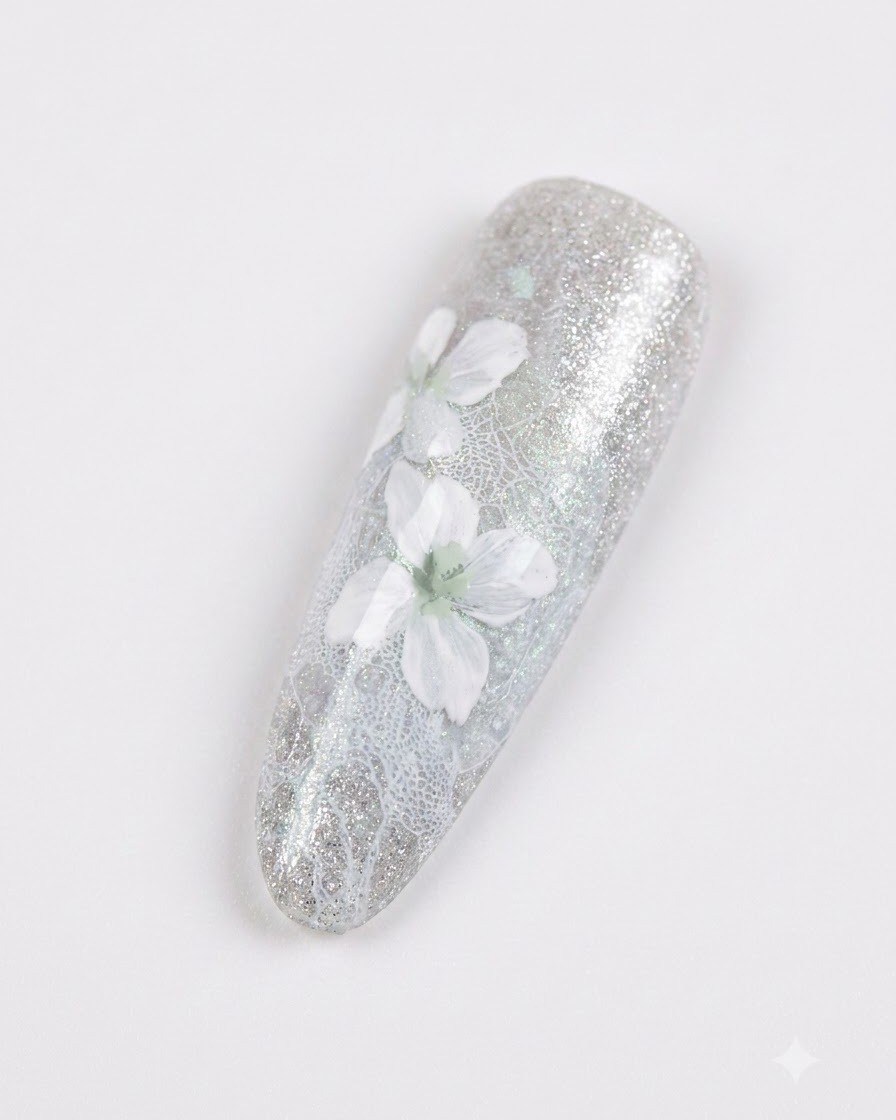
Apply a light grey shade to add subtle shading and depth to the petals, keeping the colors soft since the overall flower remains primarily white. This gentle gradient enhances the three-dimensional look of the blossom.
Tip: Keep the shading very soft and use diluted grey tones to maintain a delicate, elegant appearance on the white petals. - 9Seal the watercolor sections
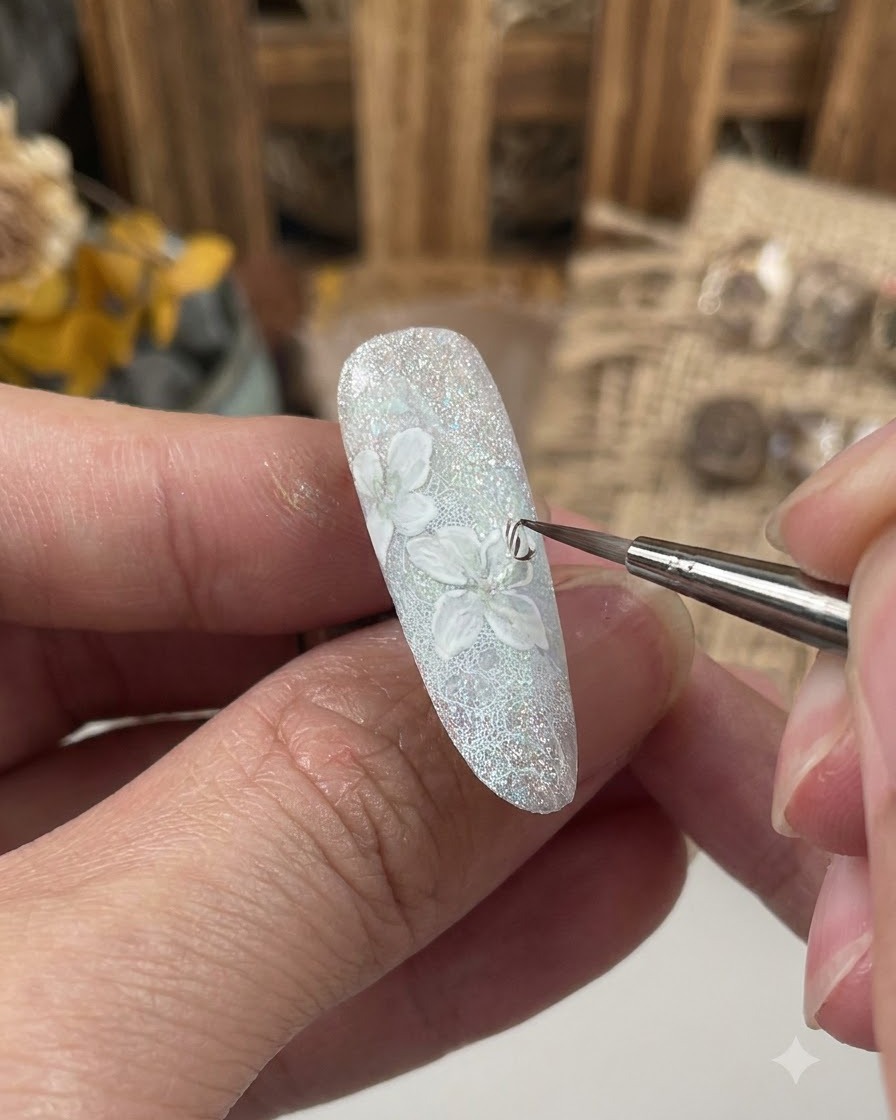
Apply a layer of clear gel to cover and seal the watercolor and shaded sections of the flowers, protecting the detailed work underneath. Once applied, cure under the lamp and wipe off the sticky inhibition layer.
Tip: Ensure the sealing gel is applied smoothly and evenly to encapsulate the design without adding excessive bulk to the nail. - 10Wipe the nail surface
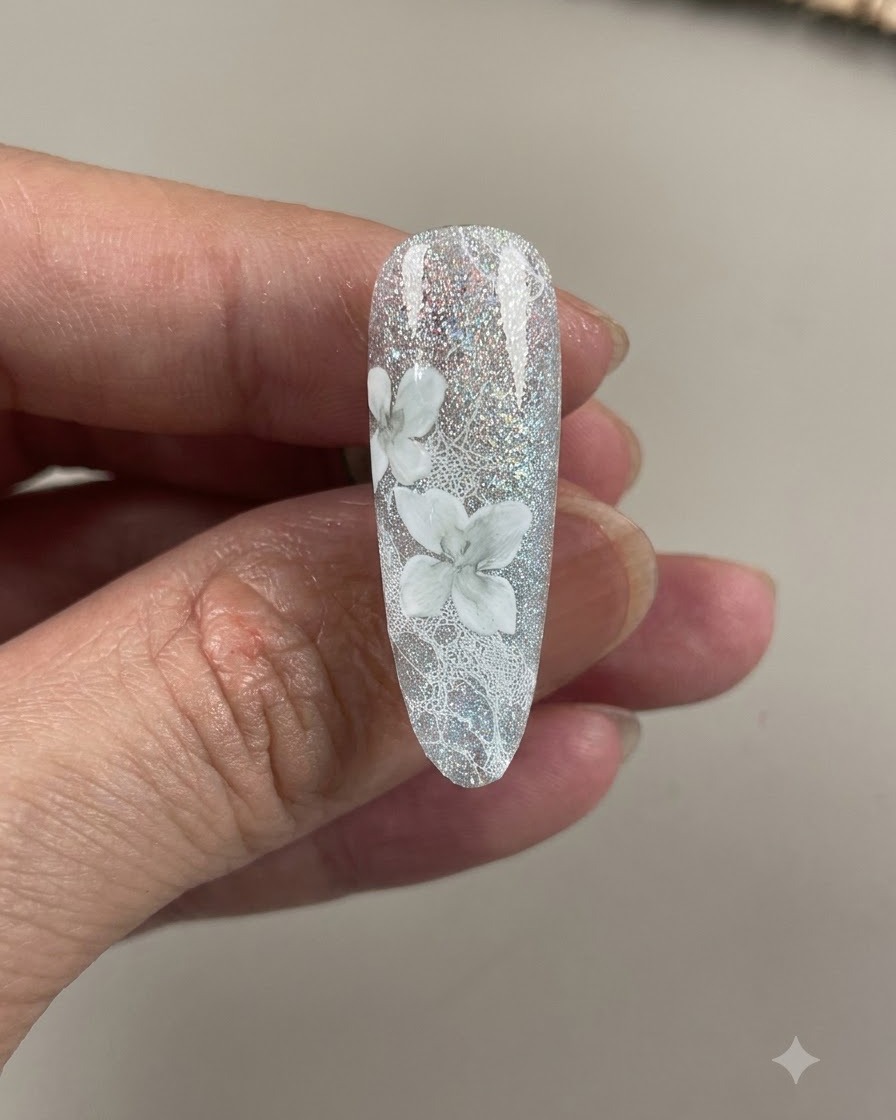
Using a lint-free wipe saturated with cleanser, thoroughly wipe the surface of the nail to remove any sticky residue left behind after curing the sealing gel. This leaves a clean, smooth base ready for the next layer of nail art details.
Tip: Always ensure the inhibition layer is completely removed before continuing with additional layers of gel art to prevent lifting. - 11Paint a second layer of petals
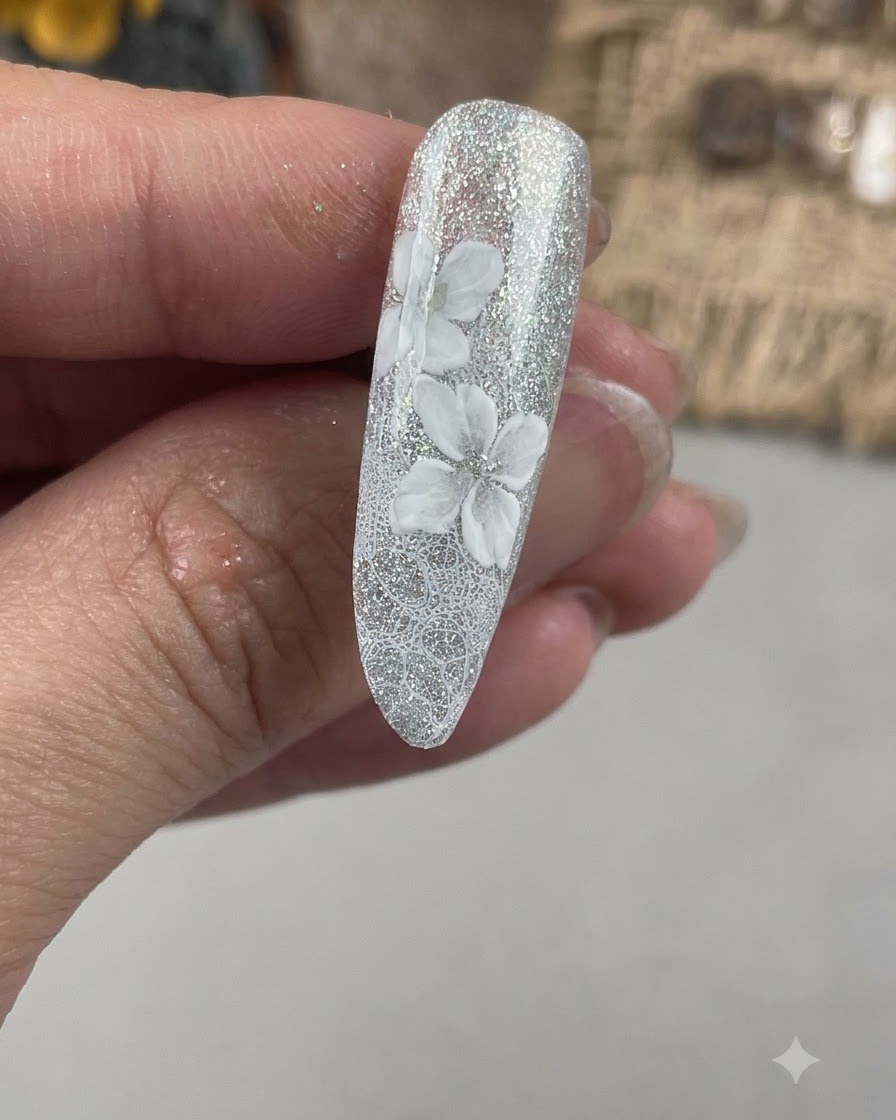
Create a second layer of petals, carefully offsetting them from the first layer to add depth and dimension to the floral design. Use fresh gel to build up the shapes so they stand out clearly.
Tip: Offsetting the petals ensures a more realistic and voluminous look for your camellia flowers. - 12Apply matte top coat
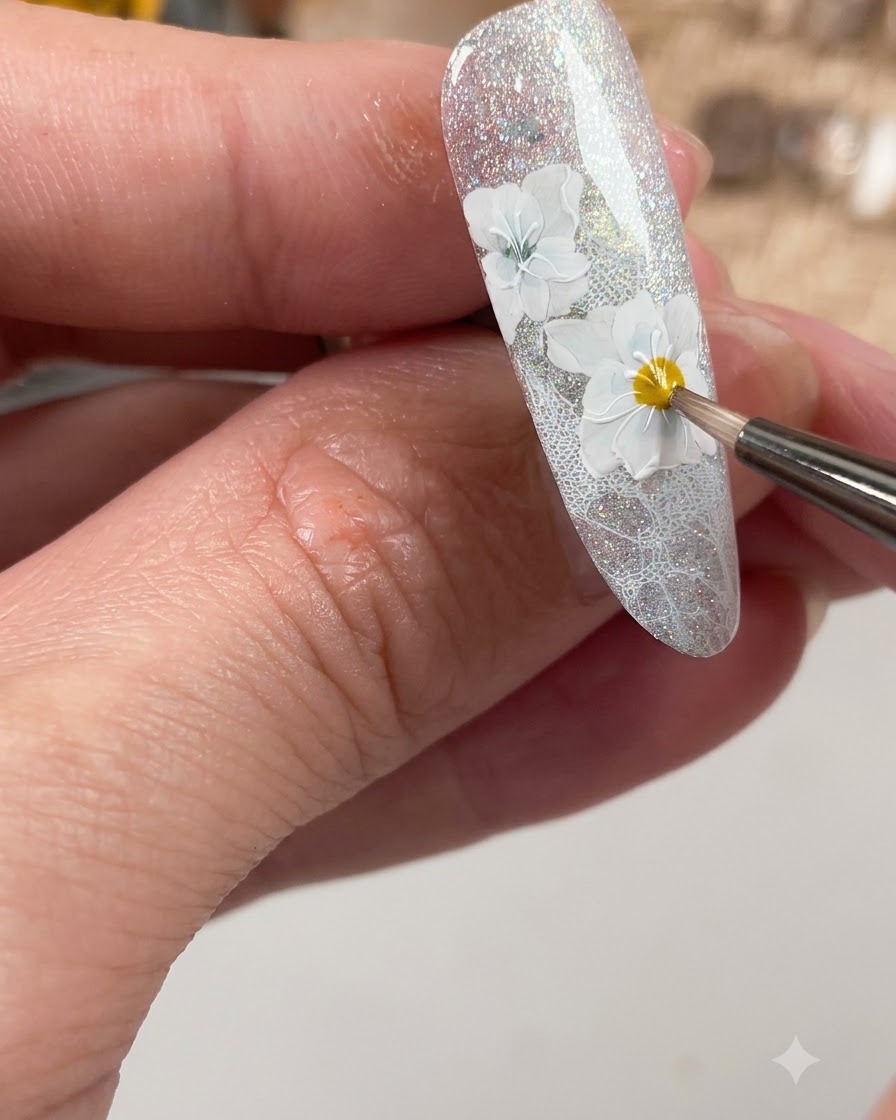
Apply a matte top coat over the flower areas to give them a soft, velvety texture that contrasts with the sparkling background.
Tip: Make sure to apply the matte top coat precisely over the flowers without covering the glossy or sparkly sections outside. - 13Add blue gel to the flower center
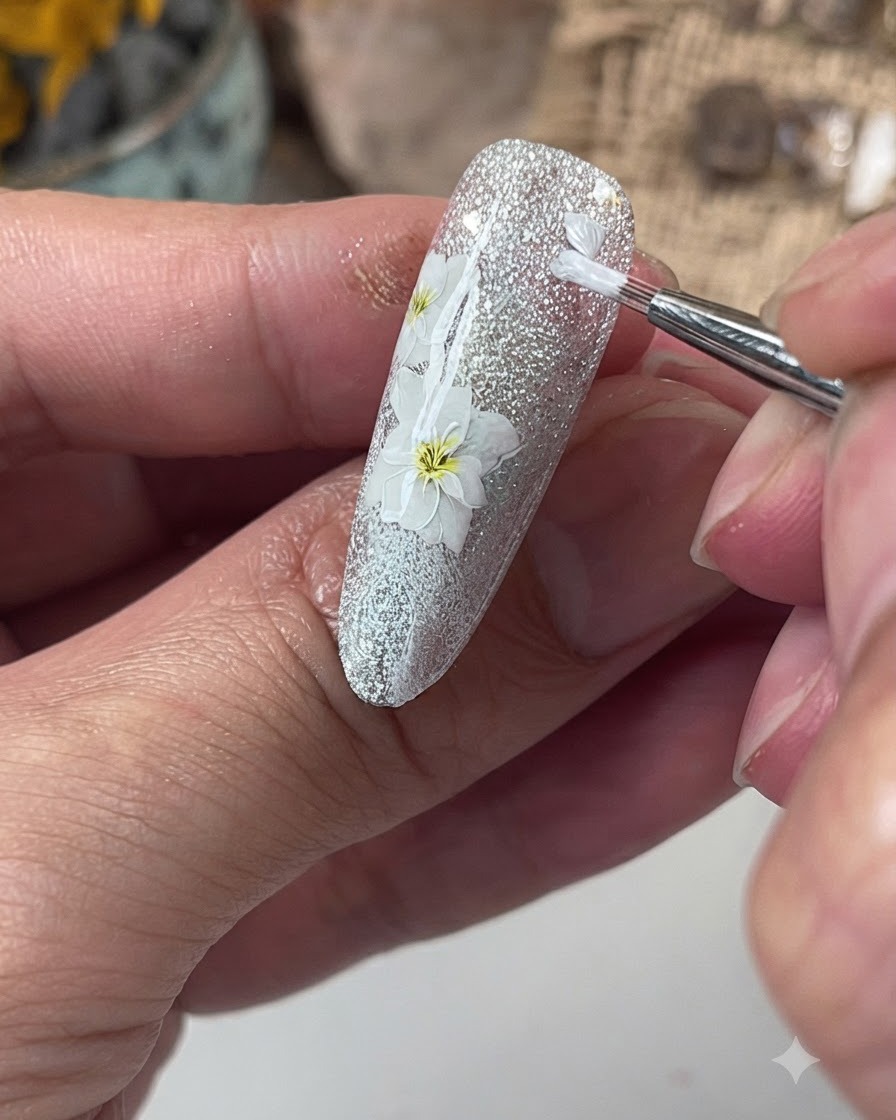
Dot blue gel directly into the center of the flowers, and gently blend the color outward onto the petals for a soft watercolor effect. Add intricate details to the petal edges.
Tip: Keep the blending soft and subtle to ensure the flowers maintain their bright white appearance overall. - 14Outline petal edges
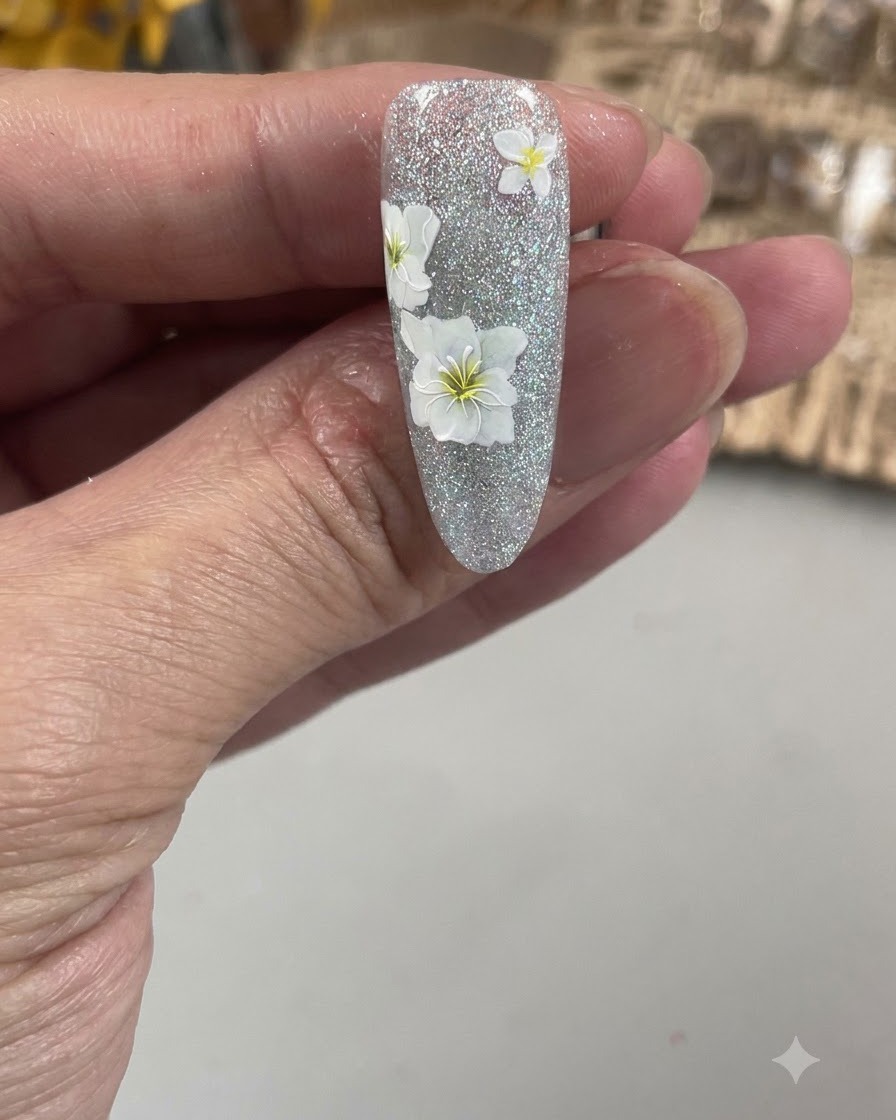
Using a fine detailing brush, carefully trace along the outer edges of the flowers to define their shapes and make them stand out clearly against the background.
Tip: Keep your hand steady and use only the very tip of the fine brush for clean, sharp outline strokes.