Translucent Iced Red Tea
Gold Cat Eye Gel Nail Art — New Year Tutorial
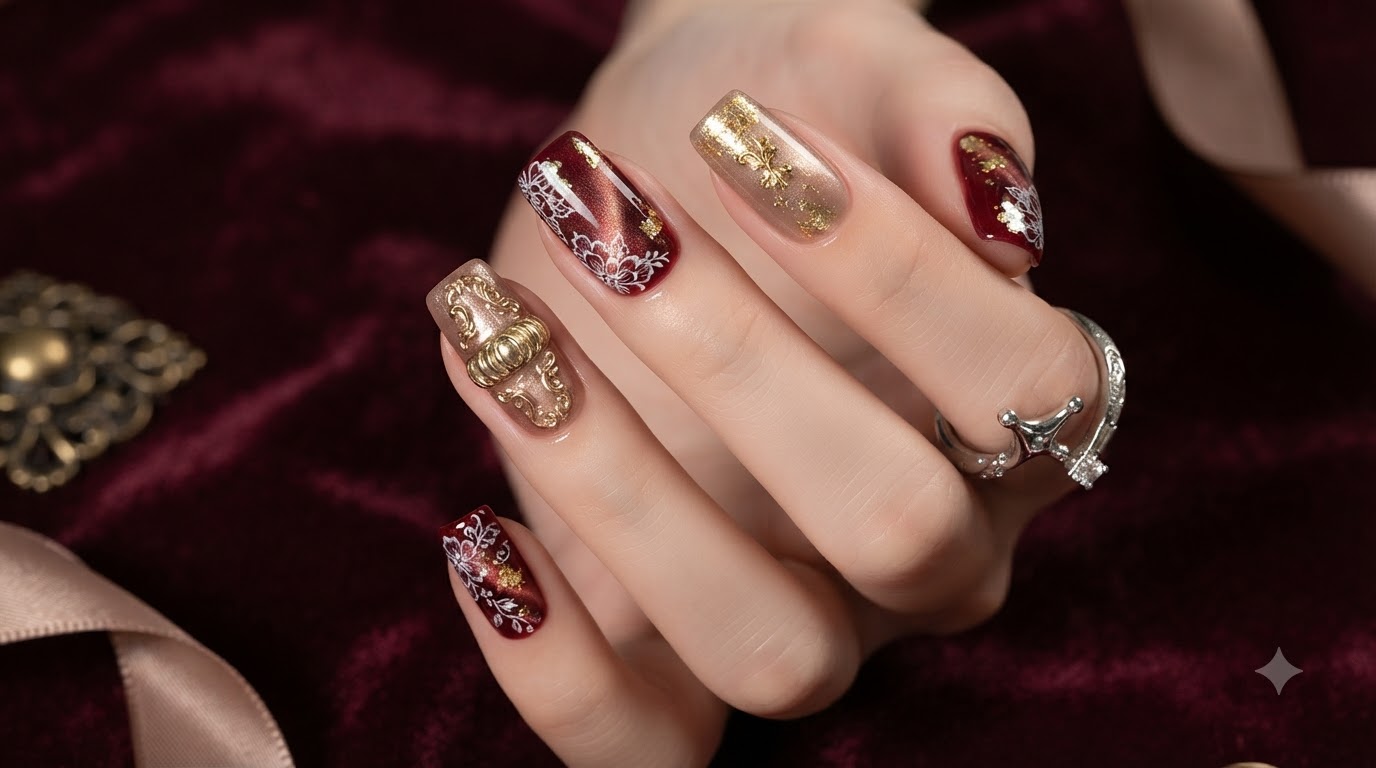
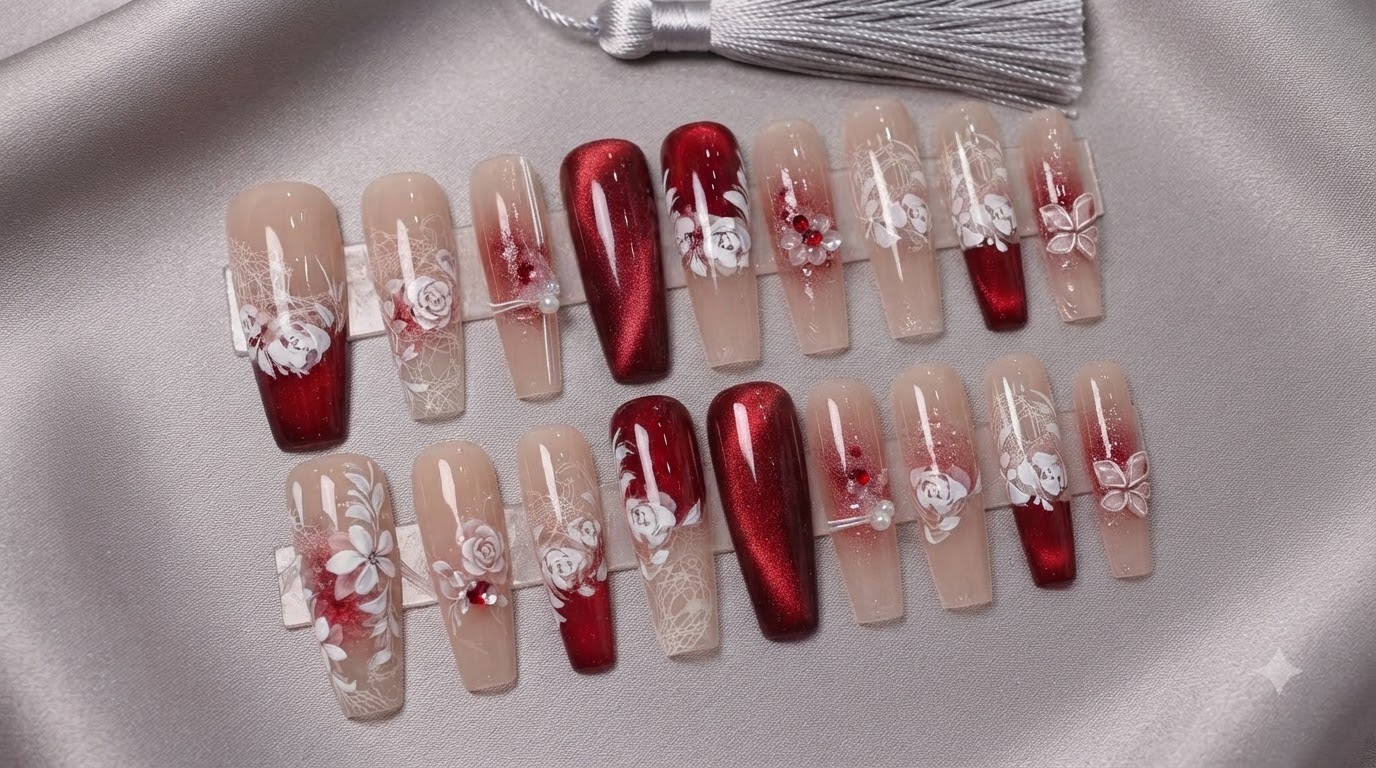
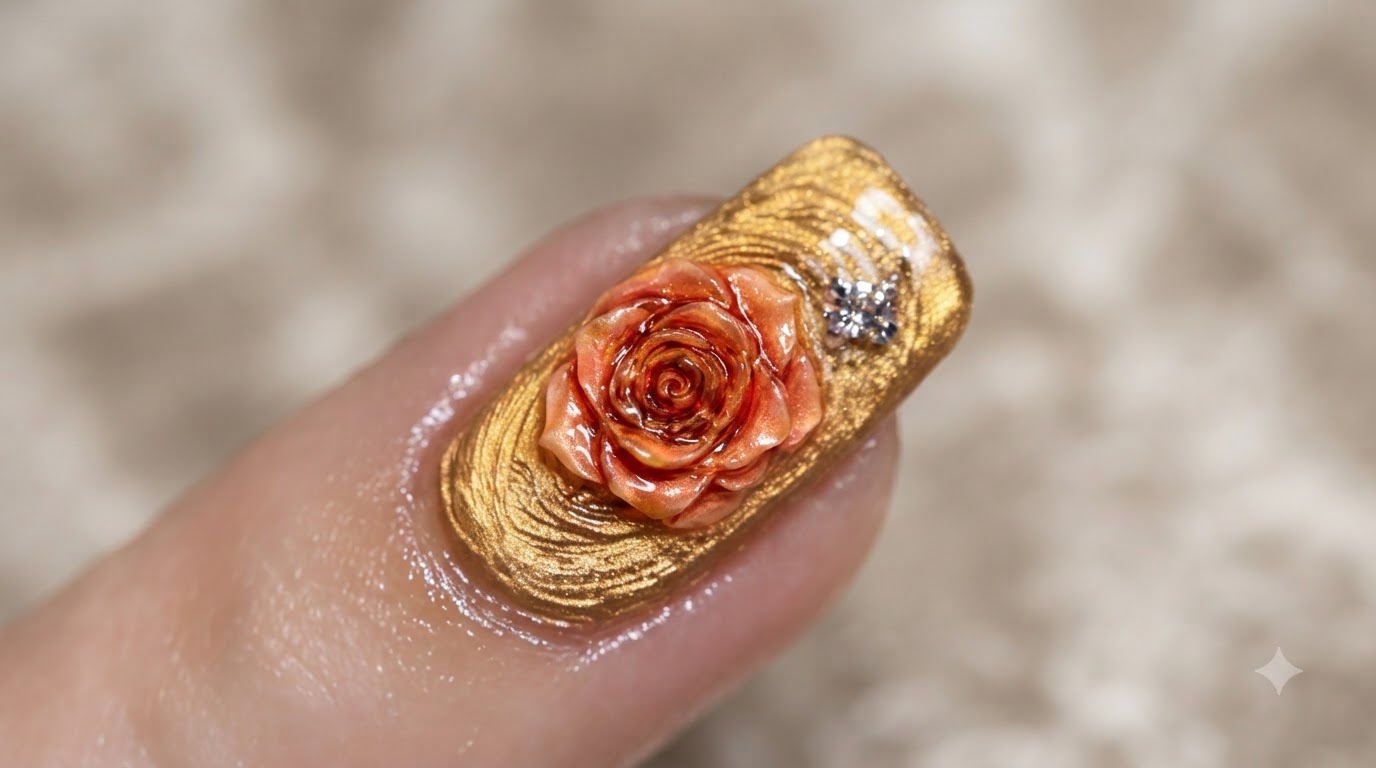
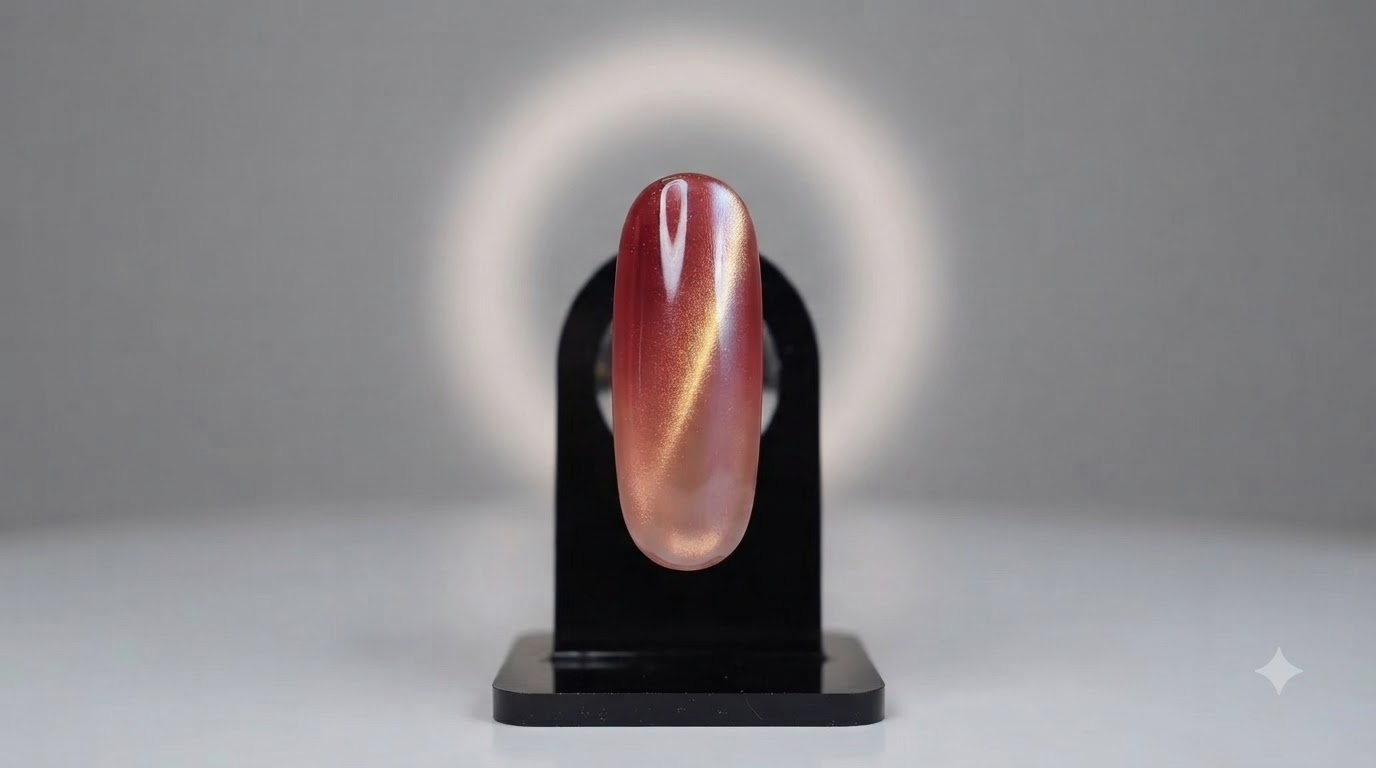
Master this festive translucent iced red tea and gold cat eye gel manicure featuring a seamless gradient and mirror chrome finish.
Festive season manicures call for elegance and depth, and this translucent iced red tea design delivers just that. By combining a shimmering golden cat eye base with a custom translucent red-brown gradient and a delicate chrome finish, this look captures both warmth and modern style.
Steps
- 1Apply golden cat eye gel
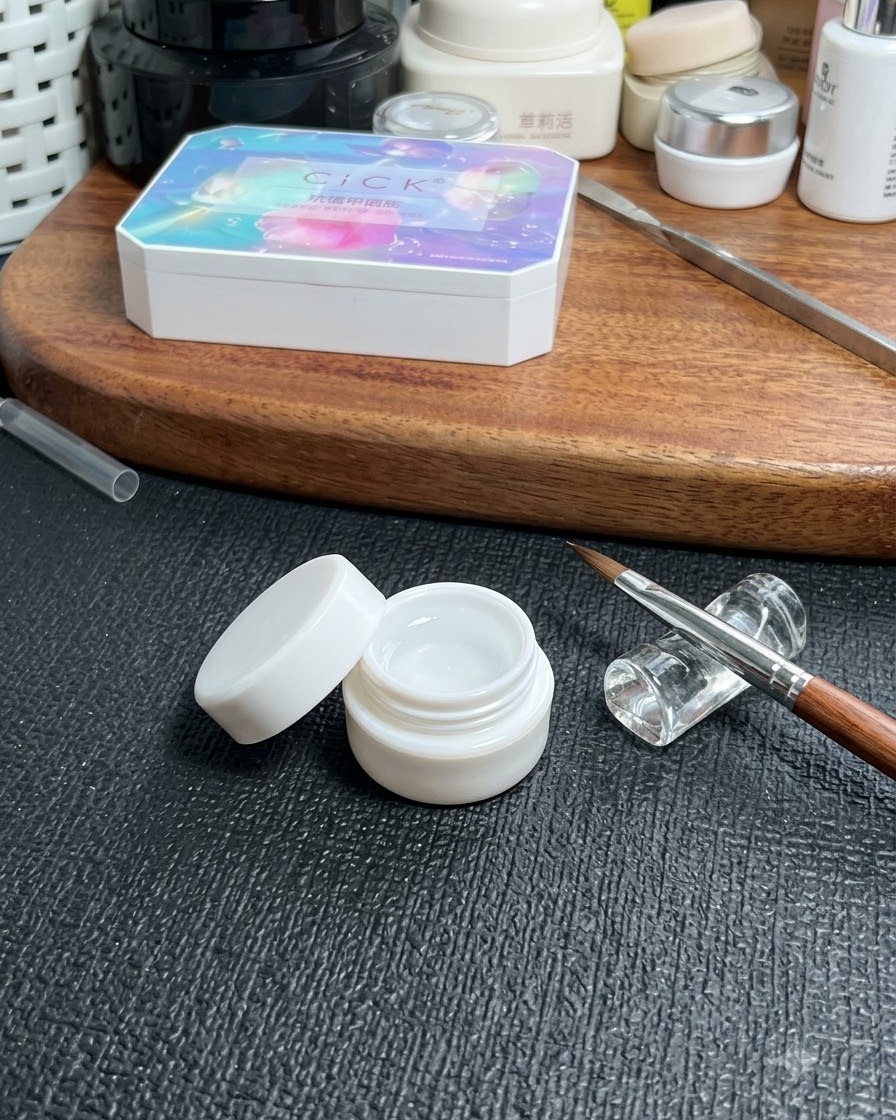
Apply a fine, shimmer-free golden cat eye gel with almost no base color onto the nail. Concentrate the cat eye magnetic shimmer entirely in the middle to create a distinct oval shape, ensuring a clean and translucent base effect.
Tip: Keep the gel application thin and center the shimmer precisely before curing to achieve the best reflective optical effect. - 2Cure the cat eye gel
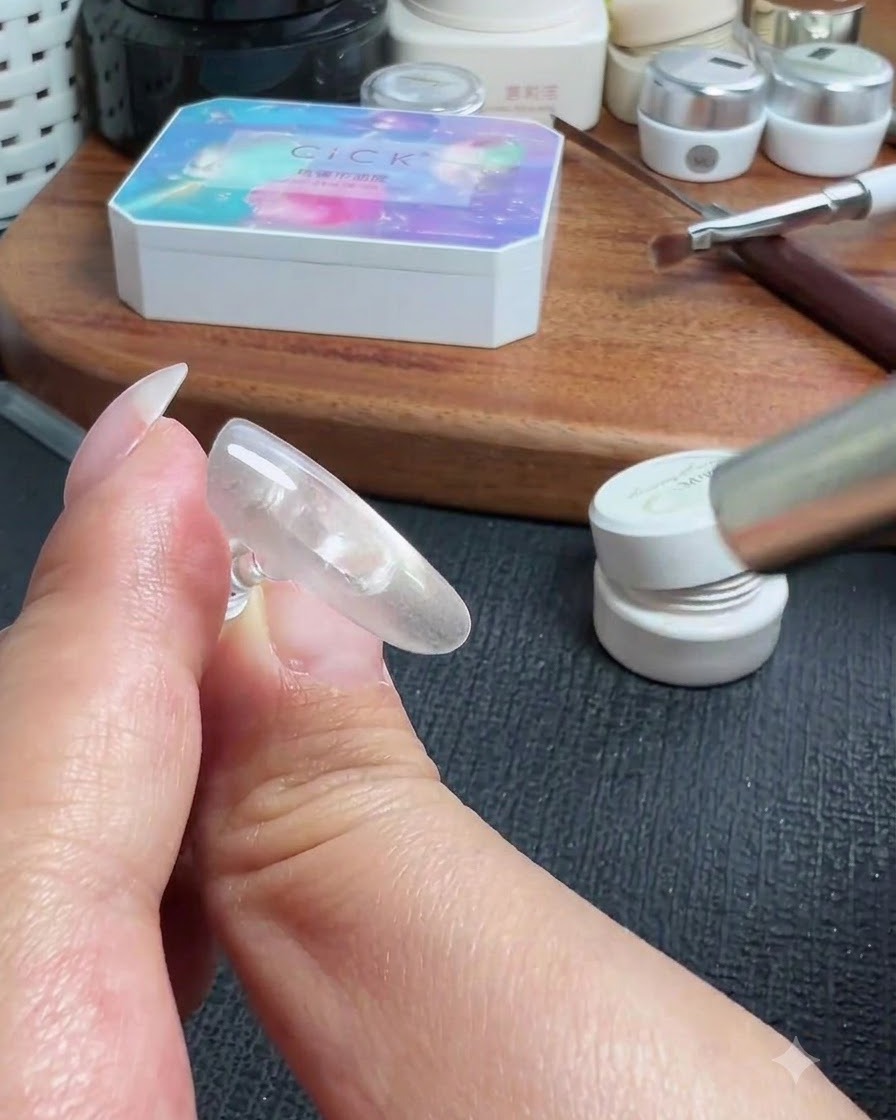
Place the nail under the UV/LED lamp to cure the concentrated golden cat eye effect immediately after shaping the magnetic shimmer, locking the oval design in place.
Tip: Cure immediately after magnetizing the cat eye gel so the particles do not disperse or lose their shape. - 3Mix translucent red and brown gel
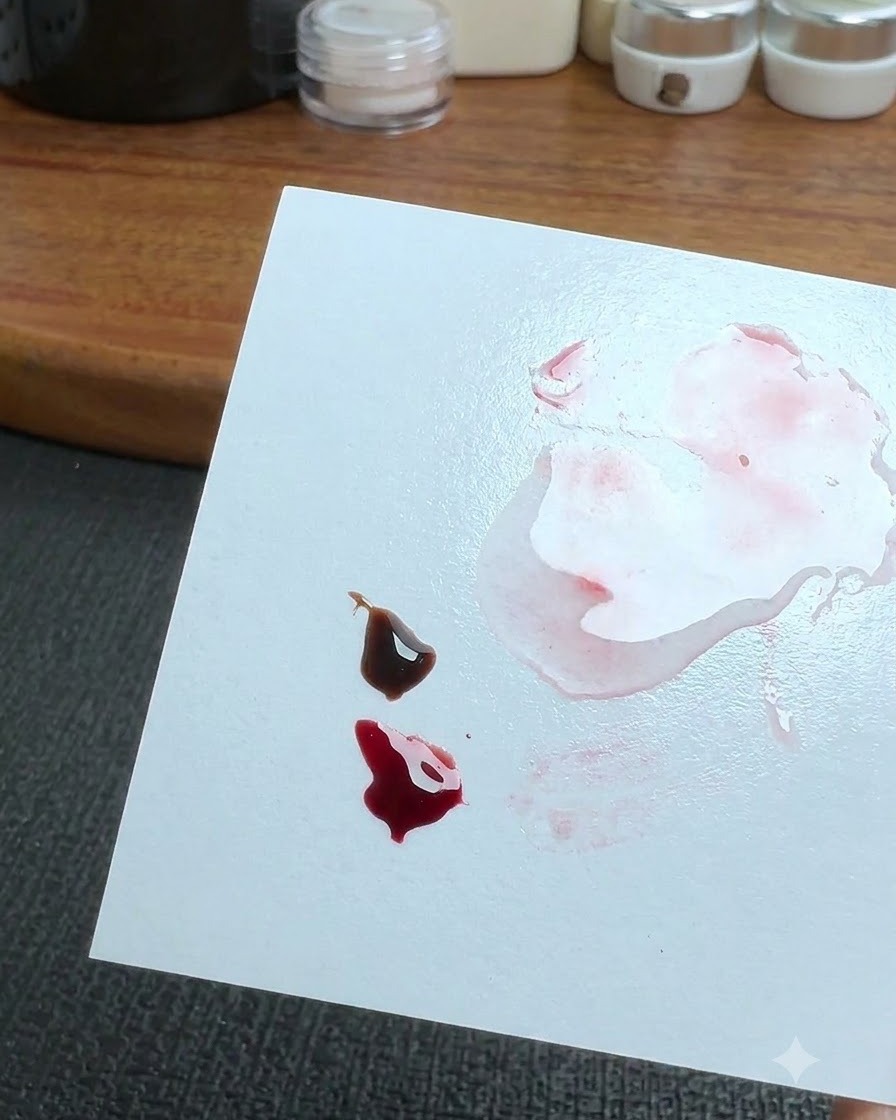
Dispense a small amount of true red and common dark brown translucent gels onto a palette. Using a clean brush, blend the two colors together to achieve the desired custom shade for the gradient background.
Tip: Ensure both colors are translucent types so the underlying cat eye shimmer can still shine through once applied. - 4Apply mixed color to the nail
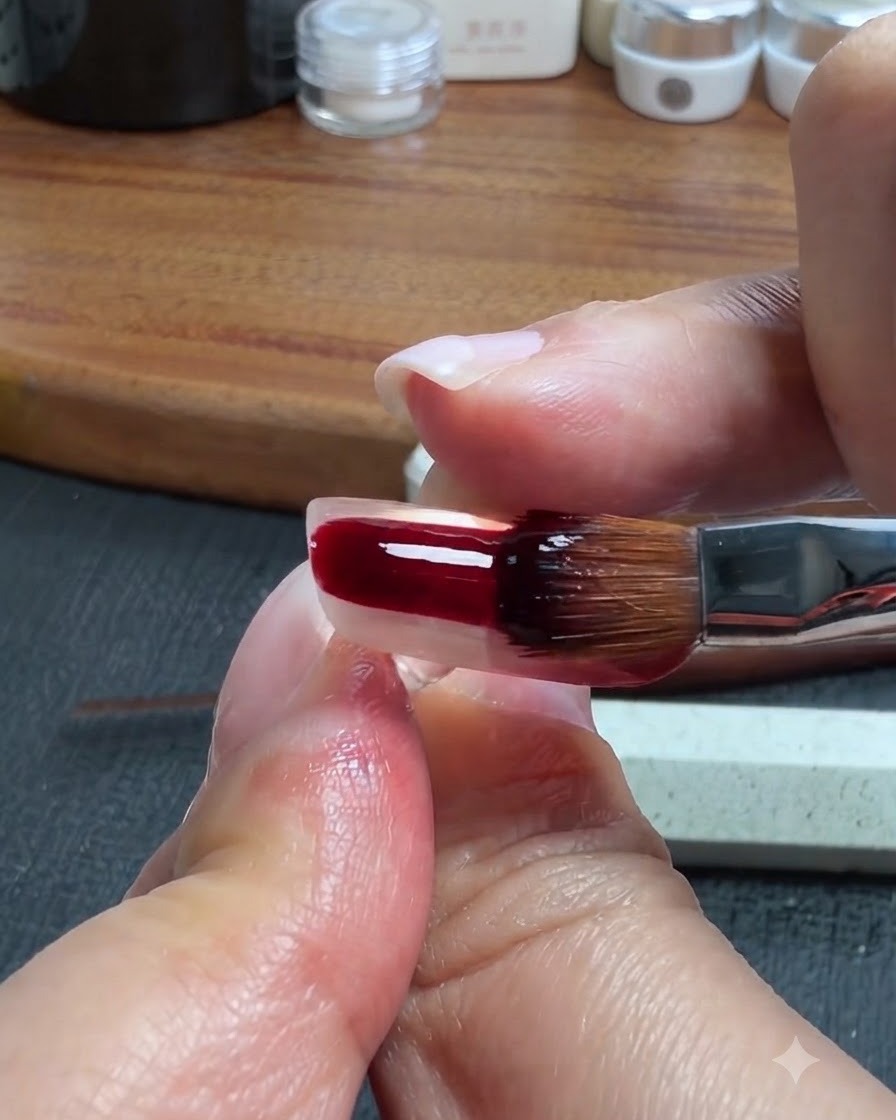
Take the mixed translucent red and brown gel mixture on your brush and apply it evenly across the bottom half of the nail surface, preparing for the gradient blend.
Tip: Apply an even, moderate layer so that the subsequent blending process creates a smooth transition without heavy brush lines. - 5Blend the outer edges
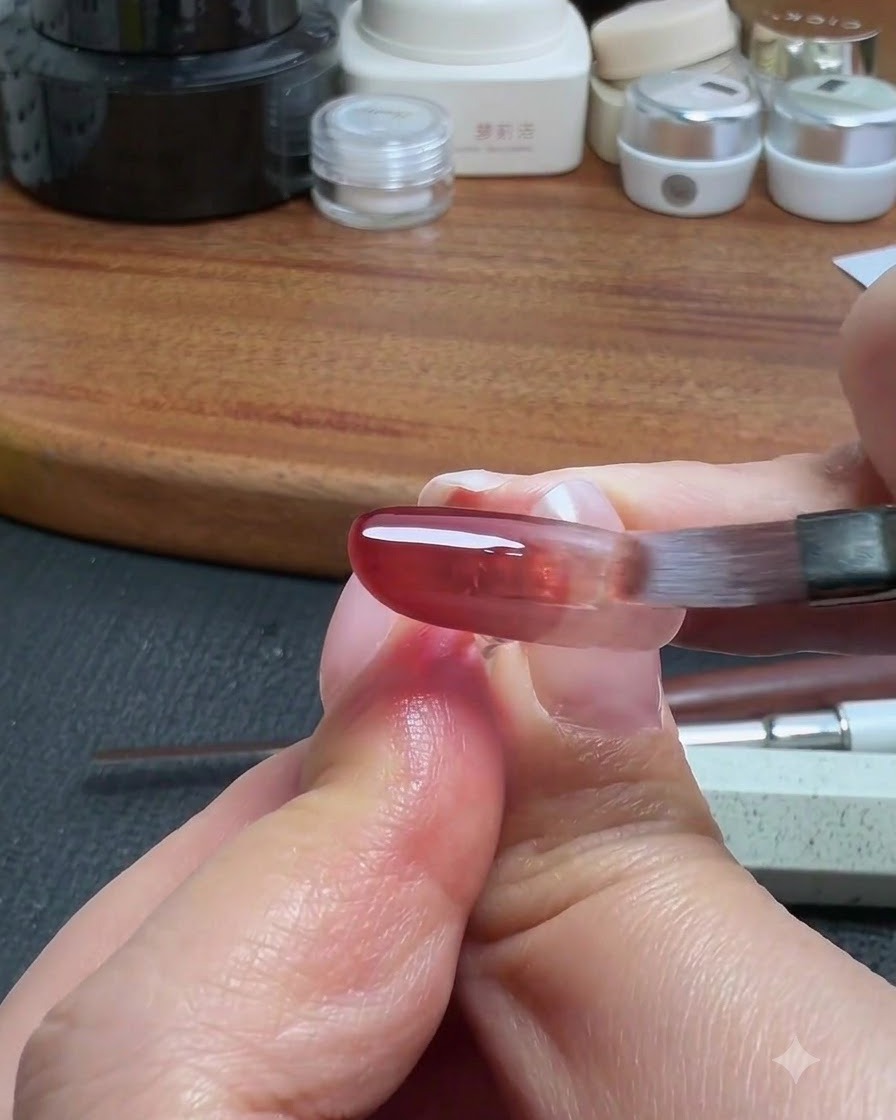
Take a clean brush with no product on it and gently smooth out the very outer edges of the red gel block without curing yet, softening the boundary for a seamless look.
Tip: Keep the brush completely clean and use light, feathery strokes to prevent harsh lines around the edges. - 6Create an upward gradient
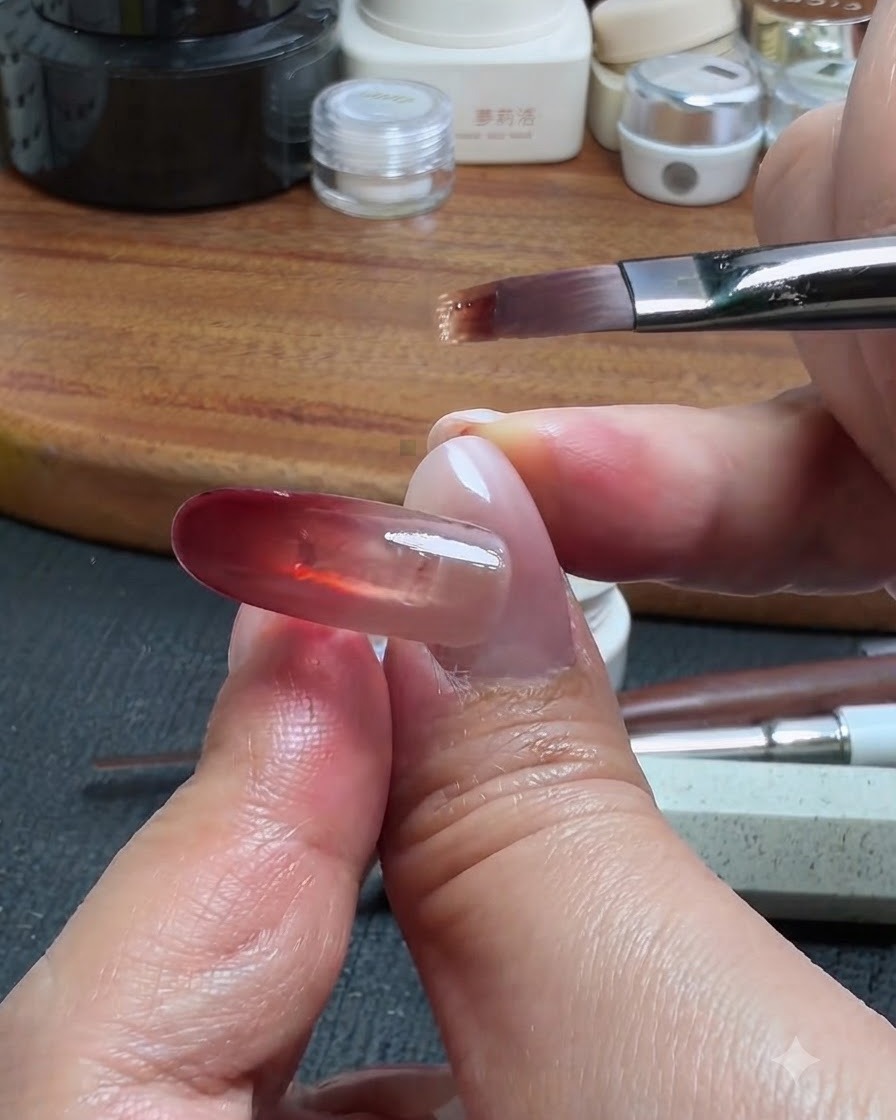
Pick up a tiny bit of base gel on your brush, touch it to the starting point of the red color block, and gently drag it upward. Translucent gels create wonderful gradients, and a couple of light strokes will eliminate brush marks while letting the cat eye shimmer underneath shine through.
Tip: Using a tiny bit of base gel helps thin out the color smoothly and avoids patchiness during the gradient transition. - 7Blend gradient edges
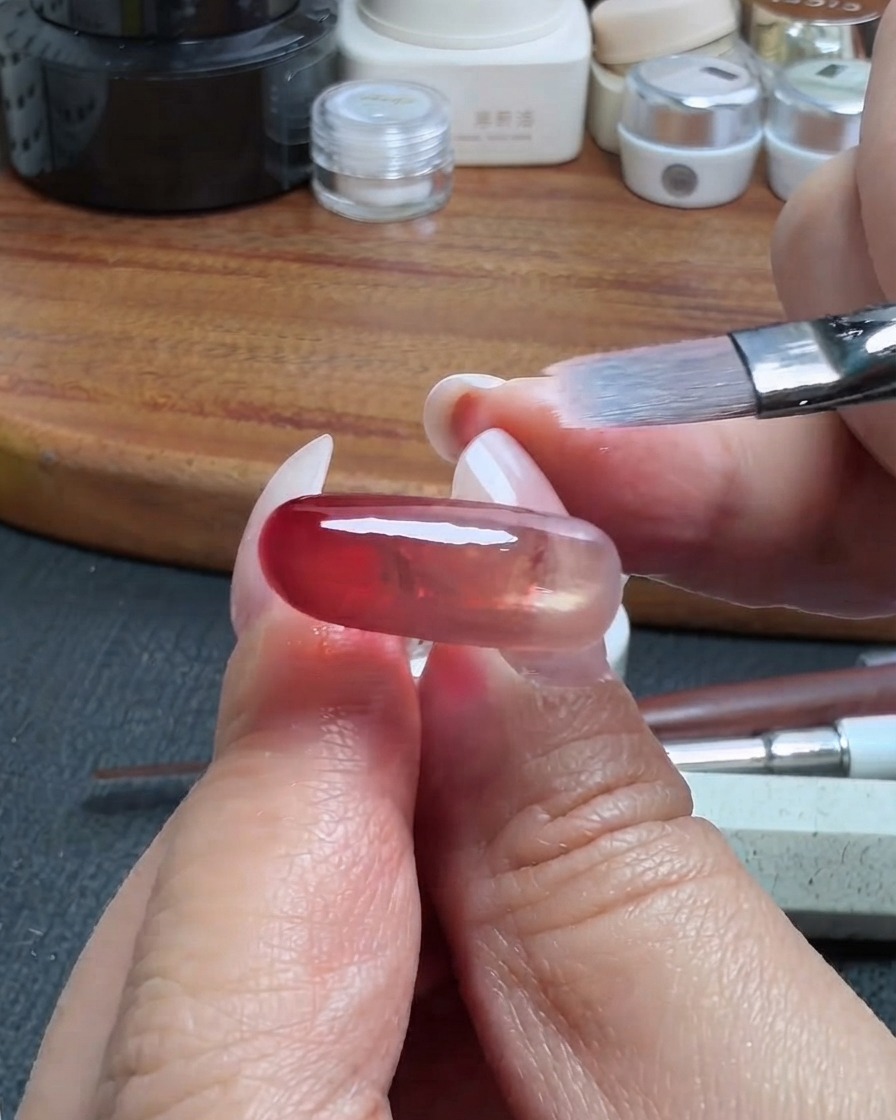
Using a clean brush with no gel on it, first blend the very outer edge smoothly without curing yet. Then pick up a tiny bit of base gel on the brush, touch it where you started on the red block, and gently drag upward to create a smooth, translucent gradient.
Tip: A couple of light strokes eliminate brush marks and make the result look more translucent than patting gel. - 8Apply non-wipe steel top layer
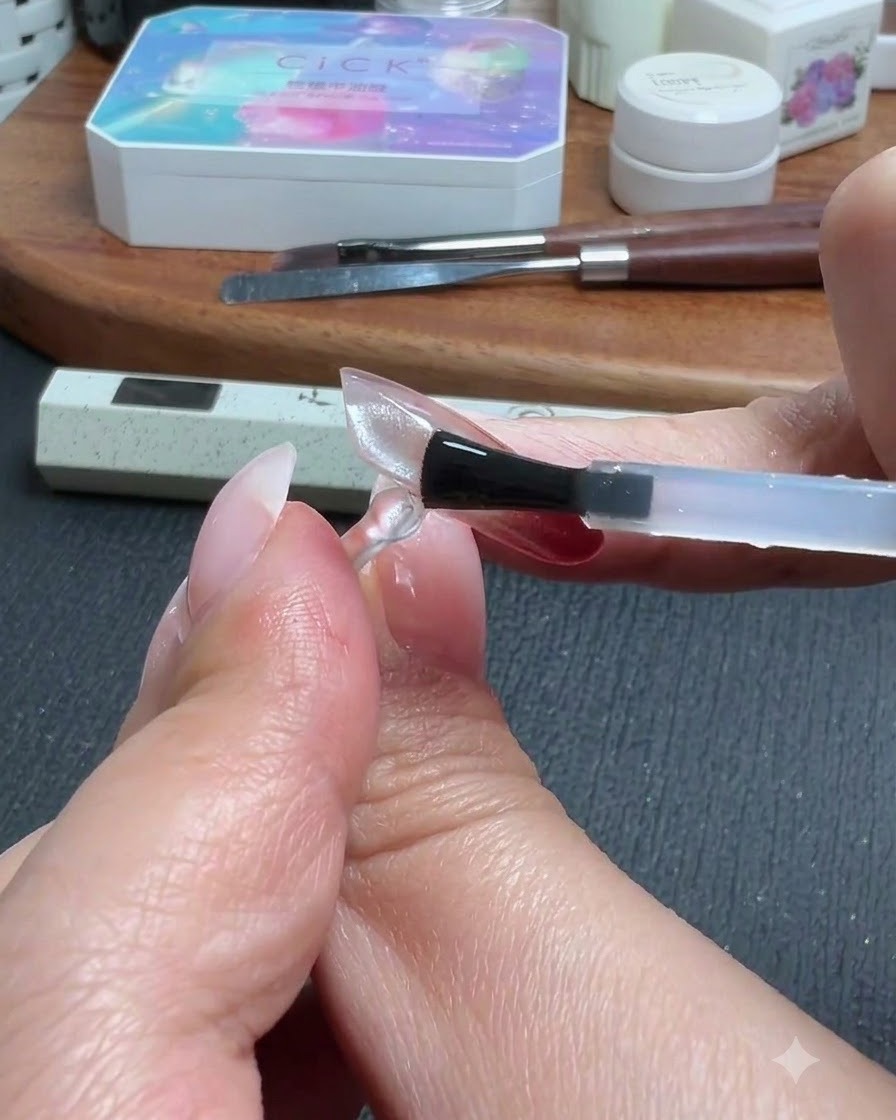
Apply a non-wipe steel top layer over the entire nail surface, ensuring complete coverage. Cure in the lamp for only 30 to 40 seconds so it remains slightly tacky for powder application without flowing.
Tip: Do not over-cure the top layer, as chrome or electroplated powders adhere best to a partially cured or slightly tacky surface. - 9Prepare fingers with alcohol
Keep your fingers slightly damp by touching a bit of alcohol before handling the electroplated powder. This helps control the application and prevents excess powder mess.
Tip: Ensure your fingers are only slightly damp, not overly wet, to achieve an even powder distribution. - 10Apply electroplated powder
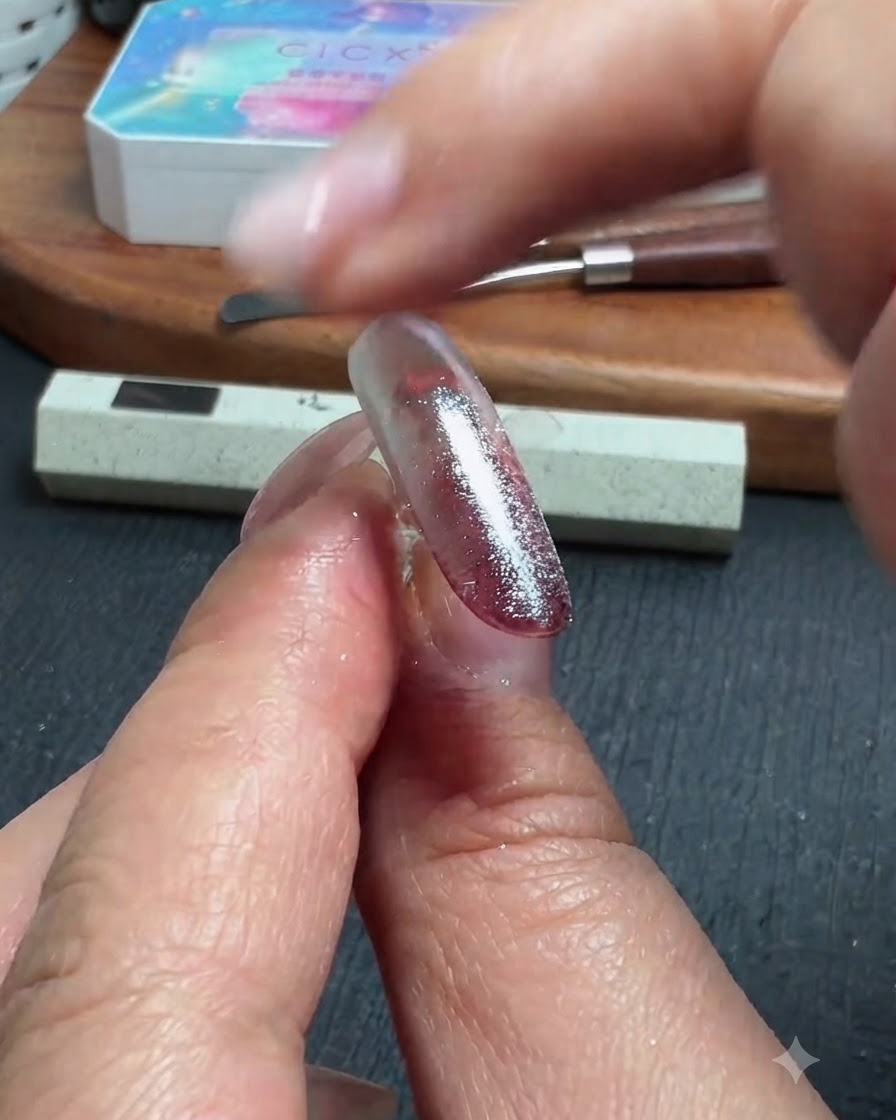
Using a transparent, base-free electroplated powder, gently dot it onto the cured nail surface. This adds a subtle, high-shine chrome finish that allows the underlying cat eye shimmer to shine through.
Tip: Dab the powder gently rather than rubbing hard initially to ensure an even coat across the entire nail. - 11Buff and smooth powder
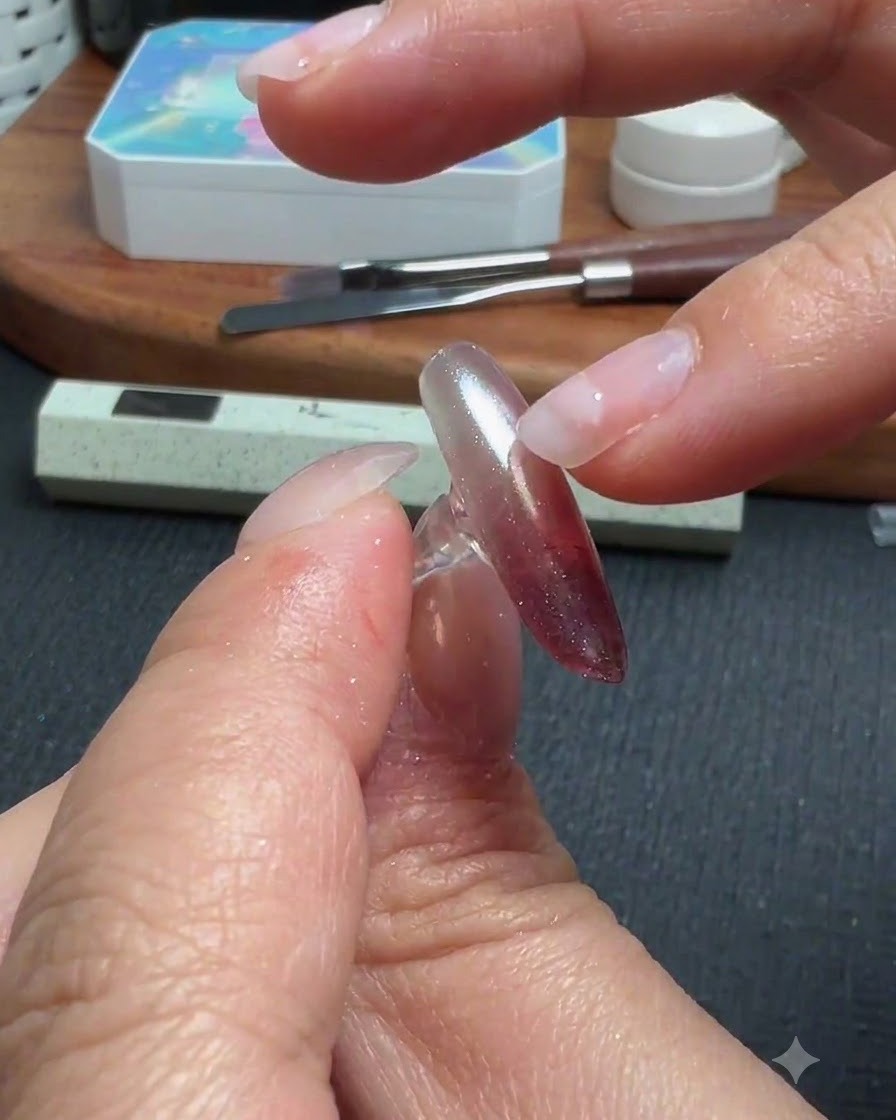
Gently rub and smooth out the electroplated powder using a clean finger until the surface achieves a uniform, mirror-like chrome finish.
Tip: Buffing with a clean finger creates a smoother finish than sponge applicators for certain base-free powders. - 12File and shape nail edges
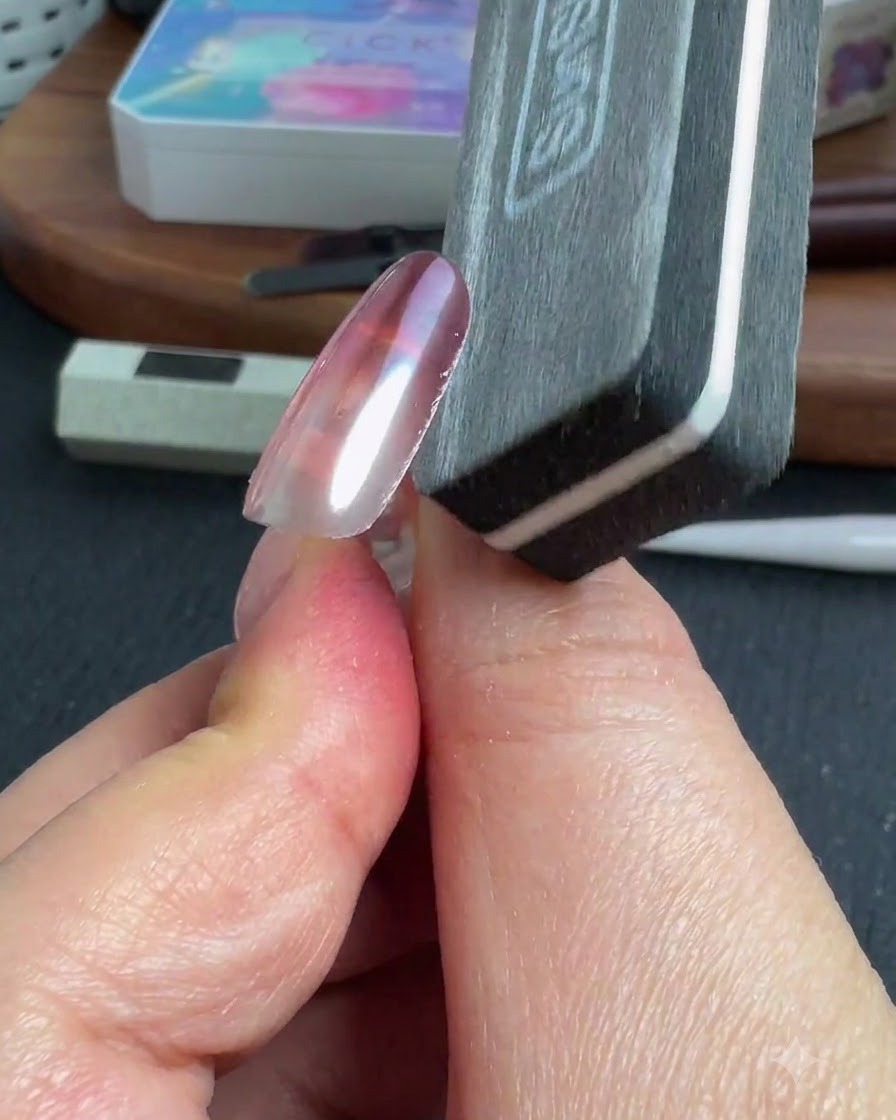
Carefully file and shape the three edges of the nail to clean up any excess product or powder buildup. Use a clean sponge afterward to wipe away any residual graininess.
Tip: Filing the edges prevents chipping and ensures the final encapsulation layer seals properly. - 13Wipe away excess powder
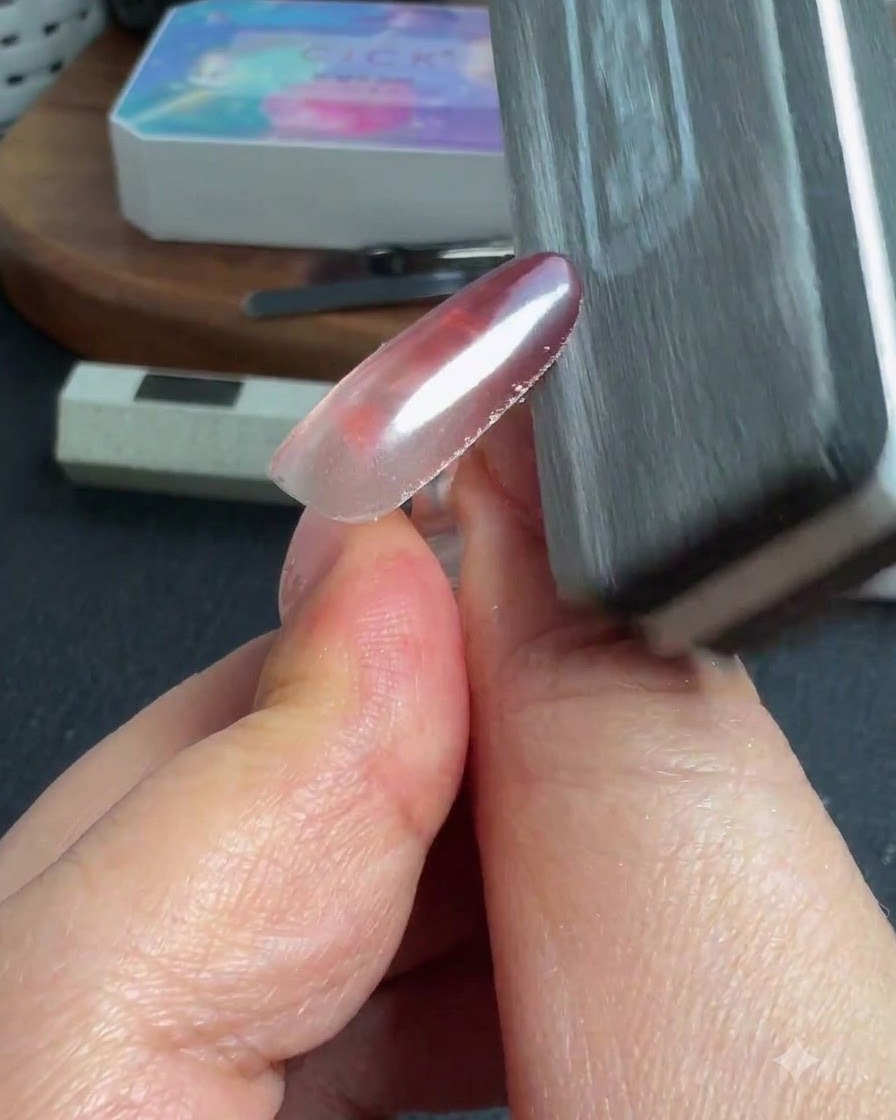
After applying the electroplated powder, use a clean sponge to gently wipe away any loose or excess powder from the nail surface. This ensures a smooth finish and prevents graininess before encapsulation.
Tip: Gently file and shape the three edges before wiping to ensure all stray powder particles are completely removed. - 14Encapsulate the powdered area
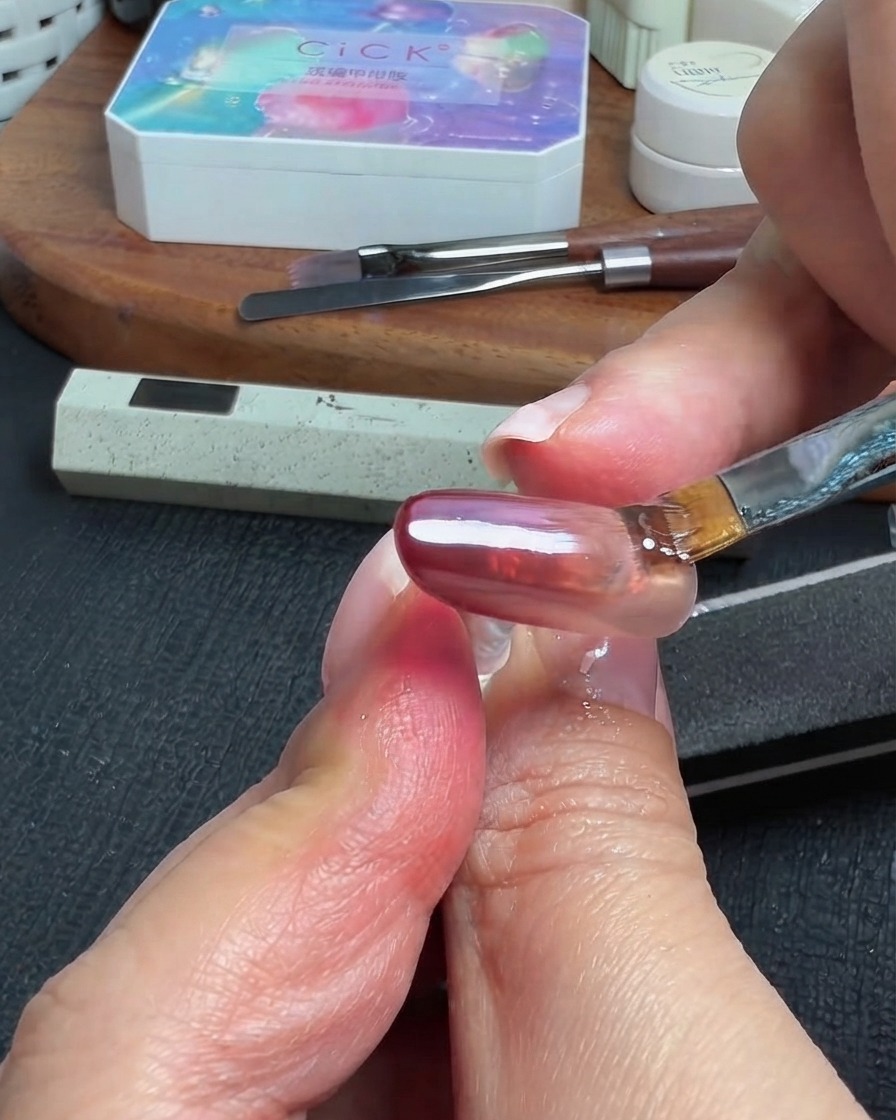
Apply a capping reinforcement gel or a slightly thicker base gel over the powdered area to completely encapsulate it. This step locks in the electroplated powder and protects the design from chipping or wearing off.
Tip: Ensure complete coverage over the powdered layer, but keep the application controlled so the gel does not flood the cuticles. - 15Cure the encapsulation gel
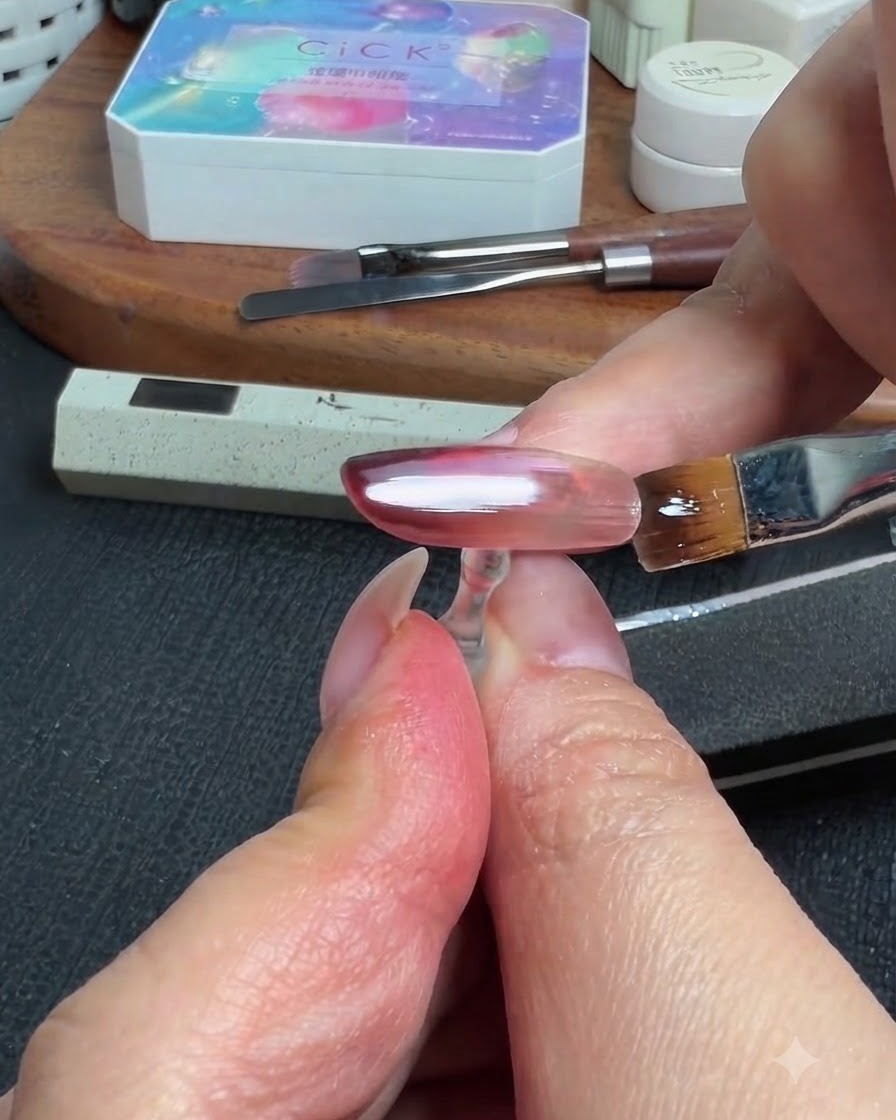
Place the nail under the UV or LED lamp to cure the encapsulation gel. Make sure not to cure it for too long at this stage, just enough to set the protective layer securely in place.
Tip: A light or moderate cure time prevents the gel from over-hardening too early while ensuring the structure stays intact. - 16Apply final top coat and cure
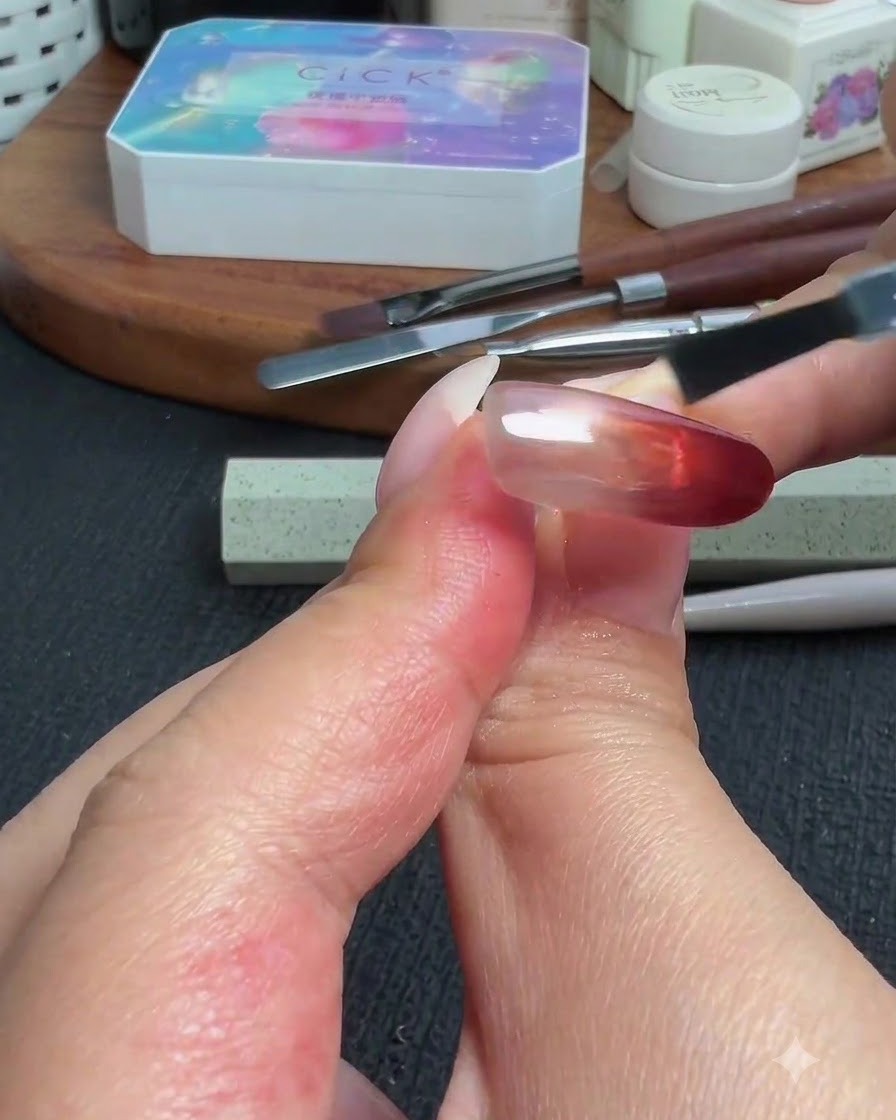
Apply a final top coat layer over the entire nail to seal the design with a high-gloss finish. Cure completely under the UV or LED lamp to finish your super cute New Year manicure.
Tip: Make sure to cap the free edge with the top coat to ensure long-lasting wear and prevent premature lifting.