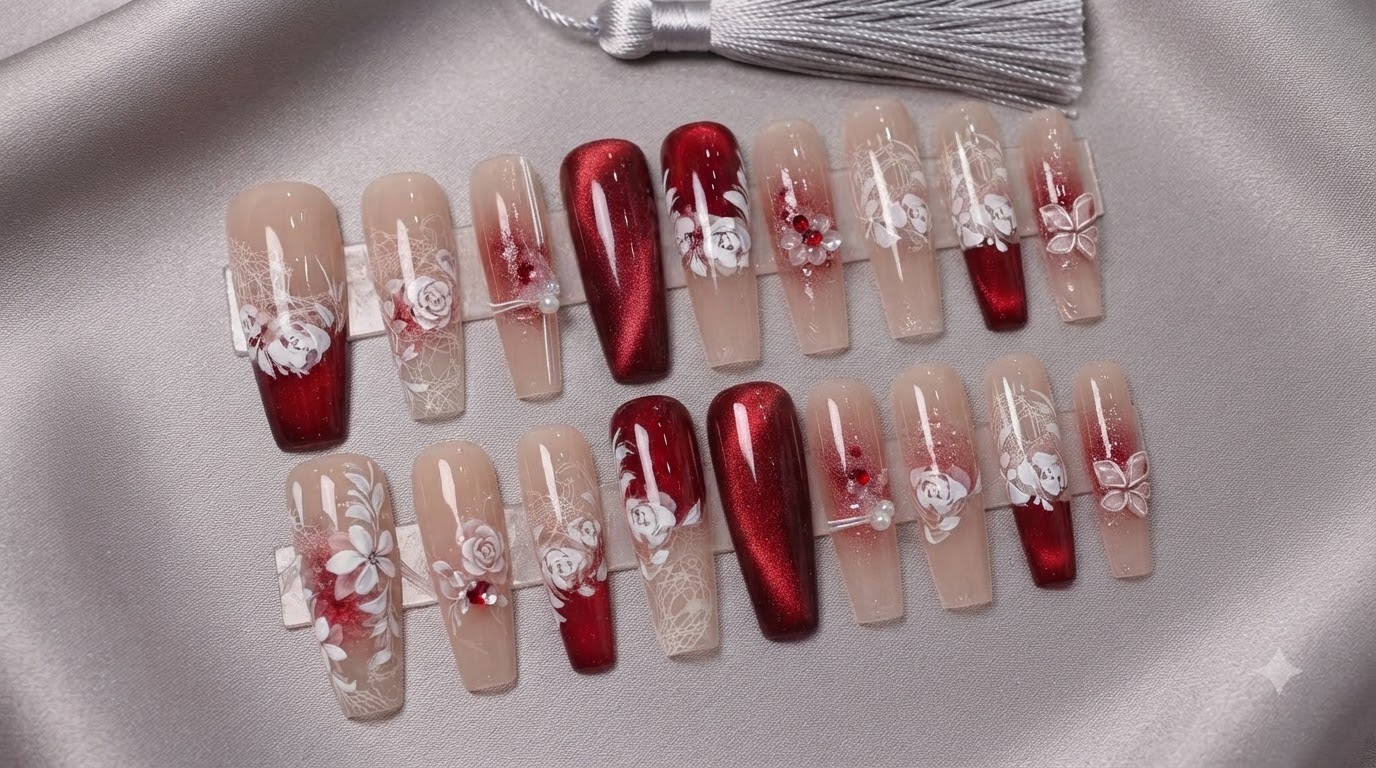
Autumn Sunset Rose Cat-Eye Nails — Step-by-Step 3D Nail Art Tutorial
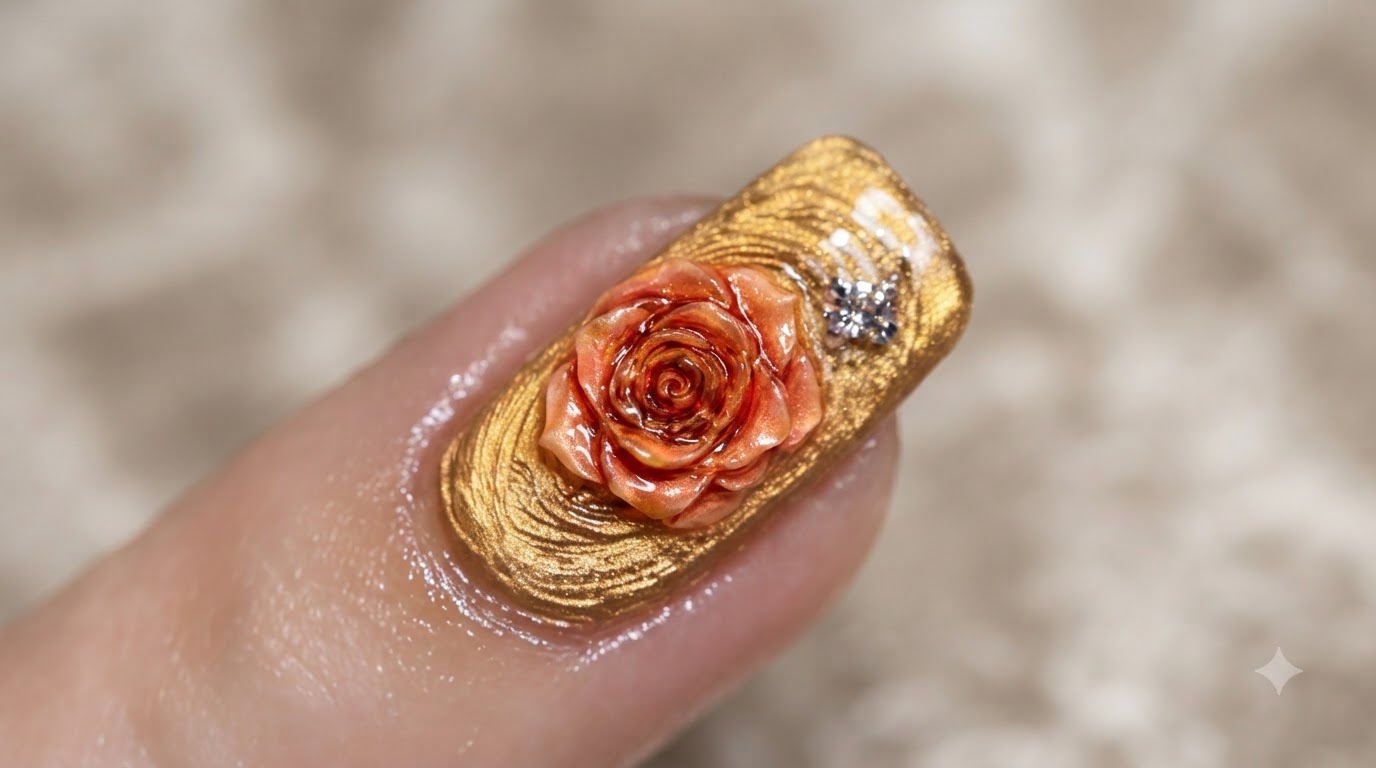
Learn how to create luxurious gold cat-eye nails featuring a blooming gel 3D painted sunset rose and sparkling rhinestone accent.
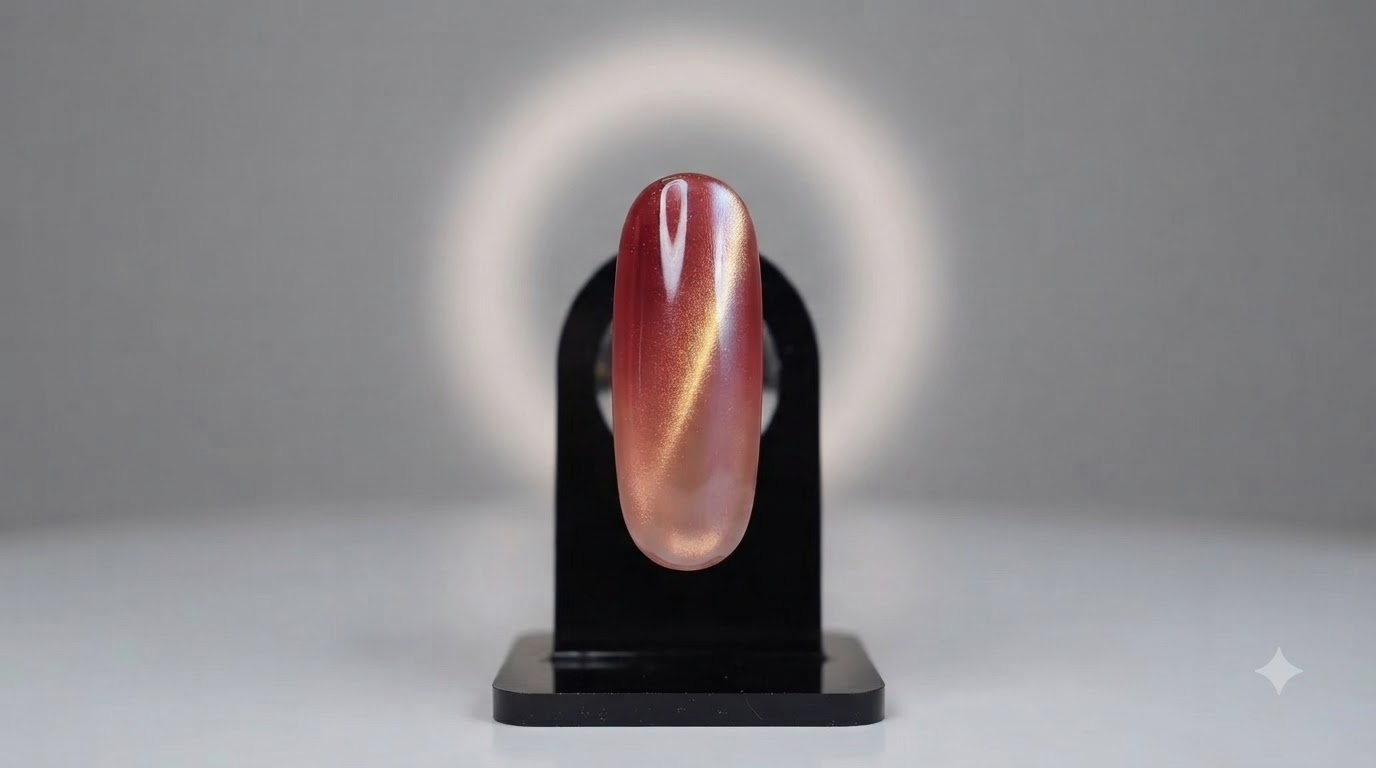
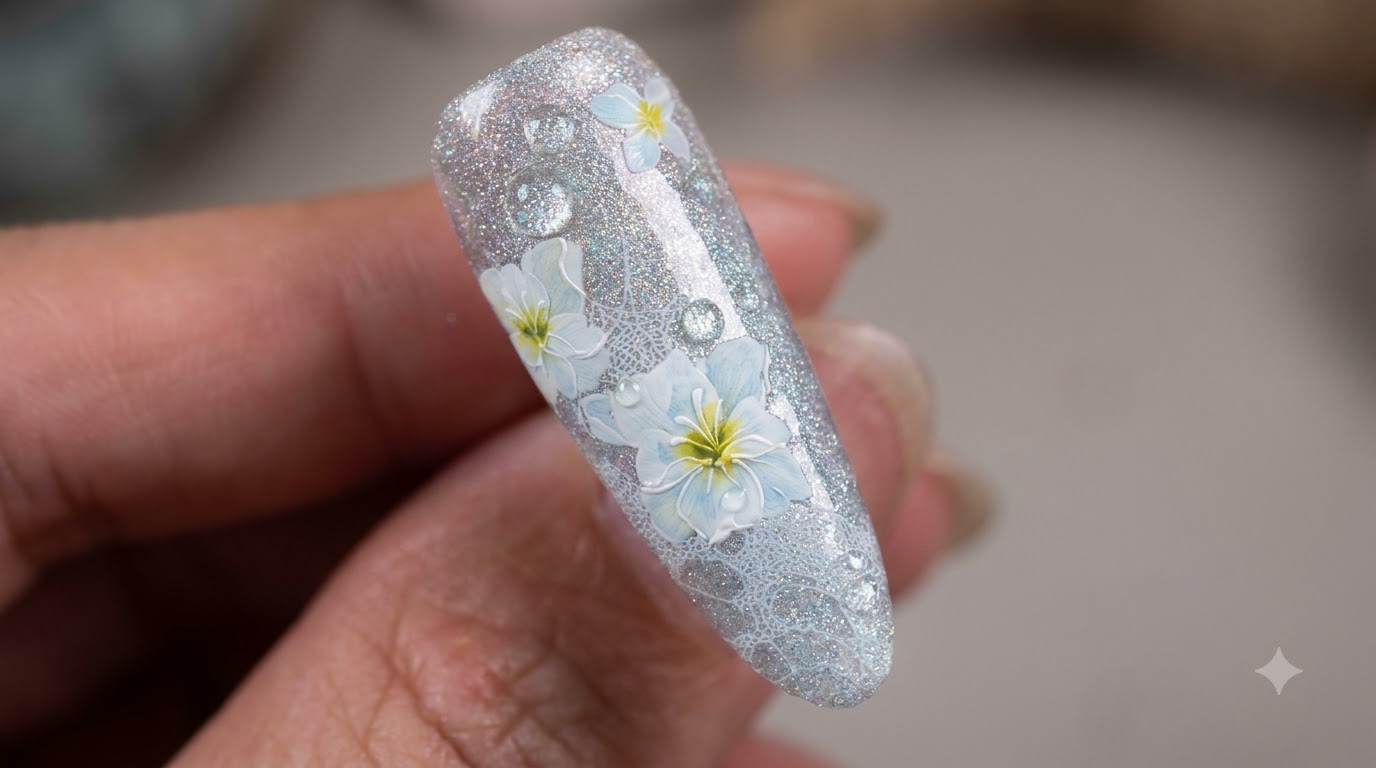
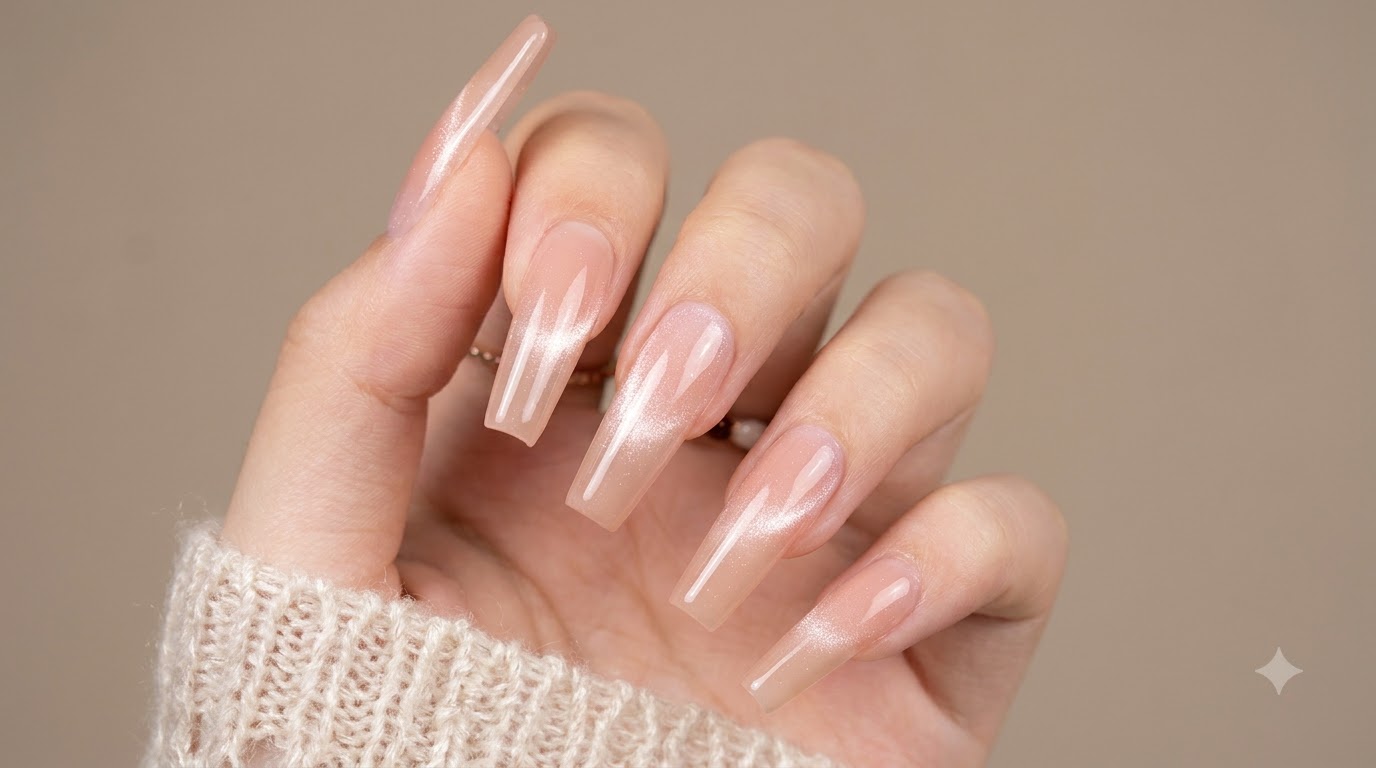
Combining the luminous, shifting depth of magnetic cat-eye gel with delicate 3D floral art creates a breathtaking textured manicure that captures the warmth of an autumn sunset. This tutorial guides you through creating a shimmering metallic base, blooming an organic rose design, and adding the finishing touch of a sparkling rhinestone accent.
Steps
- 1Pull magnetic particles to the sides
Hold a nail magnet close to the sides of the nail plate while the cat-eye gel is still wet. This pushes the magnetic pigment particles outward toward the lateral edges, creating a luminous, hollow channel down the center of the nail.
Tip: Keep the magnet steady and close enough to affect the gel without accidentally touching and smudging the wet surface. - 2Refine the cat-eye light reflection
Fine-tune the placement and angle of the magnet to sharpen the cat-eye light strip and ensure an even, glowing reflection across the entire nail plate before curing.
Tip: Make subtle adjustments to the magnet angle to get the sharpest and most defined shimmer line possible. - 3Cure the cat-eye base layer
Place the nail under a UV or LED lamp to cure the magnetic cat-eye base layer fully, locking the light effect in place so it will not shift during subsequent steps.
Tip: Ensure a full cure time according to your gel polish manufacturers instructions to prevent wrinkling or shifting of the cat-eye pigments. - 4Apply clear blooming gel
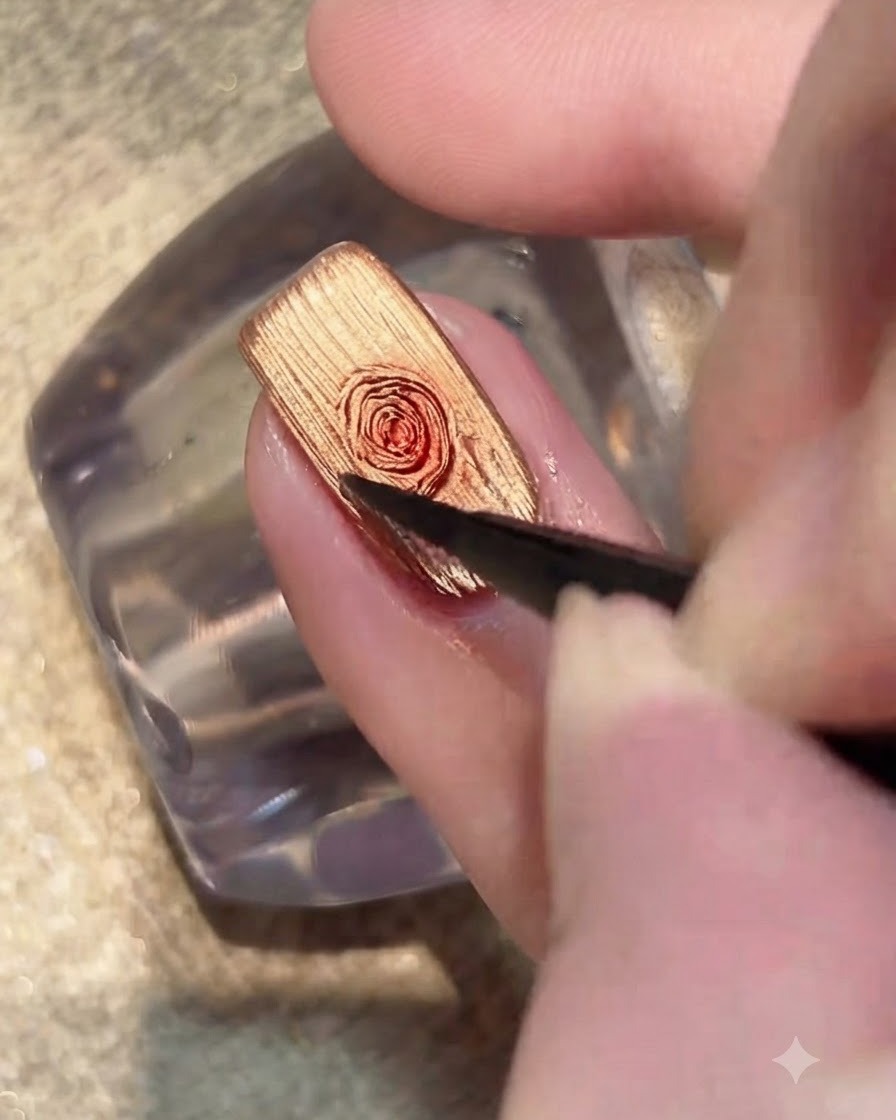
Apply an even layer of clear blooming gel over the cured cat-eye base without curing it yet. This wet medium allows colors placed on top to spread and blend organically.
Tip: Do not apply the blooming gel too thickly, or the subsequent nail art details may spread out of control. - 5Place a dot of dark red gel
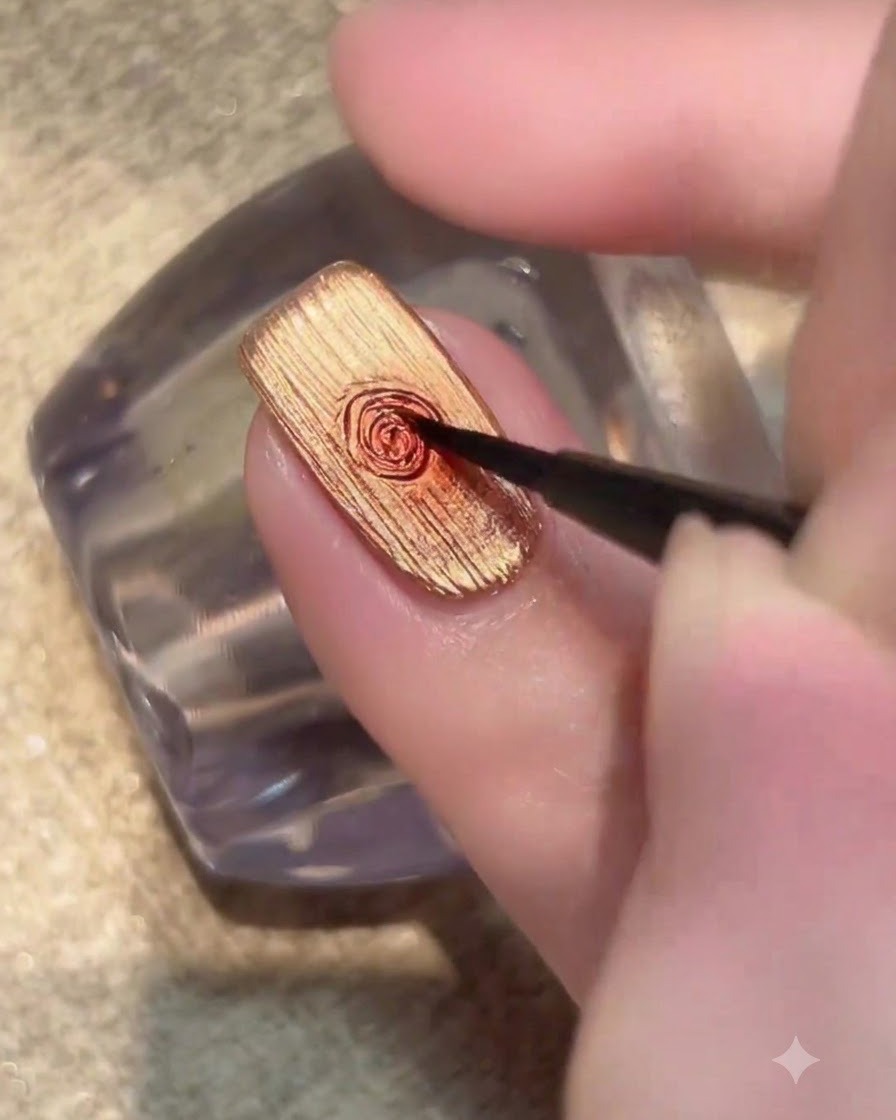
Using a fine detail brush, pick up a small amount of dark red gel polish and place a tiny dot right in the center of the nail over the uncured blooming gel layer.
Tip: A little bit of color goes a long way in blooming gel; start with a small drop and add more if needed. - 6Blend the red gel into a rose shape
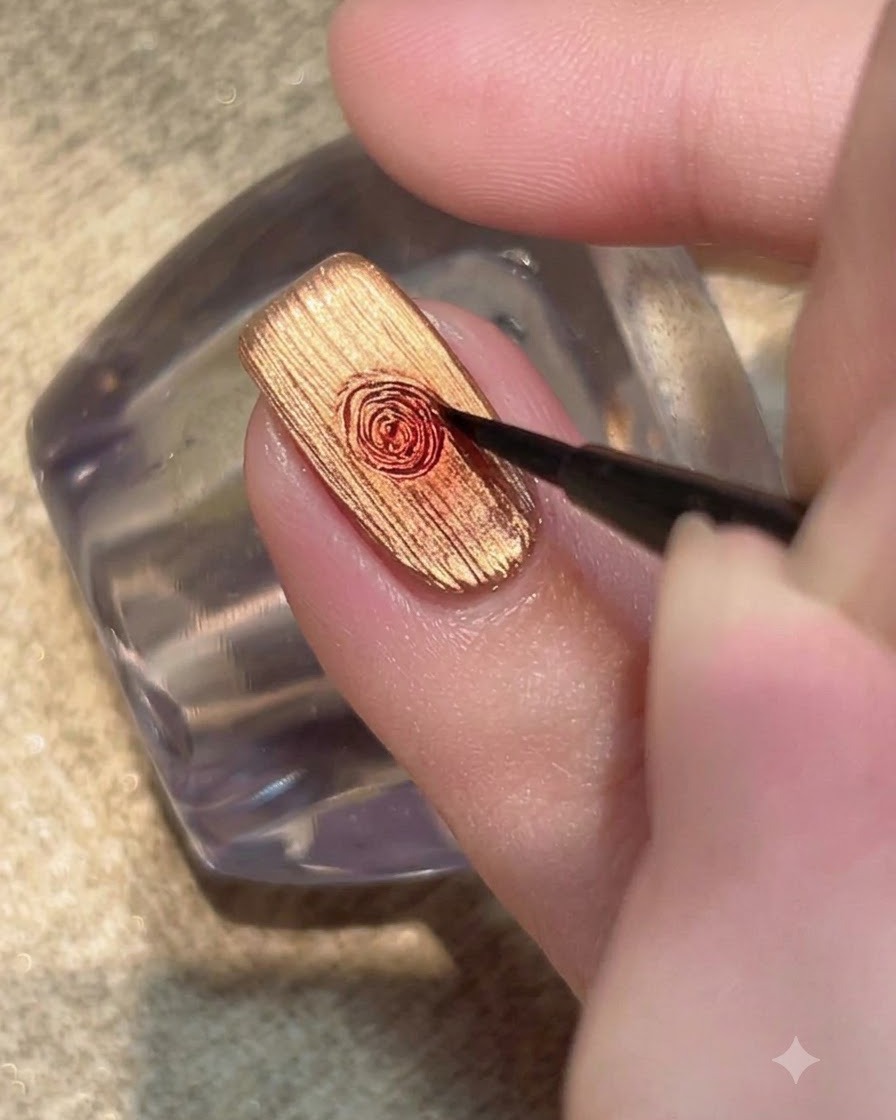
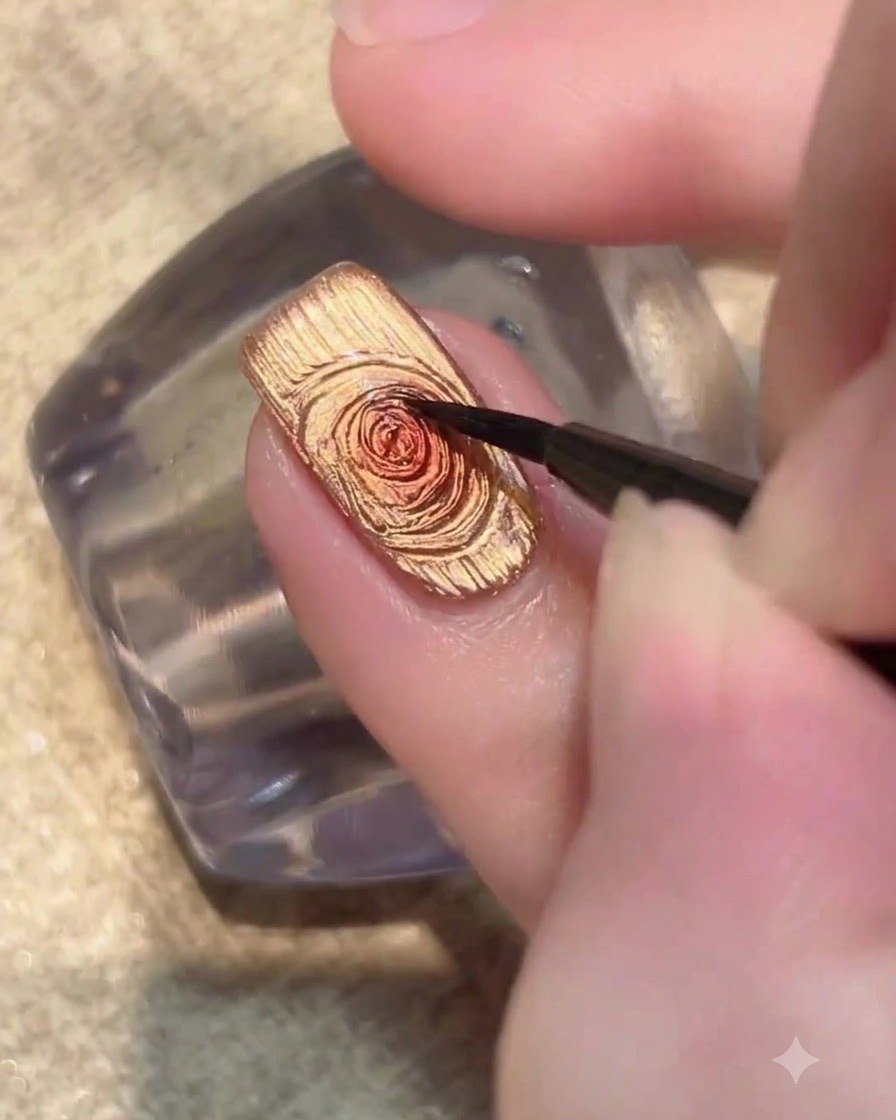
Using a fine detail brush, gently blend the red gel in outward circular motions starting from the center drop to form the petals of the rose design over the golden magnetic base.
Tip: Keep your hand steady and use light pressure to maintain the delicate petal definition. - 7Apply non-wipe top coat
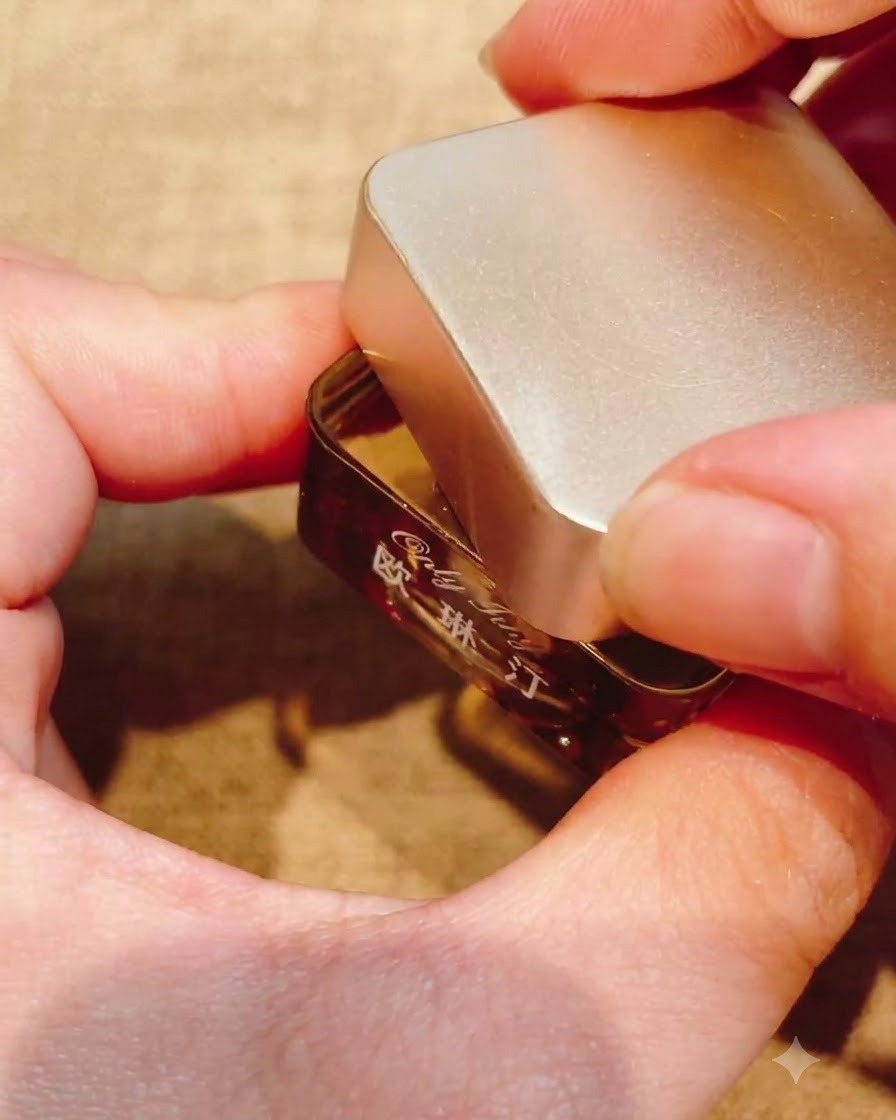
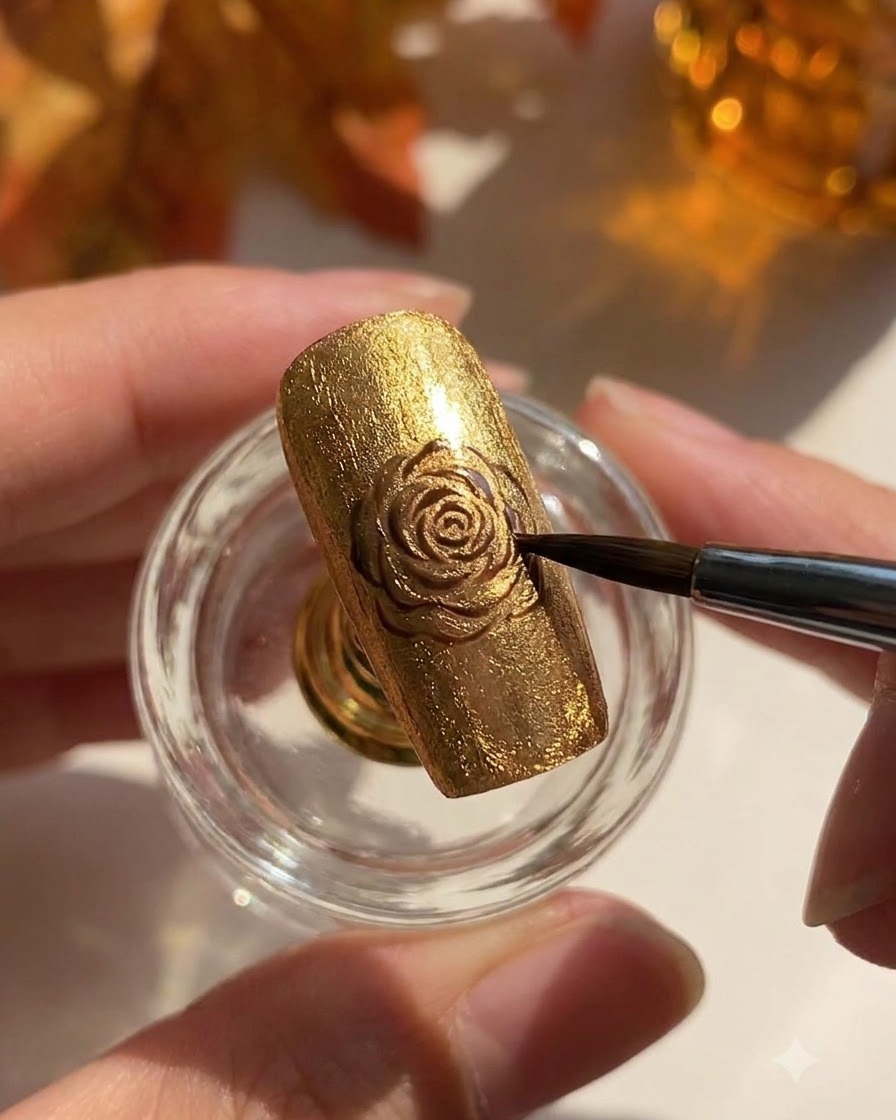
Apply a generous layer of non-wipe top coat over the entire nail surface to seal in the textured rose design and give it a glossy finish. Ensure complete coverage from edge to edge.
Tip: Be careful not to apply the top coat too thickly, which can dull the fine details of the underlying design. - 8Wipe excess gel from the tip
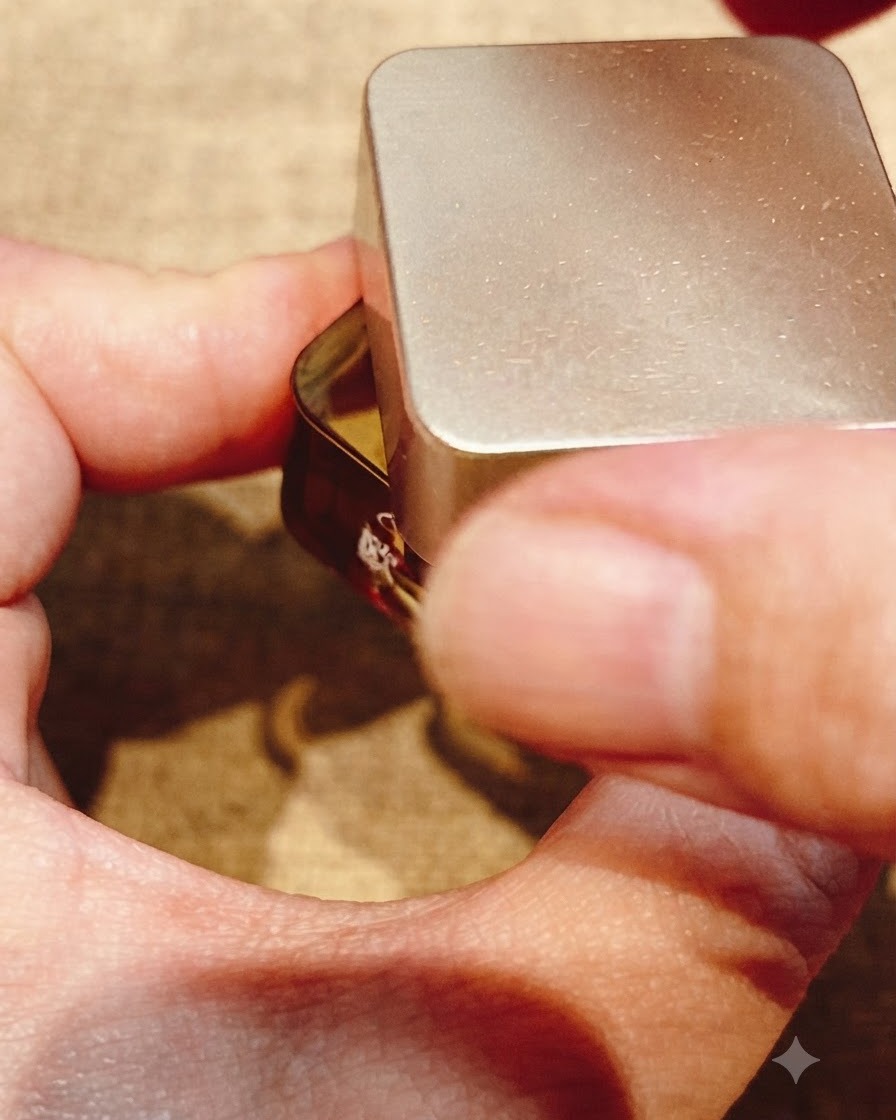
Carefully wipe away any excess gel pooled around the edge or tip of the nail using a clean brush. This ensures a crisp, clean shape before curing.
Tip: Cleaning up the edges prevents the gel from shrinking or looking bulky after it is cured under the lamp. - 9Draw concentric circles for rose petals
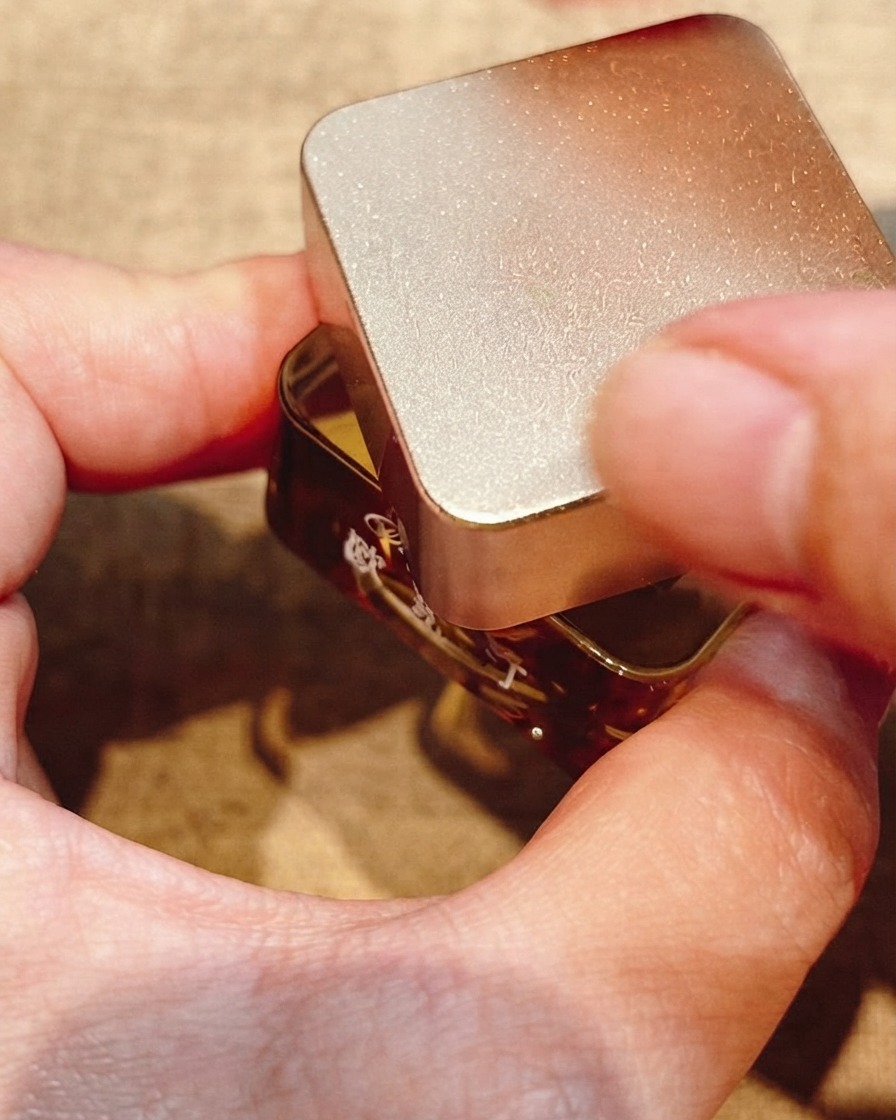
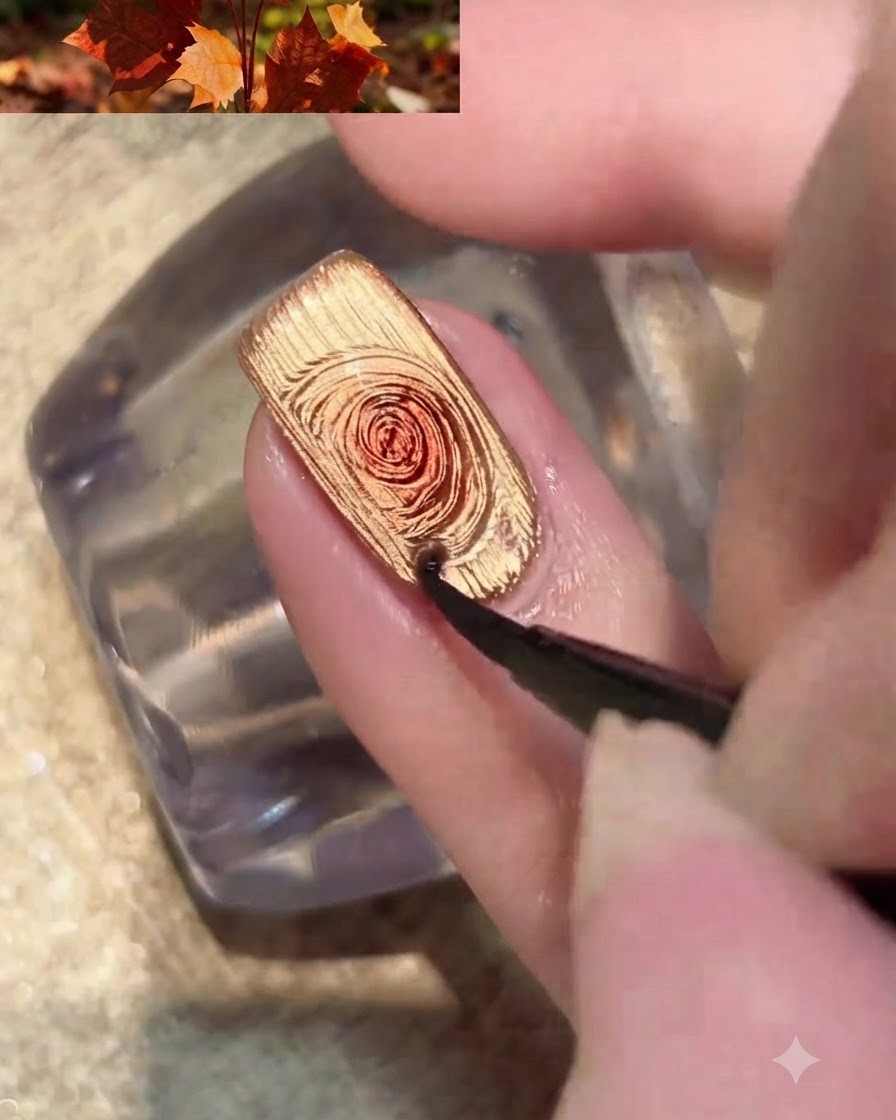
Using a fine liner brush, carefully draw fine circular and curved patterns to outline and define the intricate rose petal texture over the blended gel.
Tip: Keep a light hand to ensure the lines remain thin and delicate, mimicking natural flower petals. - 10Cure the textured design
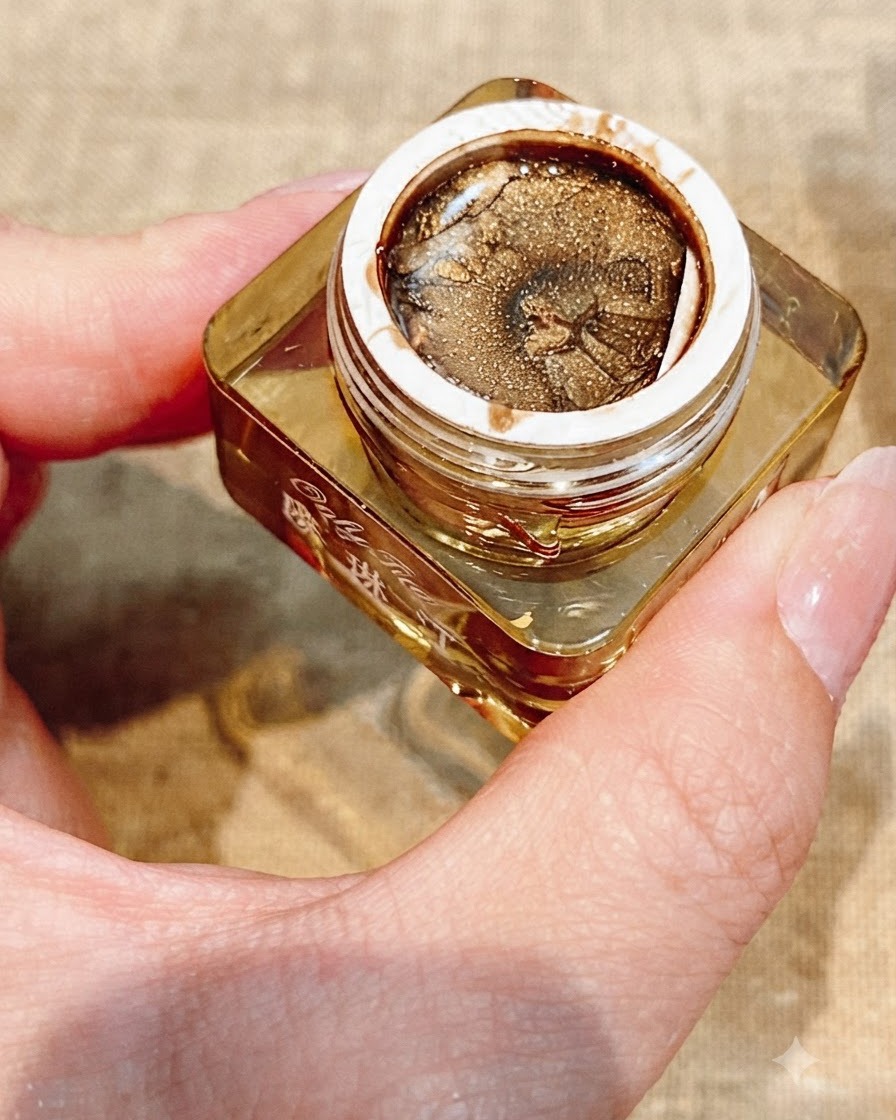
Place the hand under a UV or LED lamp to cure the textured rose design fully. Follow the manufacturers guidelines for curing times to ensure the product hardens properly.
Tip: Ensure the hand is placed flat inside the lamp so all angles of the textured art receive even light exposure. - 11Add a rhinestone embellishment
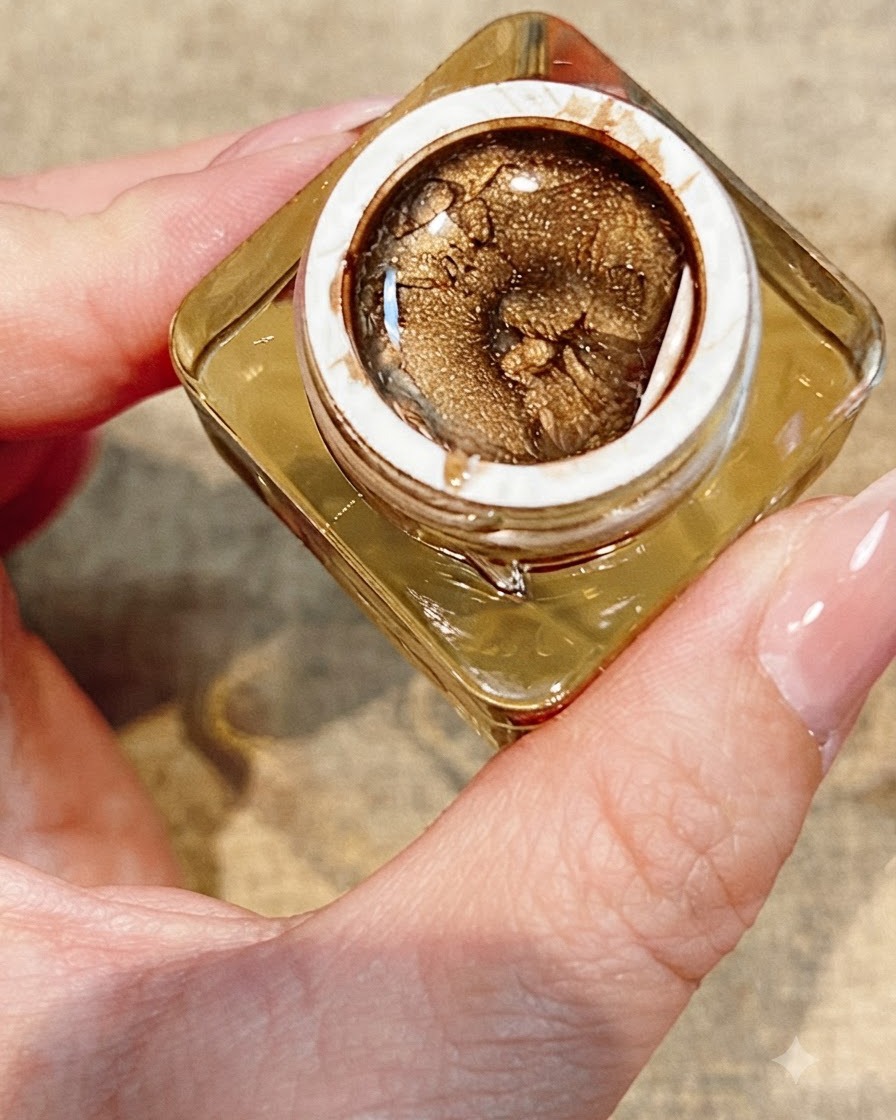
Pick up a small rhinestone using a dotting tool or wax pencil, place a tiny dot of gel glue next to the rose, and set the rhinestone into position. Cure to lock it firmly in place.
Tip: Always seal around the base of the rhinestone with top coat—avoiding the top surface—to ensure it doesnt snag or fall off.