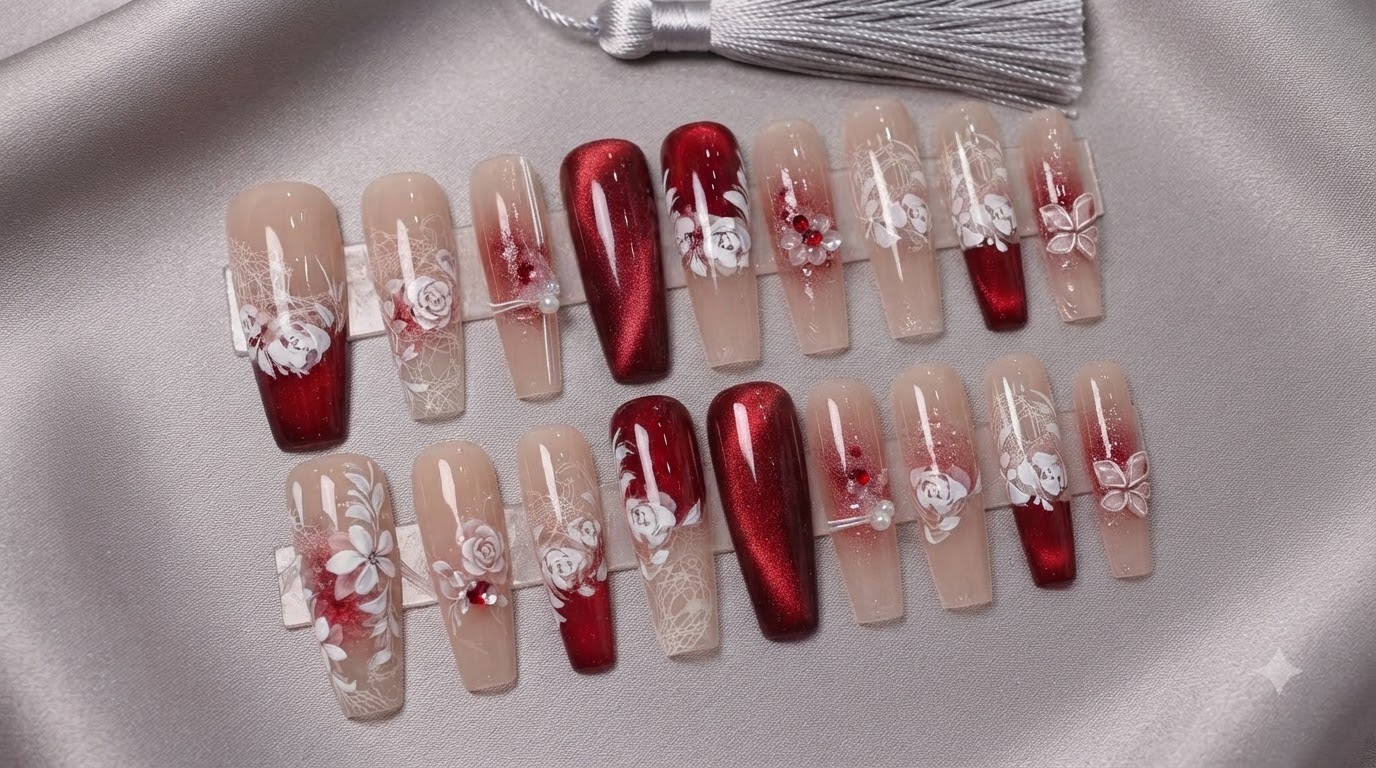
Summer Night Red
White Lace Floral Press-On Nails — Step-by-Step Tutorial
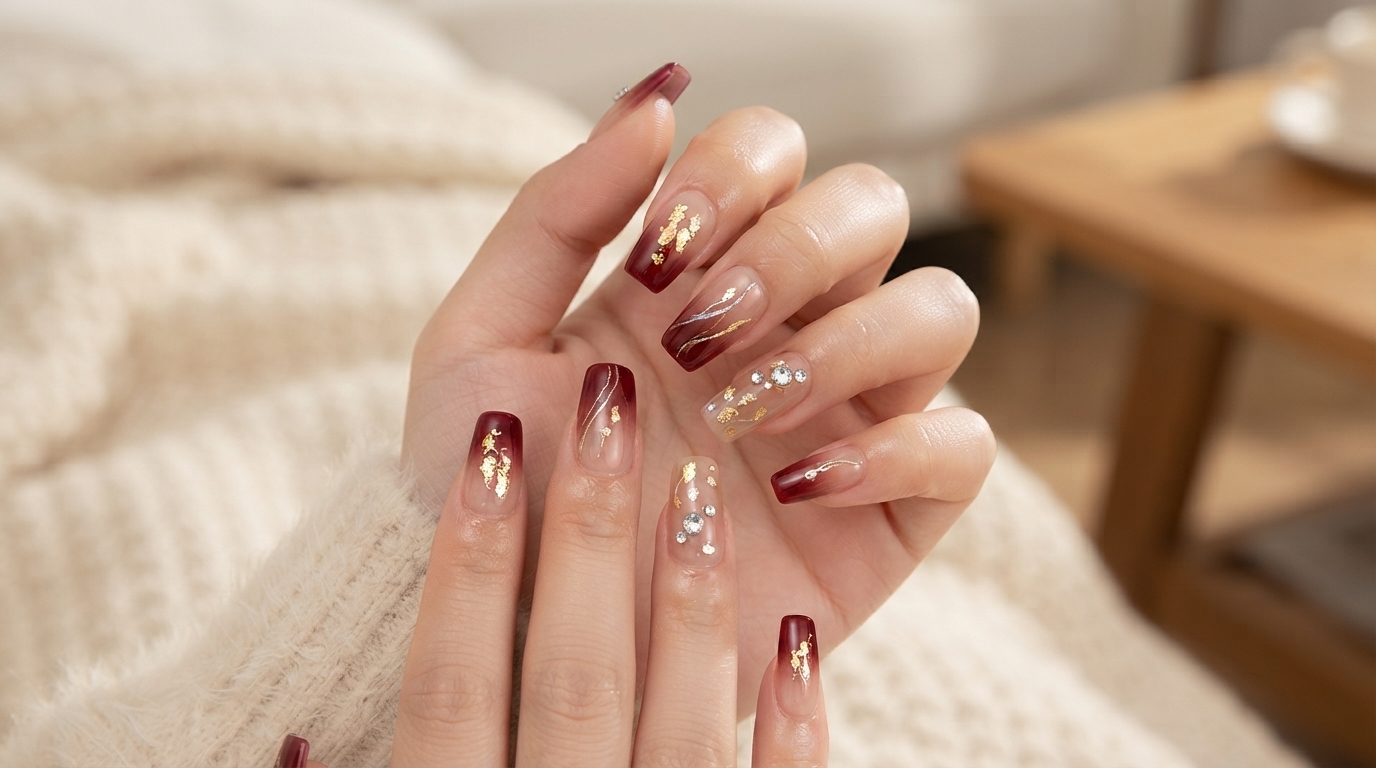
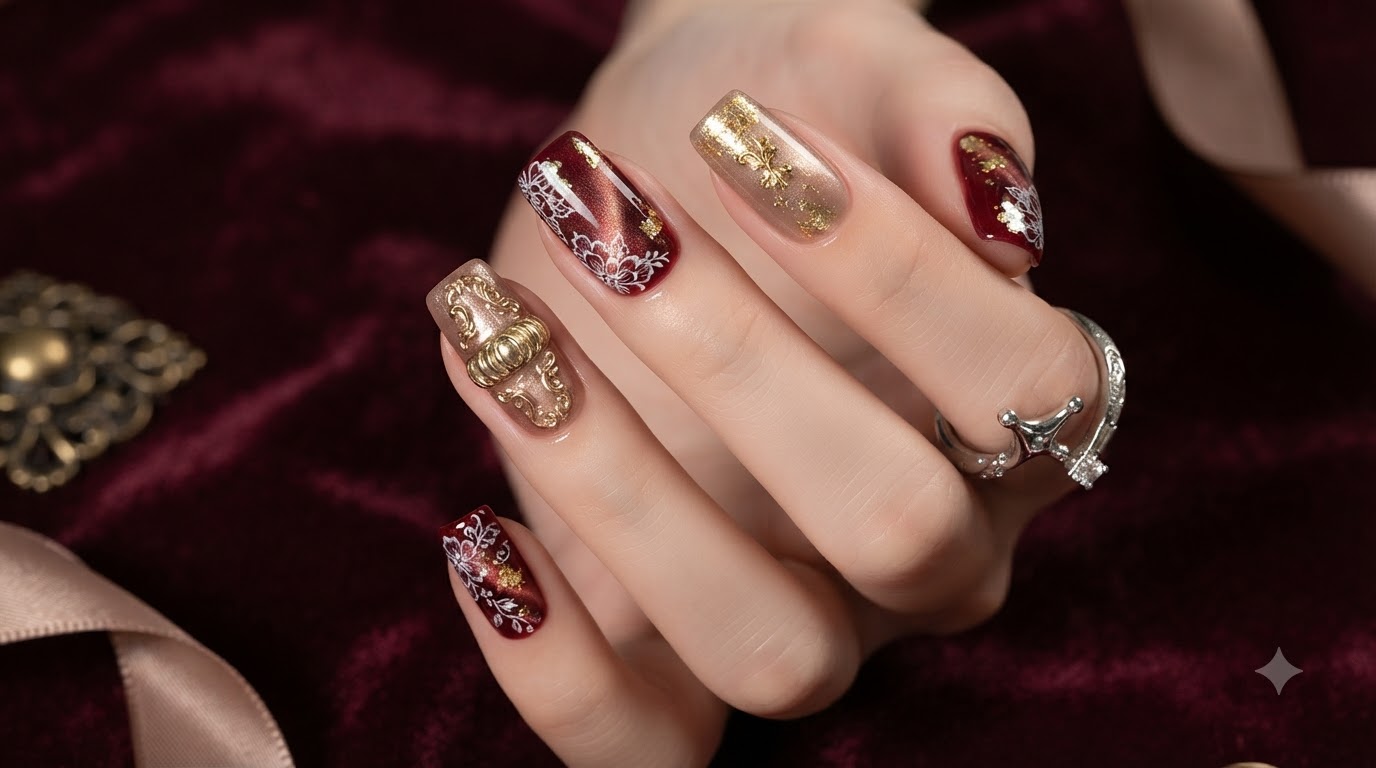
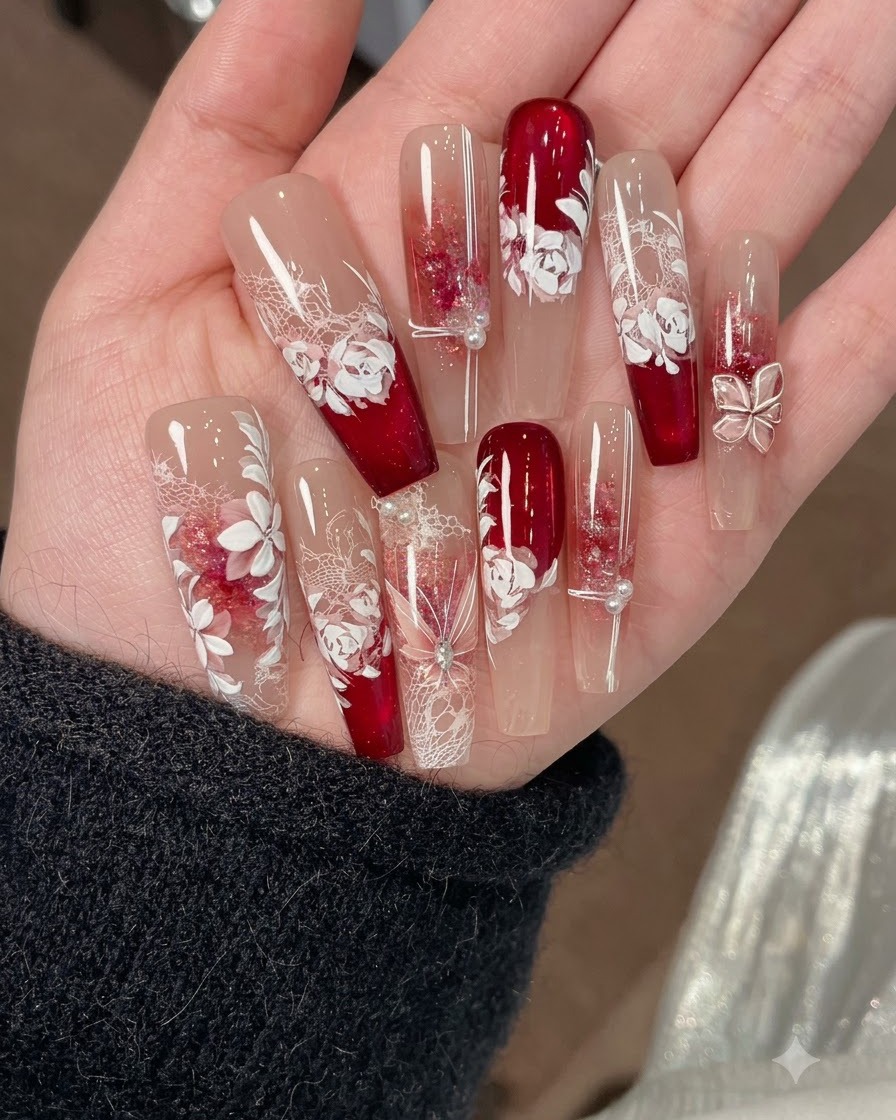
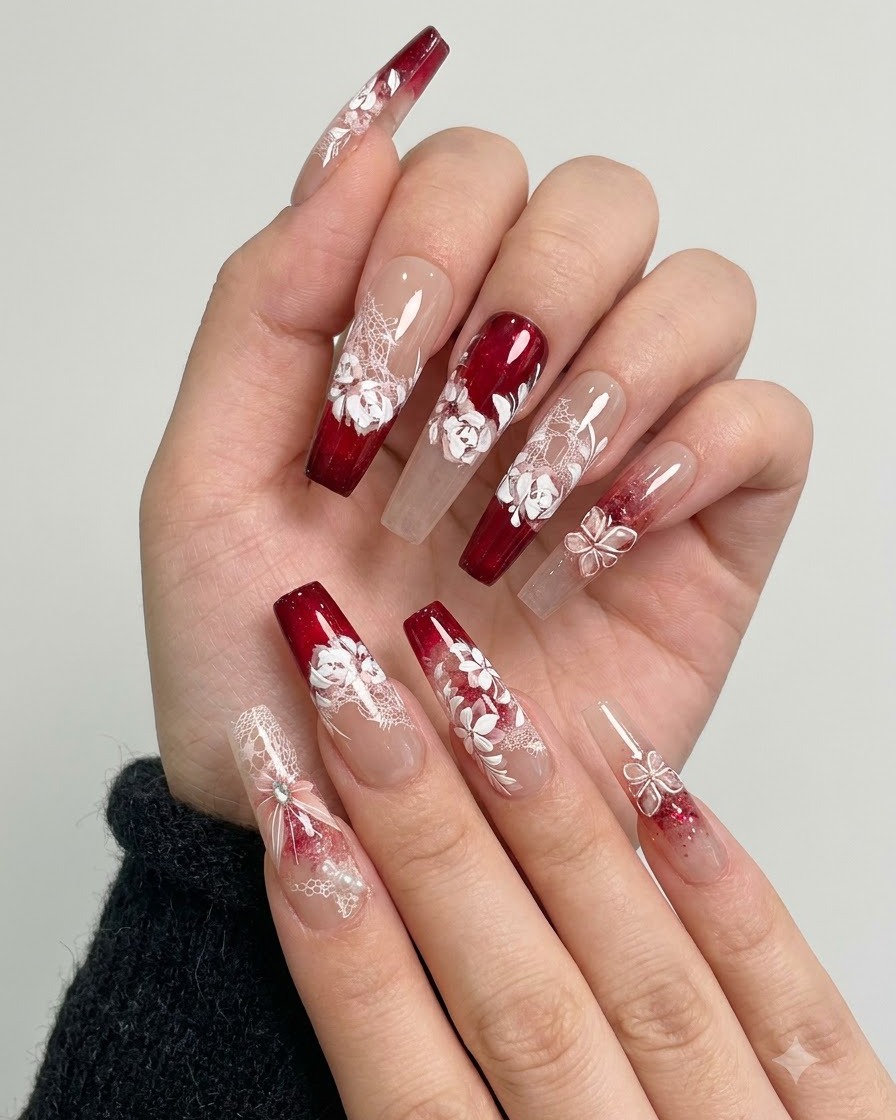
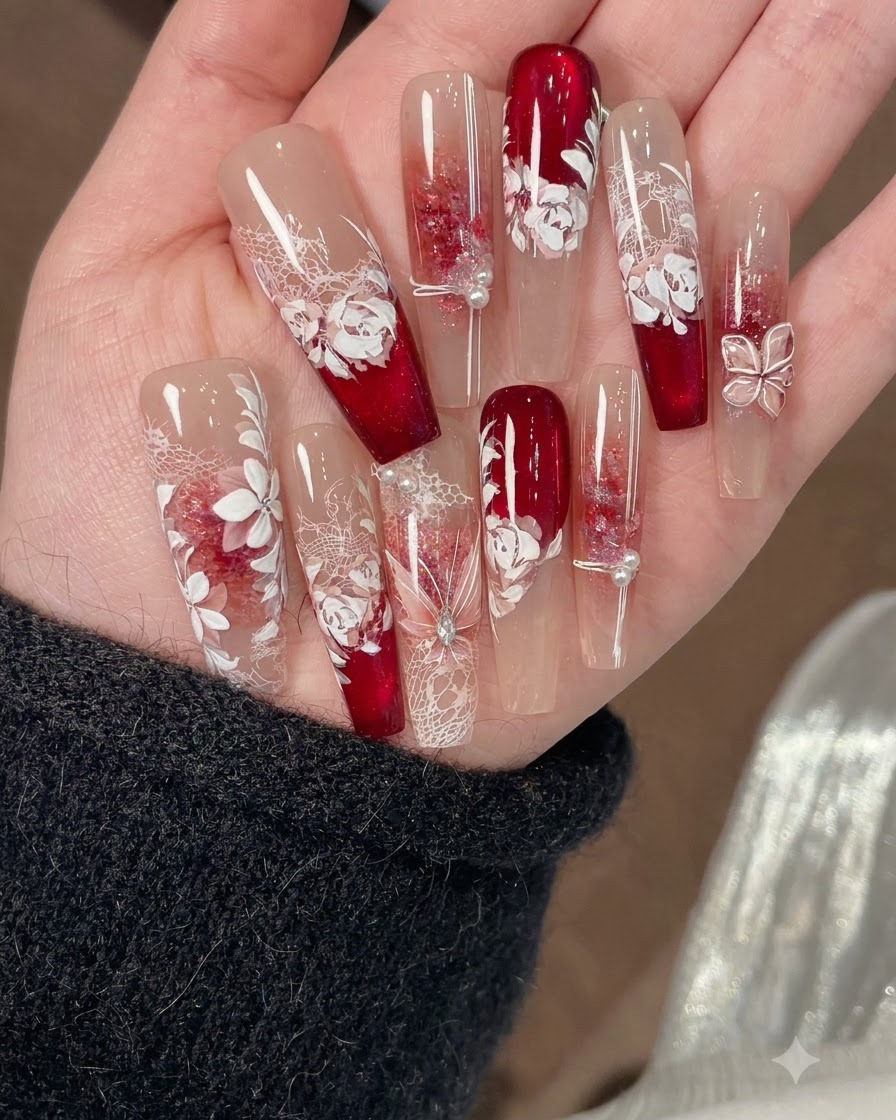
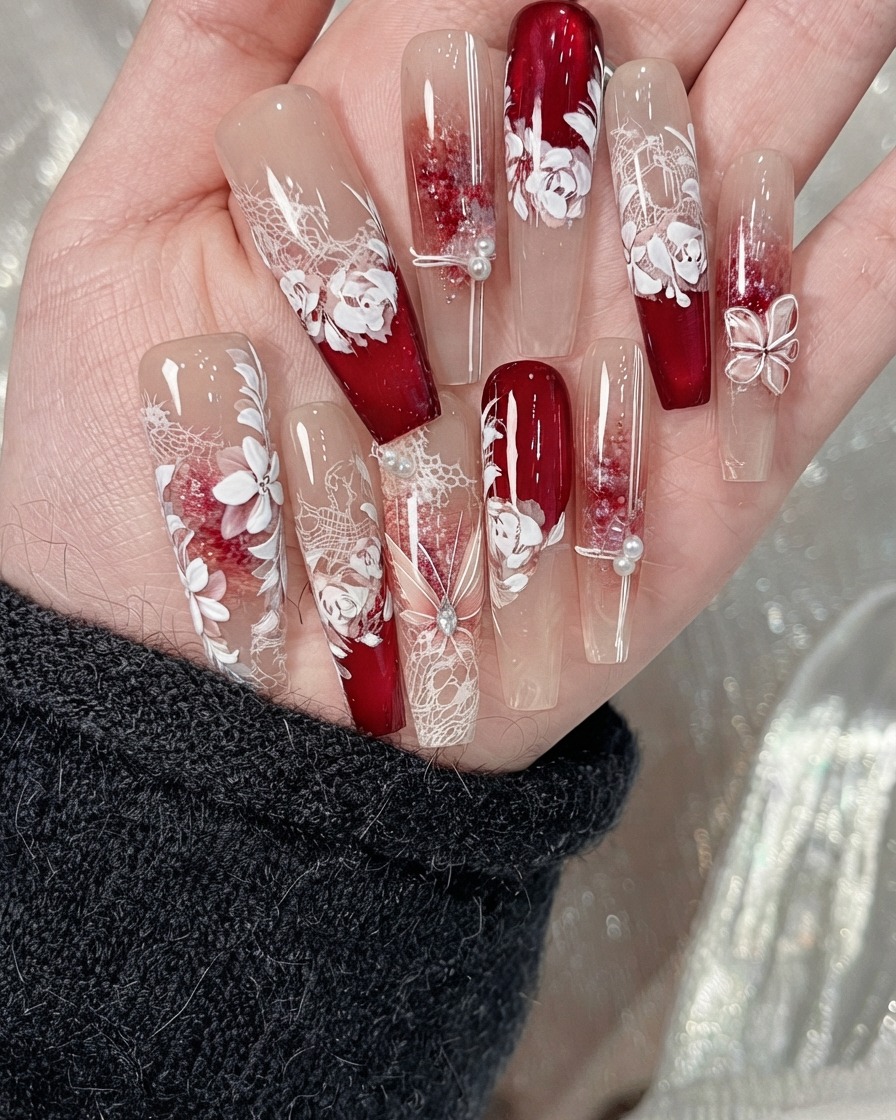
Discover how to create exquisite Summer Night press-on nails featuring rich red cat-eye gel, delicate white lace stamping, hand-painted watercolor roses, and sparkling crystal accents.
The Summer Night nail look combines sophisticated dark red cat-eye depths with intricate white lace detailing and delicate hand-painted watercolor roses. This tutorial guides you through every layer of this luxurious design, from stamping patterns to encapsulating crystals and pearls for a flawless press-on finish.
Steps
- 1Apply Nude Base Color
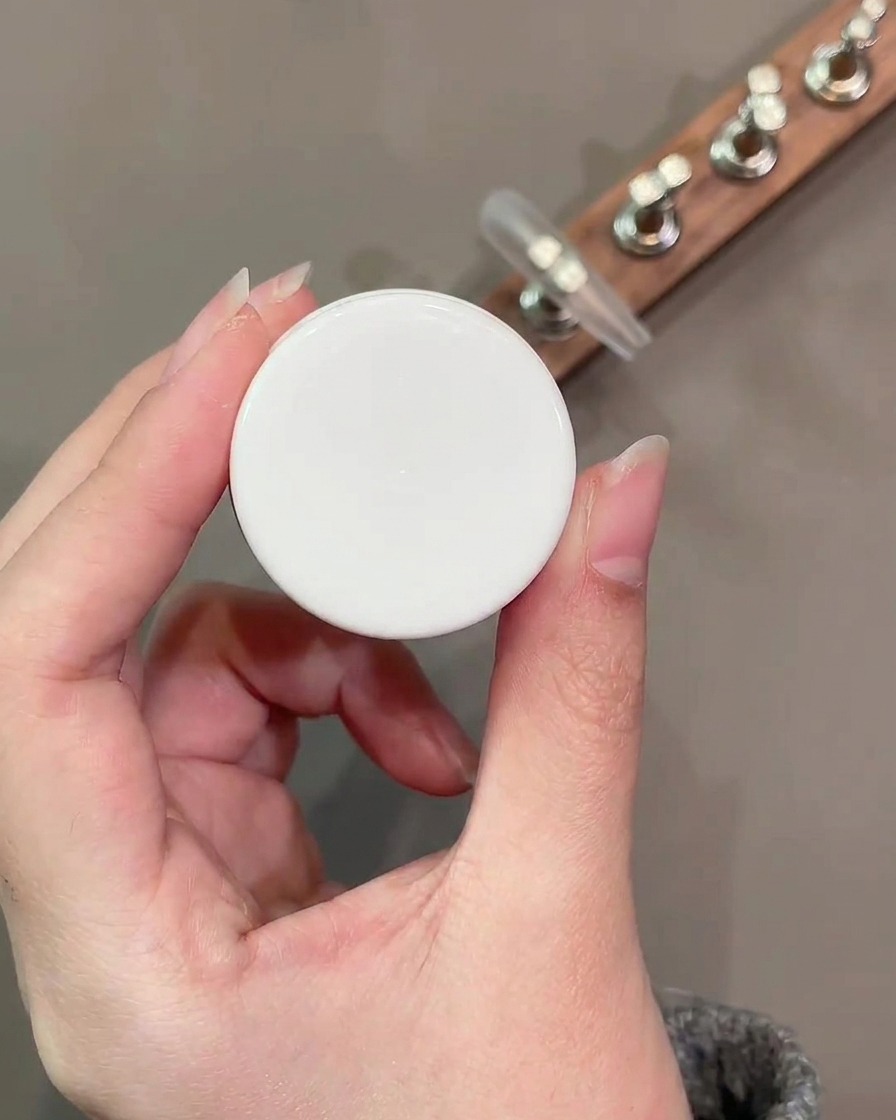
Apply a smooth, full layer of nude base gel color number 34 evenly across the entire surface of the prepped nail. Ensure the coverage is uniform from the cuticle area down to the free edge, creating a clean and consistent foundation for the subsequent nail art layers.
Tip: Keep the application layer thin and controlled to prevent pooling around the cuticles and ensure proper curing. - 2Pick Up Lace Pattern
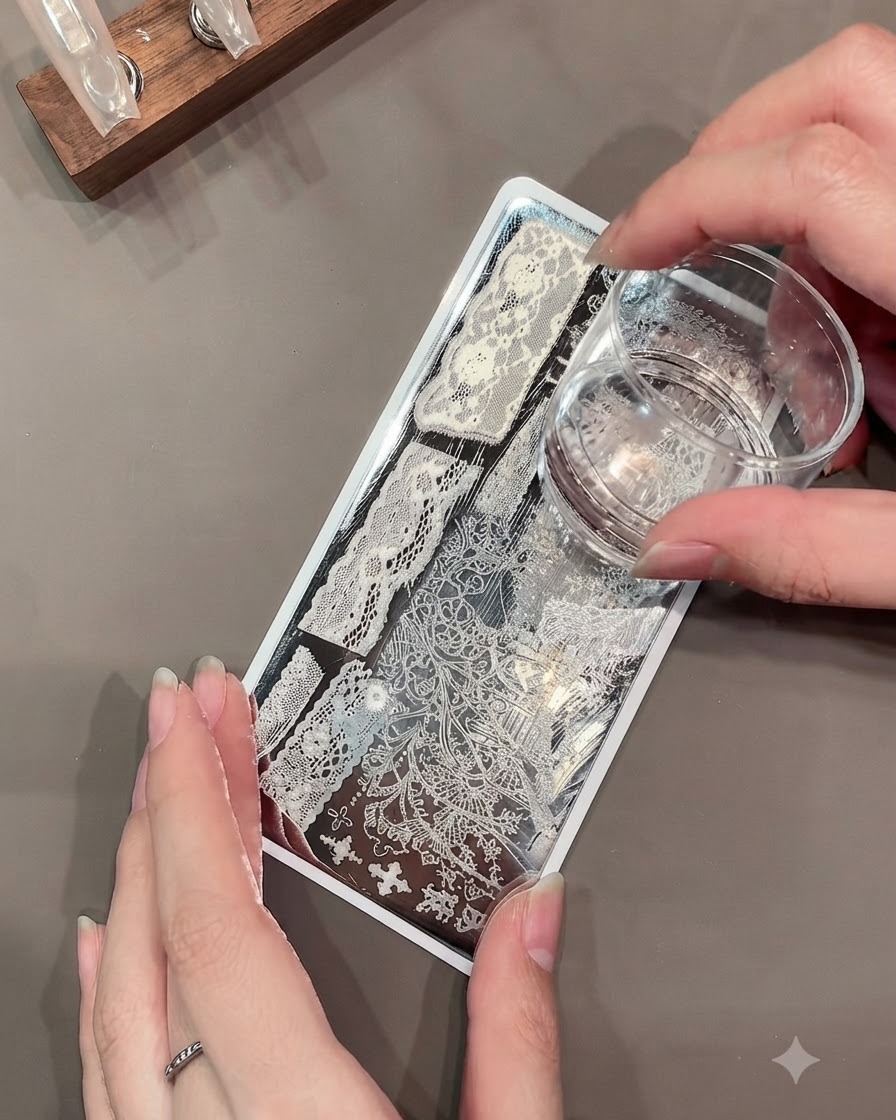
Press a clear jelly stamper firmly onto the desired lace pattern etched into the metal stamping plate to transfer the design. Make sure the stamp captures the intricate details of the lace clearly across the jelly surface before applying it to the nail.
Tip: Gently warm the stamping plate and gel if the environment is cold to improve the transfer consistency. - 3Transfer Lace Pattern
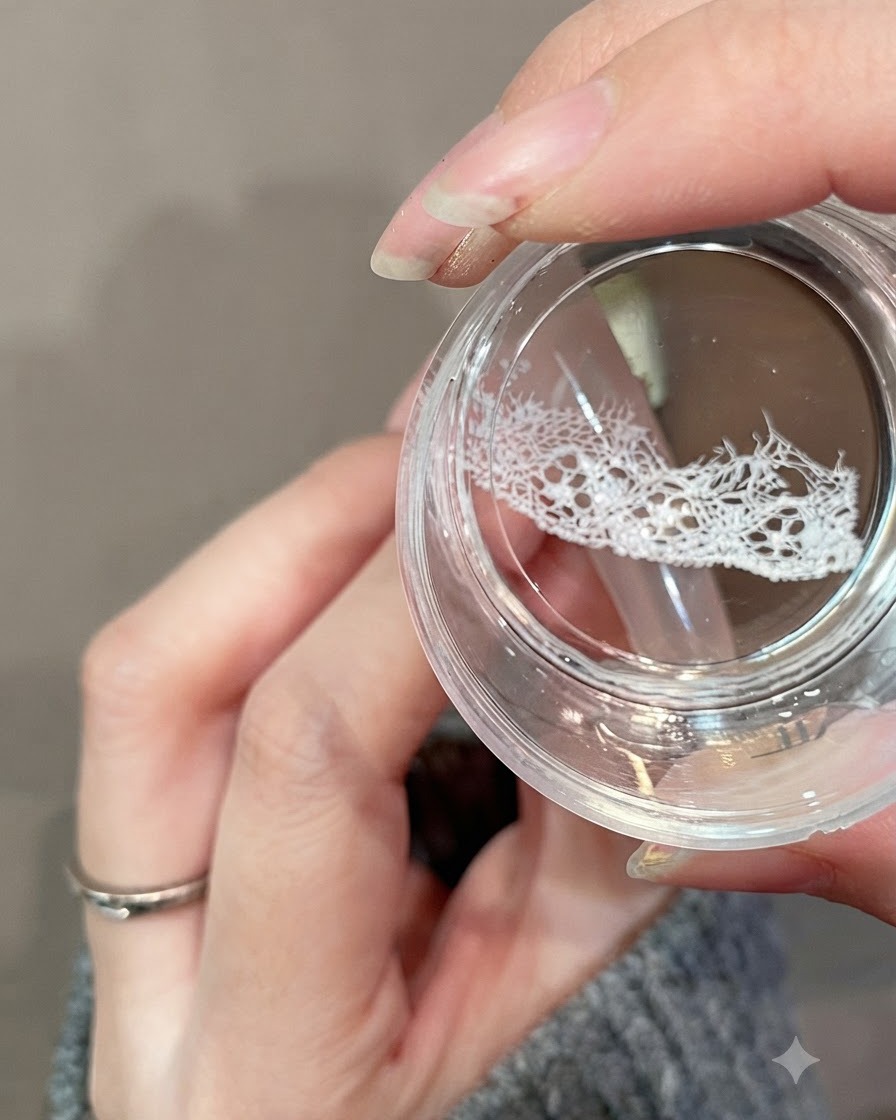
Carefully align the clear jelly stamper and press the white lace pattern onto the upper section of the nail tip. Roll the stamper smoothly from one side to the other to ensure the design adheres completely without air bubbles or distortion.
Tip: Press down gently and steadily so the delicate lace details transfer cleanly onto the tacky base layer. - 4Draw French Tip Line
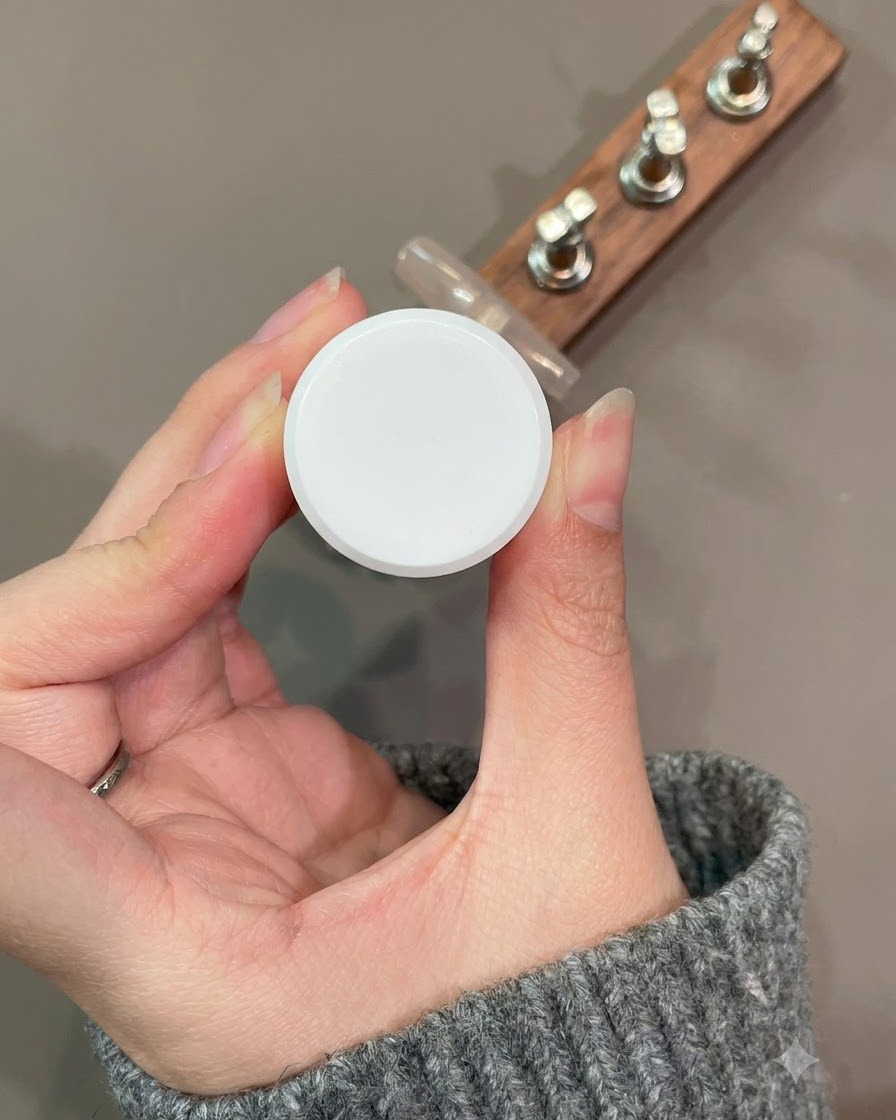
Using a fine liner brush dipped in dark red cat-eye gel, carefully paint a precise curved French tip line directly over the transferred lace pattern. Follow the natural contour of the nail tip to create a sharp and elegant separation line.
Tip: Keep your hand steady and use light pressure to achieve a clean, smooth curve across the entire width of the tip. - 5Fill Lower Tip Area
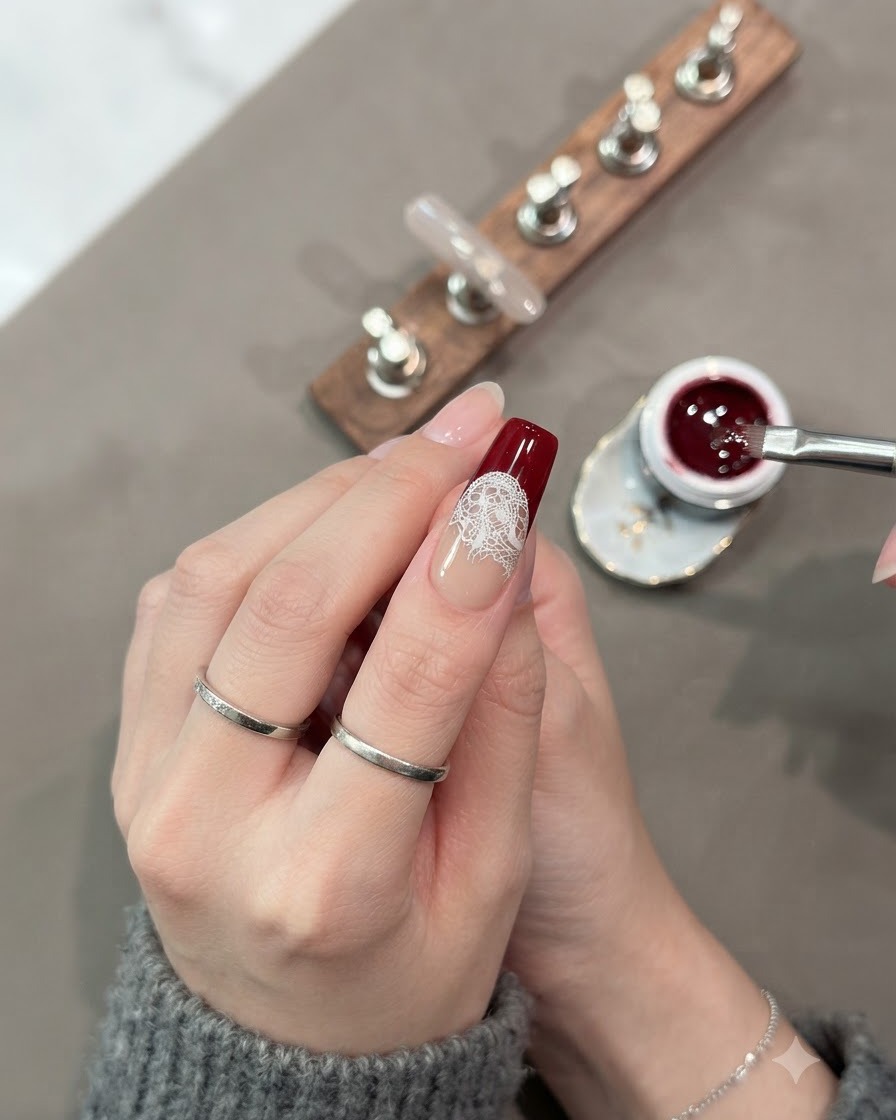
Take the dark red cat-eye gel and completely fill in the remaining space of the lower tip area below the French curve. Ensure the gel coats the entire lower portion evenly, creating a rich and opaque background for the magnetic shimmer effect.
Tip: Make sure the edges along the French curve remain crisp and clean while filling in the lower tip. - 6Activate Cat-Eye Shimmer
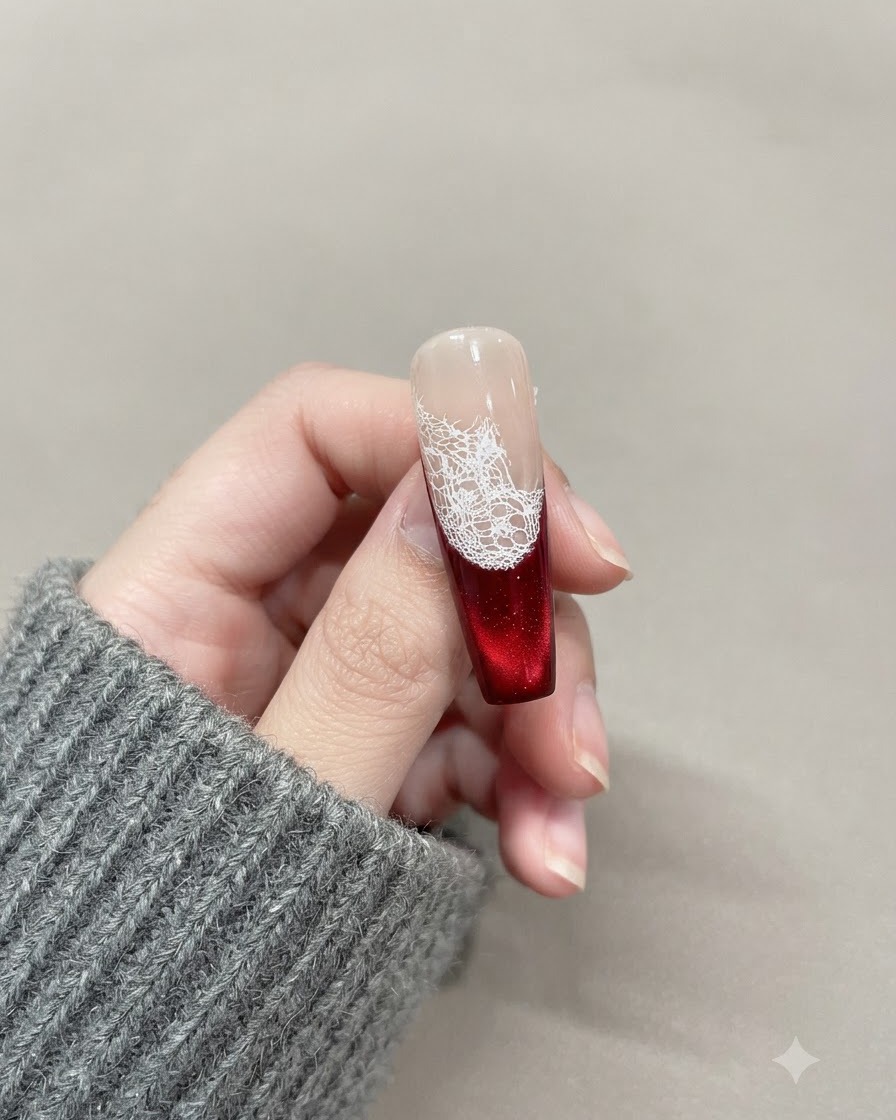
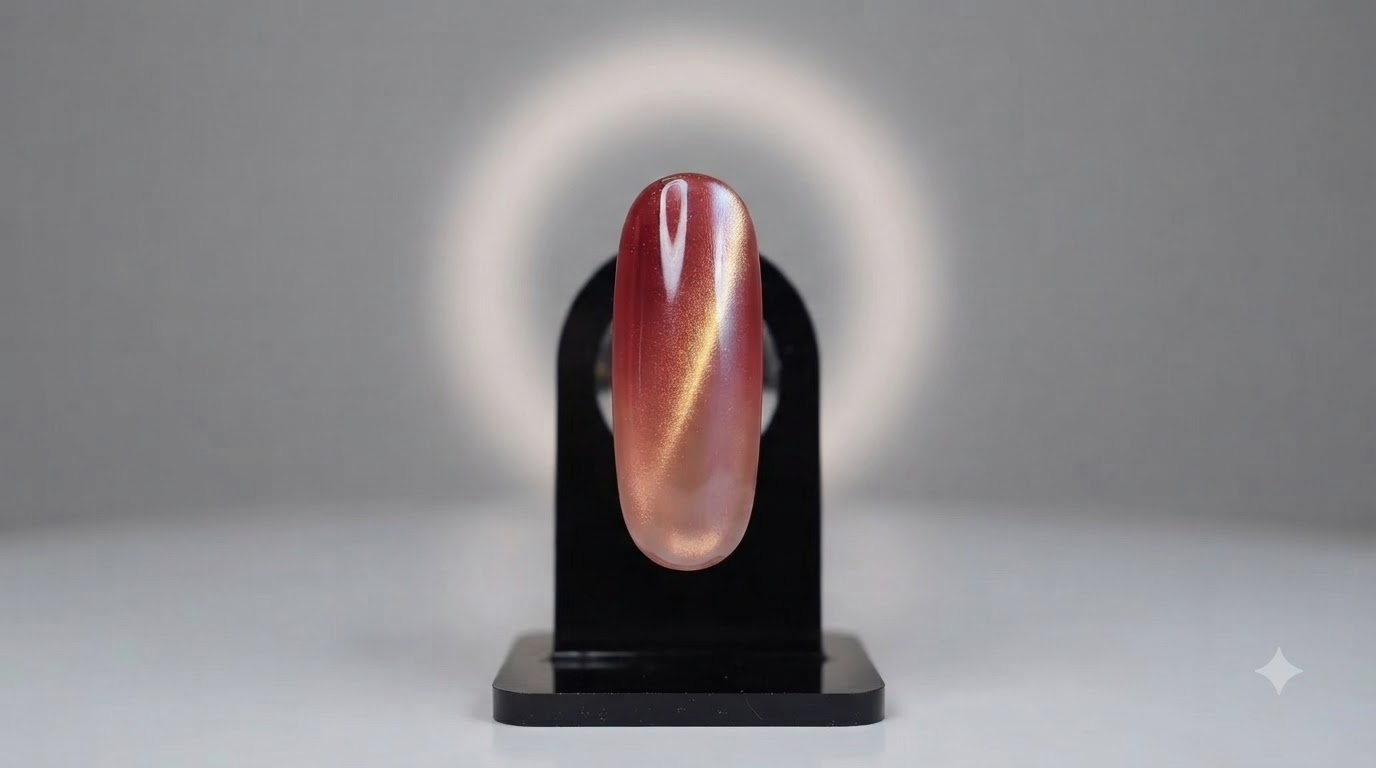
Hold a strong magnetic wand closely over the wet dark red cat-eye gel to gather and pull the magnetic shimmer particles upward toward the top edge. This creates a luminous, dimensional velvet light stripe effect within the deep red polish.
Tip: Hold the magnet steady for a few seconds until the desired cat-eye effect forms, then cure immediately to lock it in place. - 7Paint background rose outlines
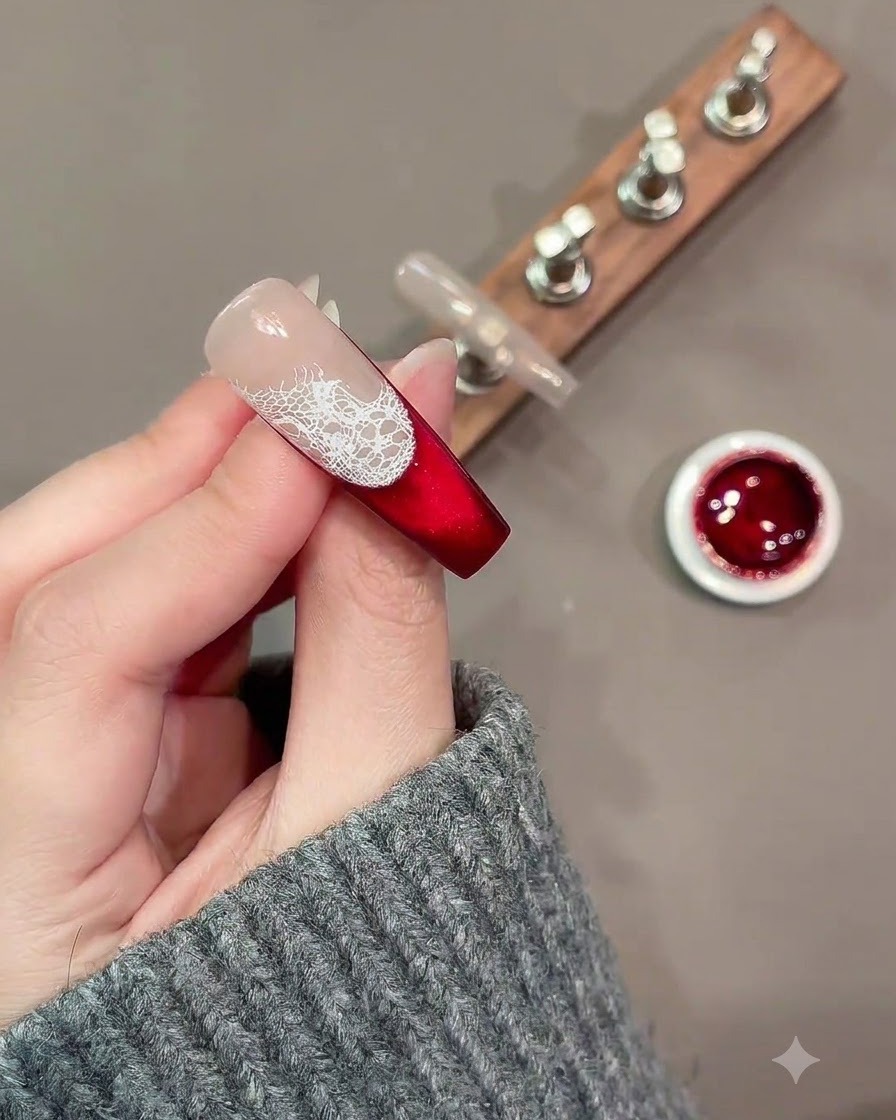
Using a fine nail art brush dipped in white gel, loosely paint the outlines of background roses directly over the lace pattern. Keep the strokes delicate and organic to build depth and texture within the floral composition.
Tip: Keep your hand steady and use light pressure to achieve fine, delicate outlines for the roses. - 8Add white leaf details
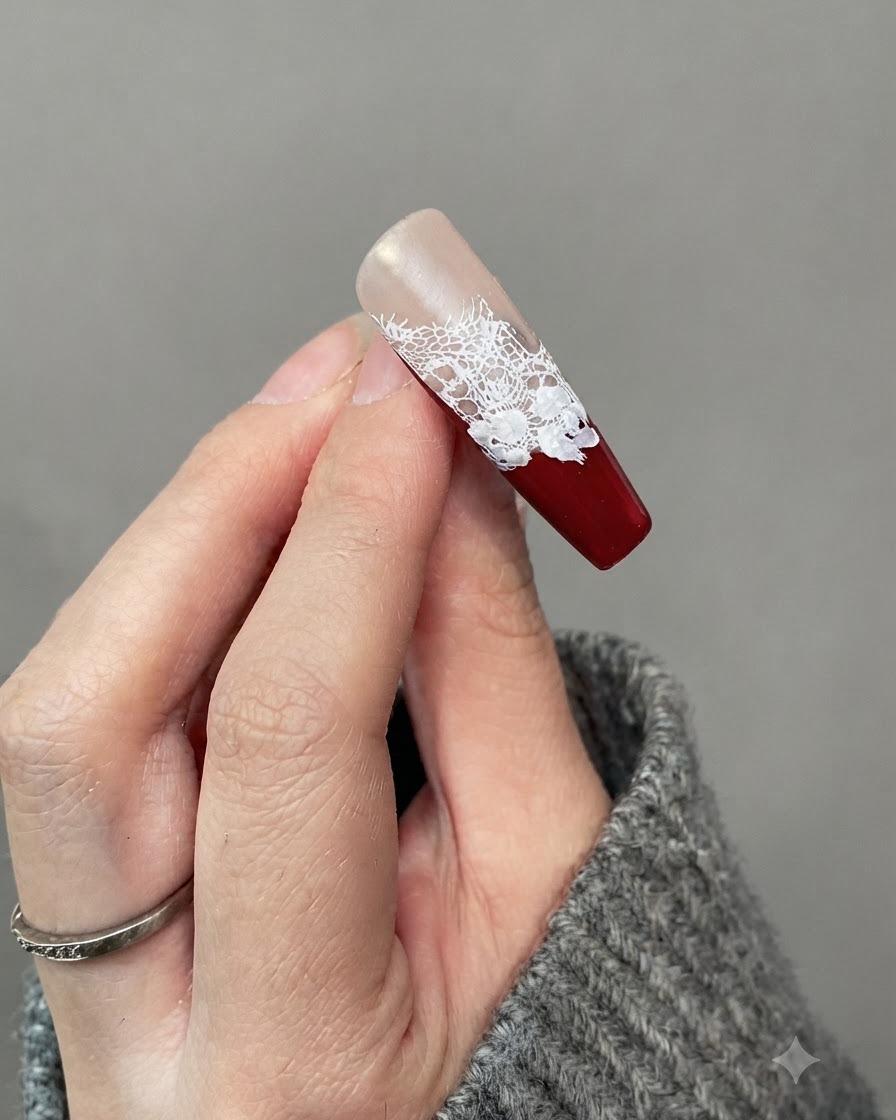
Using a fine brush, carefully paint small white leaf details around the edges of the rose flowers. These accents enhance the intricate floral arrangement and frame the design nicely.
Tip: Vary the size of the leaves slightly to create a more natural and balanced look. - 9Apply matte top coat
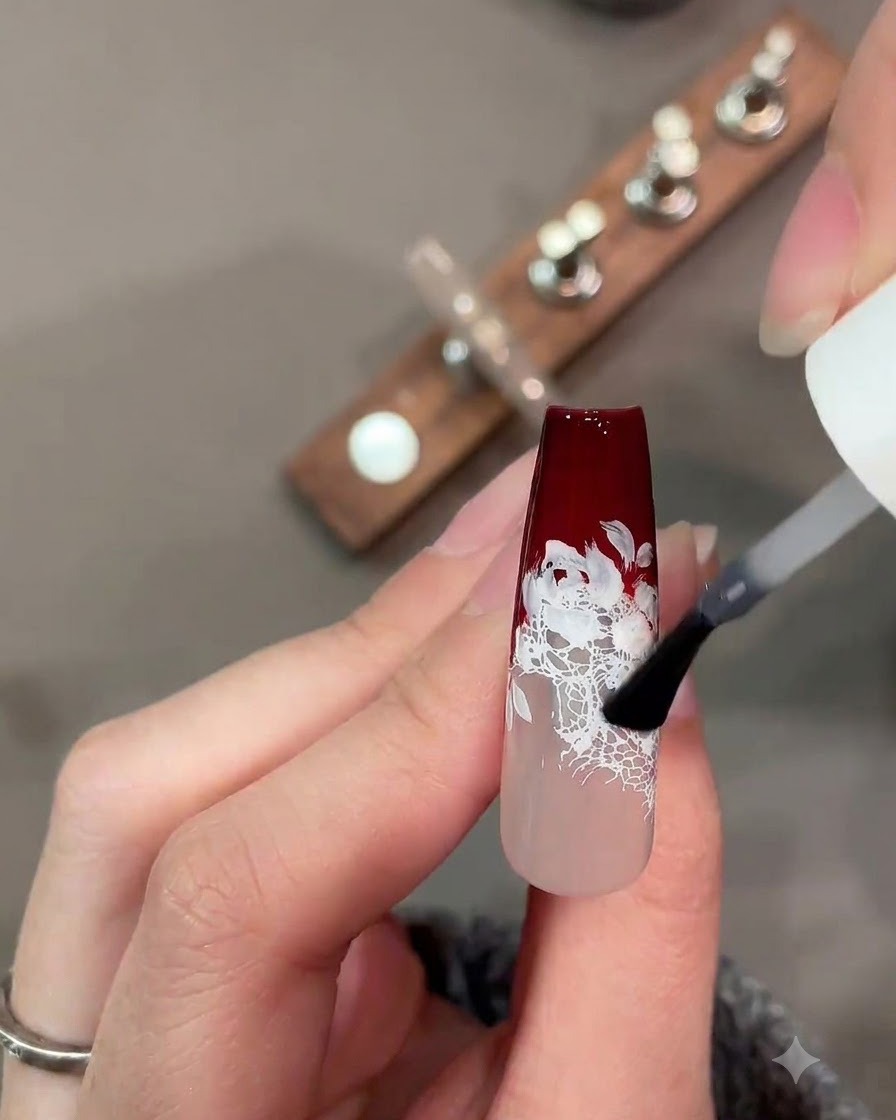
Apply a layer of matte top coat evenly over the entire nail design to seal the artwork and create a smooth velvet texture.
Tip: Ensure the top coat covers all edges to protect the painted design from chipping. - 10Prepare watercolor pigments
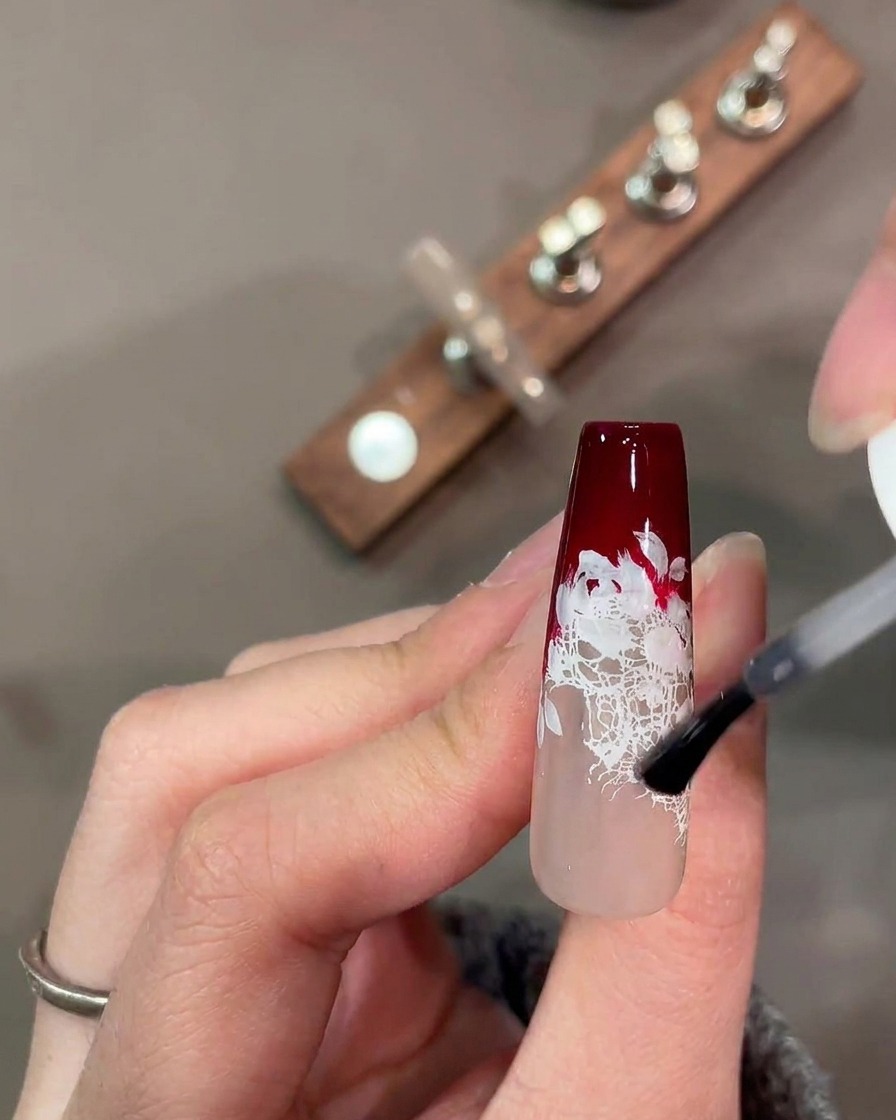
Mix watercolor palette pigments including red, green, and pink shades to prepare the custom colors needed for painting the watercolor roses and leaves.
Tip: Test the pigment consistency on a palette before applying to ensure the transparency is correct. - 11Apply watercolor roses
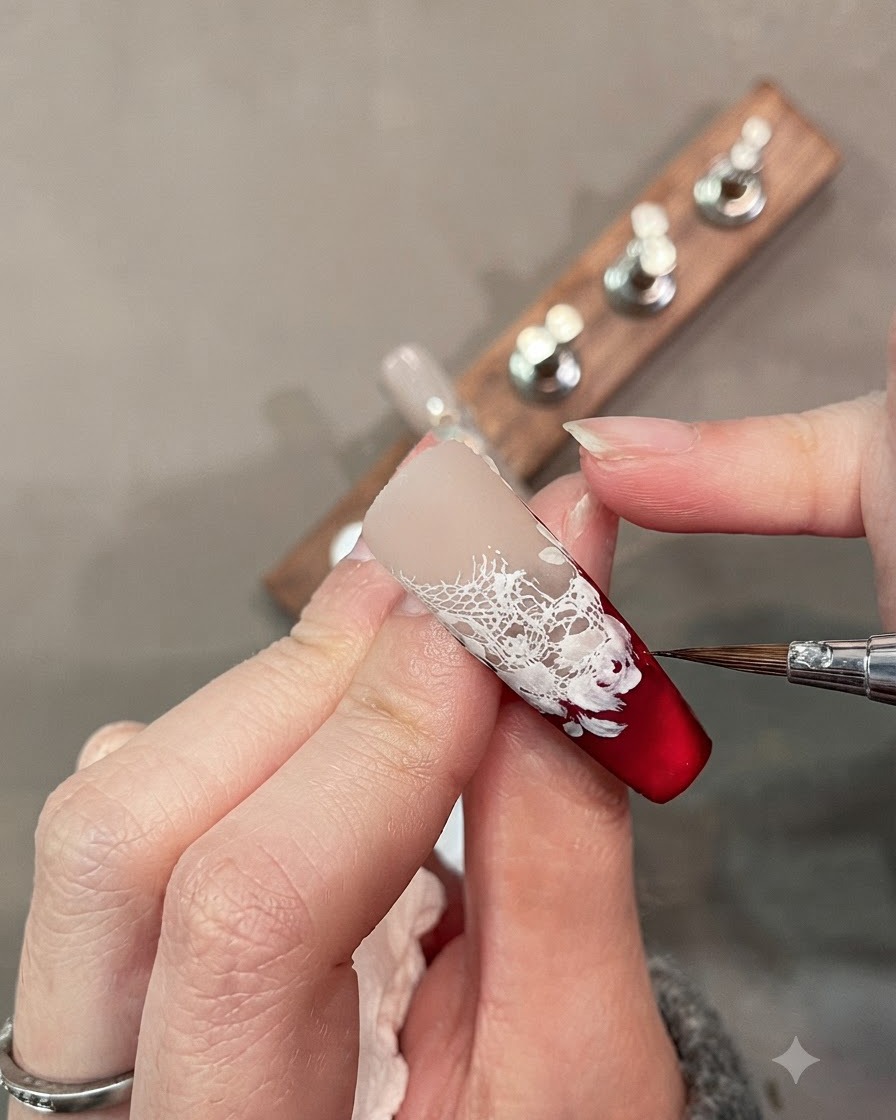
Apply the prepared watercolor pigments over the white rose base, allowing the outer layers to bloom and blend naturally for a soft, watercolor effect.
Tip: Control the amount of water on your brush to prevent the pigments from bleeding outside the desired lines. - 12Paint watercolor leaves
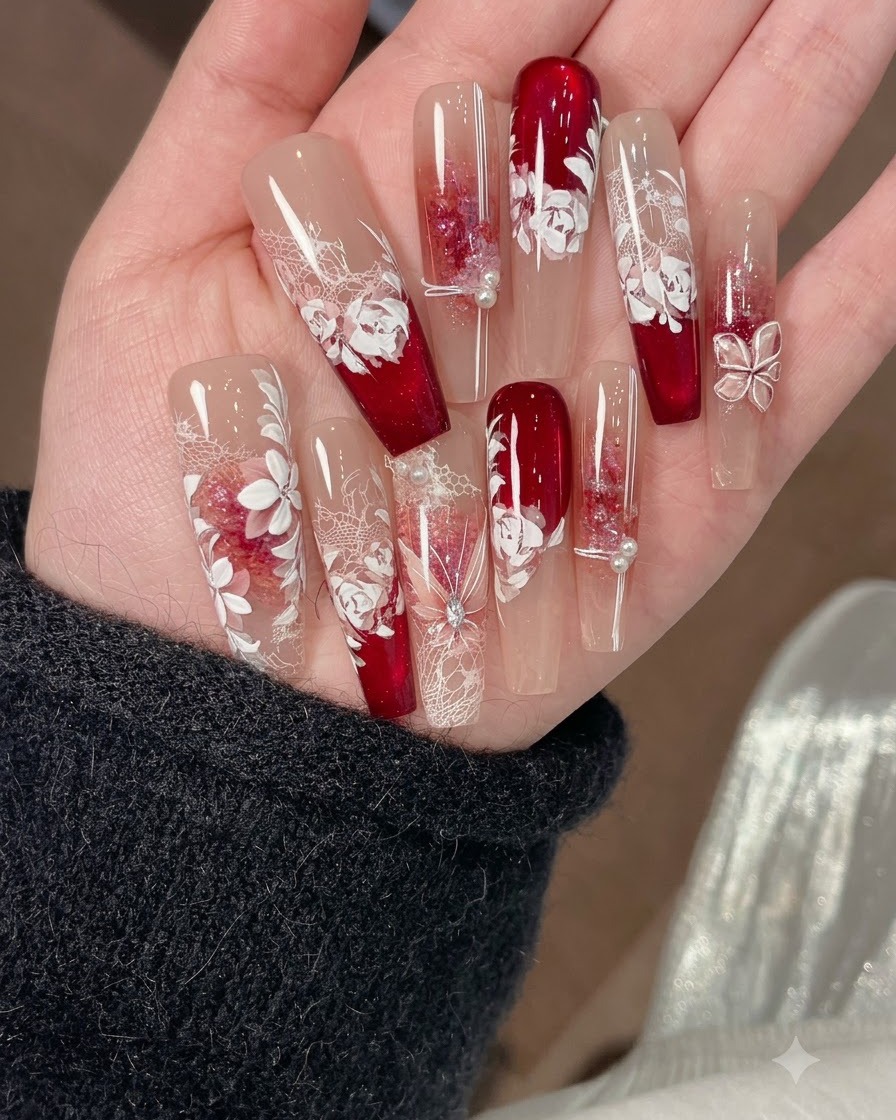
Mix green and a small amount of red watercolor paint to create natural, muted leaf colors. Use this mixture to paint the leaves around the roses, adding realistic depth to the foliage.
Tip: Adding a tiny hint of red to green neutralizes the brightness, resulting in a more realistic botanical shade. - 13Apply yogurt gel base
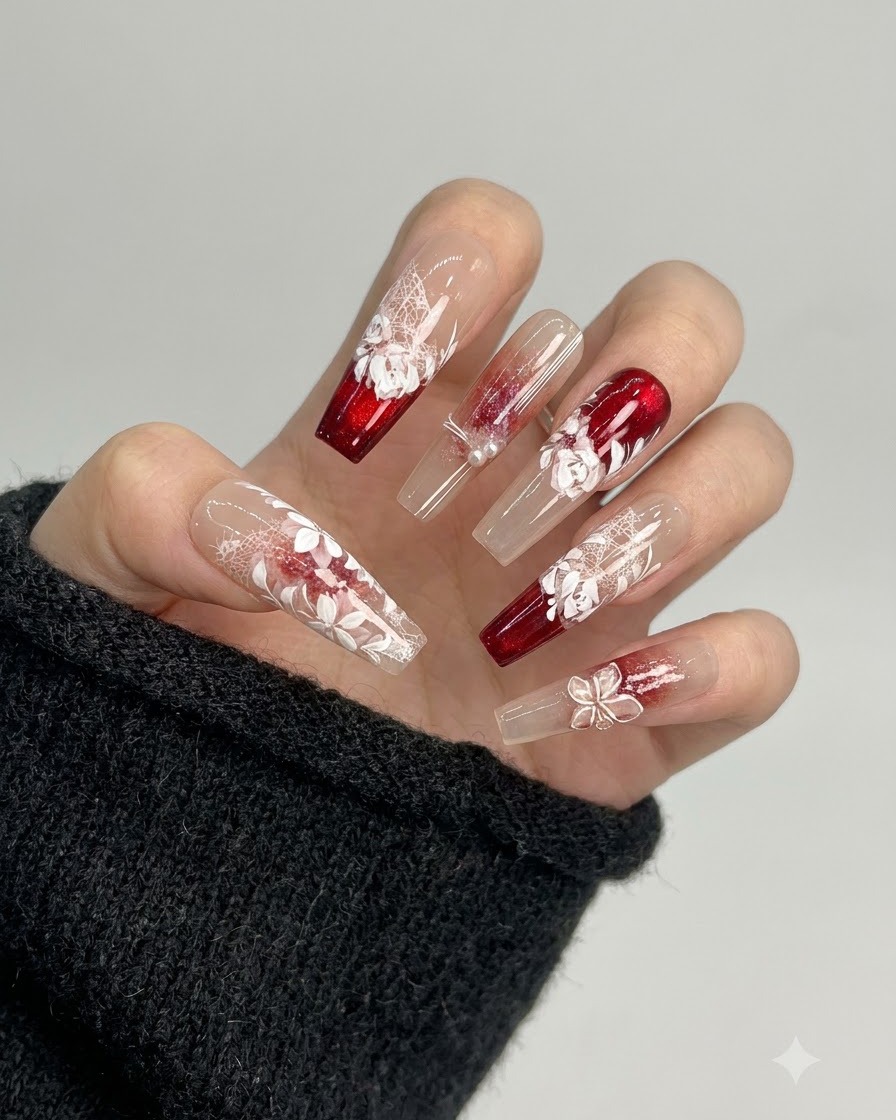
Apply a thin layer of yogurt gel shade 05 onto another nail to serve as the base coat, blending the edges naturally.
Tip: Keep the layer thin to maintain a natural soft transition at the edges. - 14Select color jars for gradient
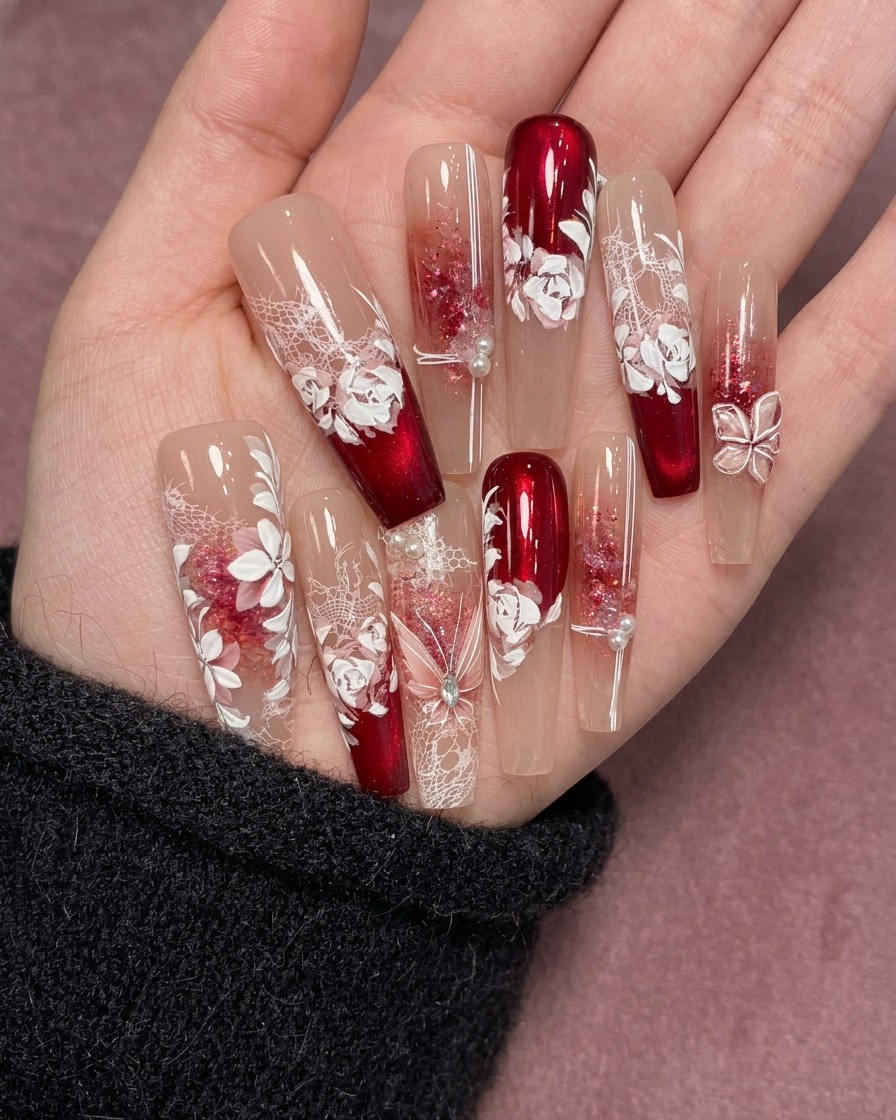
Choose two complementary color jars to create the gradient effect for the second nail style. Having the correct shades ready ensures smooth color transitions during the blending process.
Tip: Select shades that blend well together to achieve a natural, seamless gradient finish. - 15Apply mellow shade 03 base coat
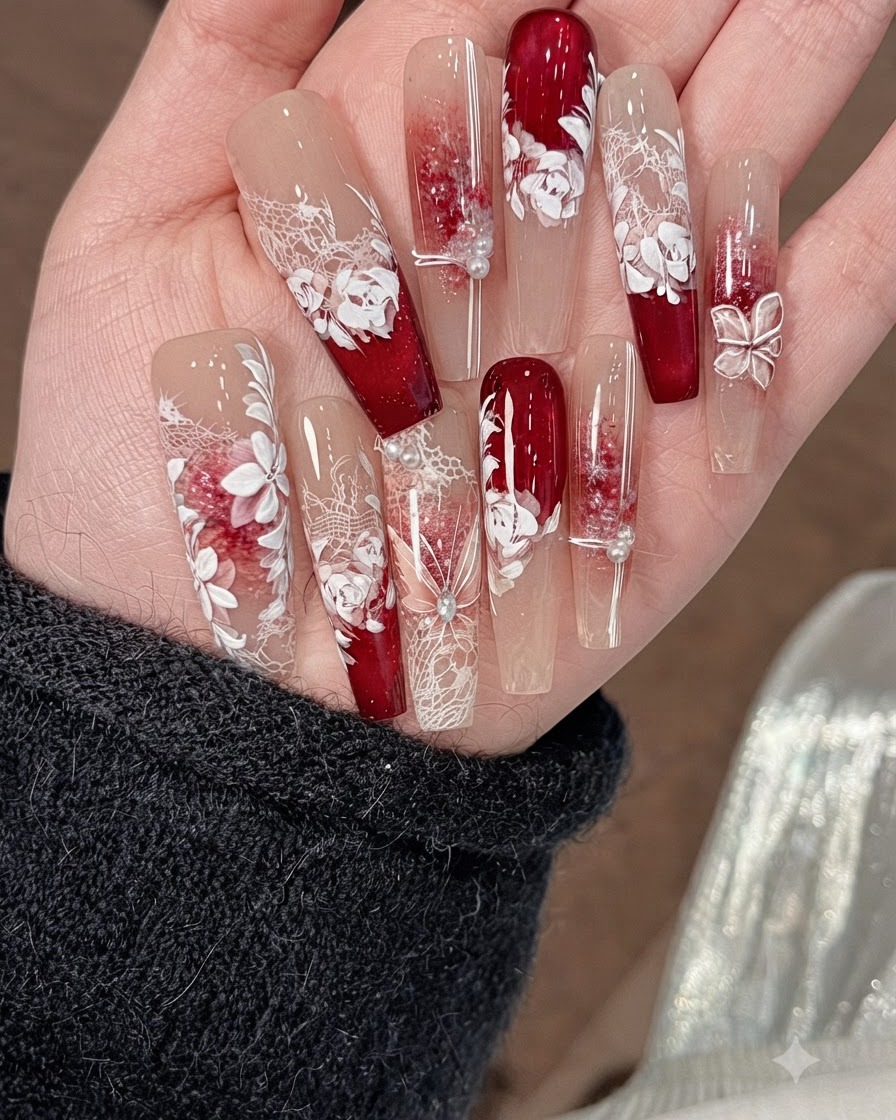
Apply mellow shade 03 overall as a foundational base coat layer for the gradient effect. Ensure an even application to prepare the surface for subsequent color blending.
Tip: Keep the base layer smooth and uniform to support the layered gradient tones. - 16Build shade 03 layers
Repeat the application of shade 03 for two to three layers, ensuring soft, natural edge transitions between each coat. This builds depth and richness in the gradient base.
Tip: Blend the edges of each layer naturally to avoid harsh lines or abrupt color changes. - 17Deepen center with color number 6
Apply lang-nuo color number 6 specifically in the center area of the nail to deepen the color gradient and add dimension. Blend the surrounding edges gently into the existing base.
Tip: Focus the concentration of color in the center to maximize the depth effect. - 18Apply soft extension gel
Apply a layer of soft extension gel over the design without curing it under the lamp yet. Keeping the gel uncured allows you to drop halo liquid into it for blooming effects.
Tip: Do not cure this layer immediately so that subsequent liquid drops can disperse properly. - 19Add white pearl halo liquid
Apply a drop of white pearl halo dyeing liquid directly into the center of the uncured soft gel layer. Allow it to disperse and blend naturally within the gel medium.
Tip: Place the drop precisely in the center and let the wet gel carry the halo effect outward. - 20Blend halo dyeing liquid edges
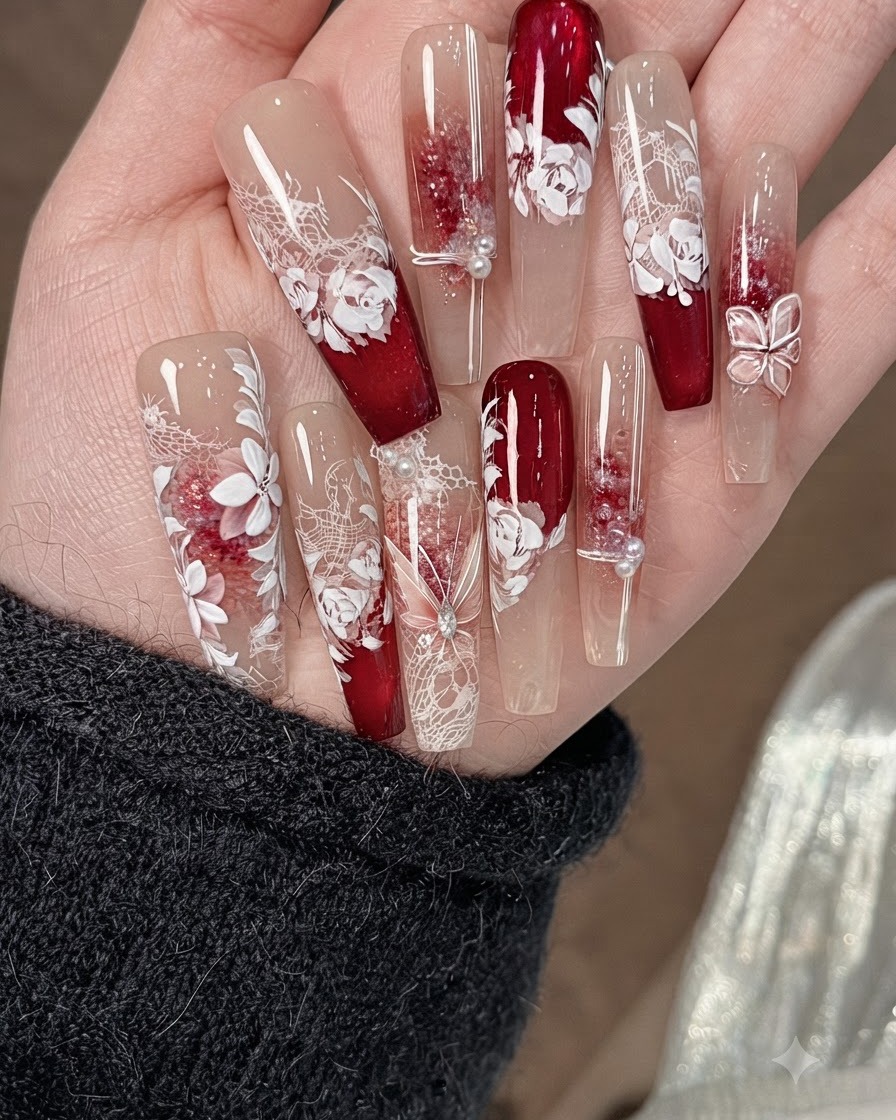
Using a clean brush, gently blend and soften the edges of the halo dyeing liquid to create a seamless, diffused watercolor effect across the center design.
Tip: Keep your brush slightly damp with blending solution to avoid harsh lines and ensure a smooth gradient transition. - 21Apply non-curing reinforcement gel
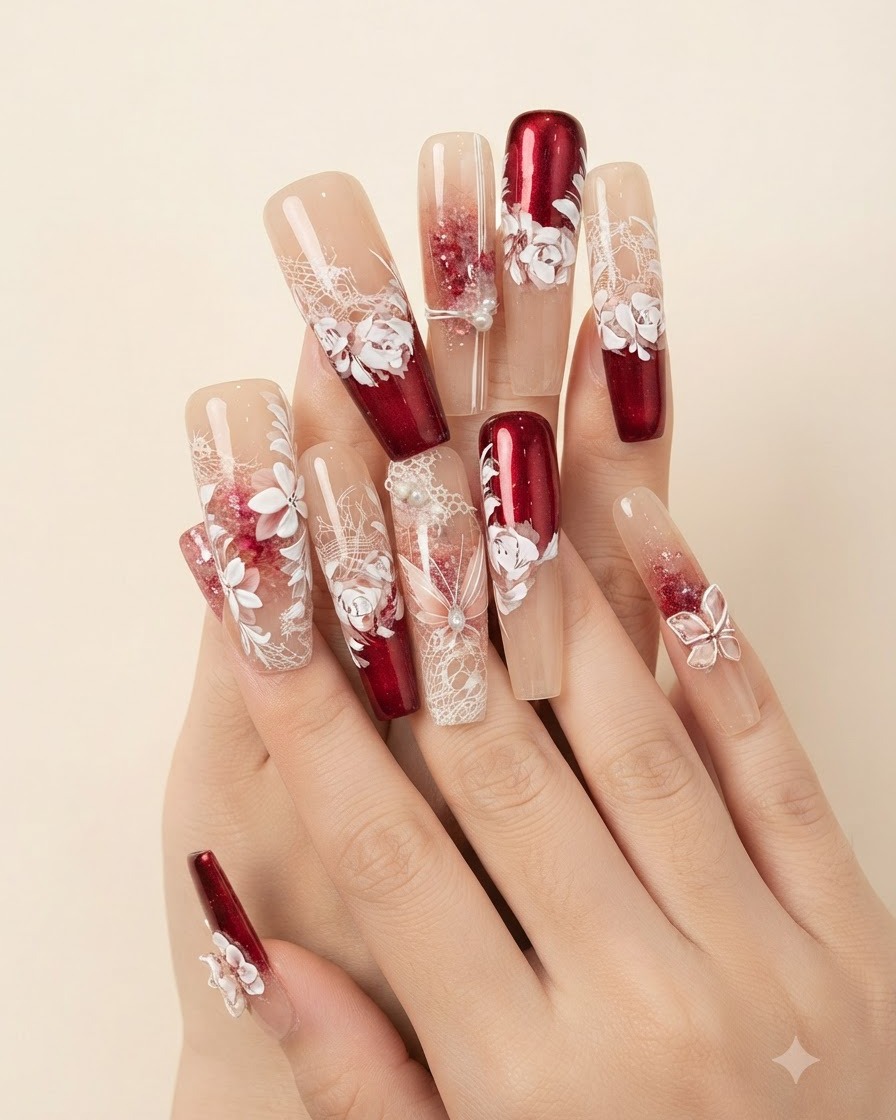
Apply a layer of soft non-curing extension and reinforcement gel over the nail surface to encapsulate and protect the intricate design elements before adding the final top coat.
Tip: Ensure the gel covers all raised embellishments evenly to lock them securely in place. - 22Apply shiny black diamond top coat
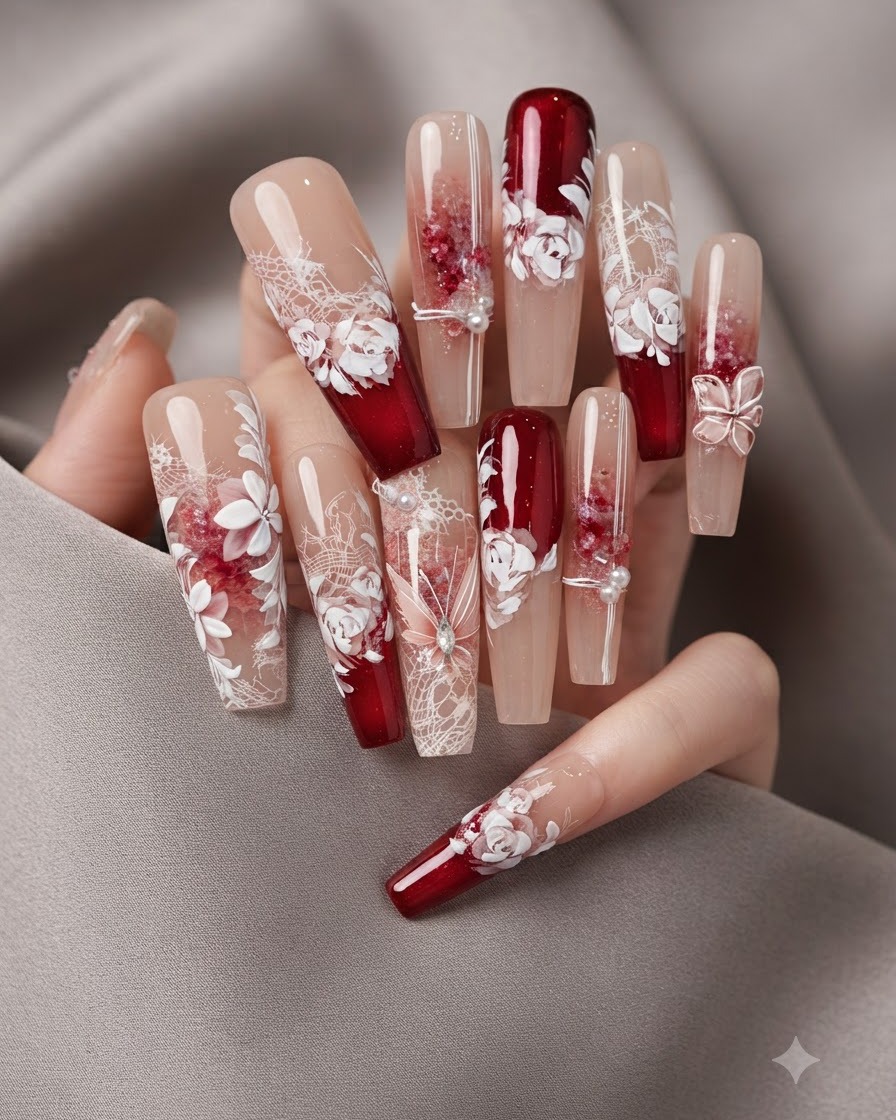
Apply a layer of shiny black diamond crystal top coat, which provides an exceptionally clear and wear-resistant finish, leaving a smooth surface ideal for press-on nails without hardening the cuticles.
Tip: Cap the free edge carefully with the top coat to prevent chipping and seal the entire encapsulated design. - 23Paint secondary white petals
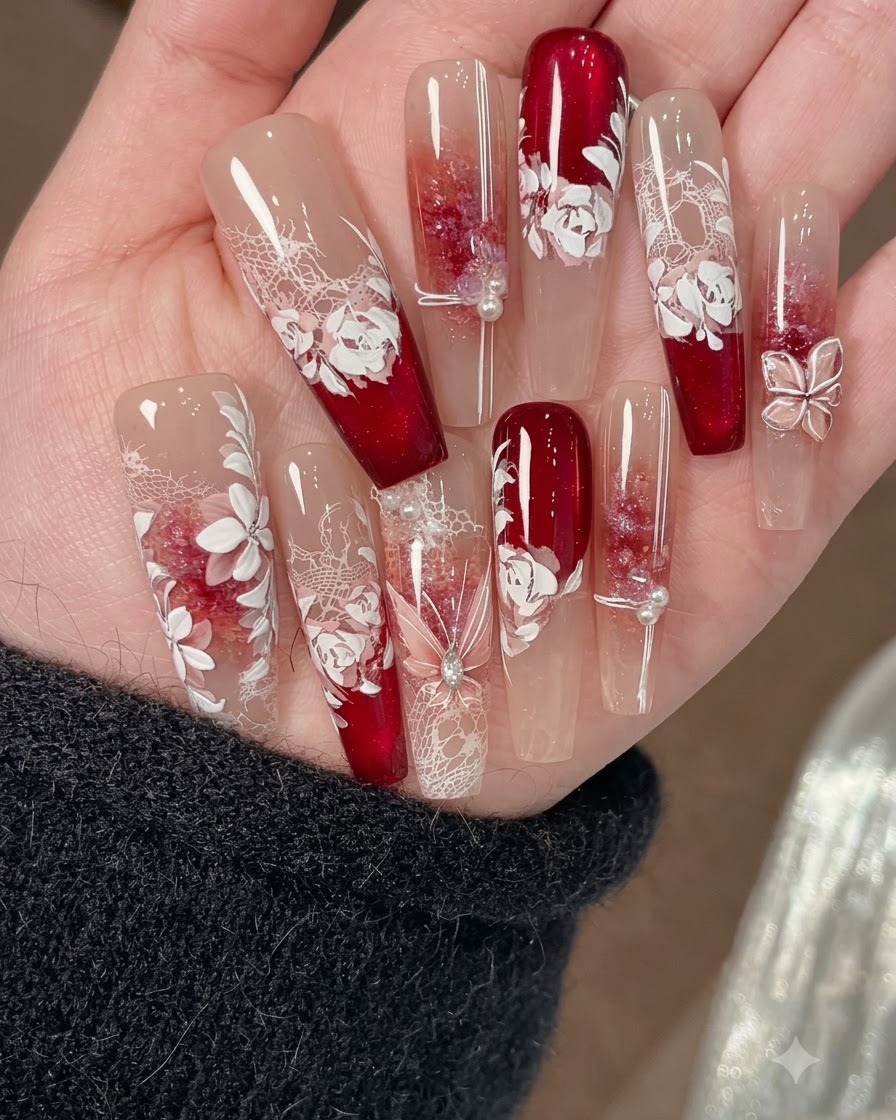
After curing the top coat, paint a second detailed layer of white petals within the bounds of the first floral layer. Keep your brush steady and paint carefully for added dimension.
Tip: Layering the petals after the top coat creates a distinct 3D floating effect on top of the glossy finish. - 24Add fine liner brush accents
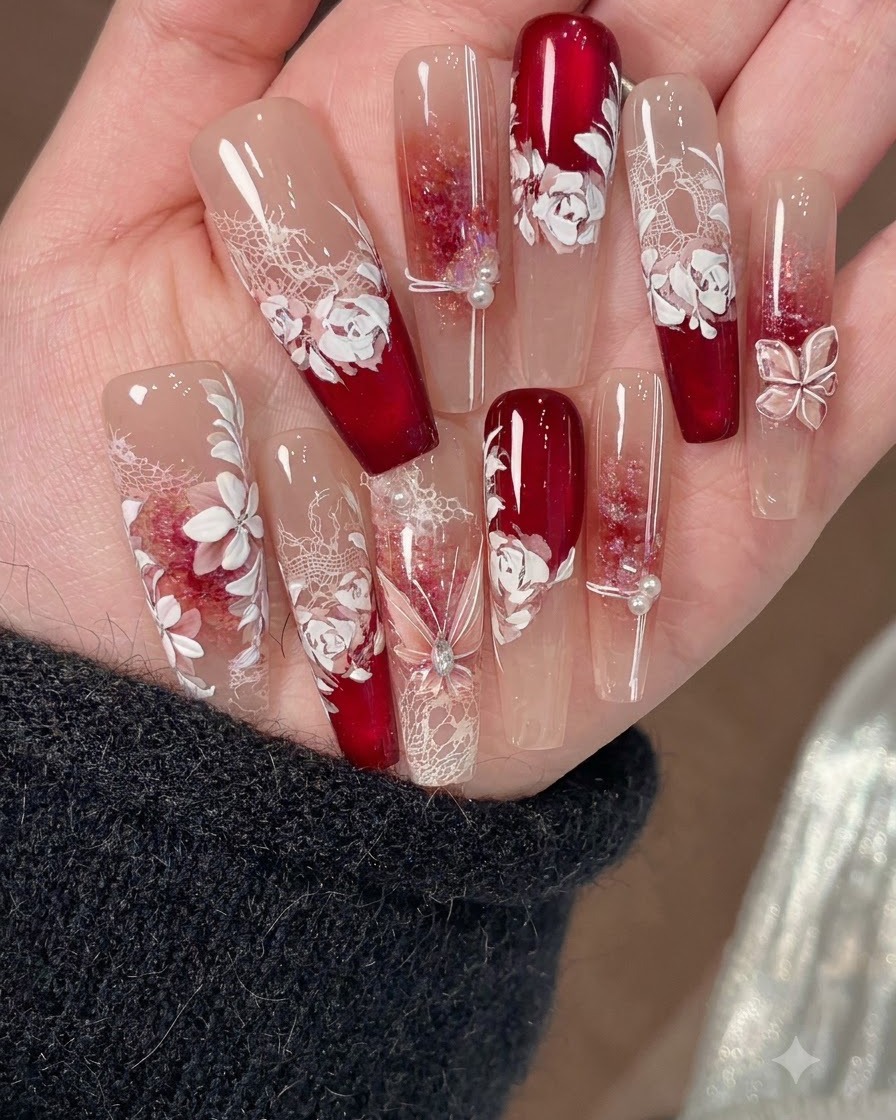
Use a fine liner brush to introduce small, delicate white accent lines and details to complement the floral composition and enhance the overall texture.
Tip: Use minimal pressure on the tip of your brush to draw sharp, ultra-thin lines. - 25Wrap fine string lines and accent stones
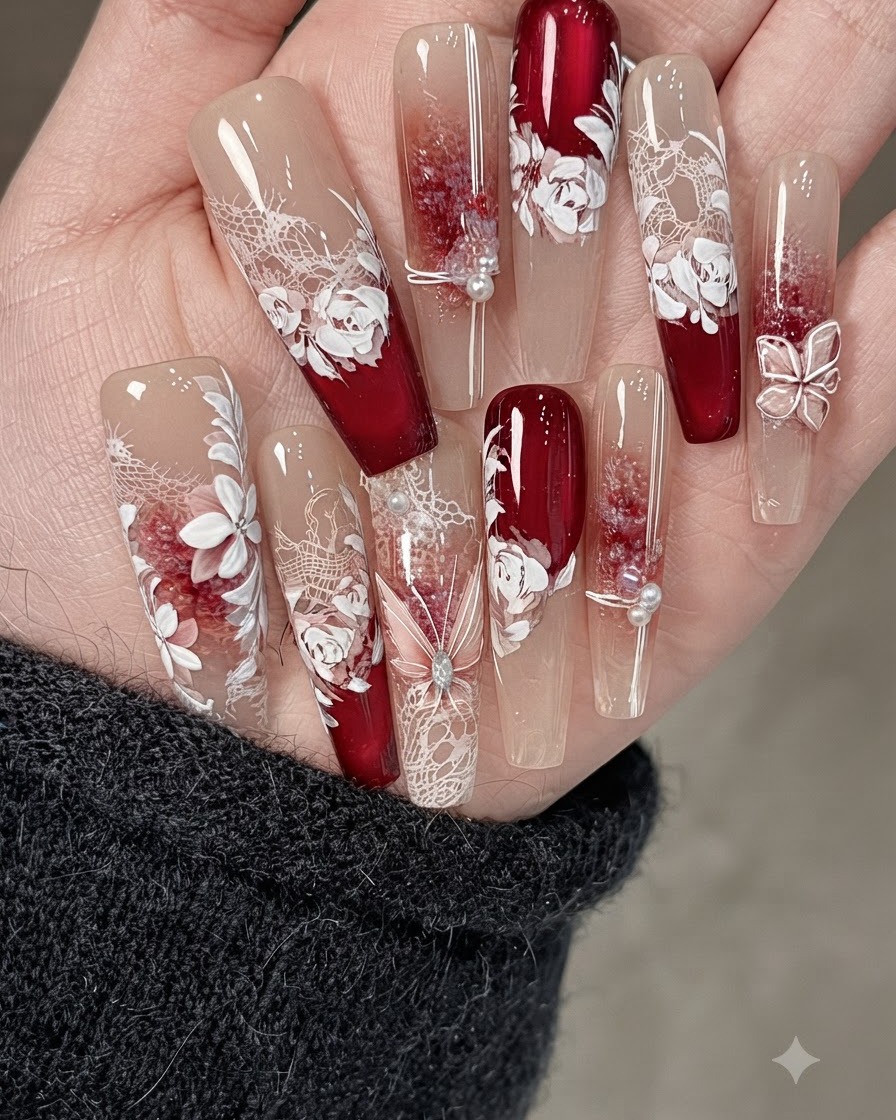
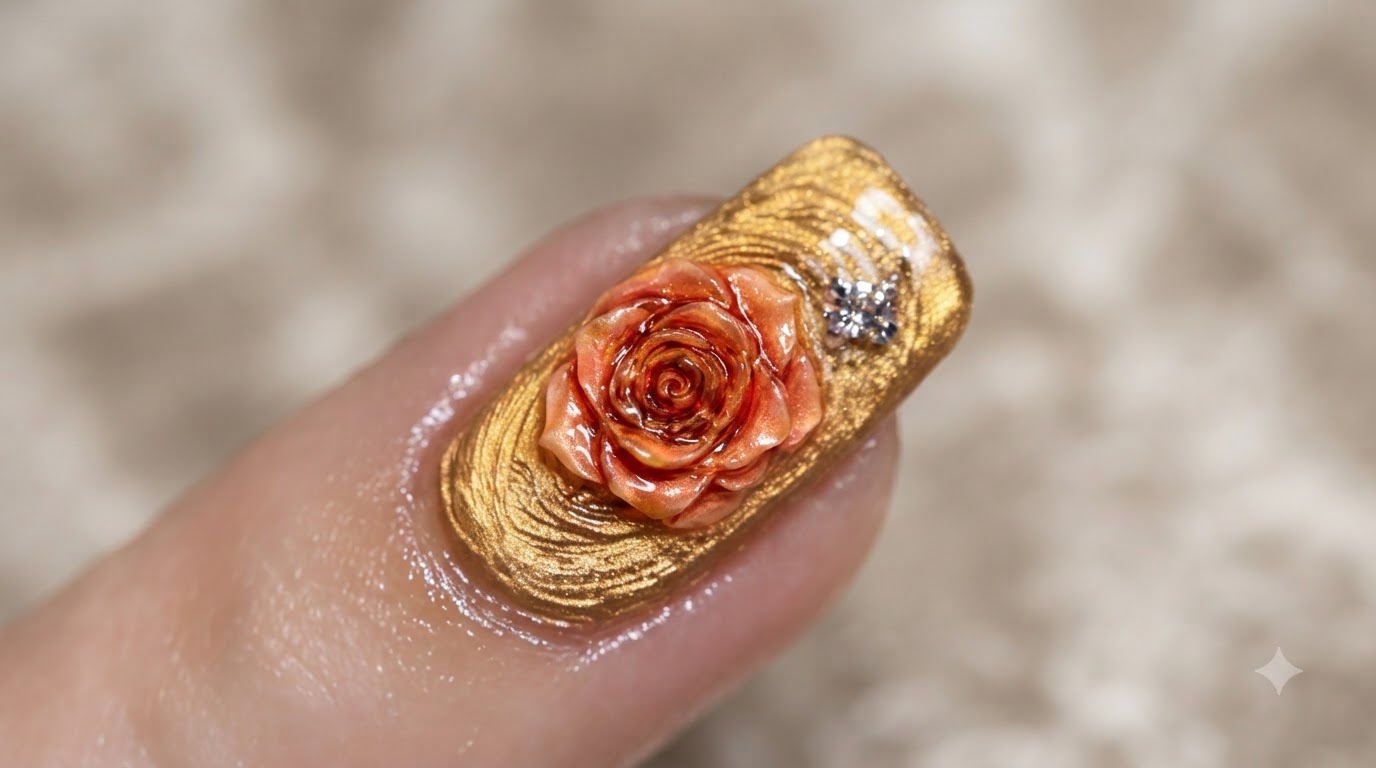
On another styled finger nail, wrap fine string lines securely around the nail surface, and accent the design with small crushed stones and pearls for a sophisticated finish.
Tip: Press string lines firmly into a tacky layer or base gel before sealing to ensure they stay flat and secure.